Photo & Video Gallery

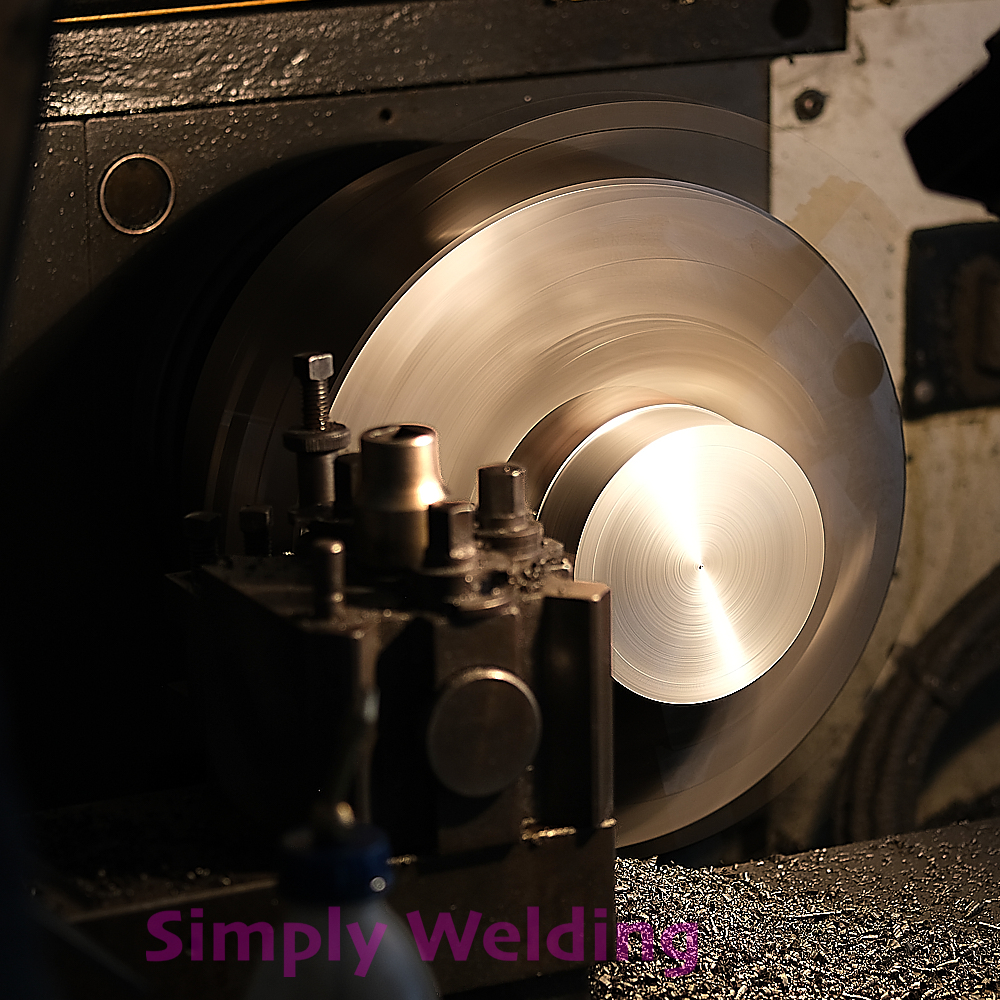
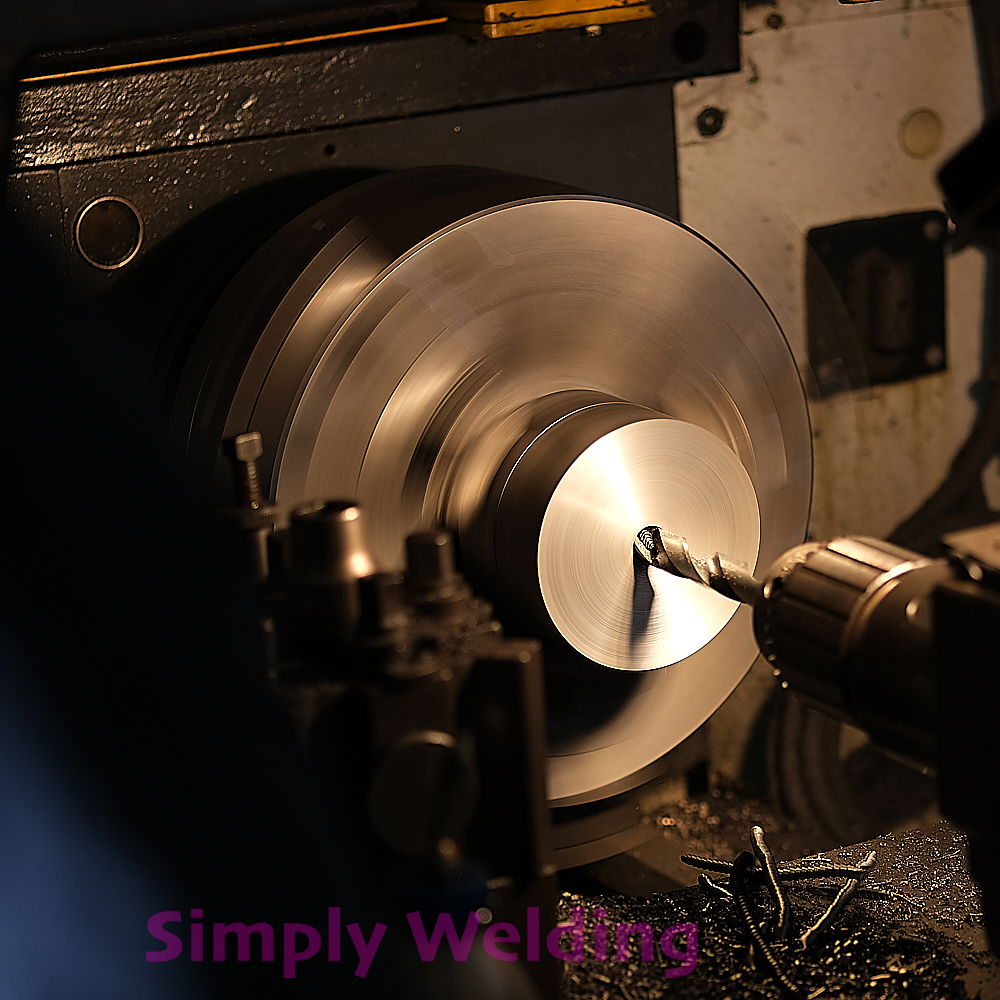
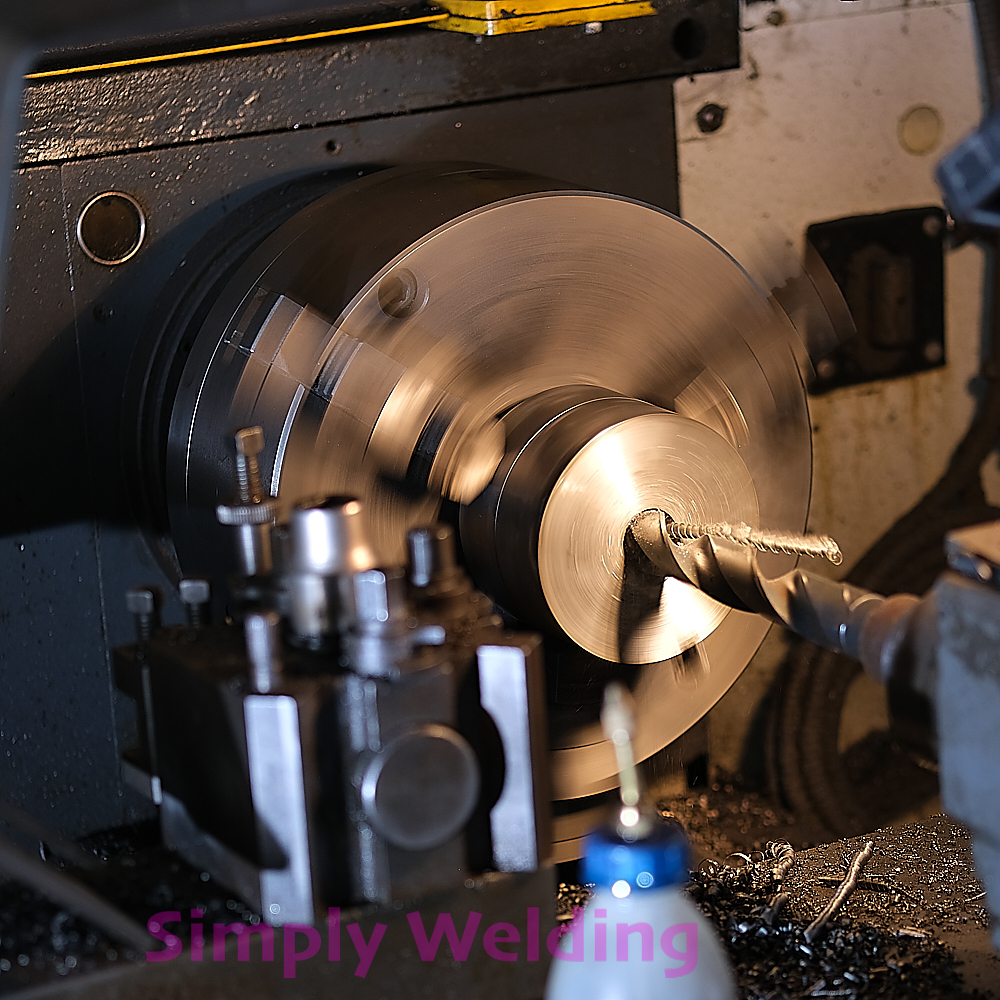
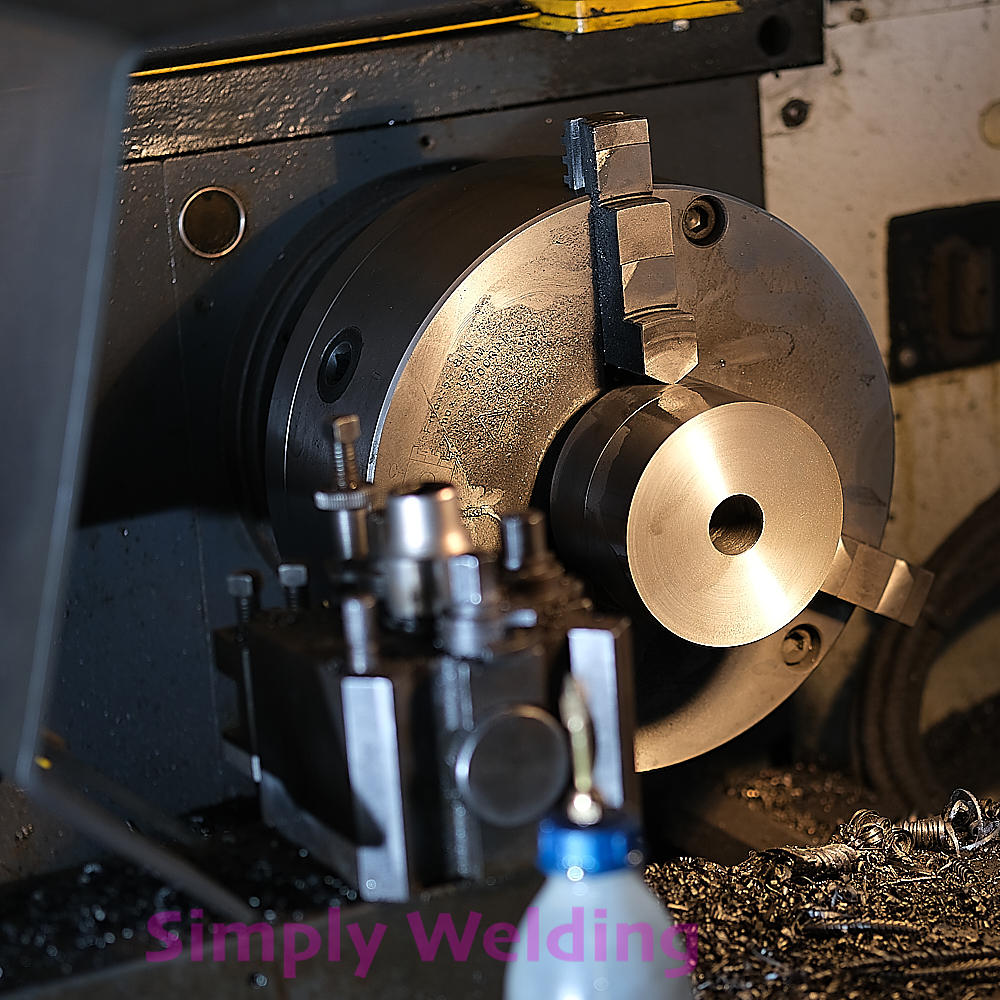
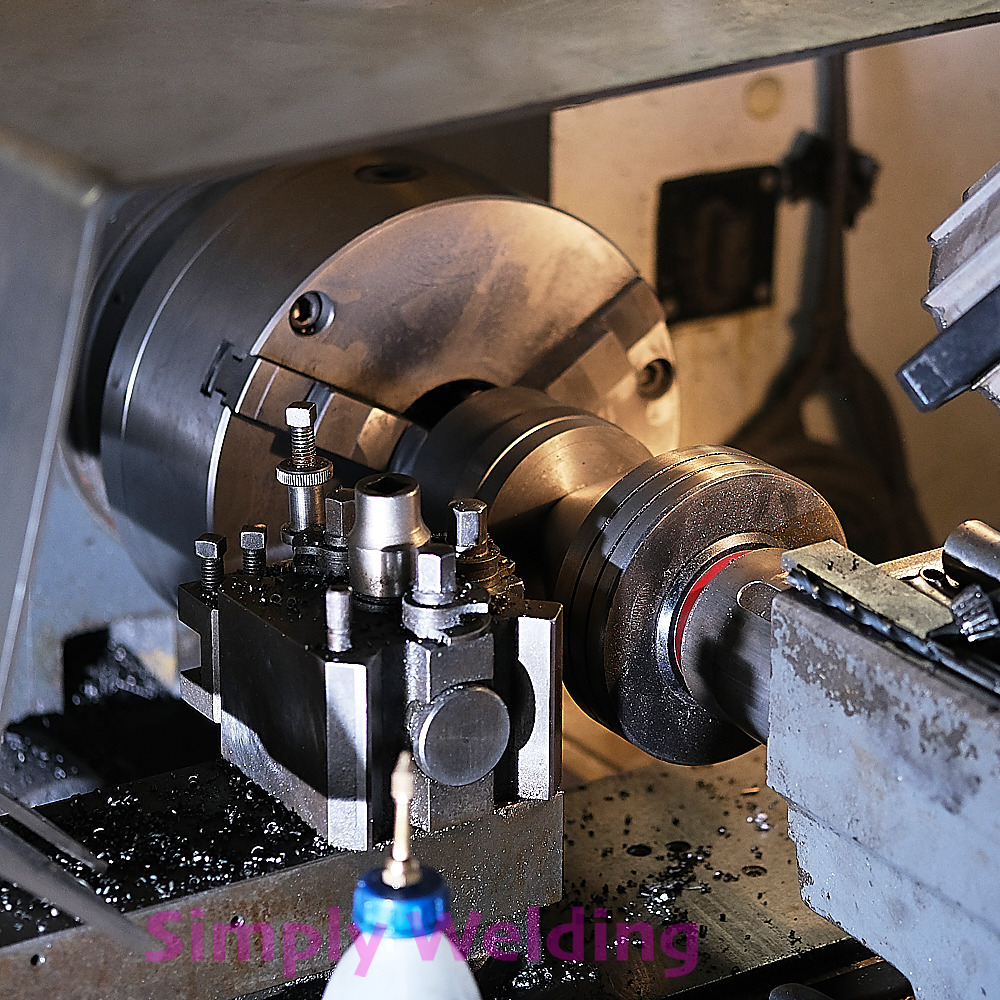
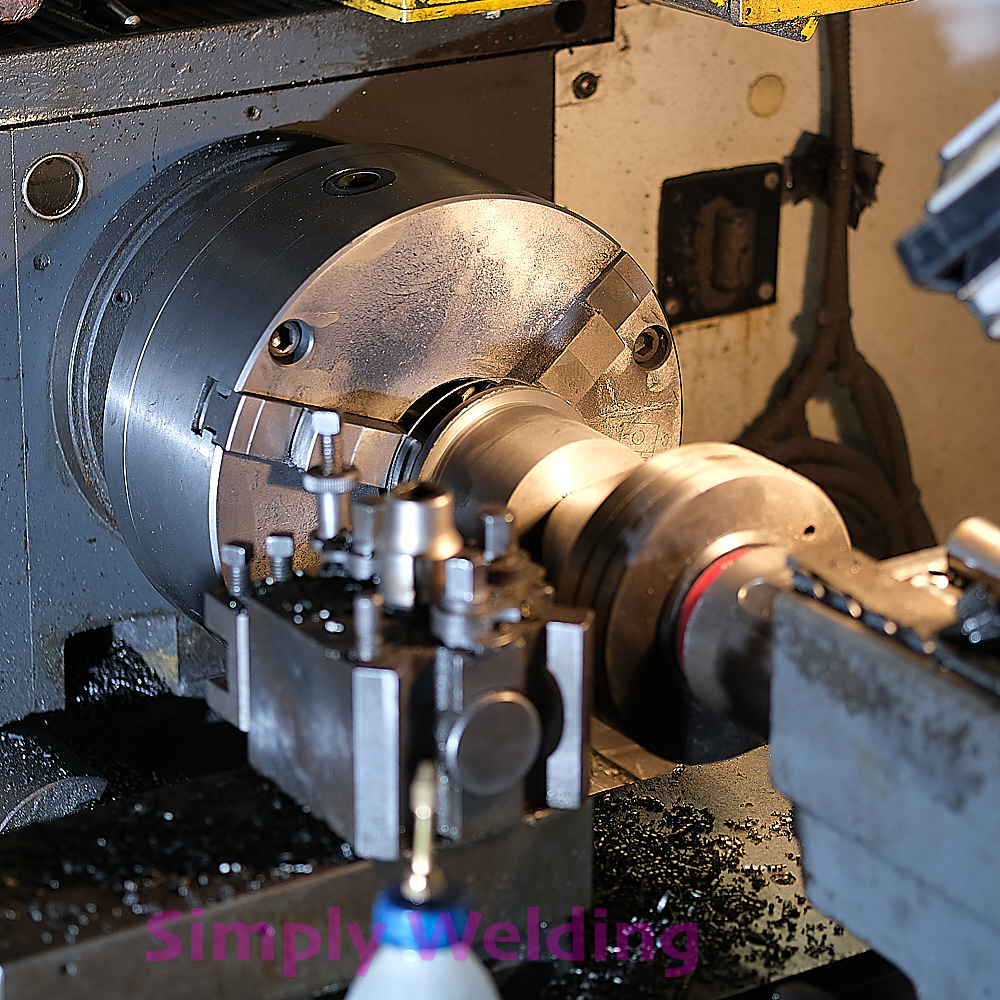
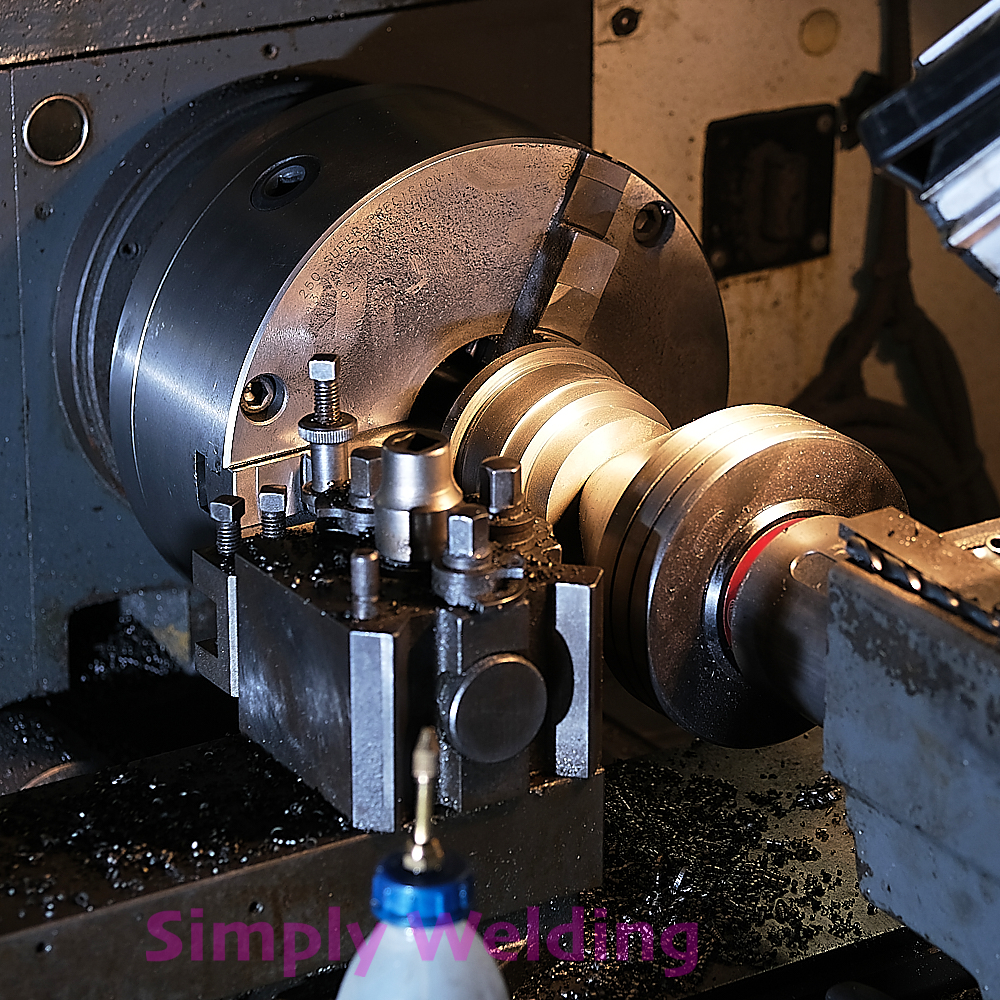
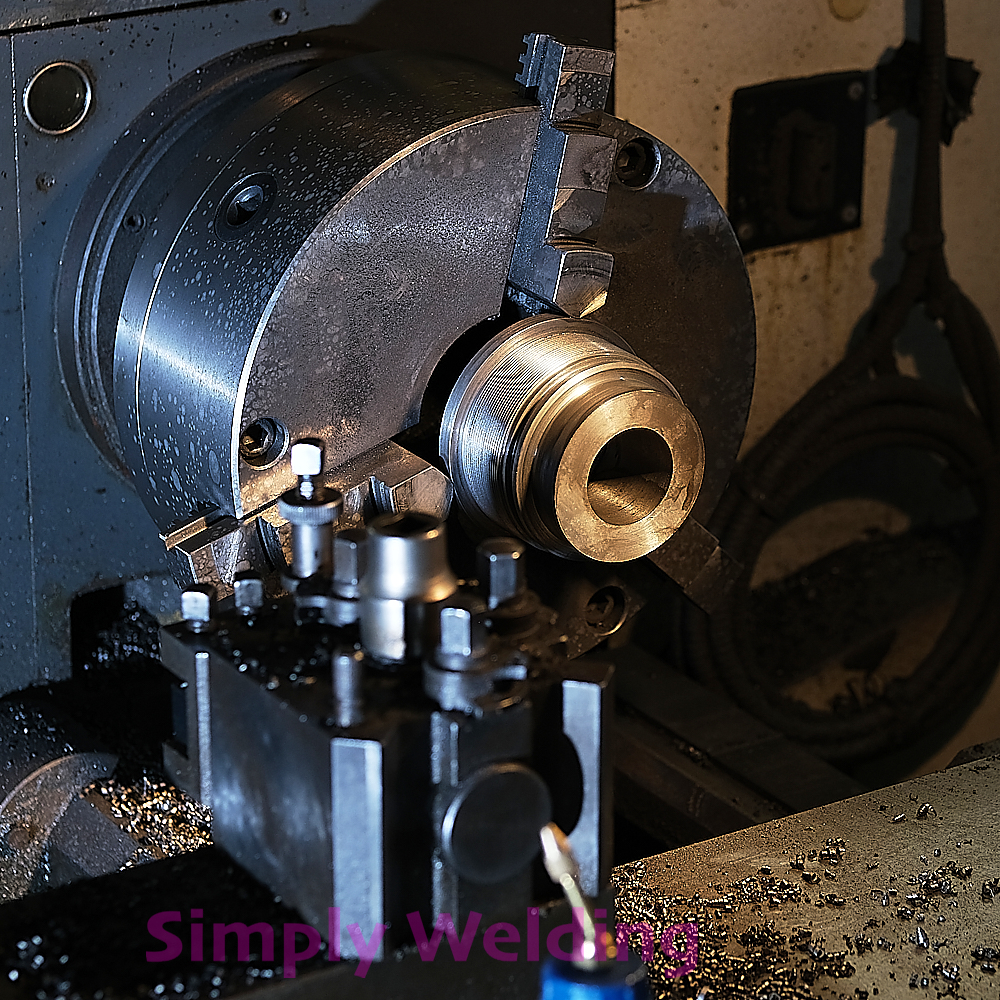
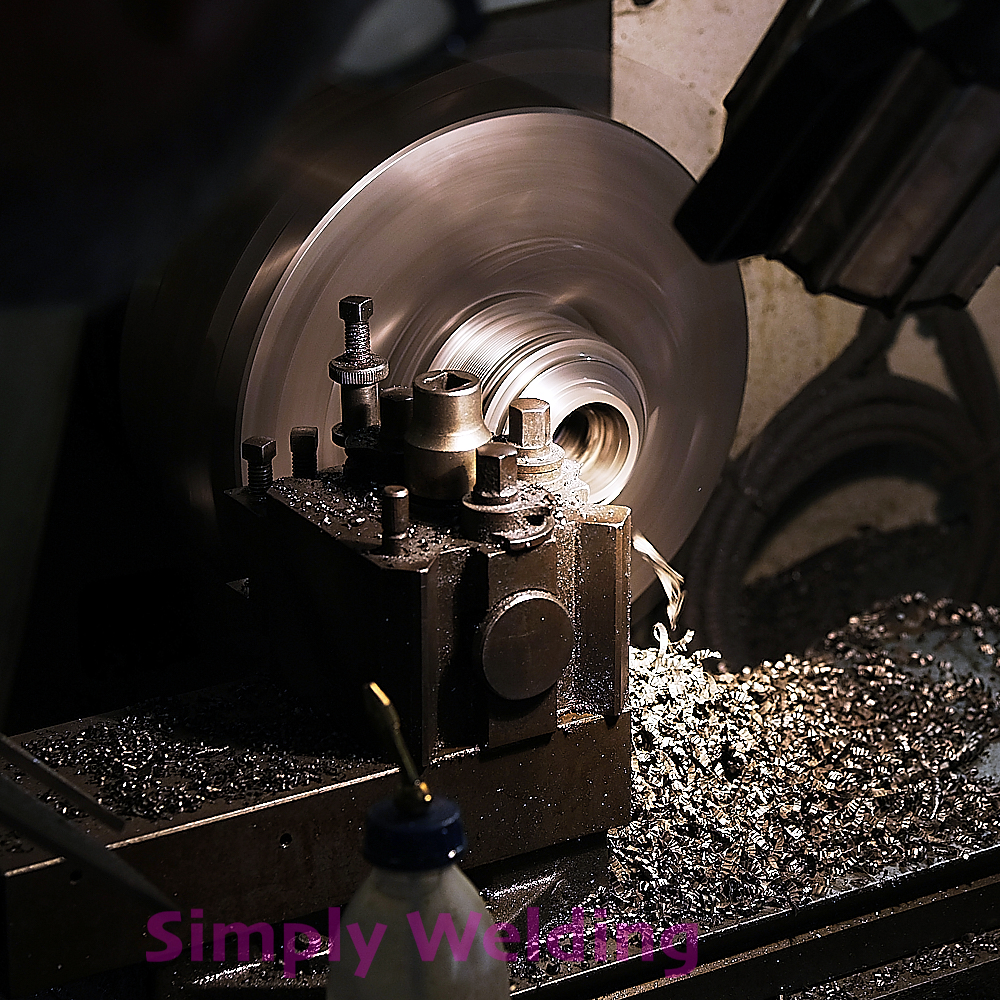
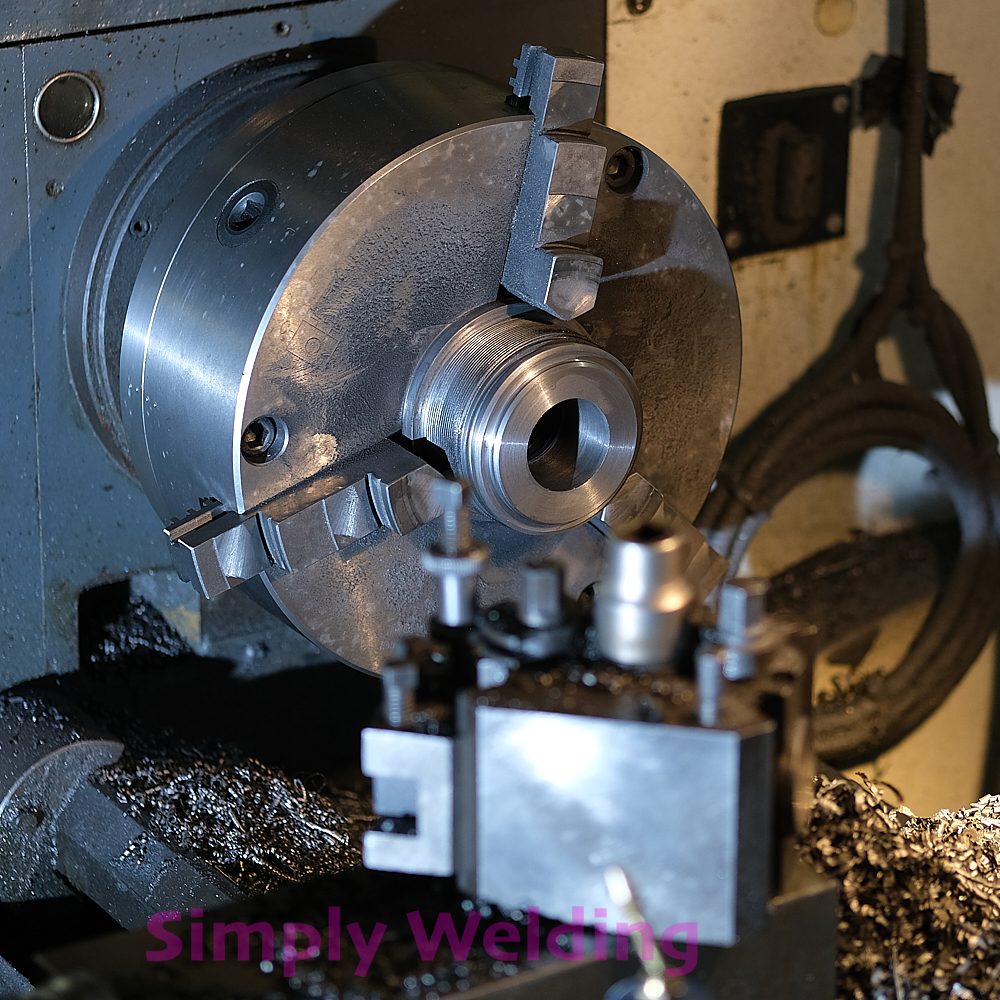
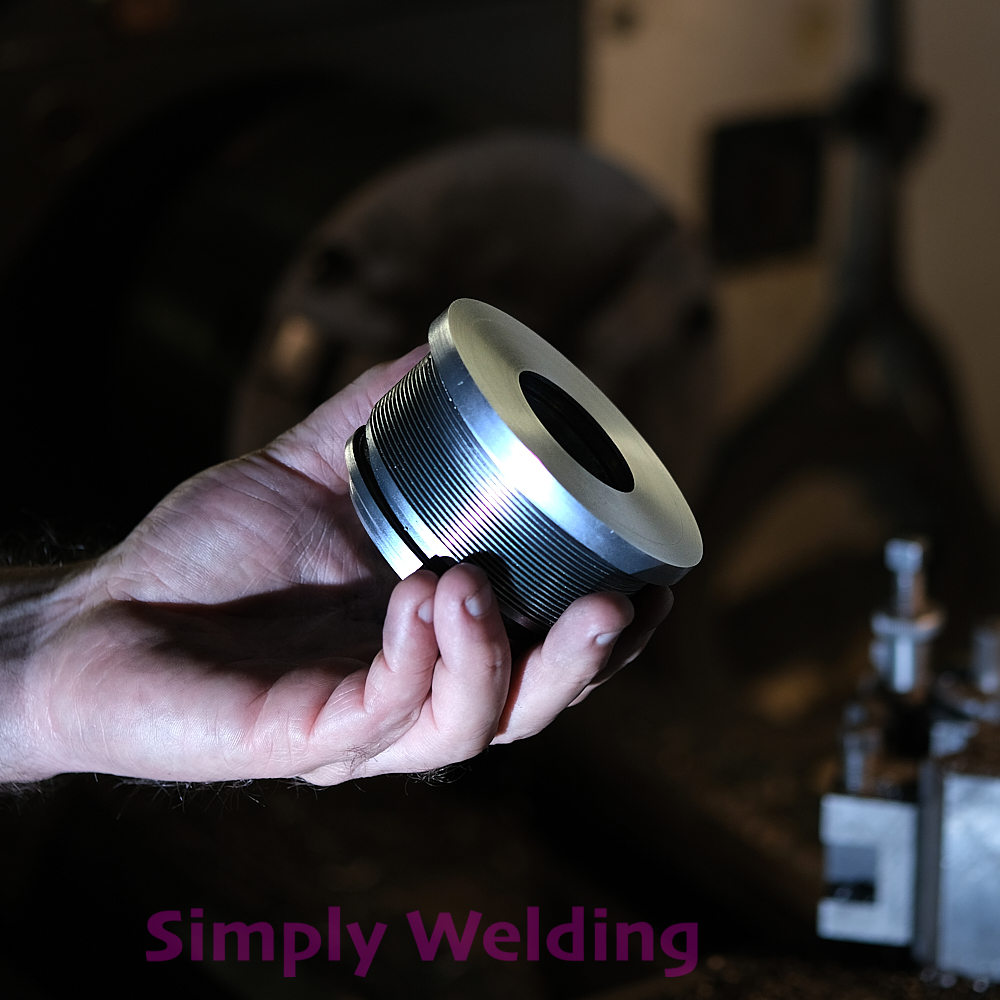
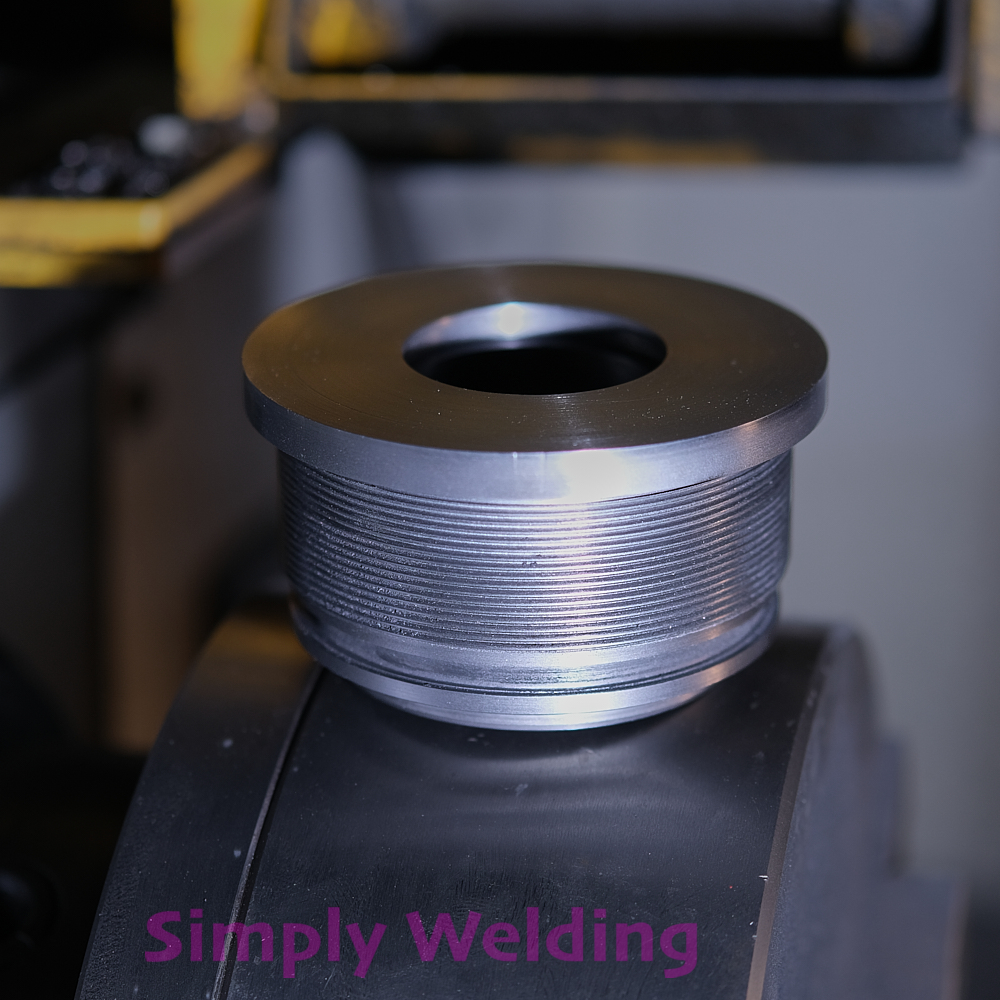
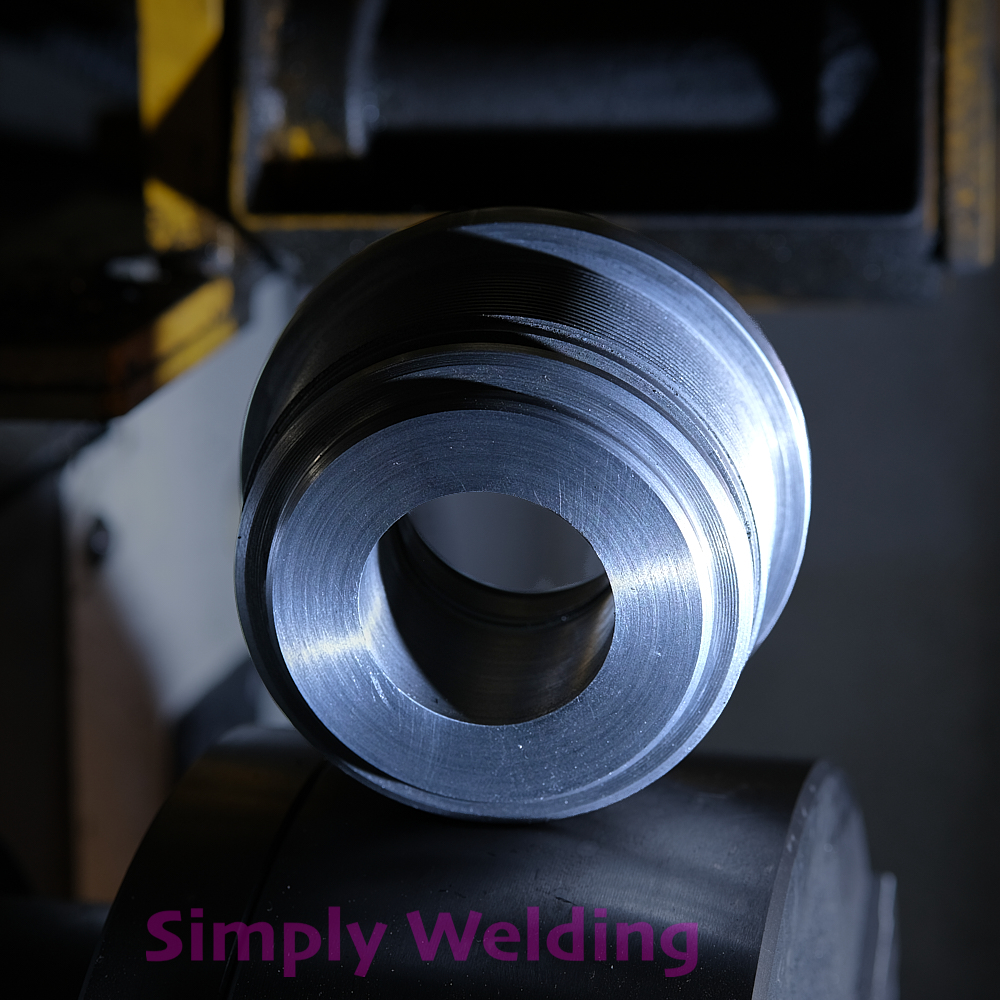
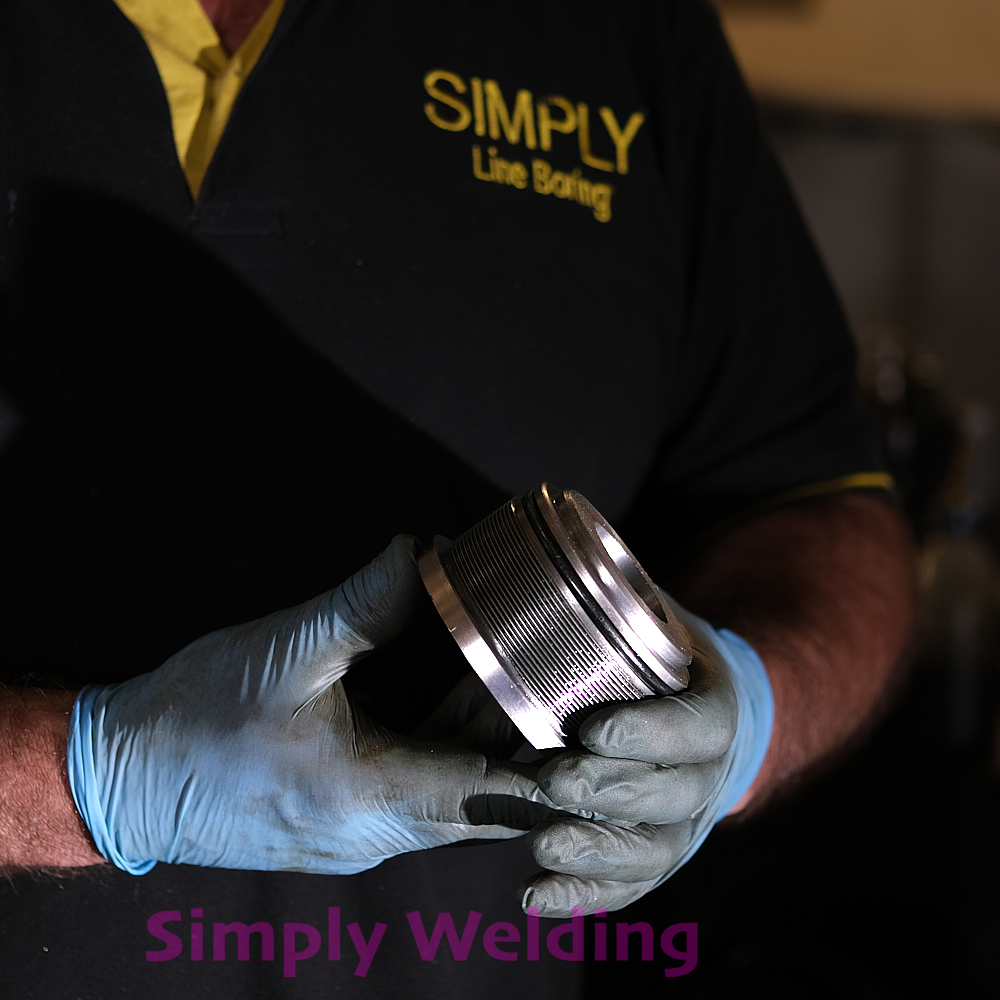
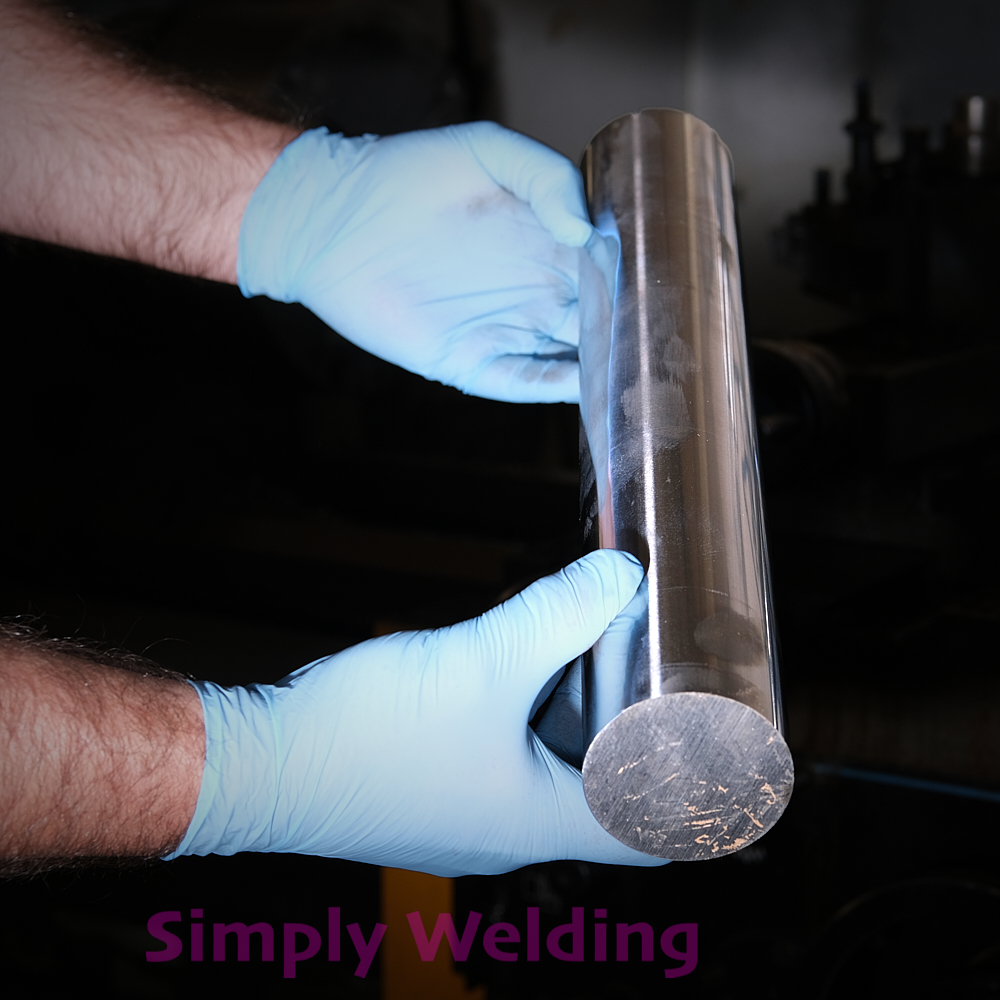
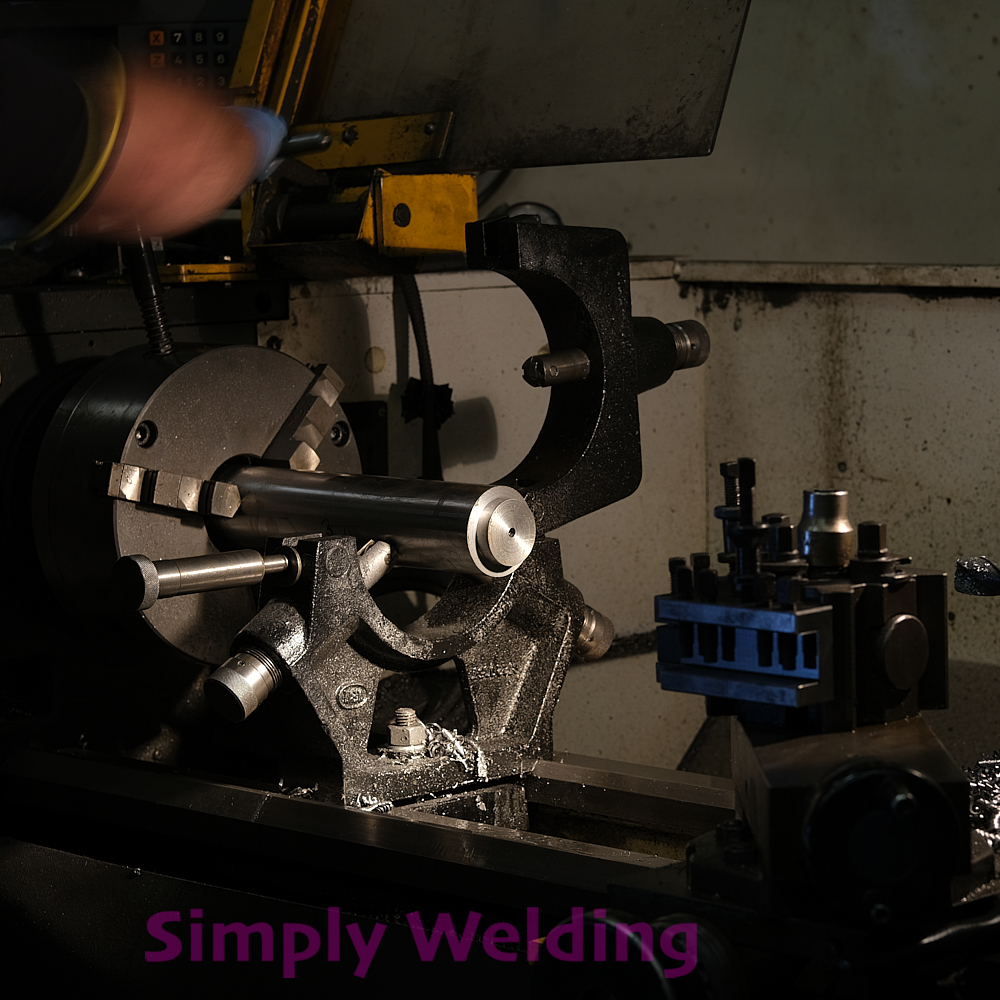
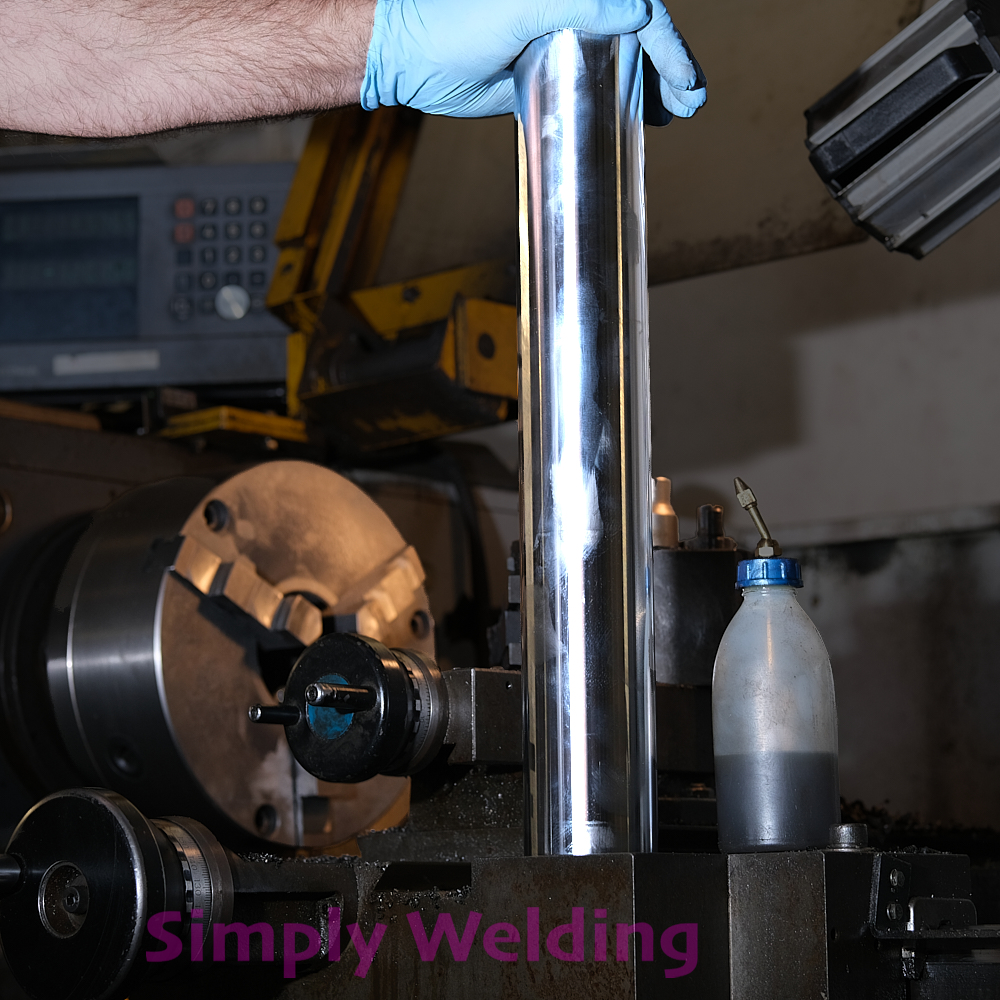
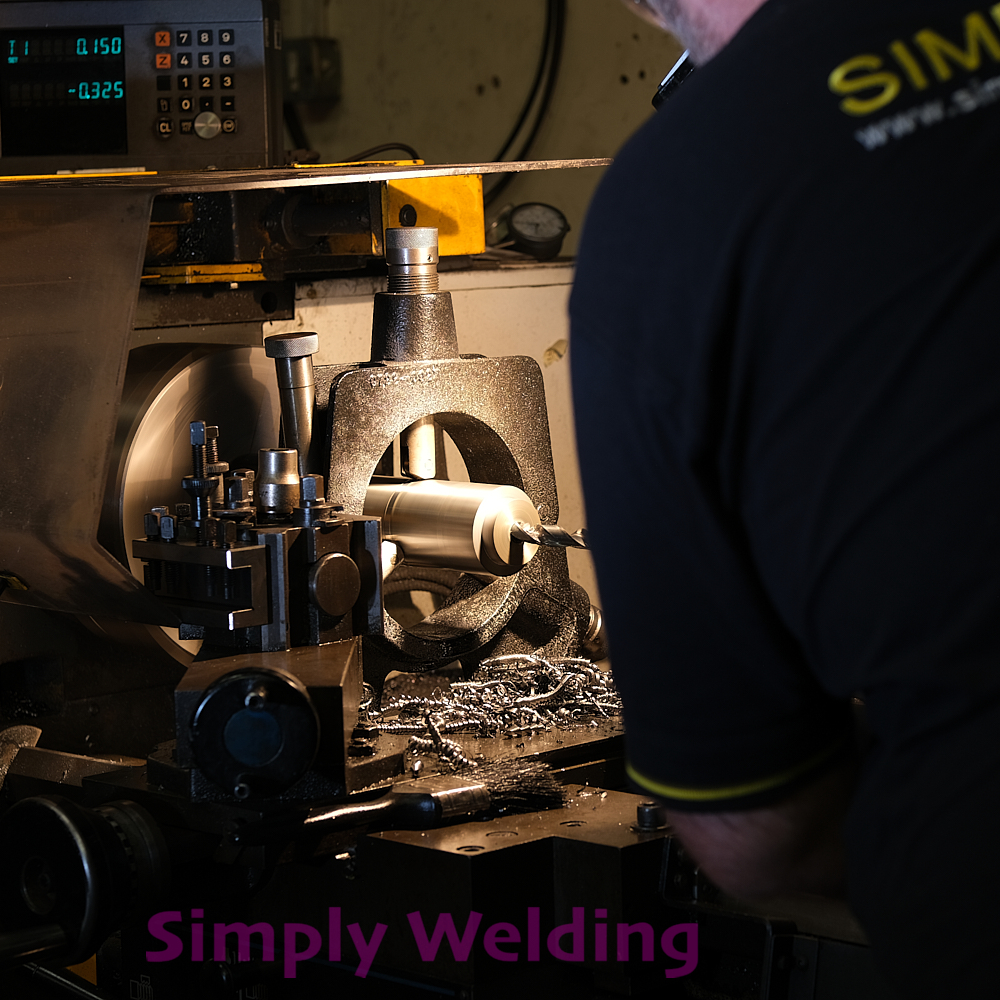
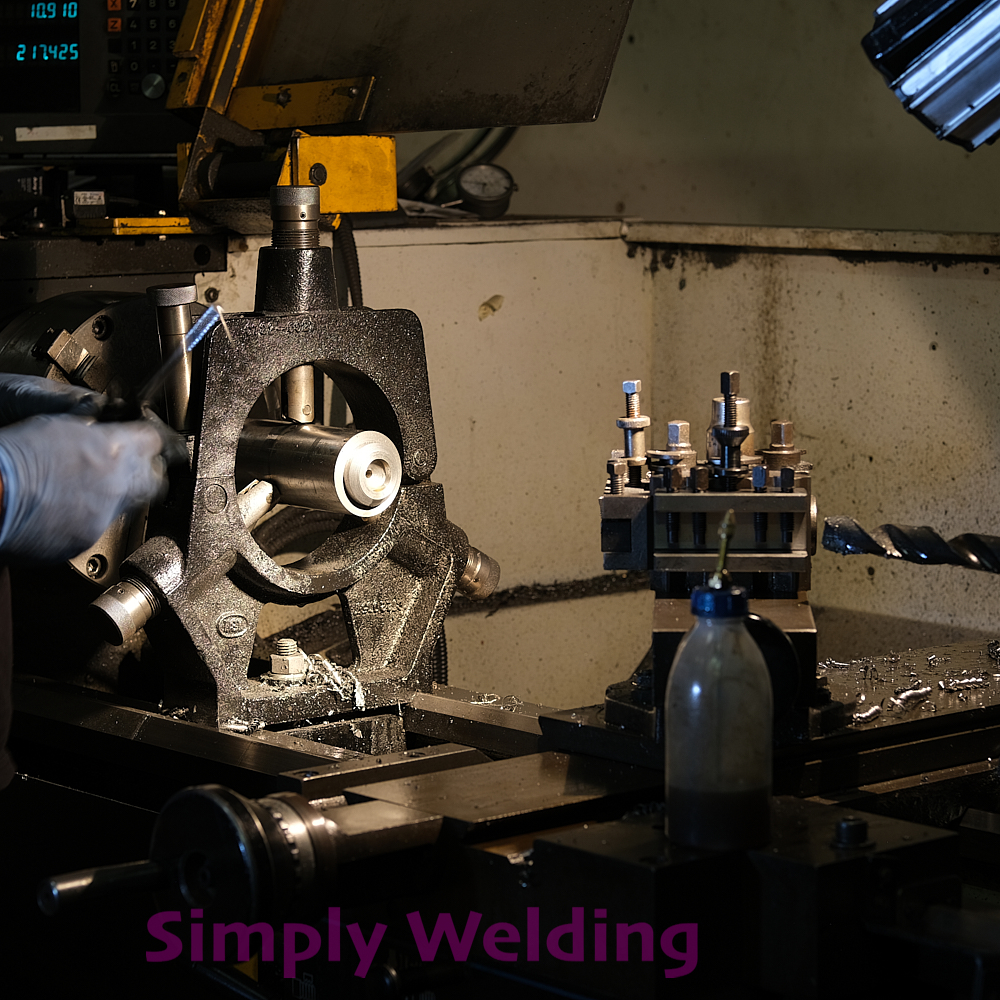
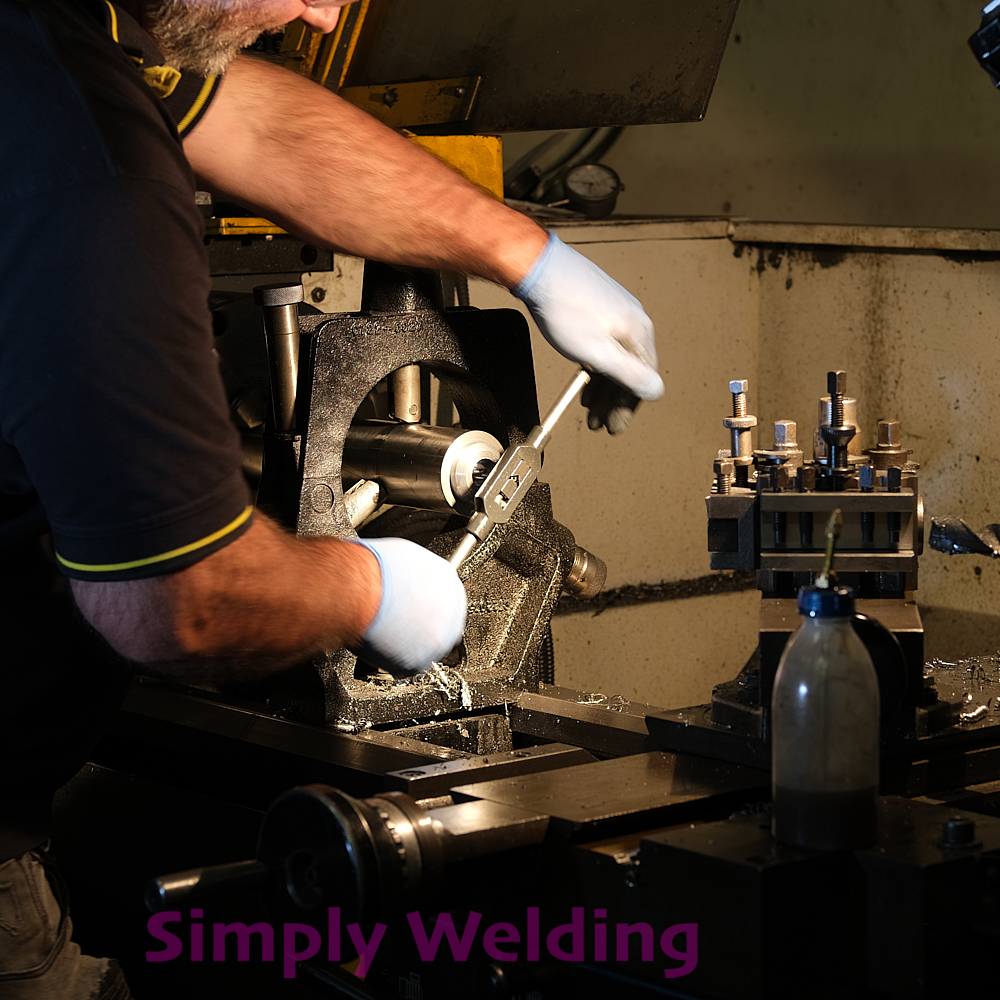
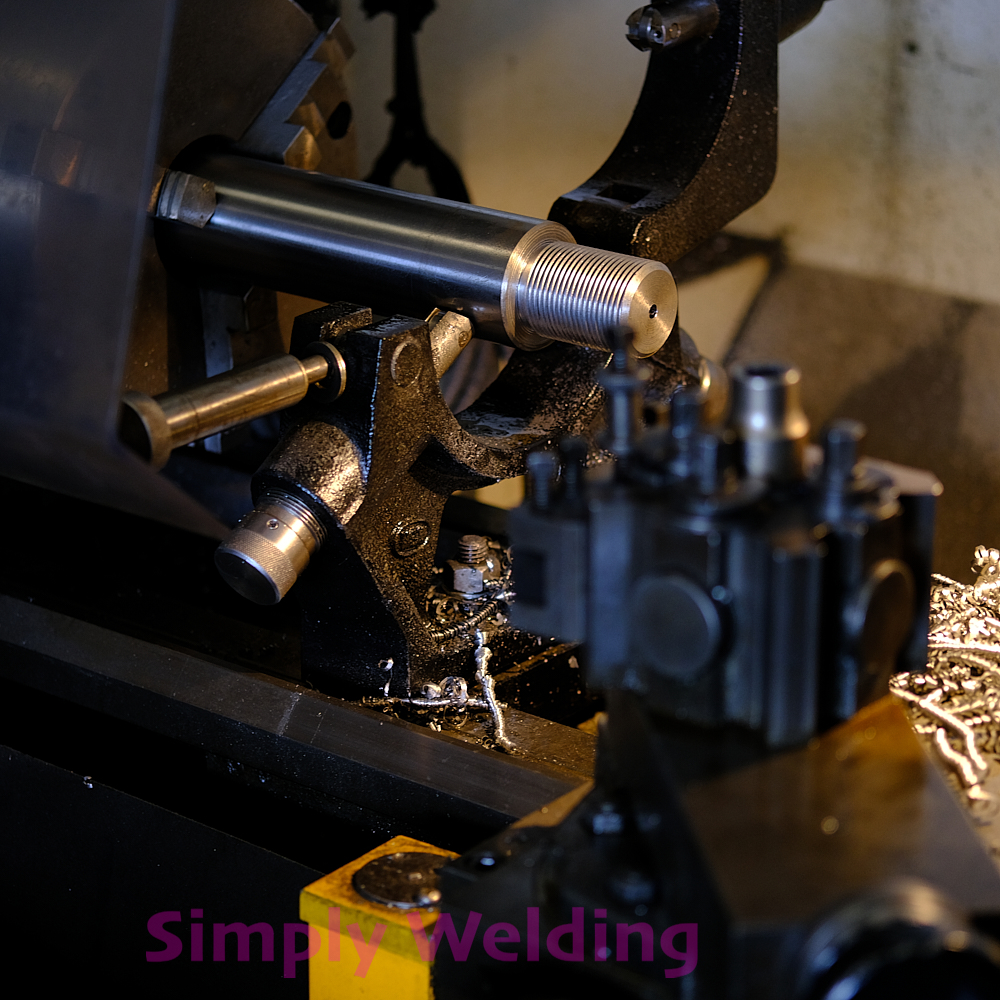
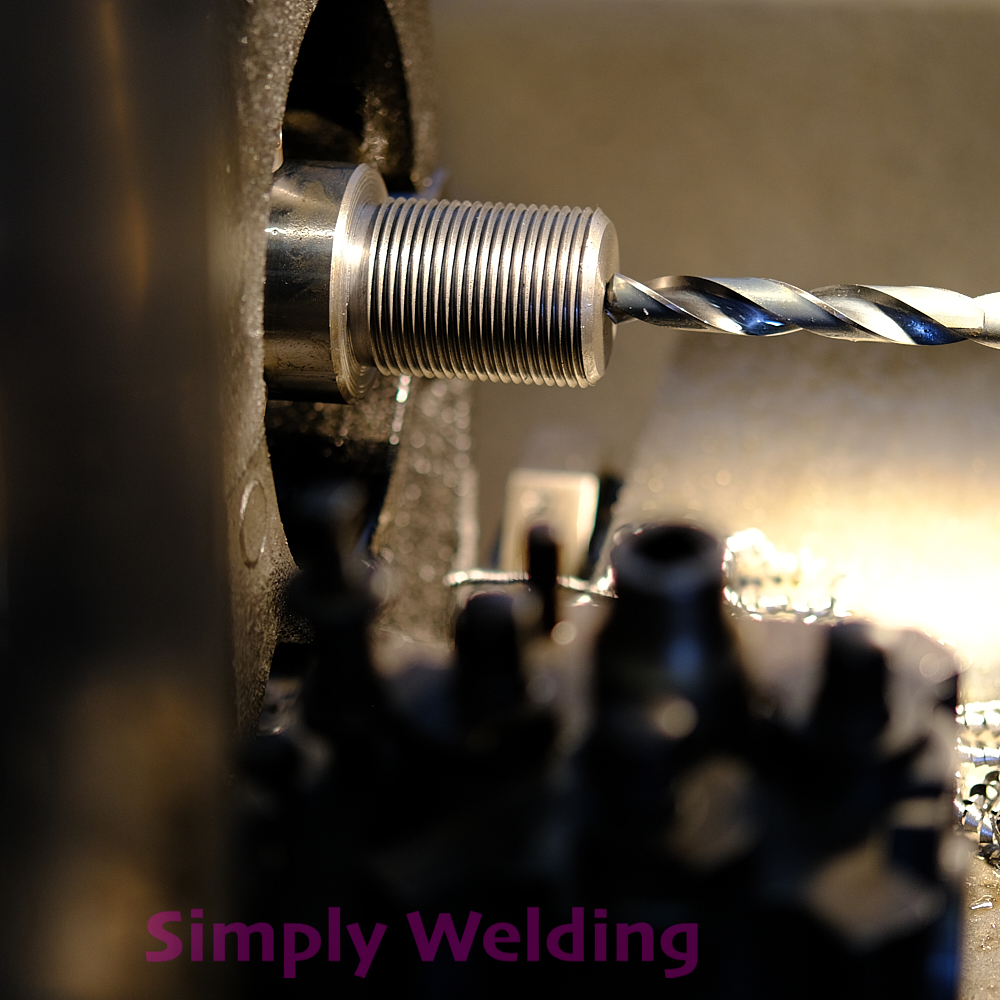
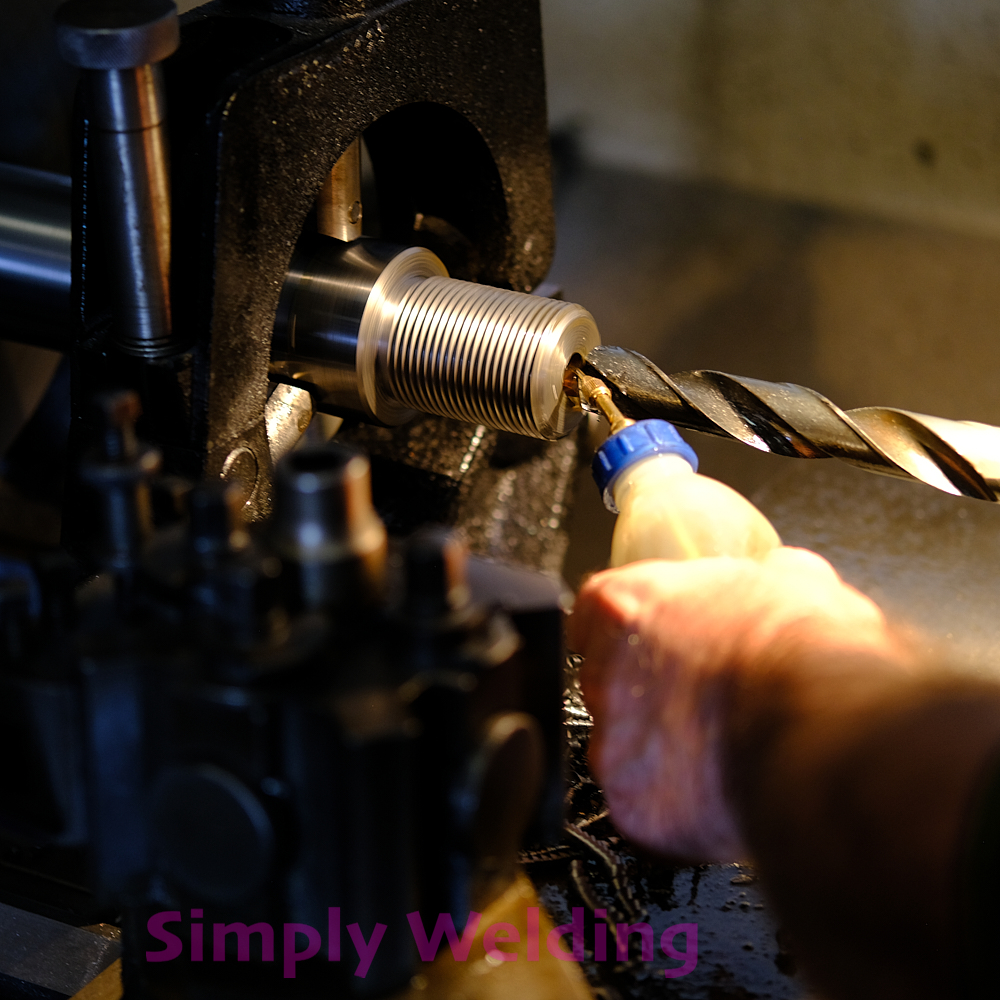
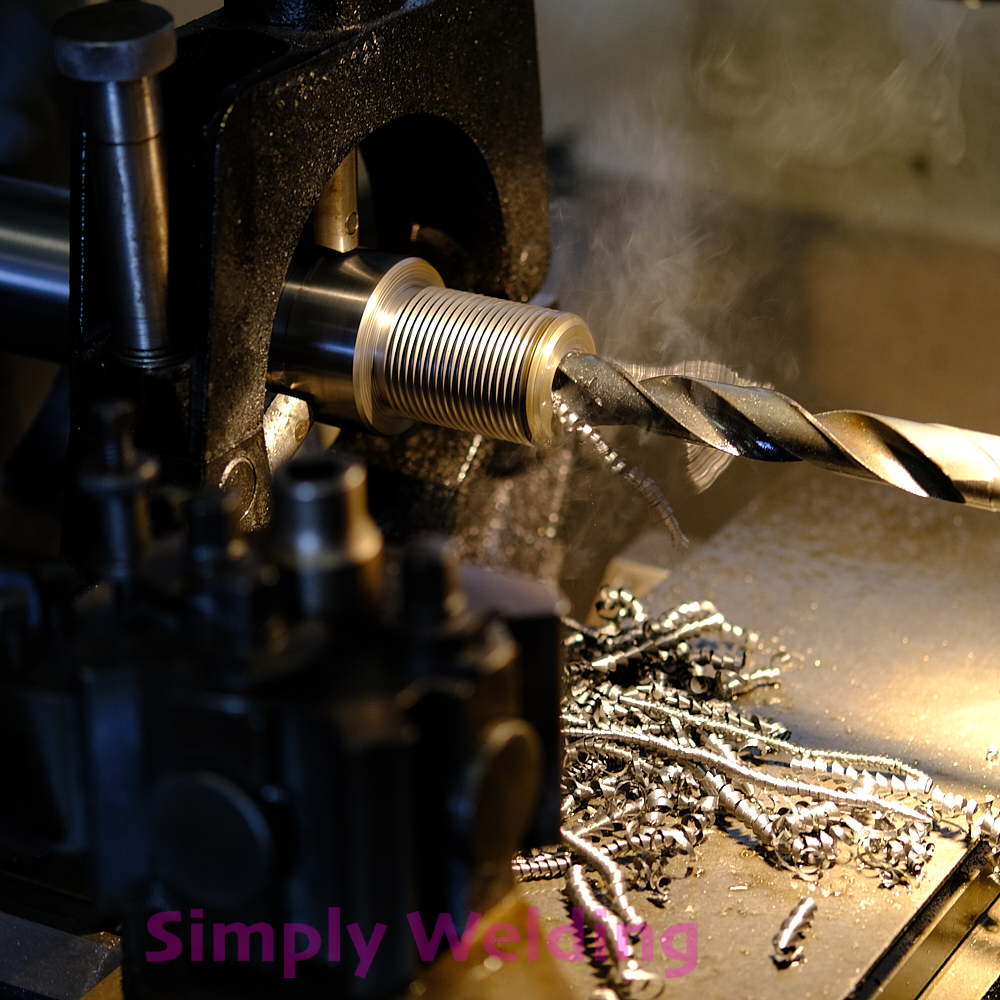
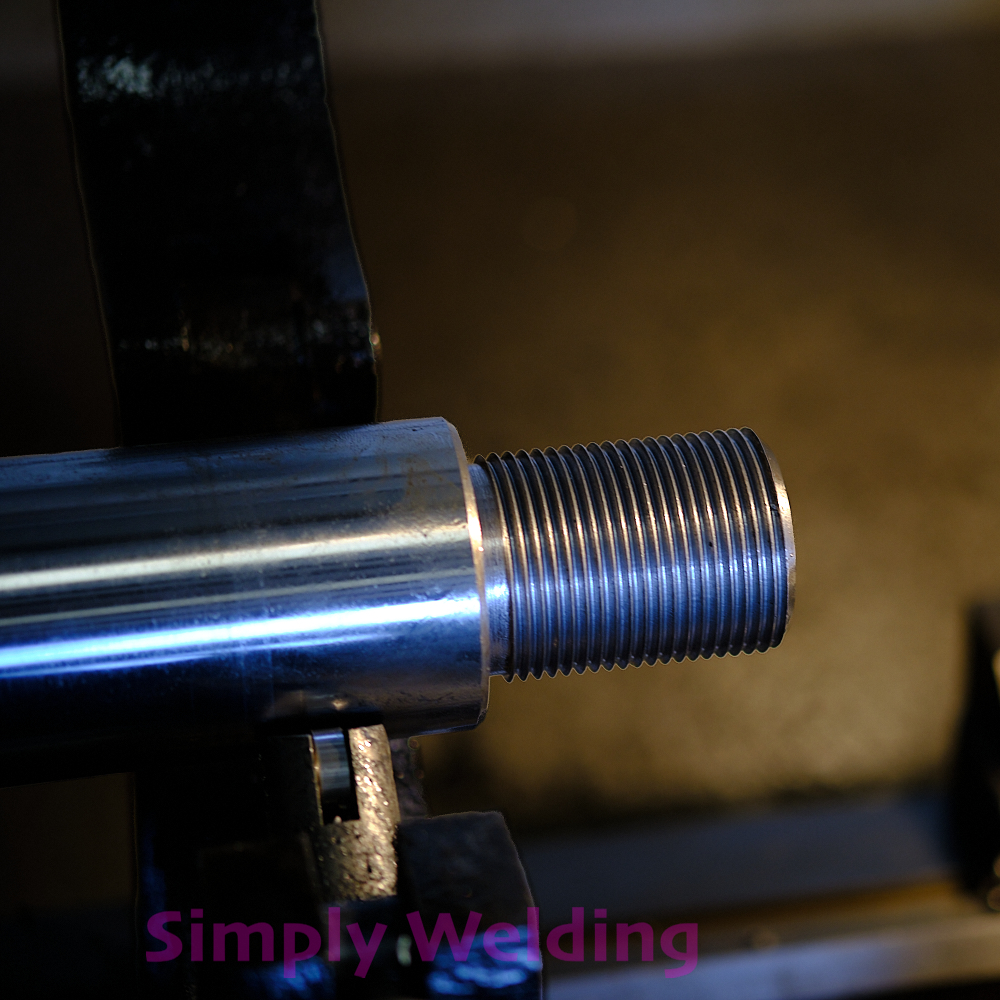
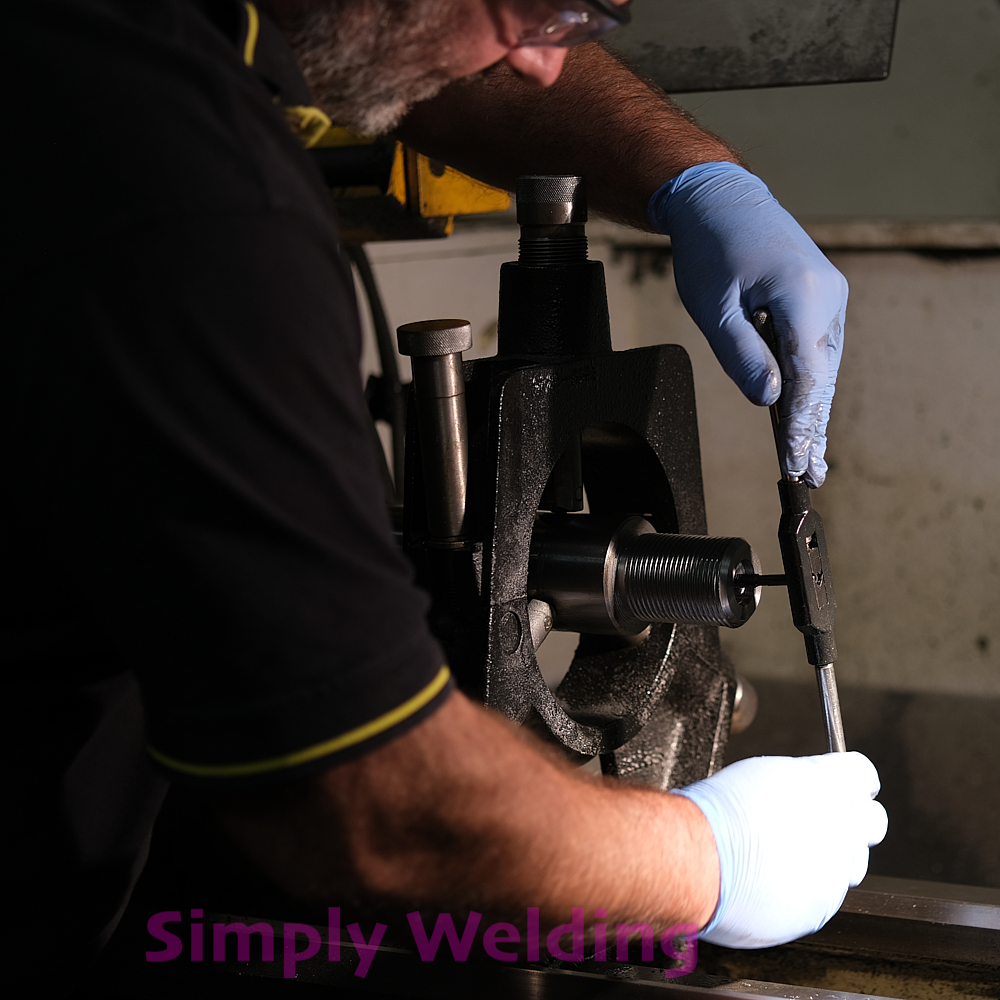
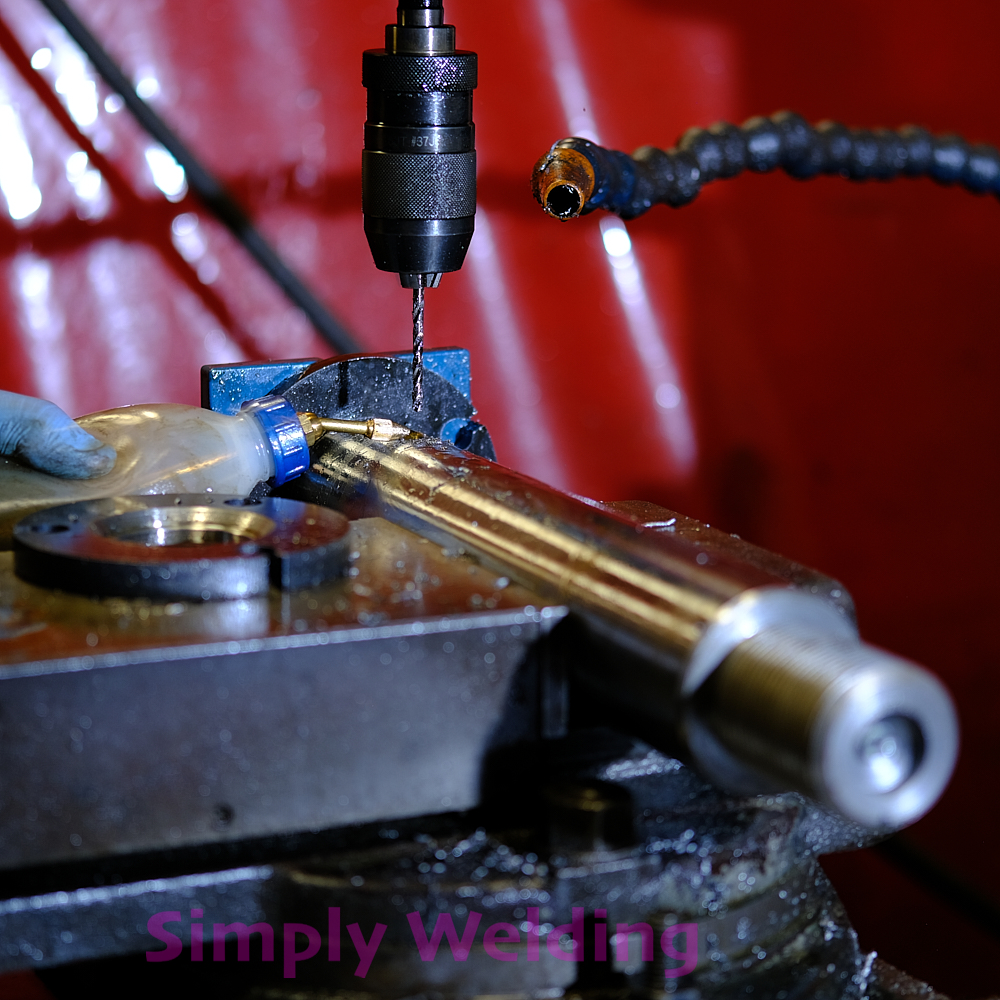
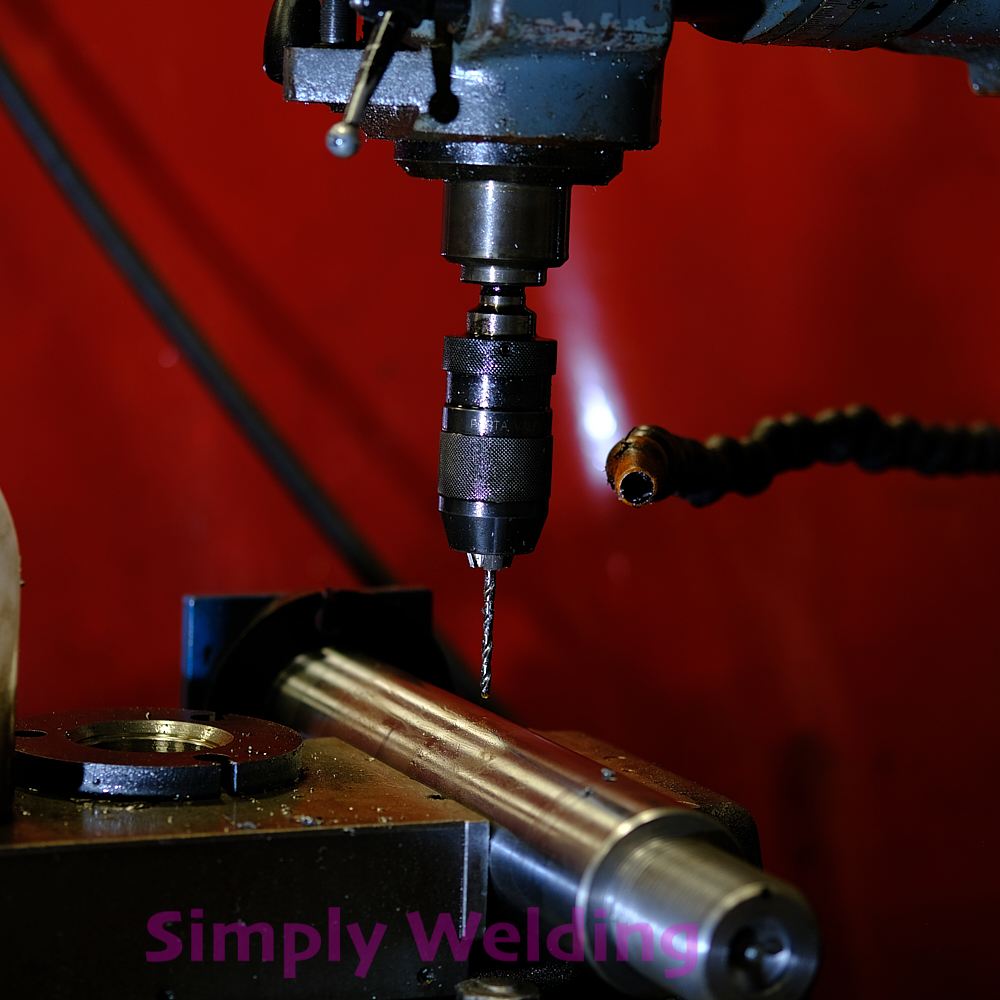
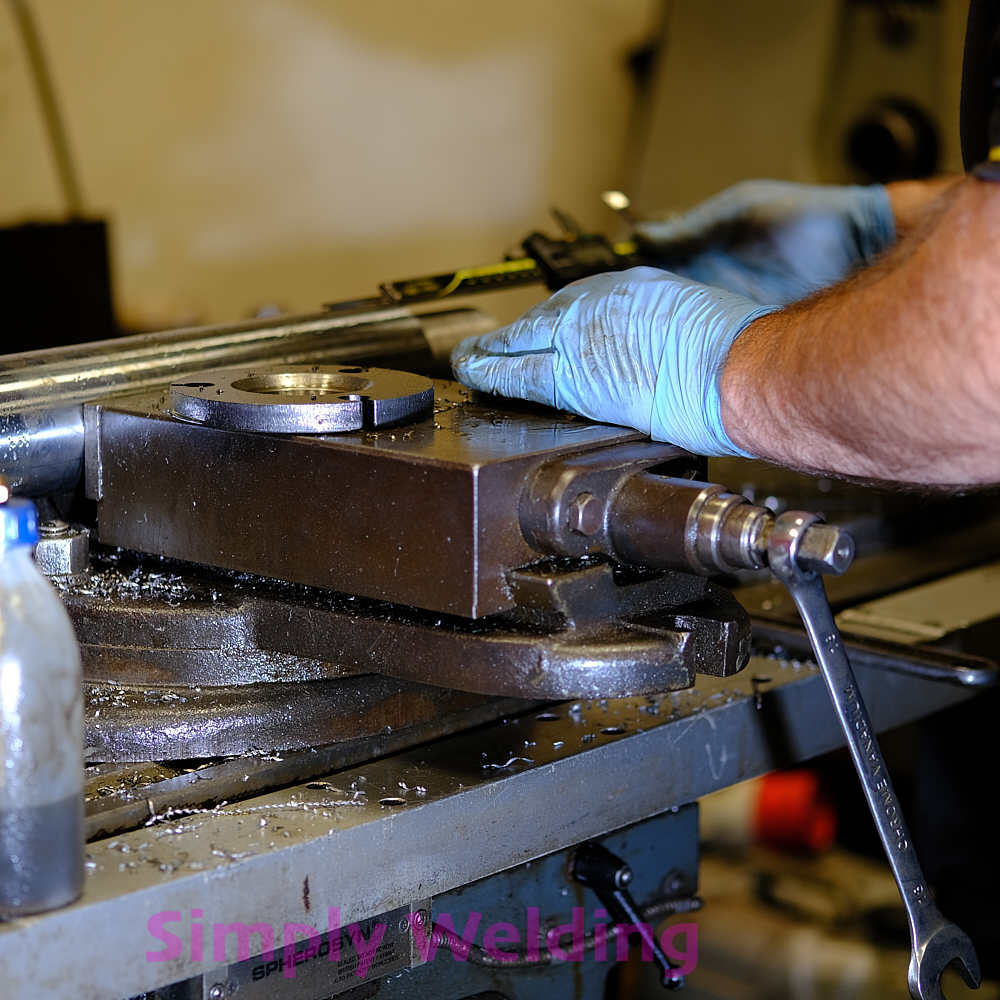
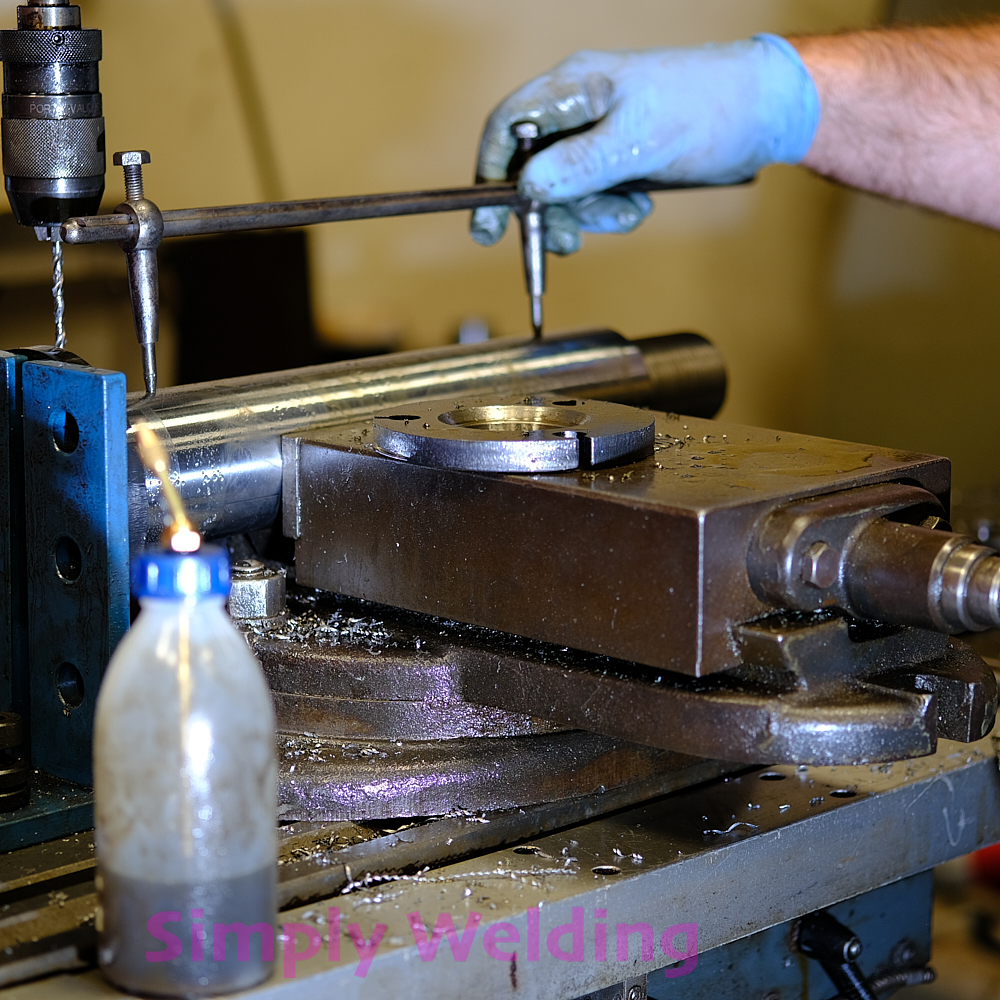
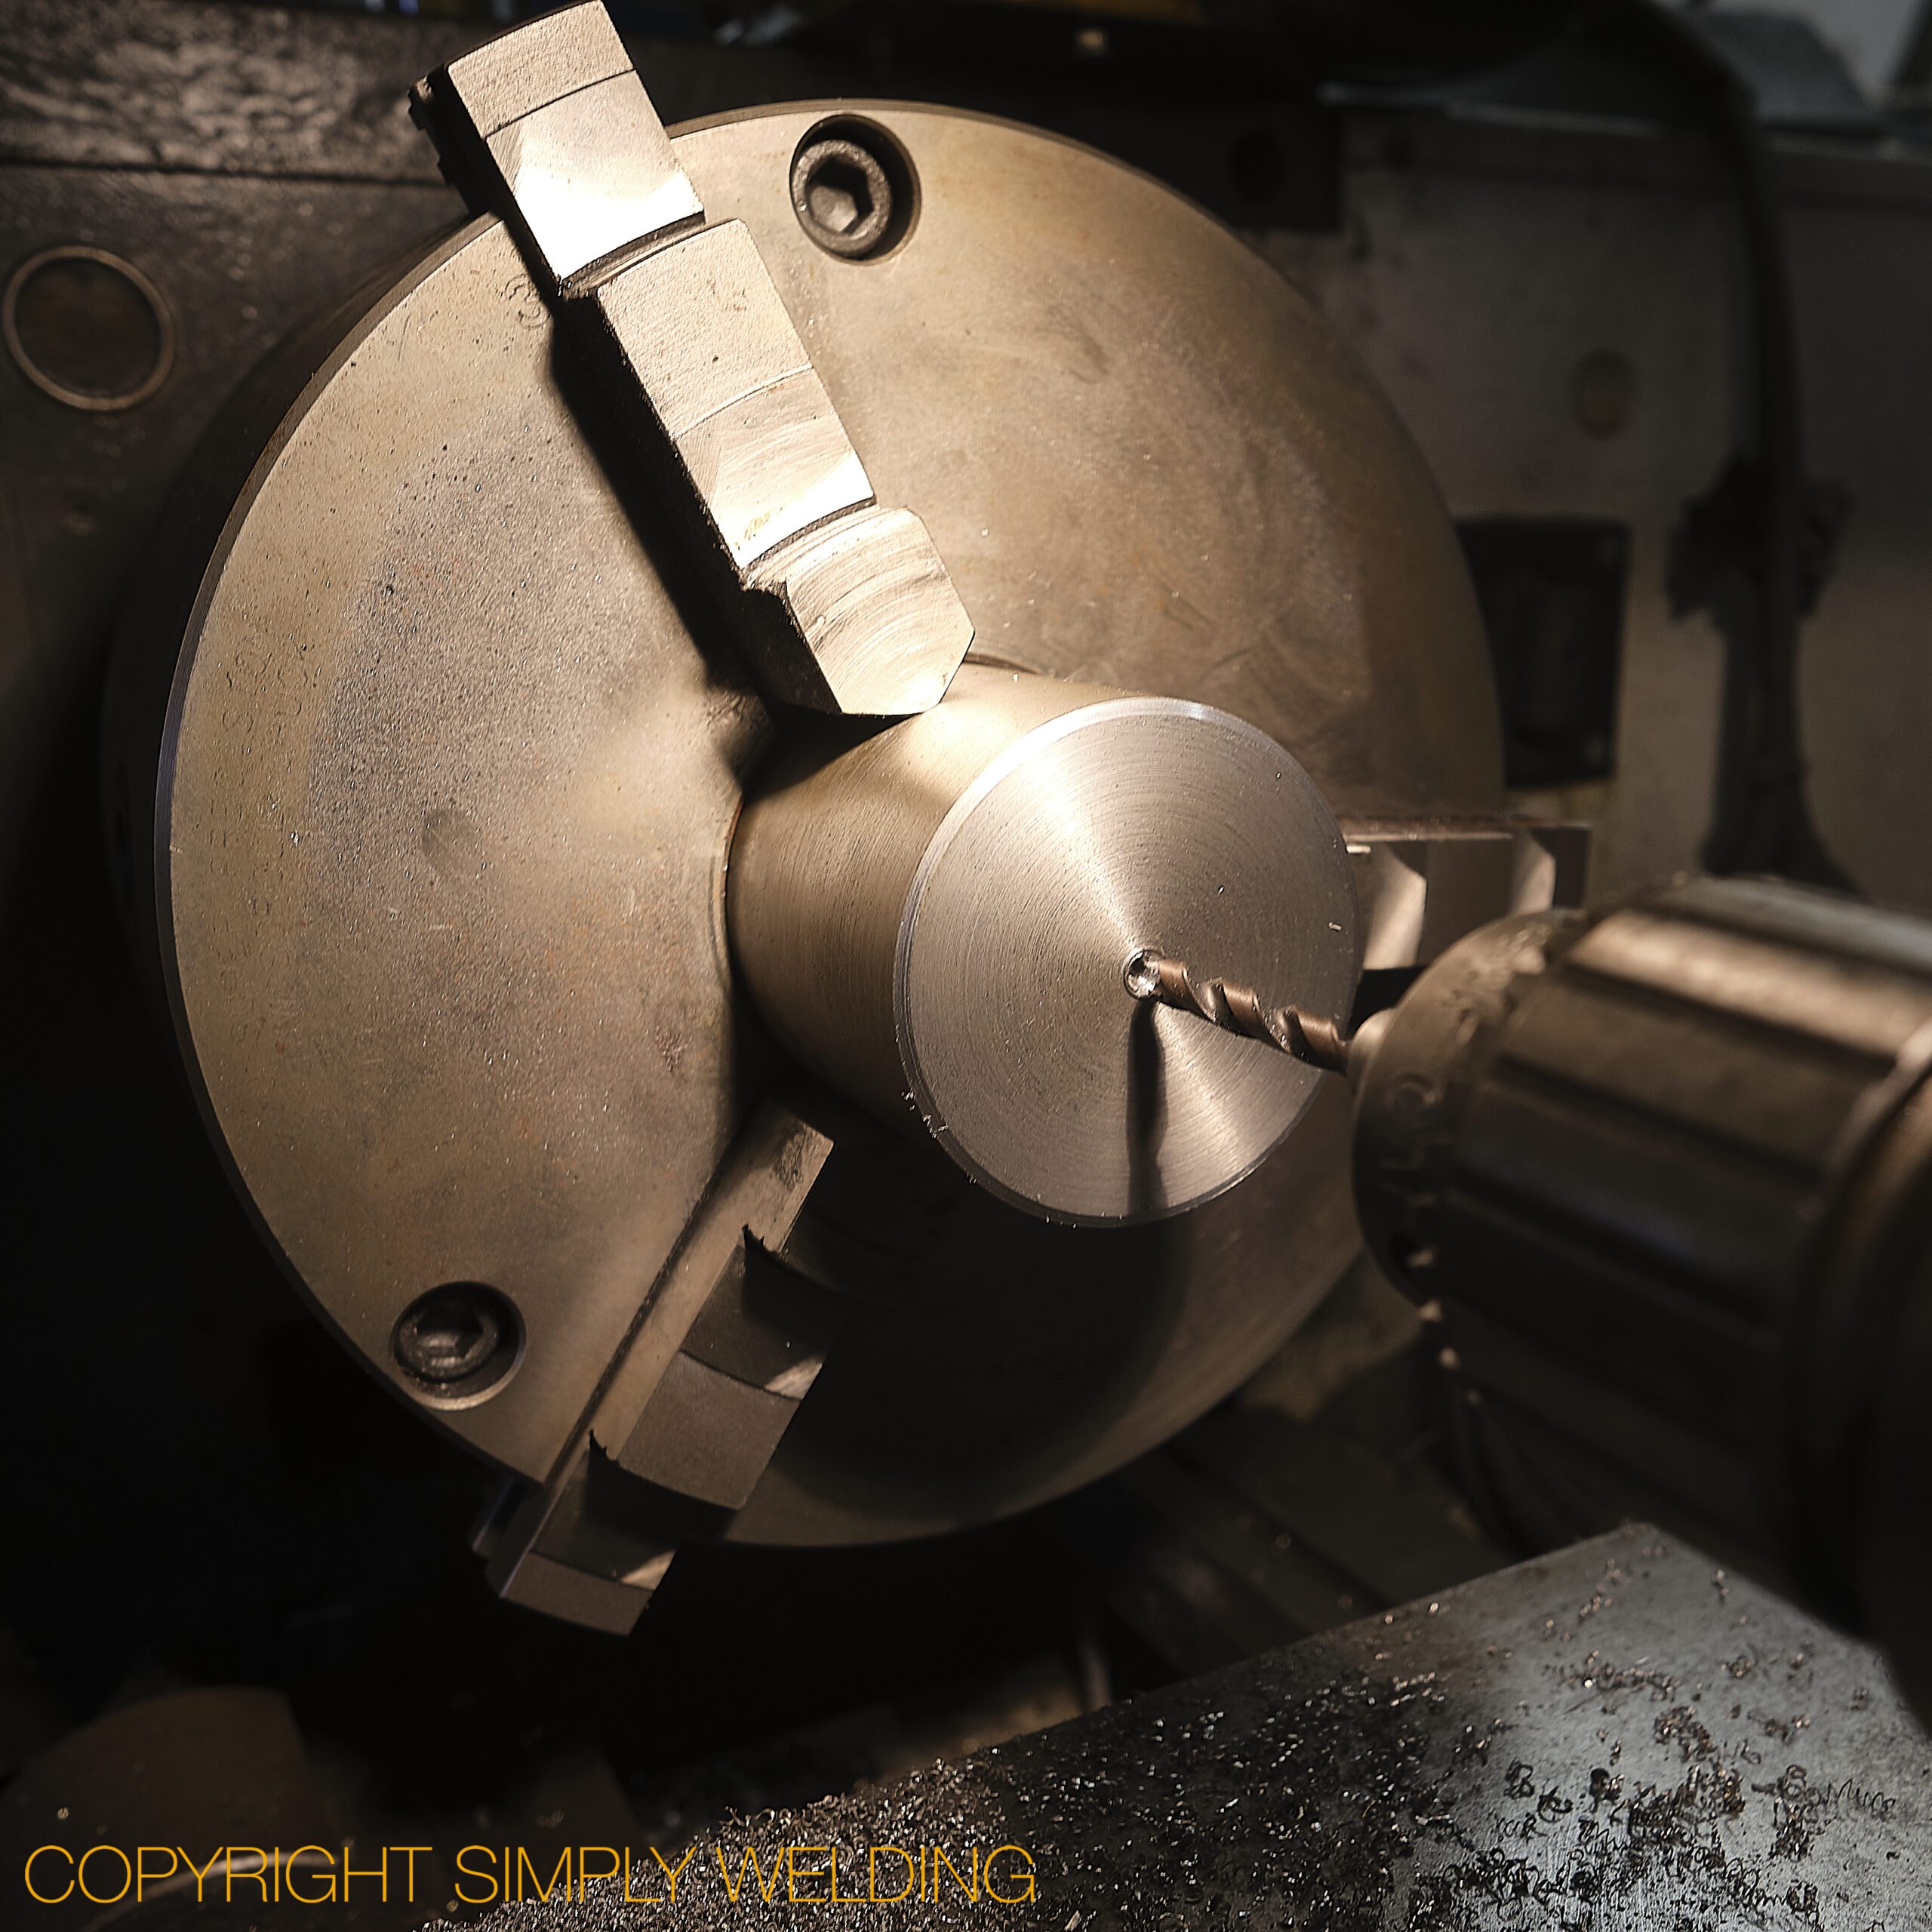
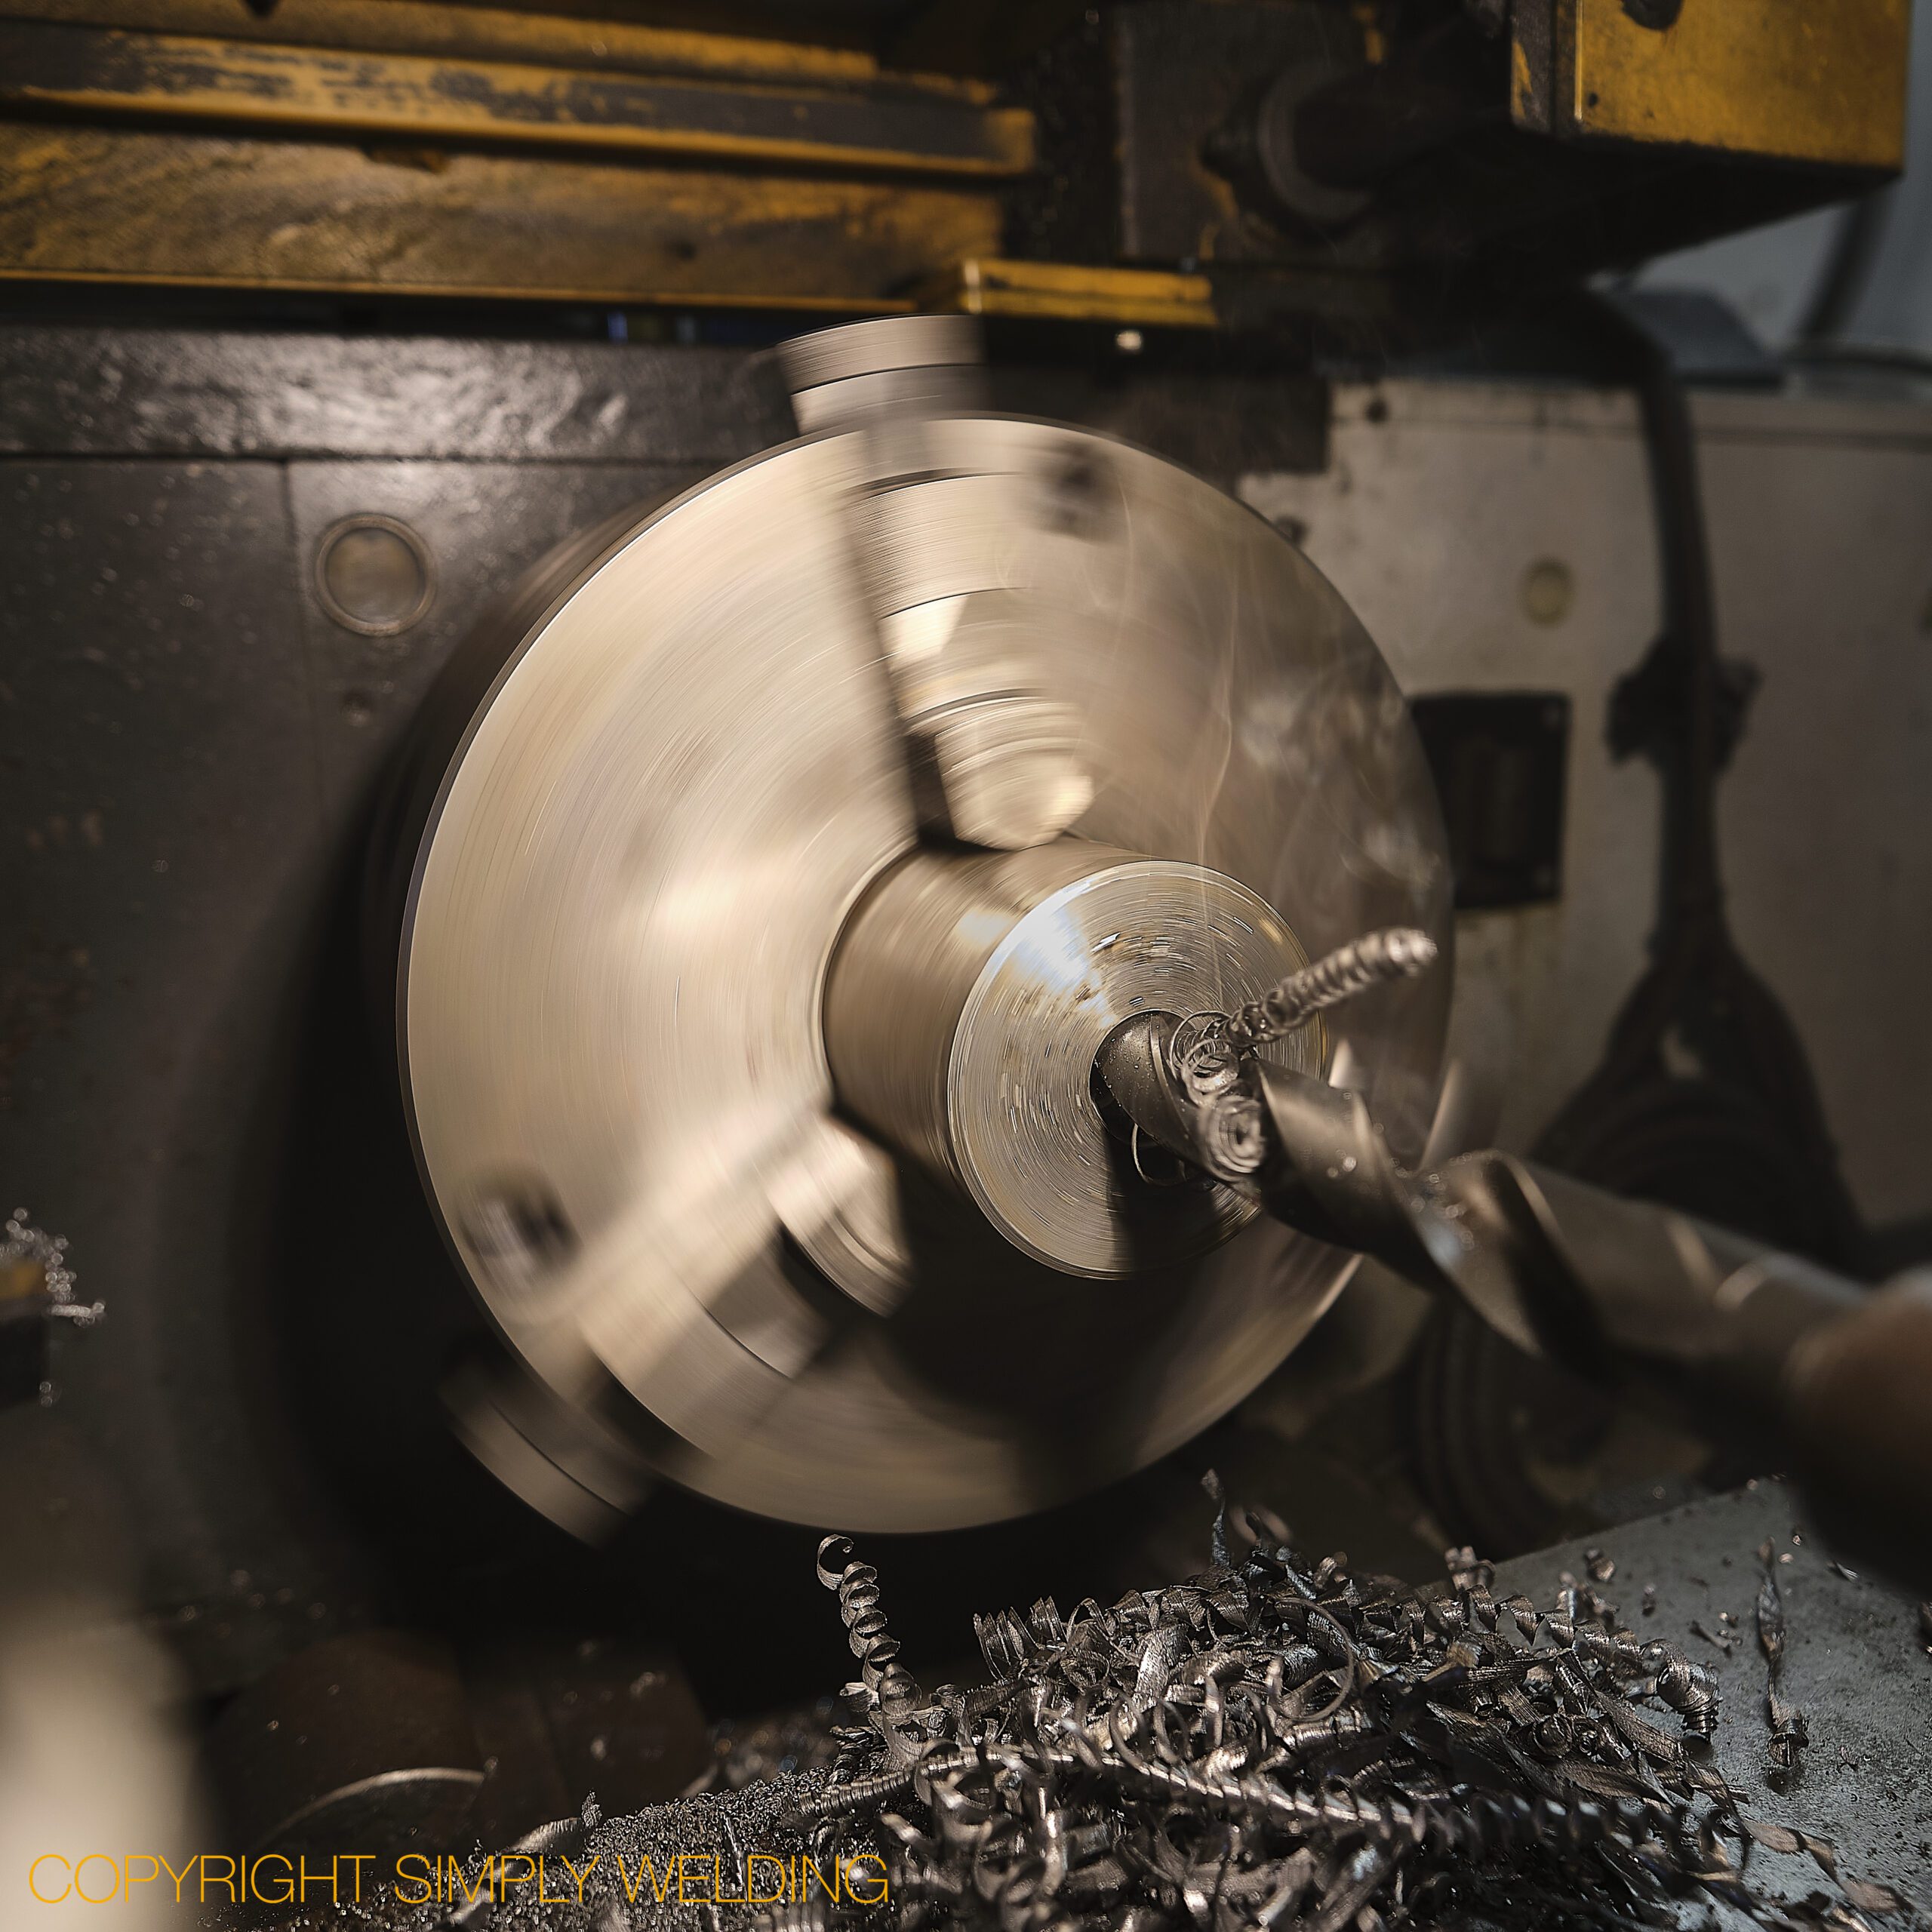
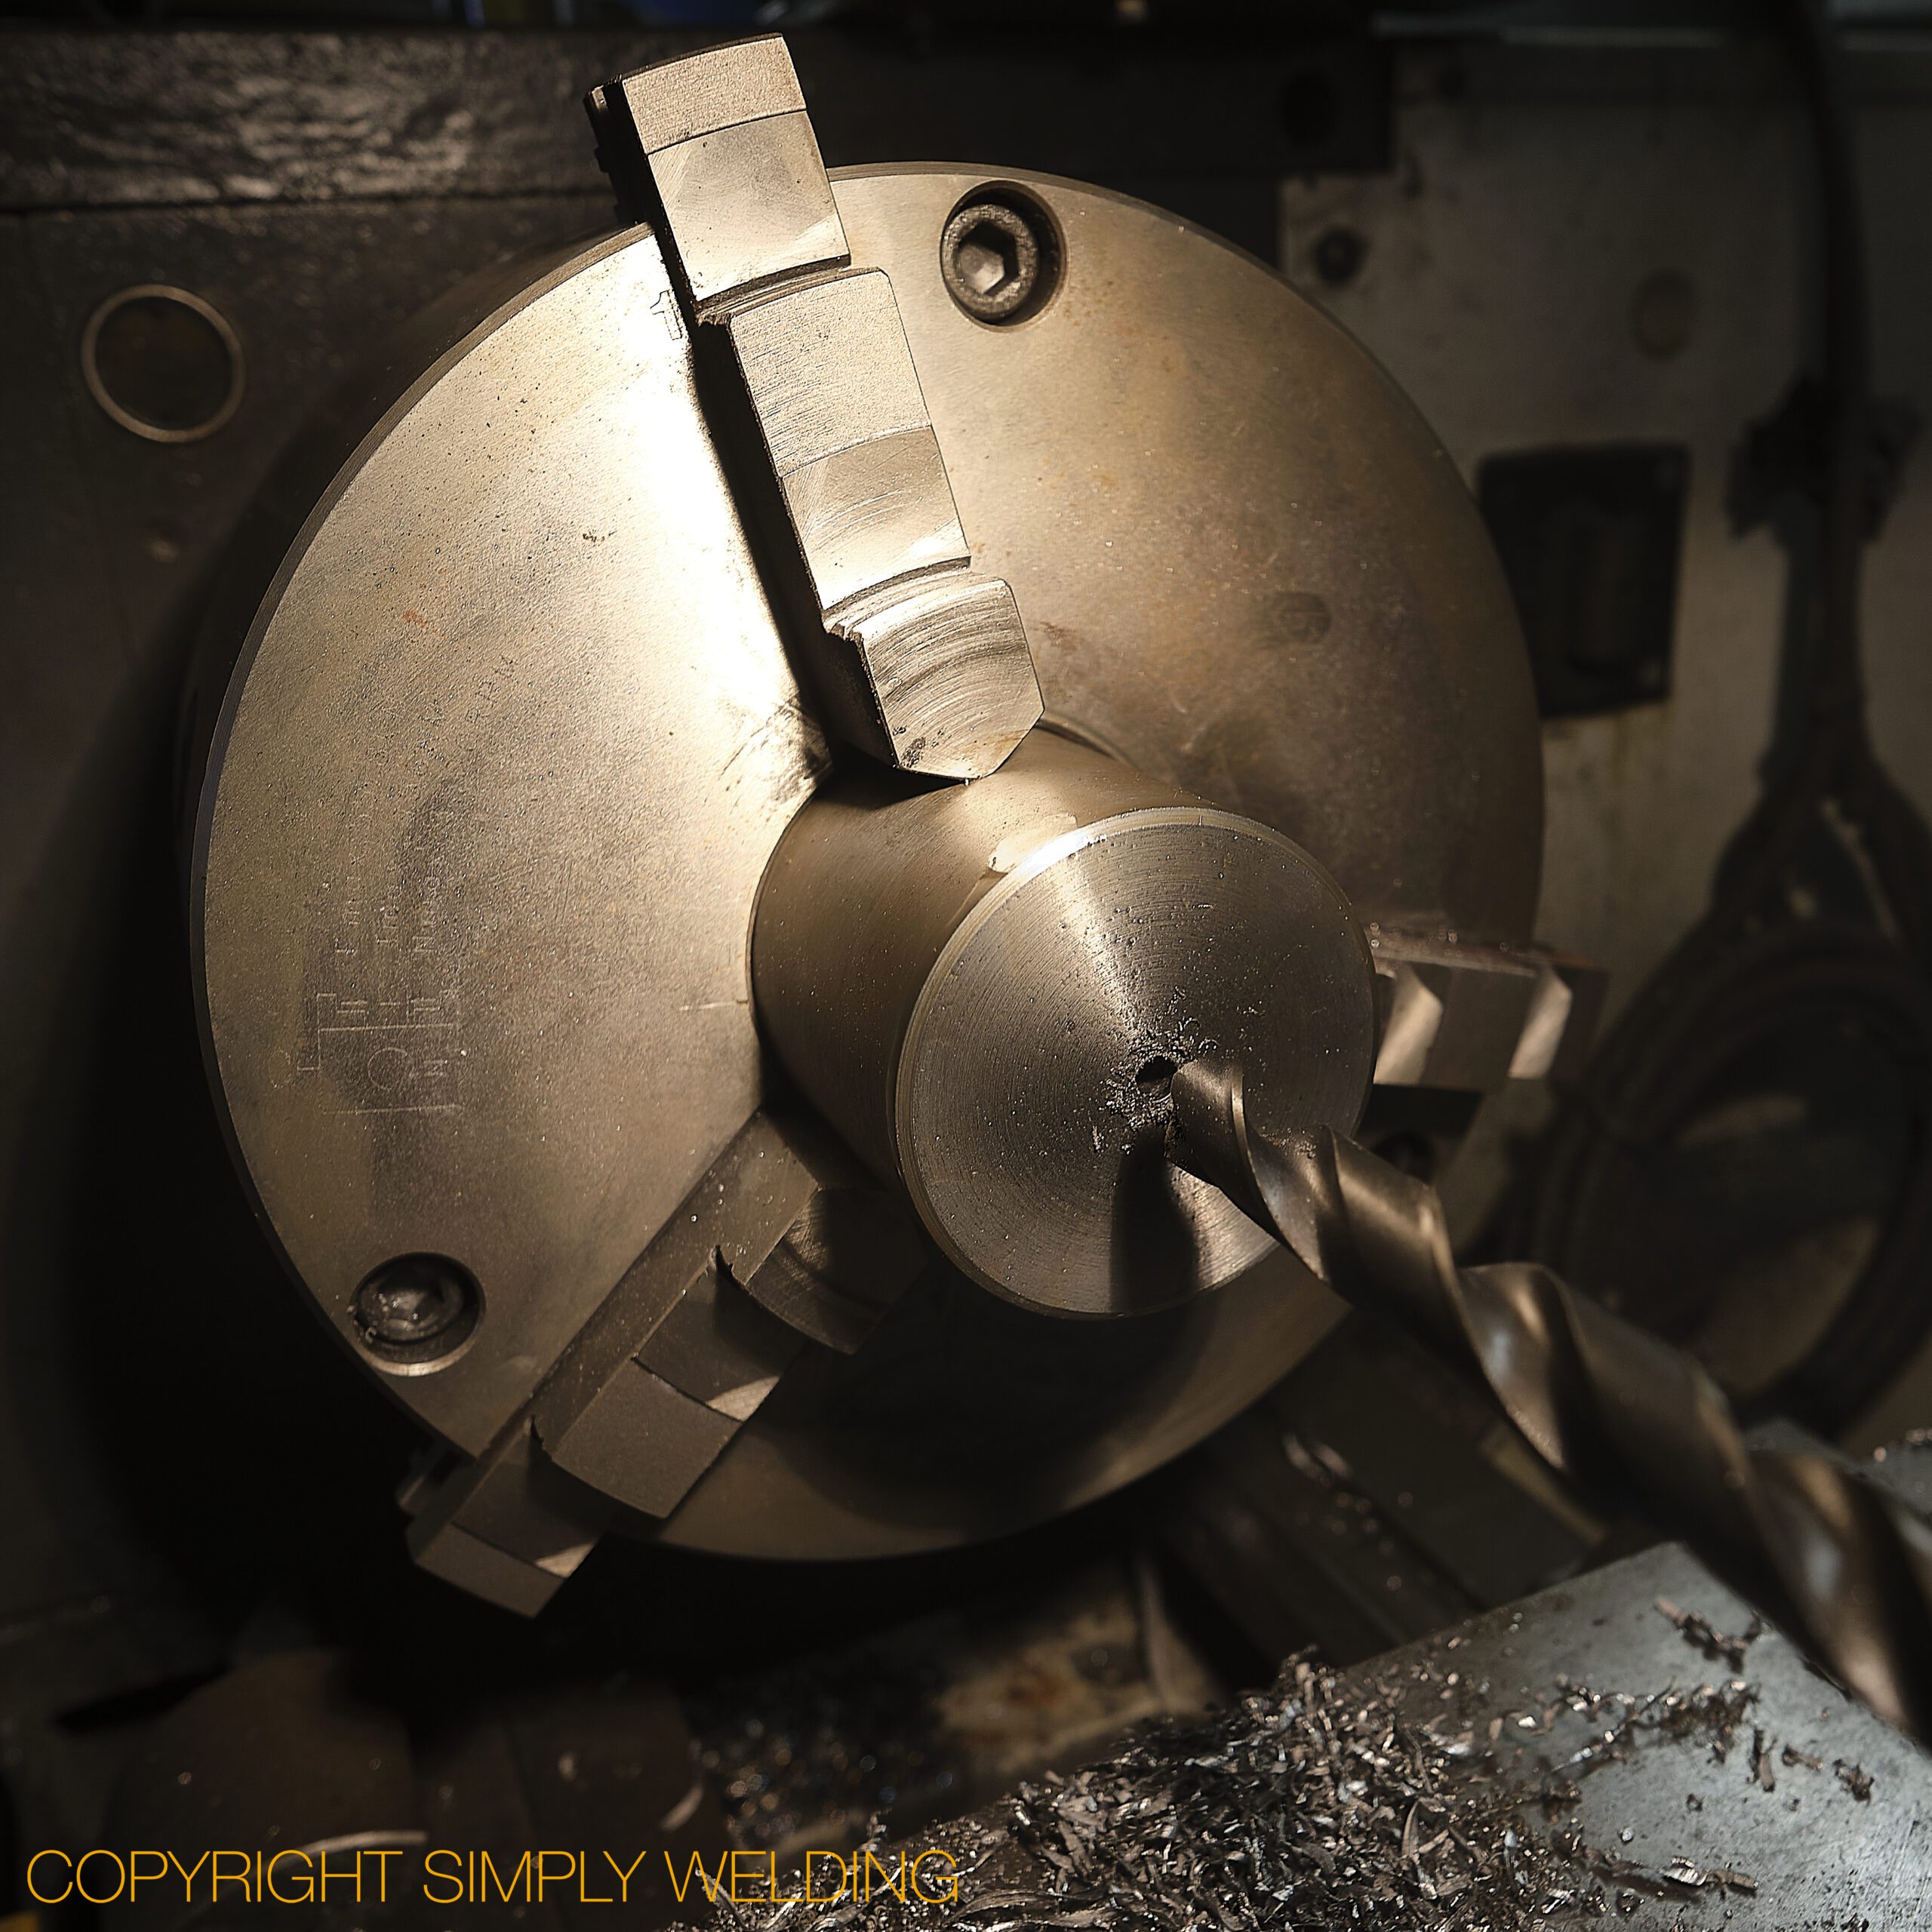
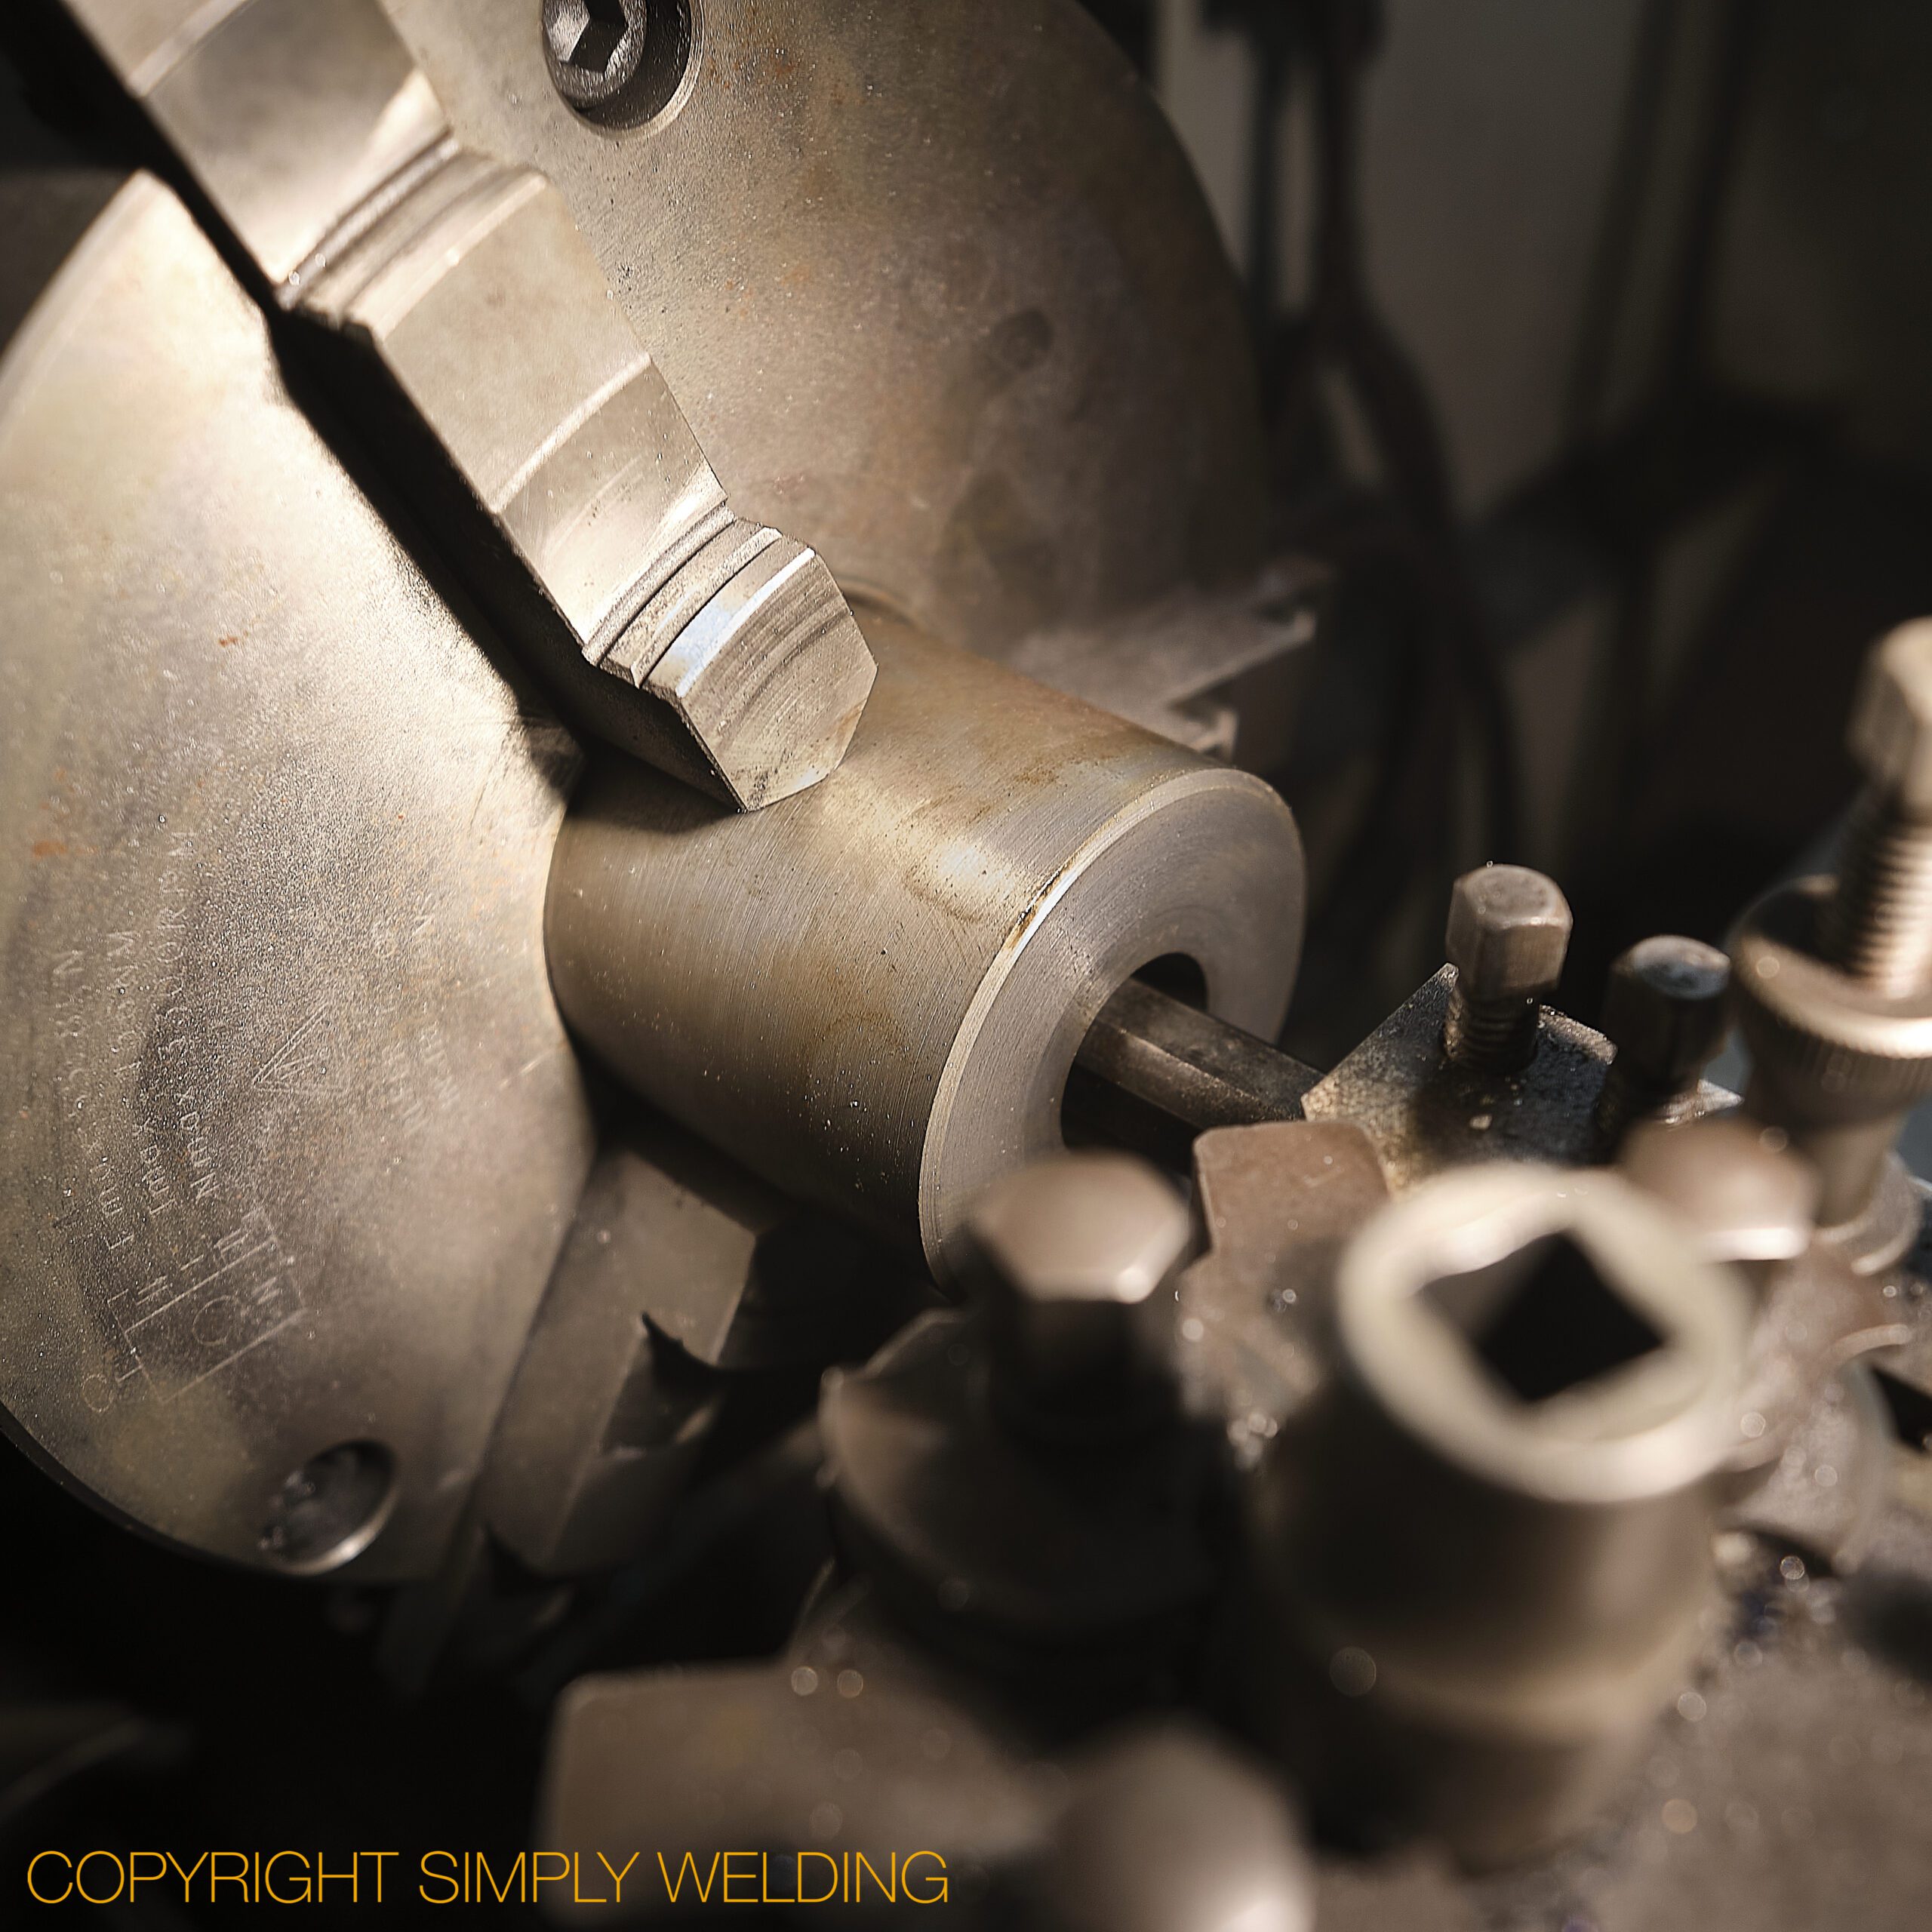
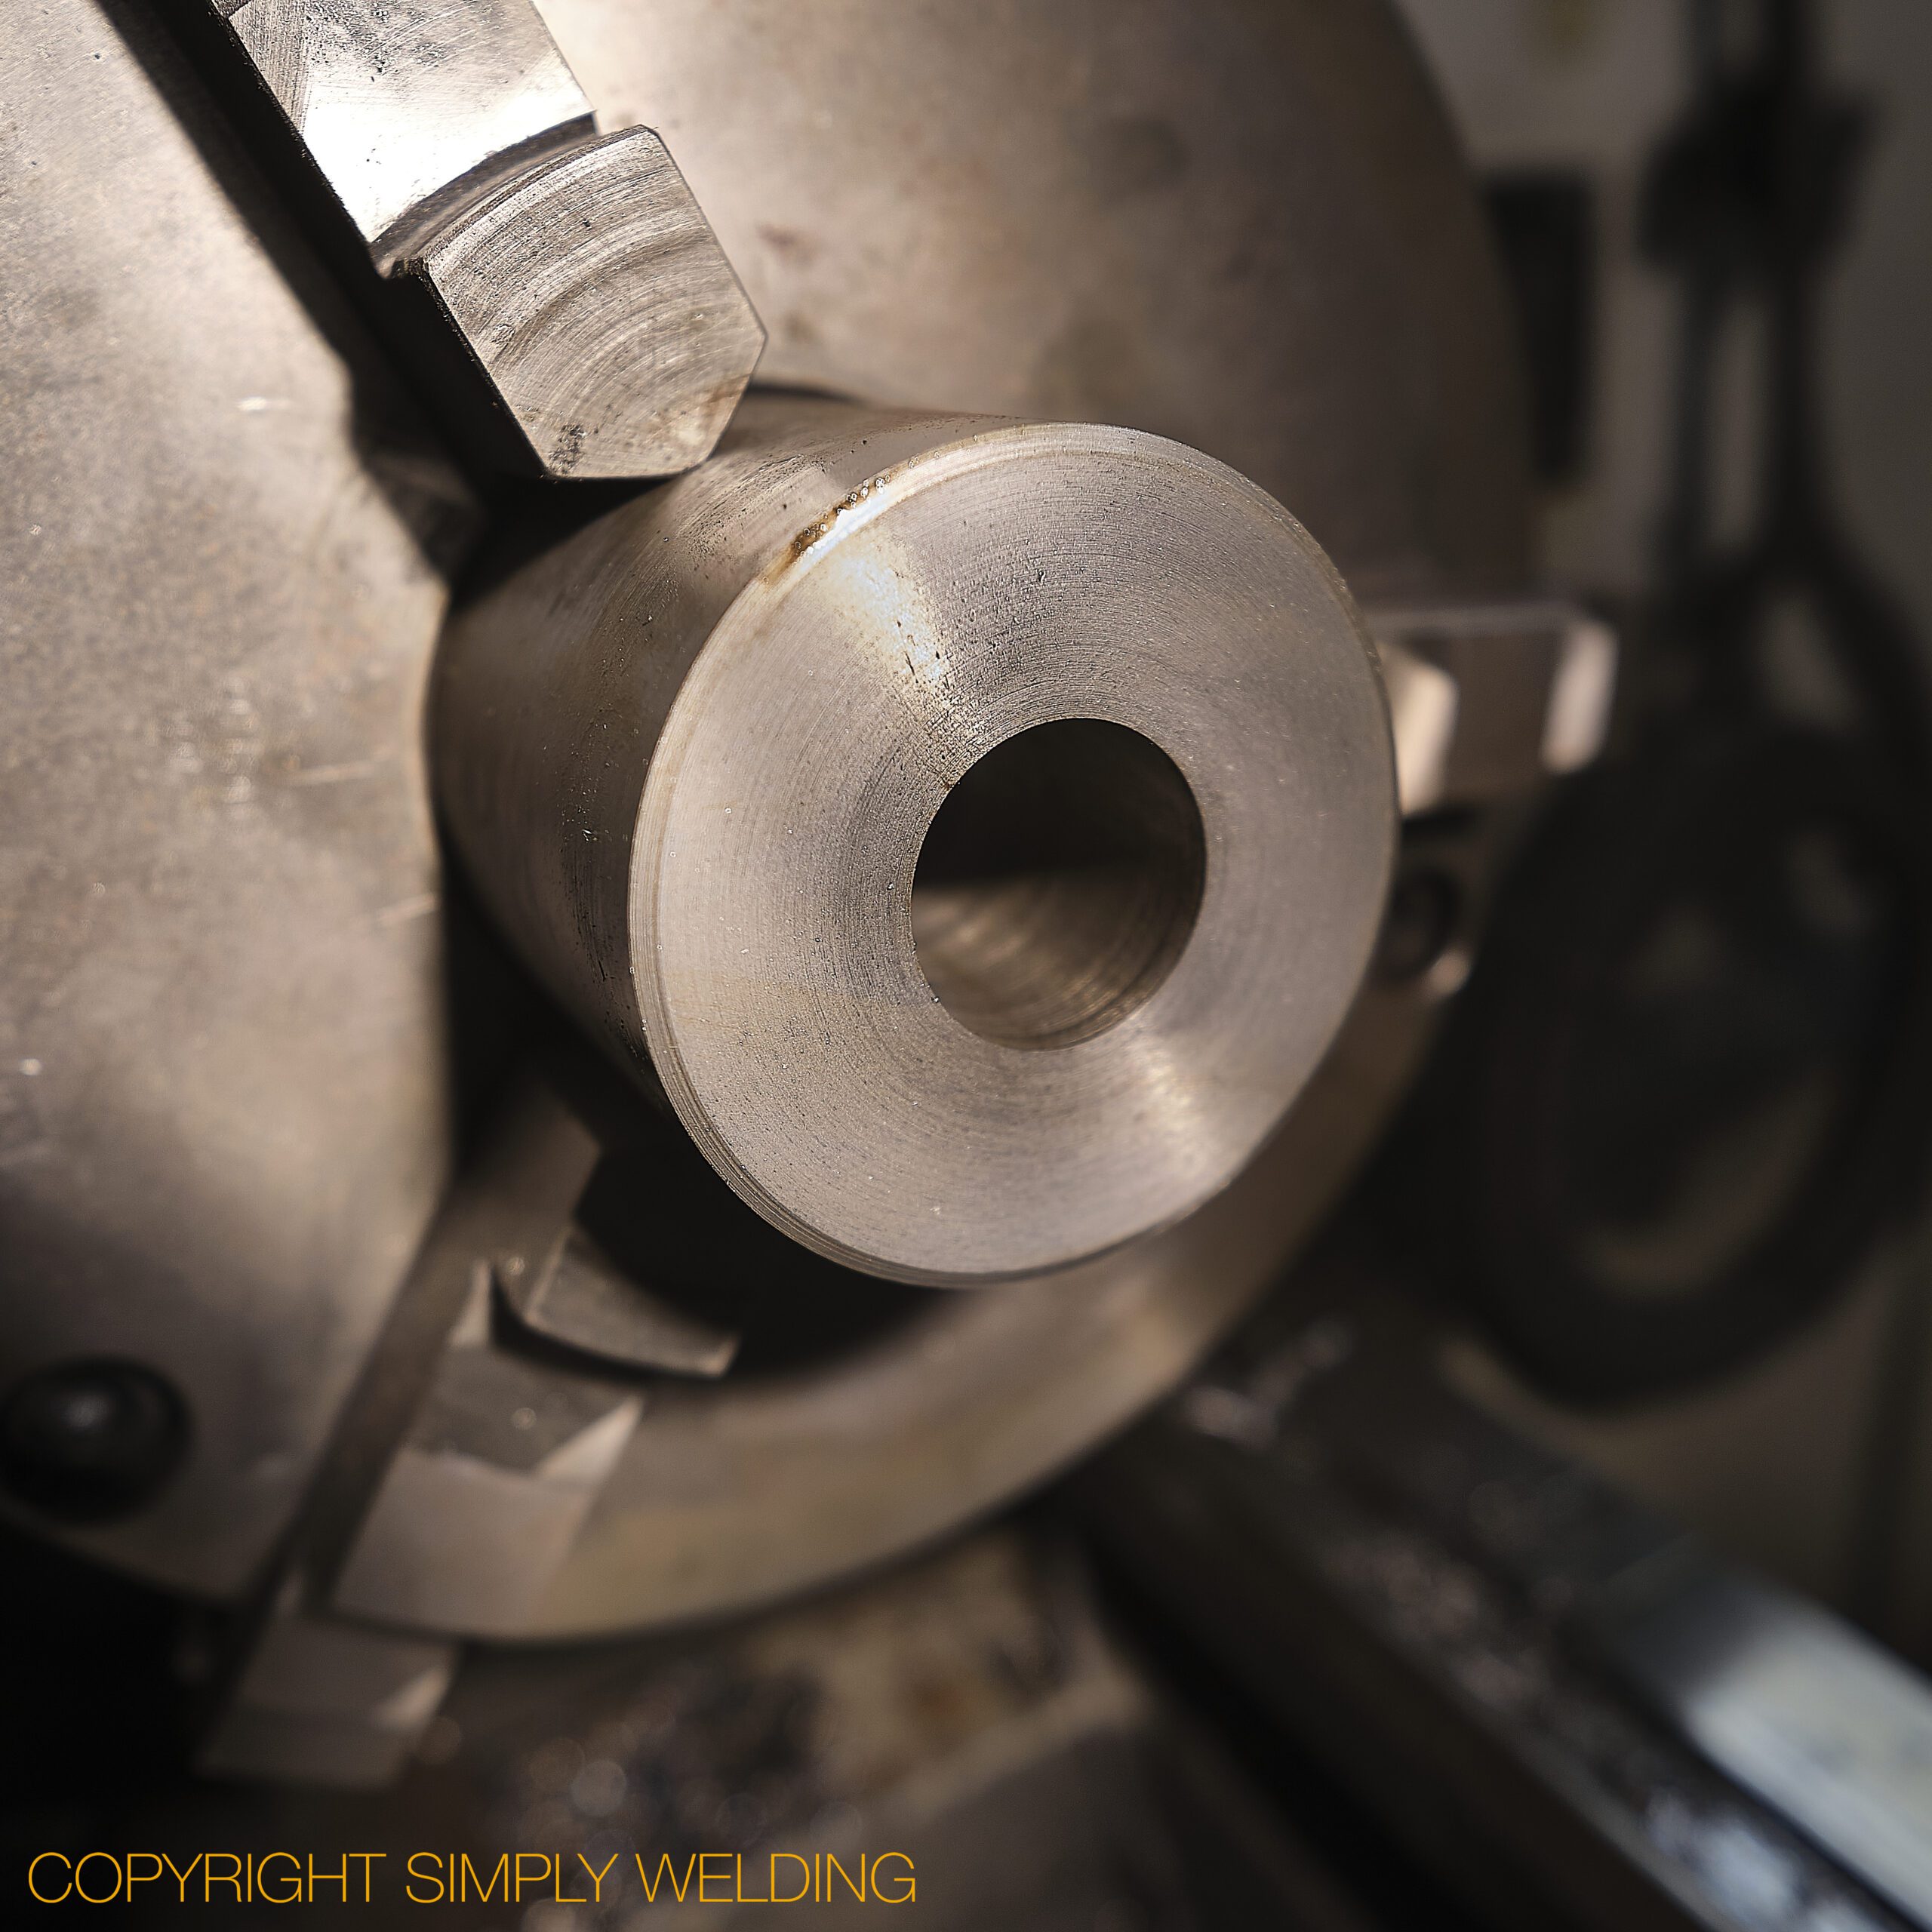
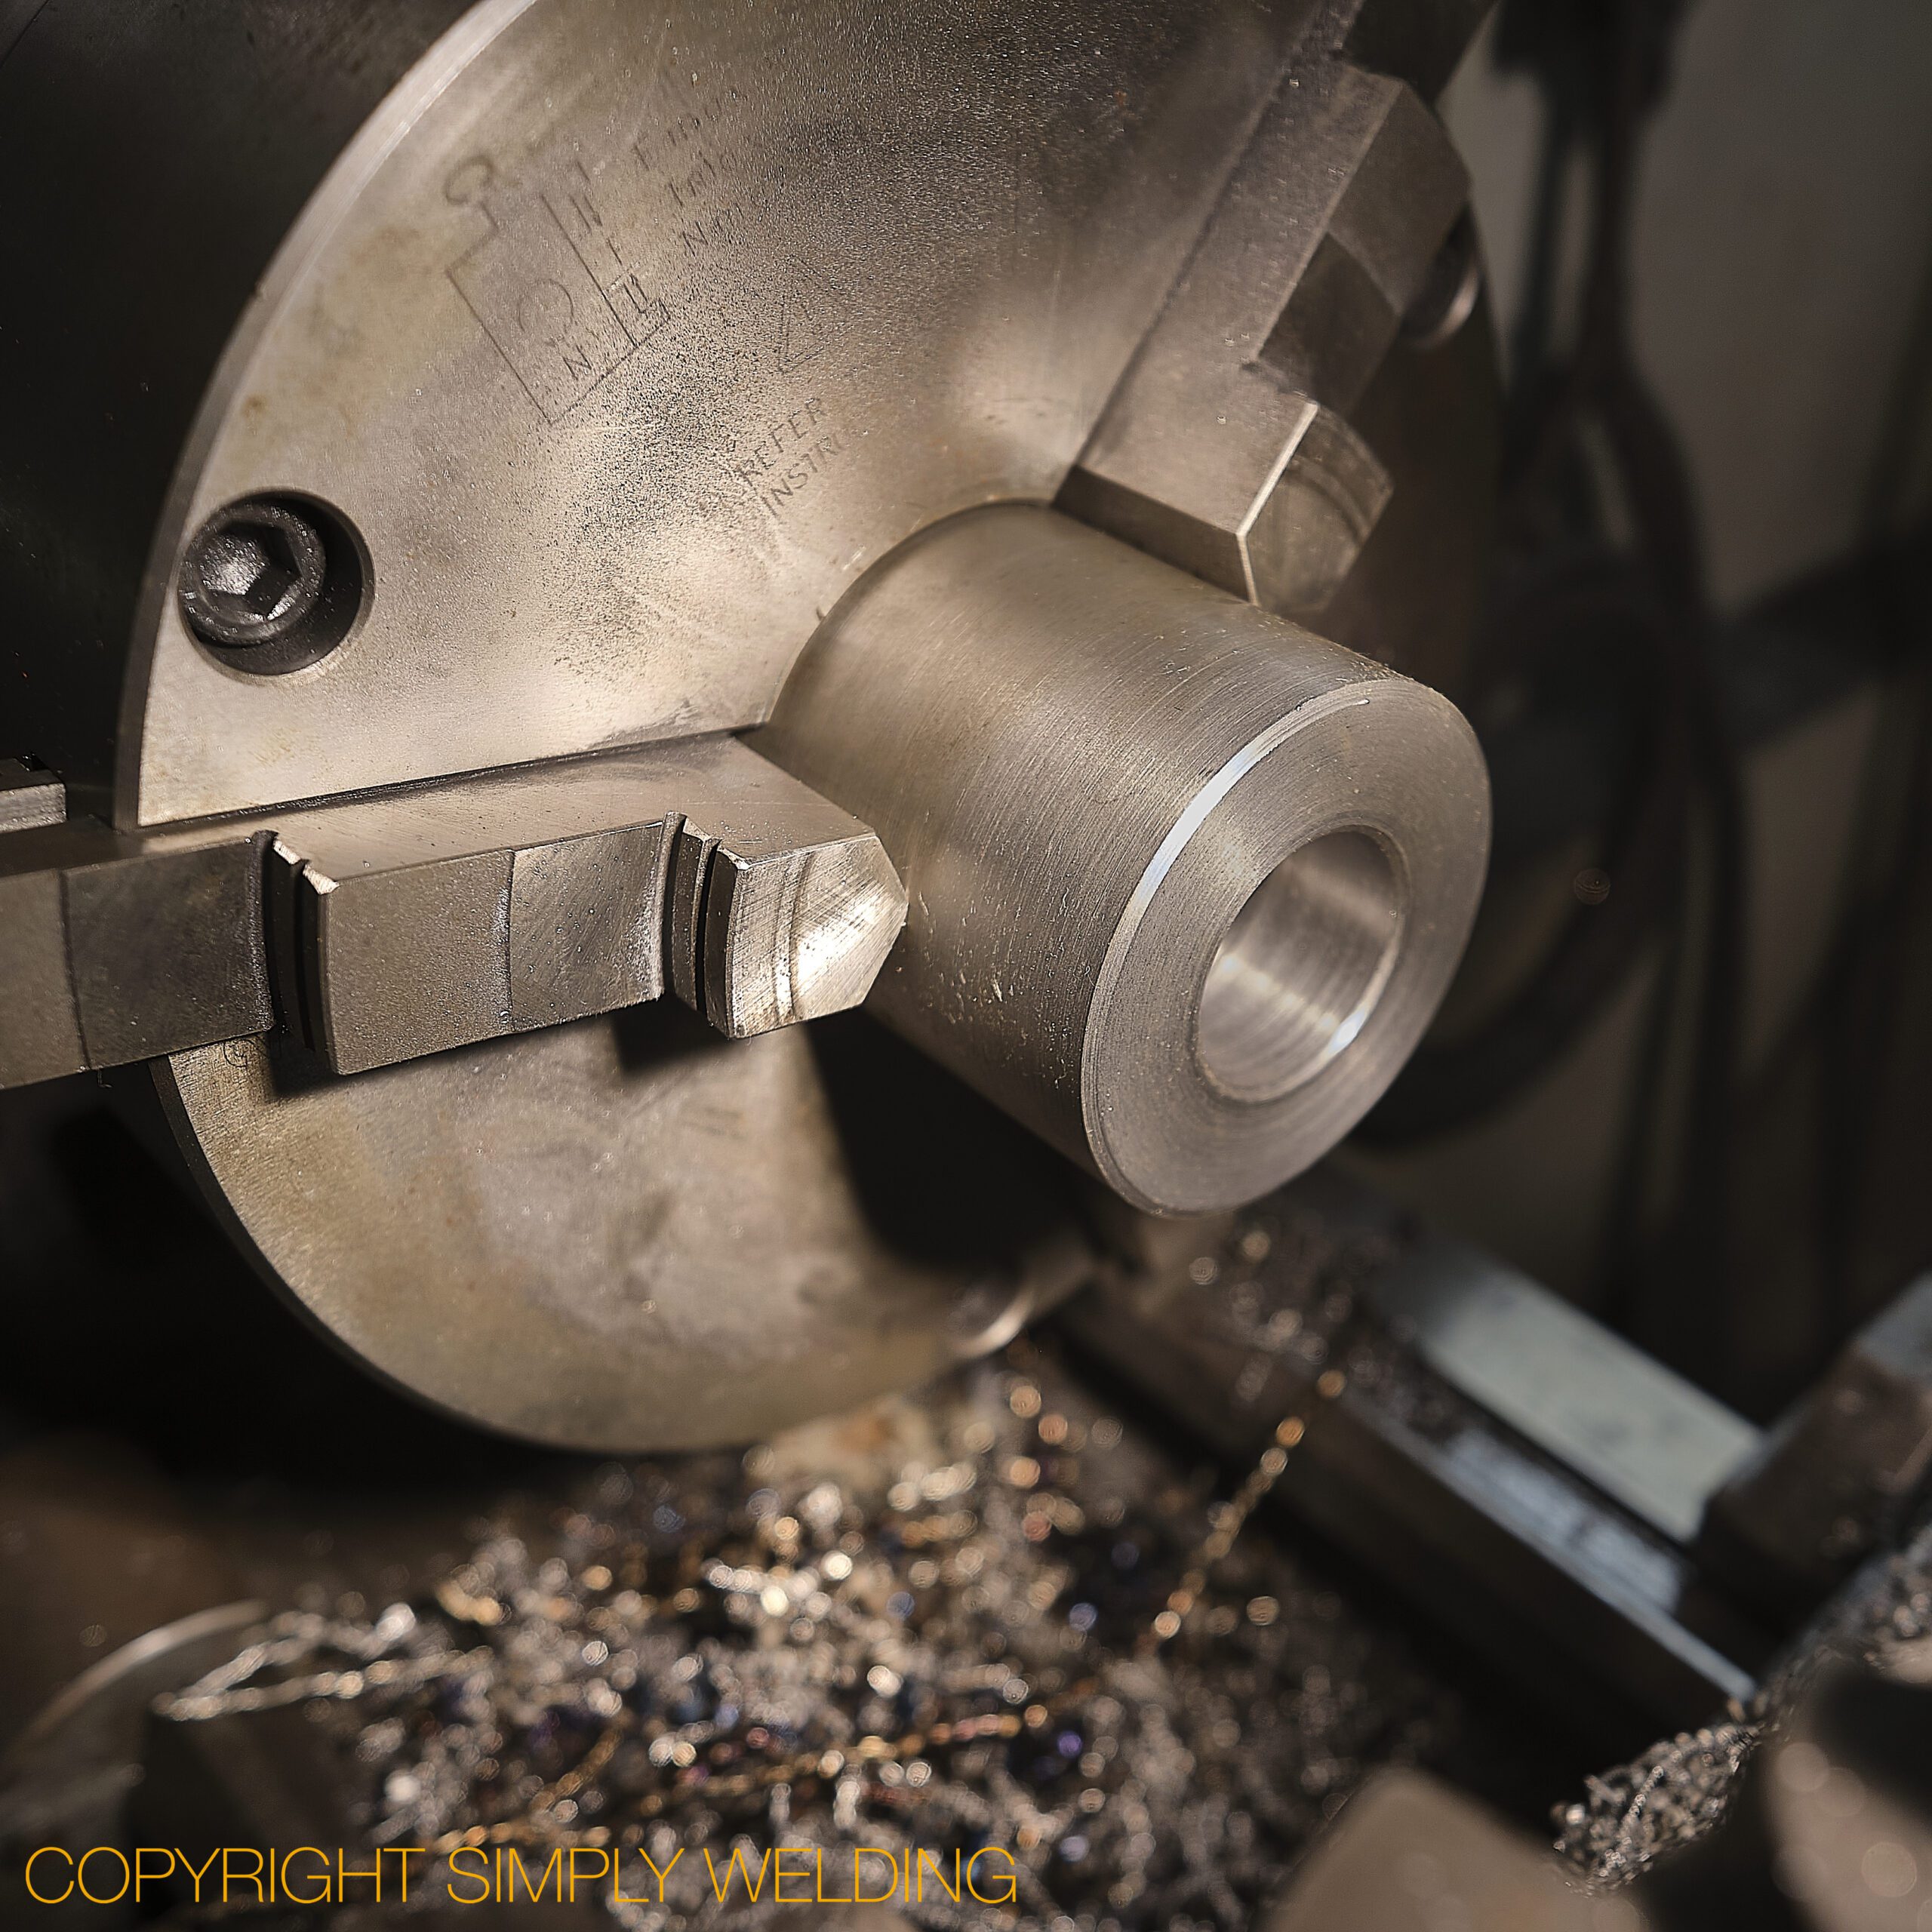
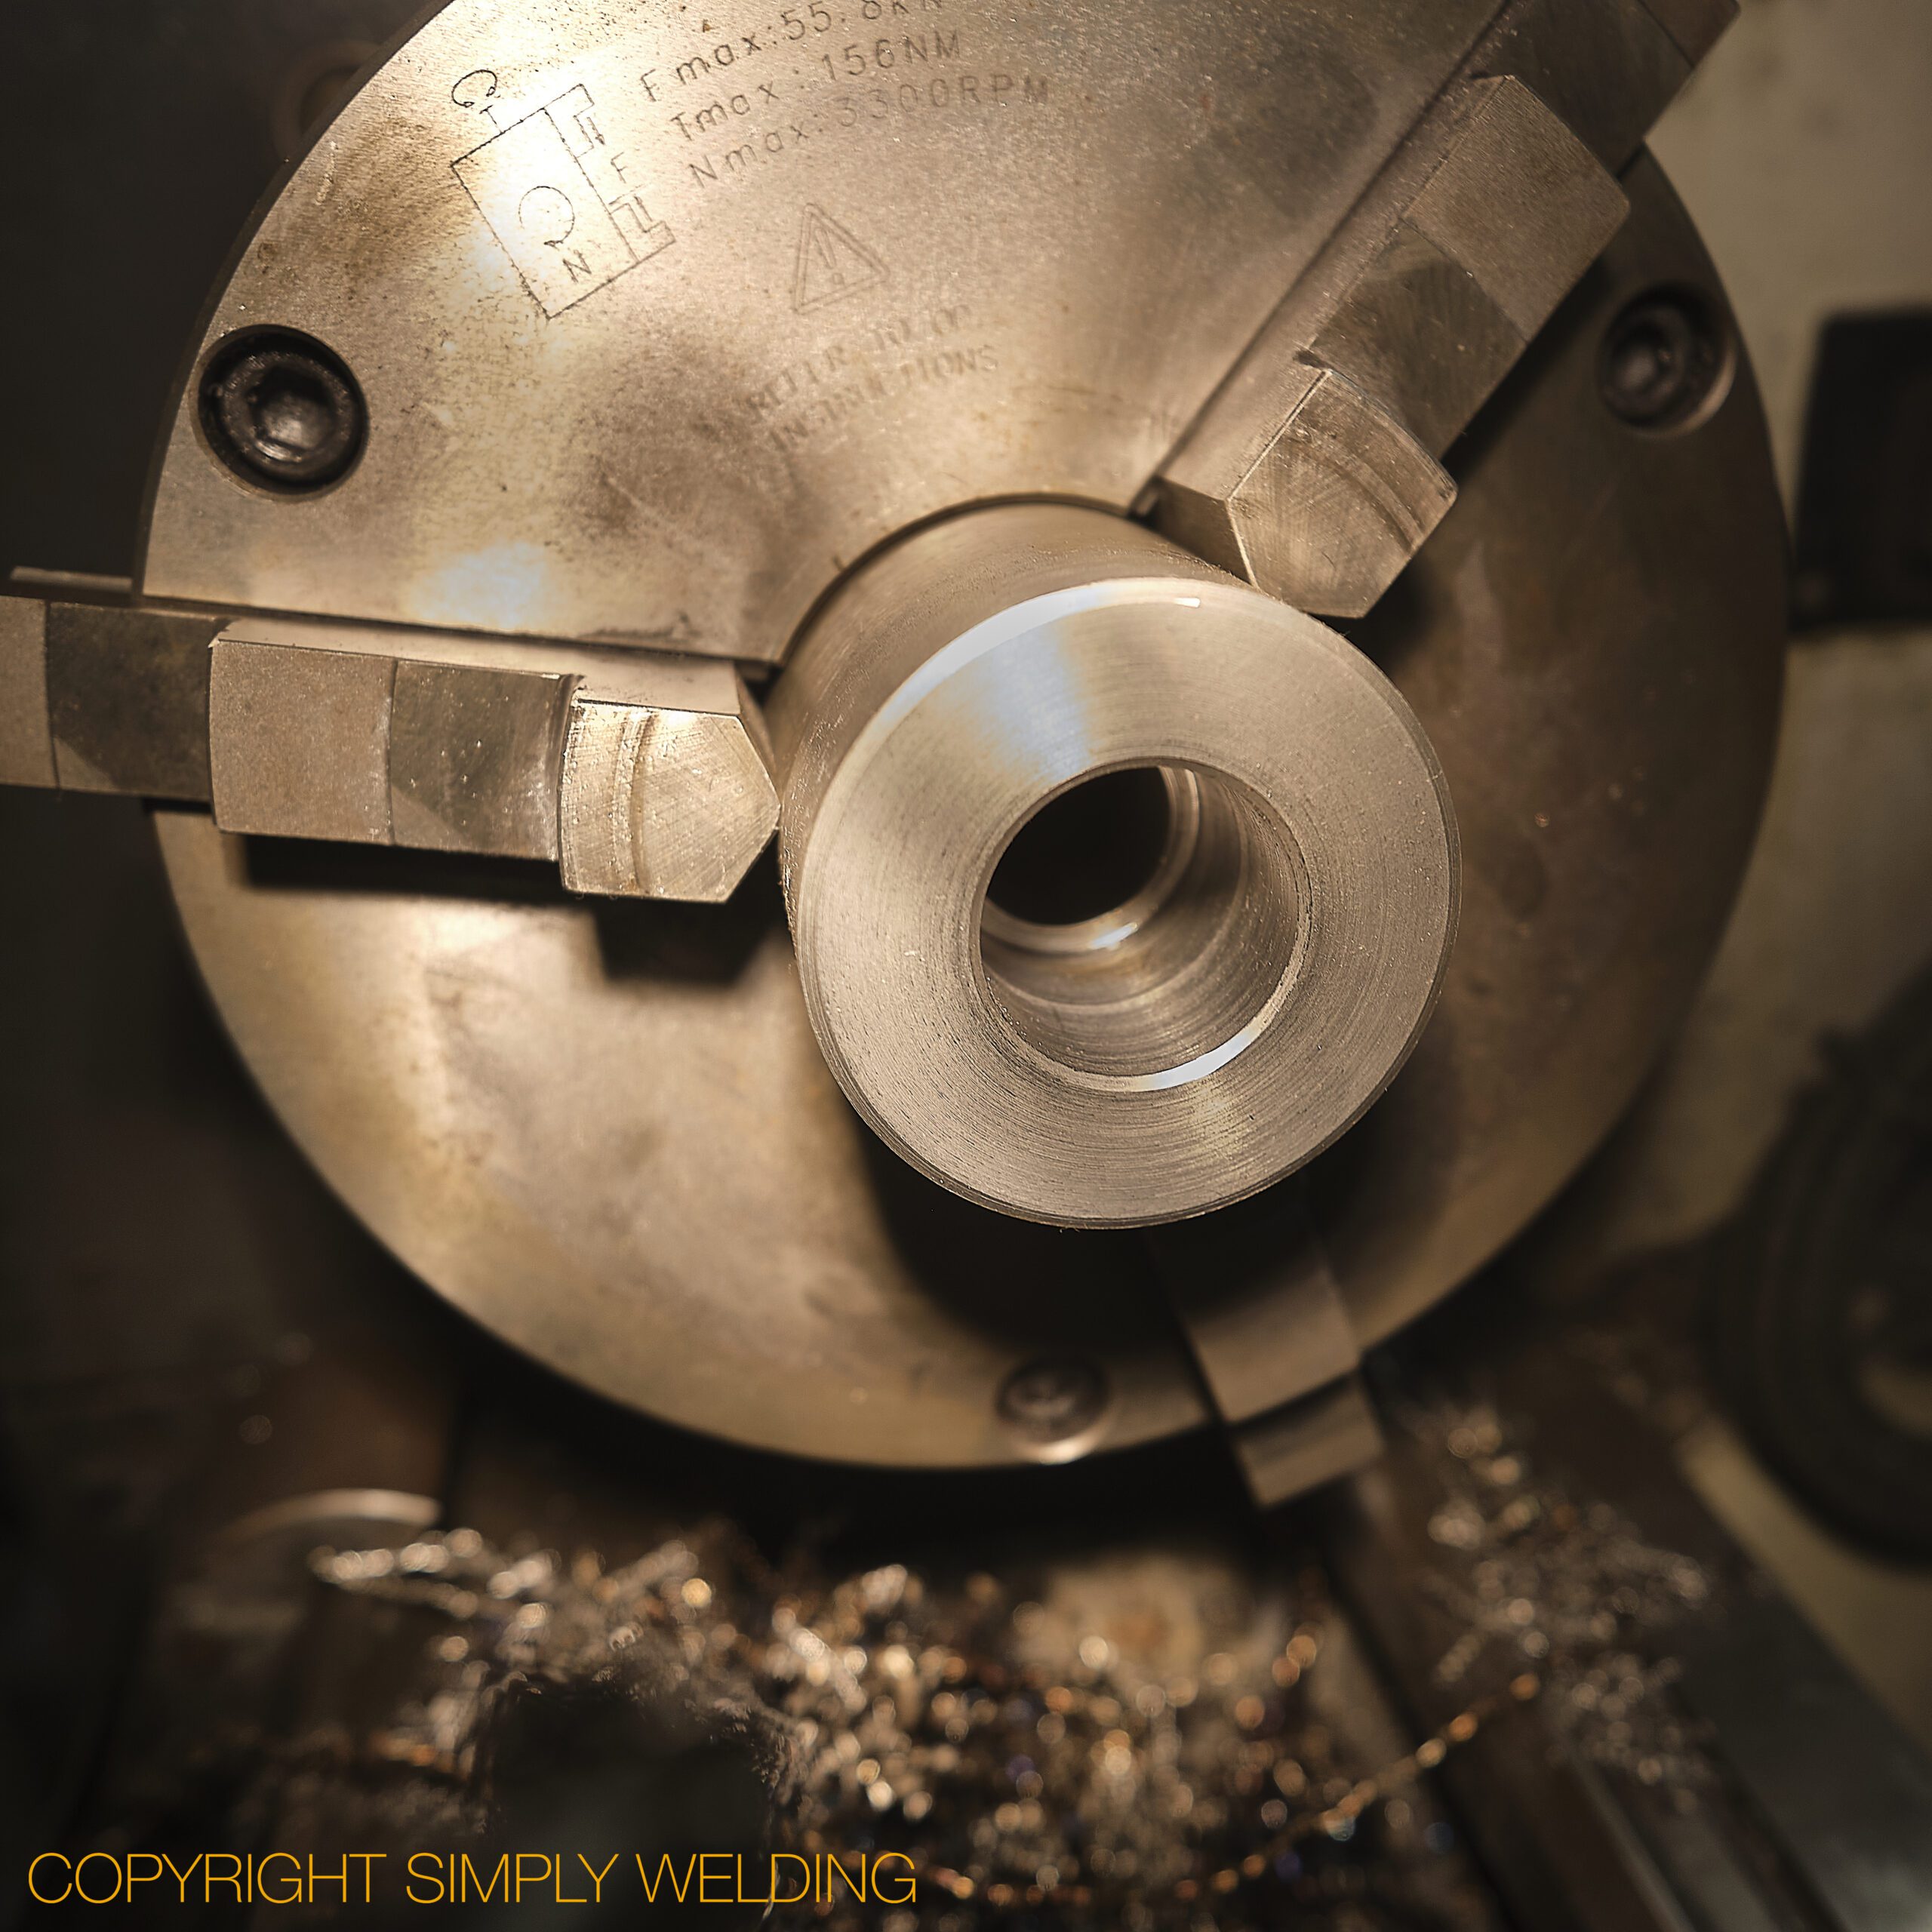
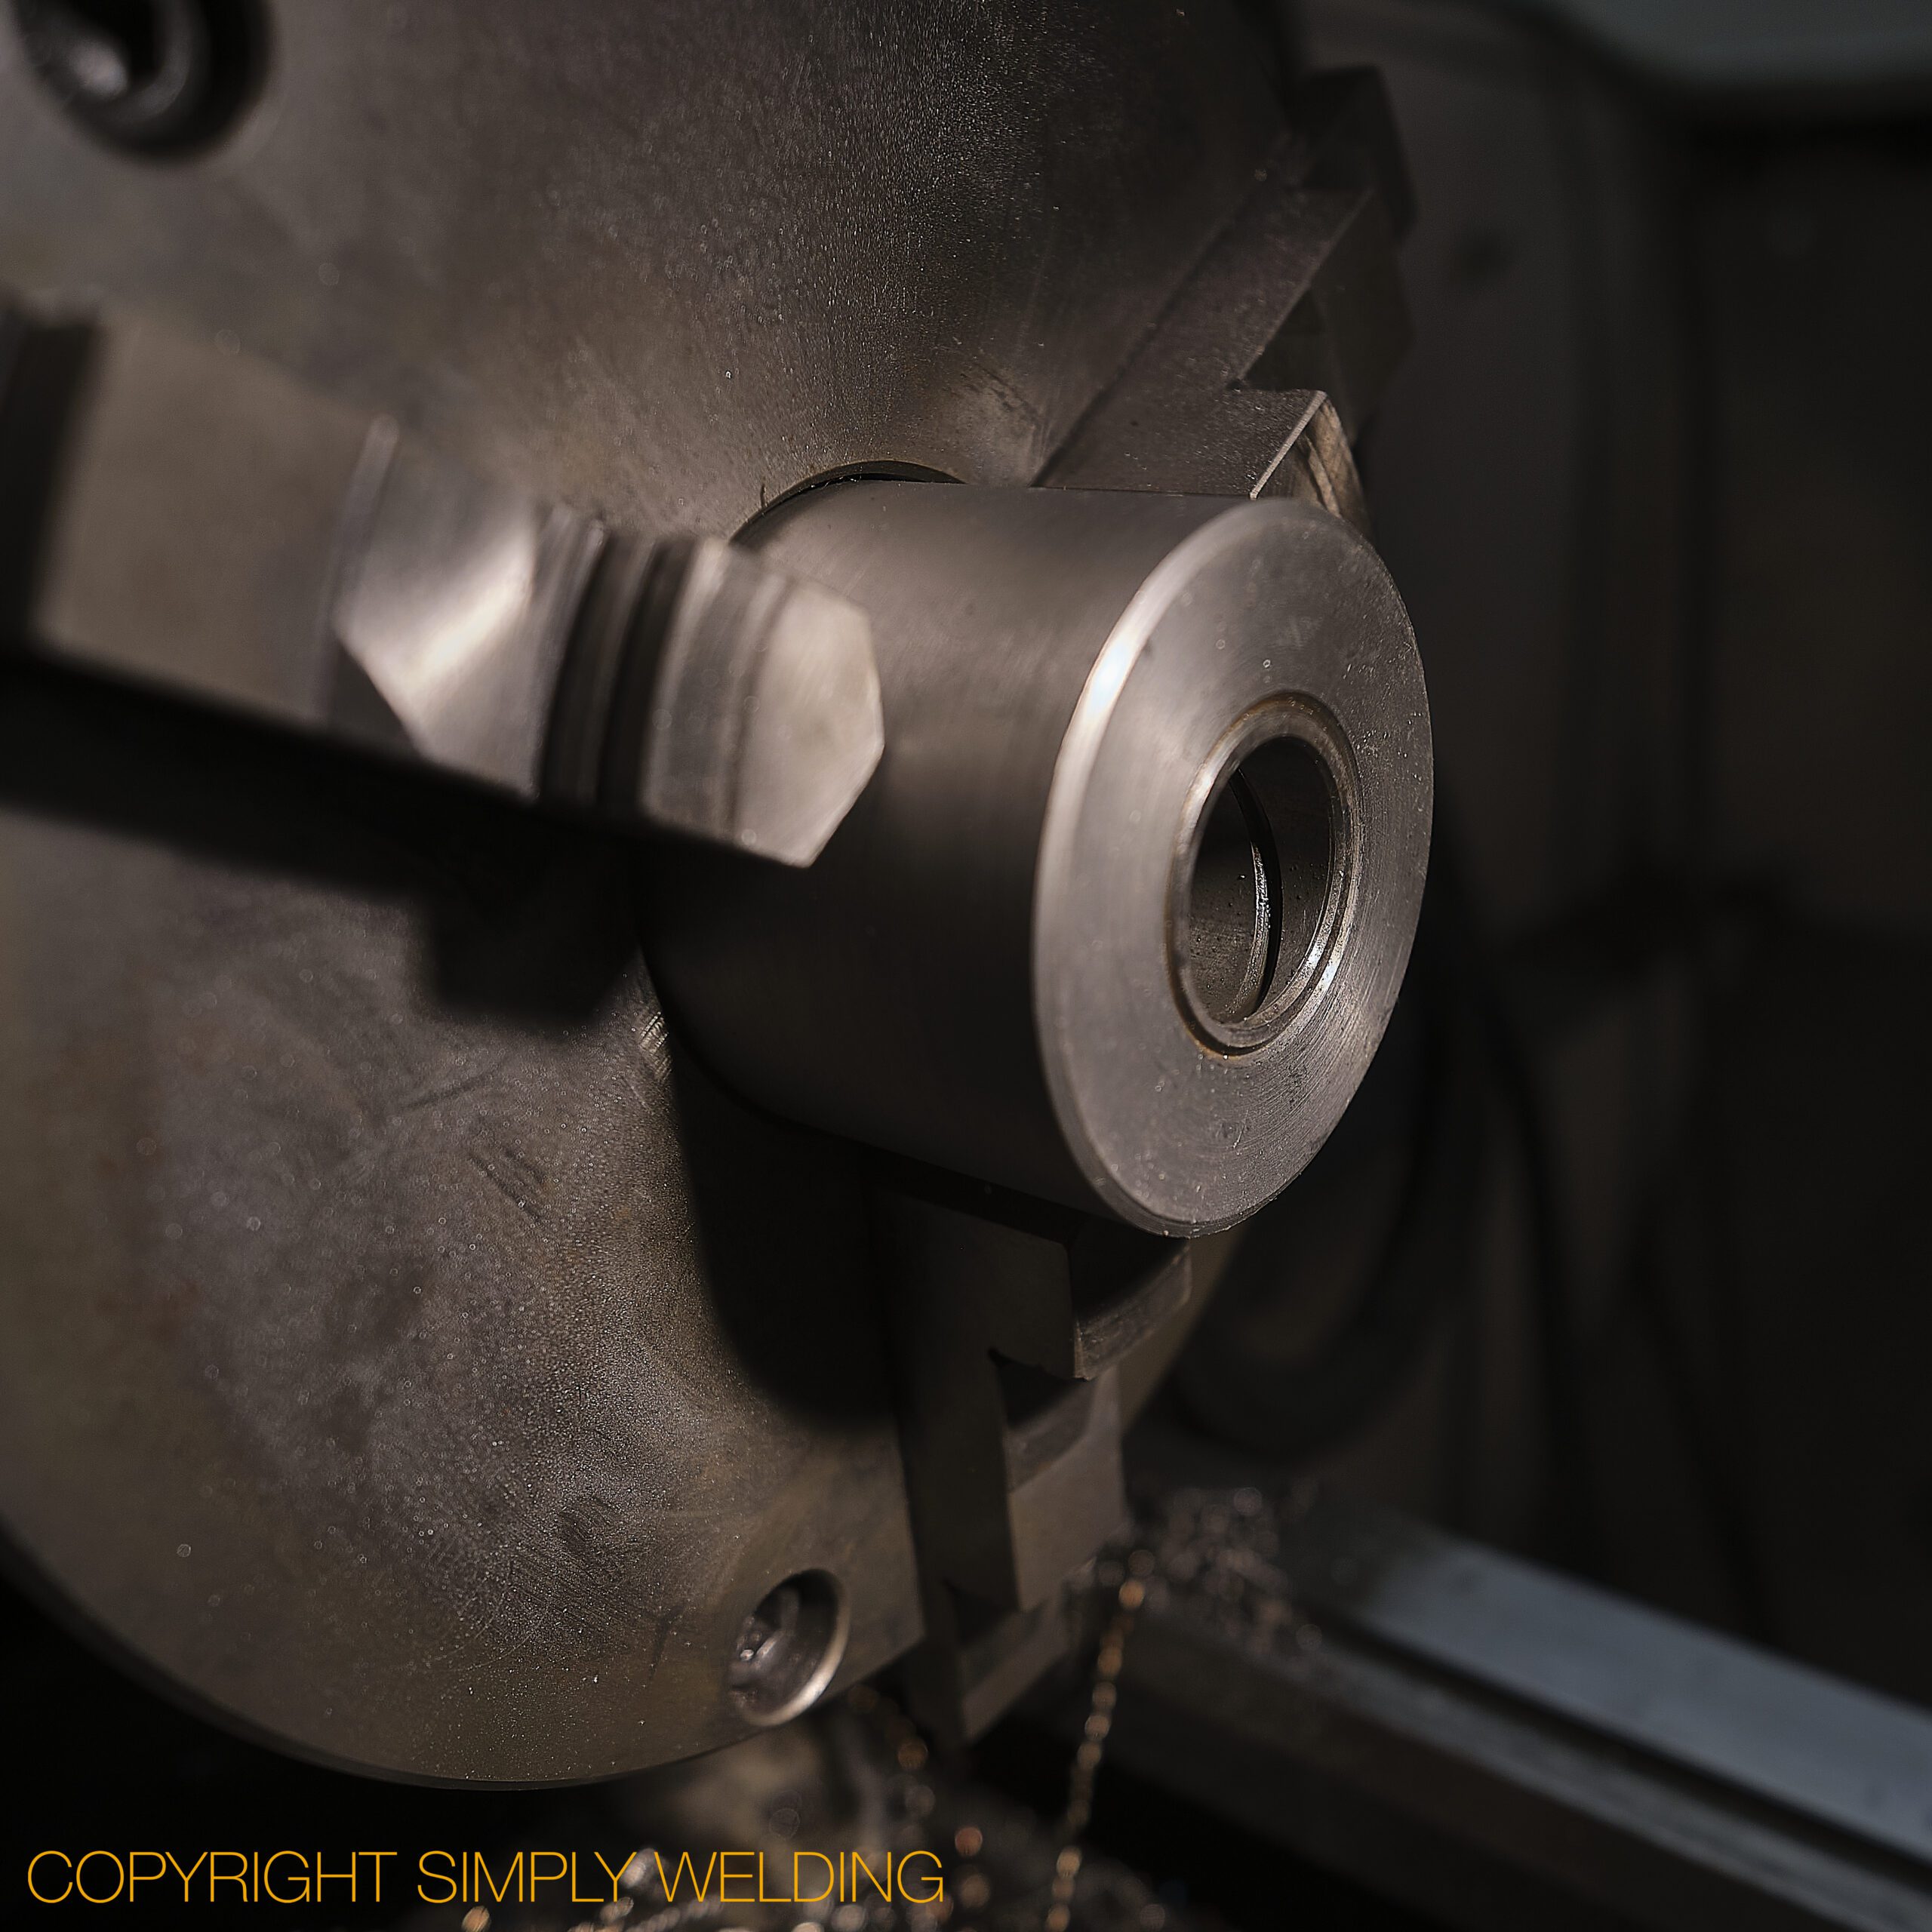
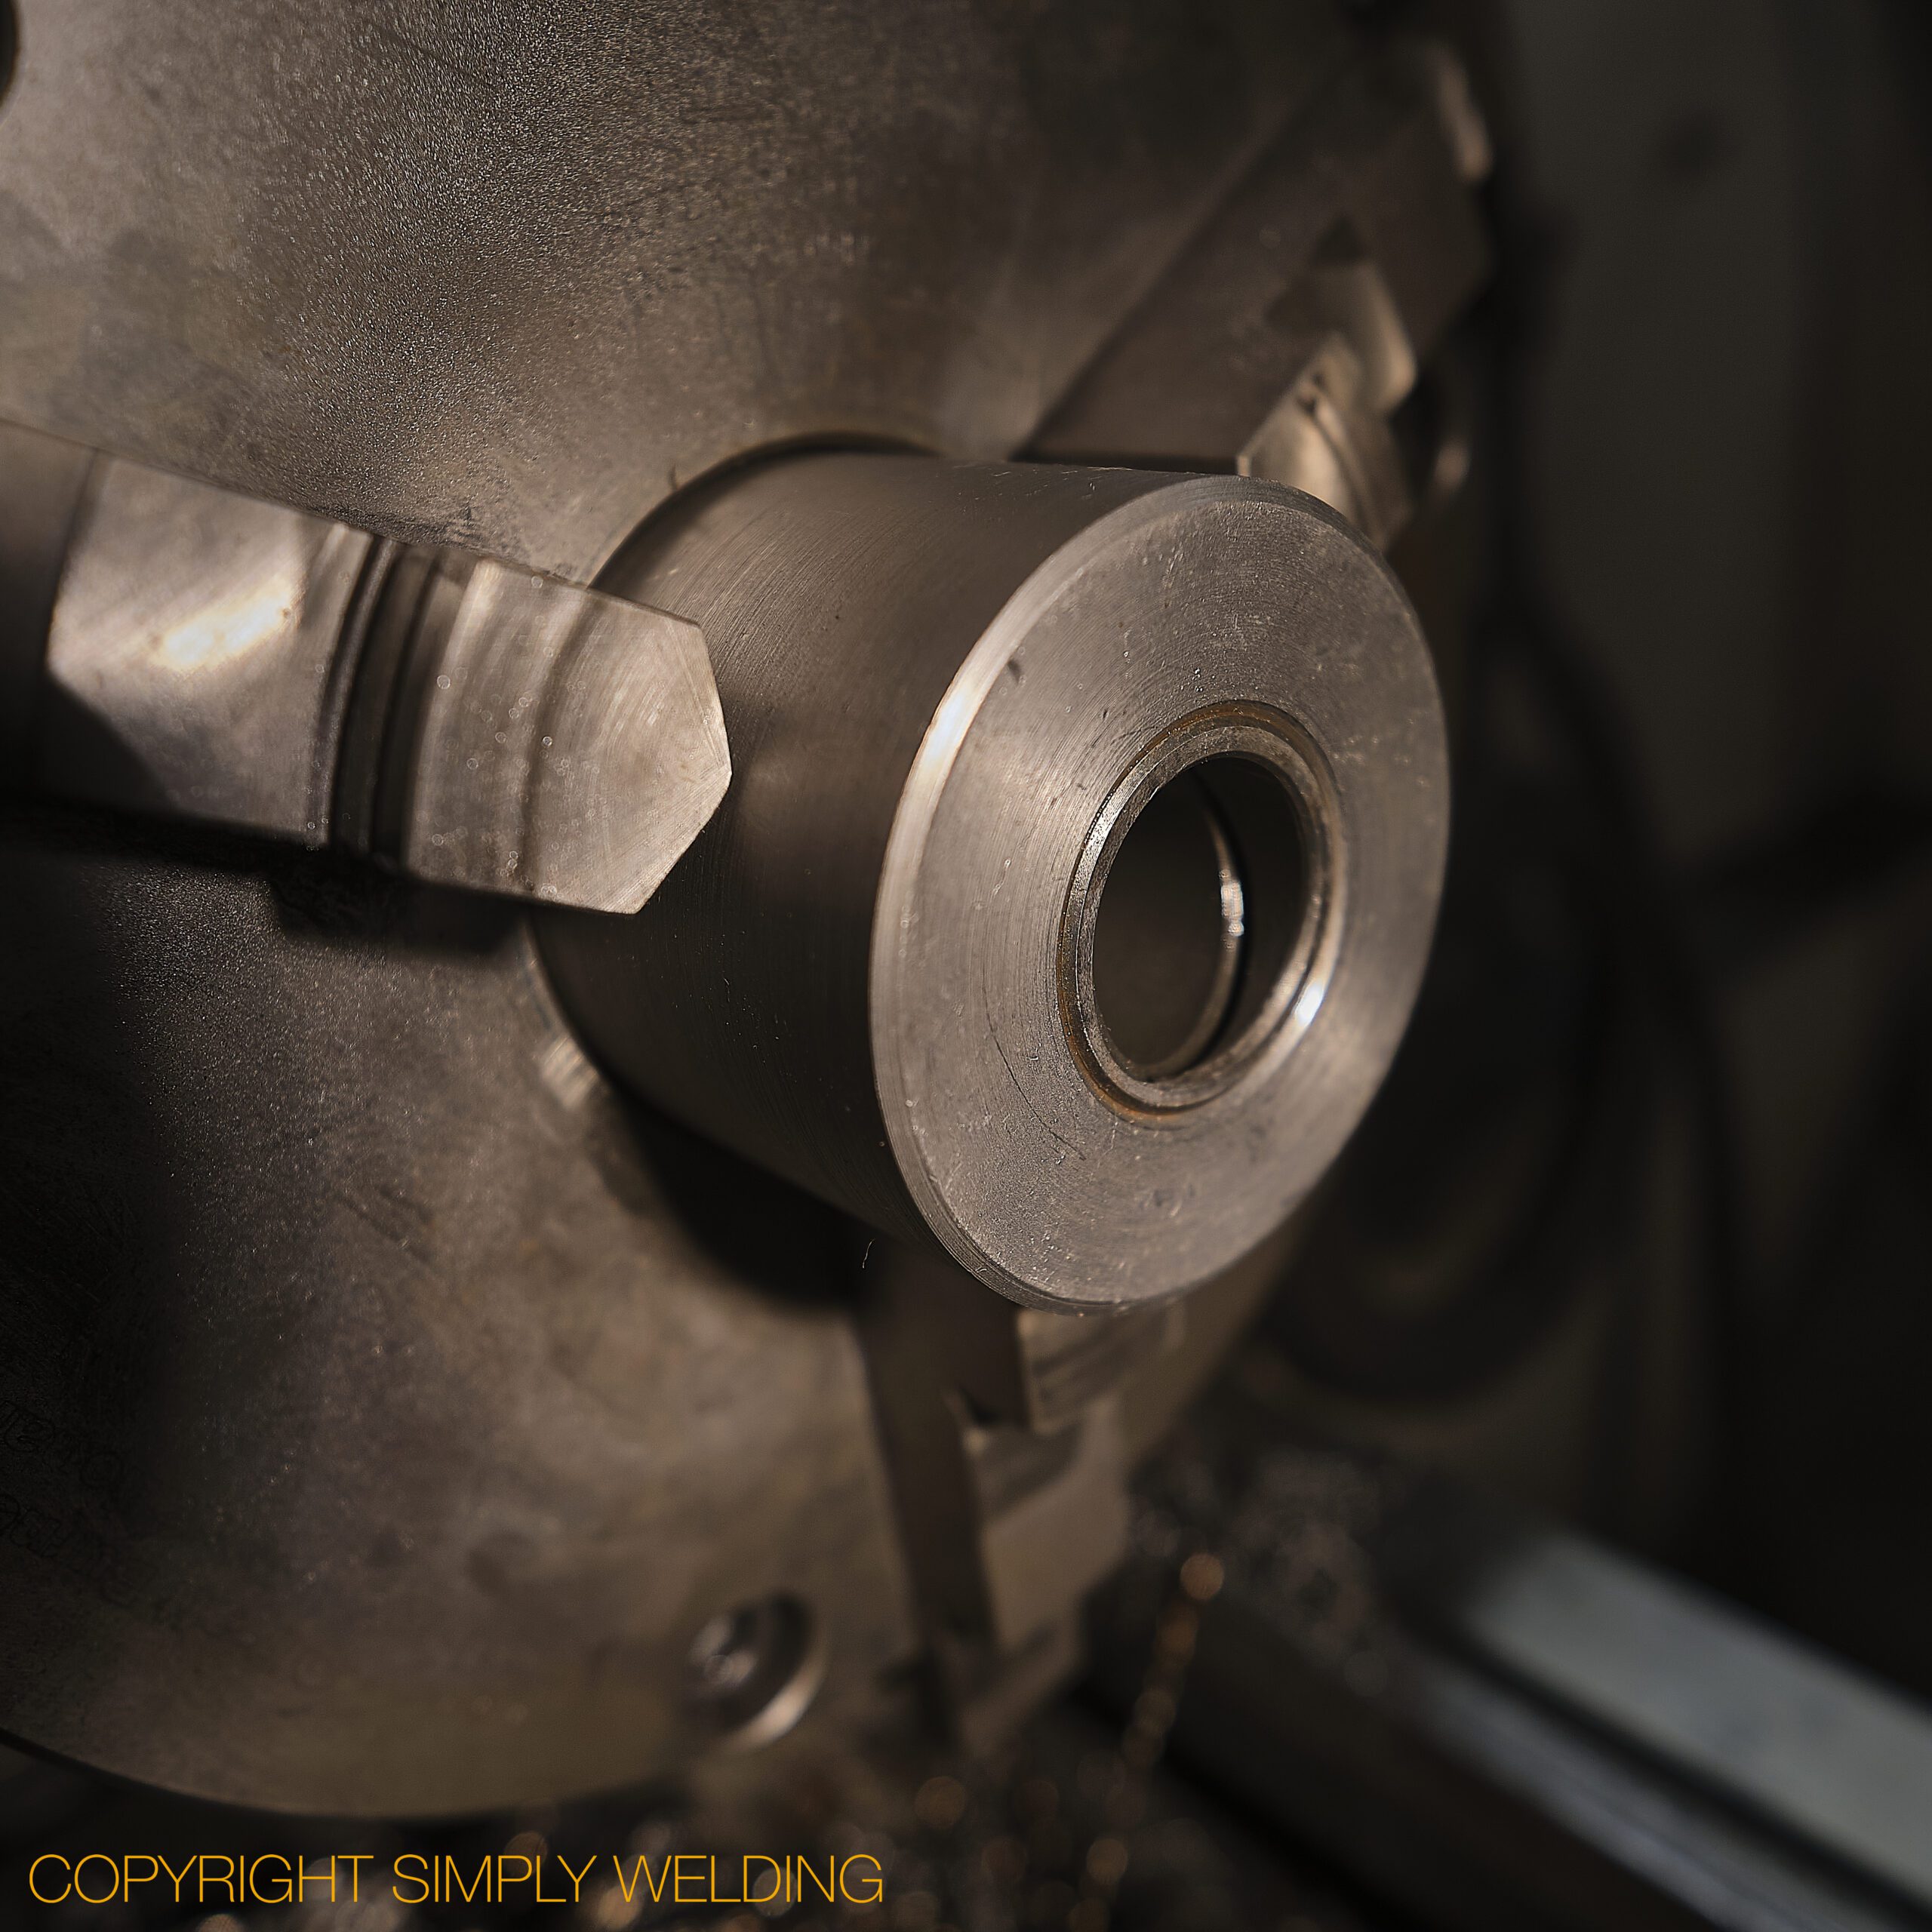
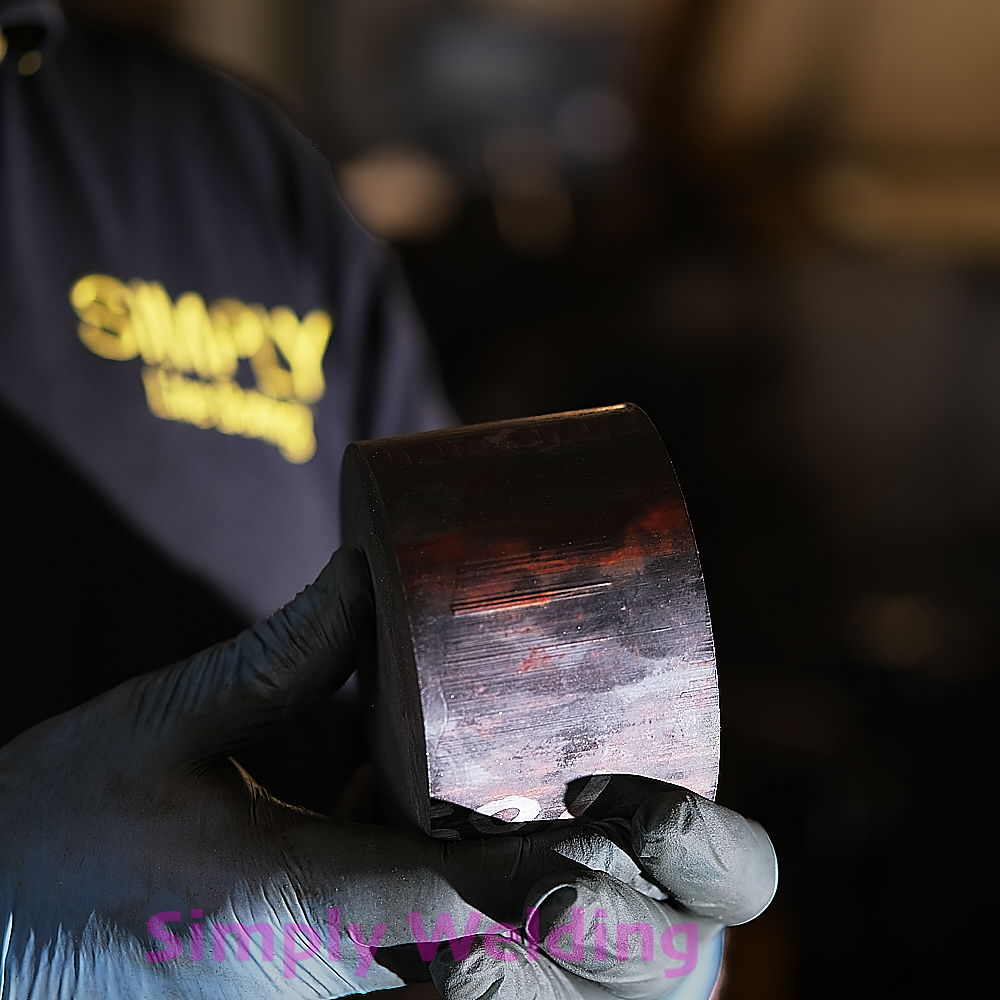
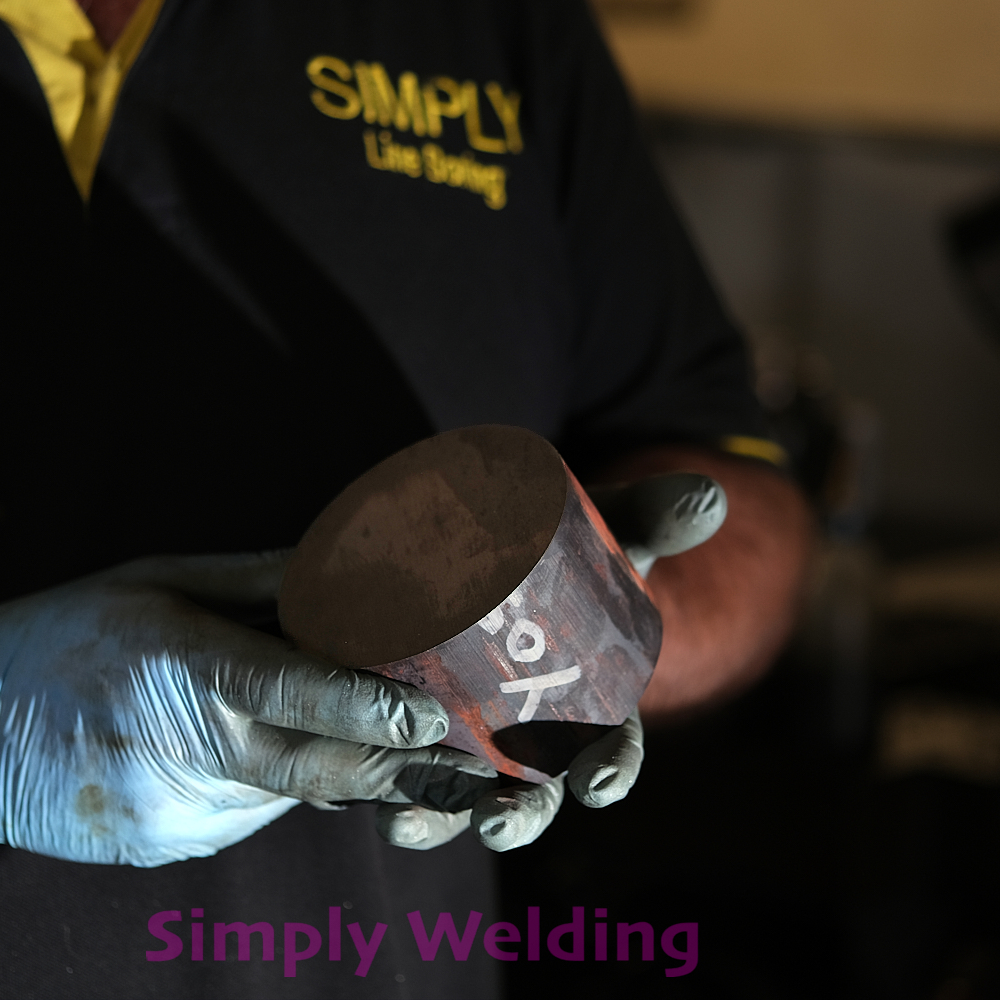
Machining a Hydraulic Cylinder Gland

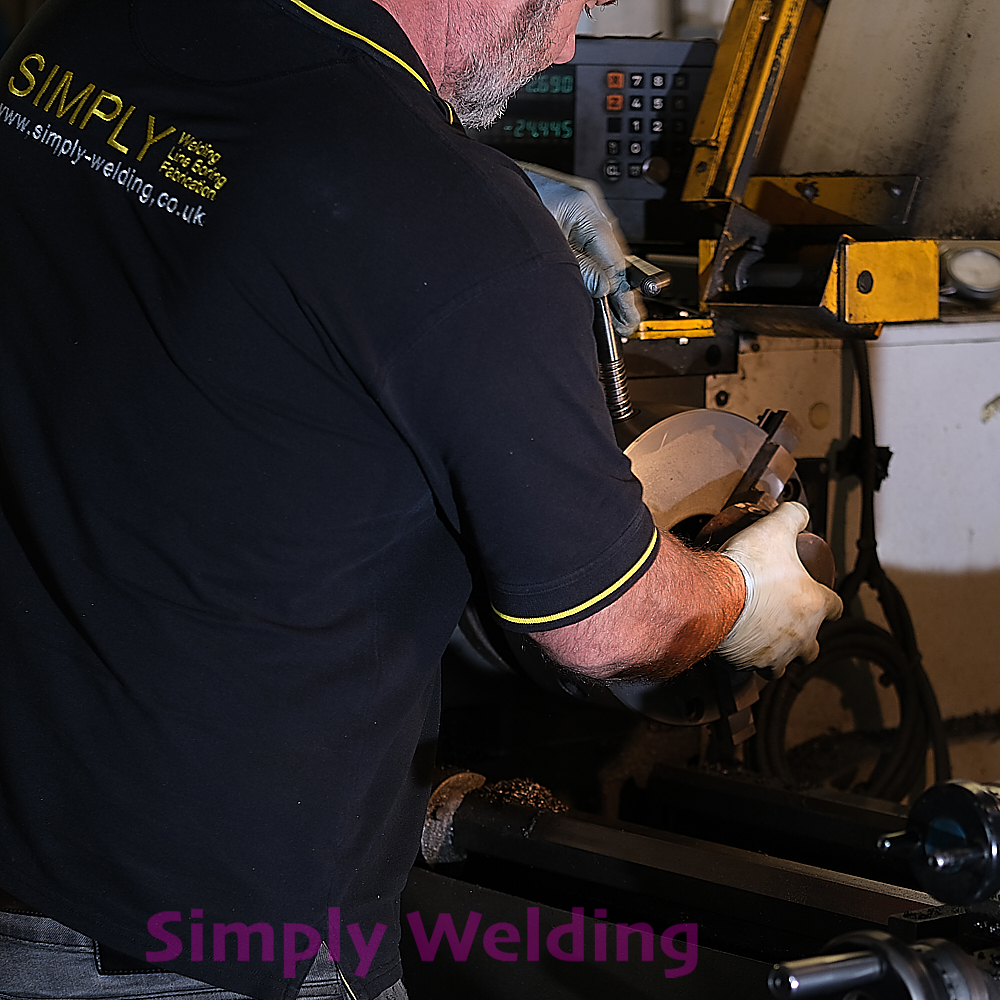
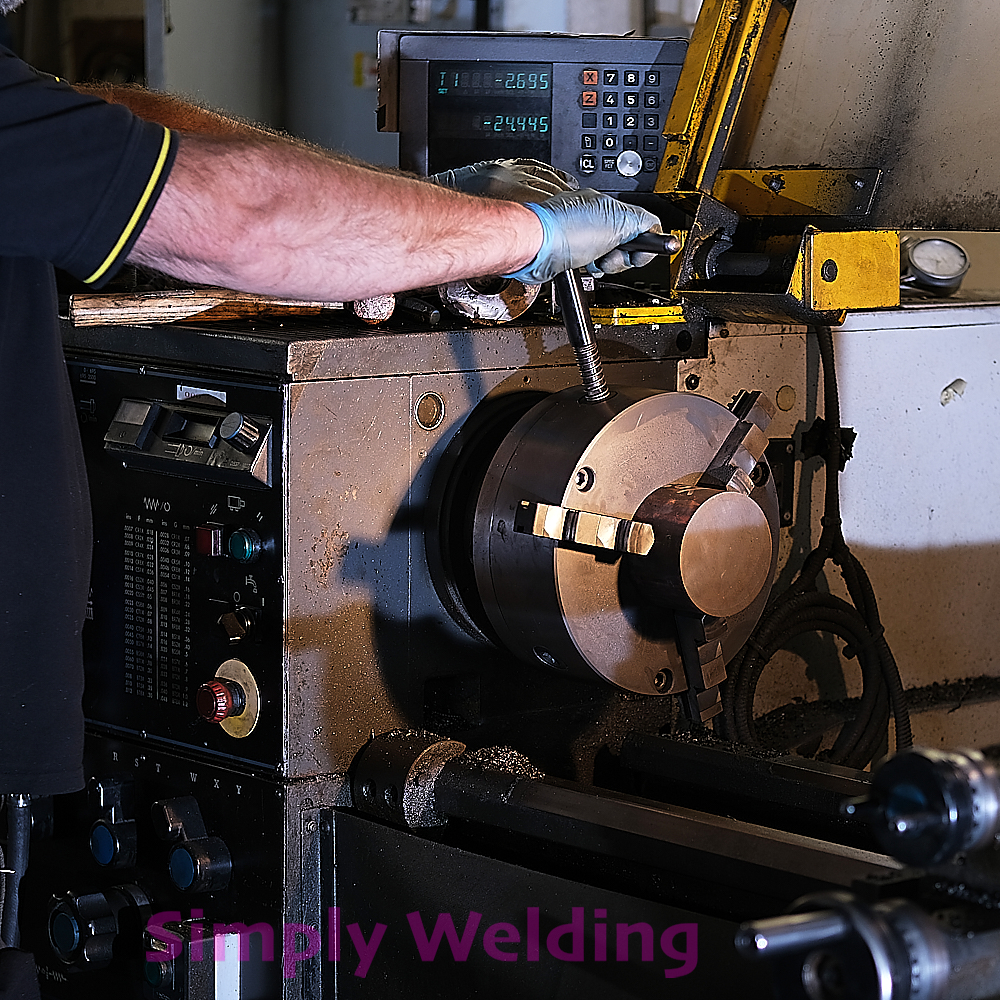
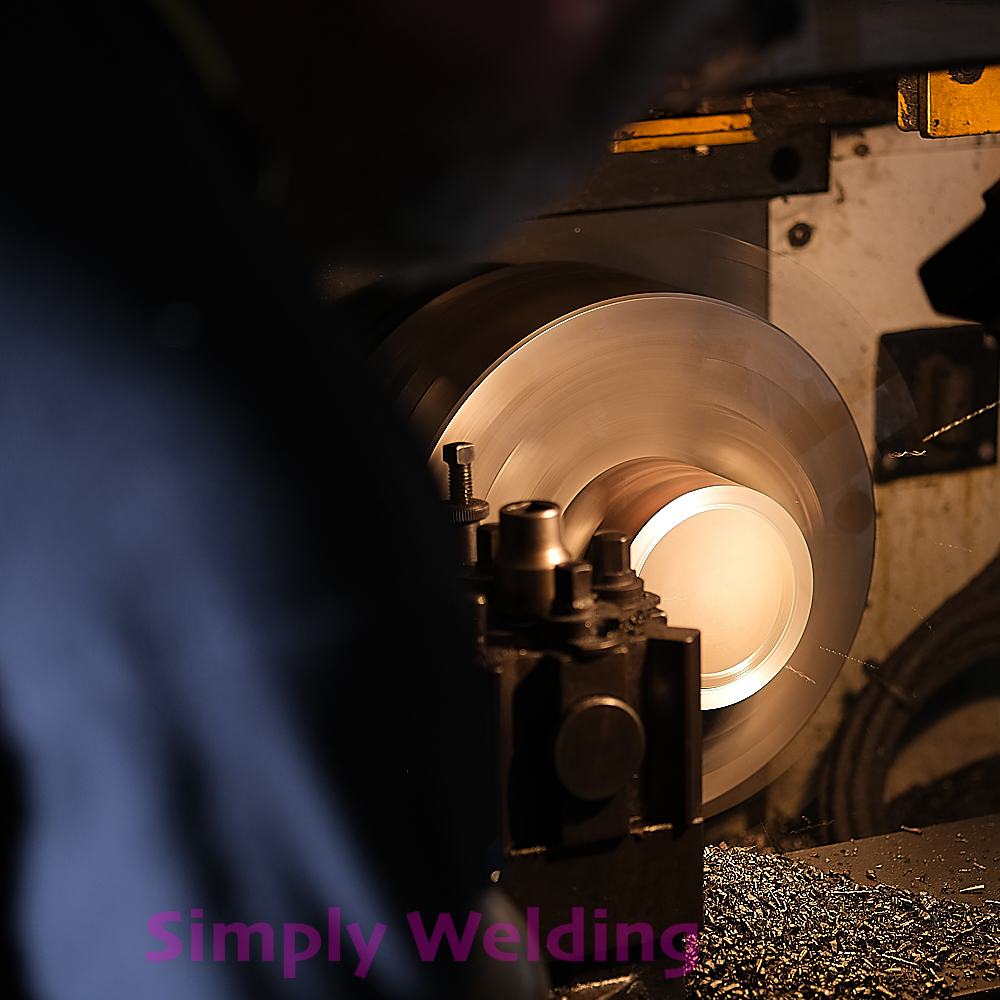
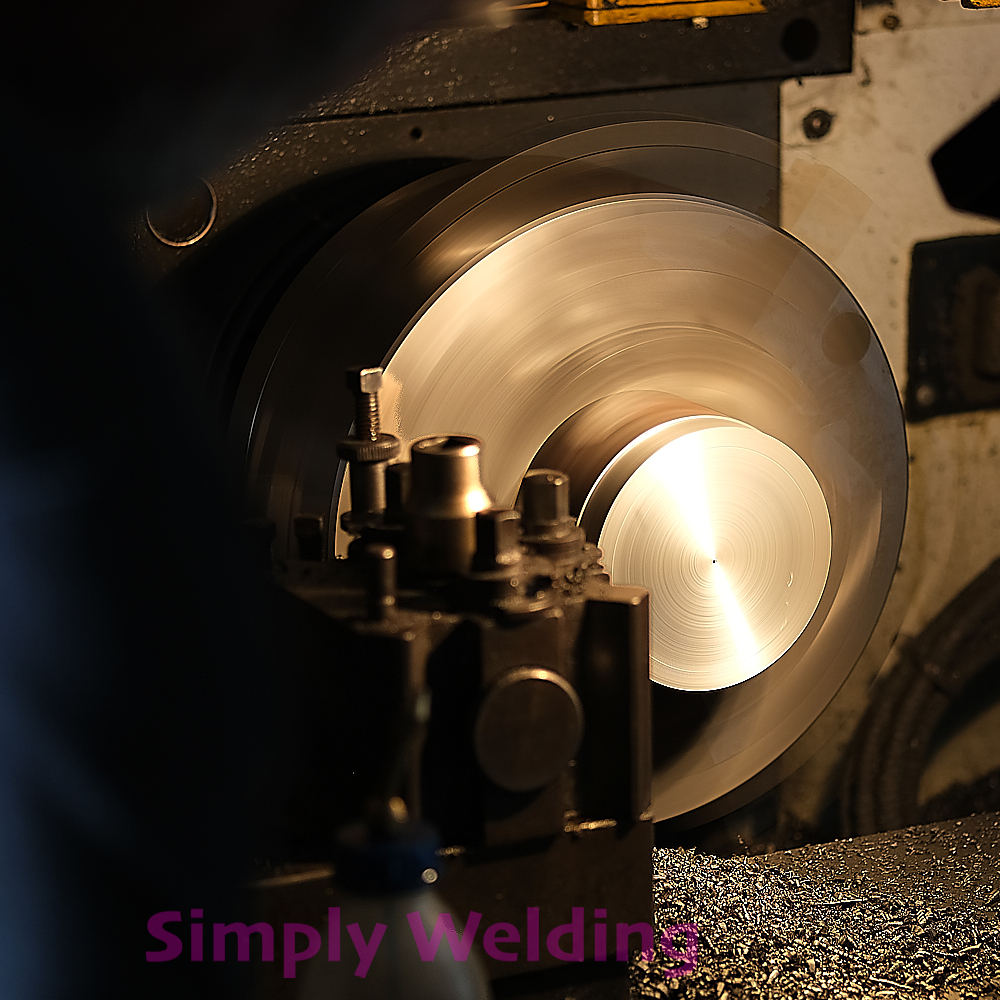
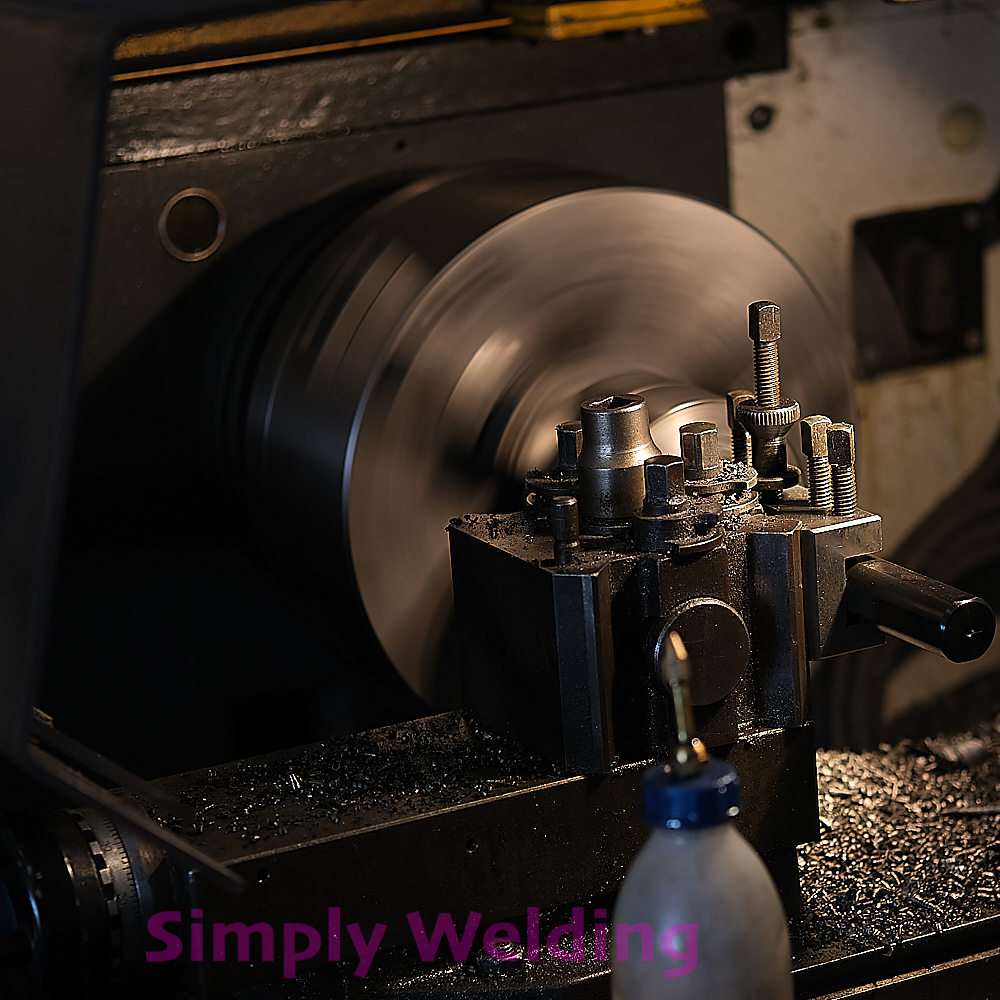
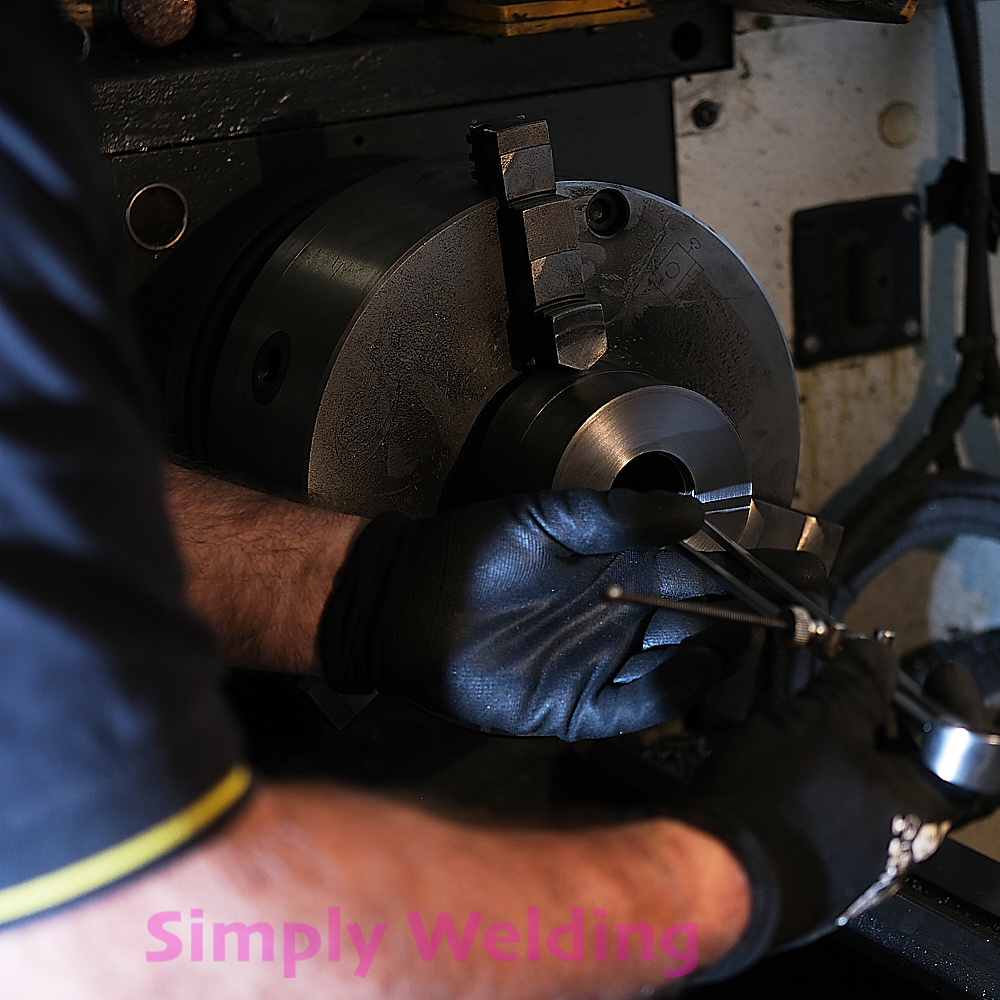
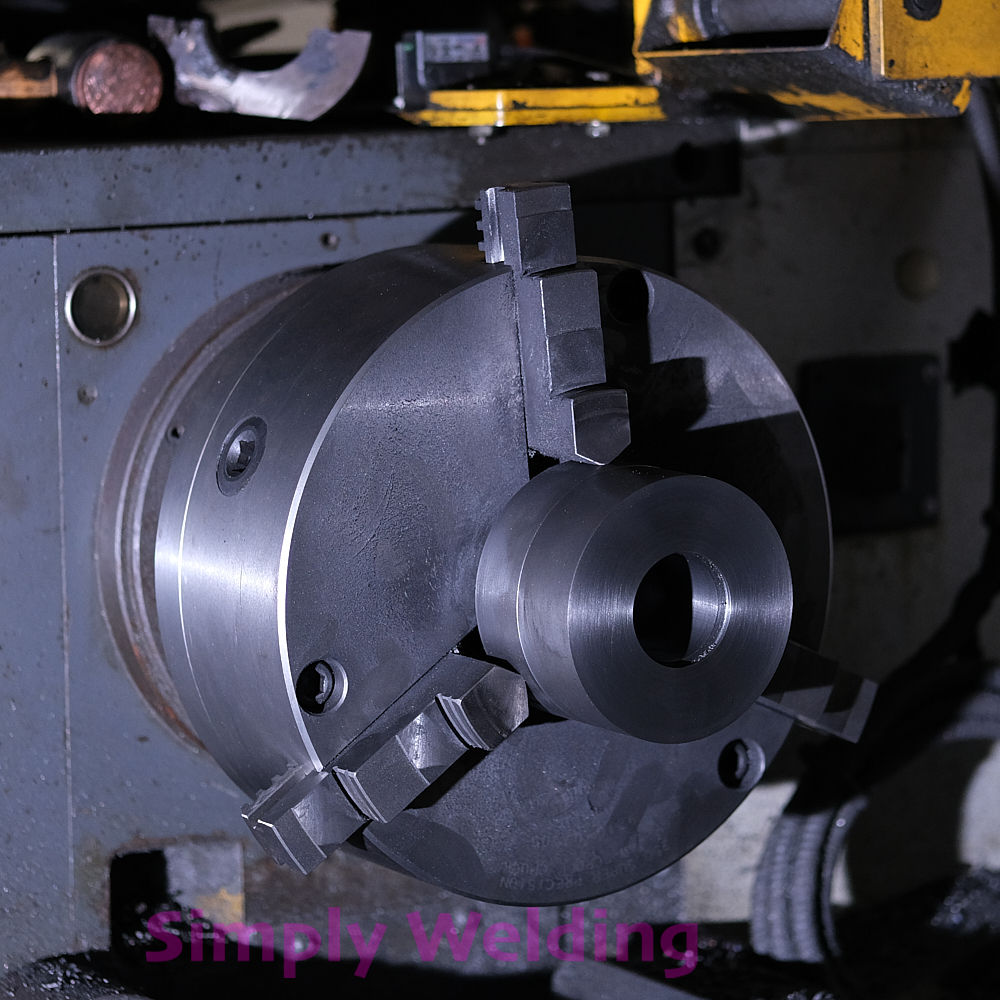
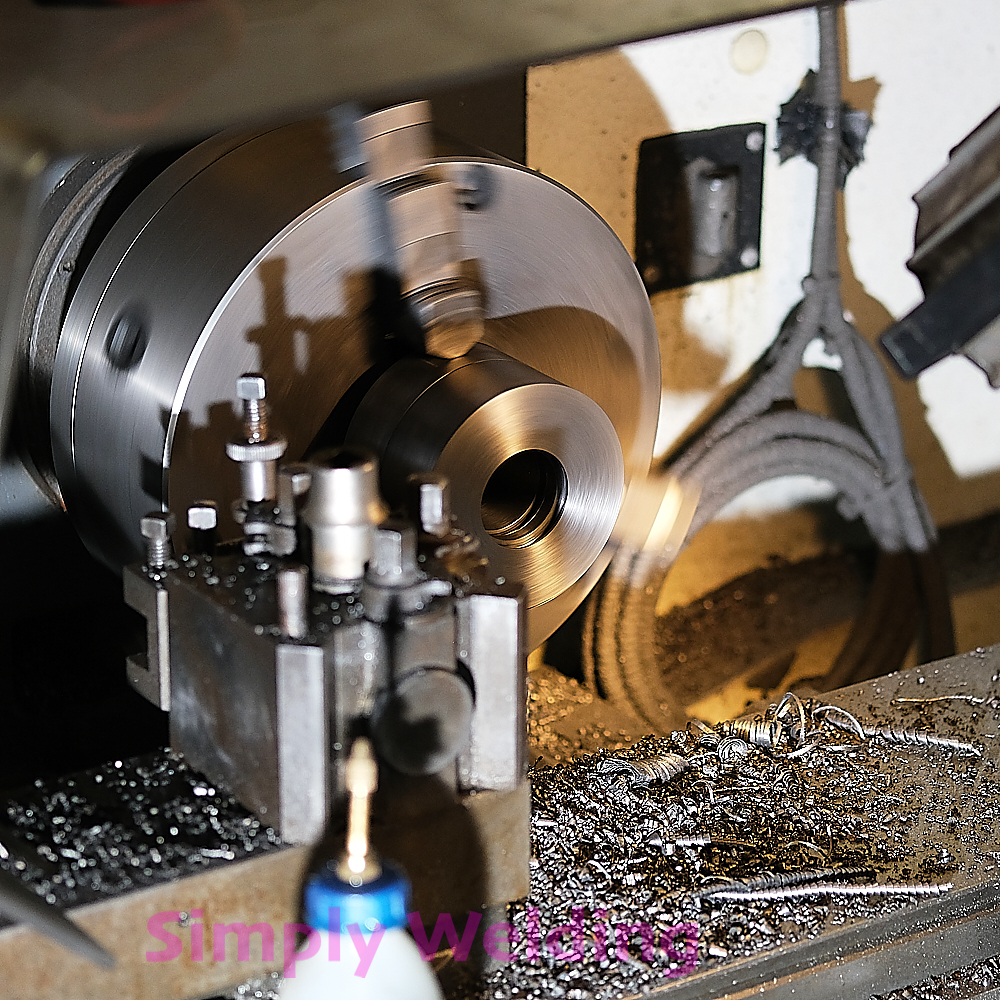
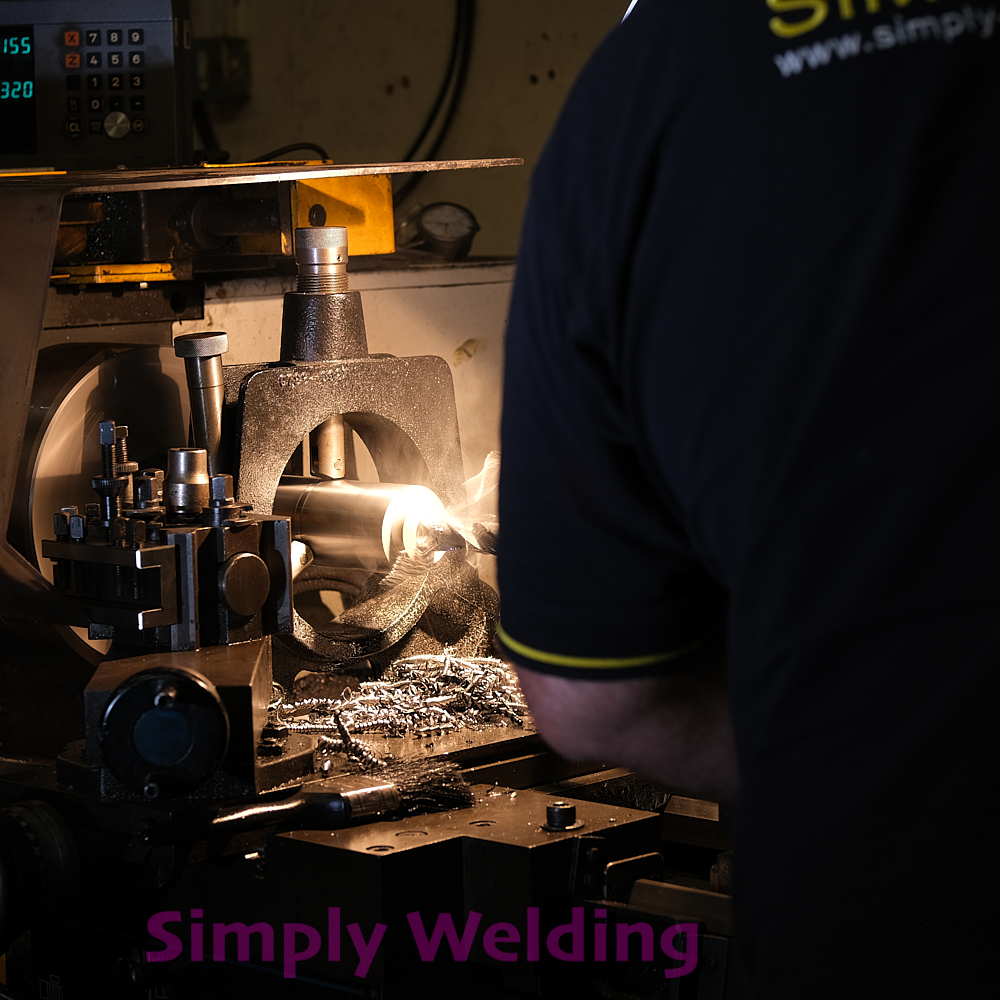
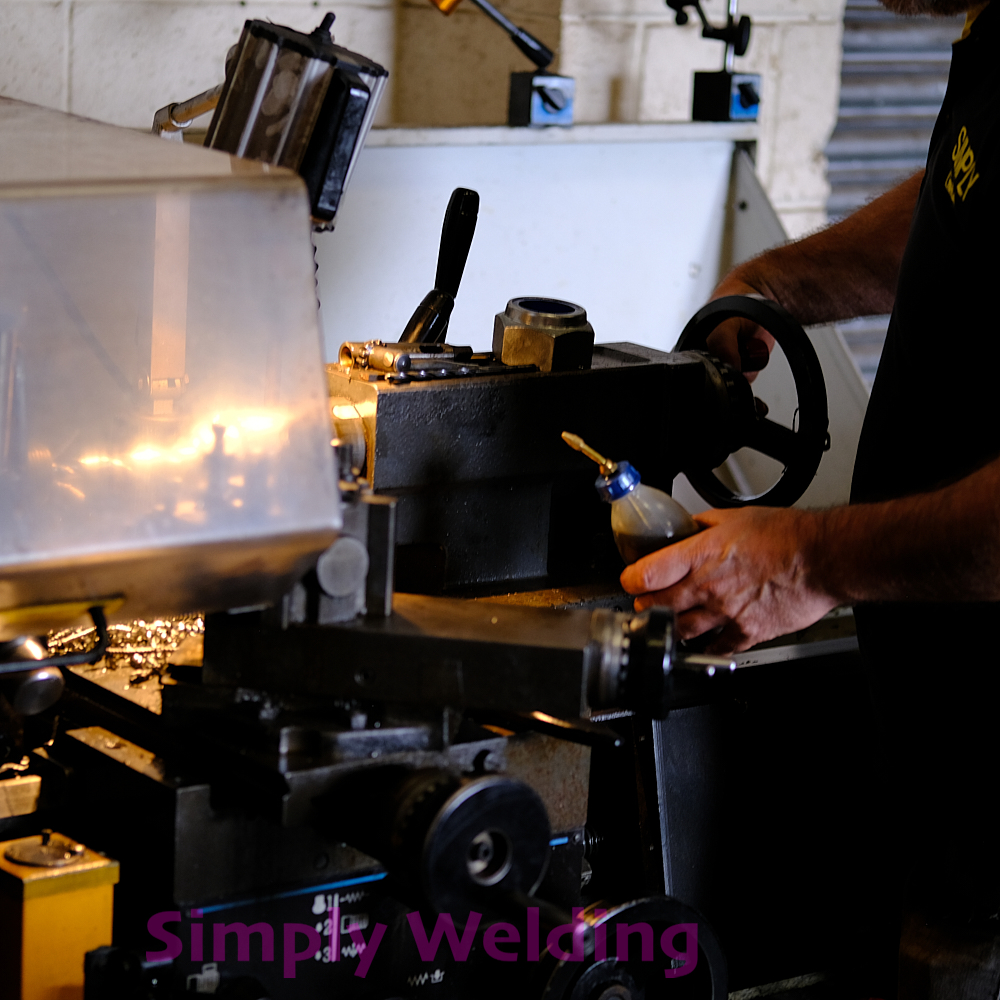
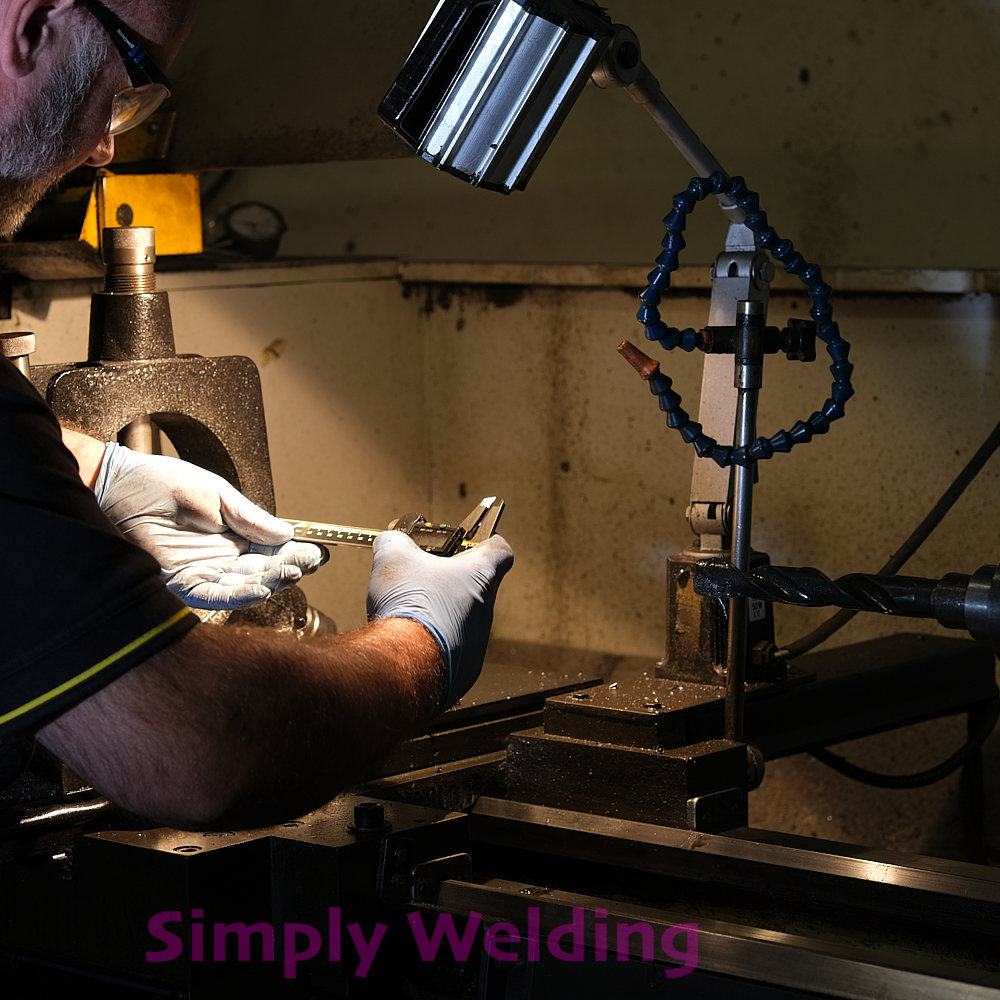
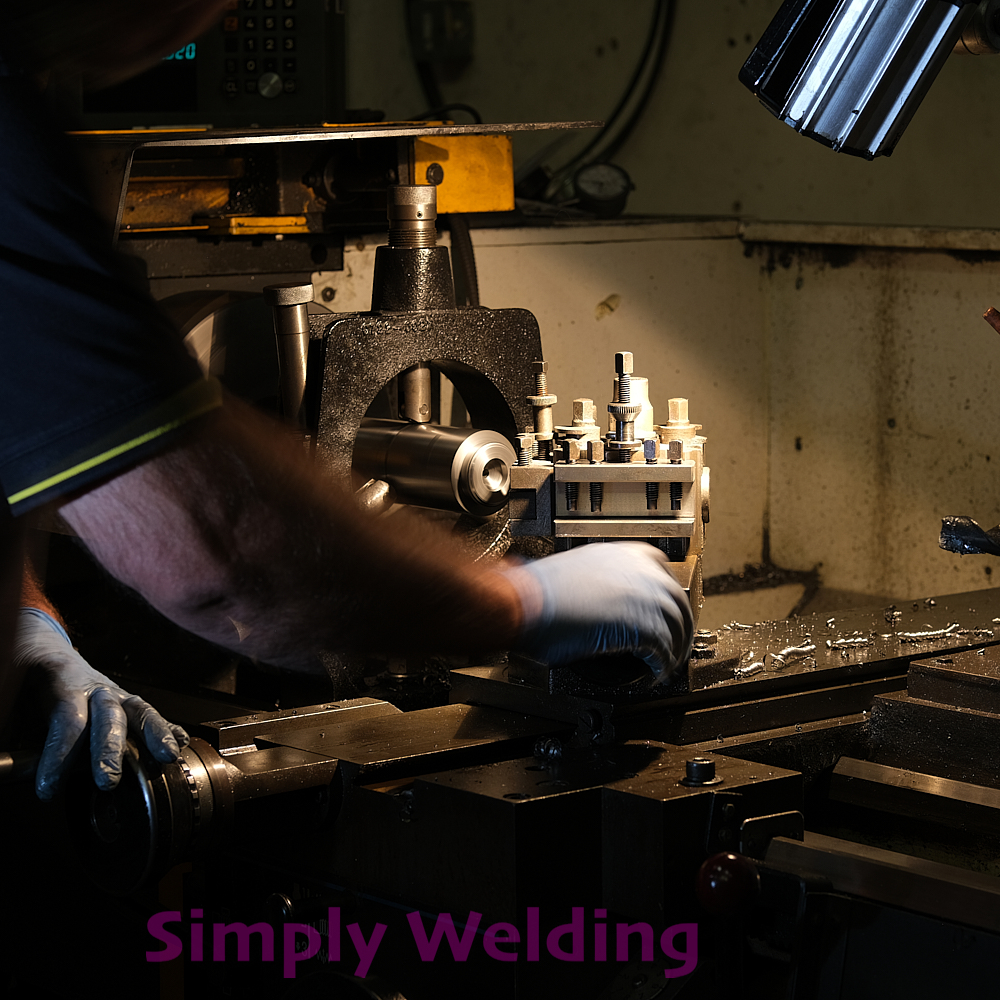
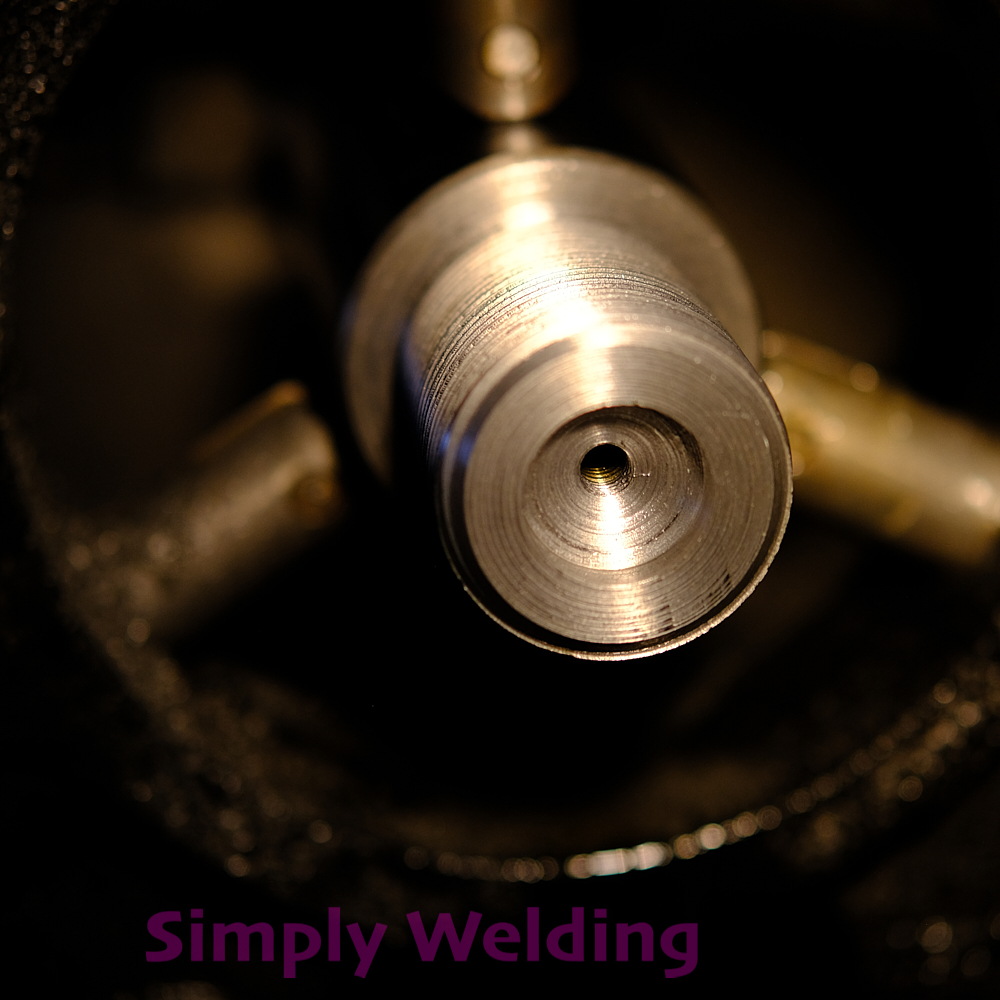
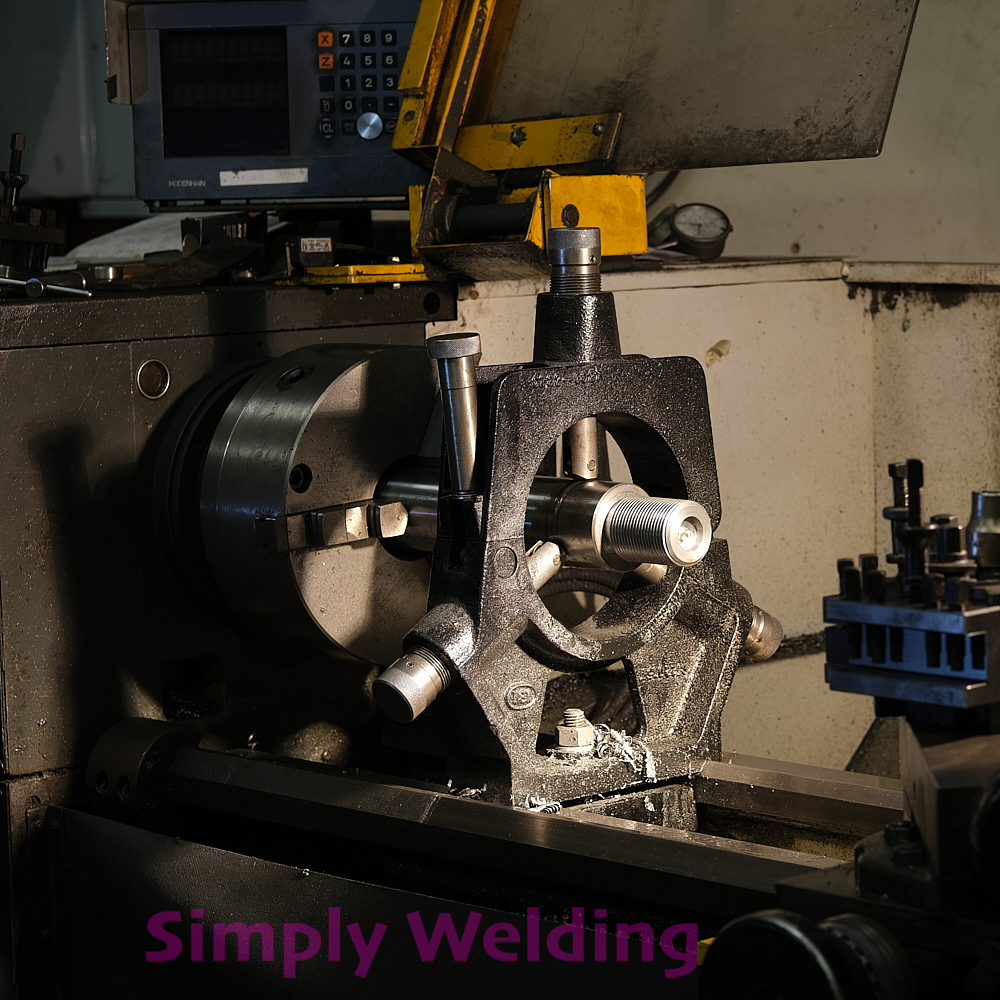
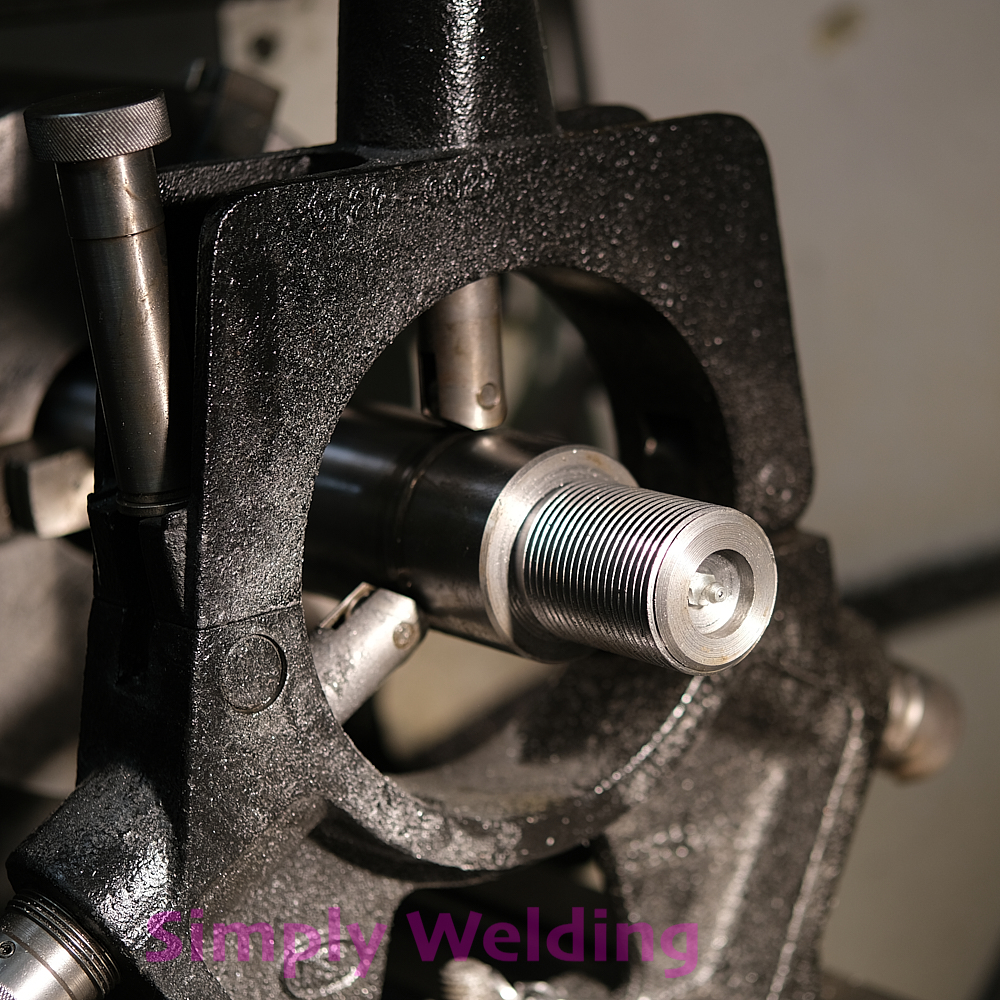
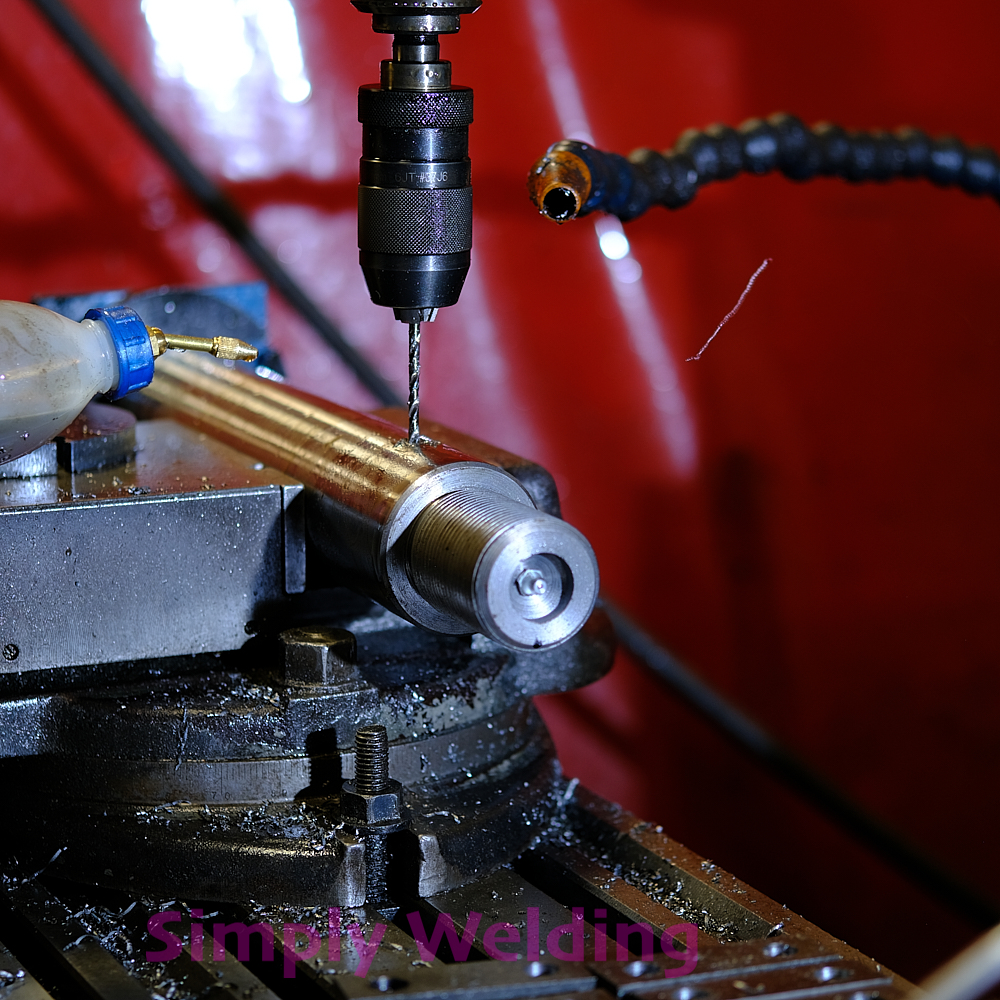
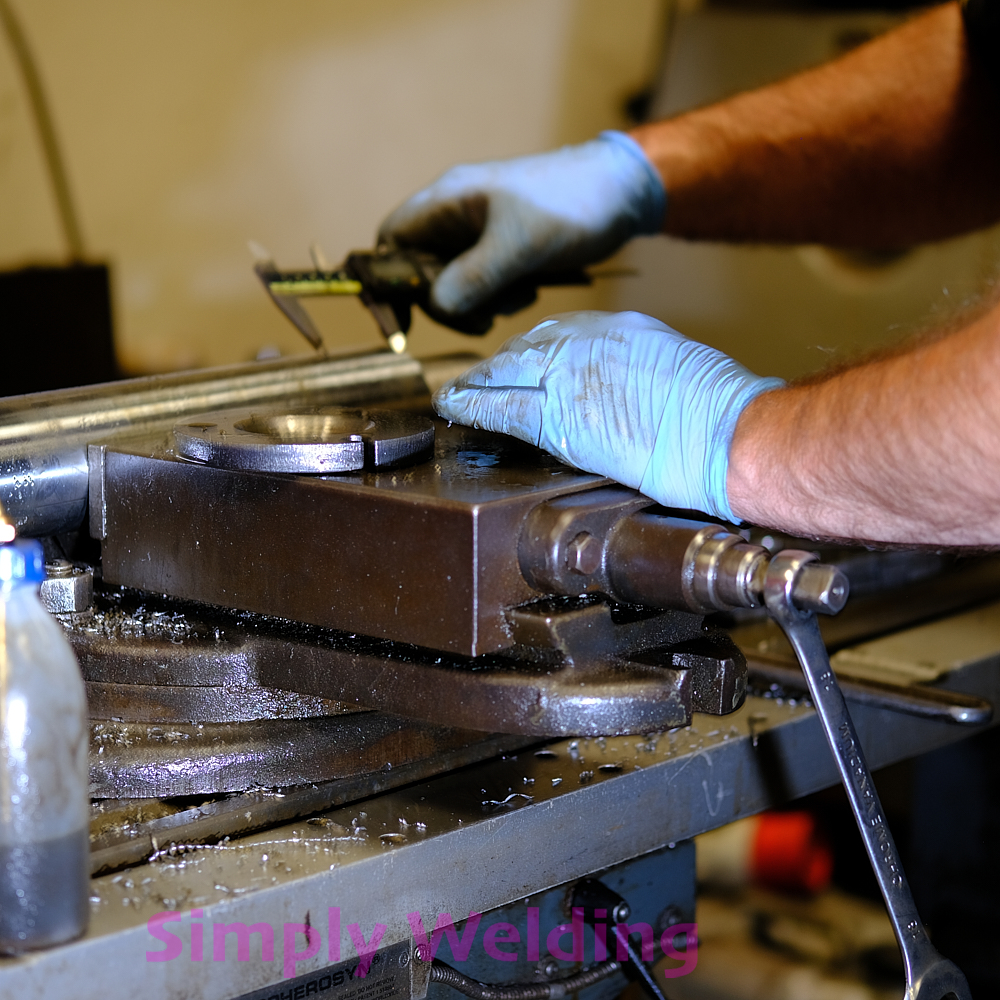
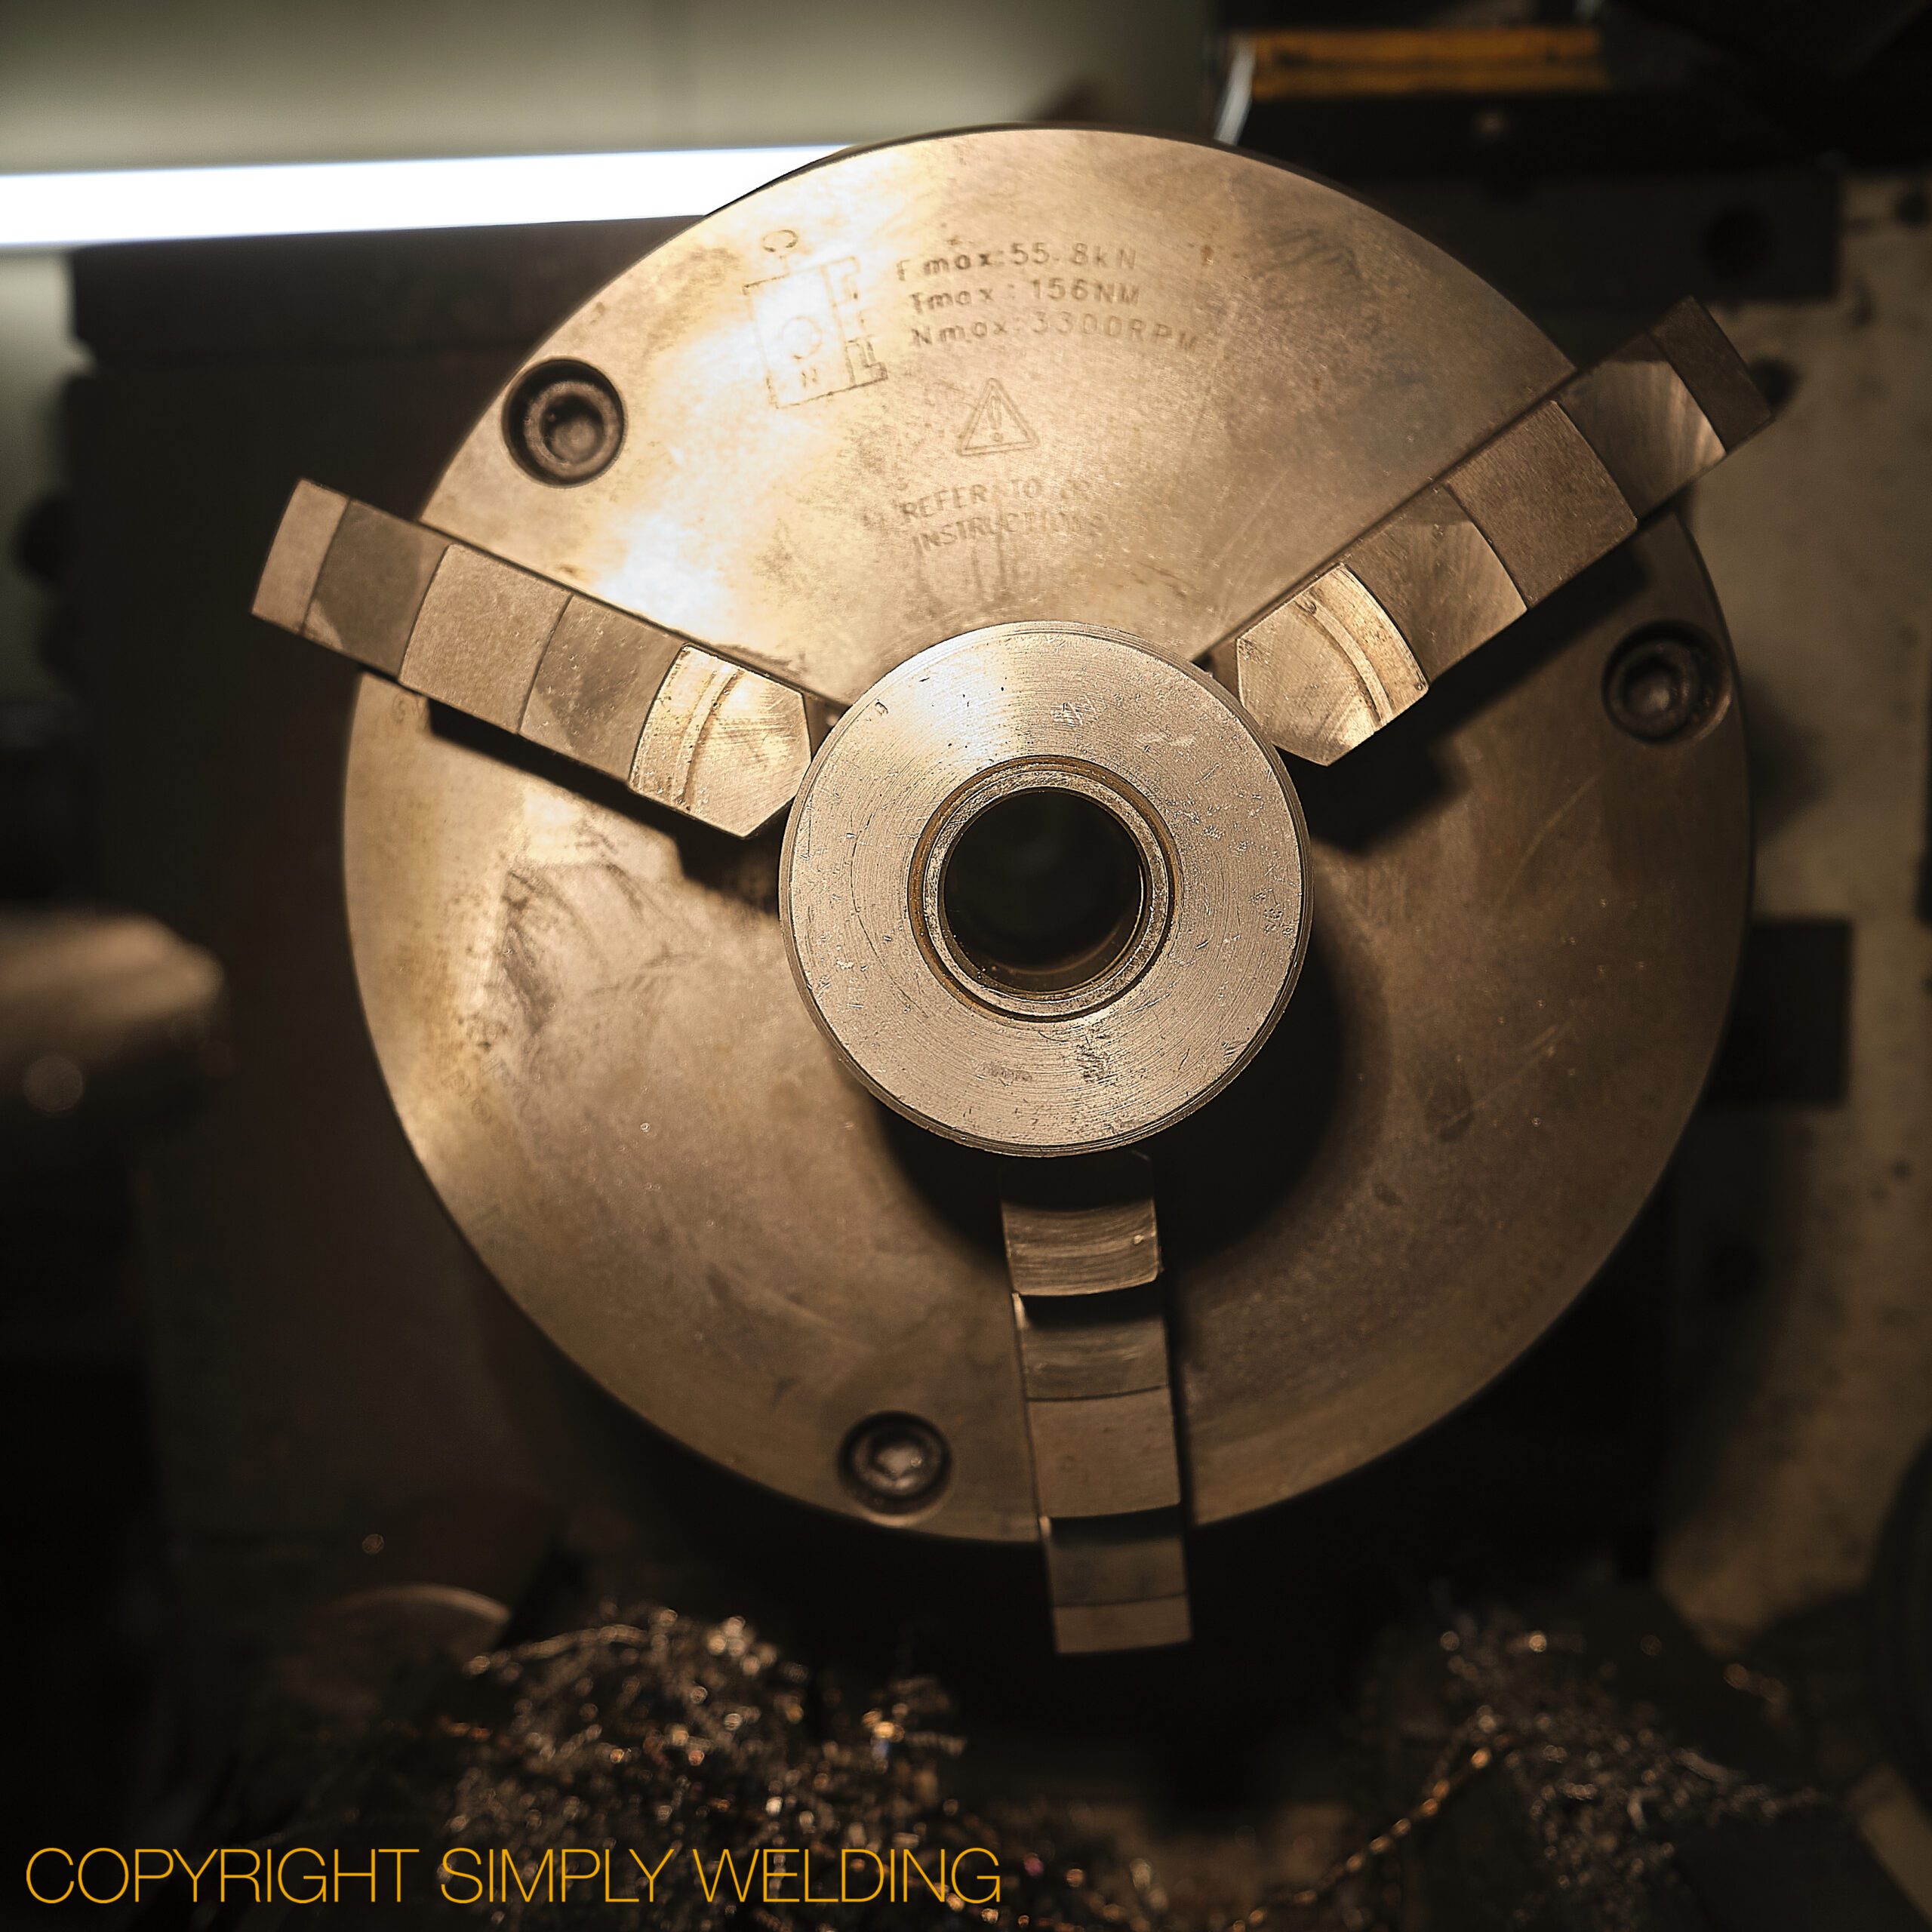
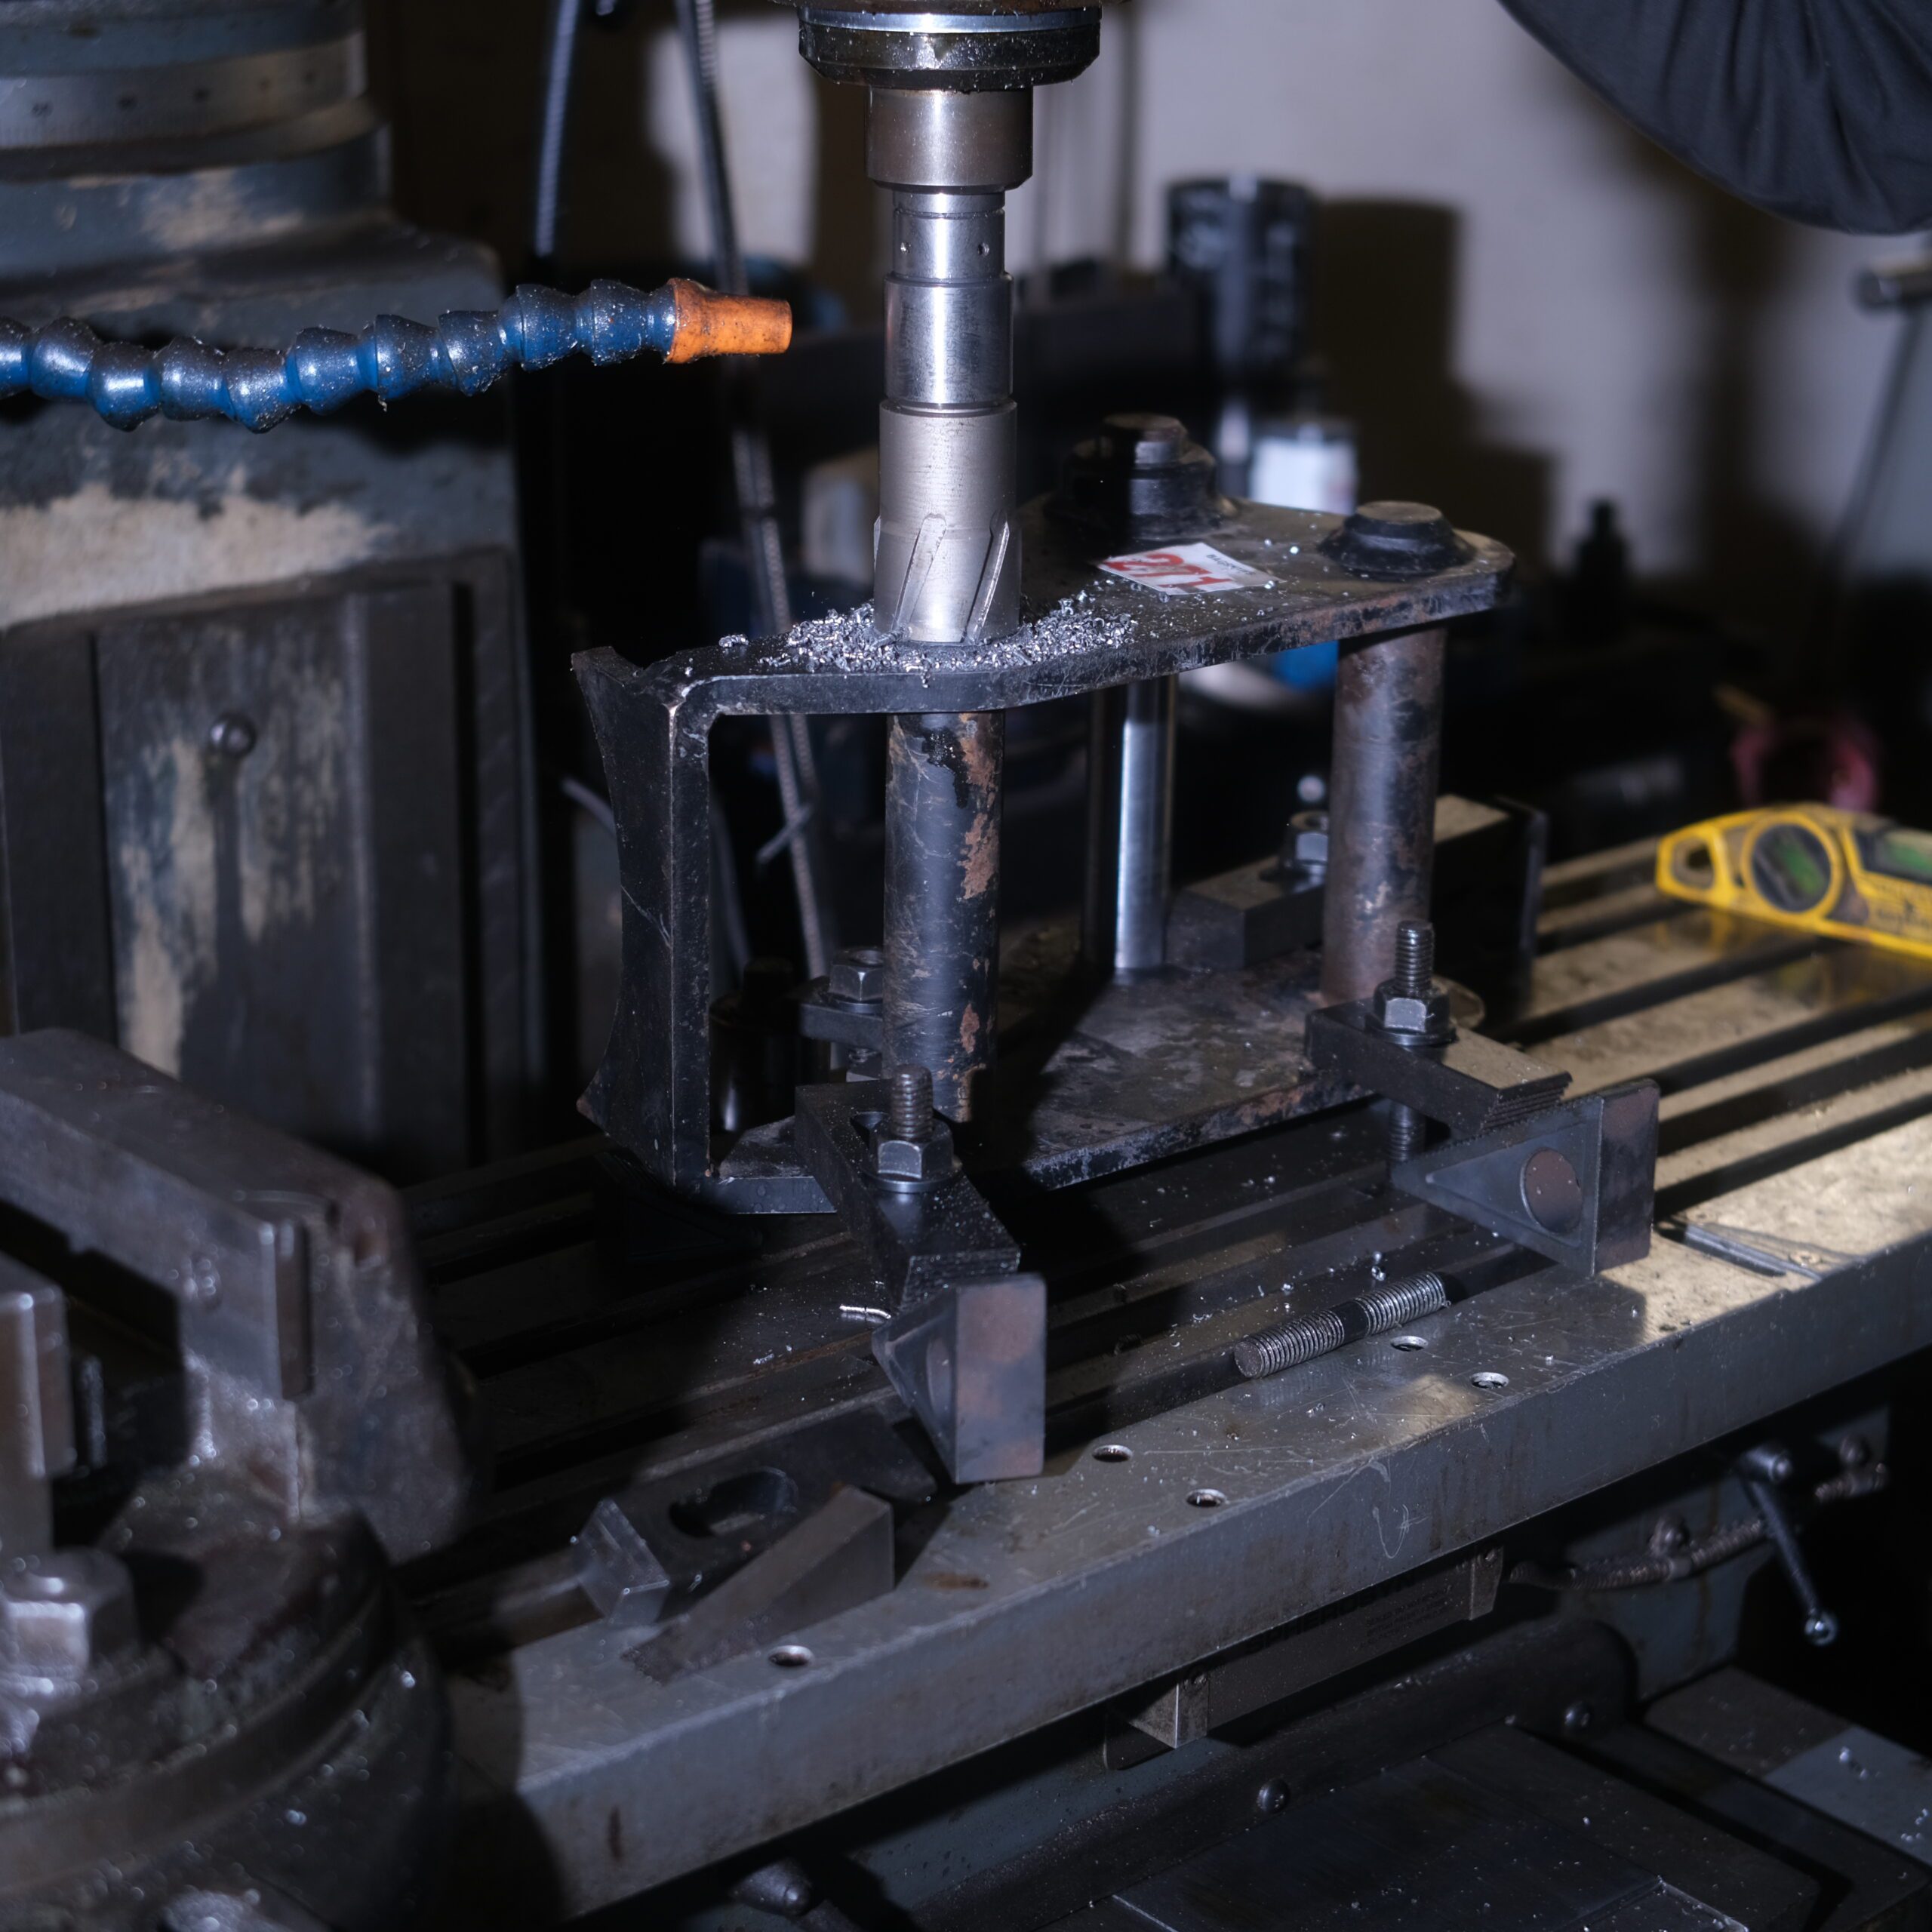
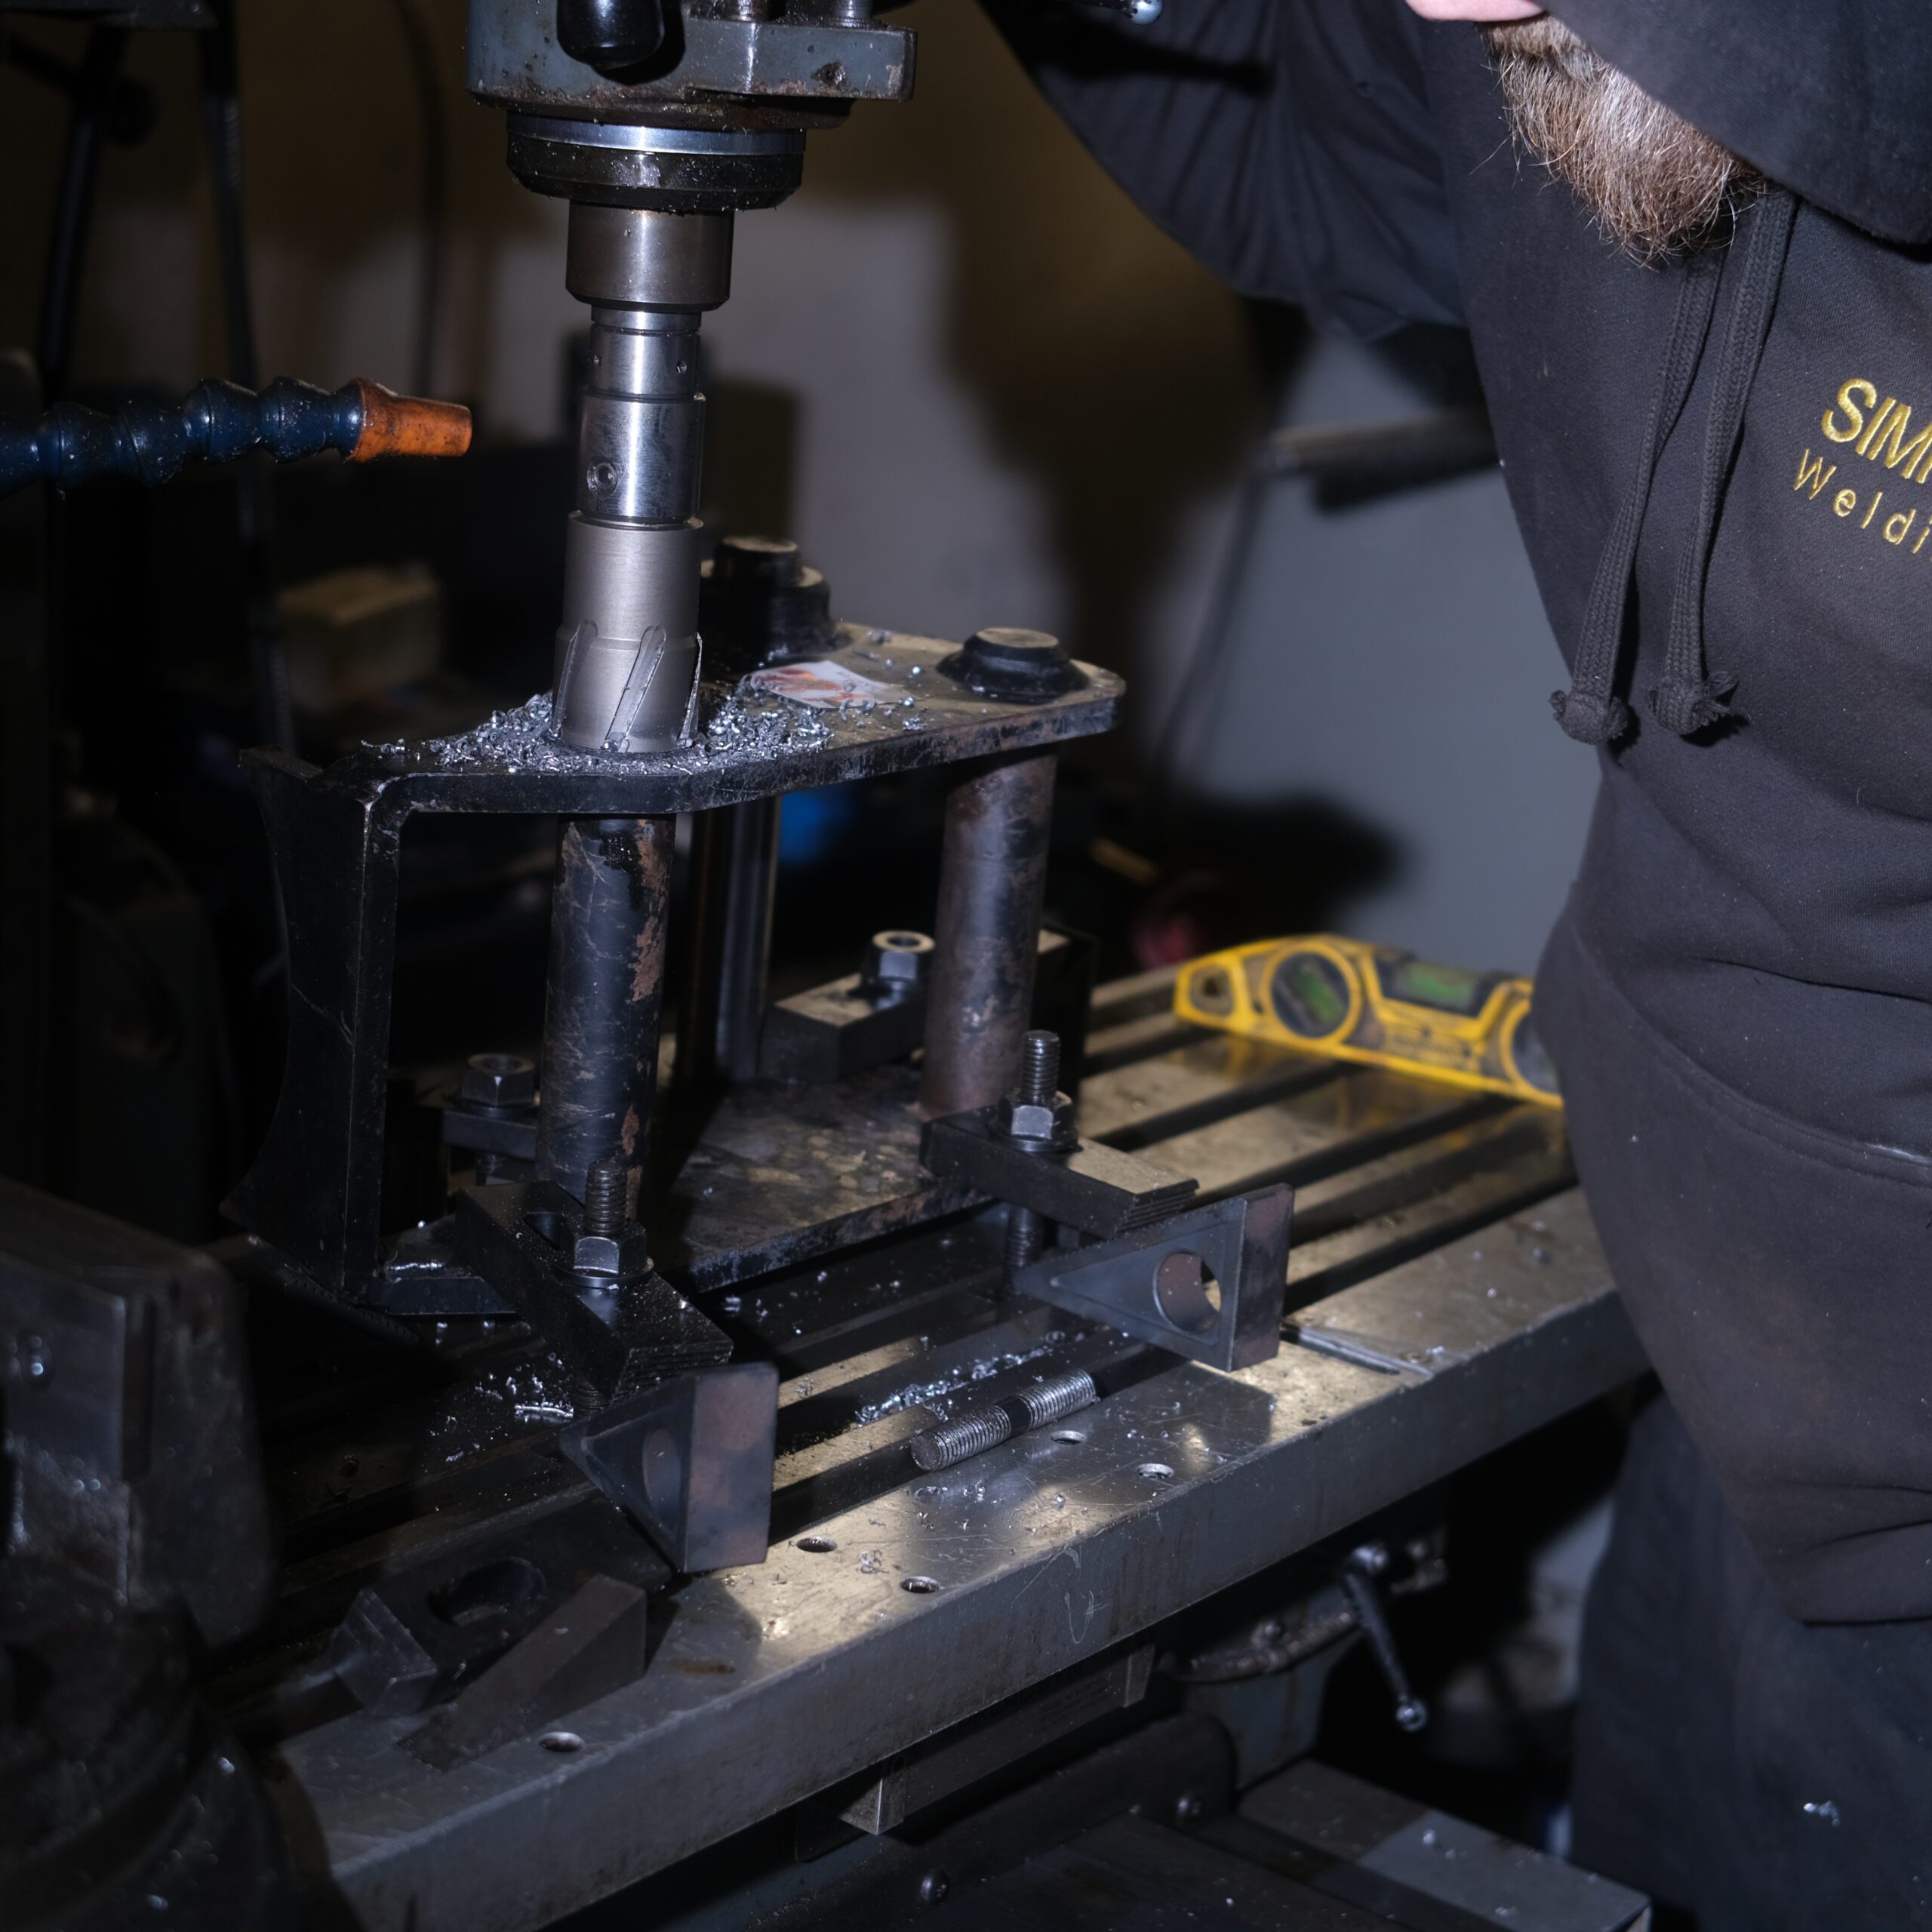
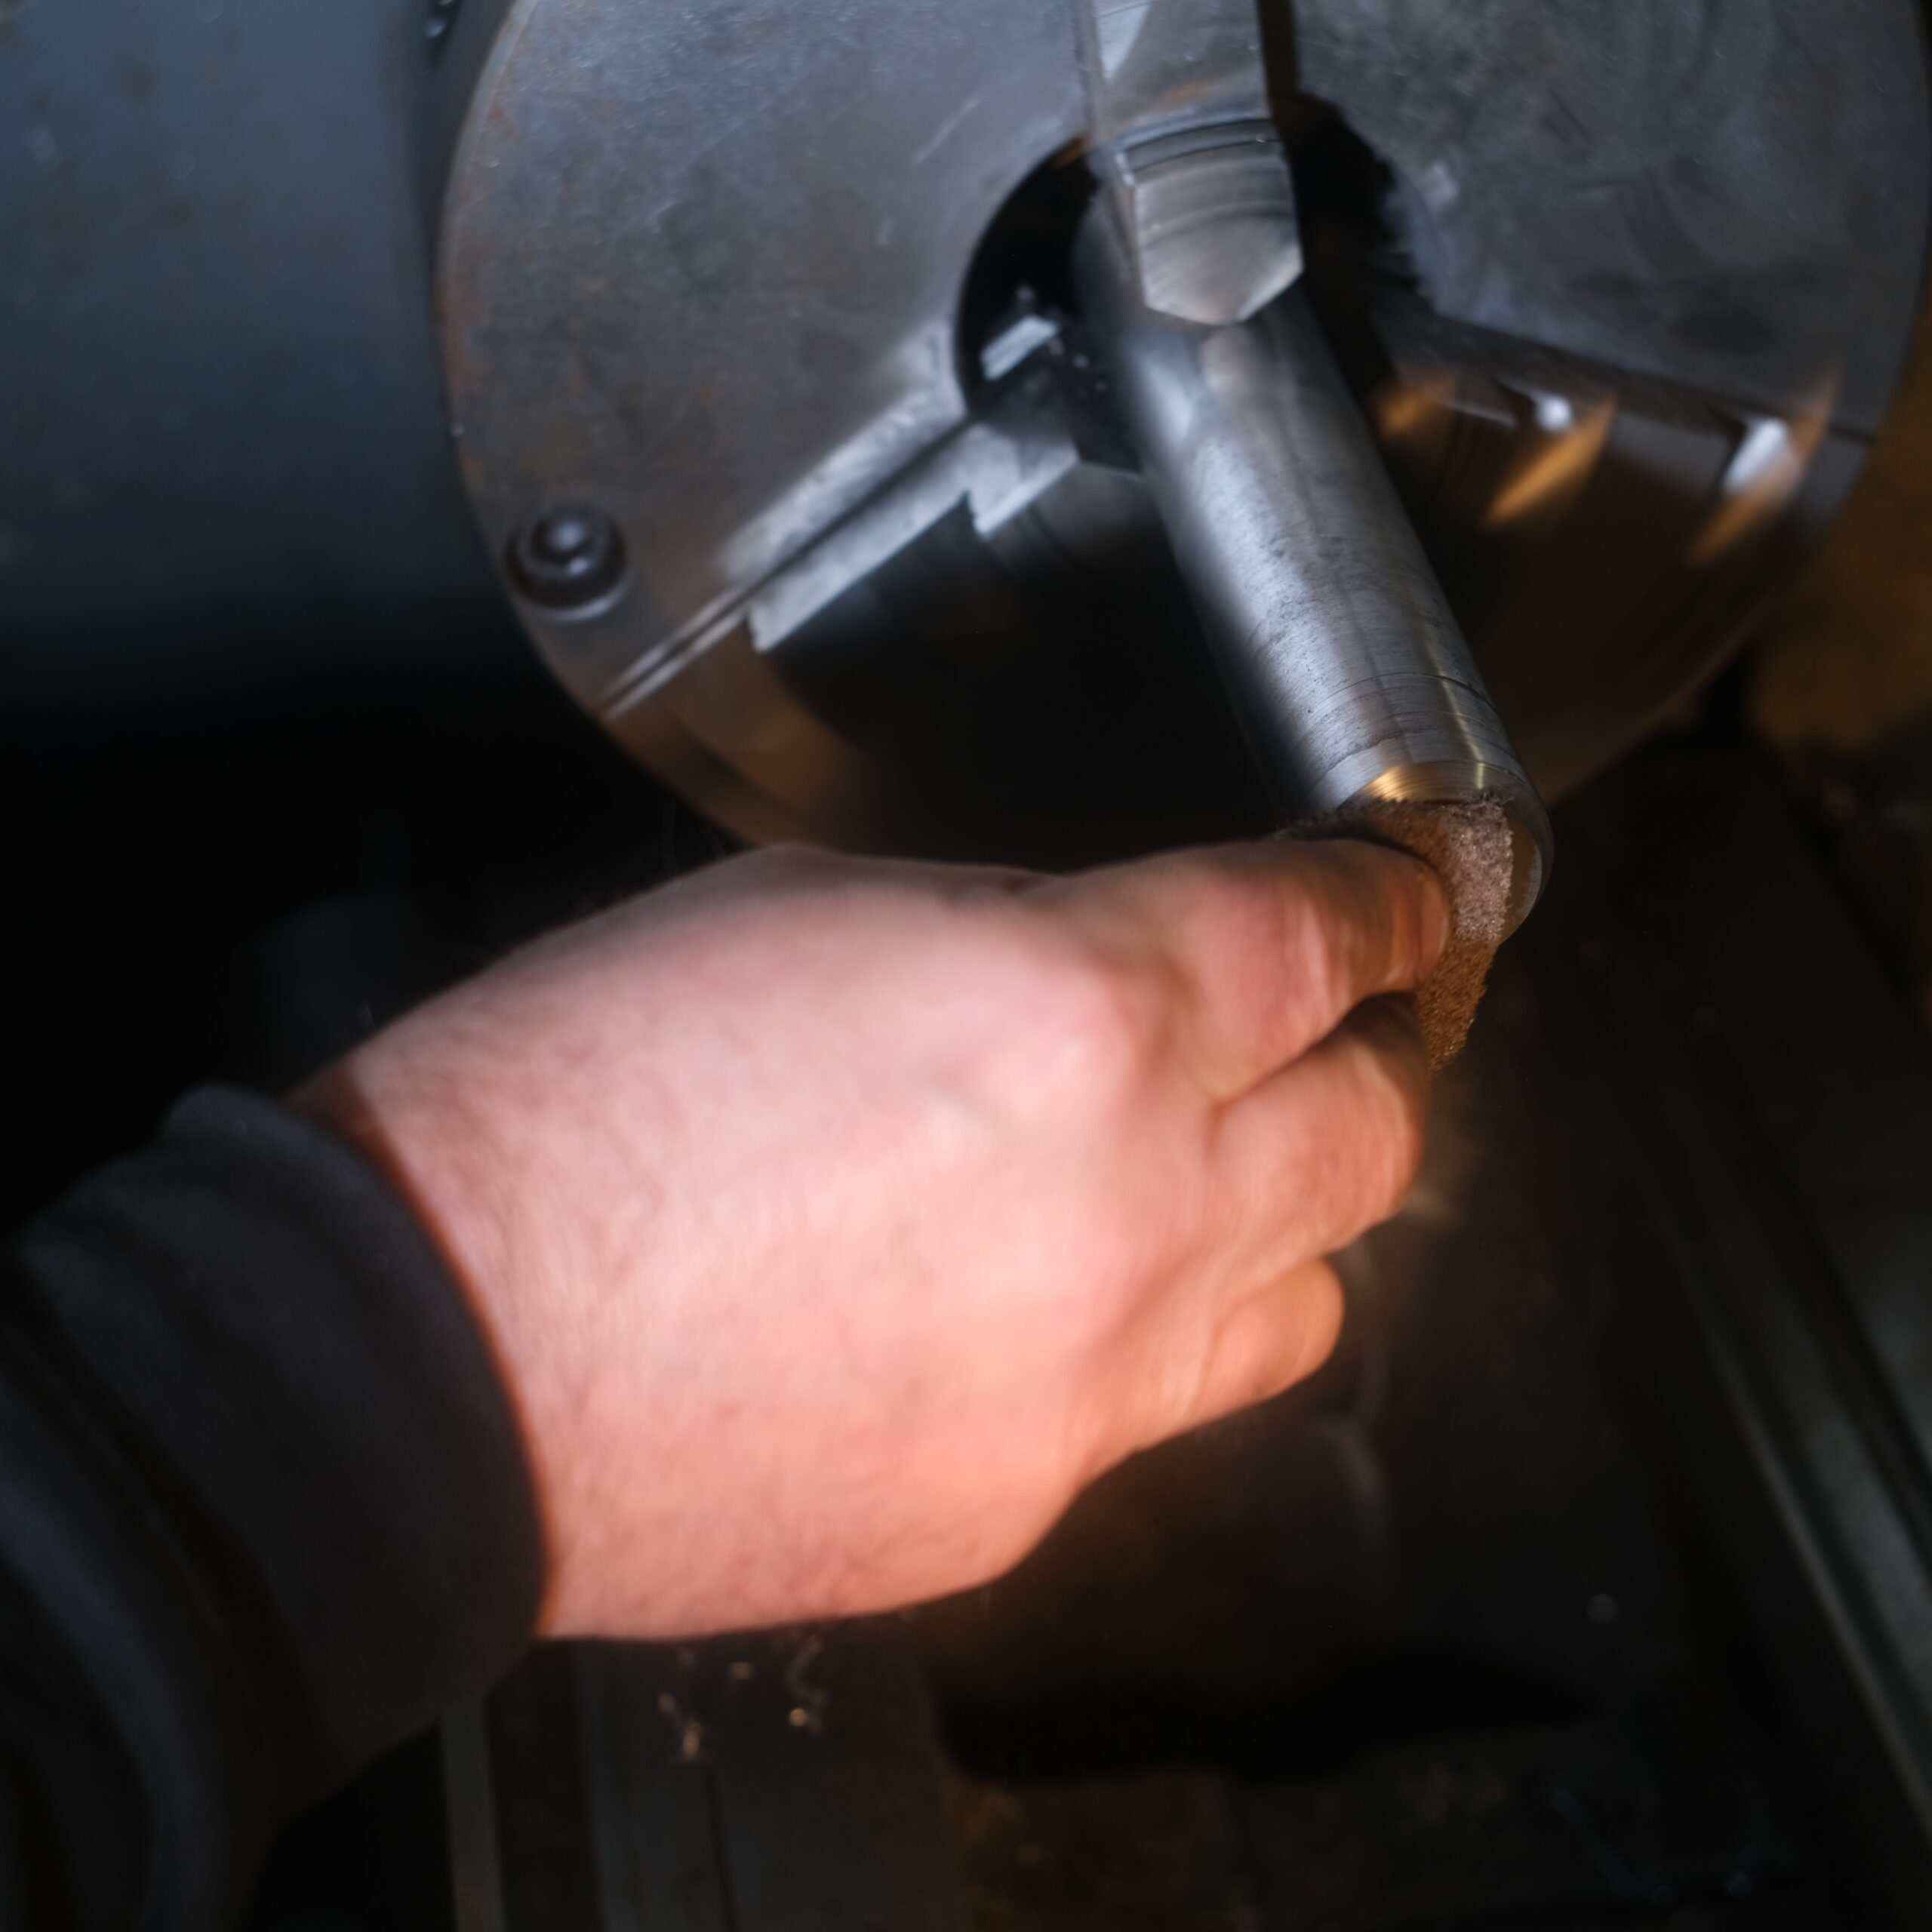
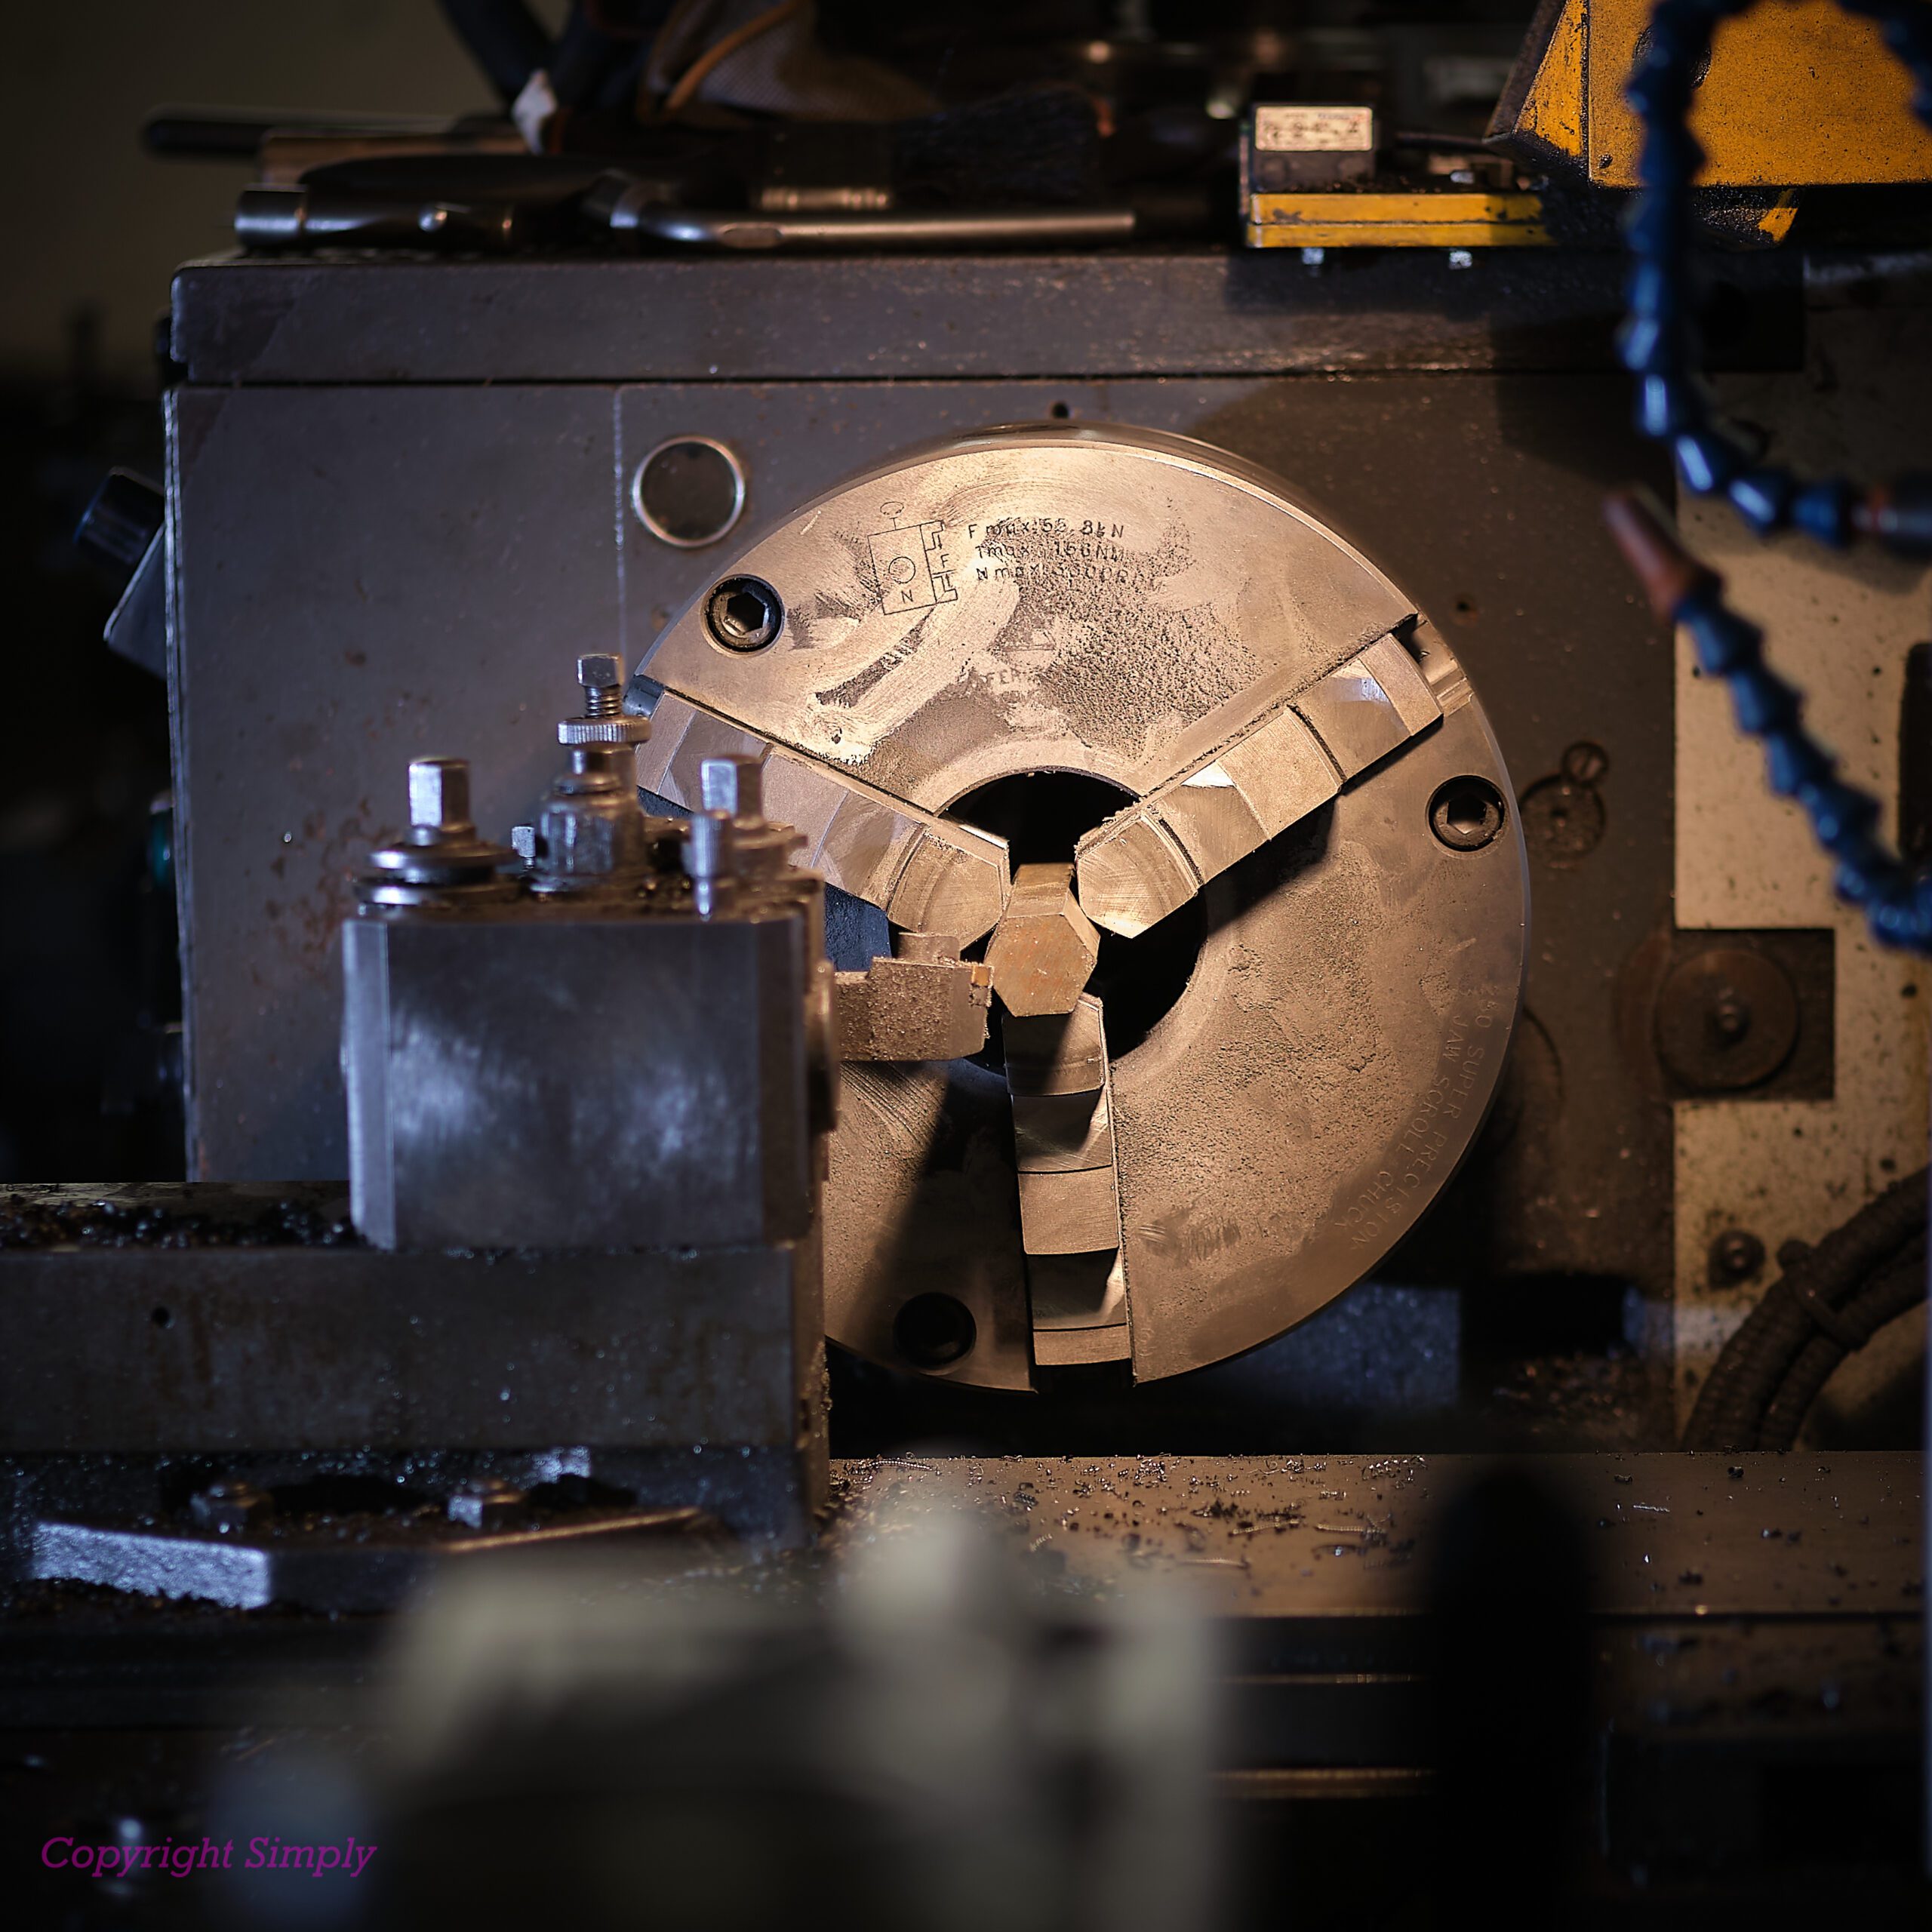
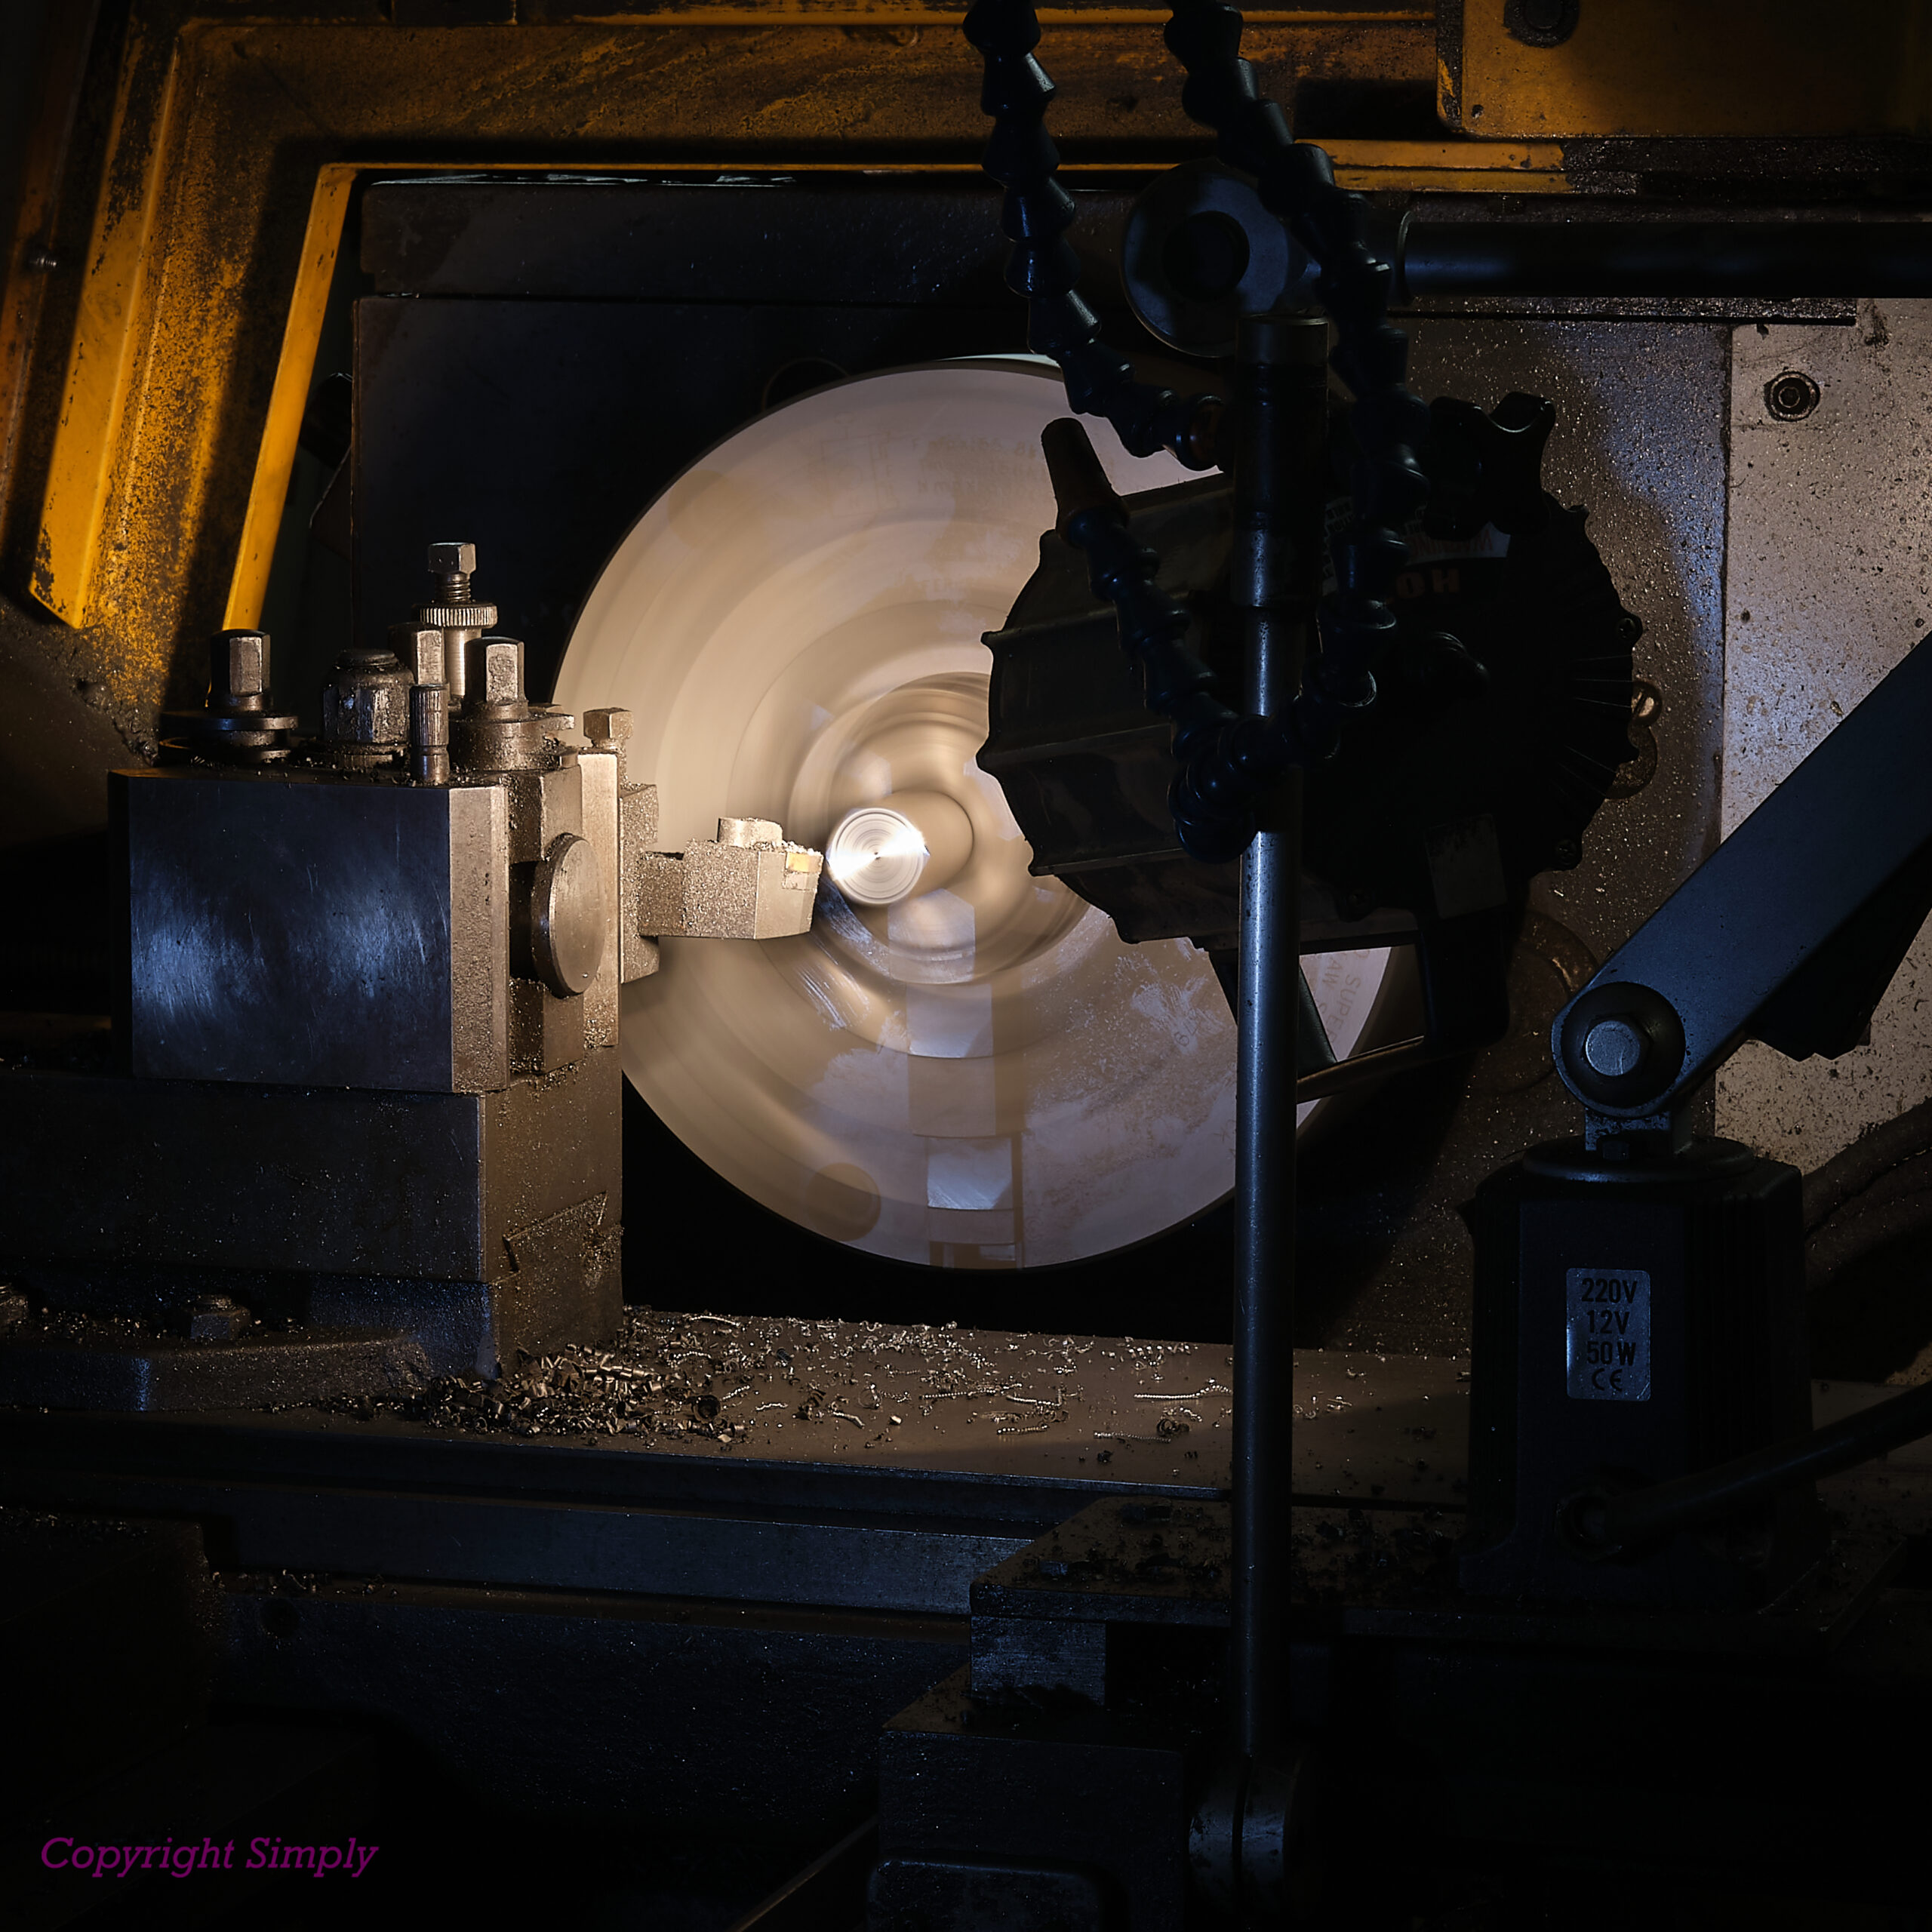
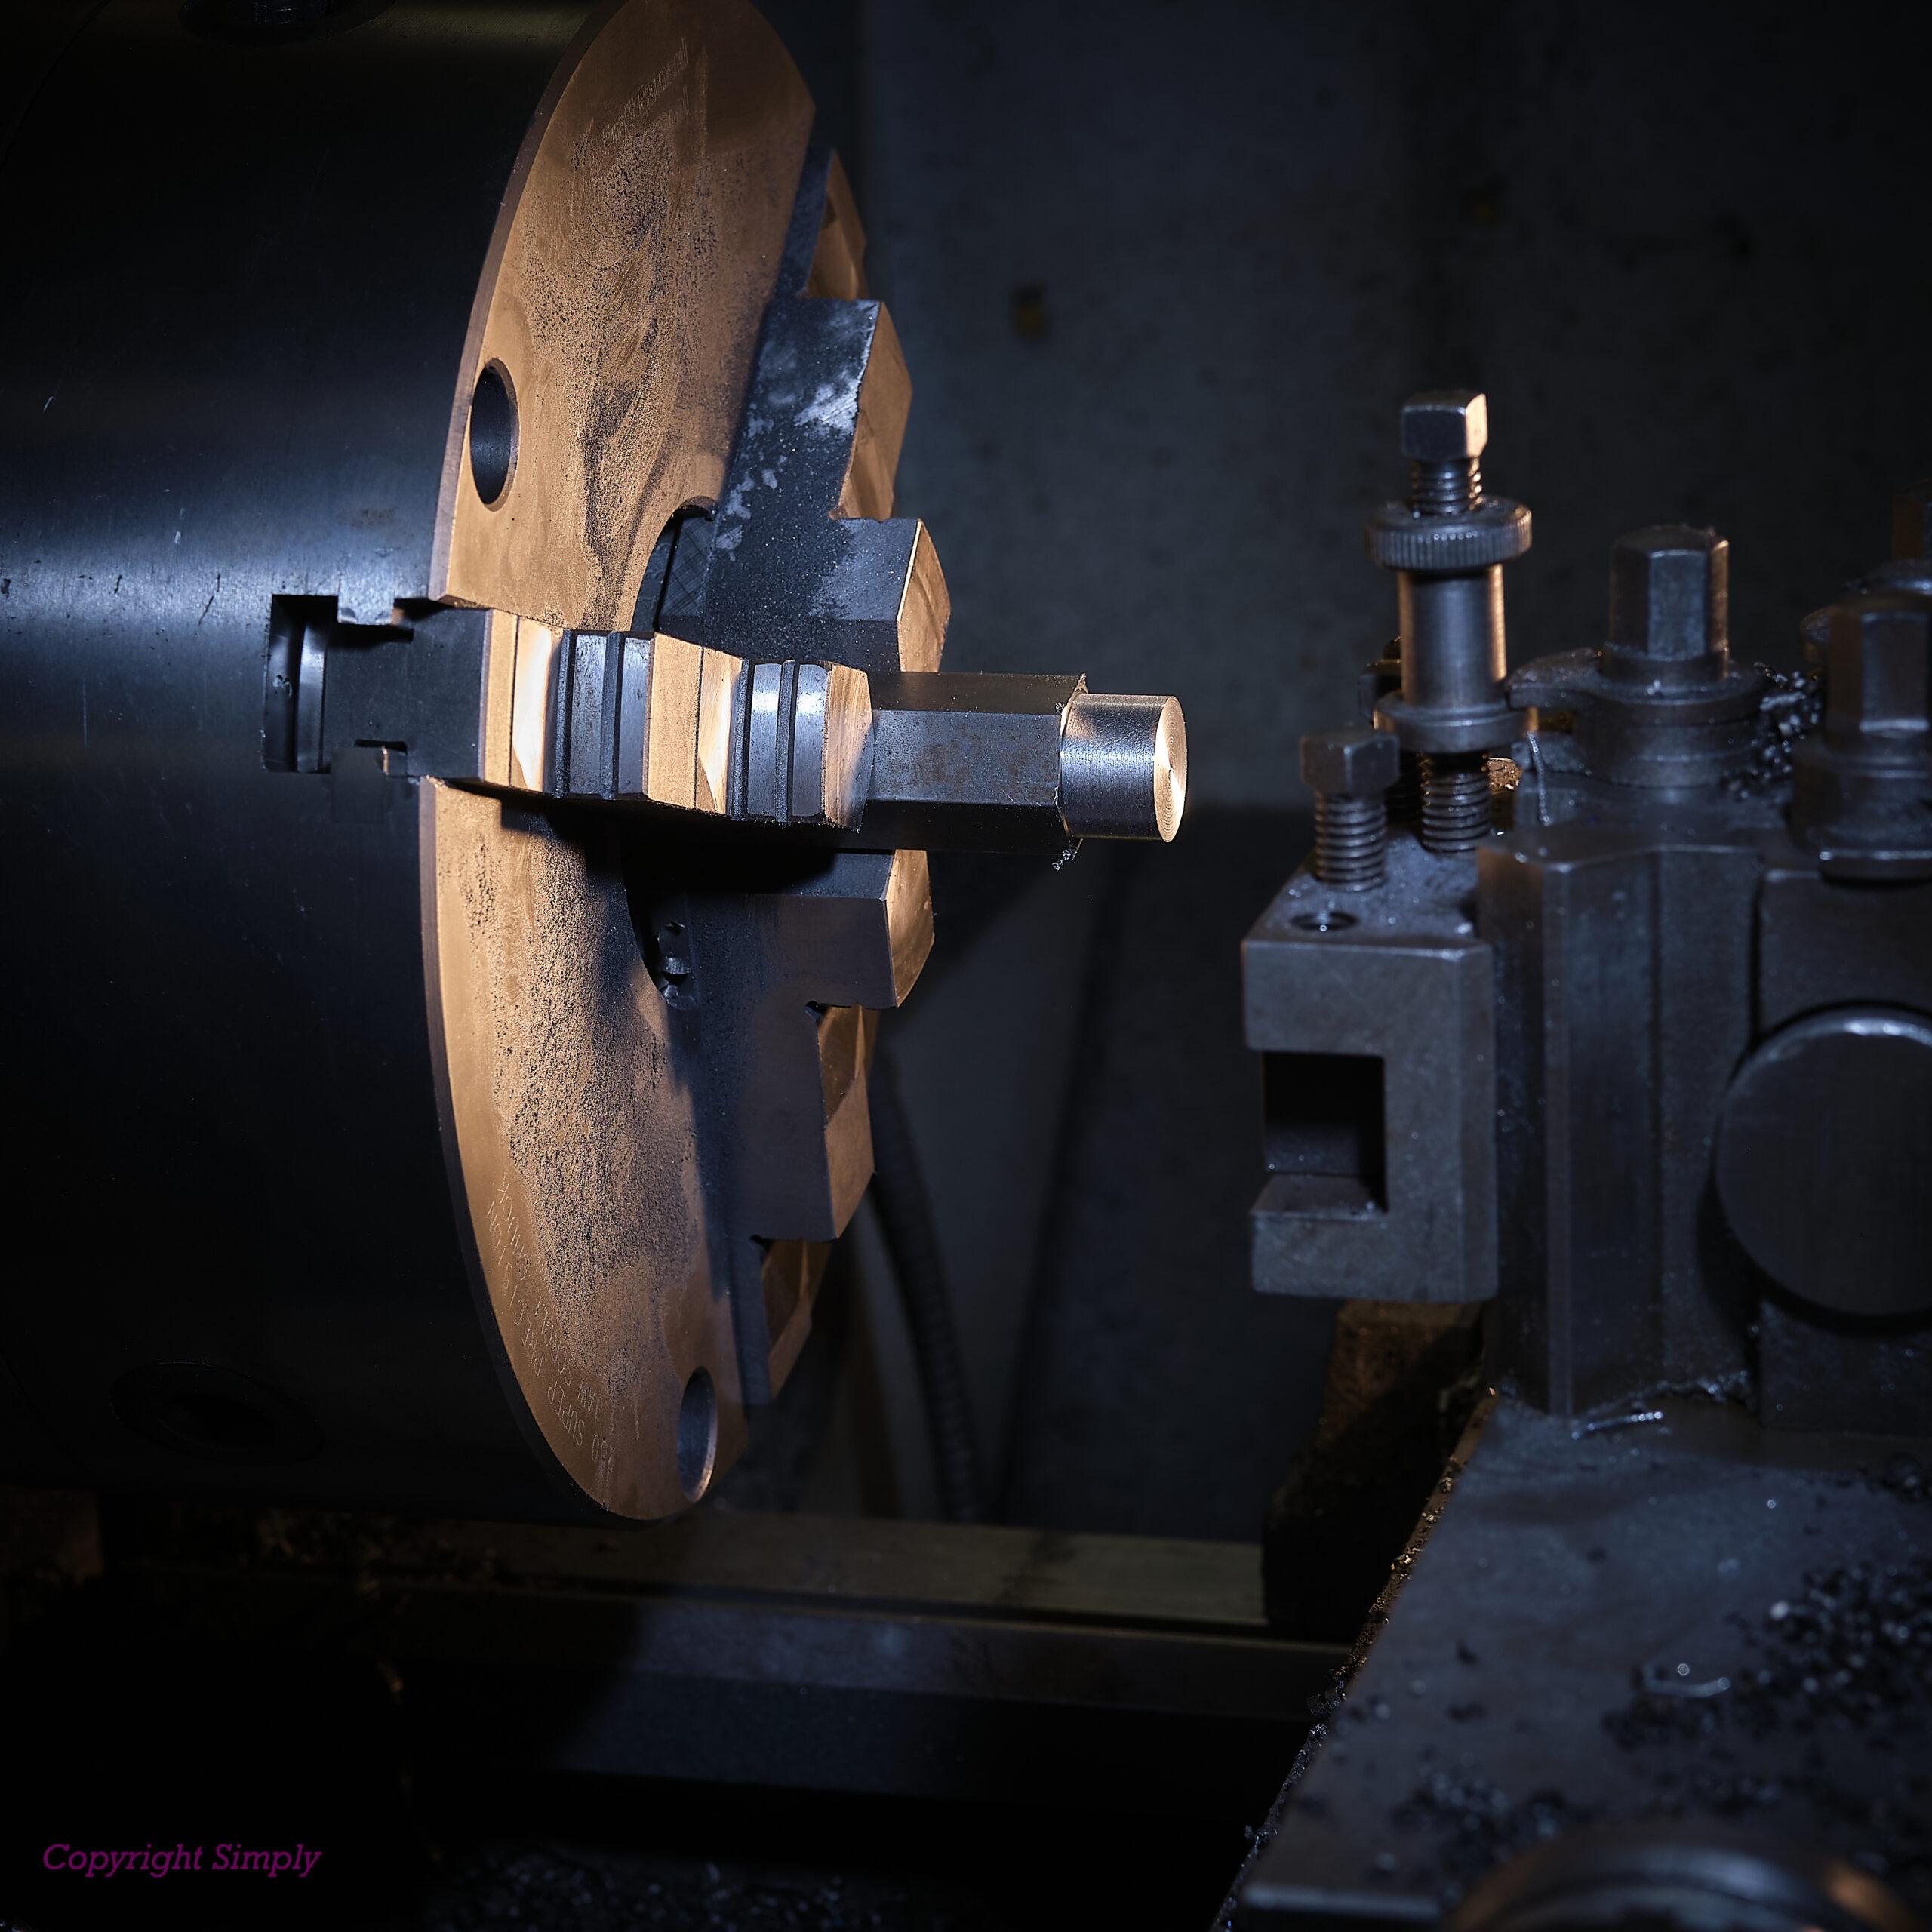
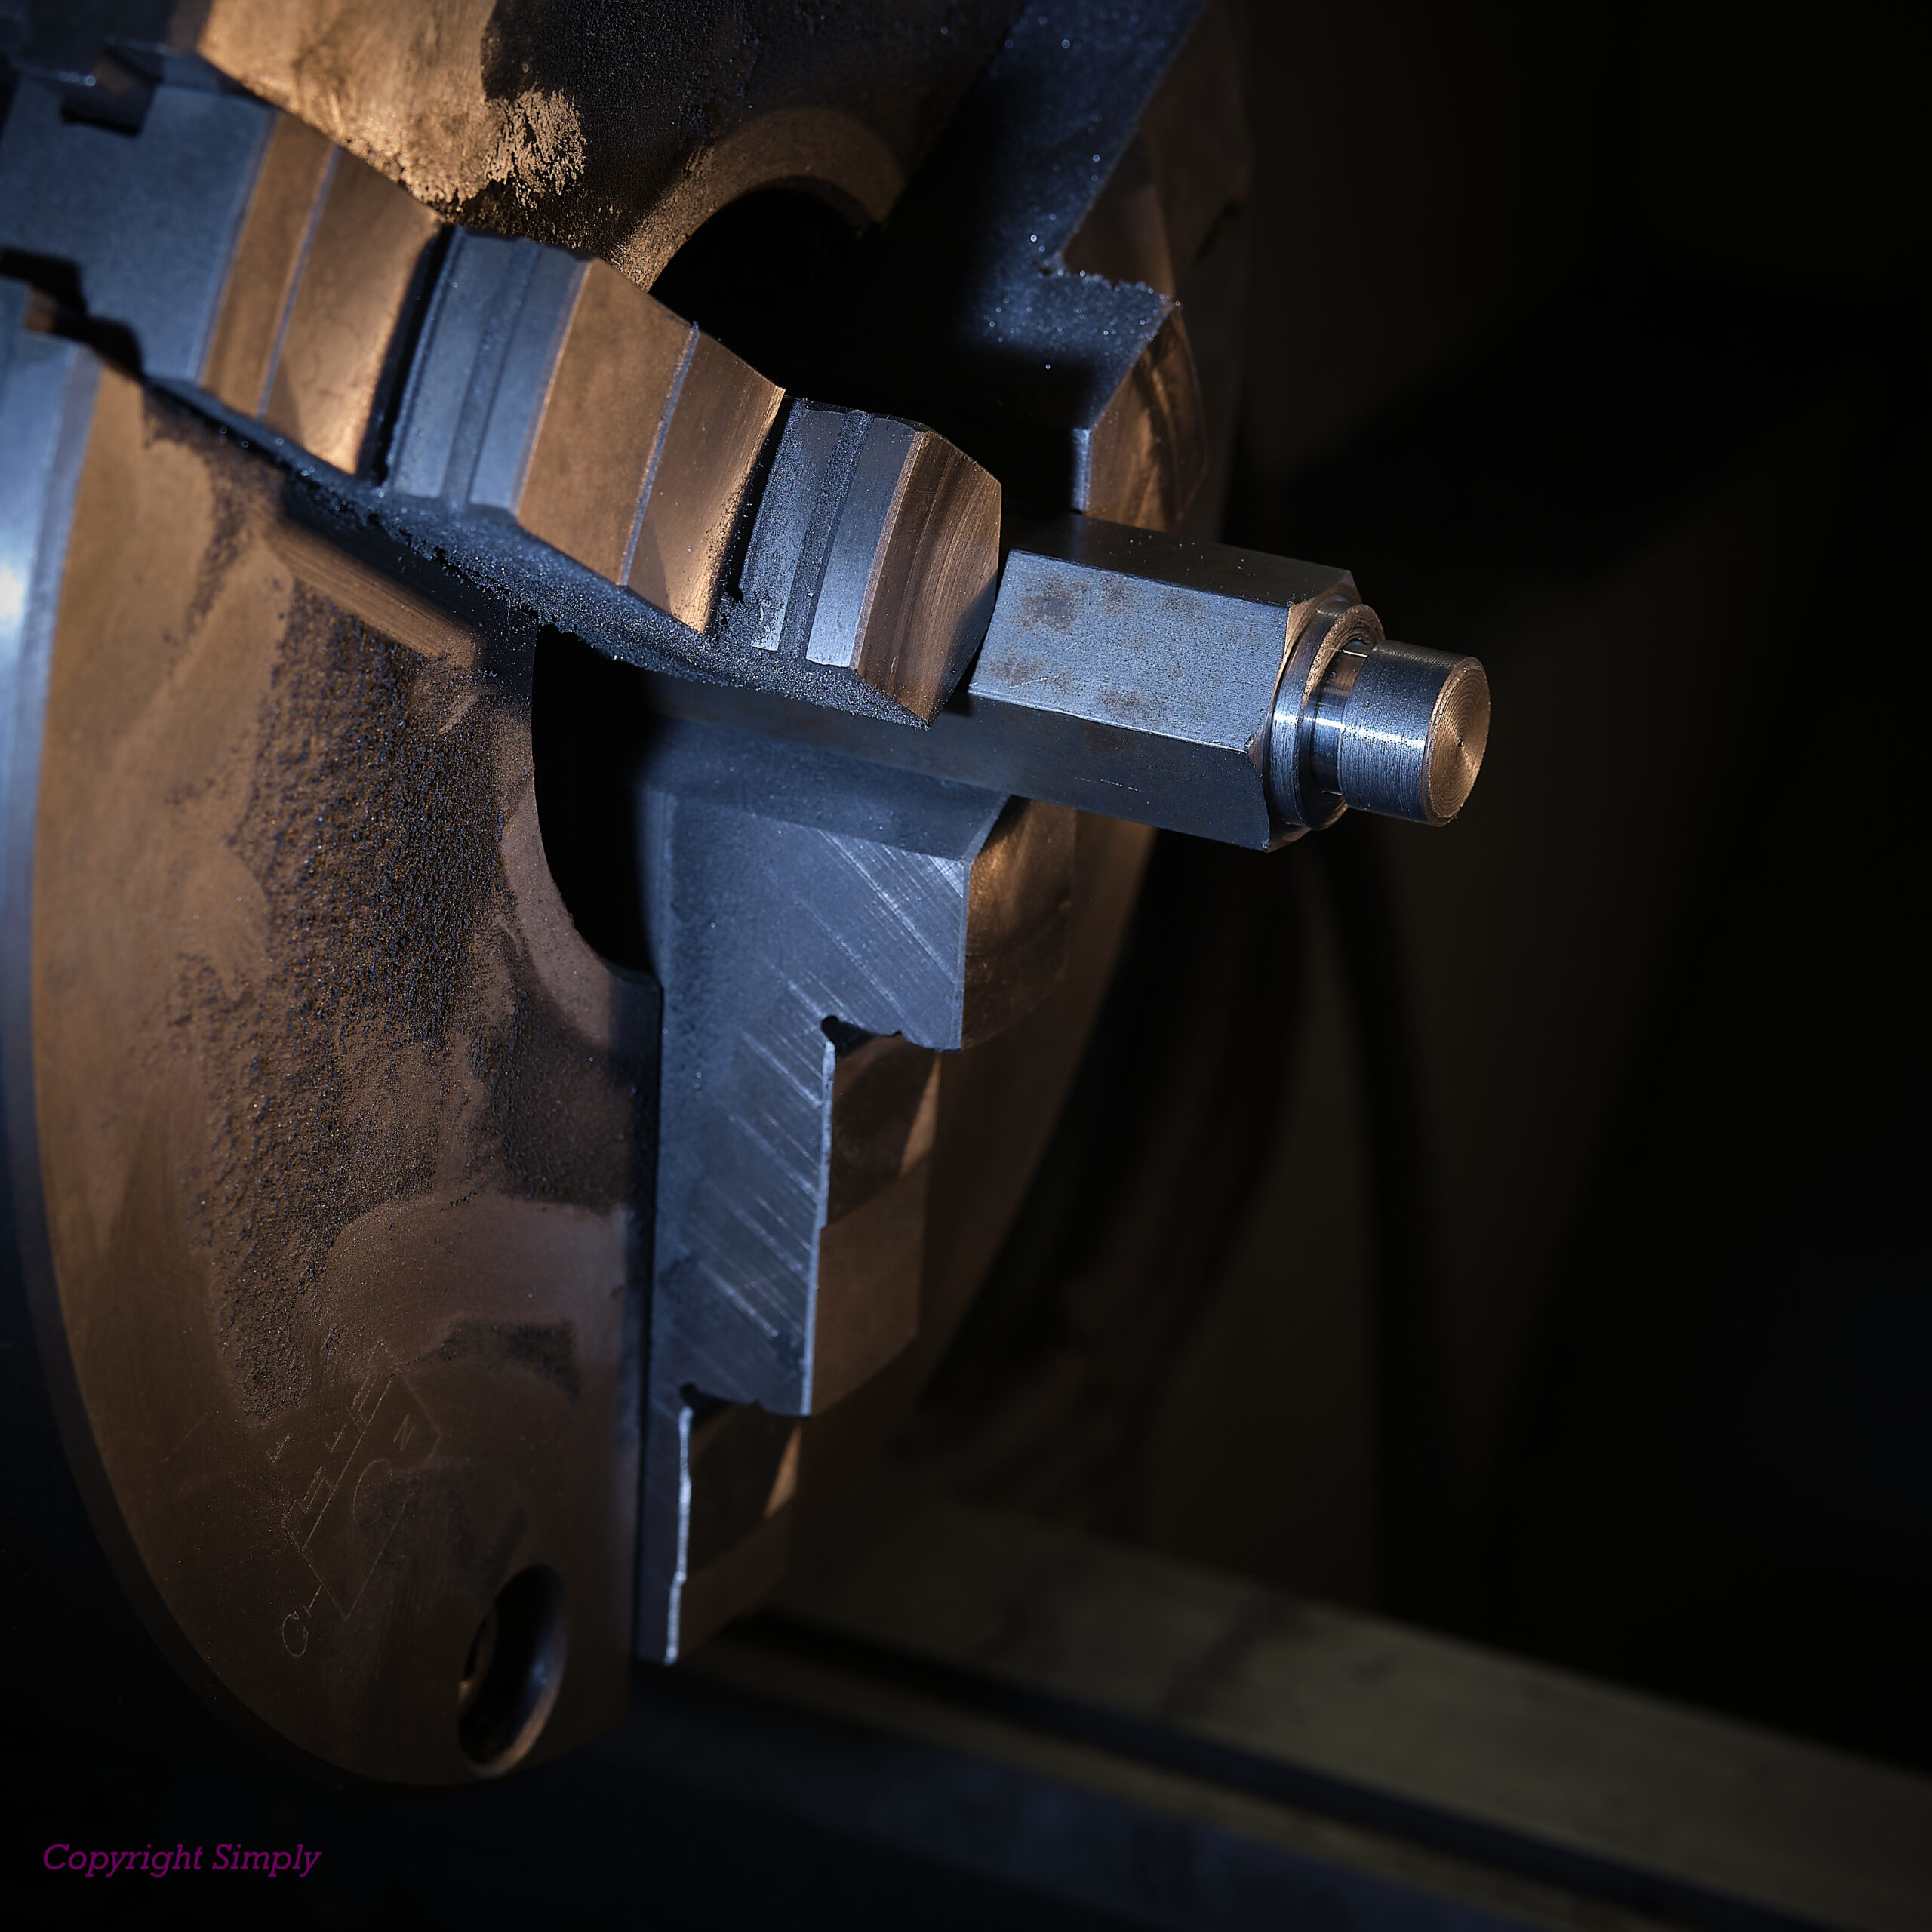
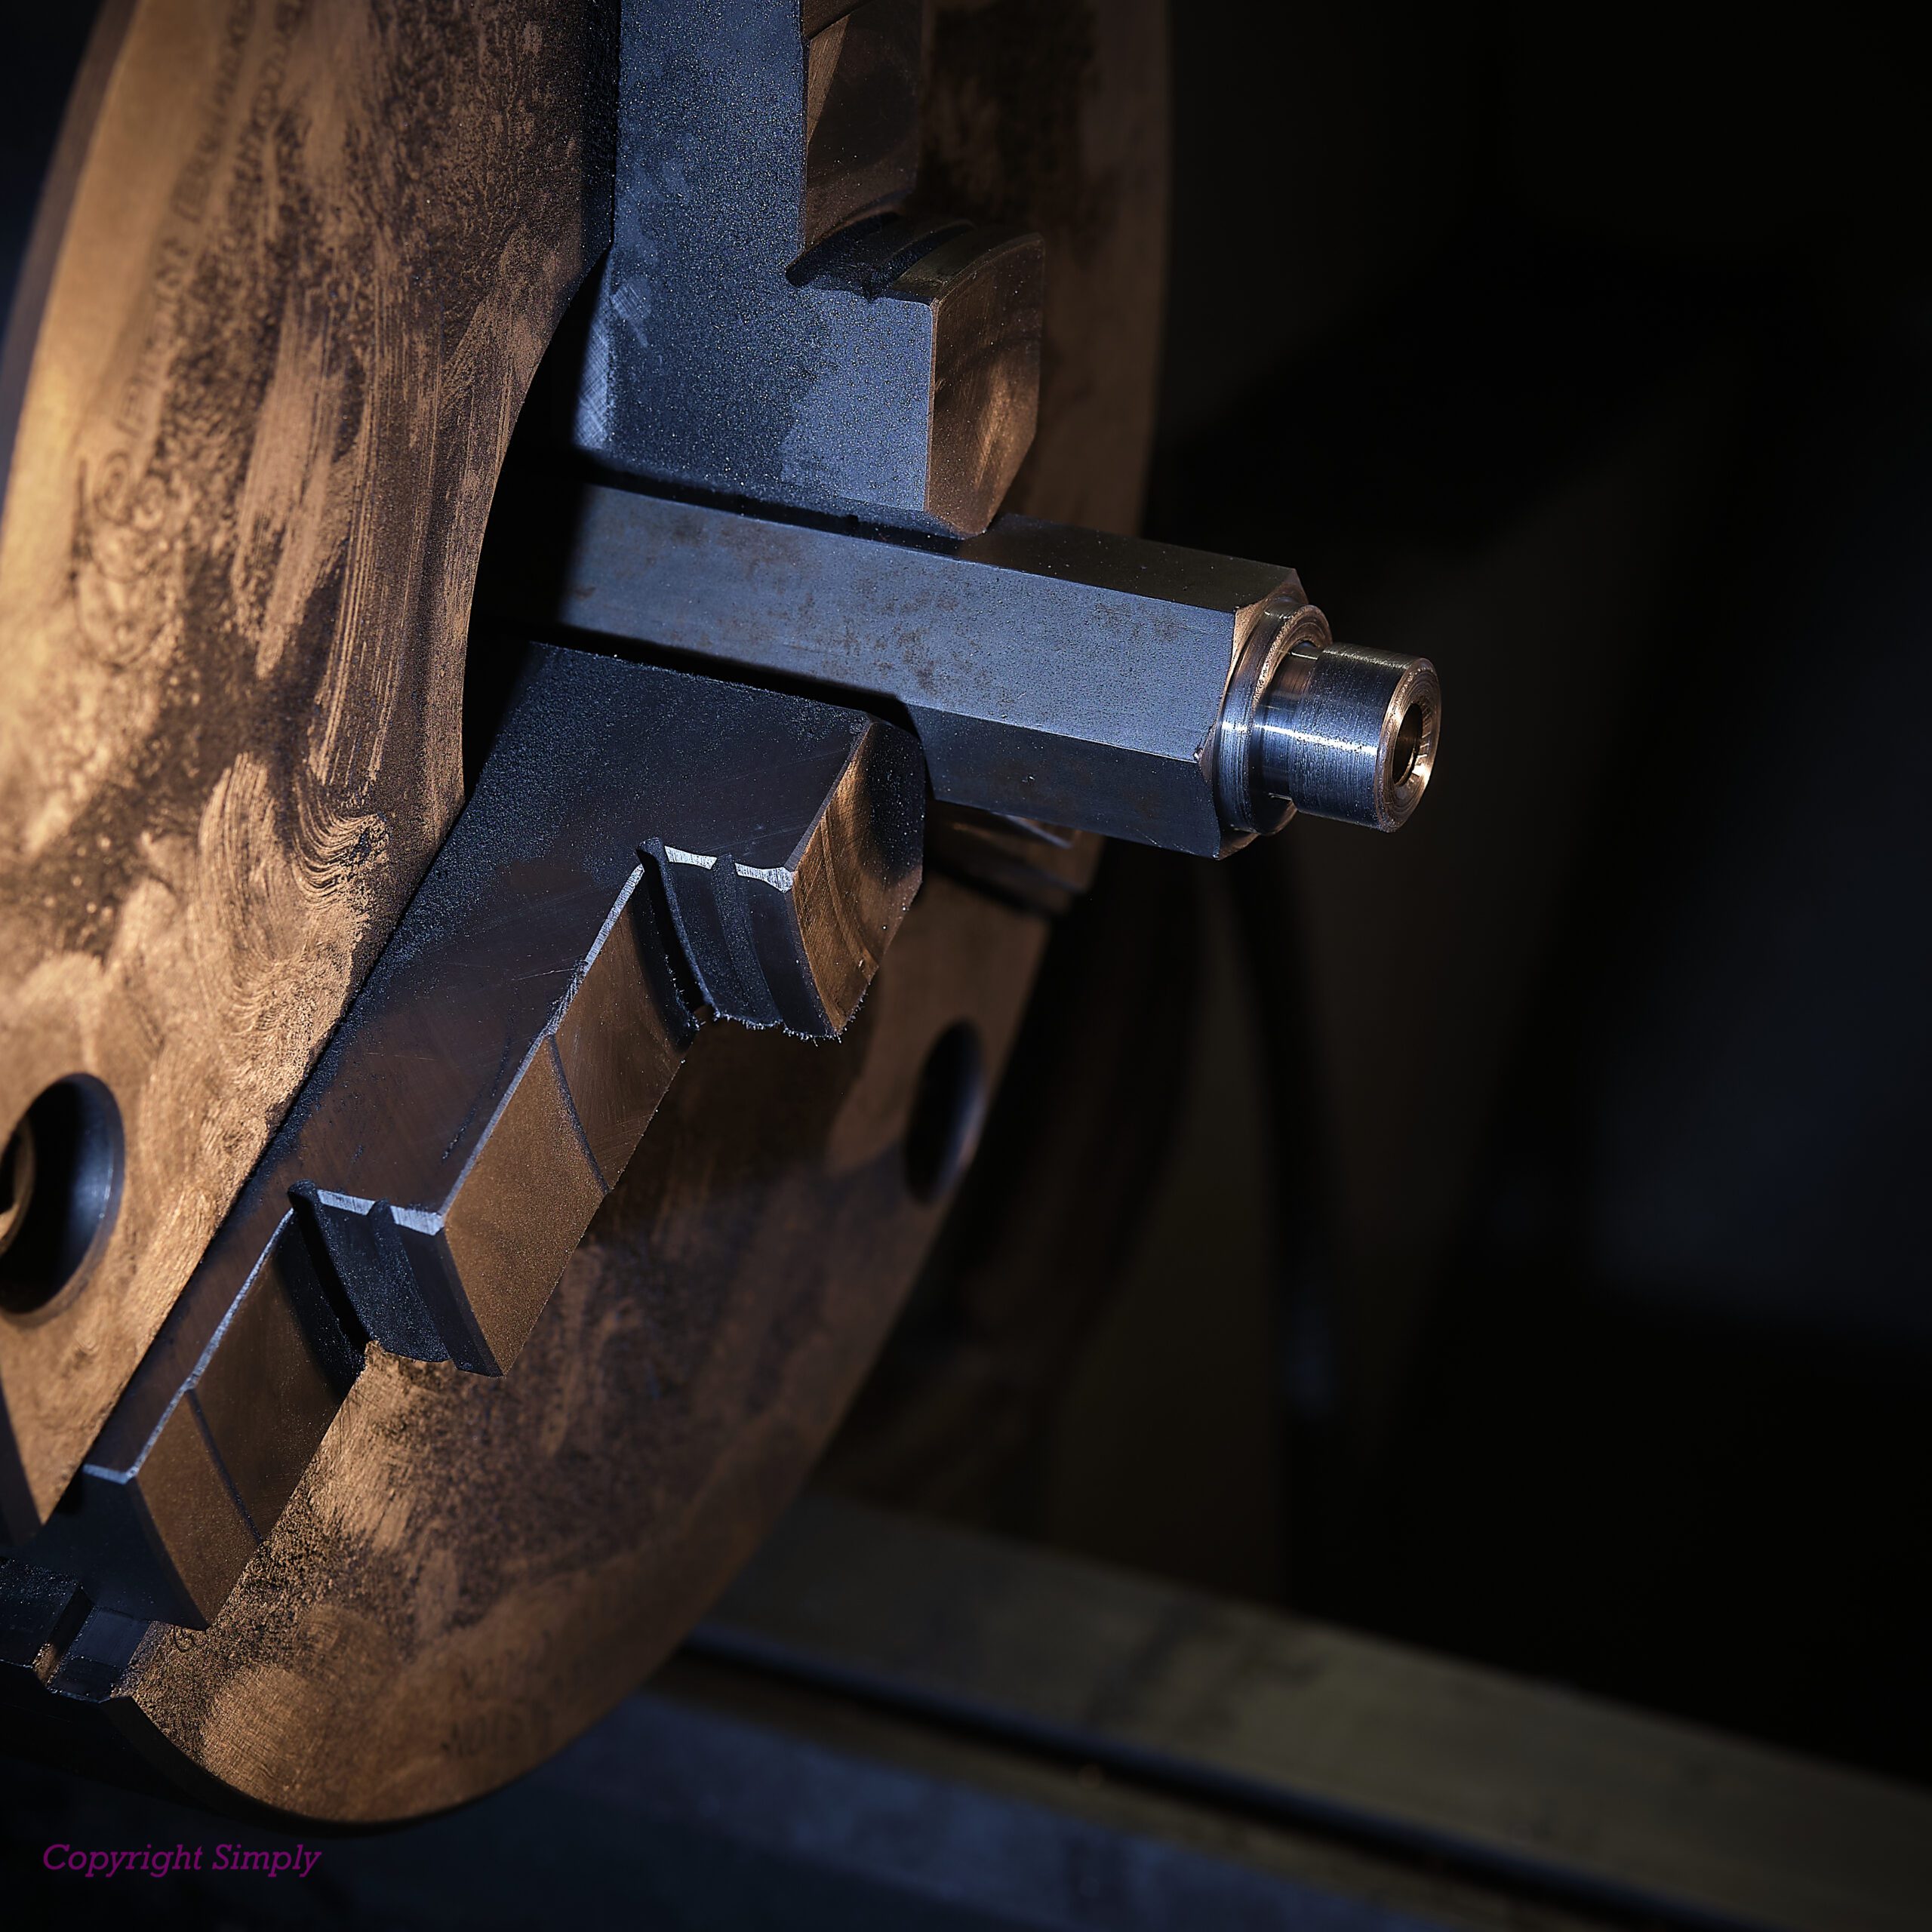
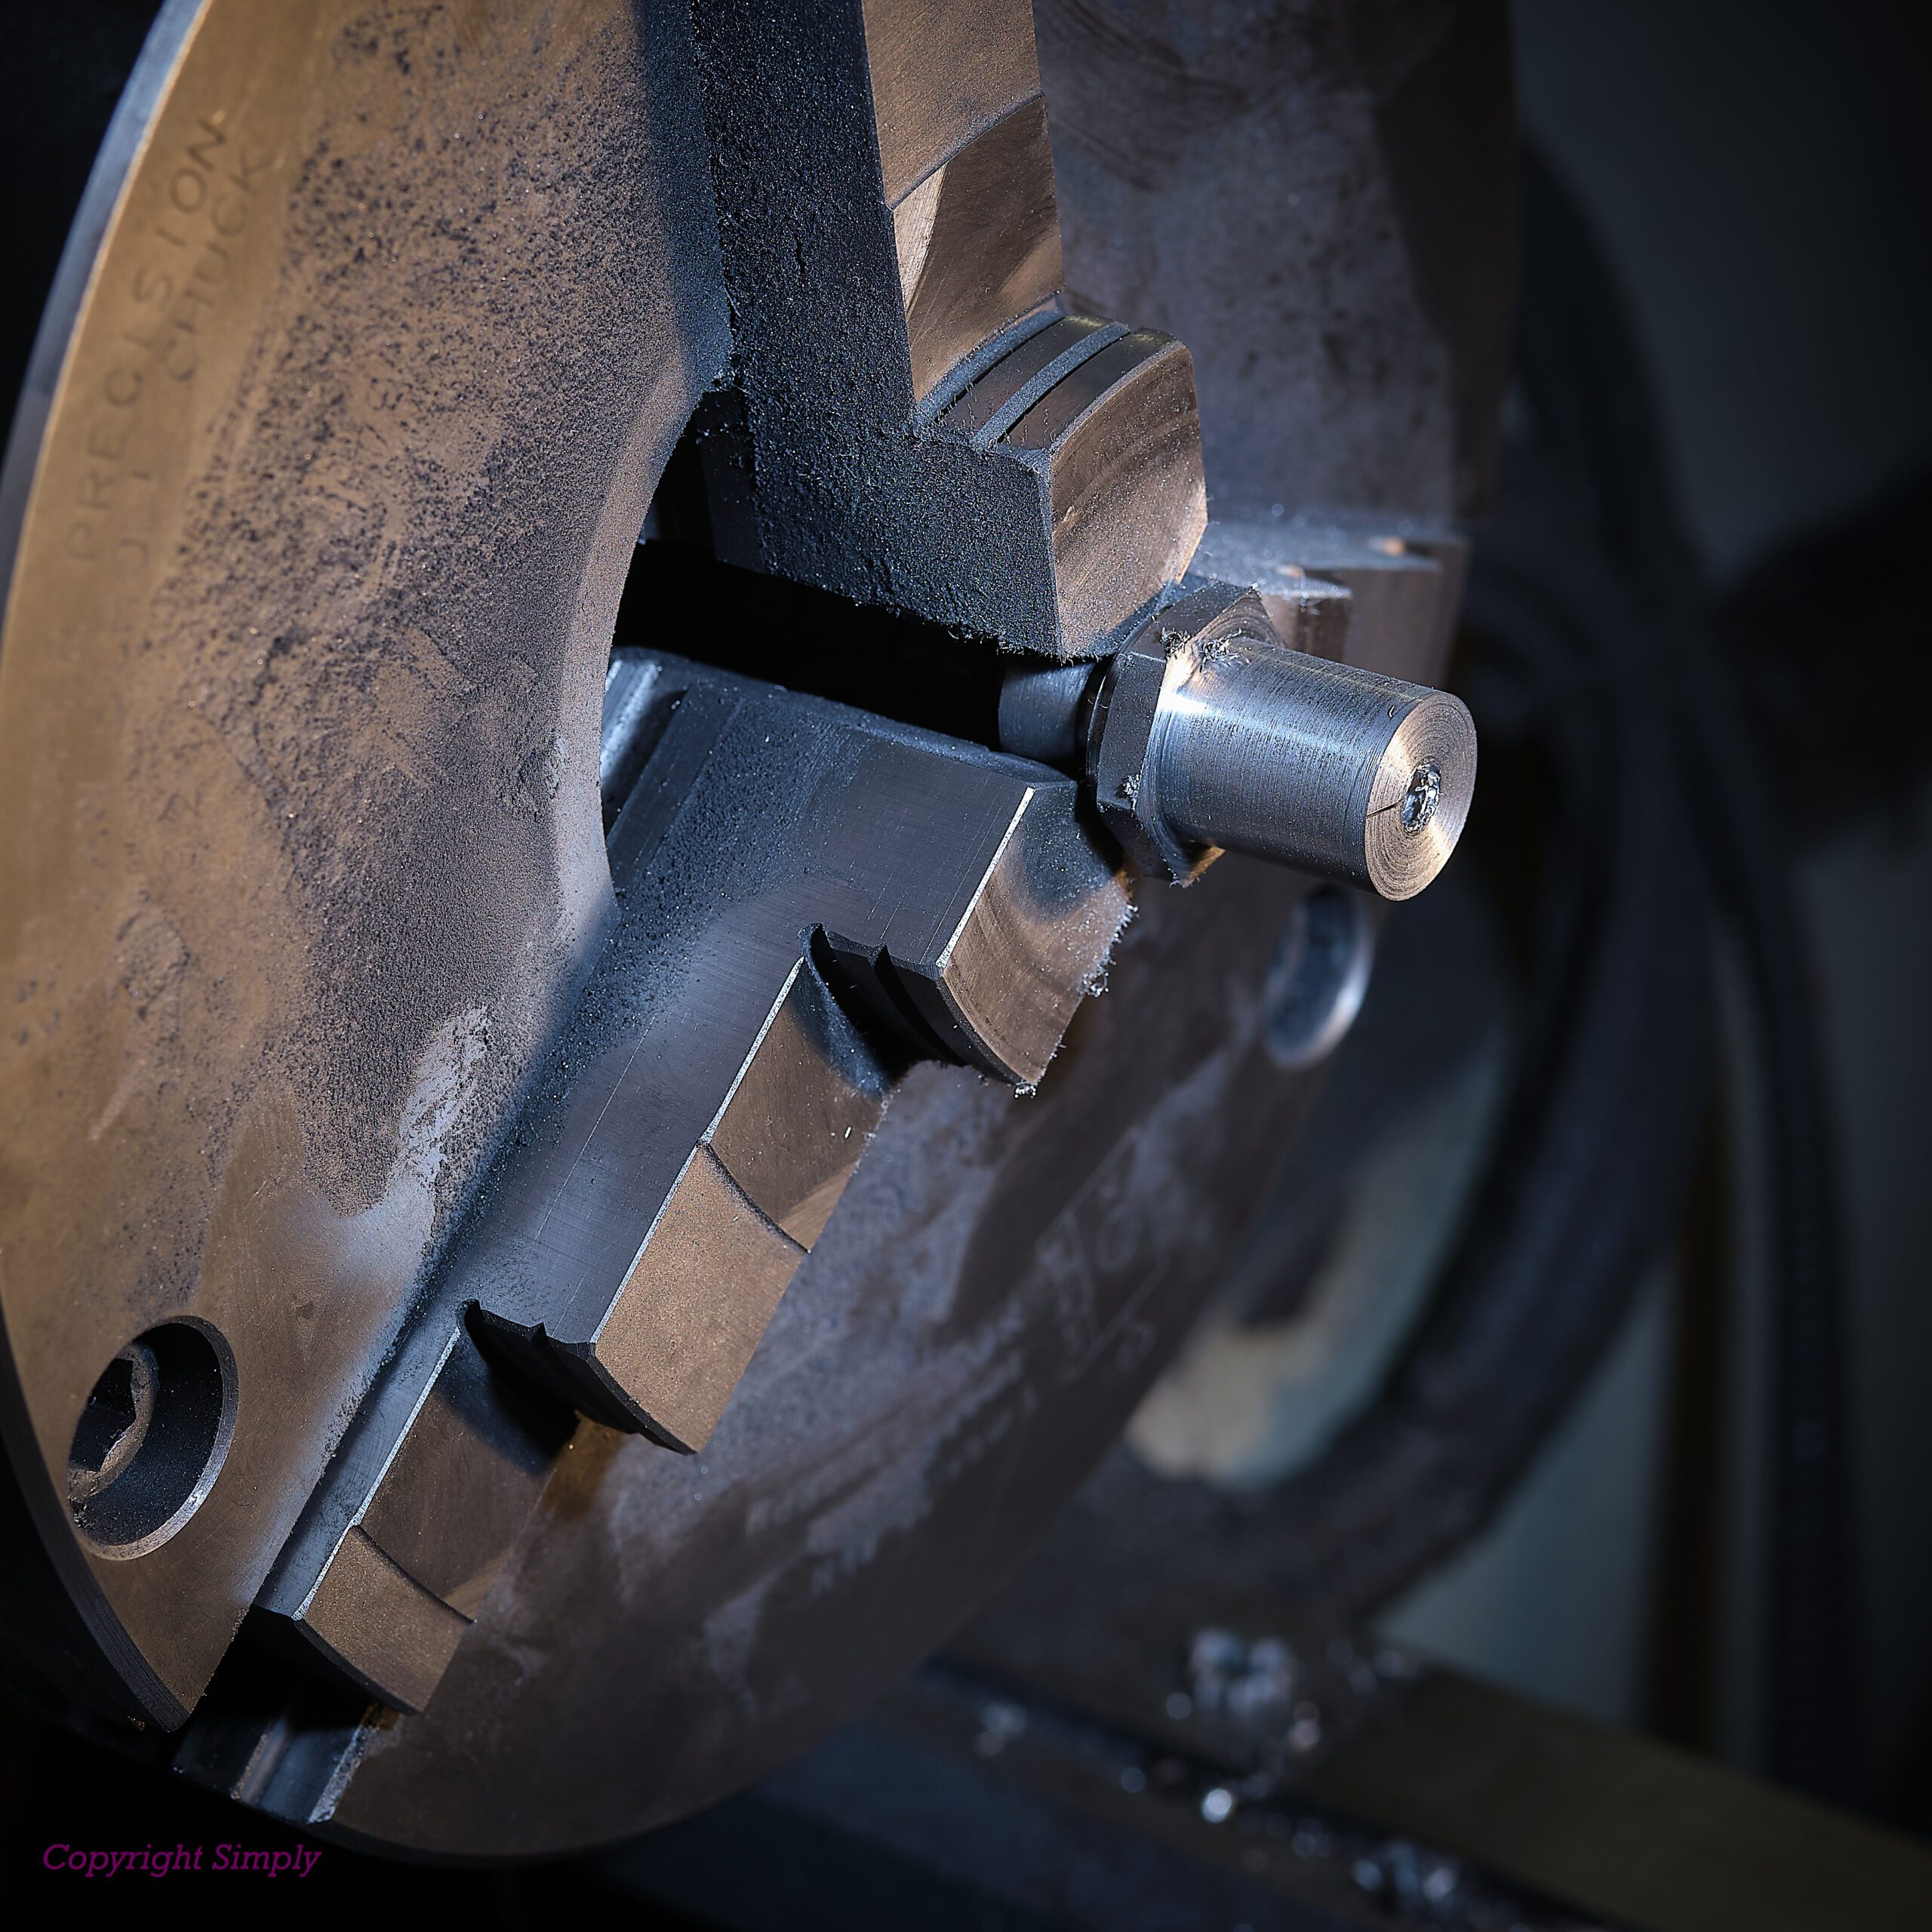
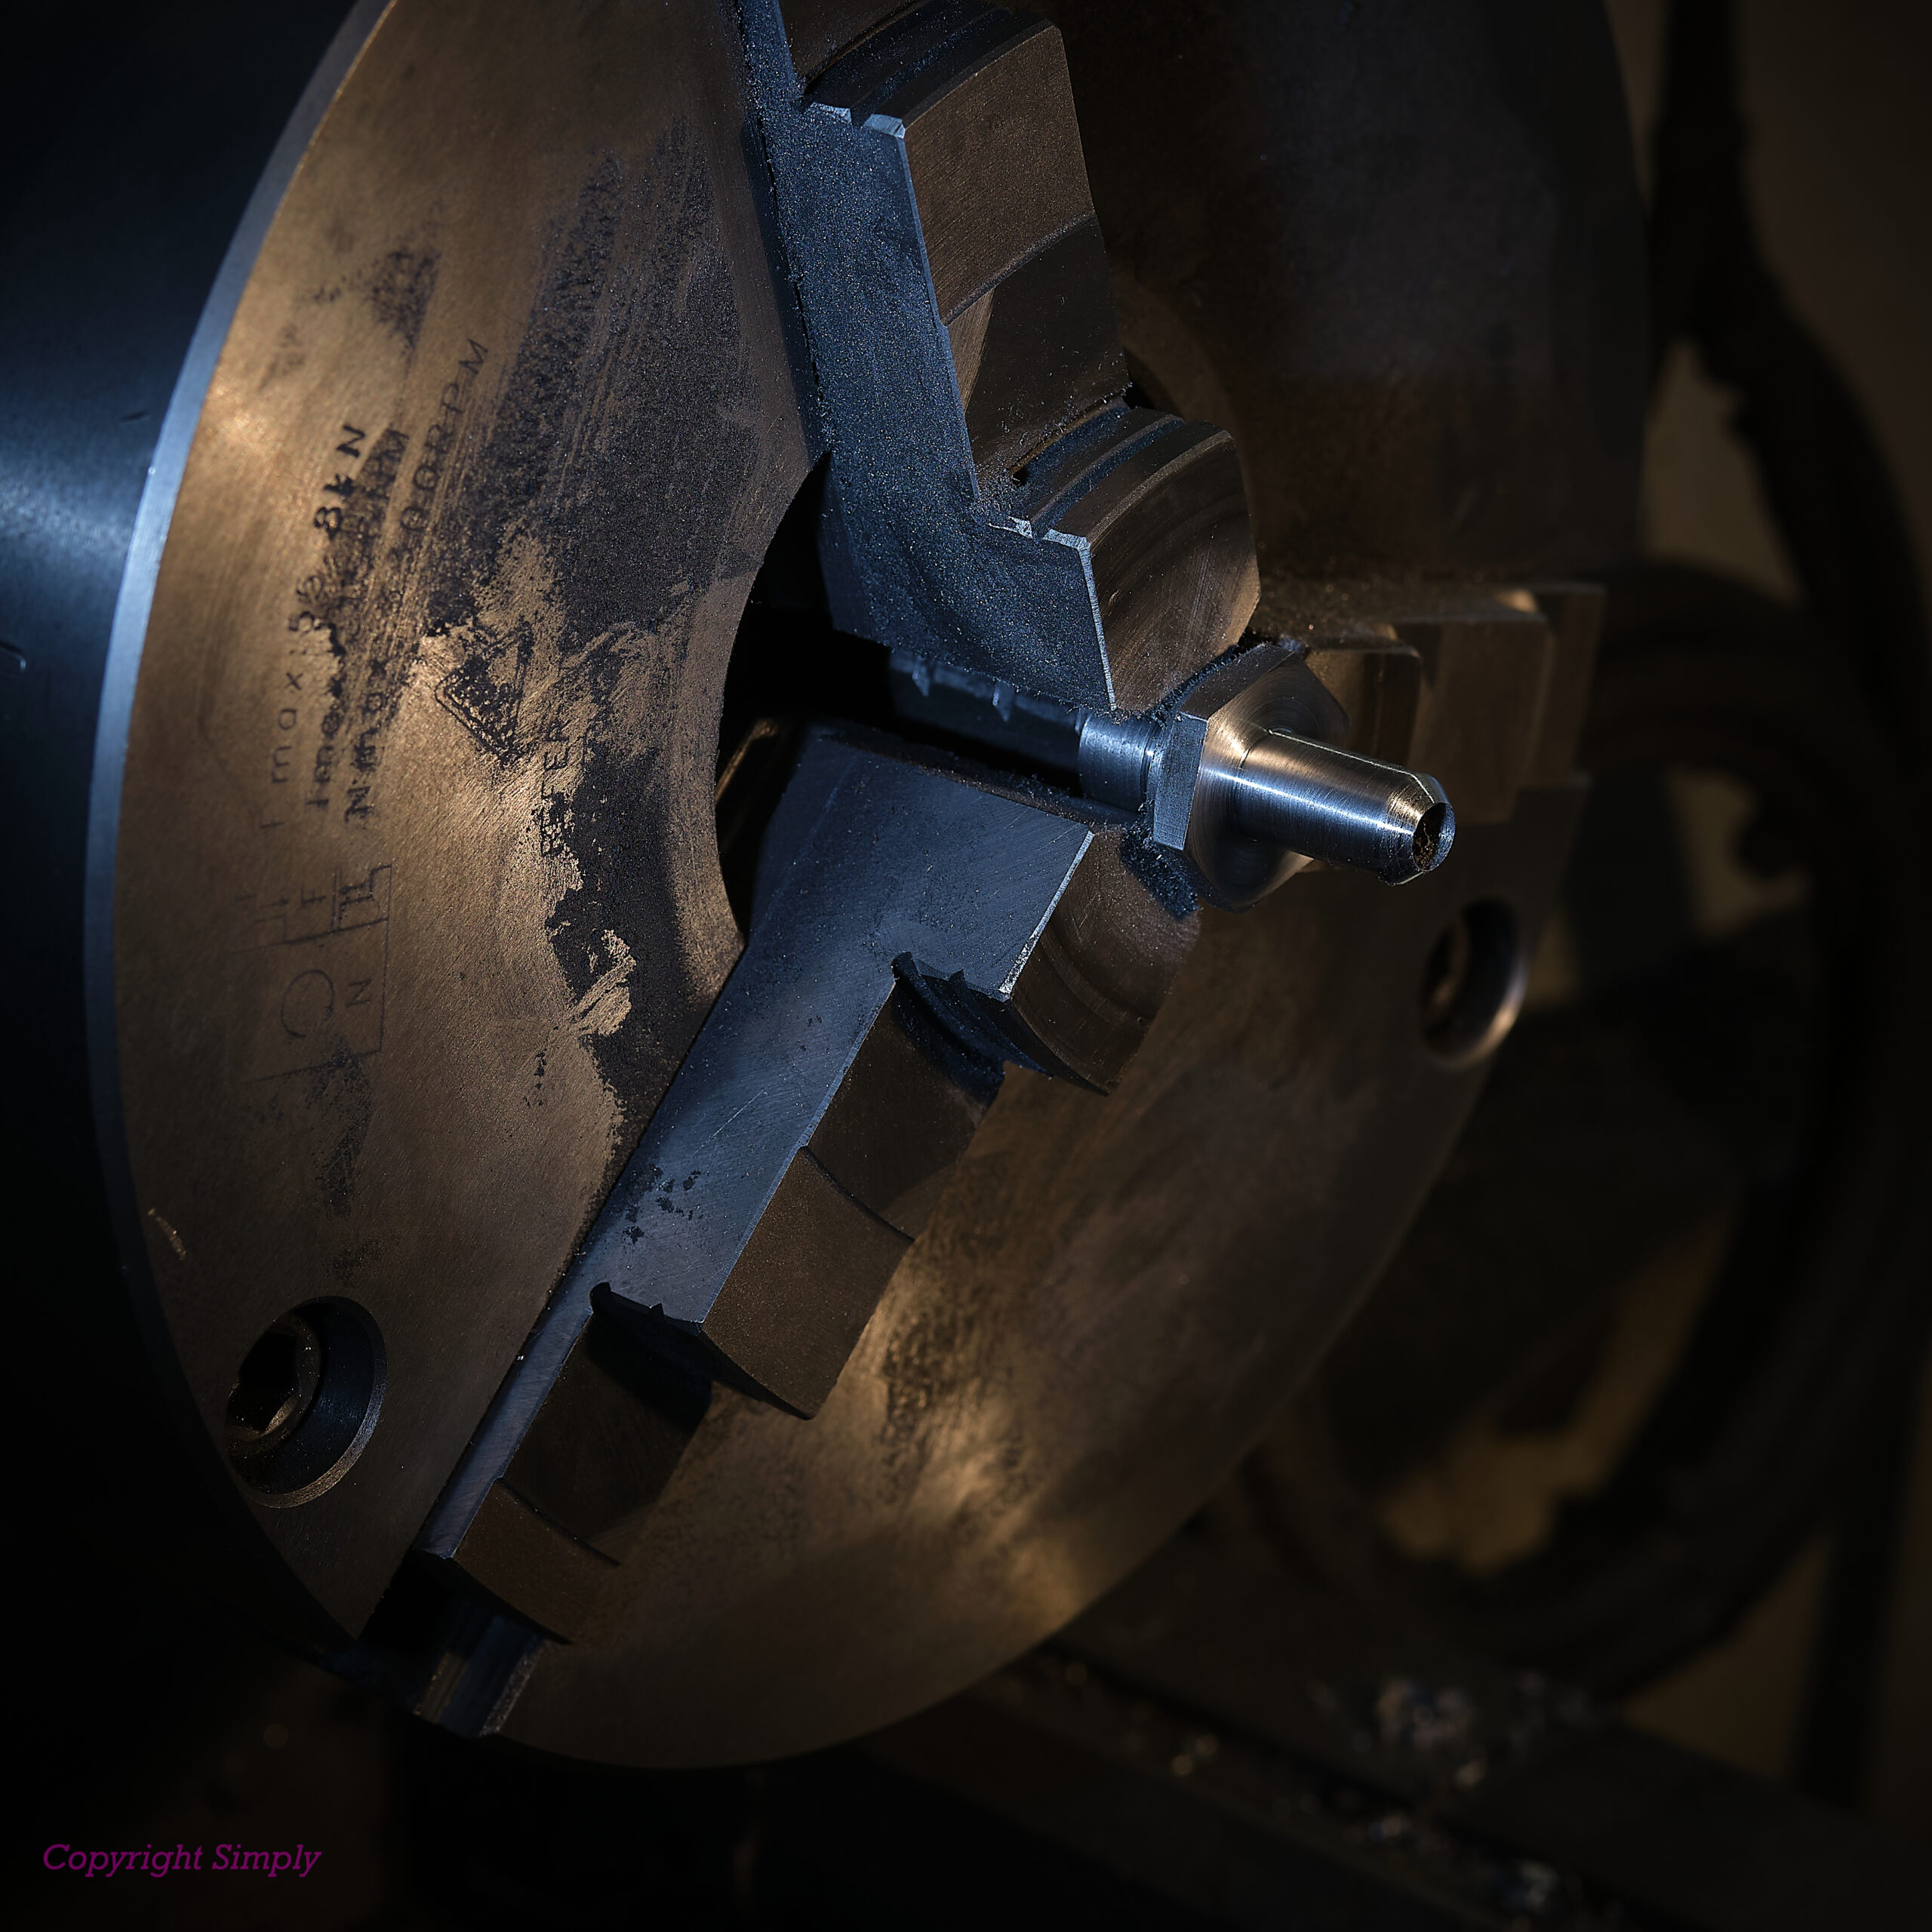
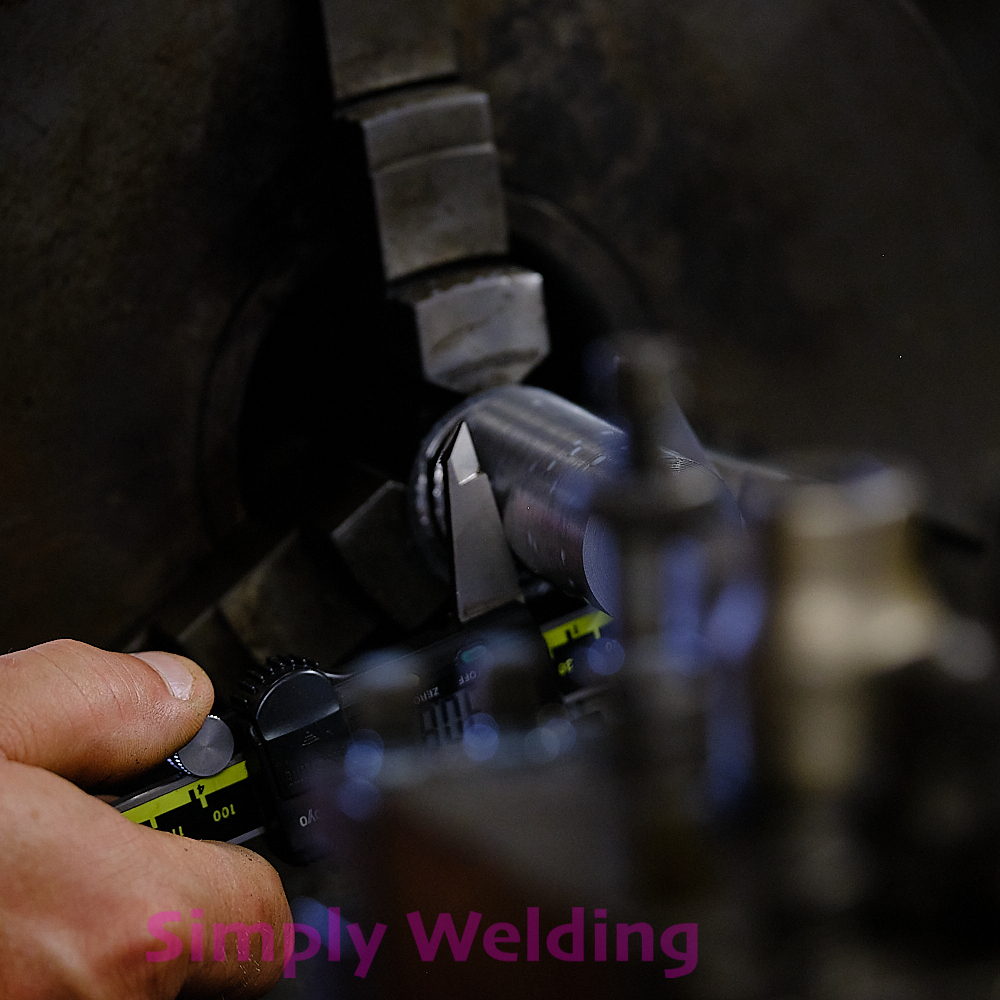
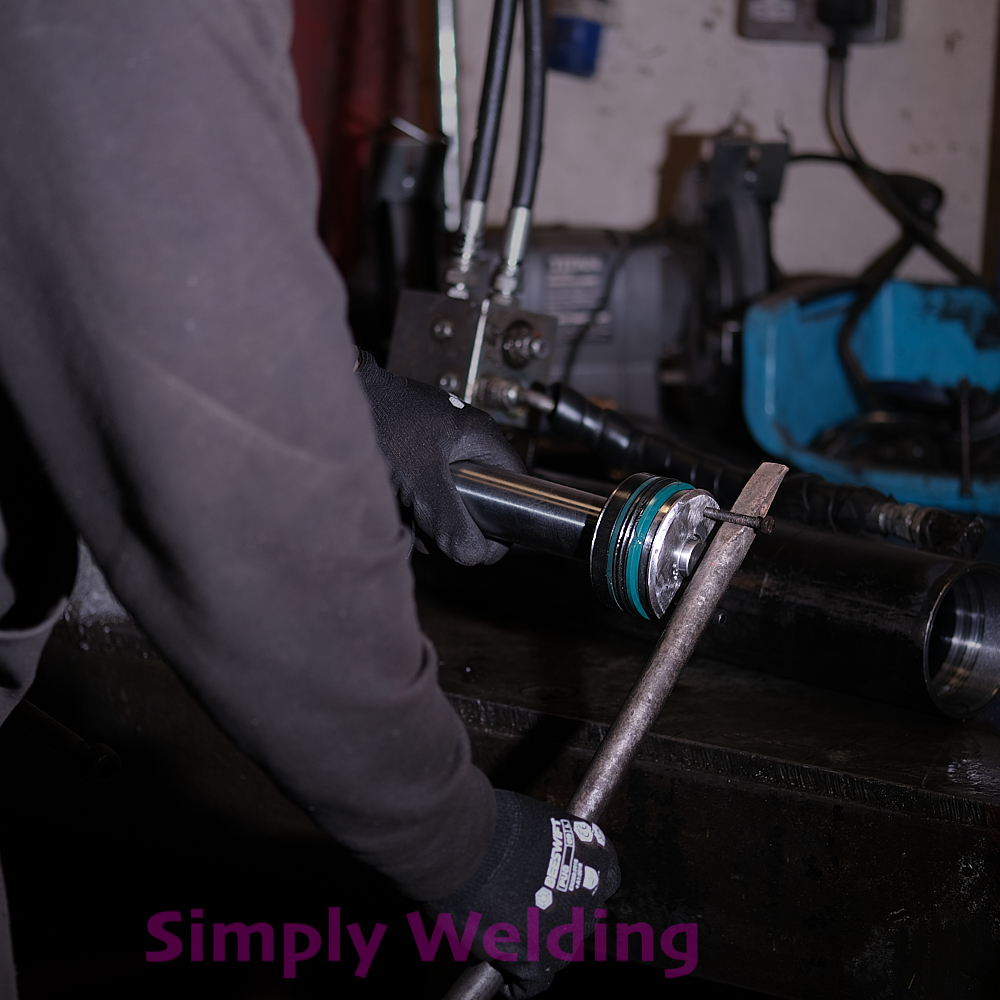
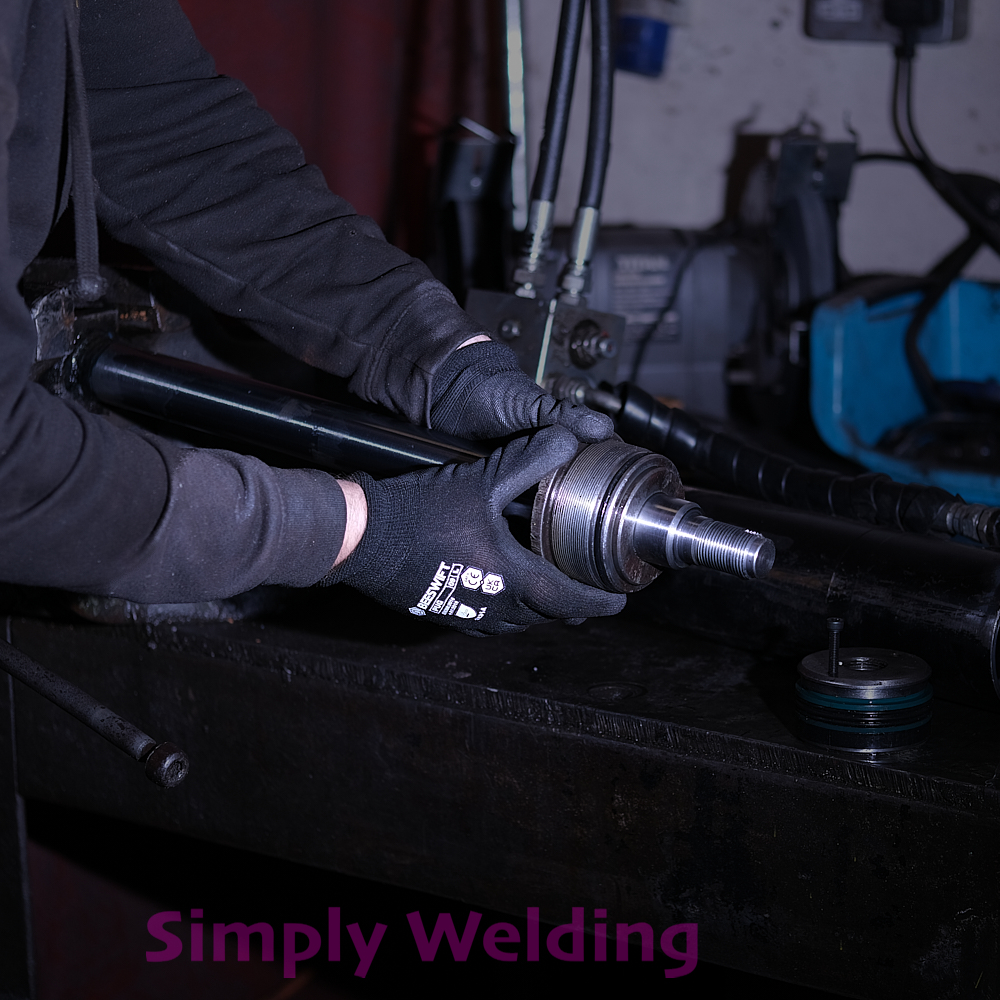
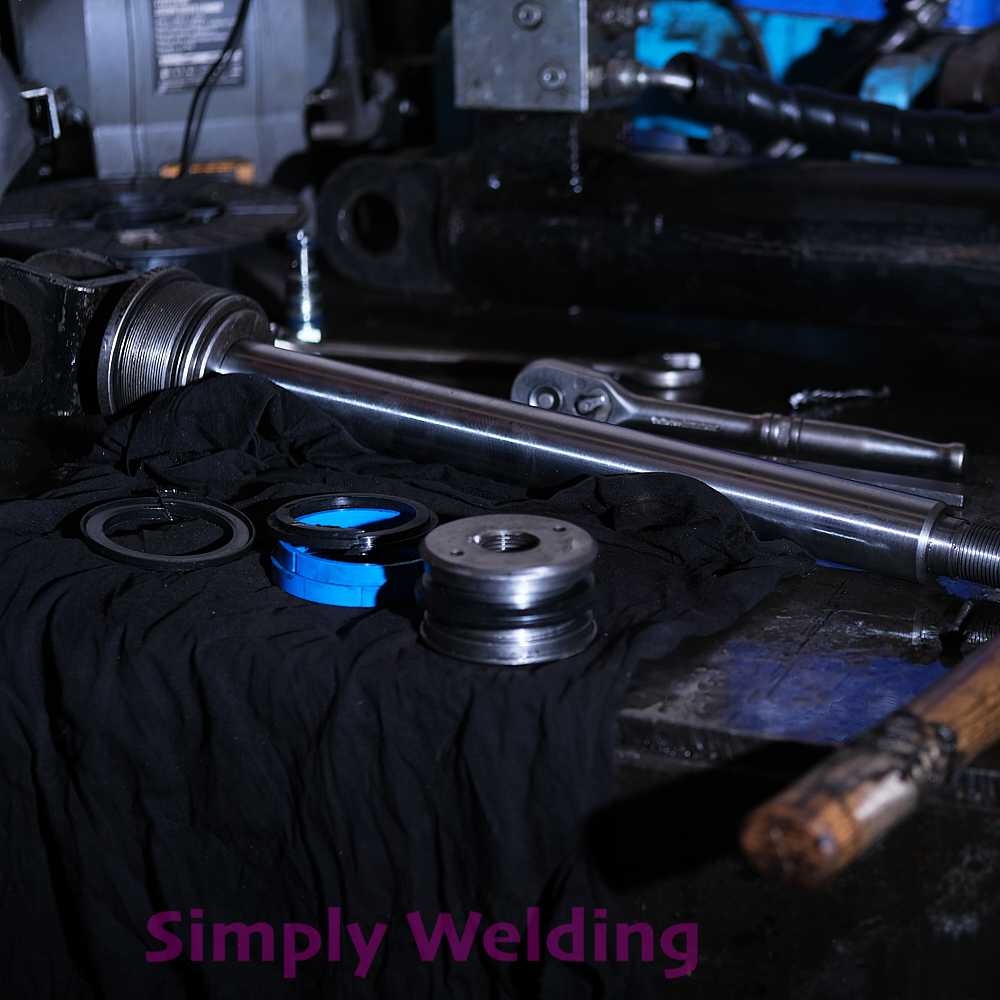
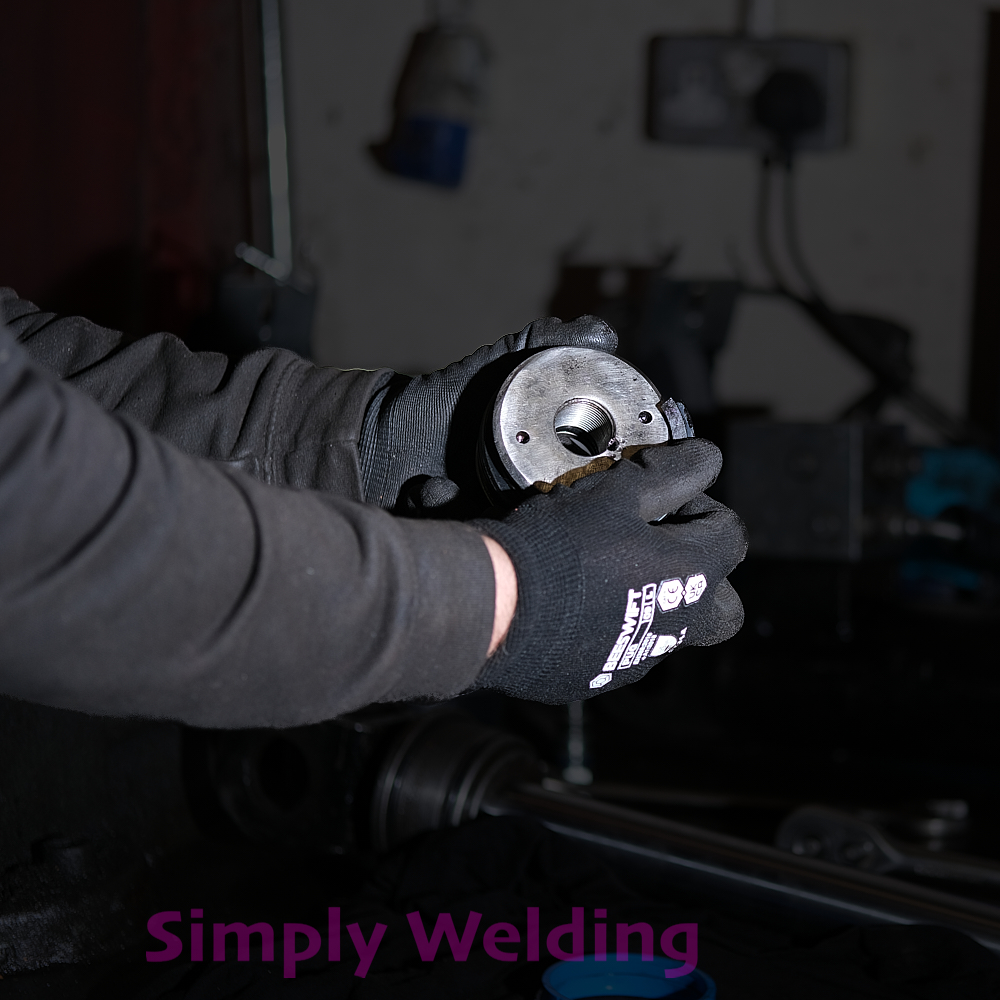
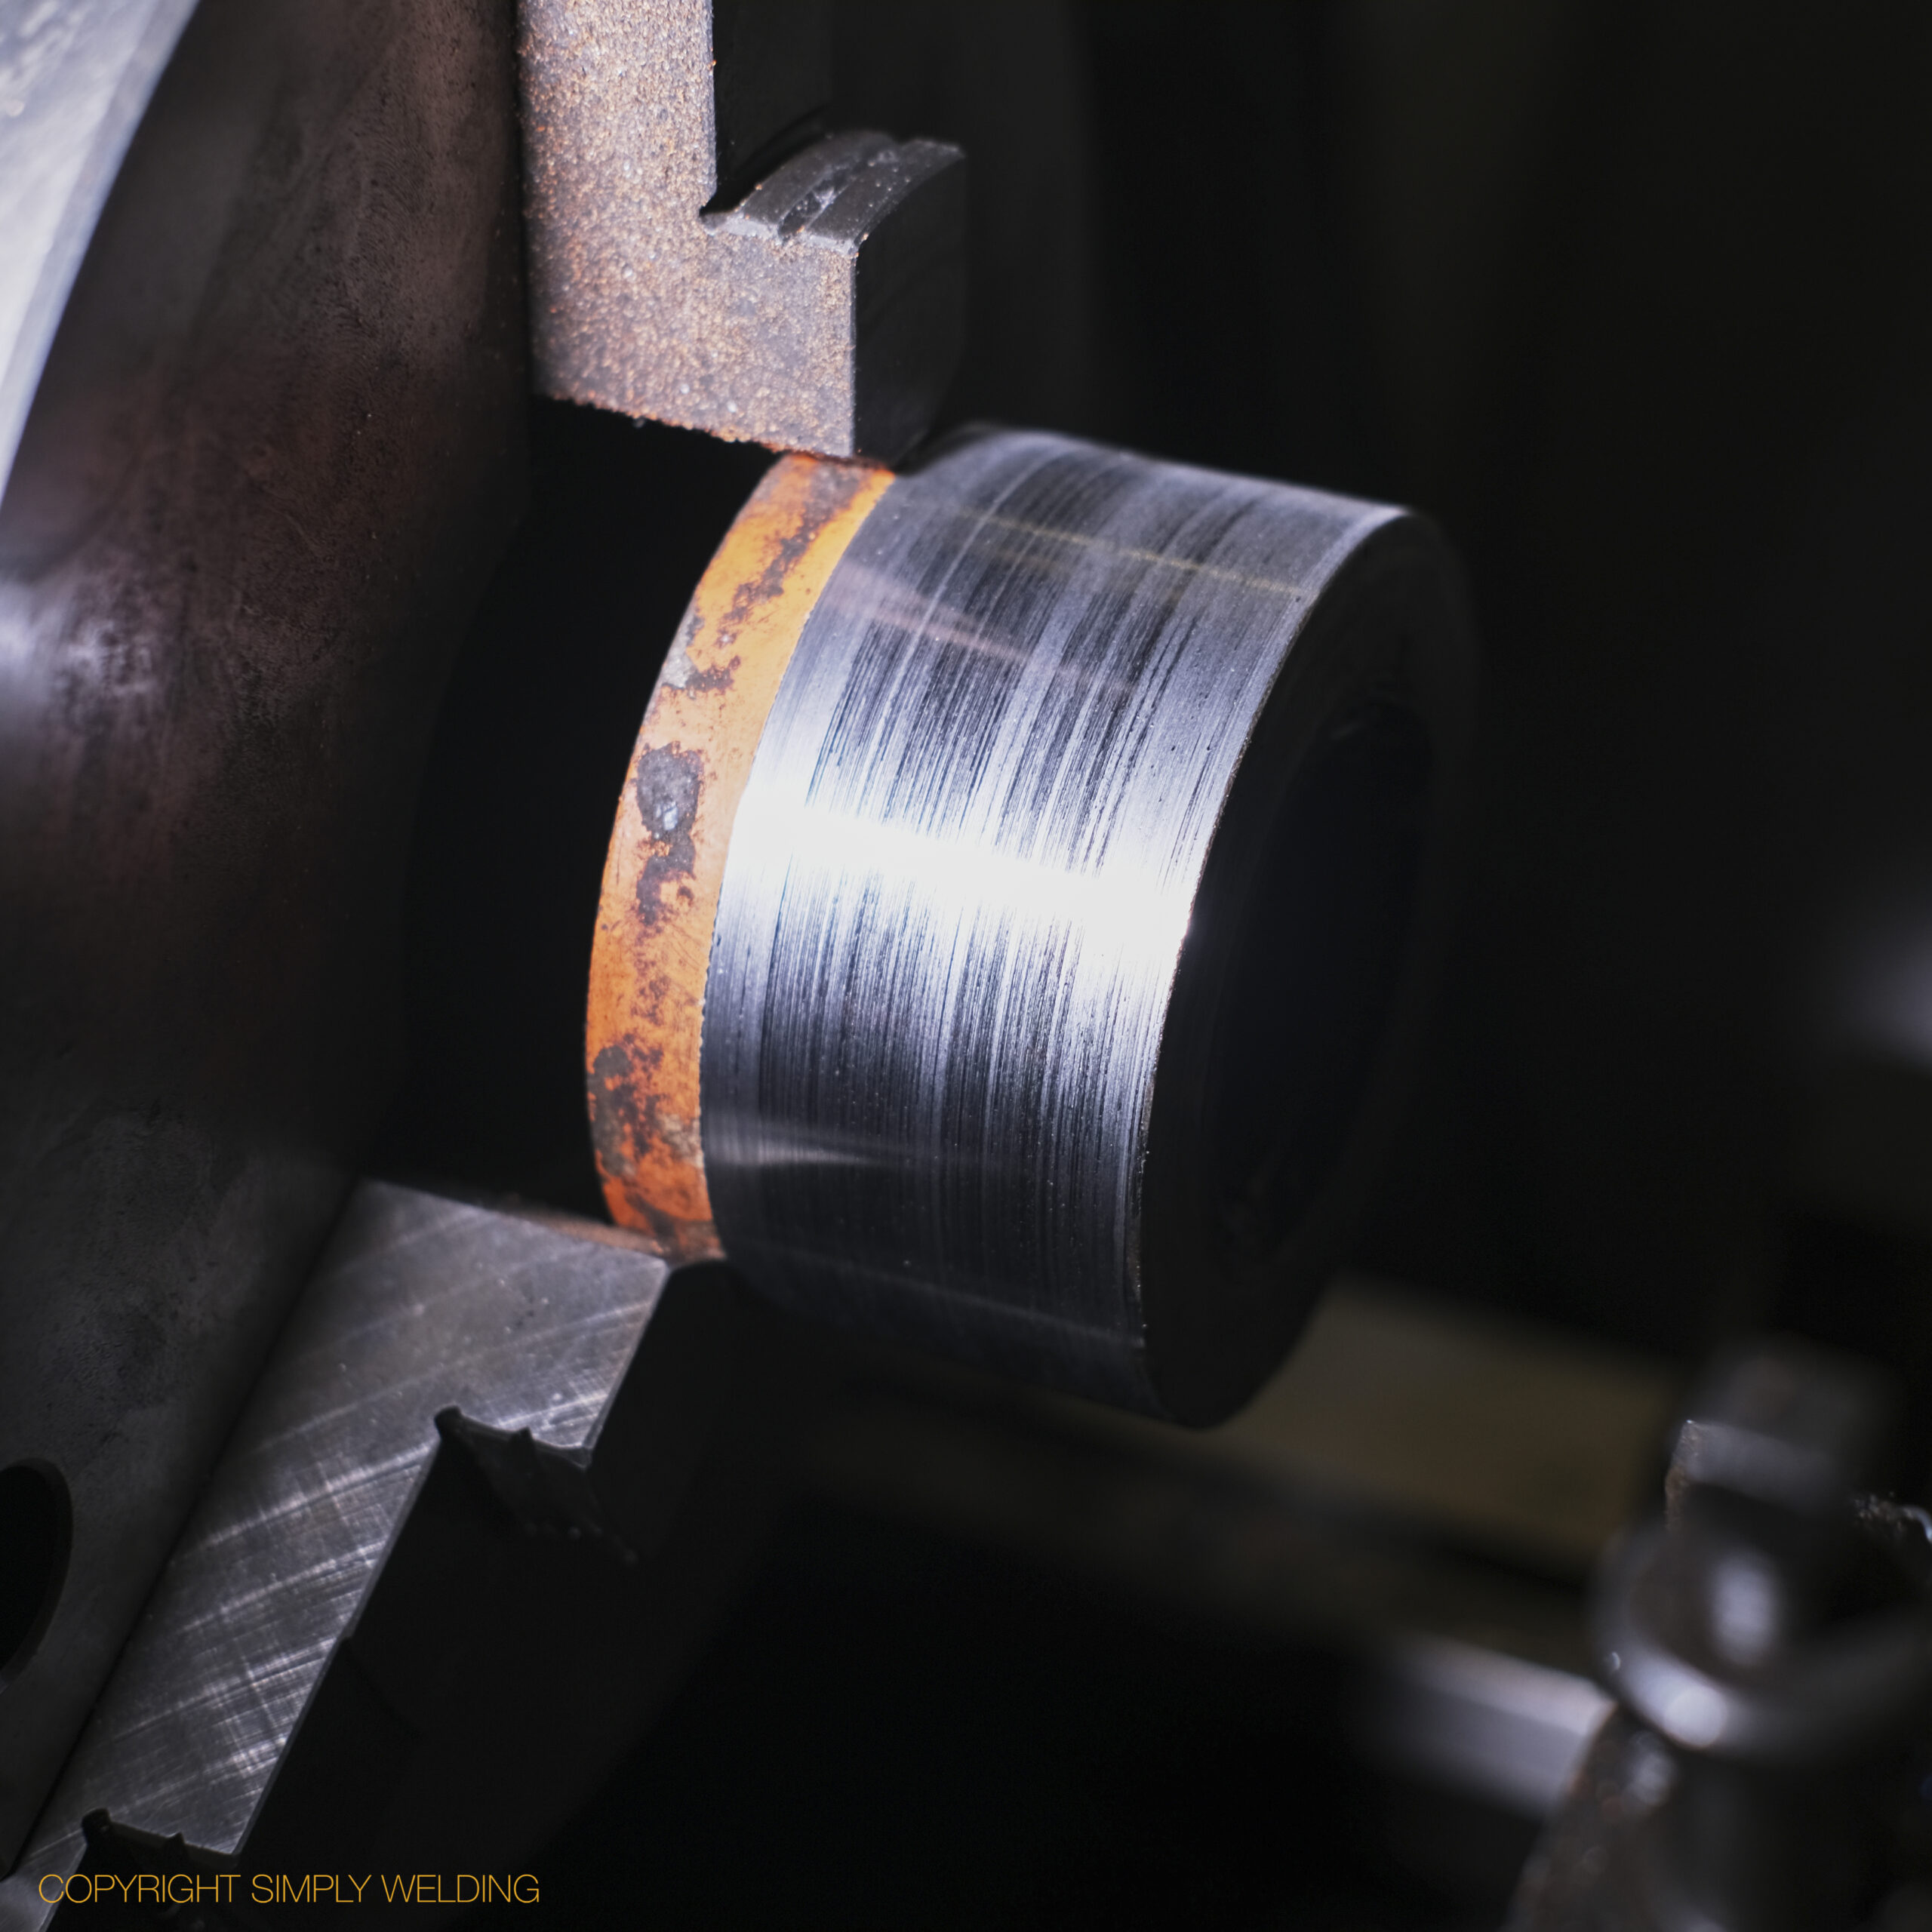
Turned, drilled, bored, grooved and threaded a hydraulic cylinder gland from SG cast iron billet.
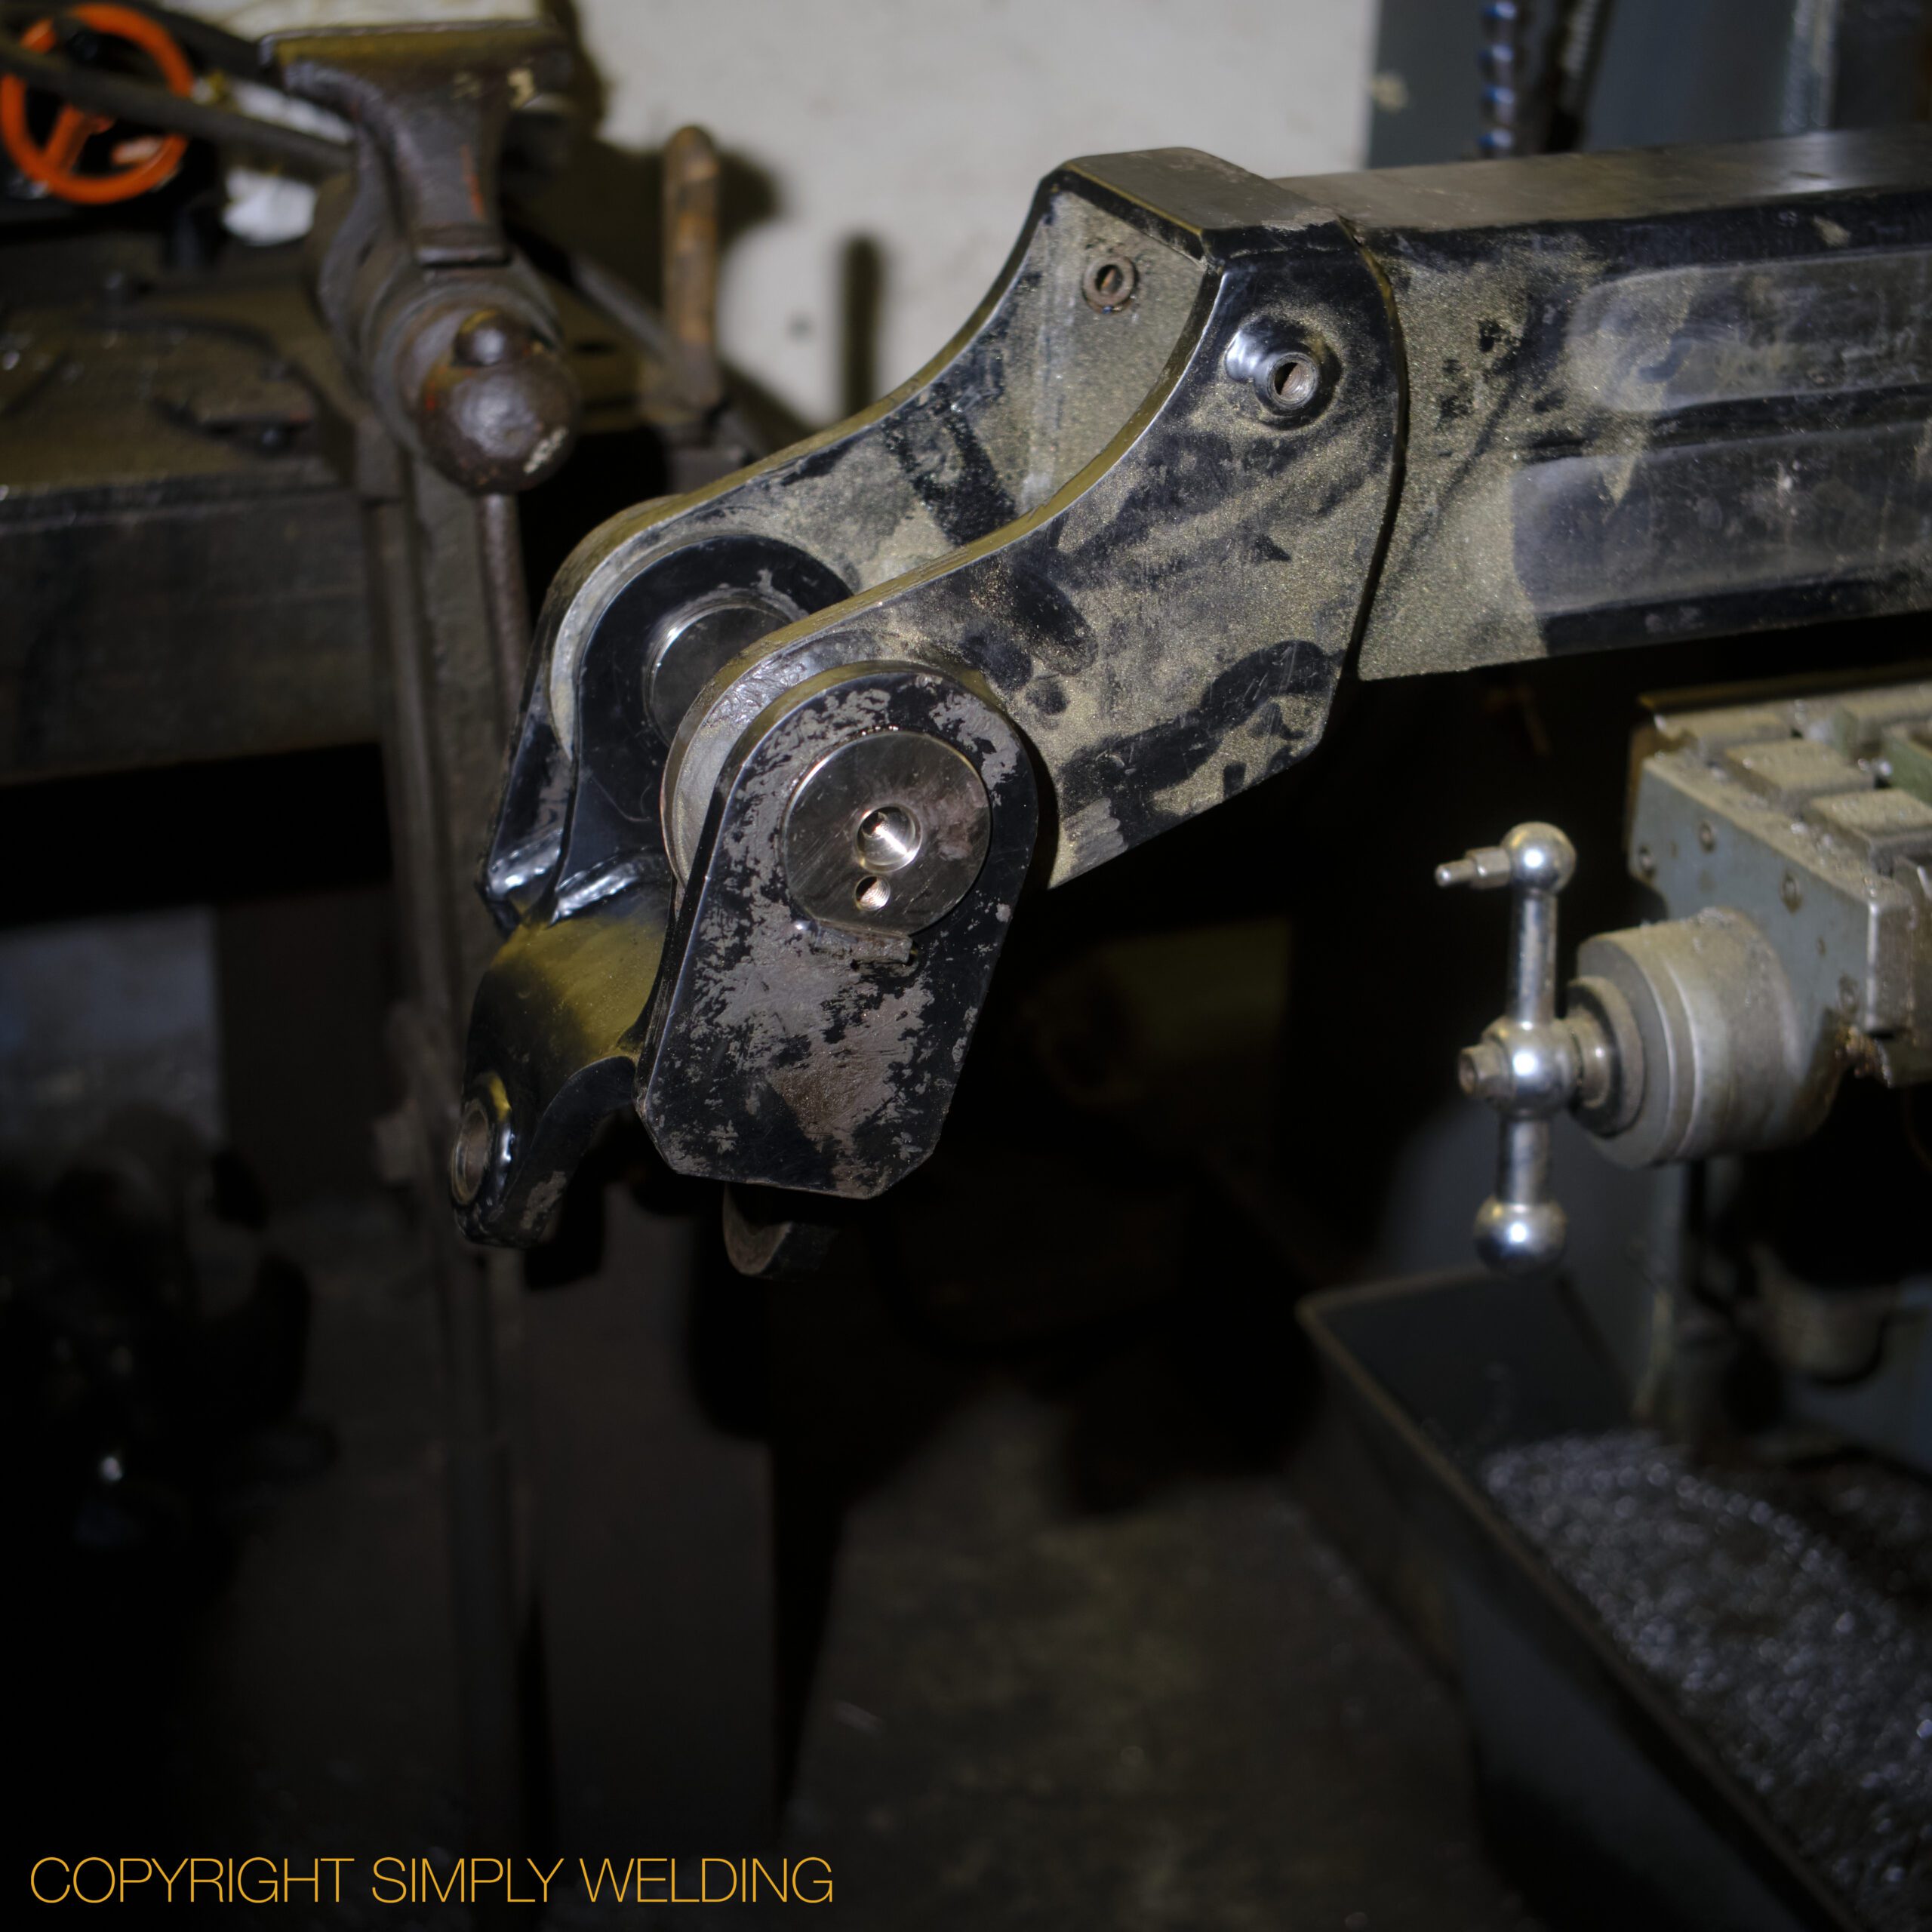
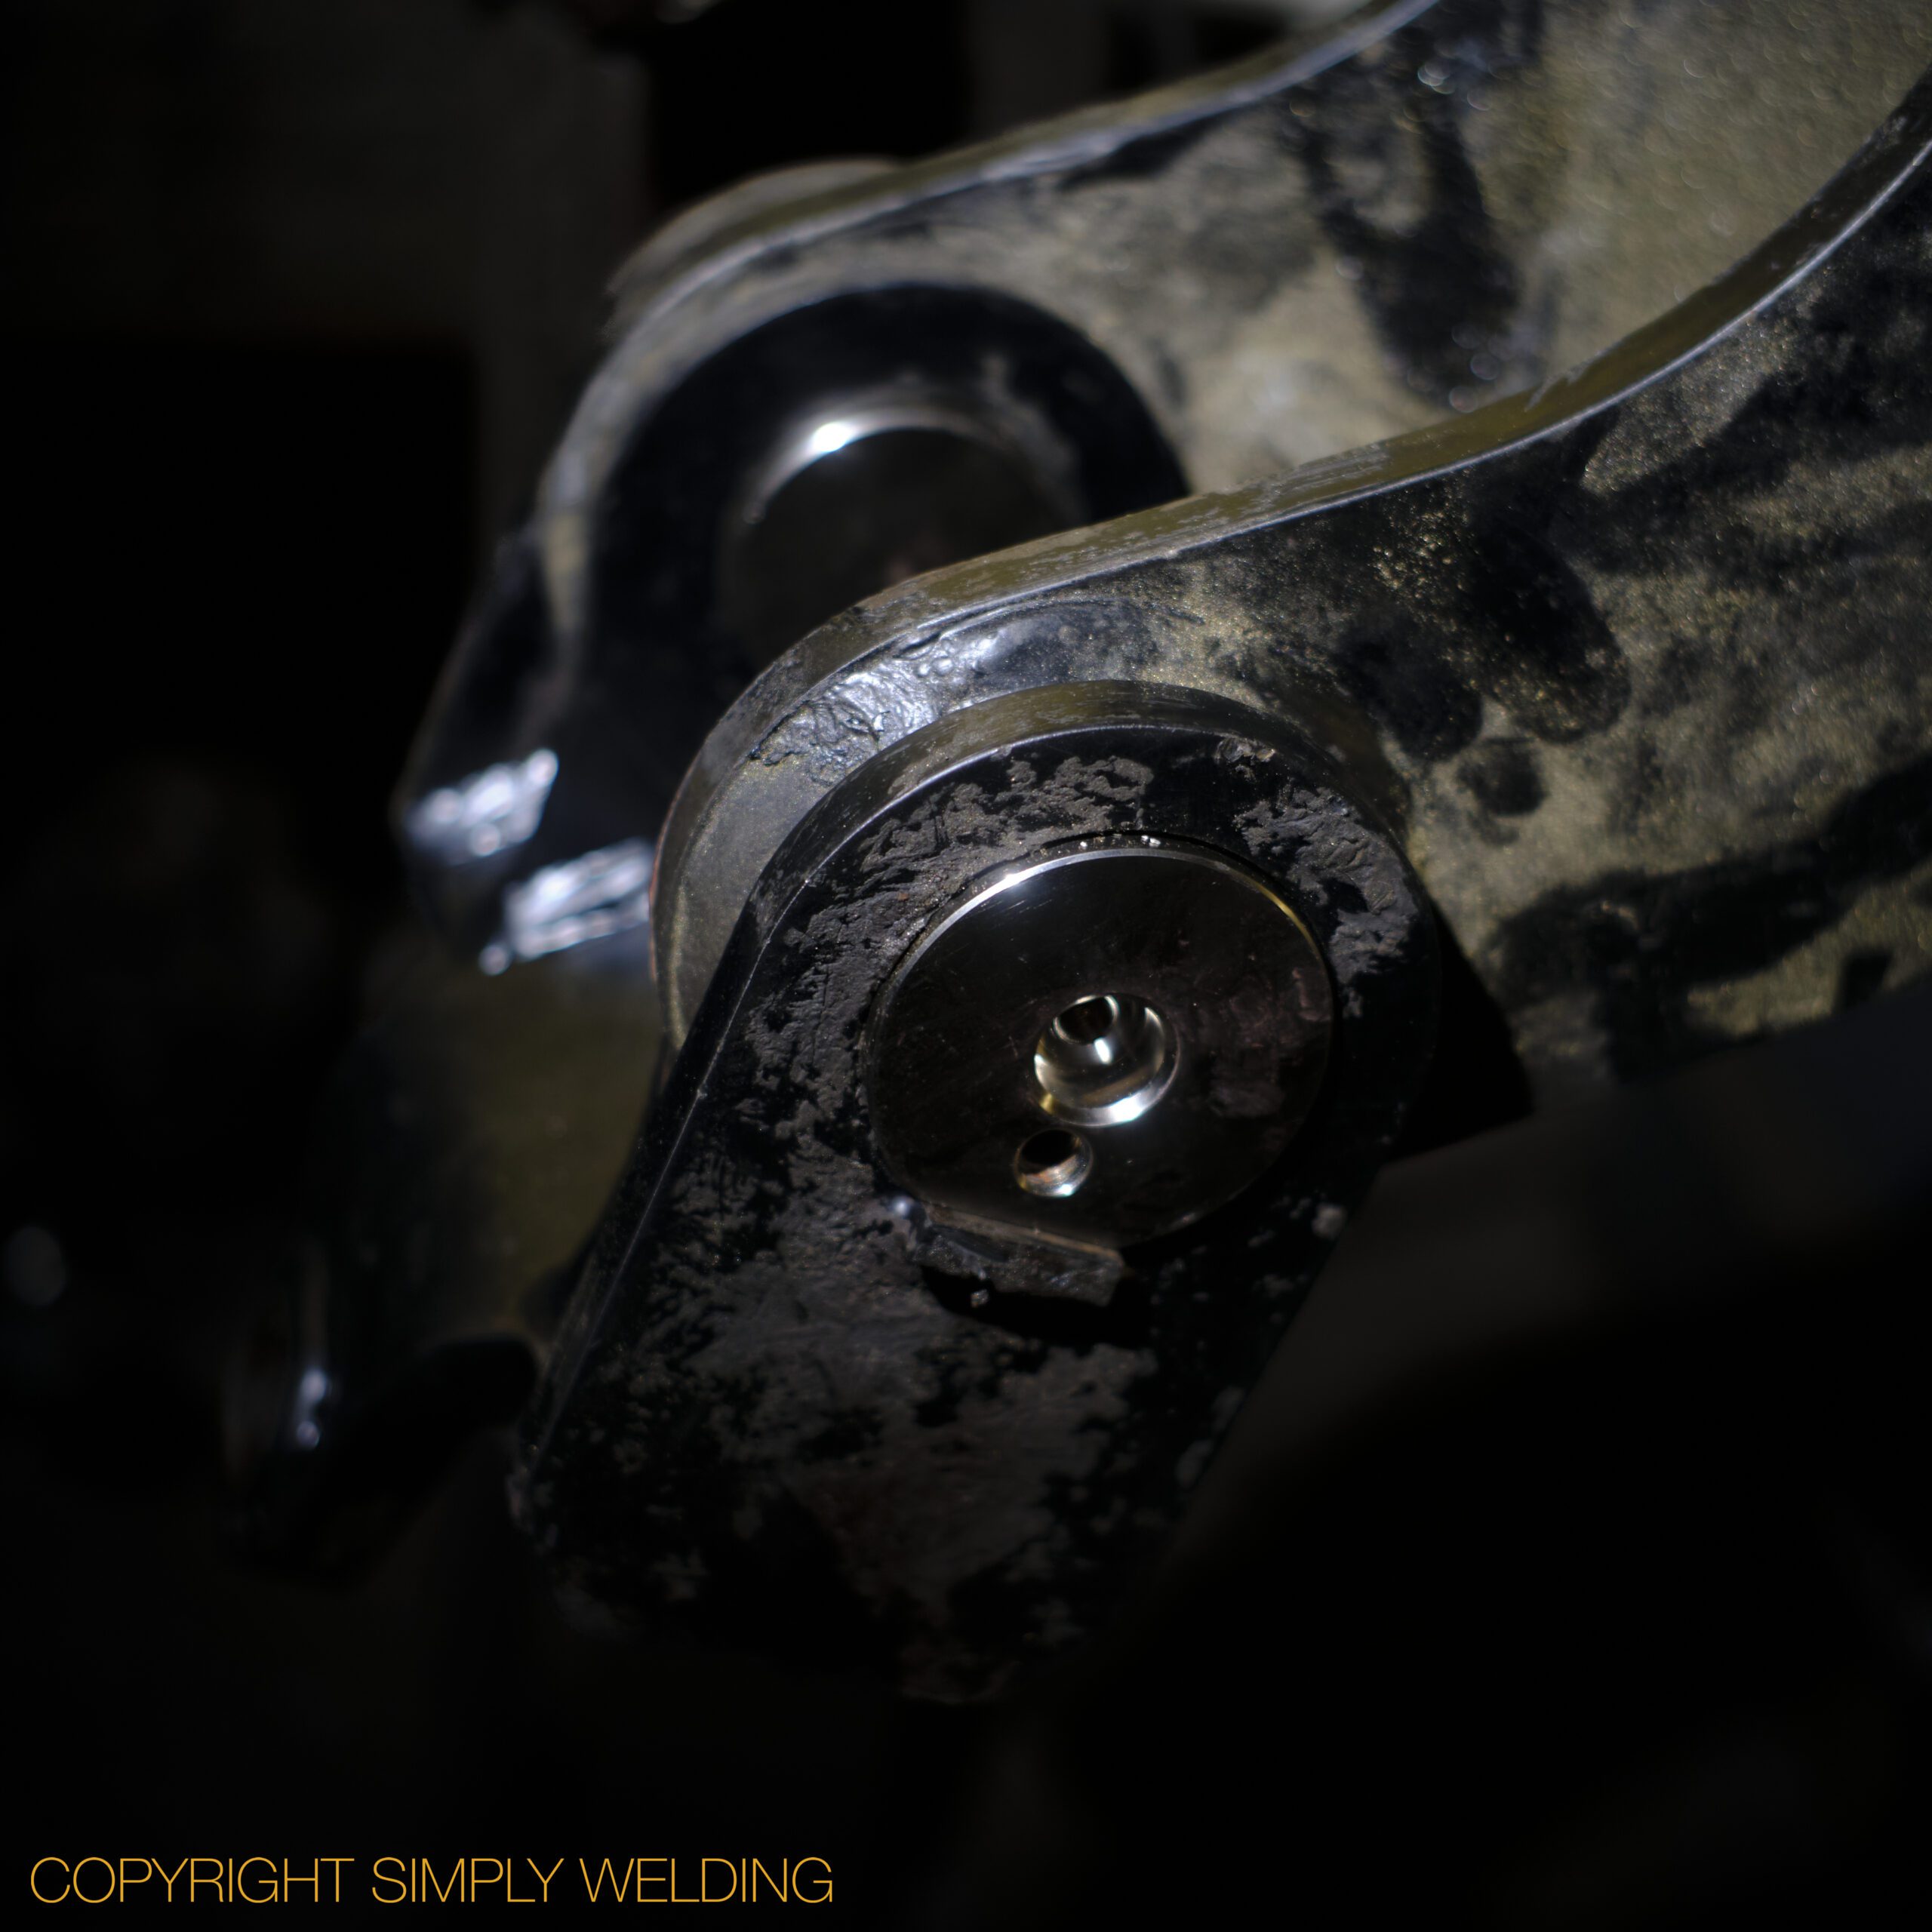
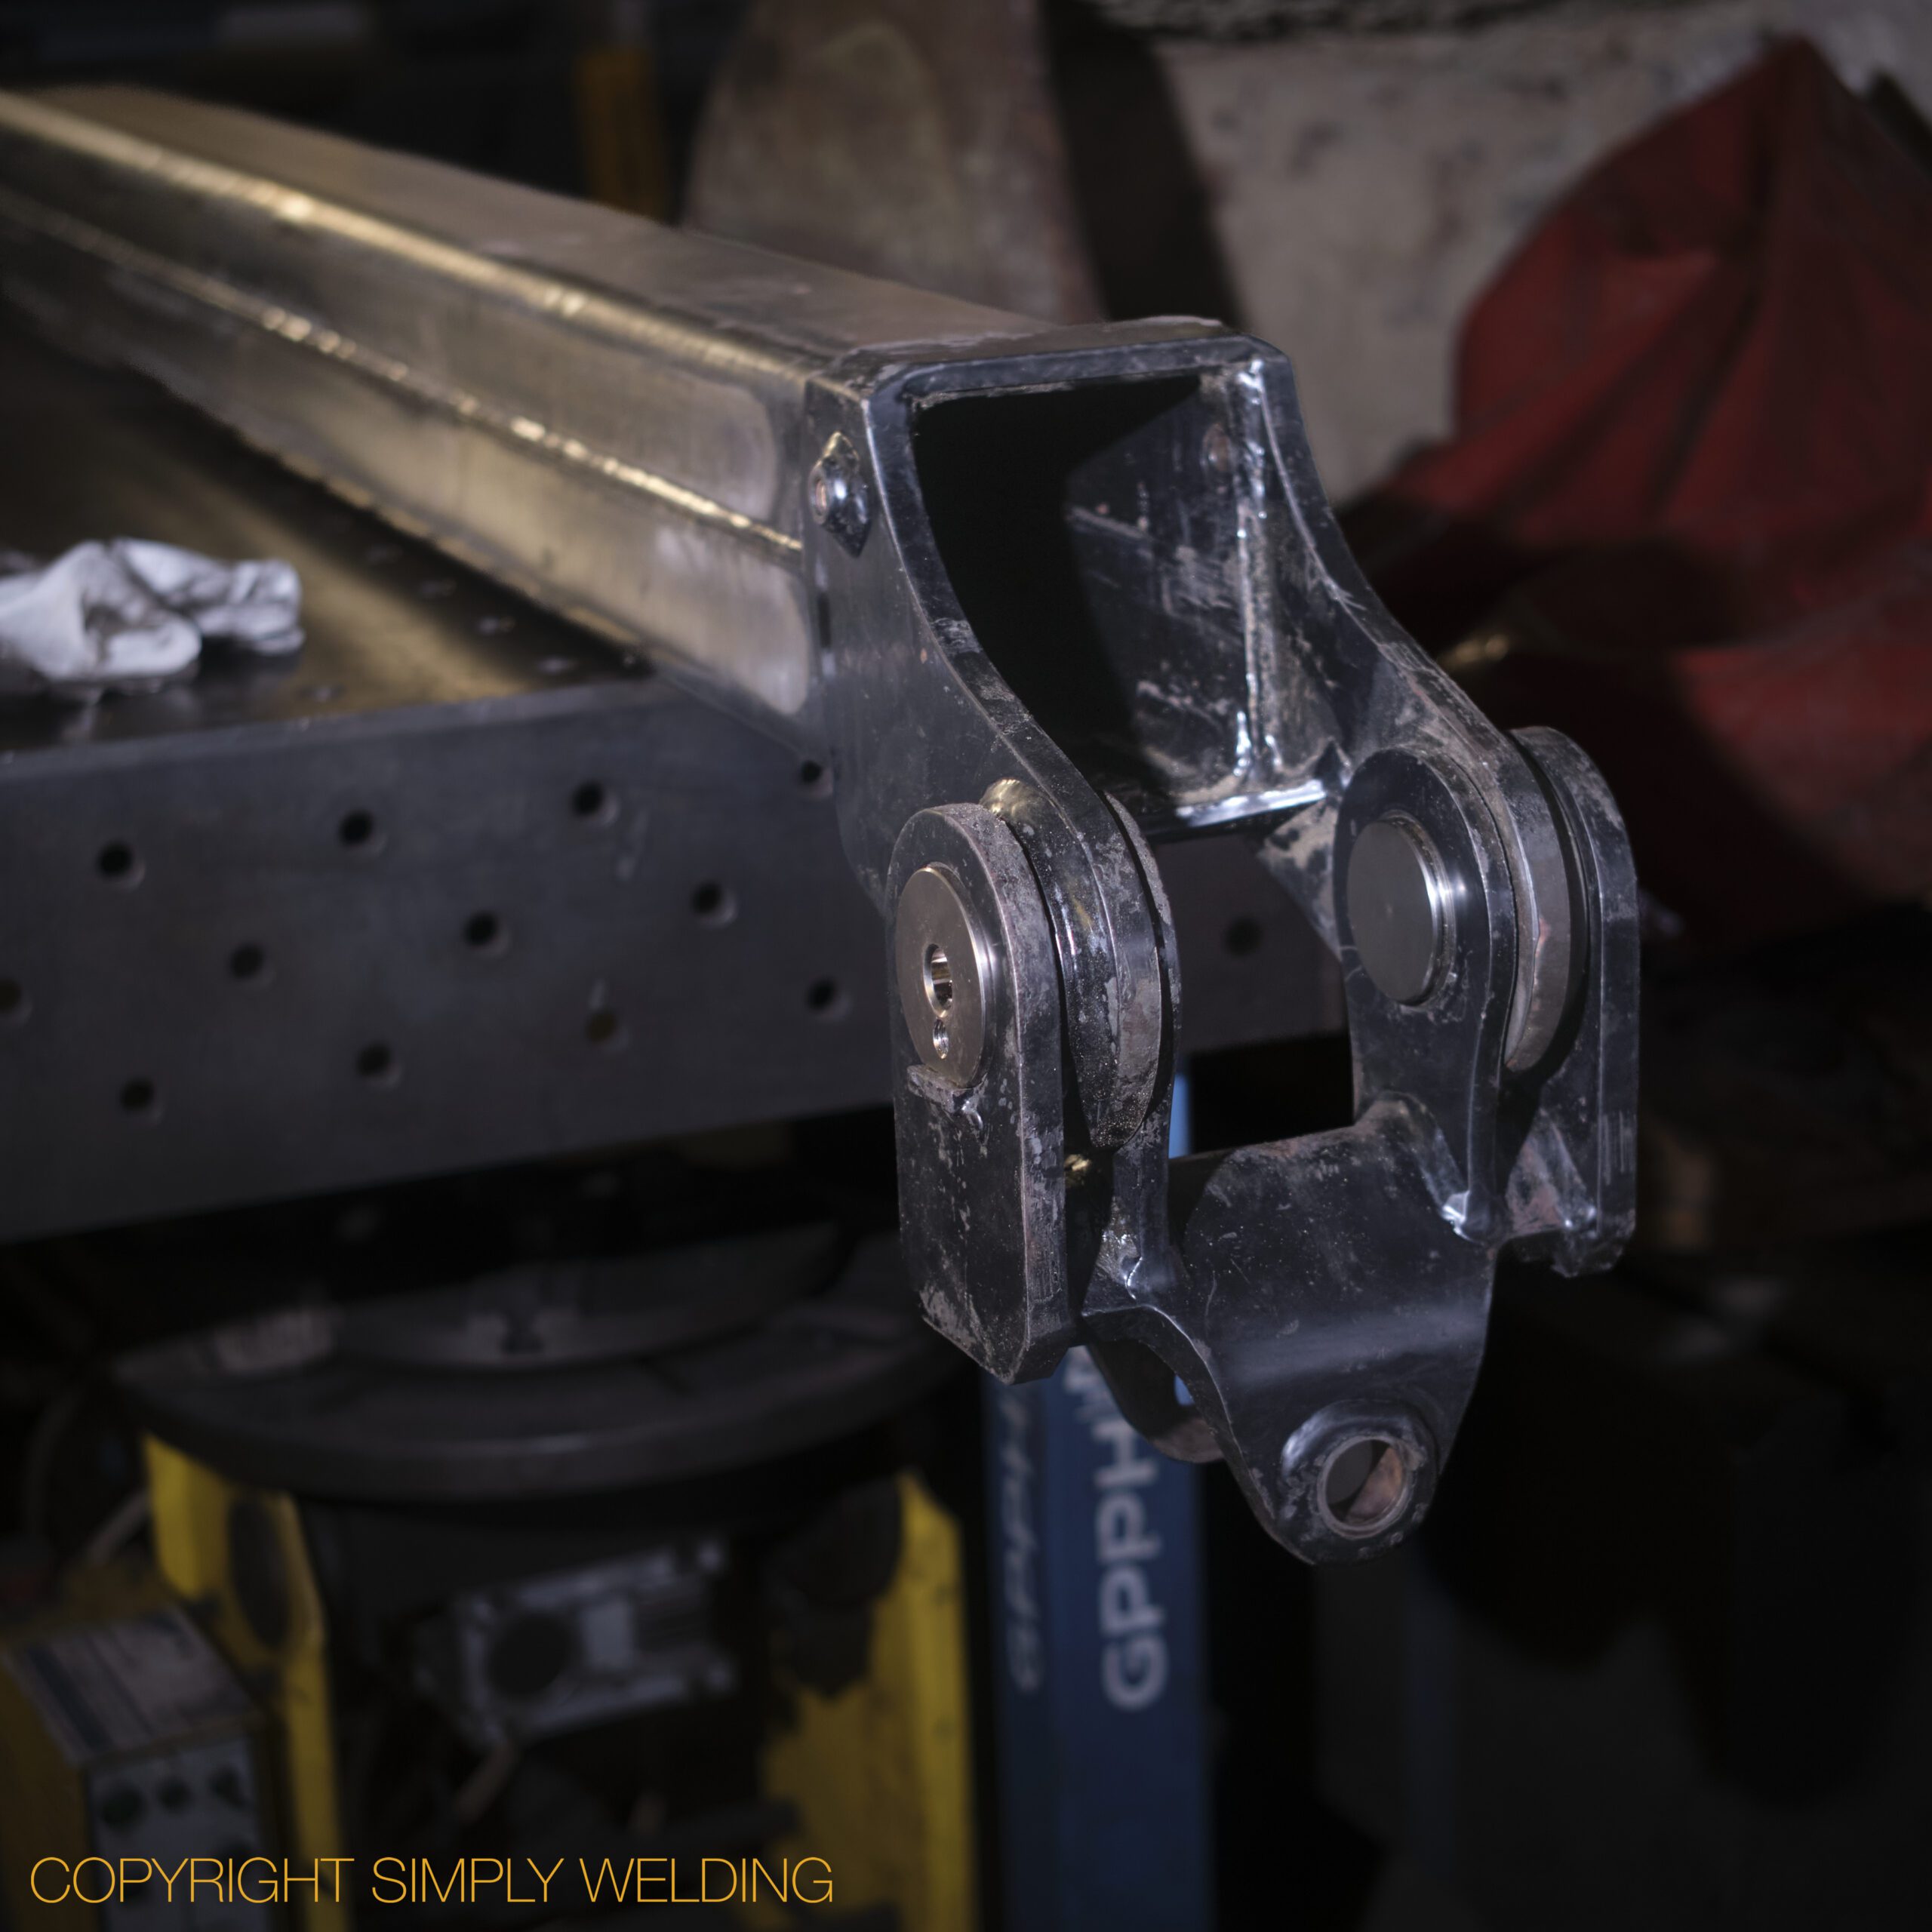
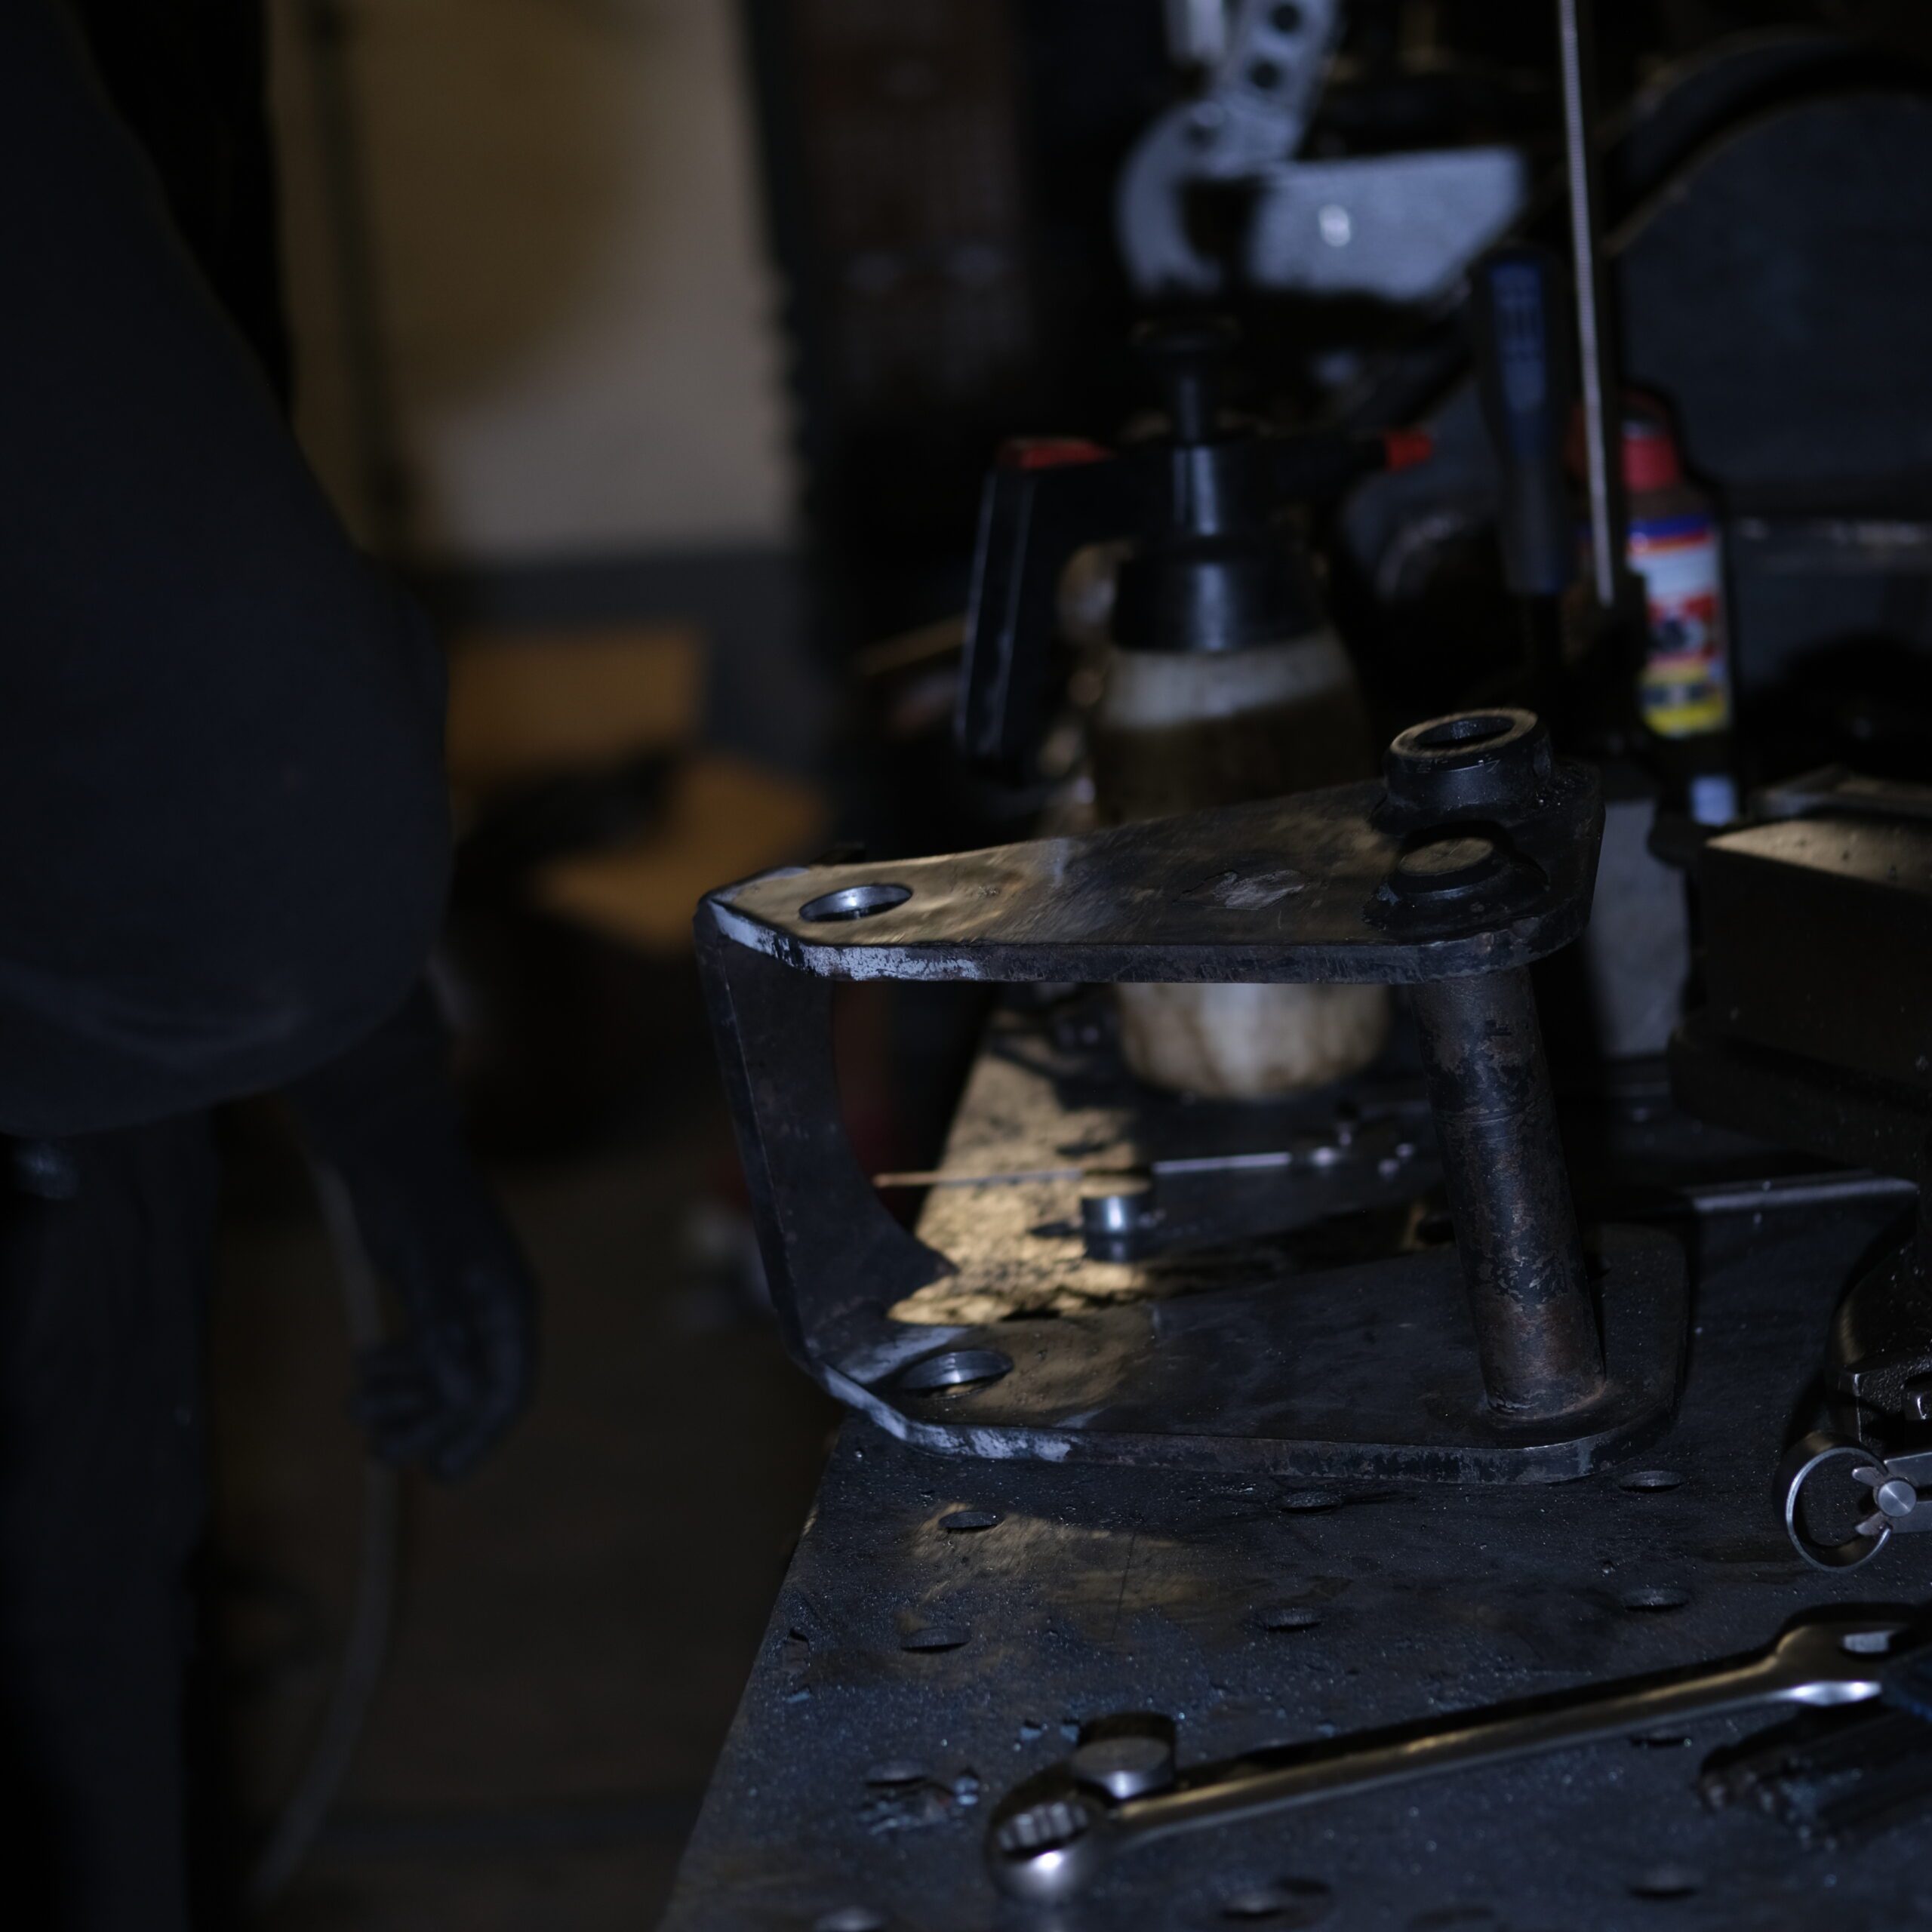
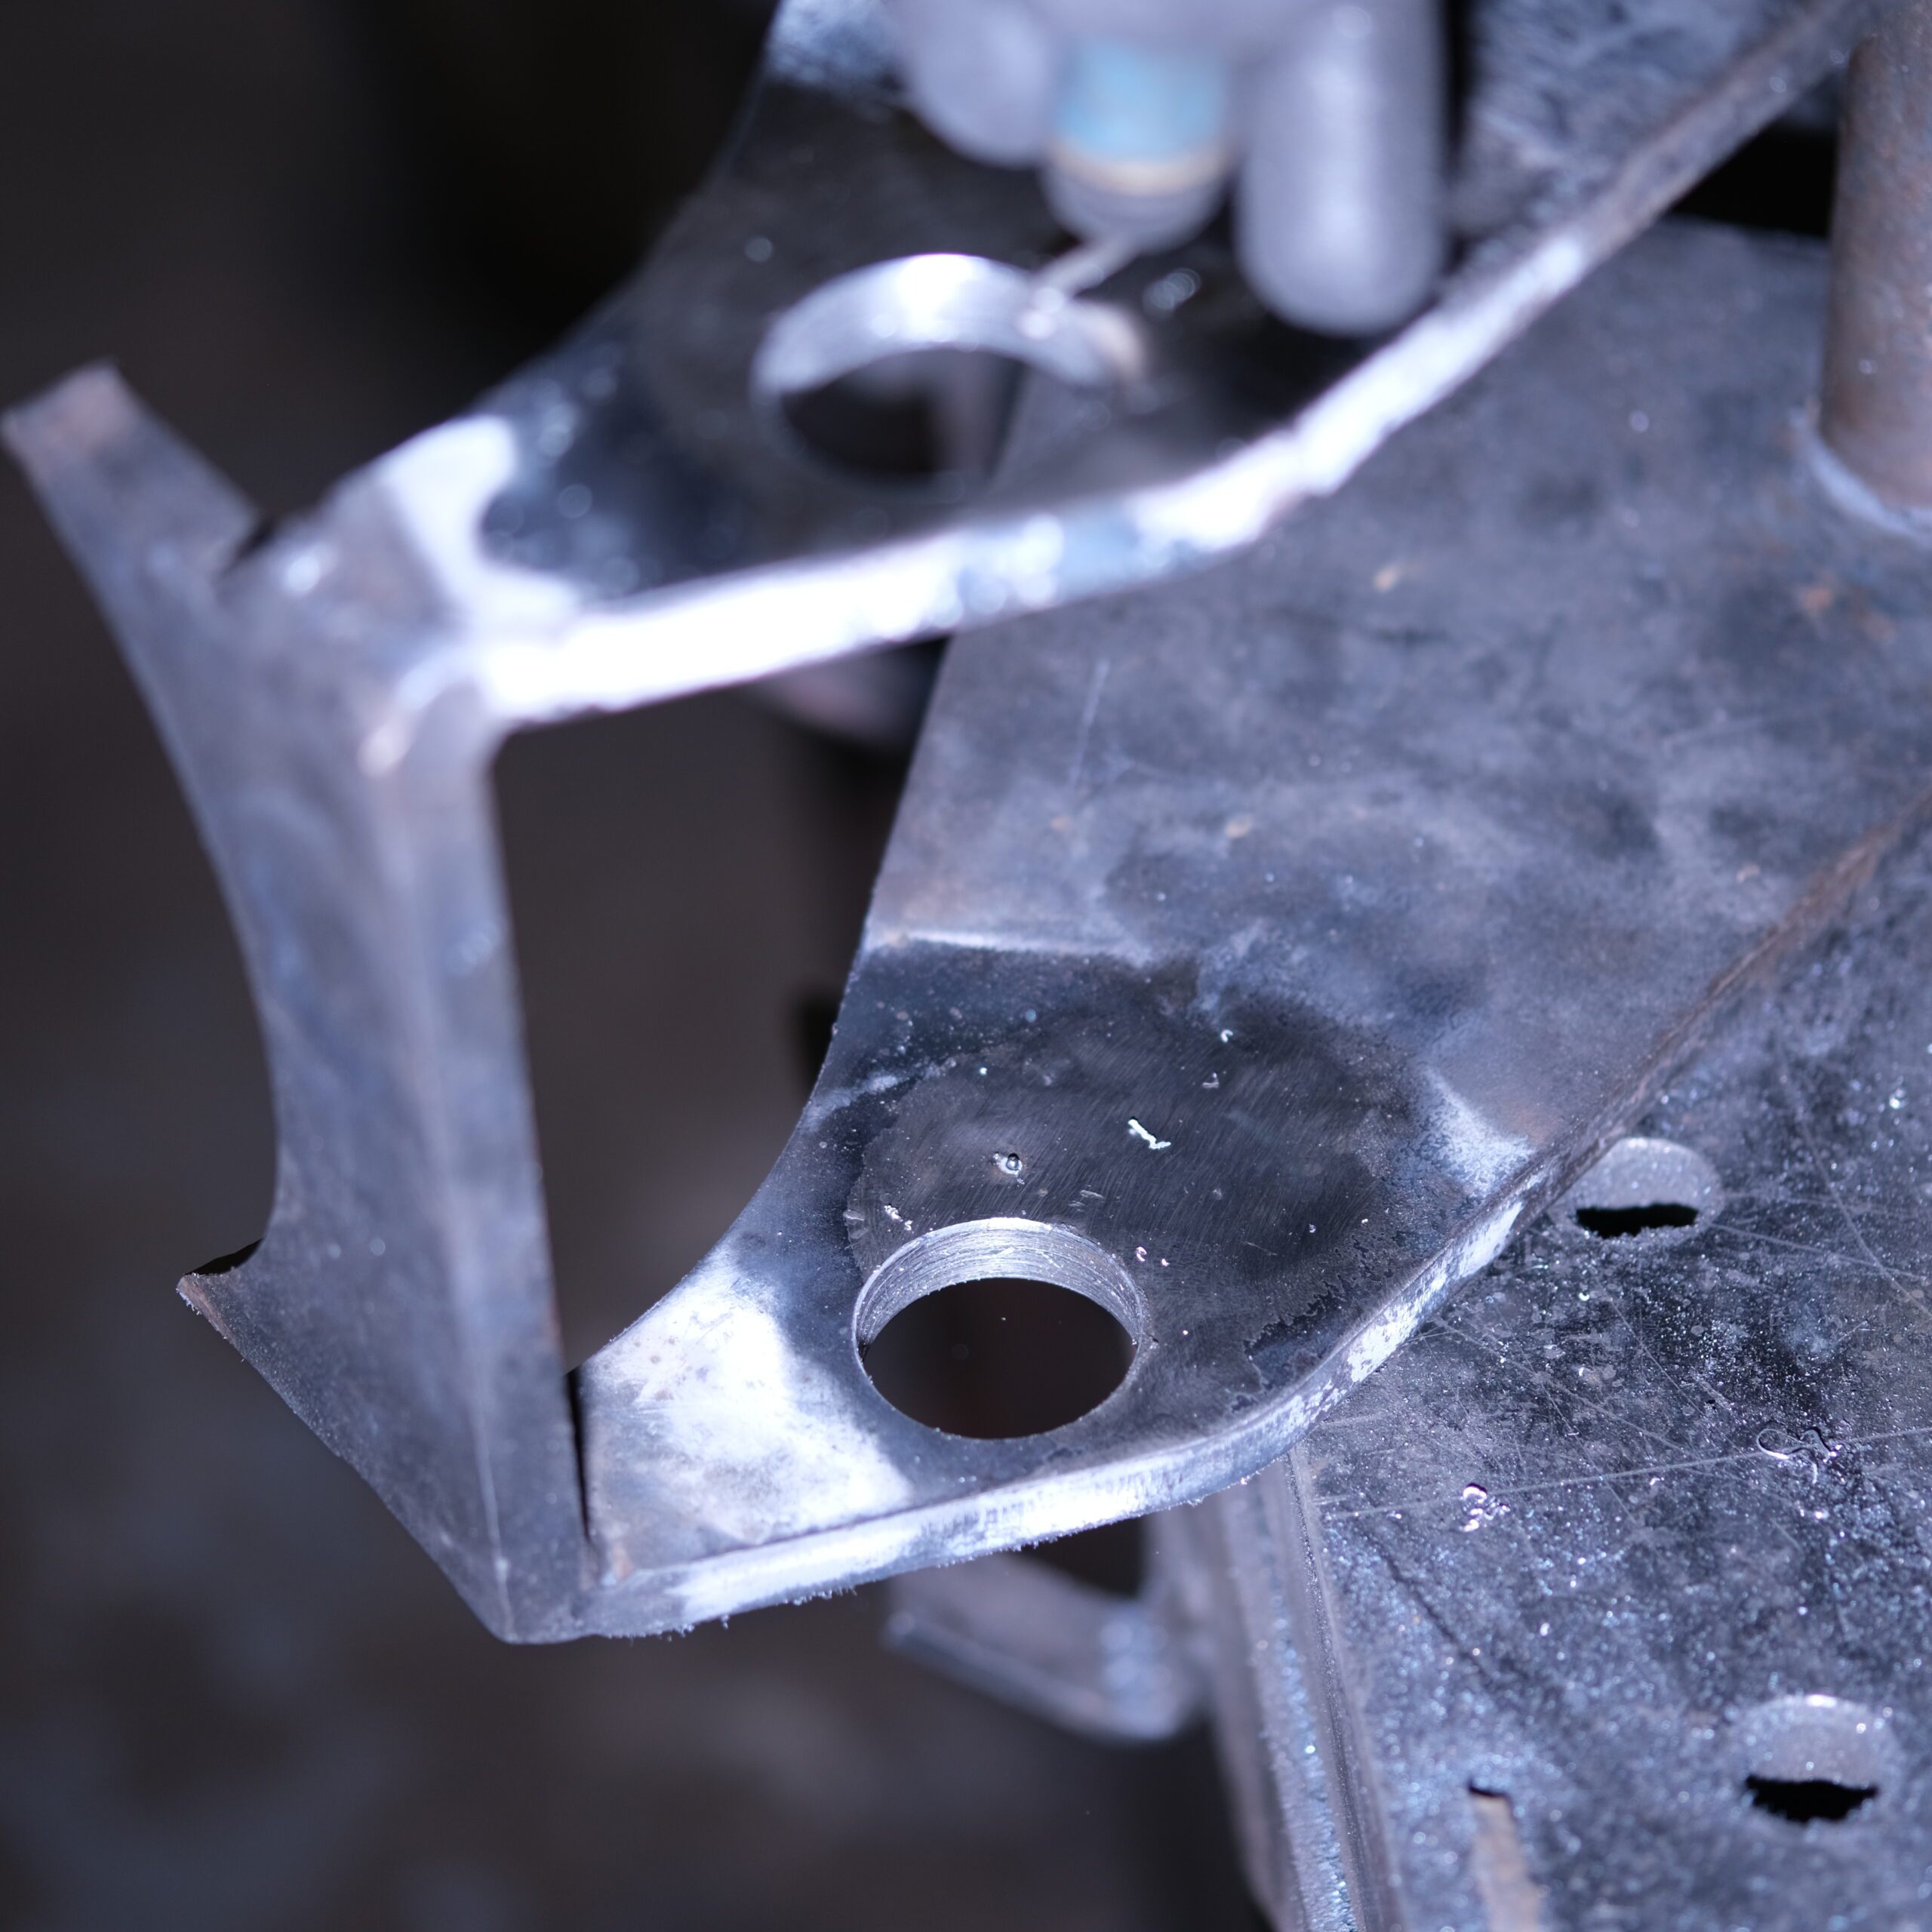
JCB 3CX Backhoe Worn Boss Repair

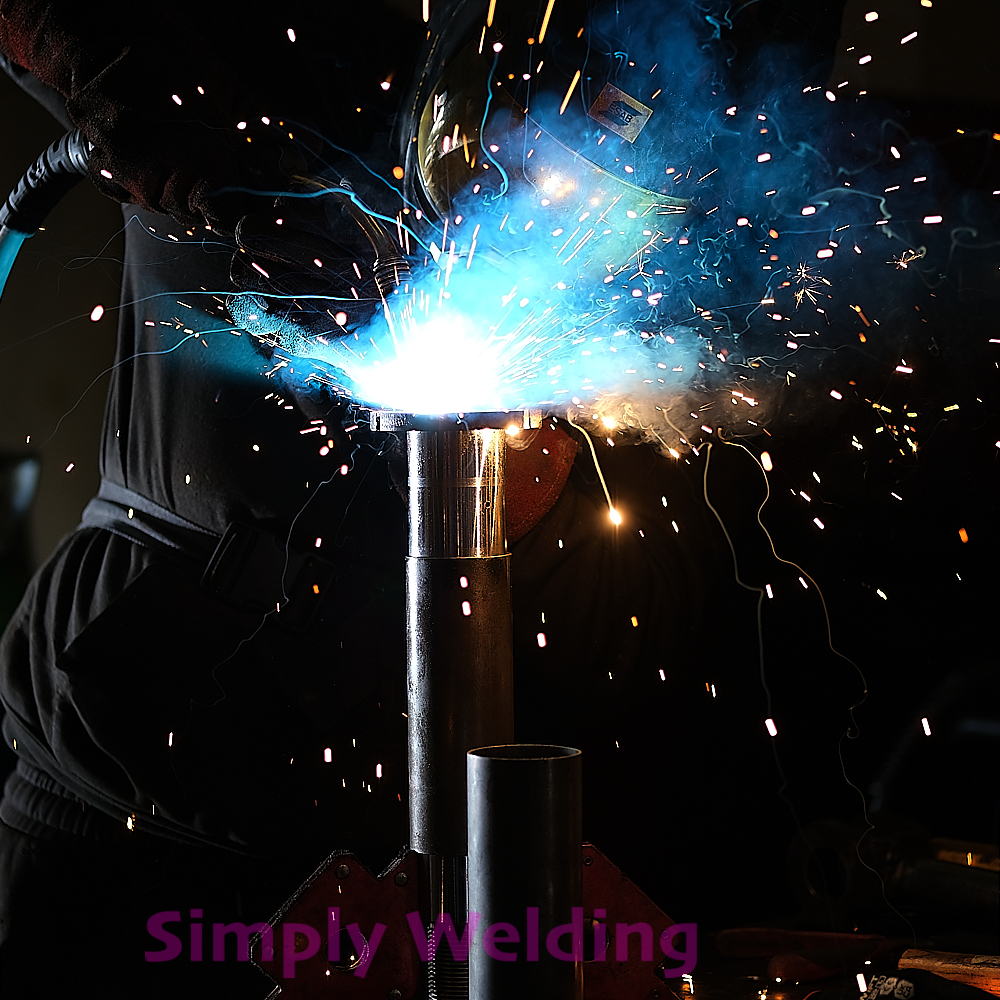
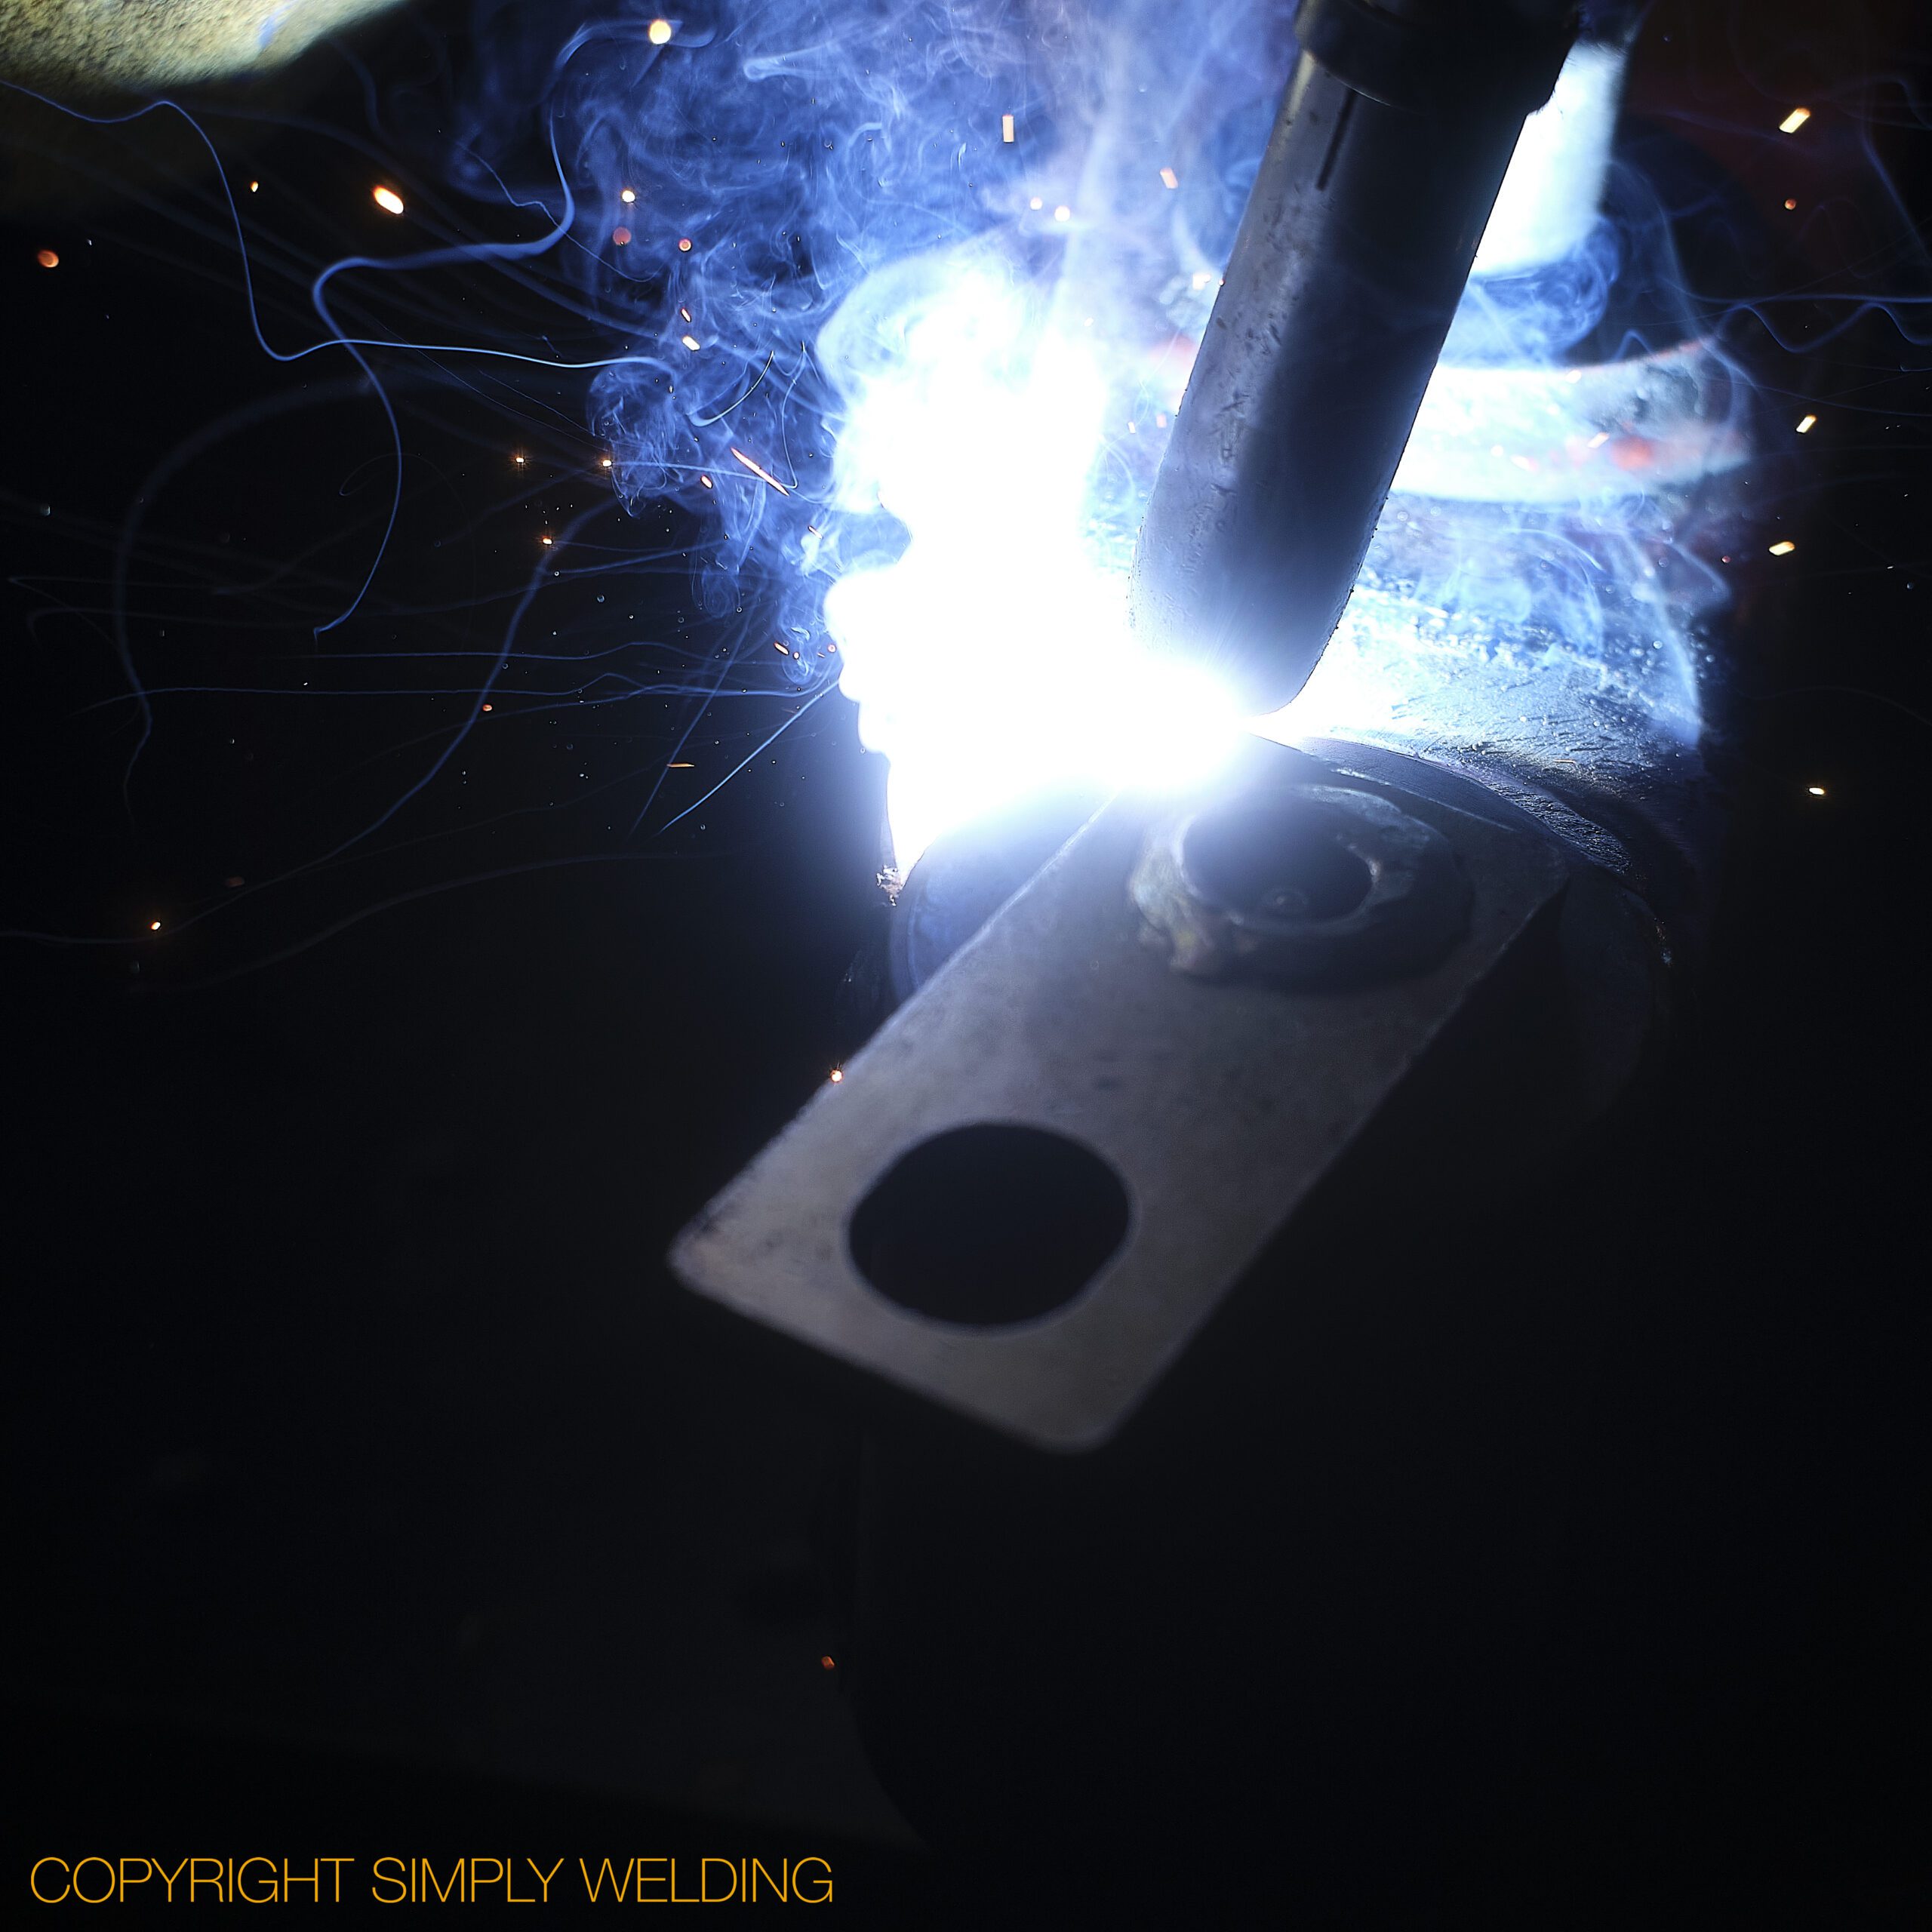
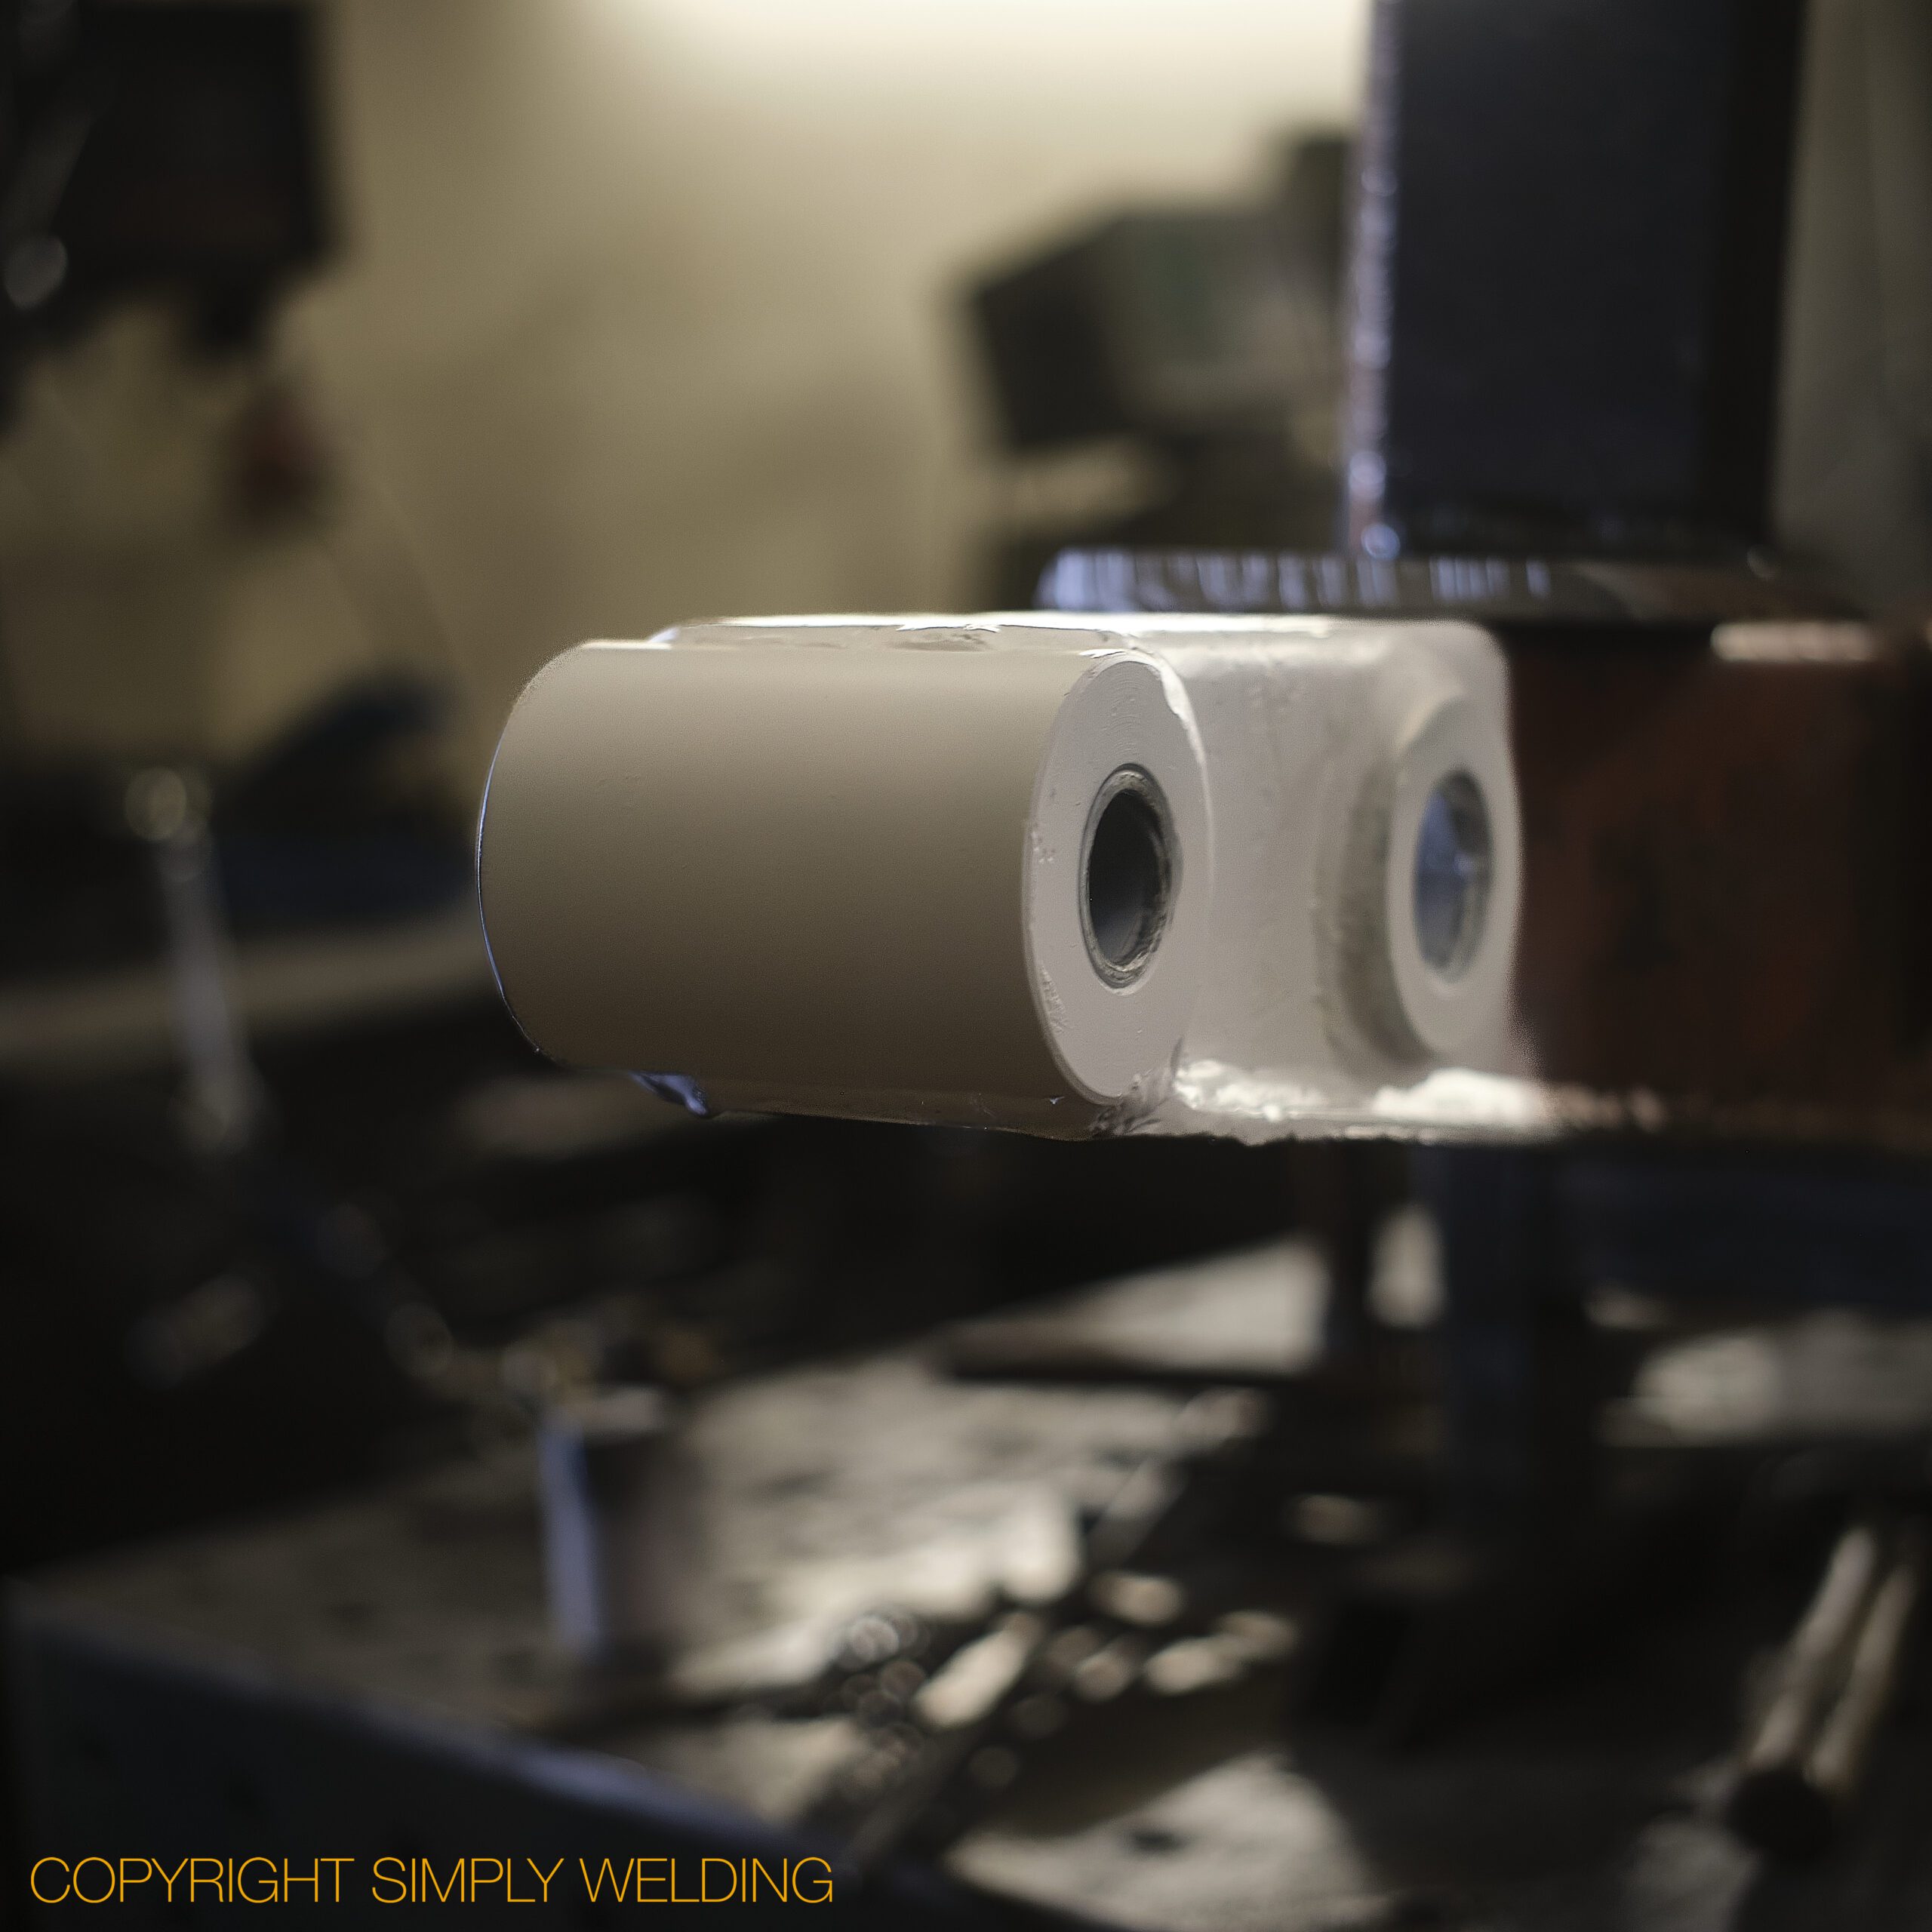
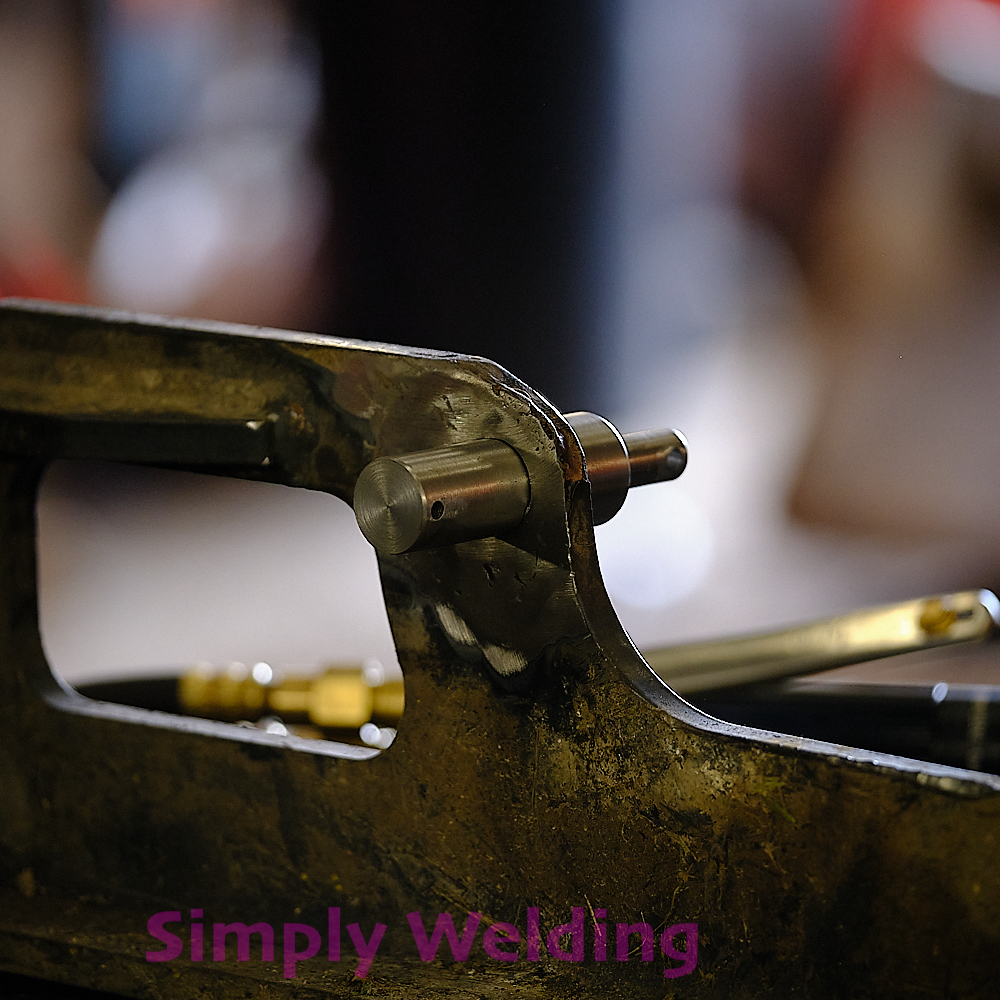
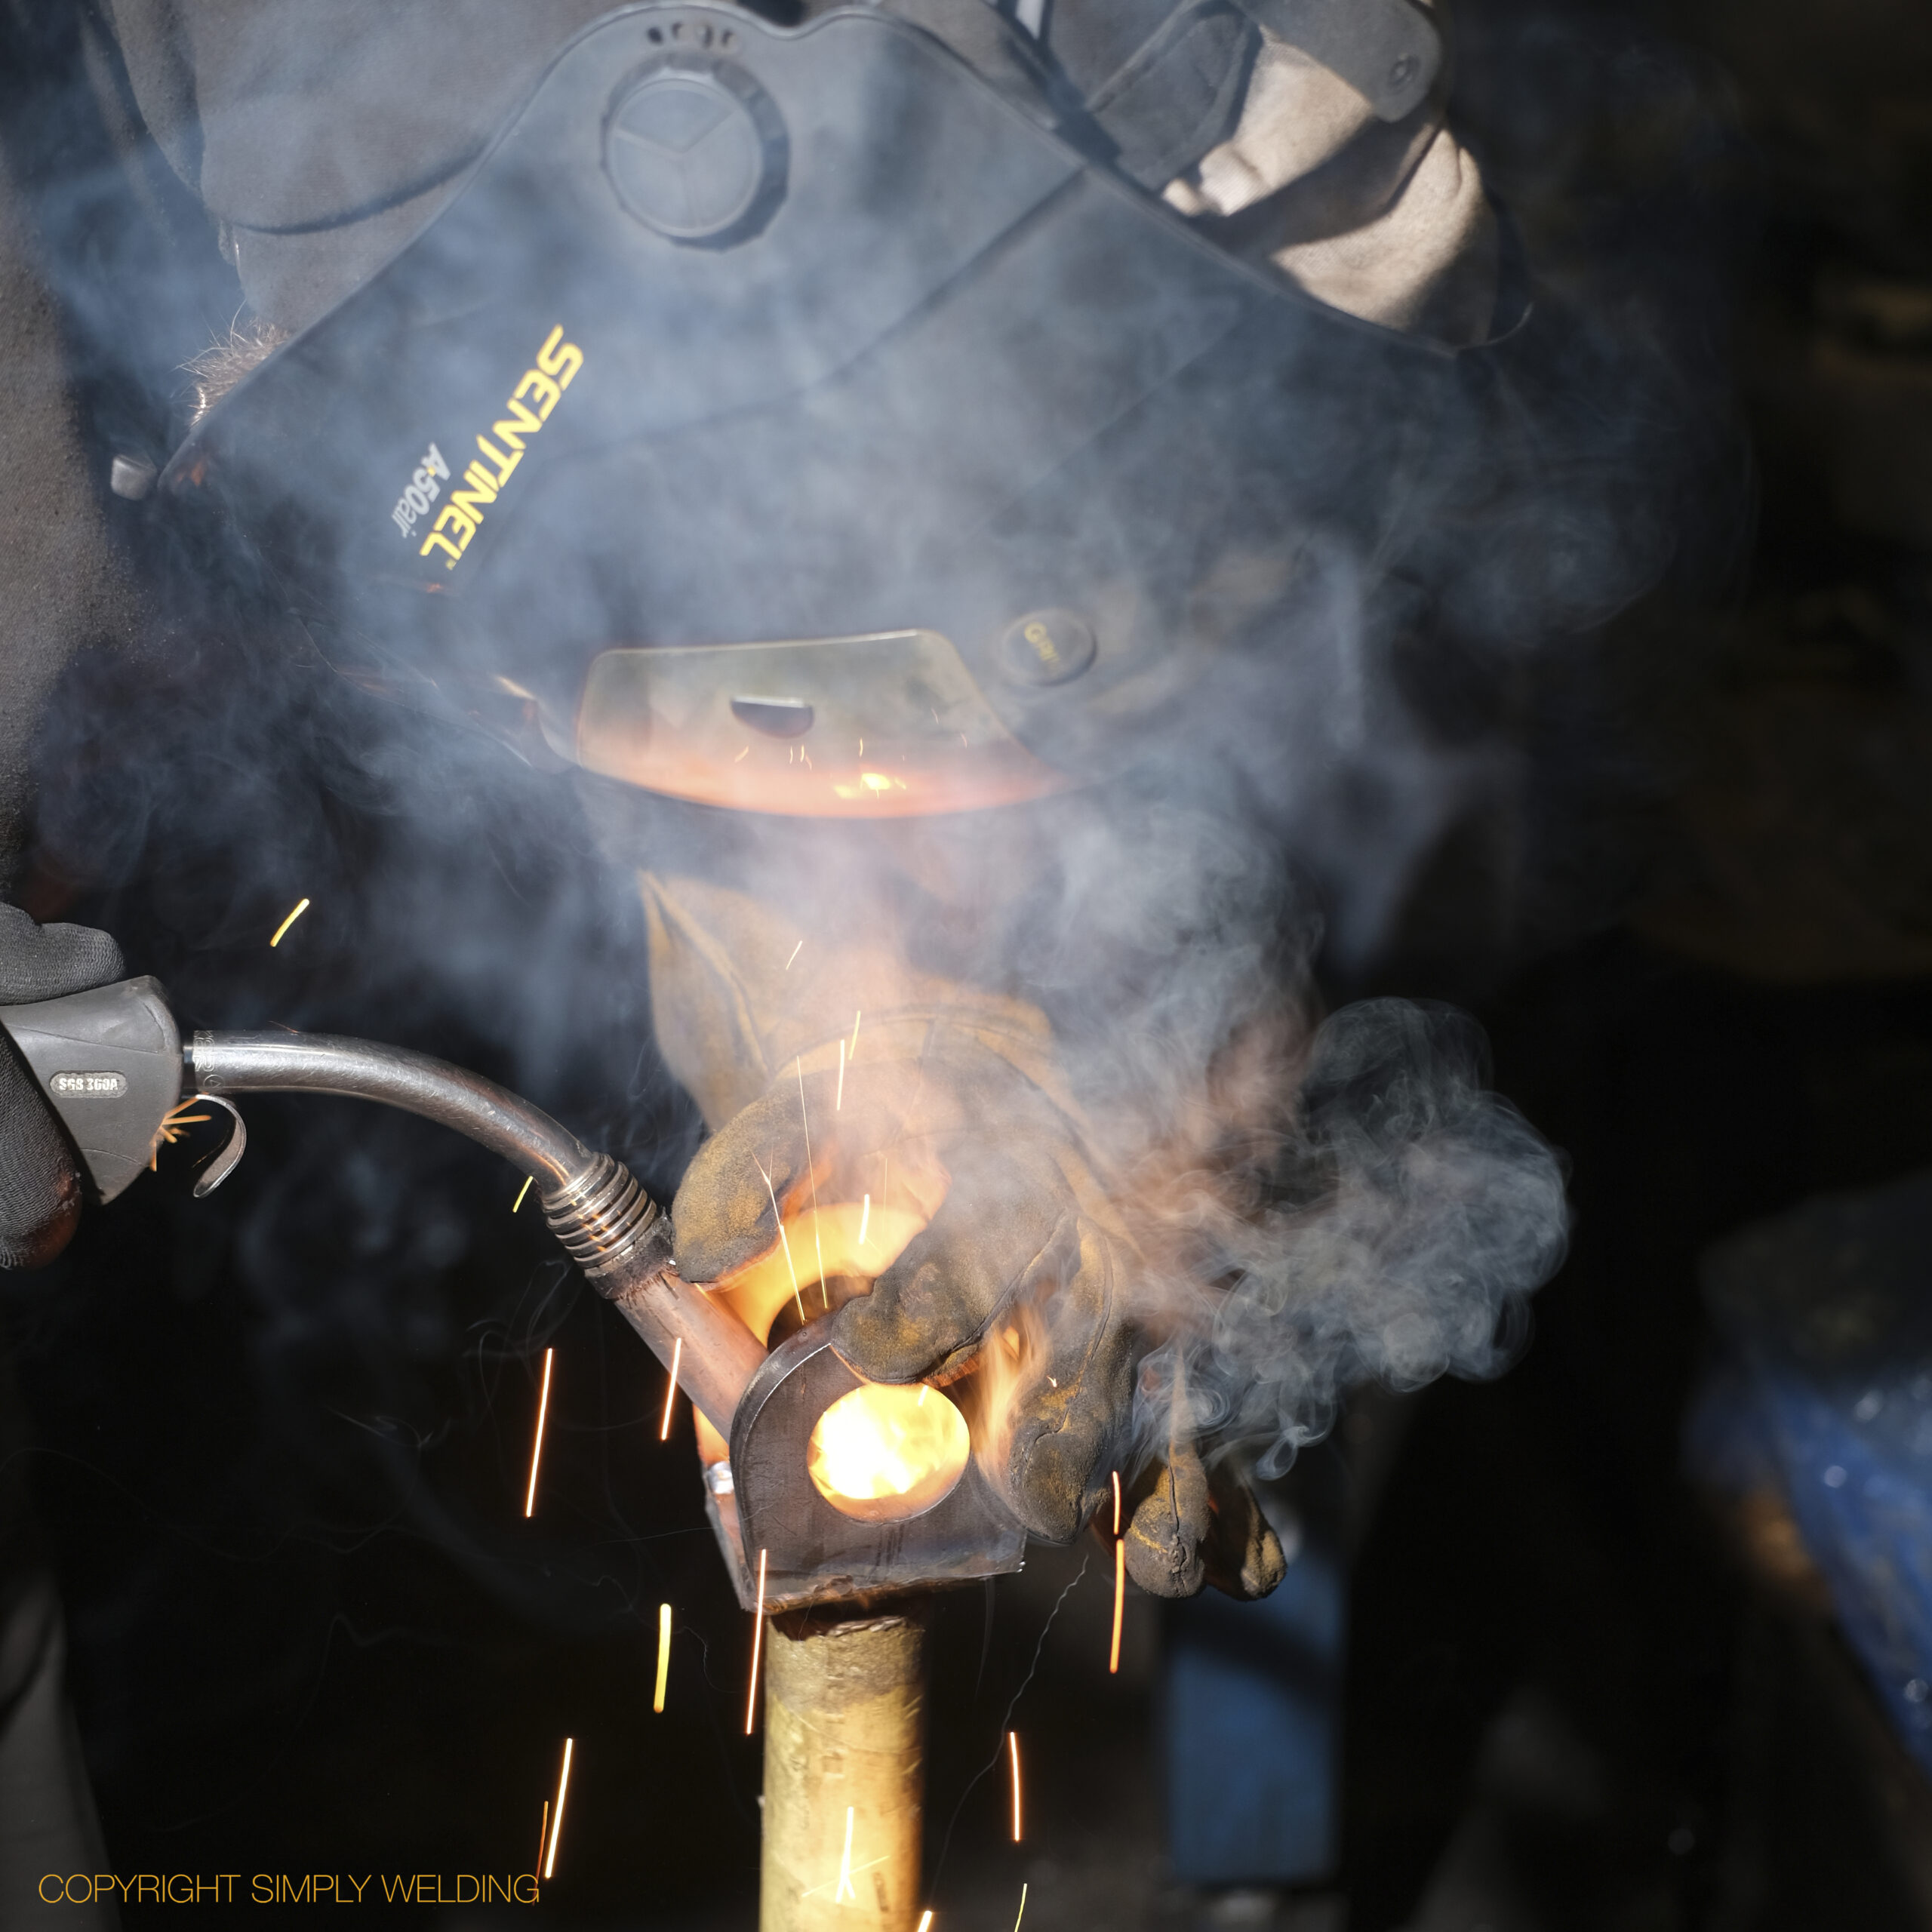
Completely removed the worn bosses on a JCB 3CX, machined new ones and welded them into position to exact factory dimensions.
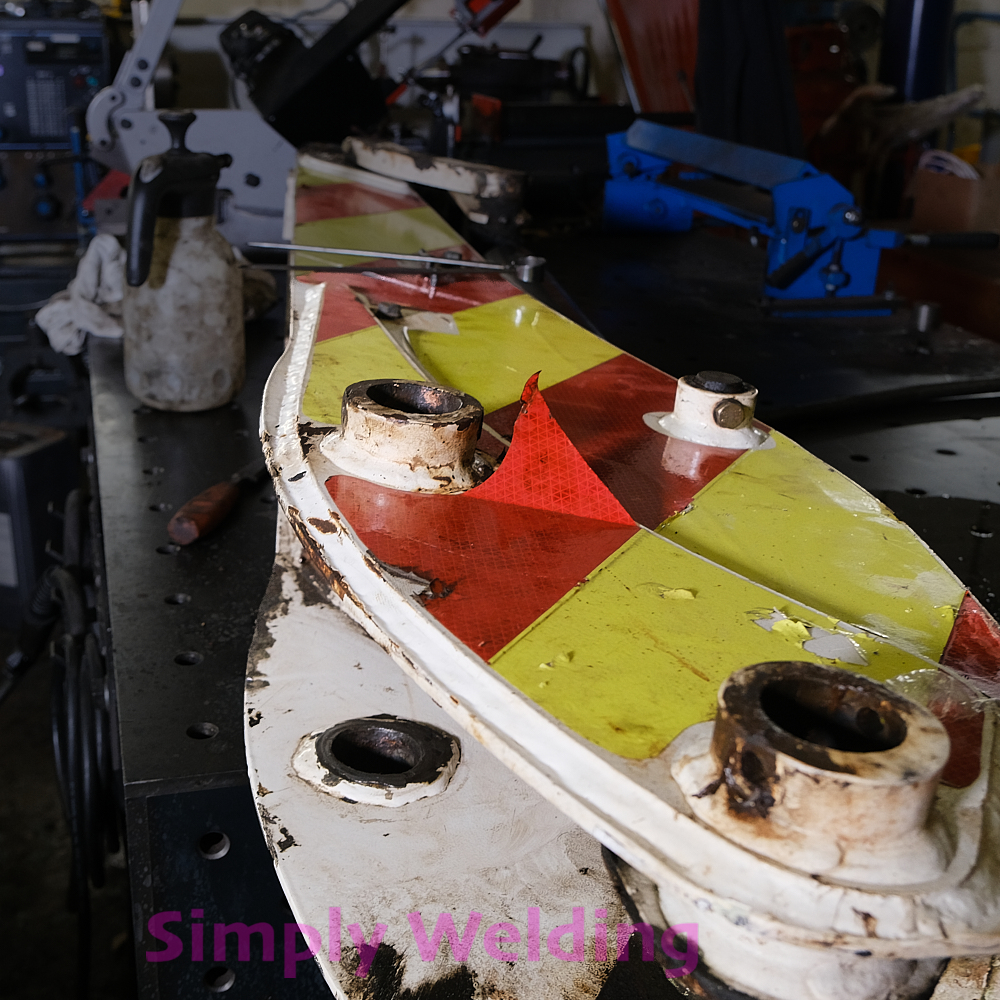
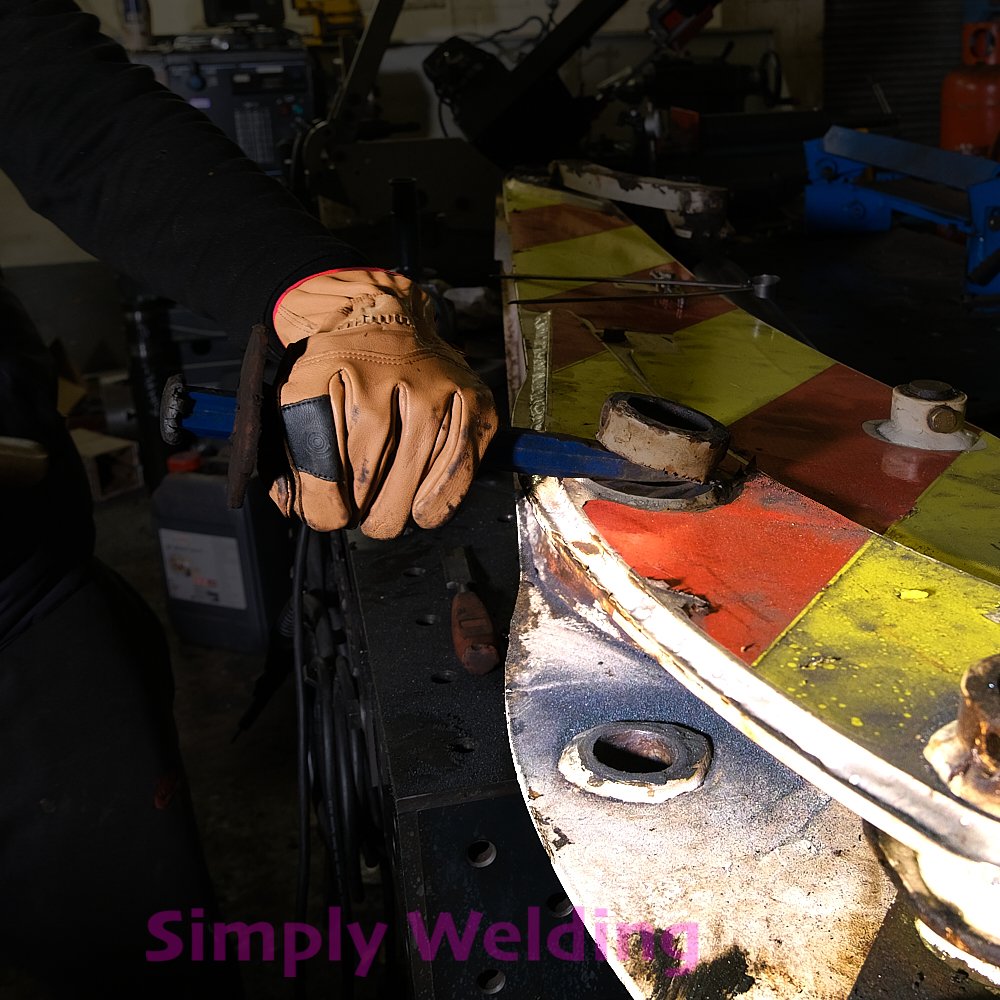
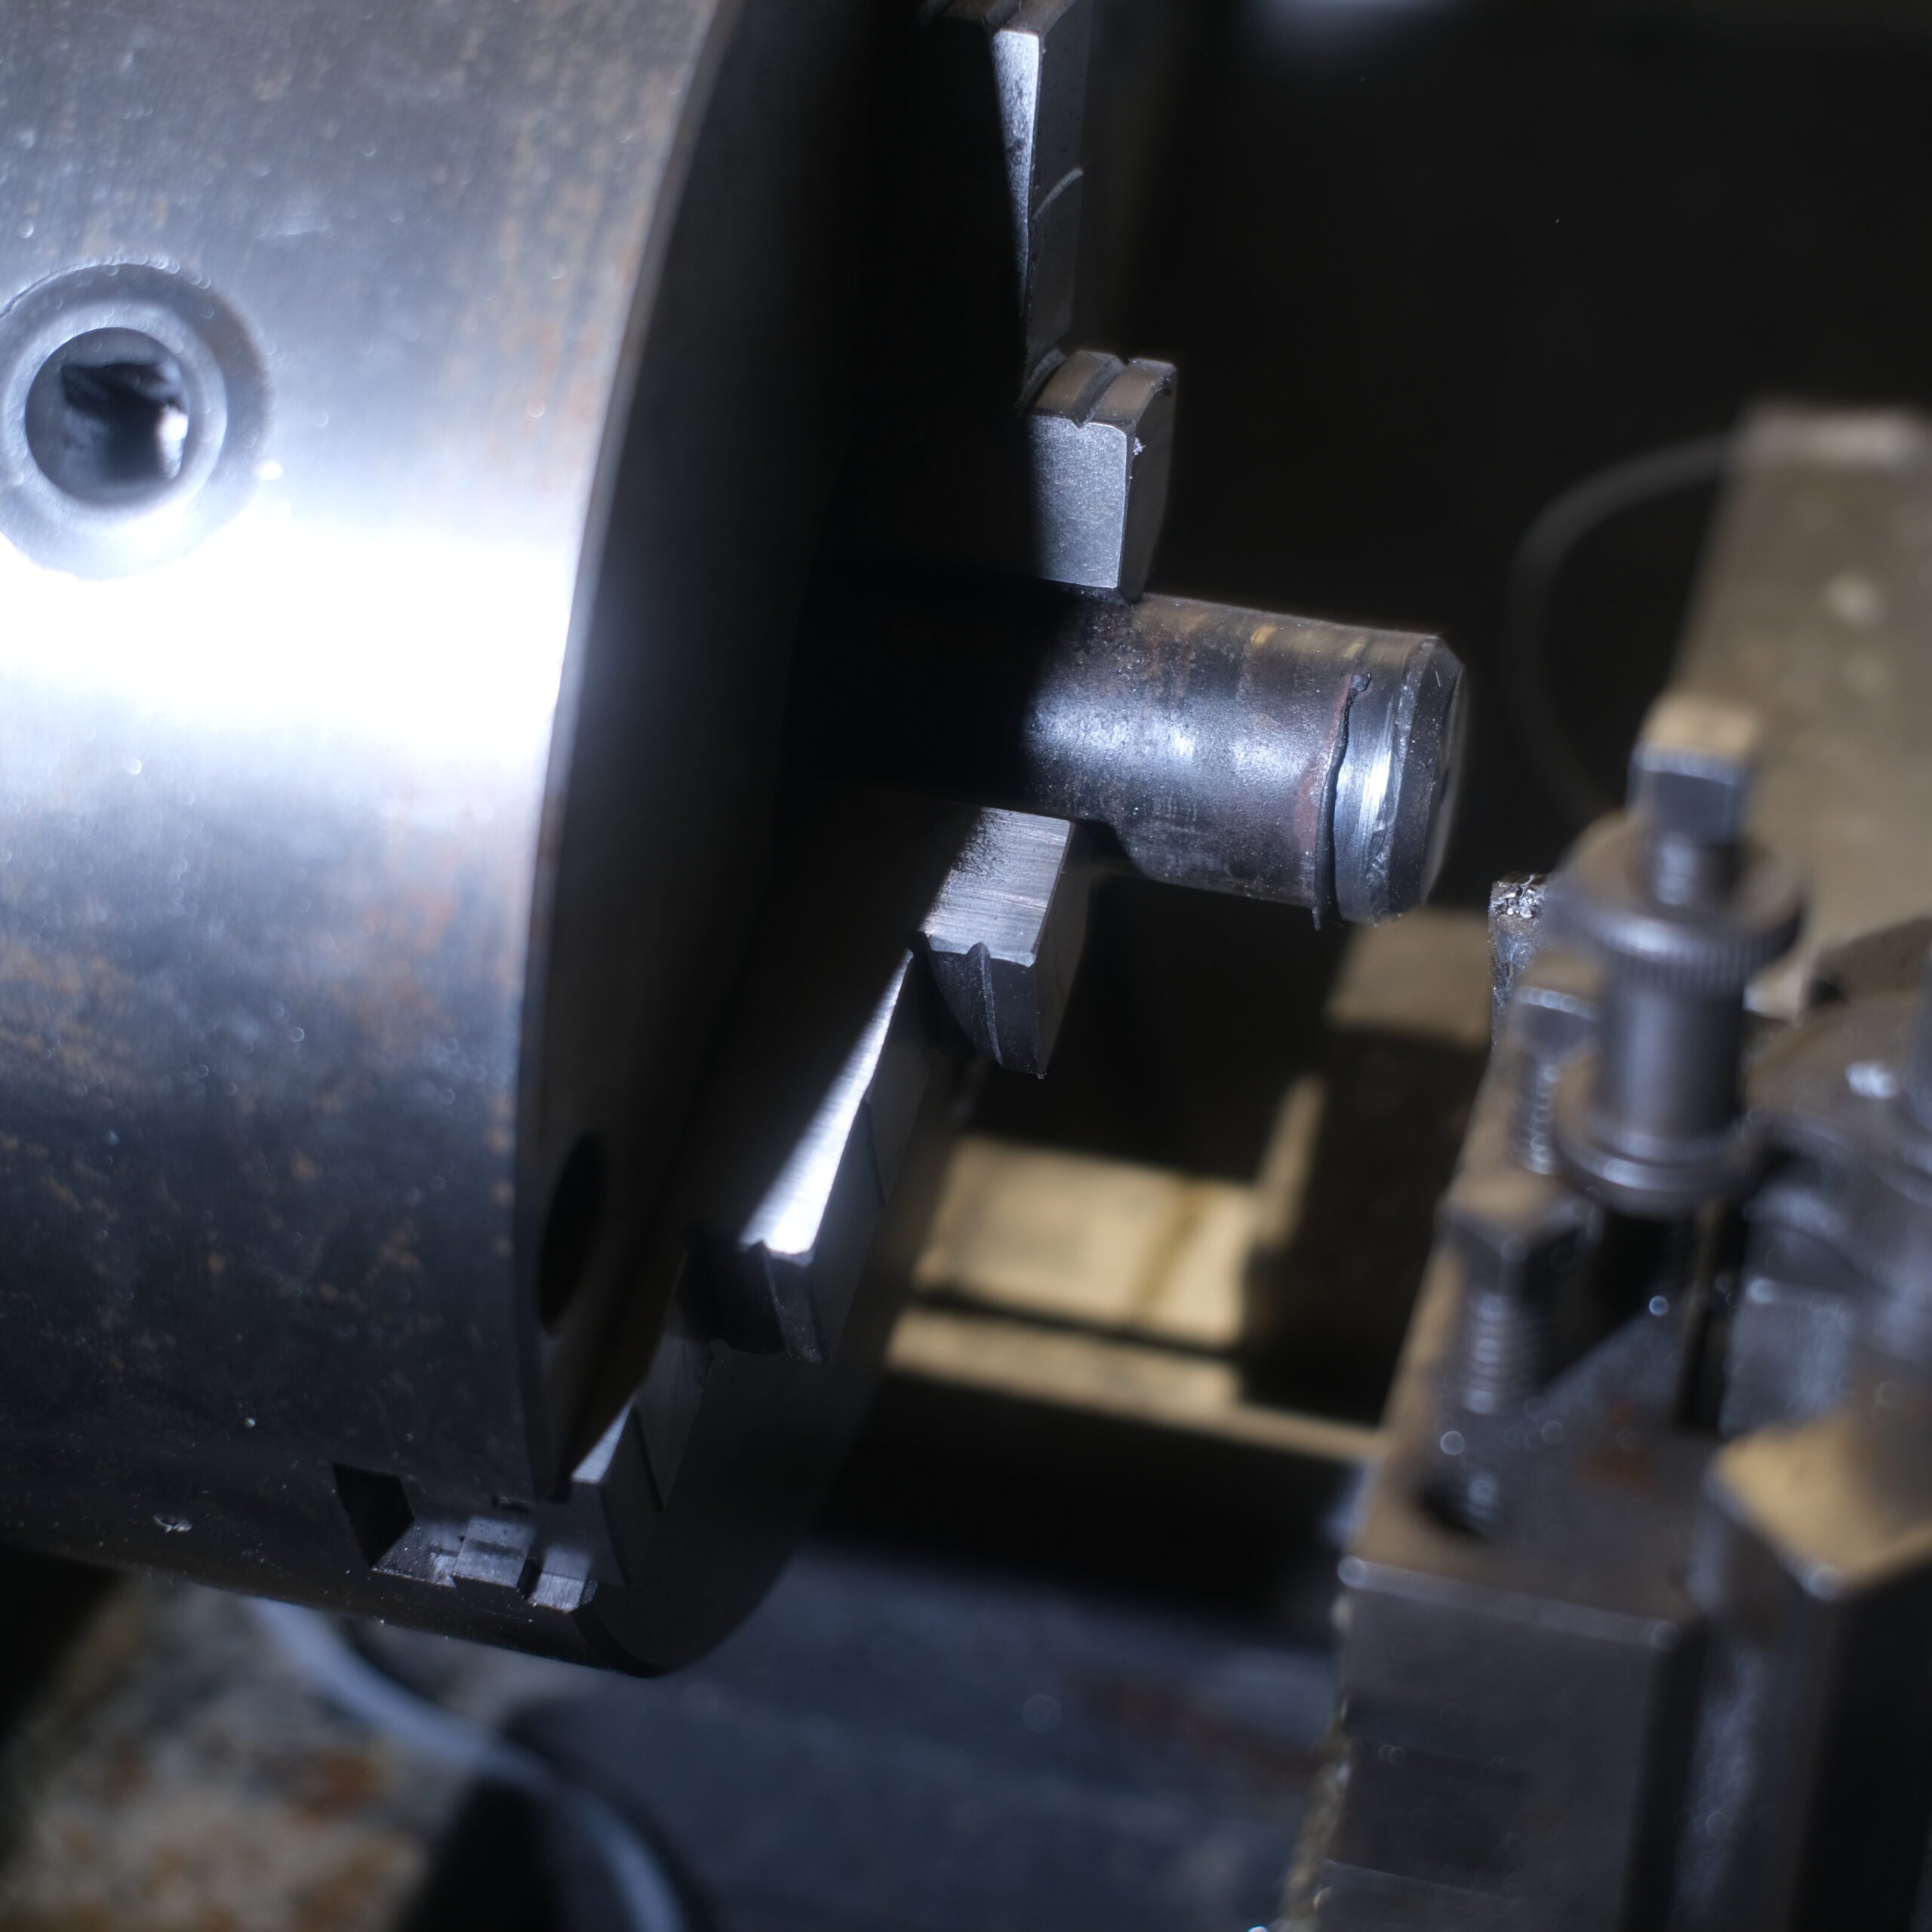
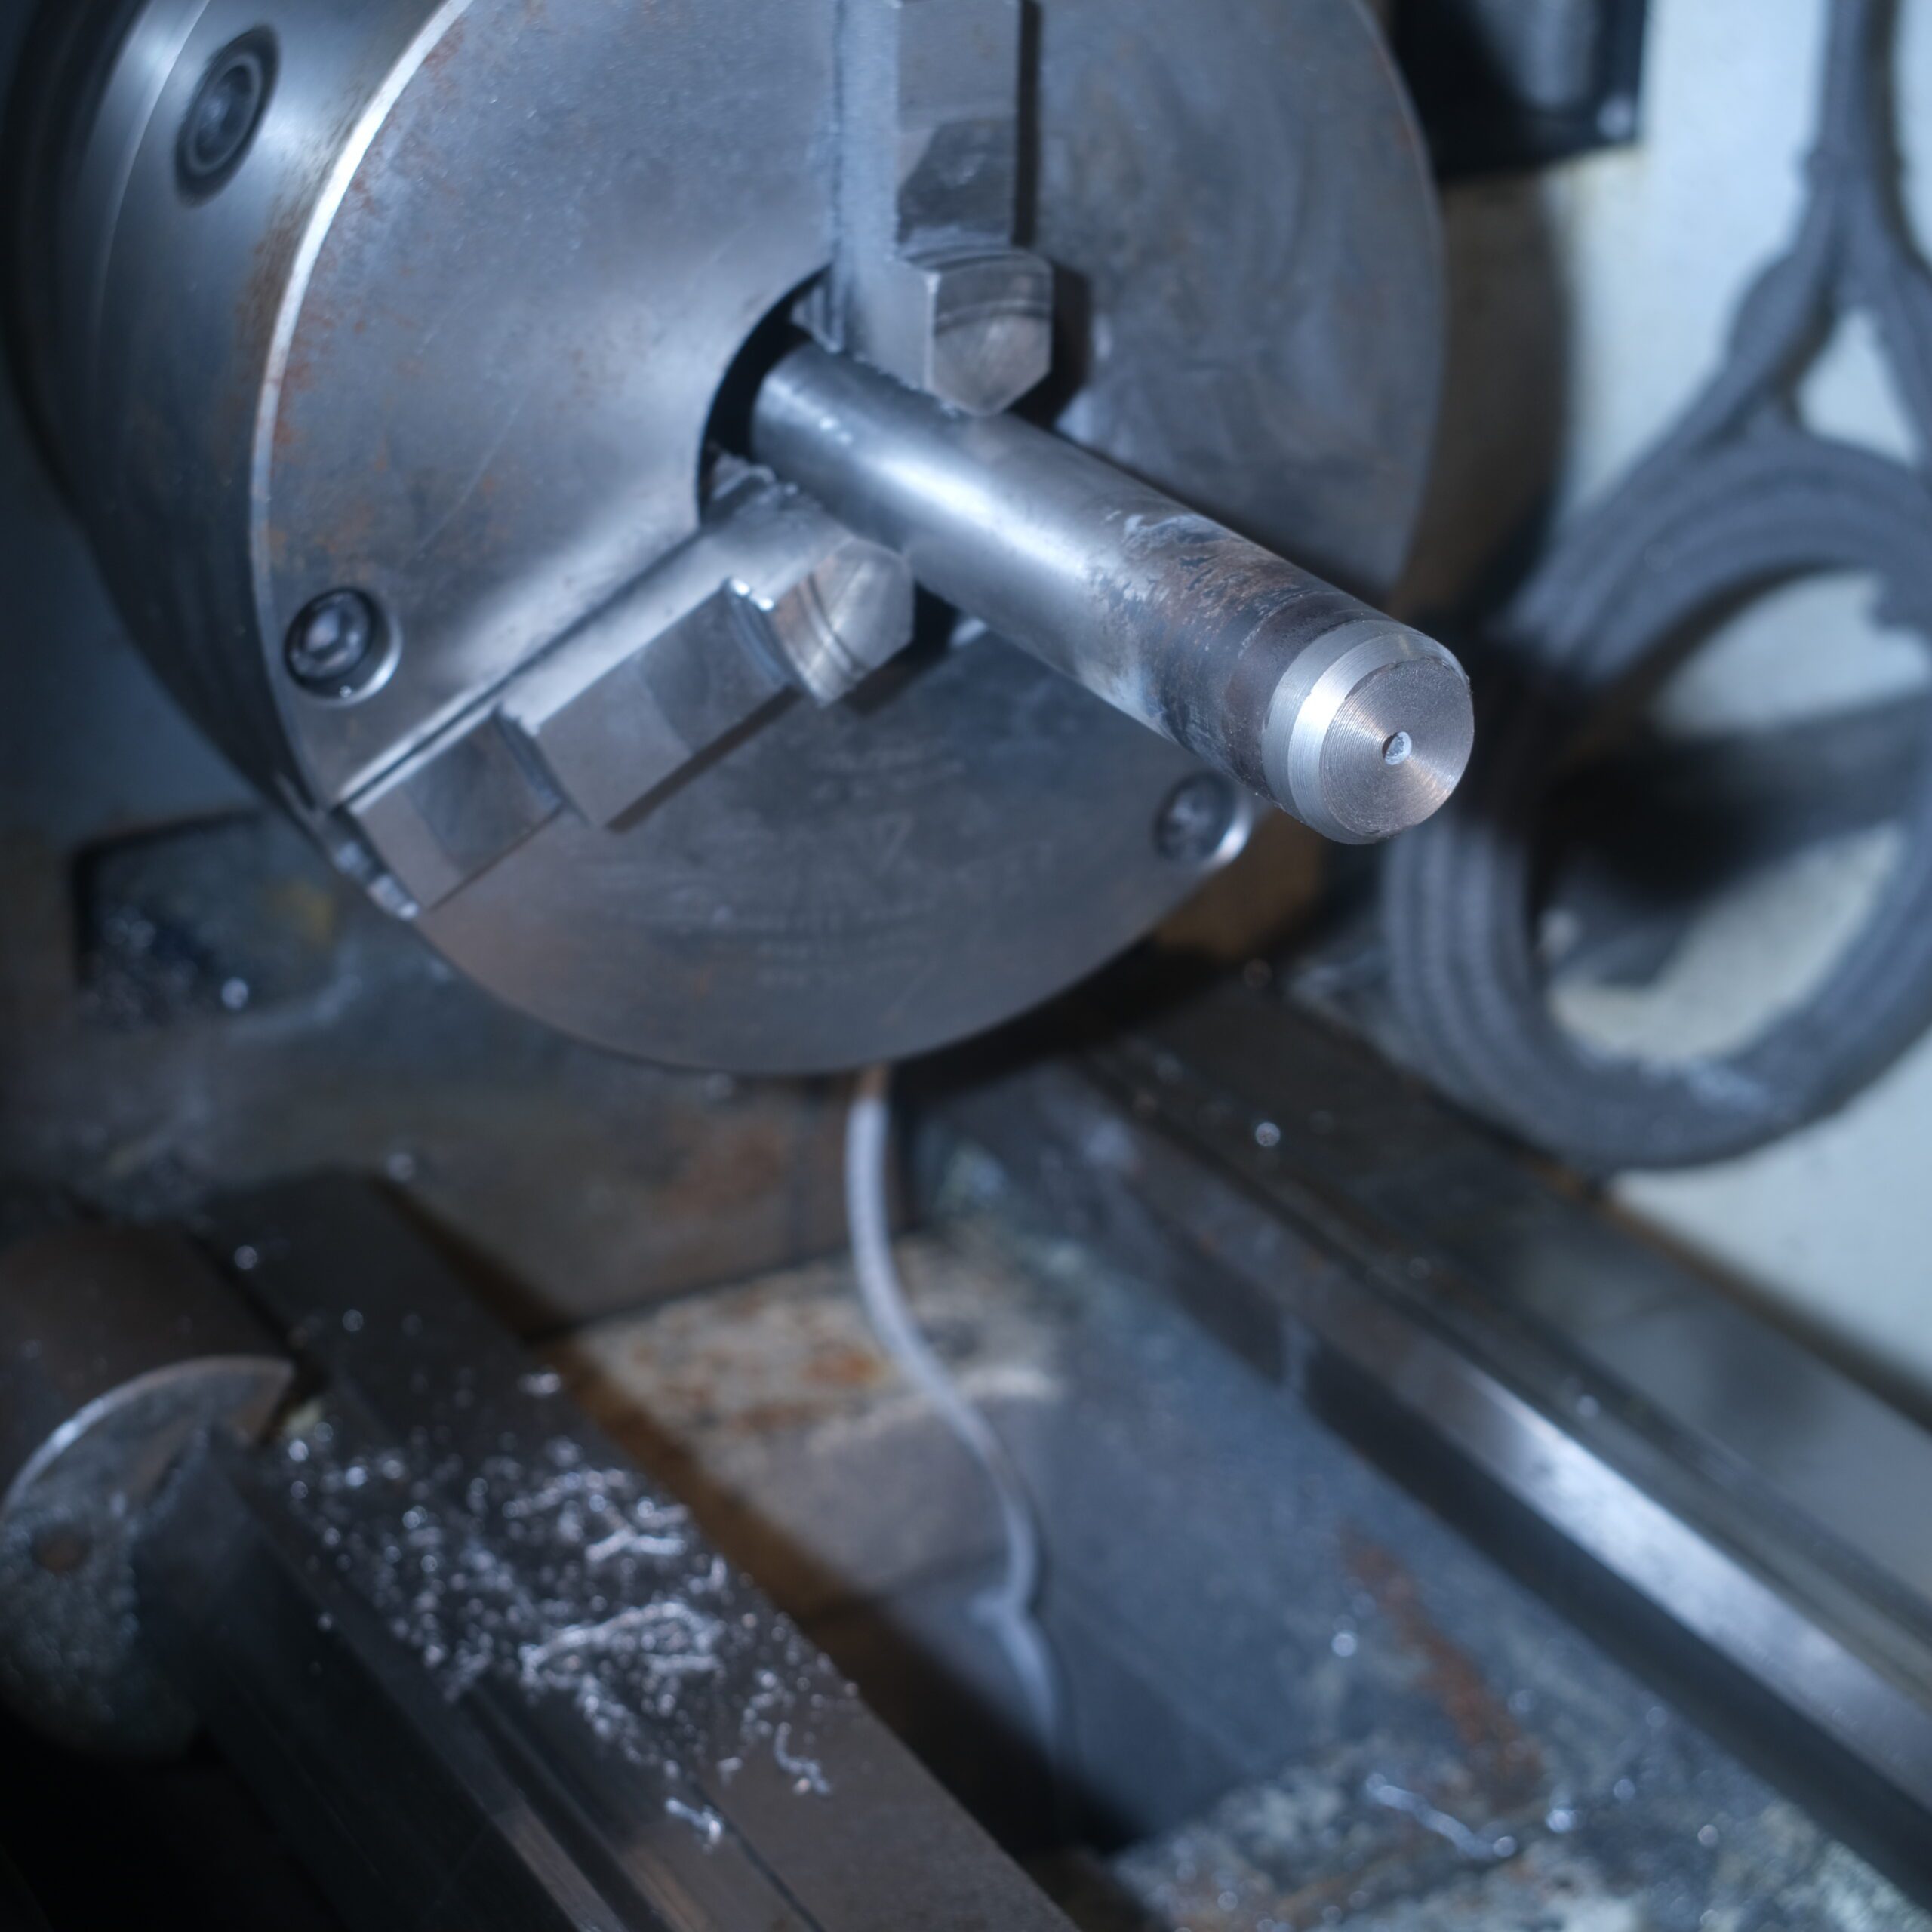
Machining Kinshofer KM622 Pivot Pins

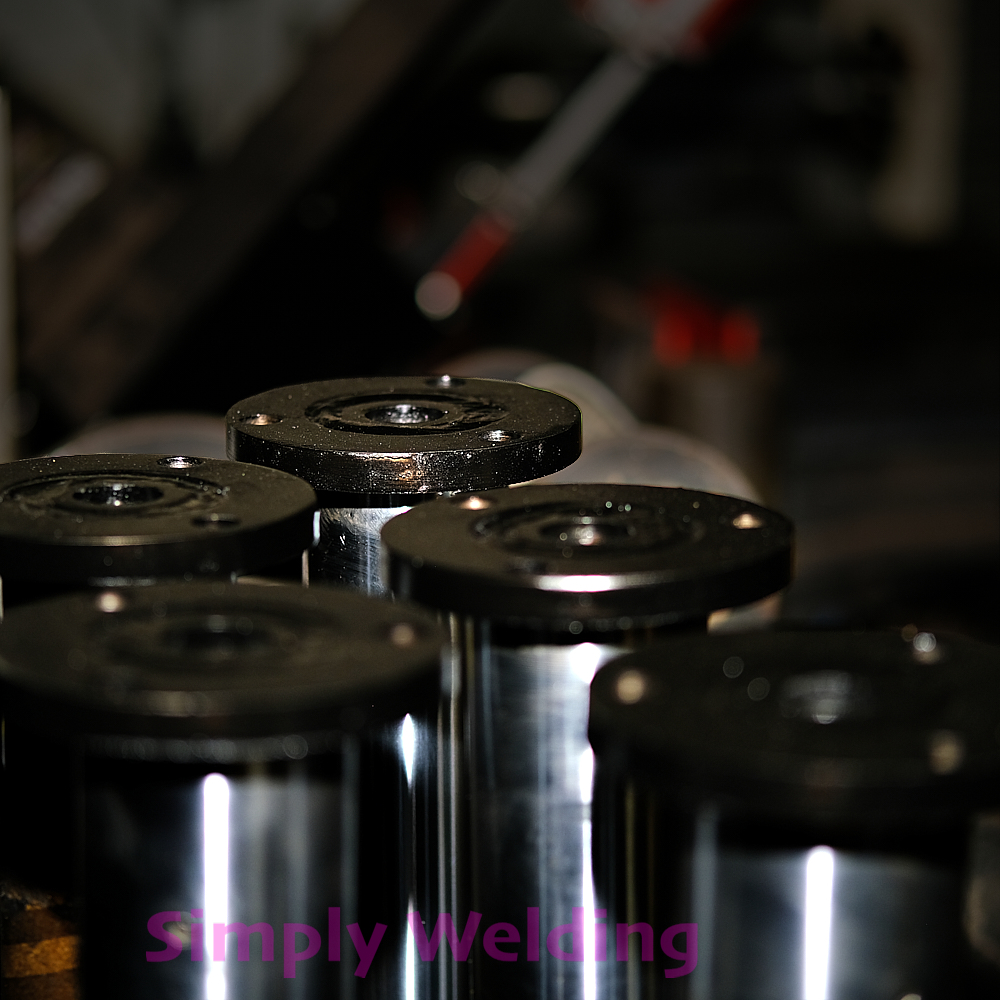
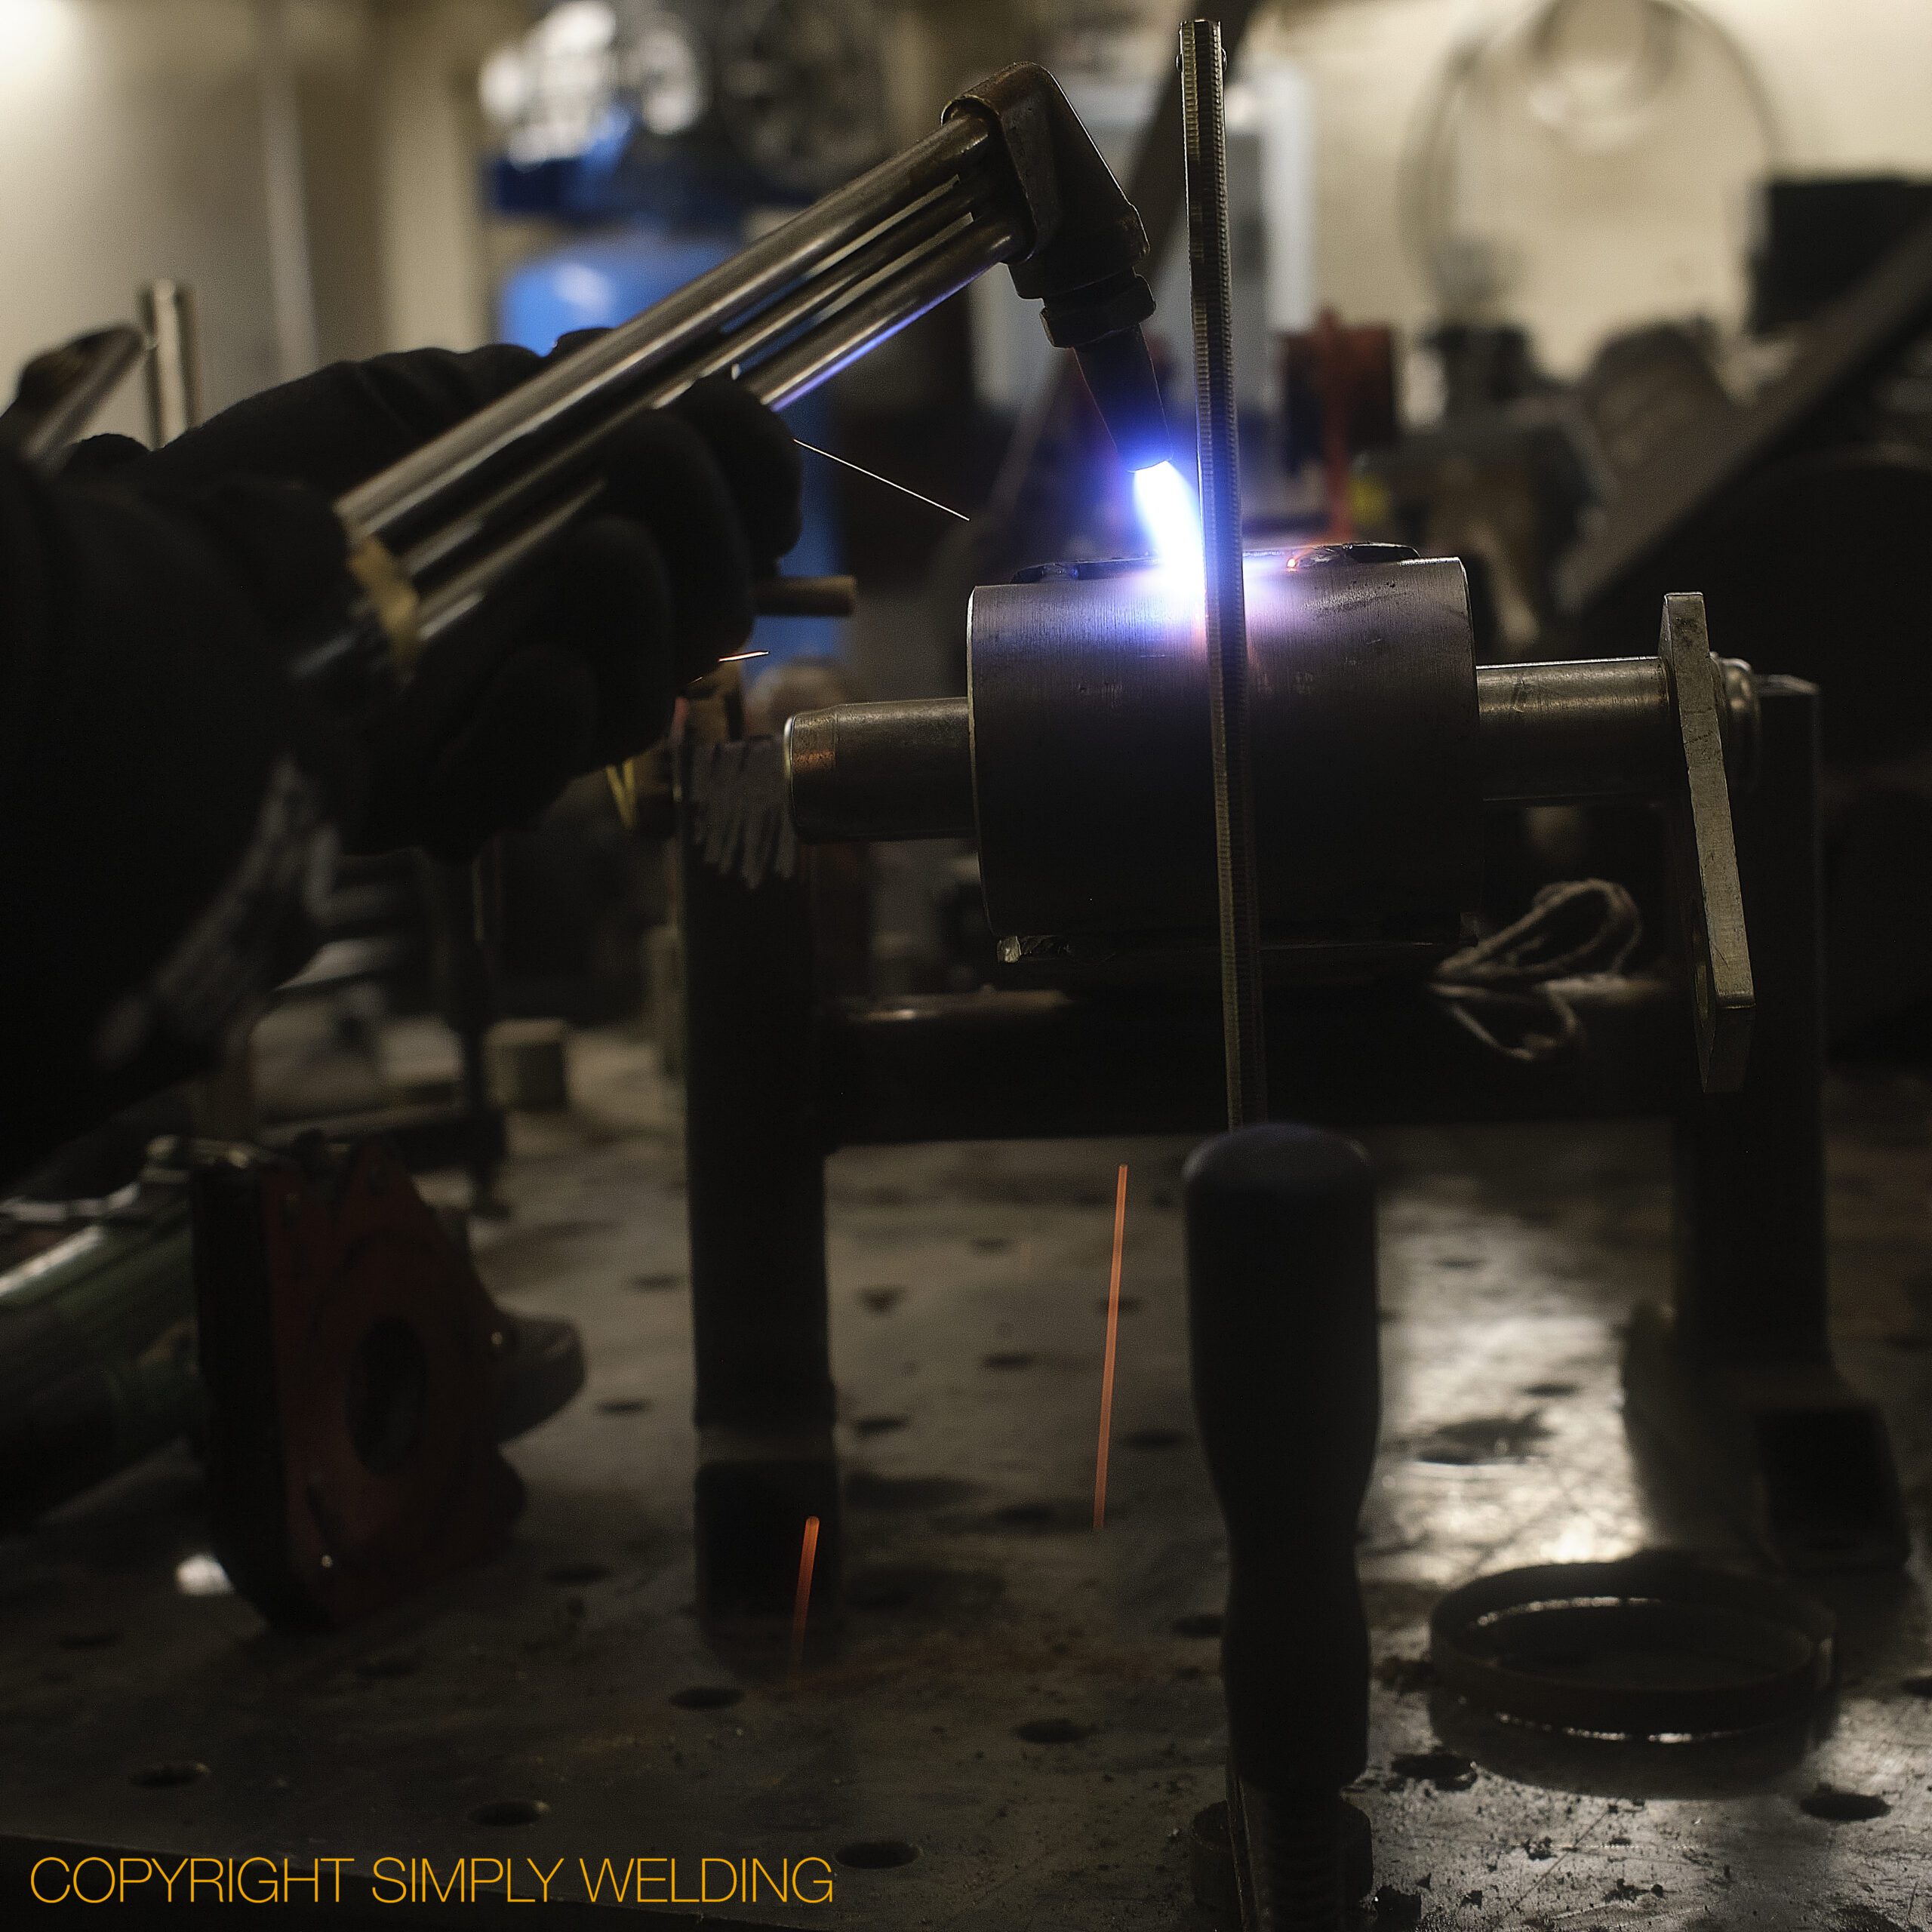
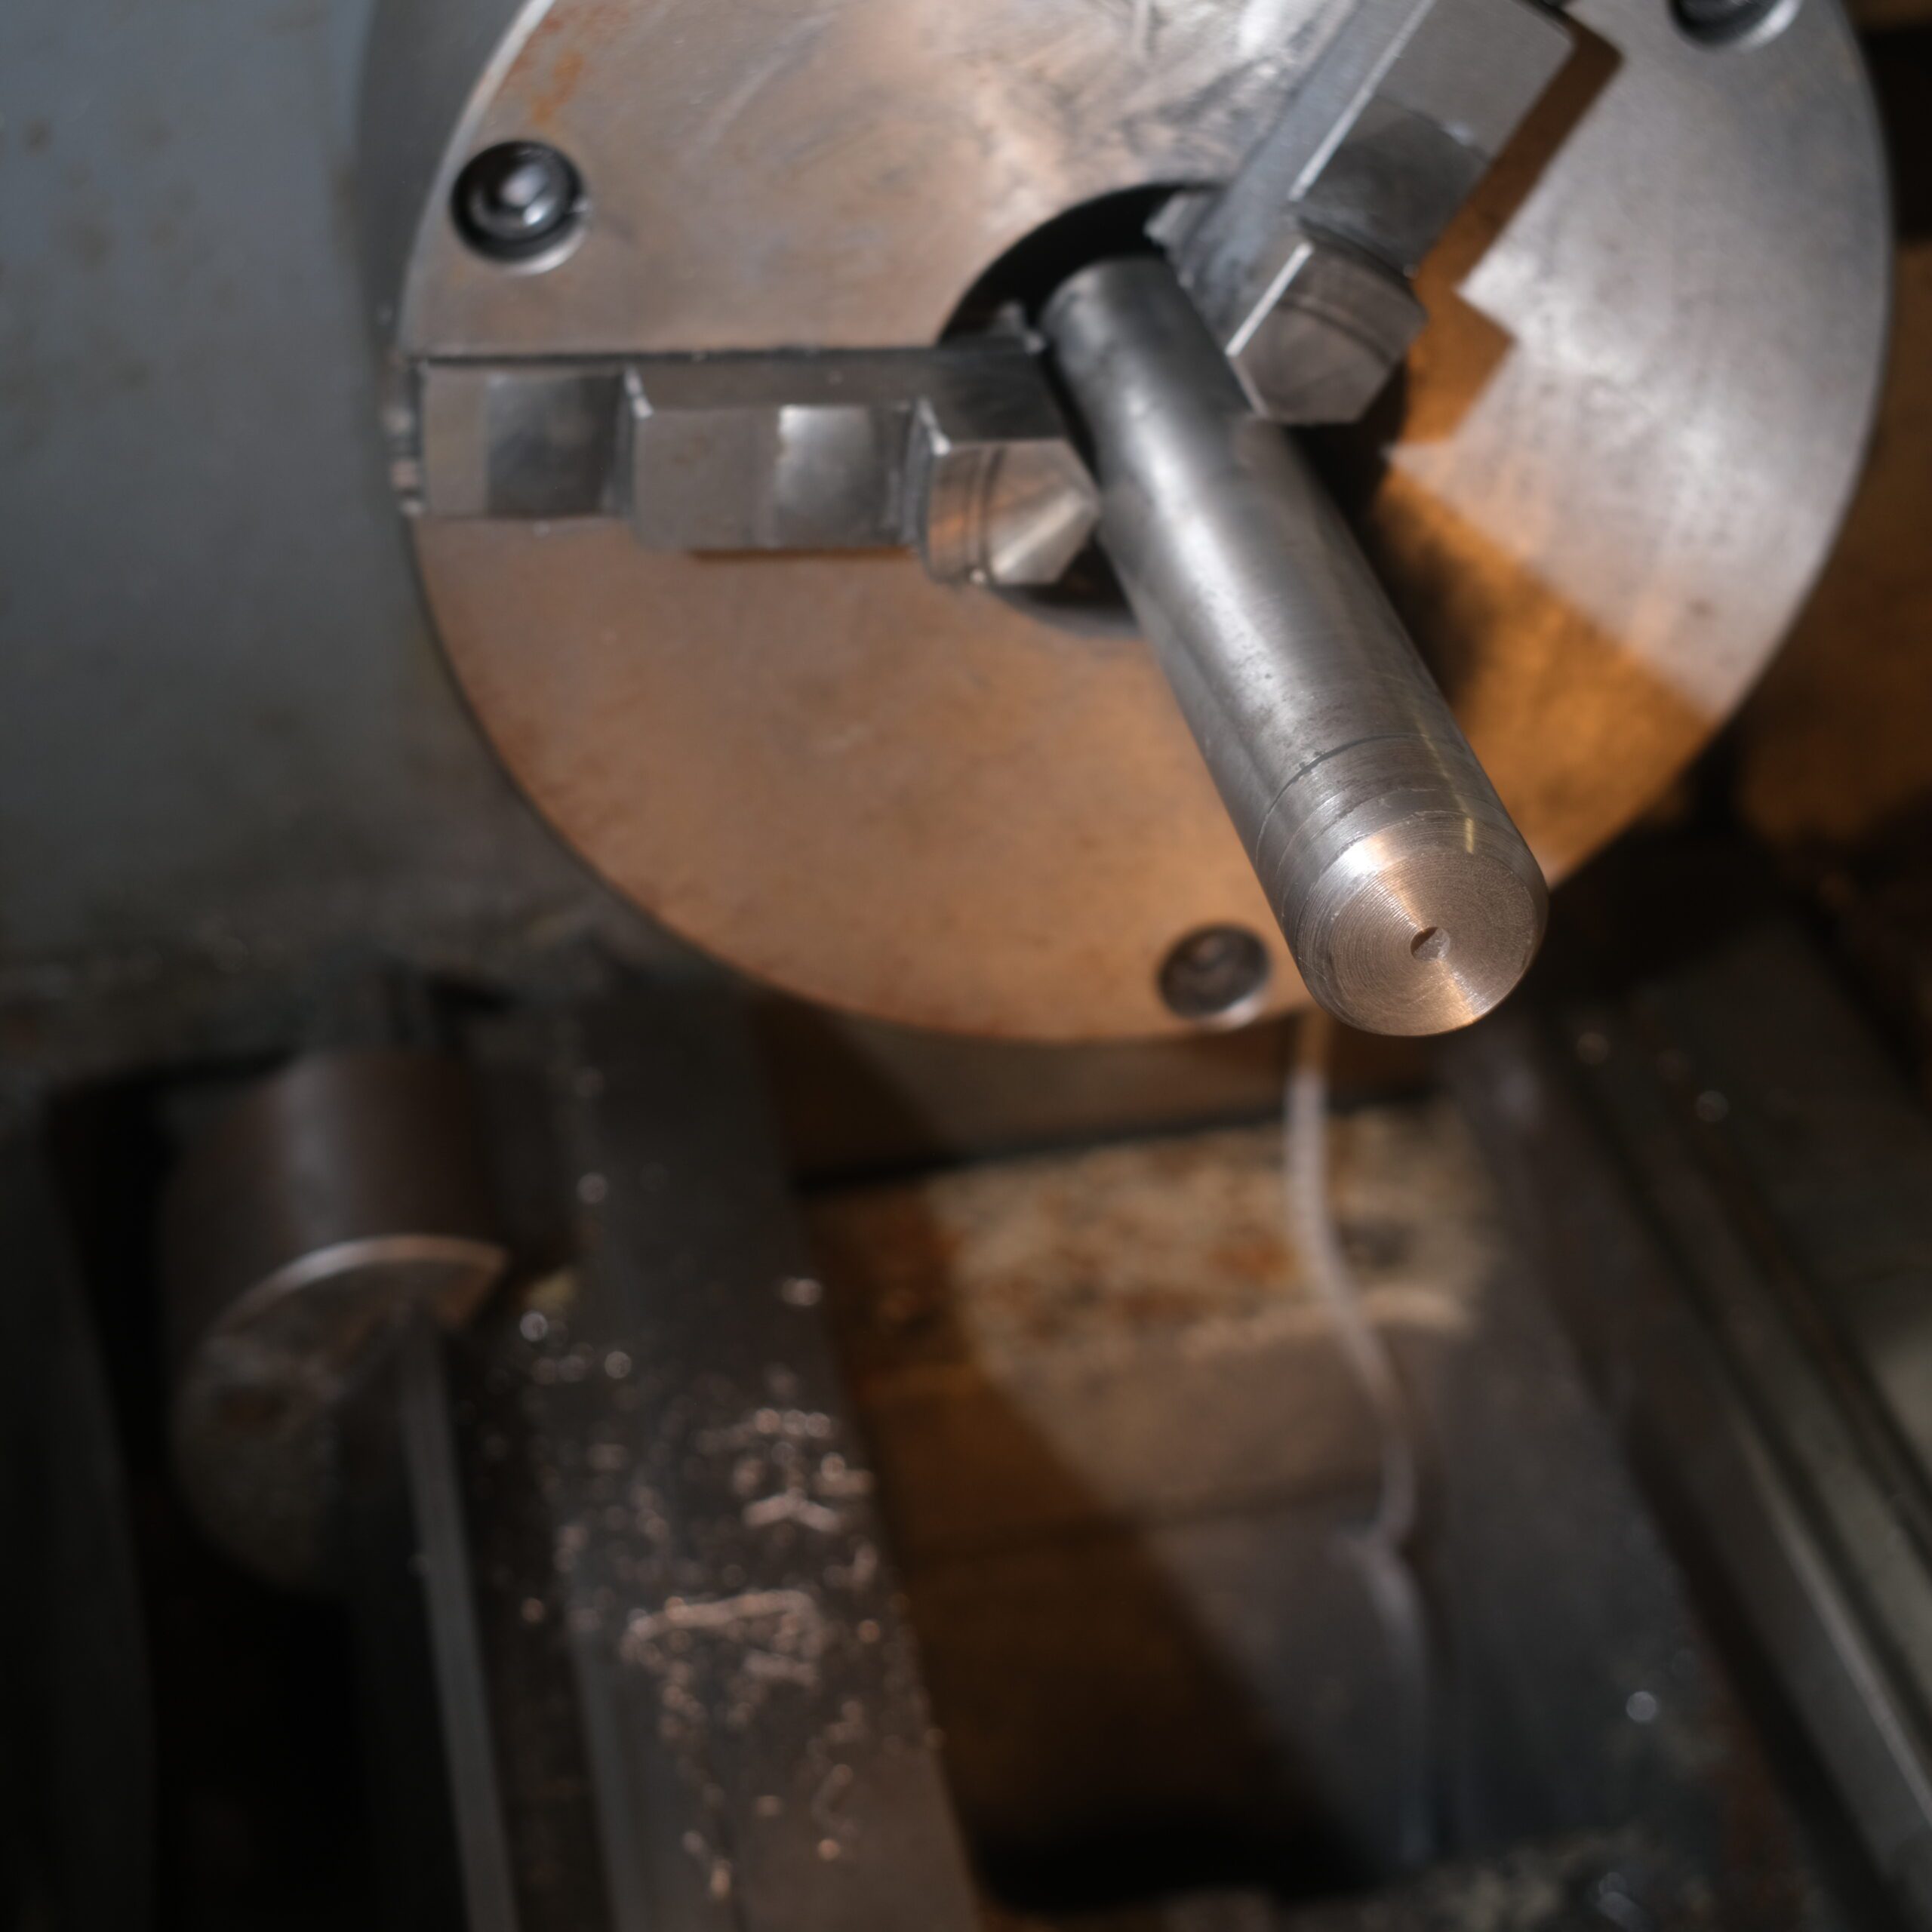
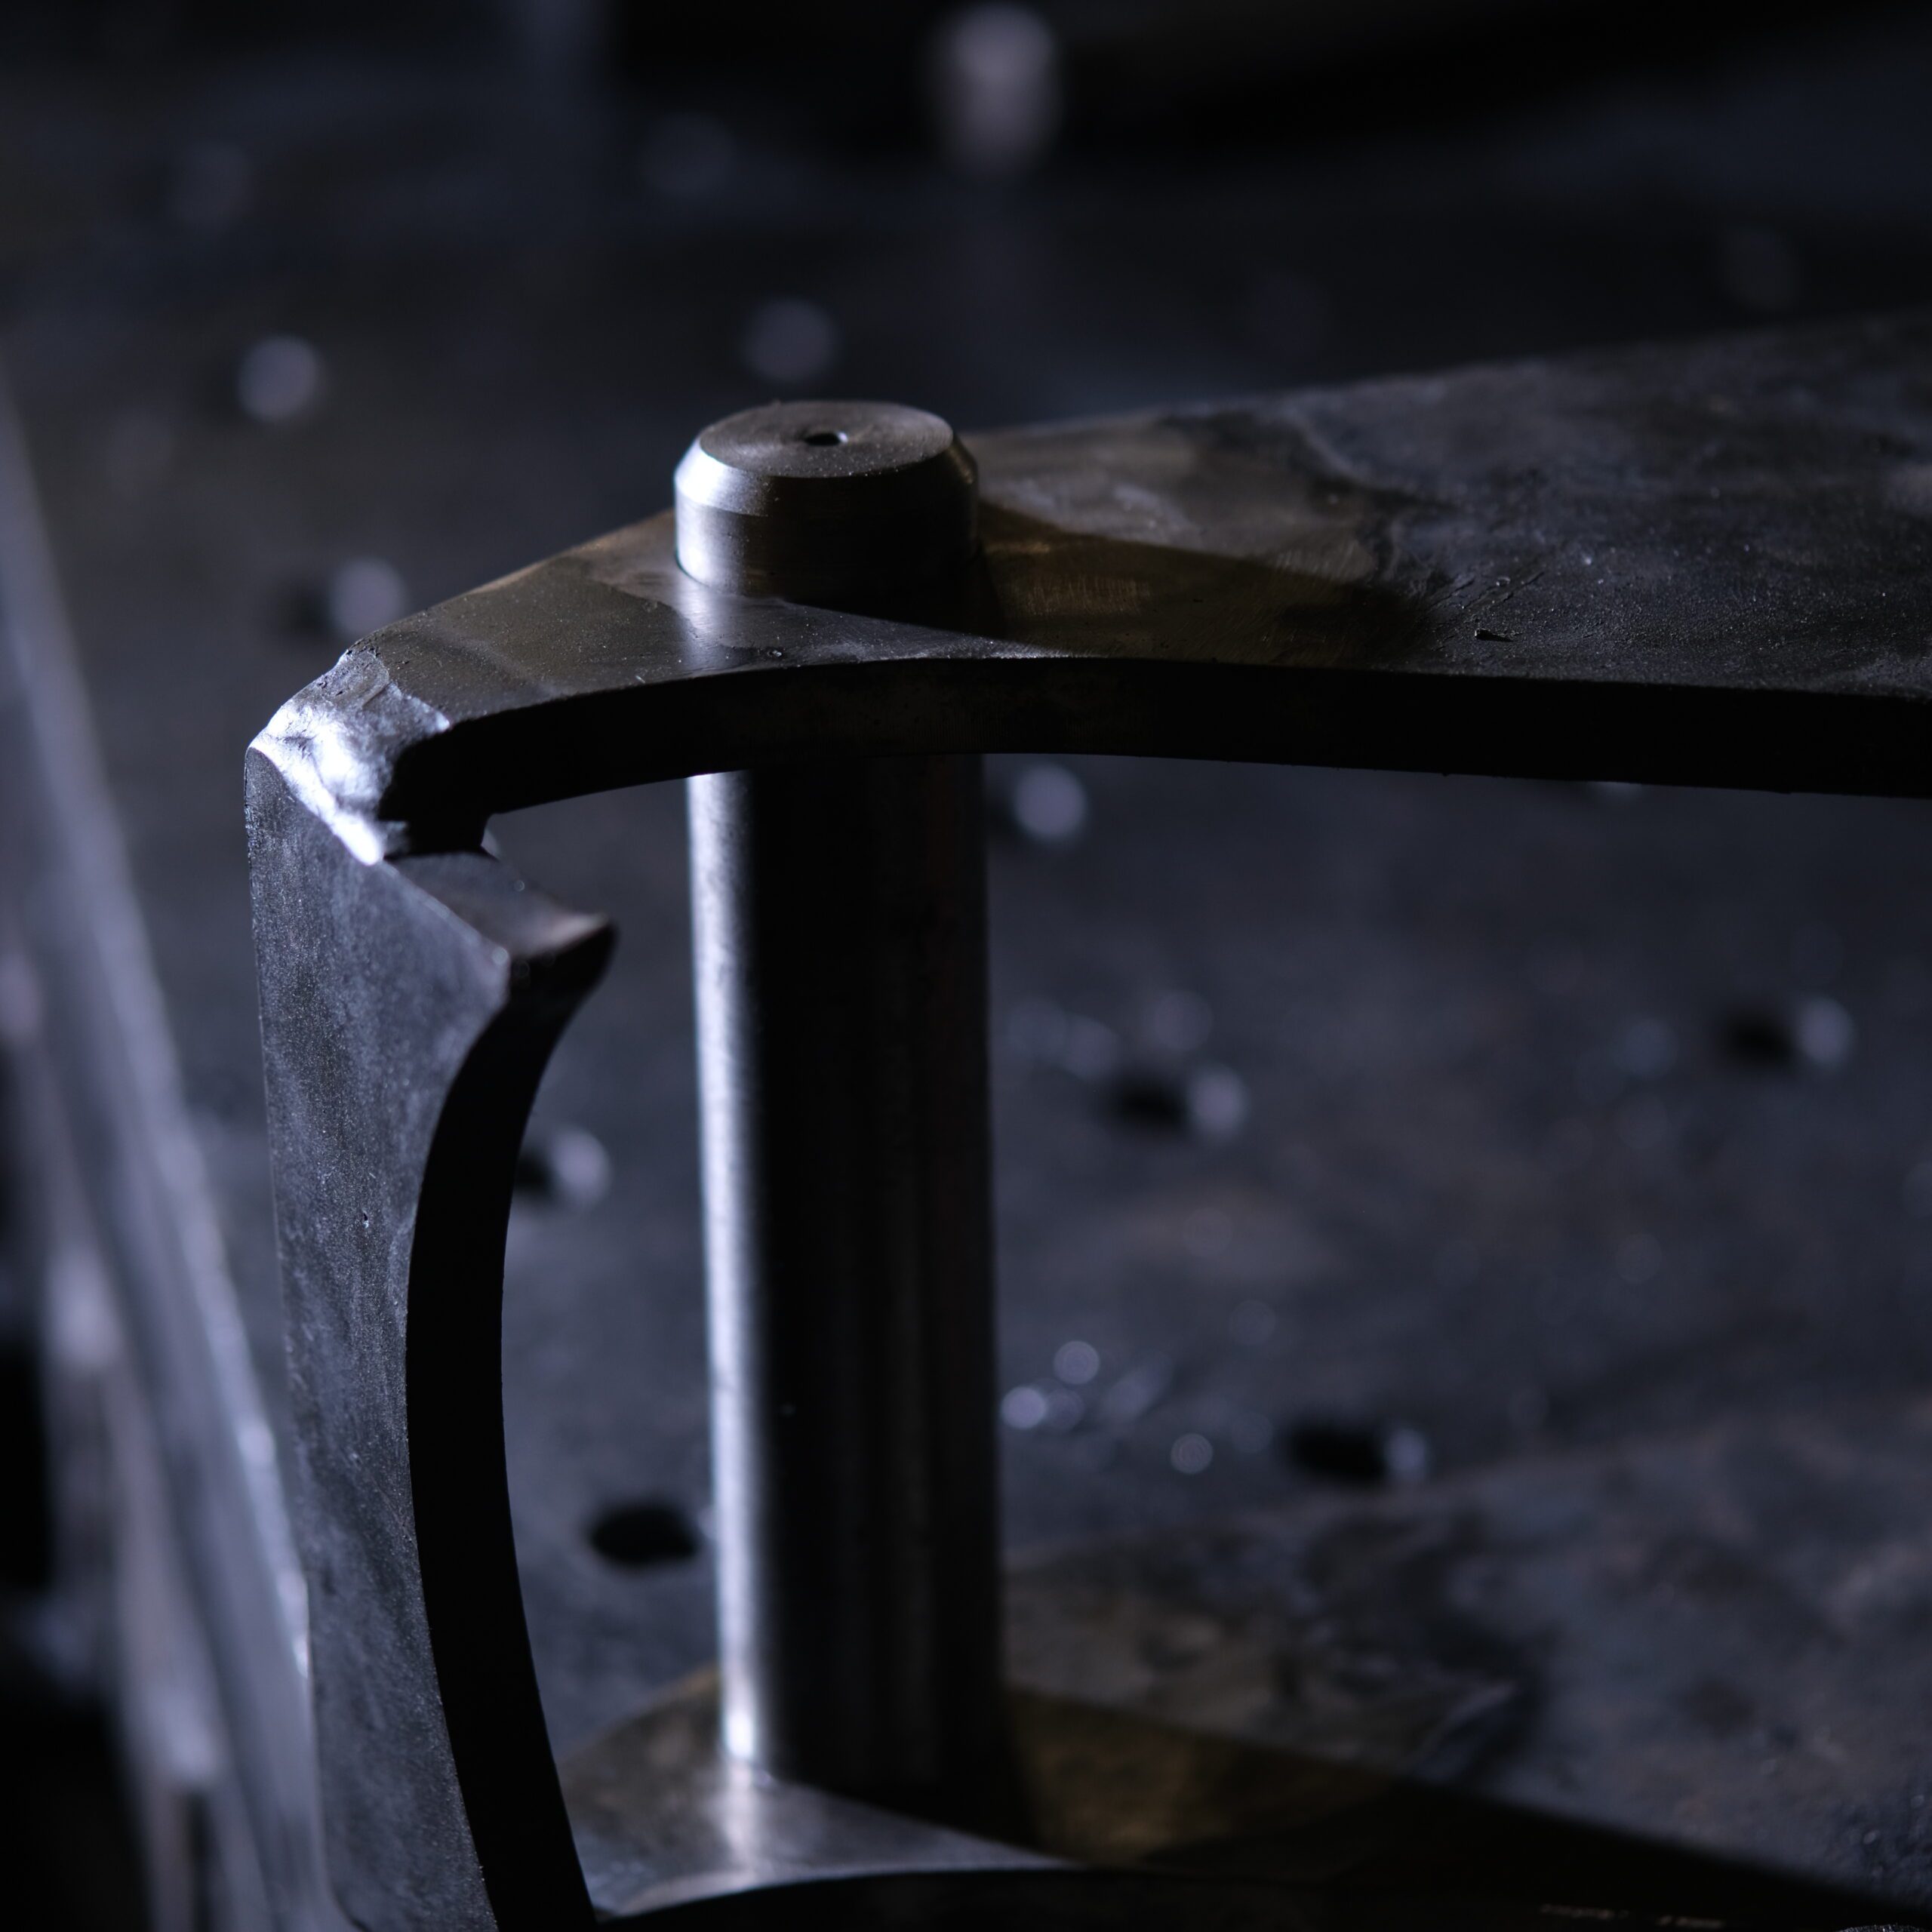
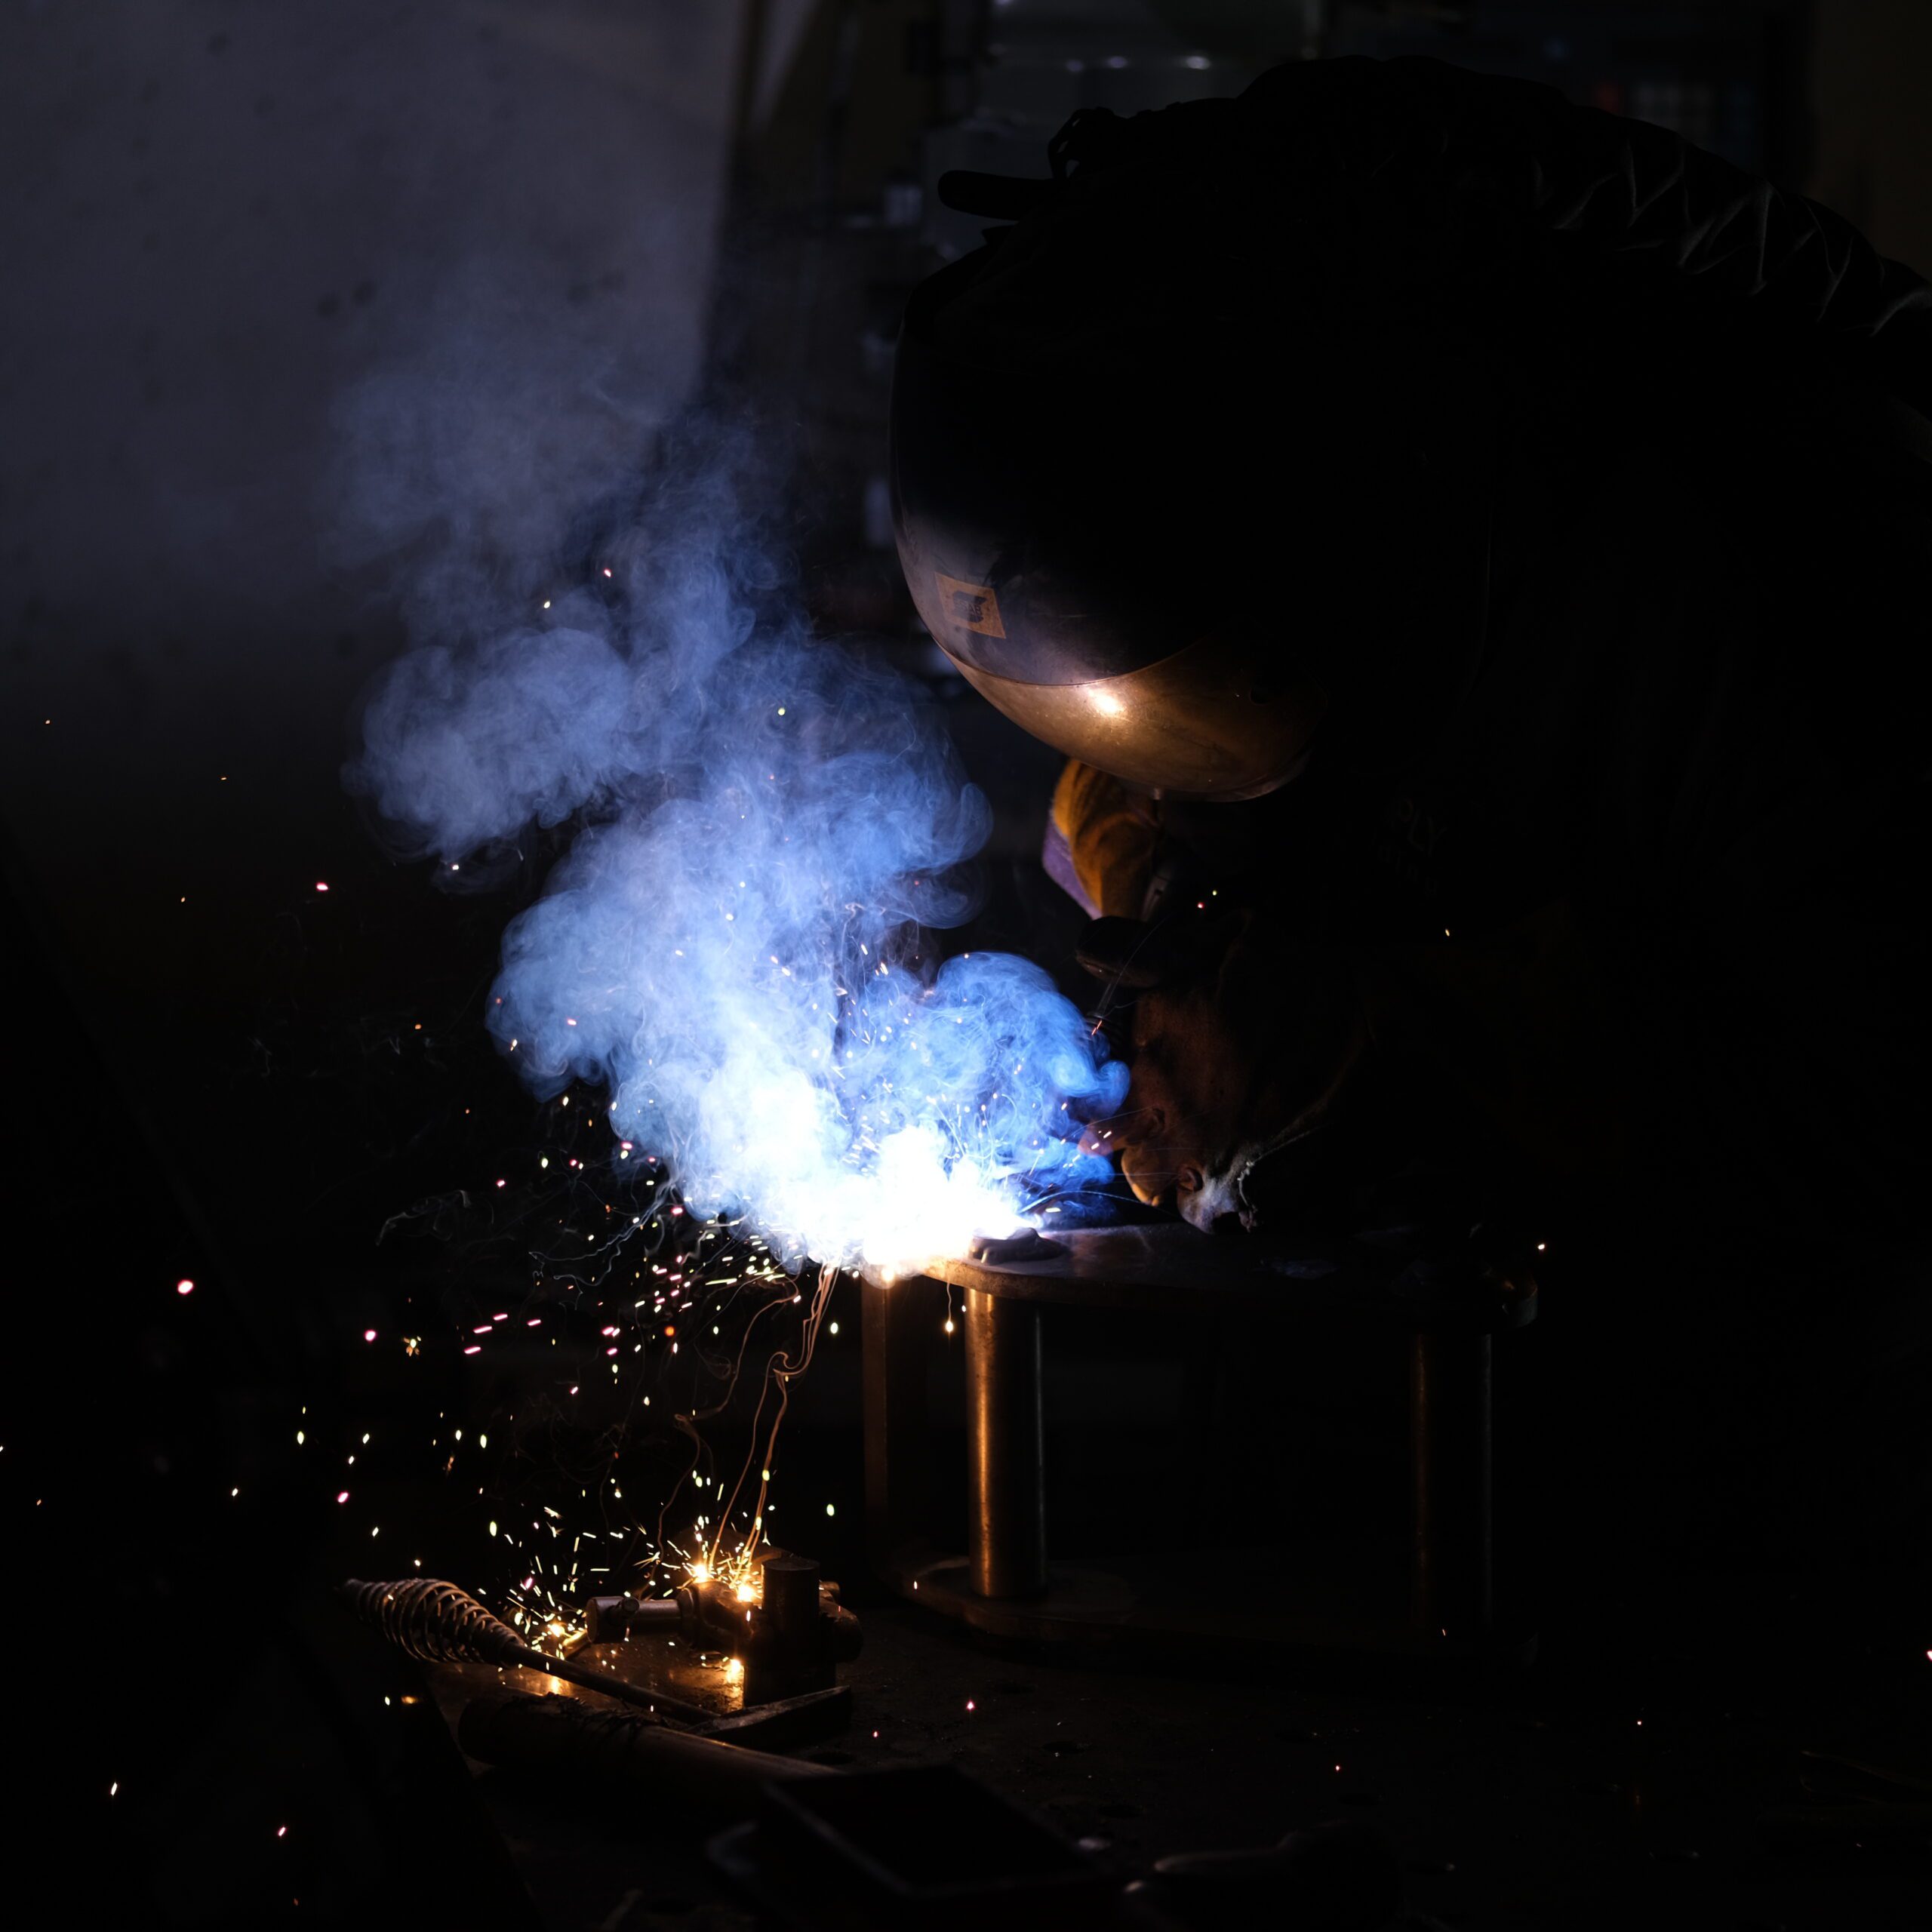
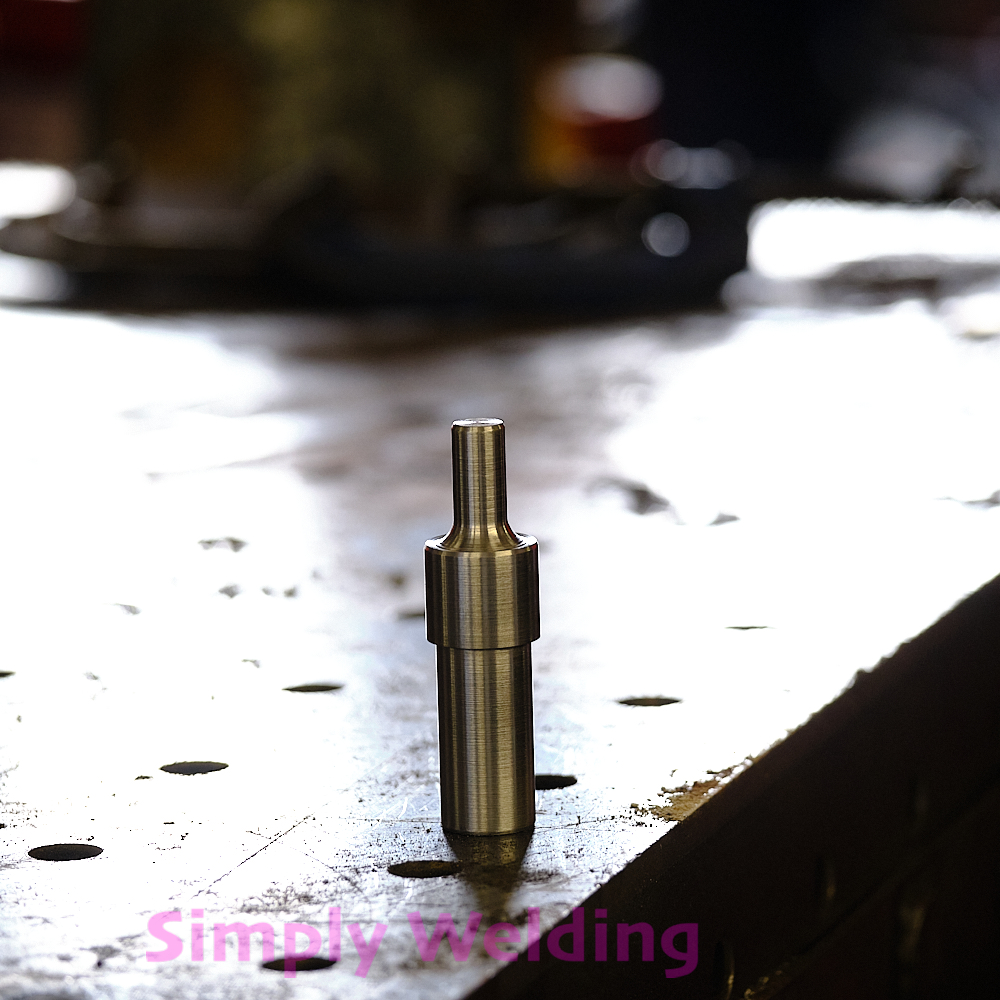
Machined 65mm pivot pins: turned, threaded, drilled and tapped, with laser-cut pin heads welded on. All work done in-house.
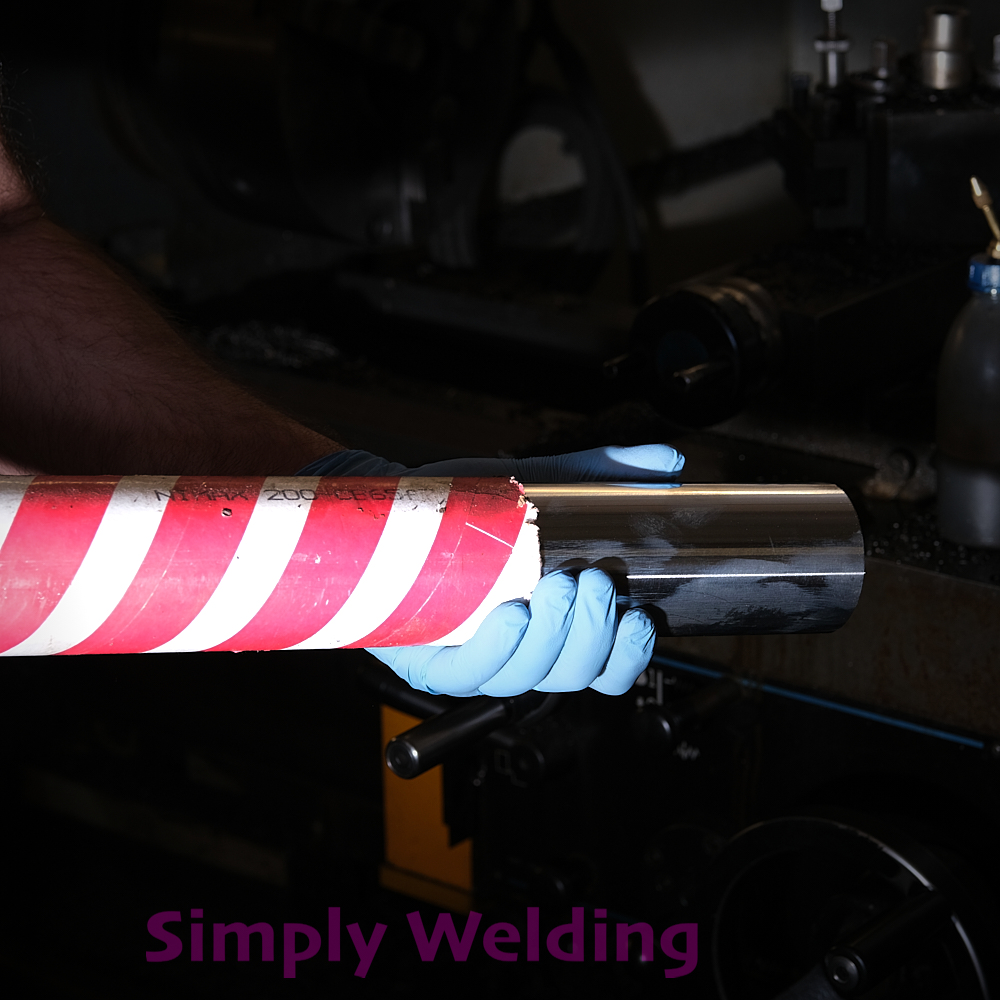
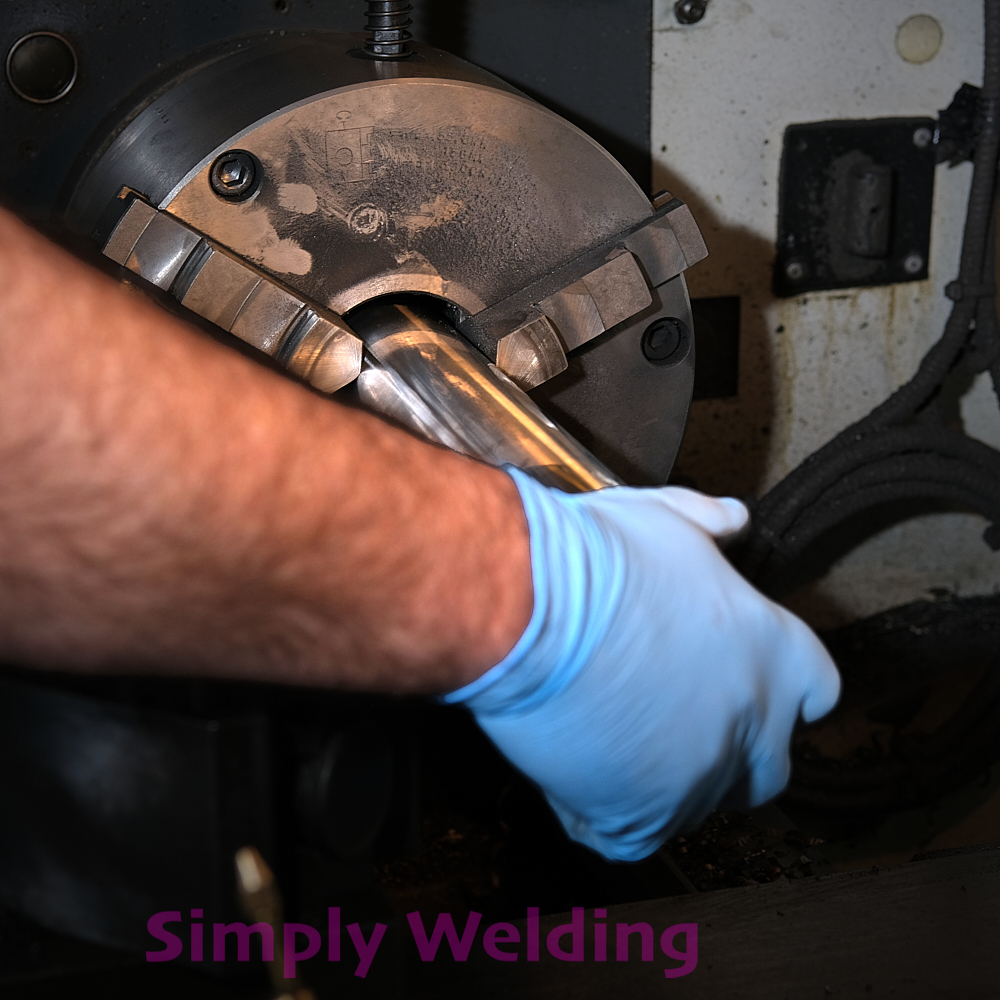
Epsilon E125 Extension Bore Repair

Repaired worn, oval bores on an Epsilon E125 grab crane extension, with the main drop link bores restored to original factory dimensions.
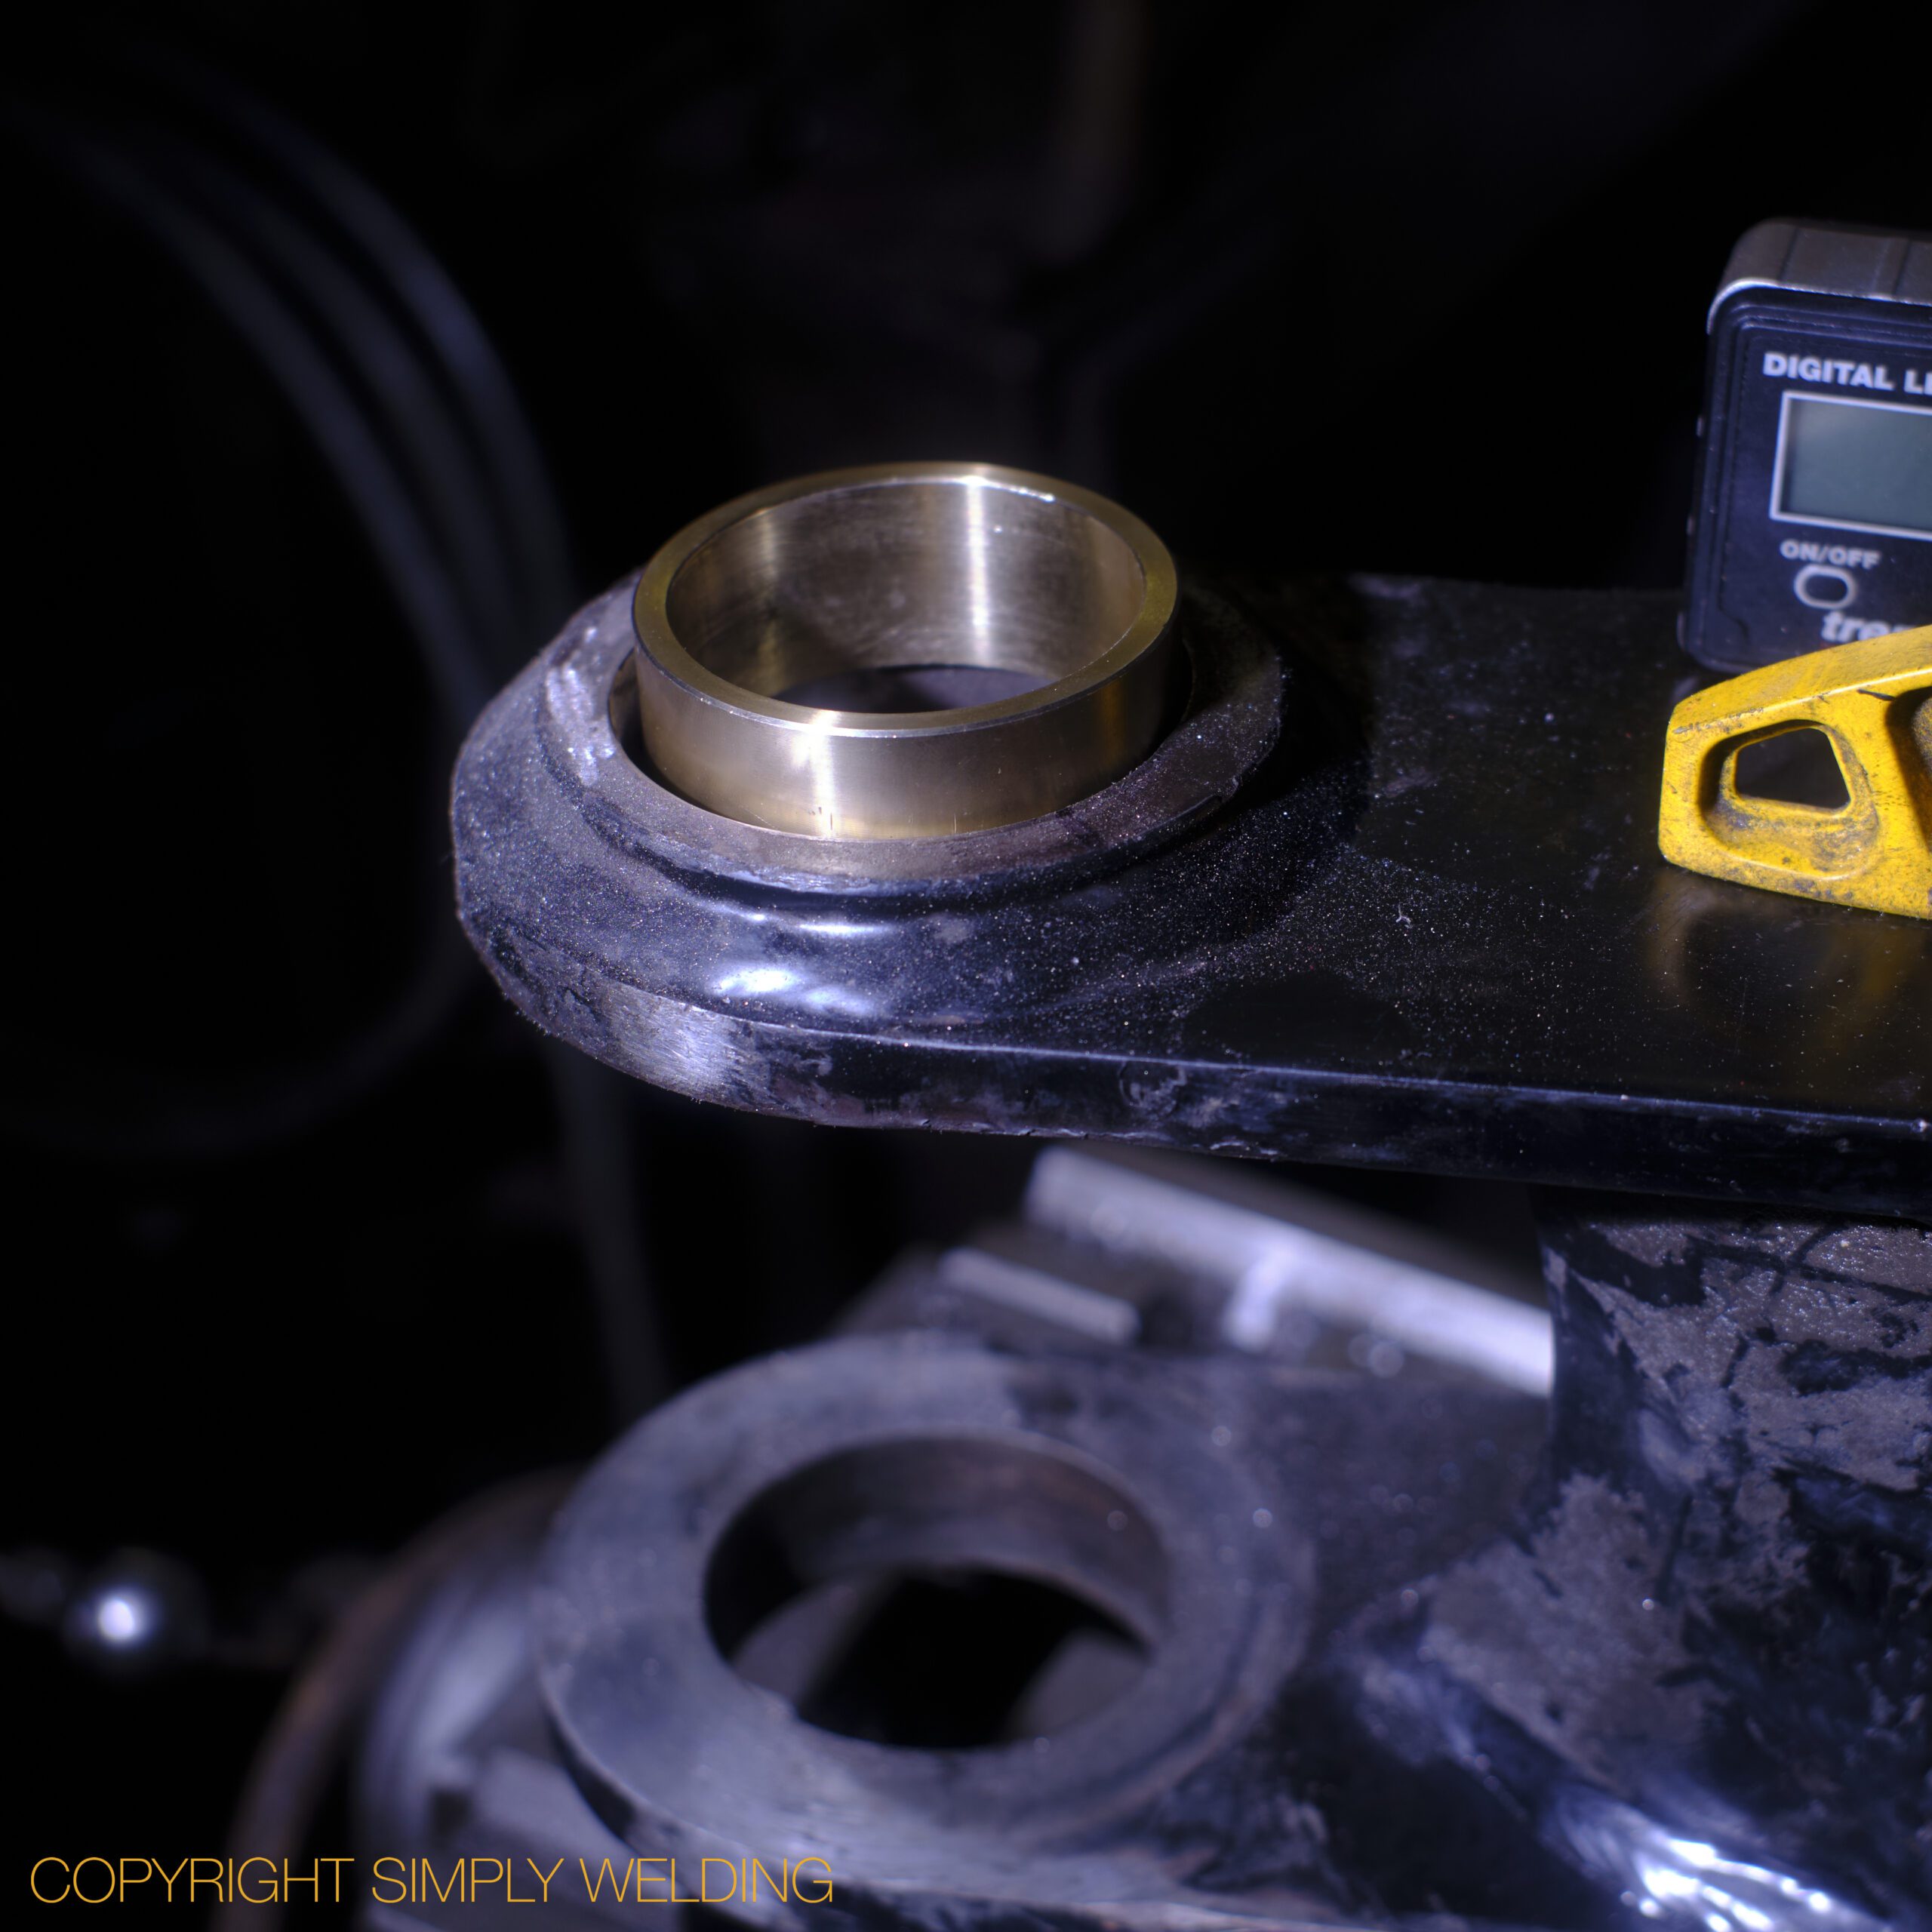
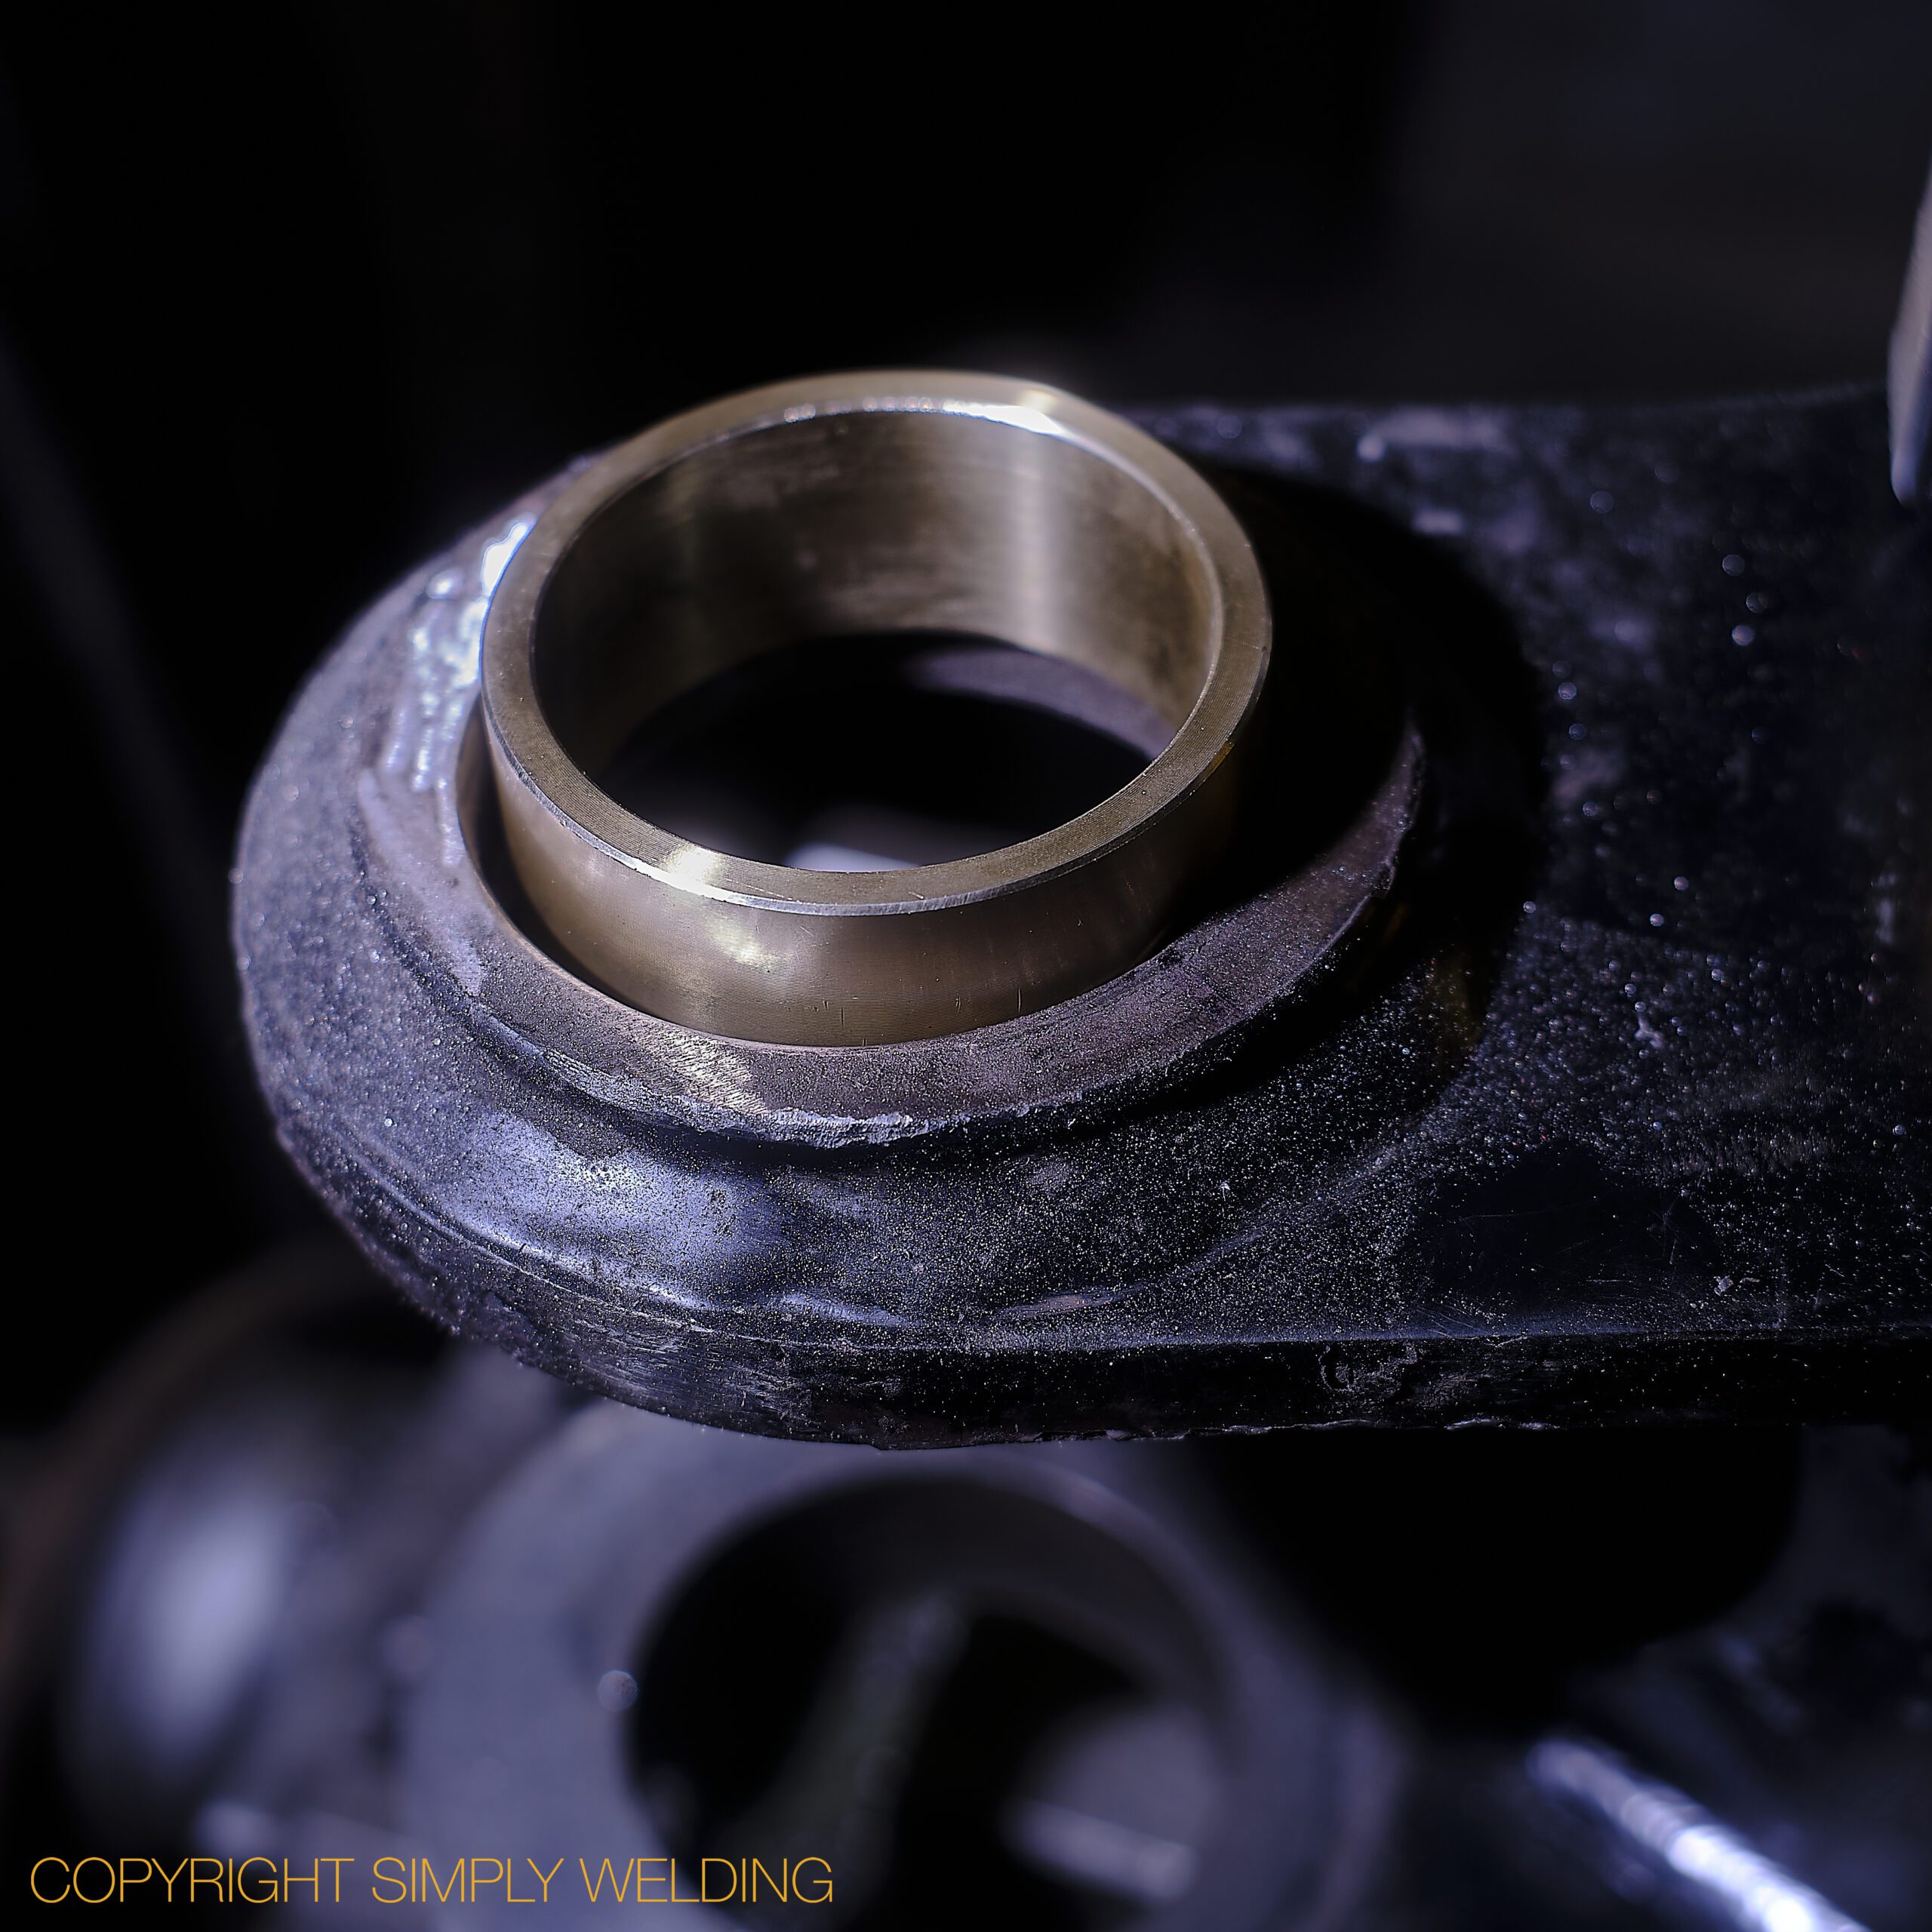
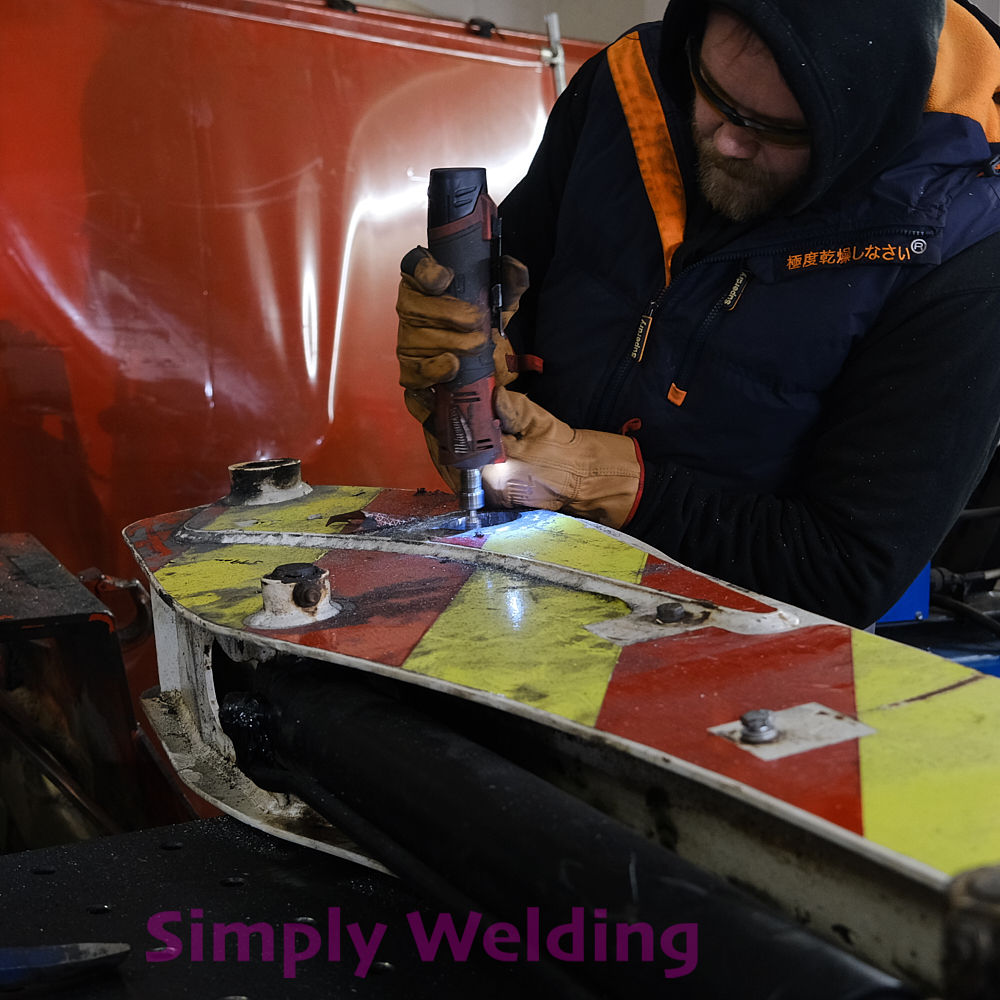
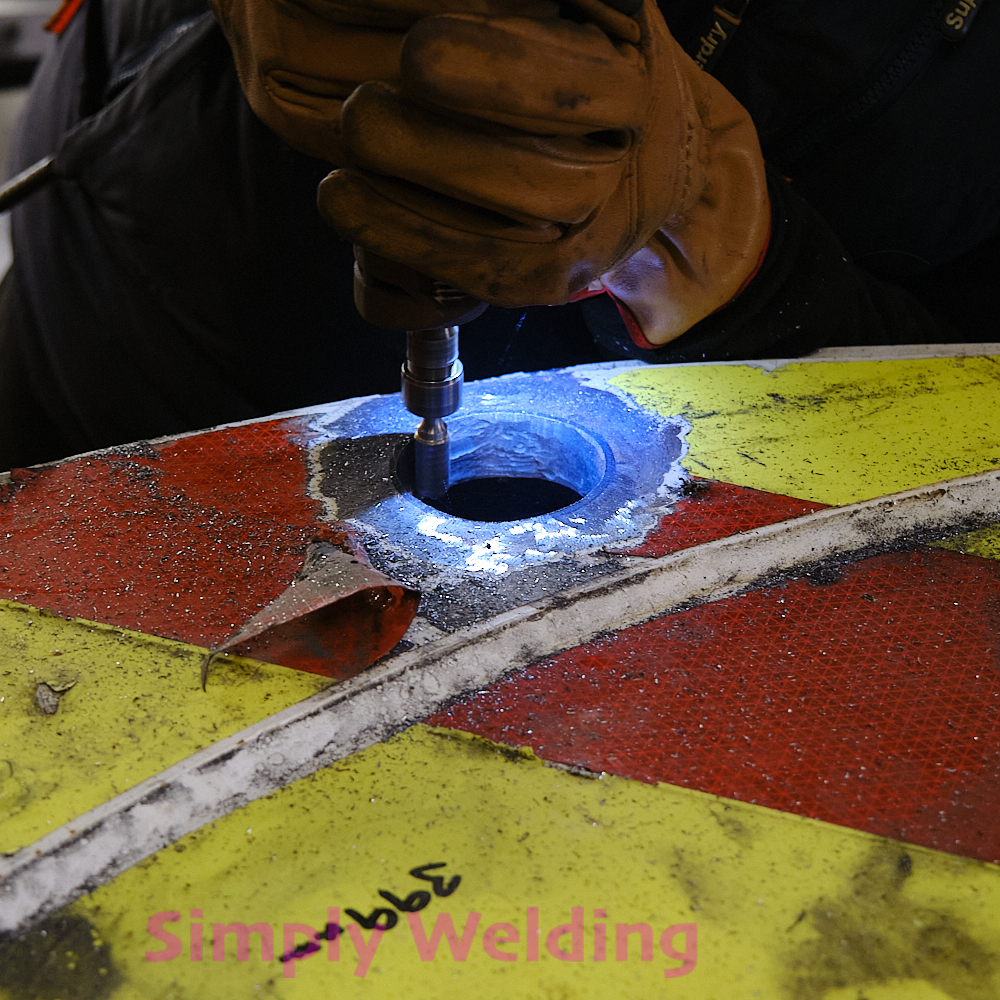
Kubota Excavator Worn Pin Bore Repair

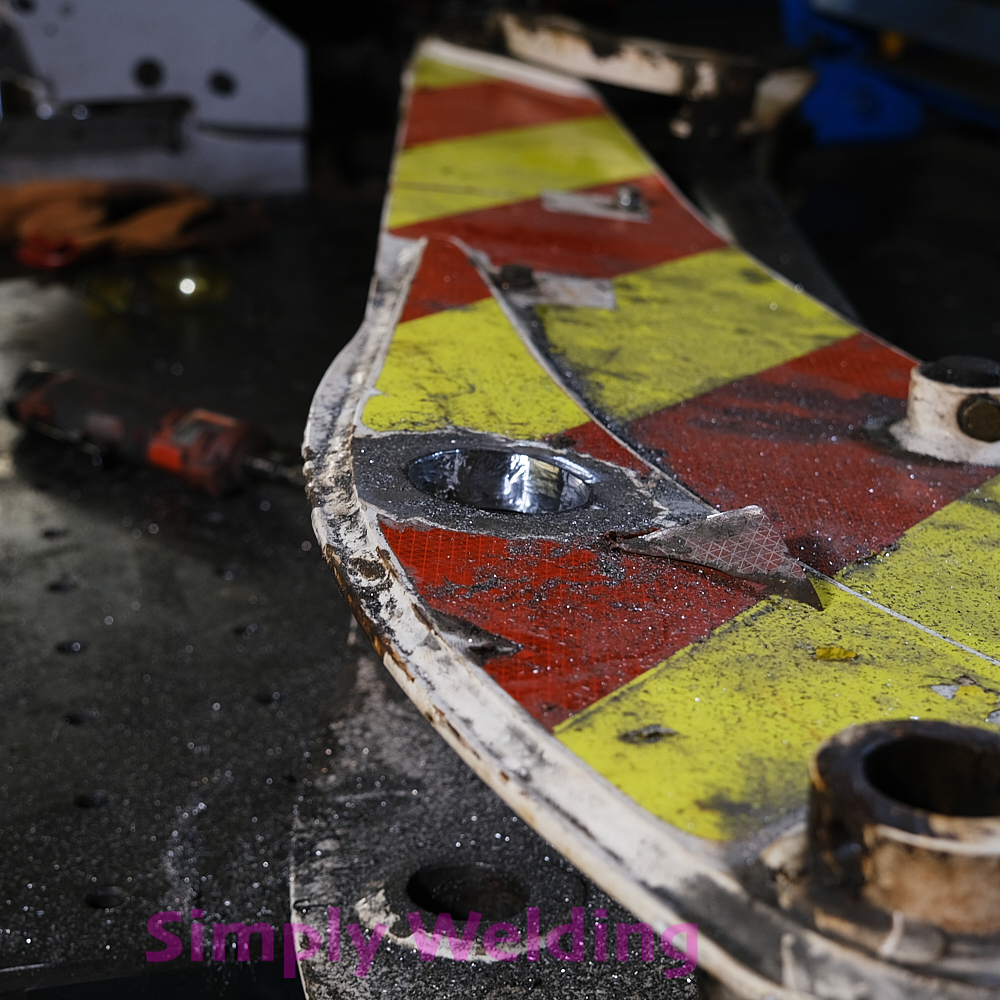
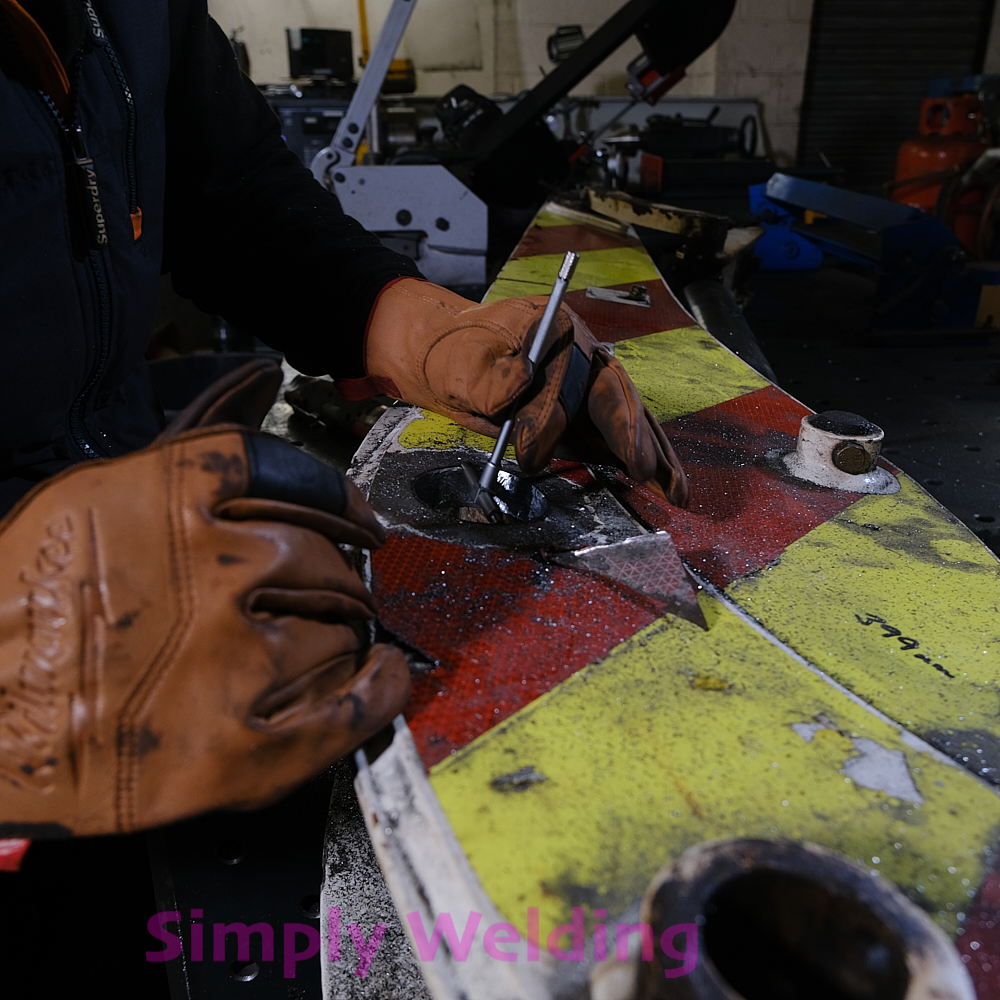
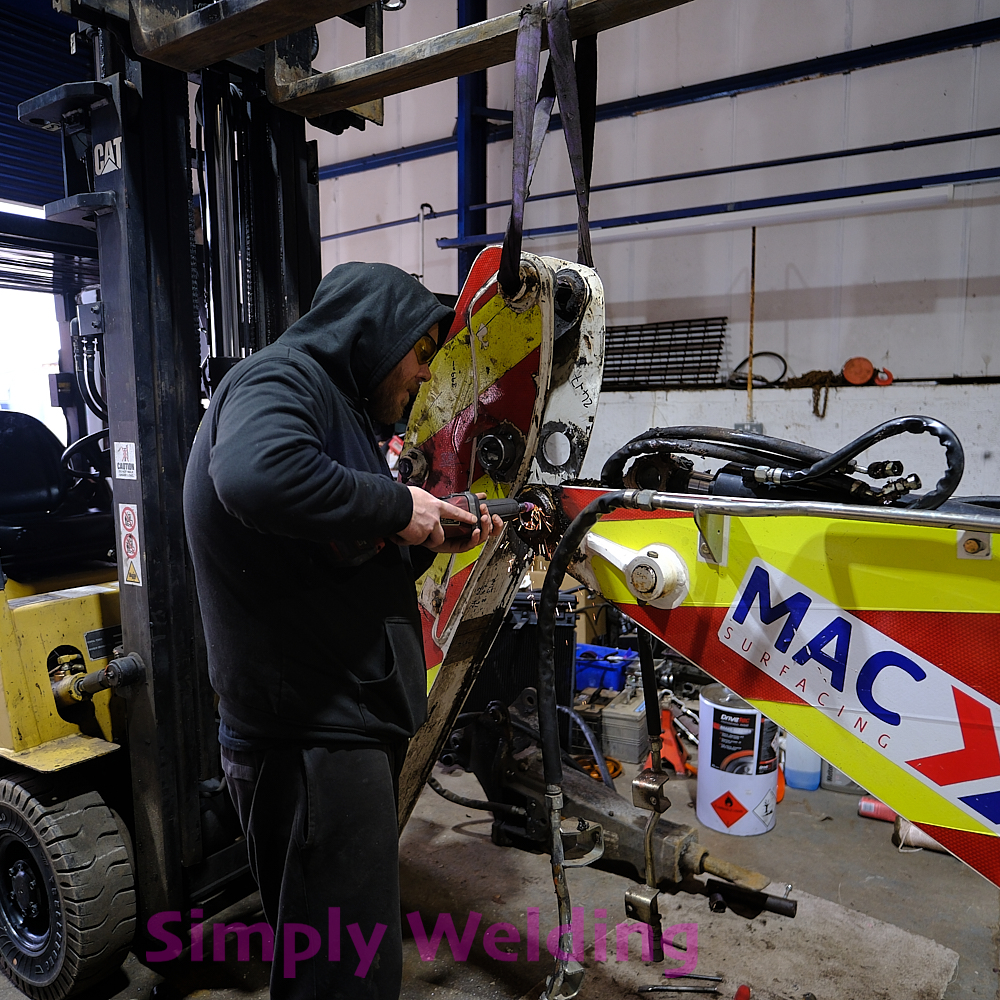
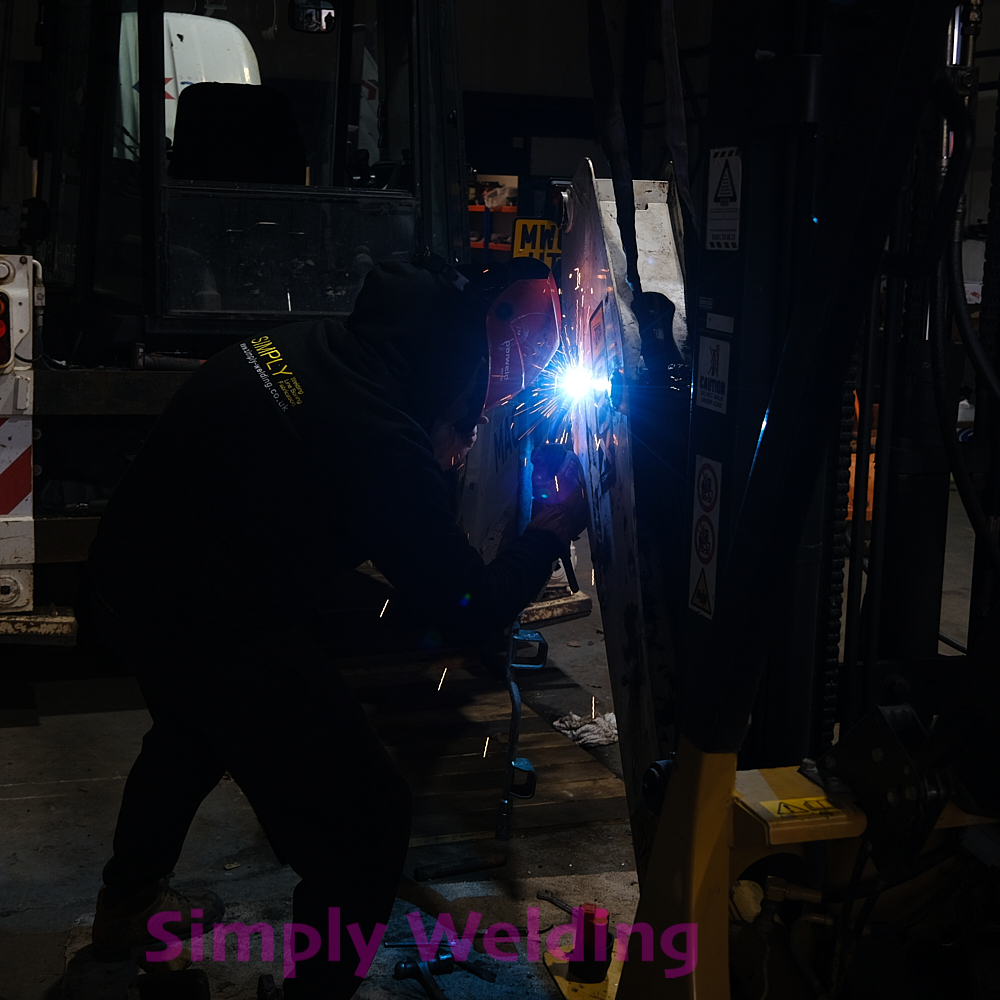
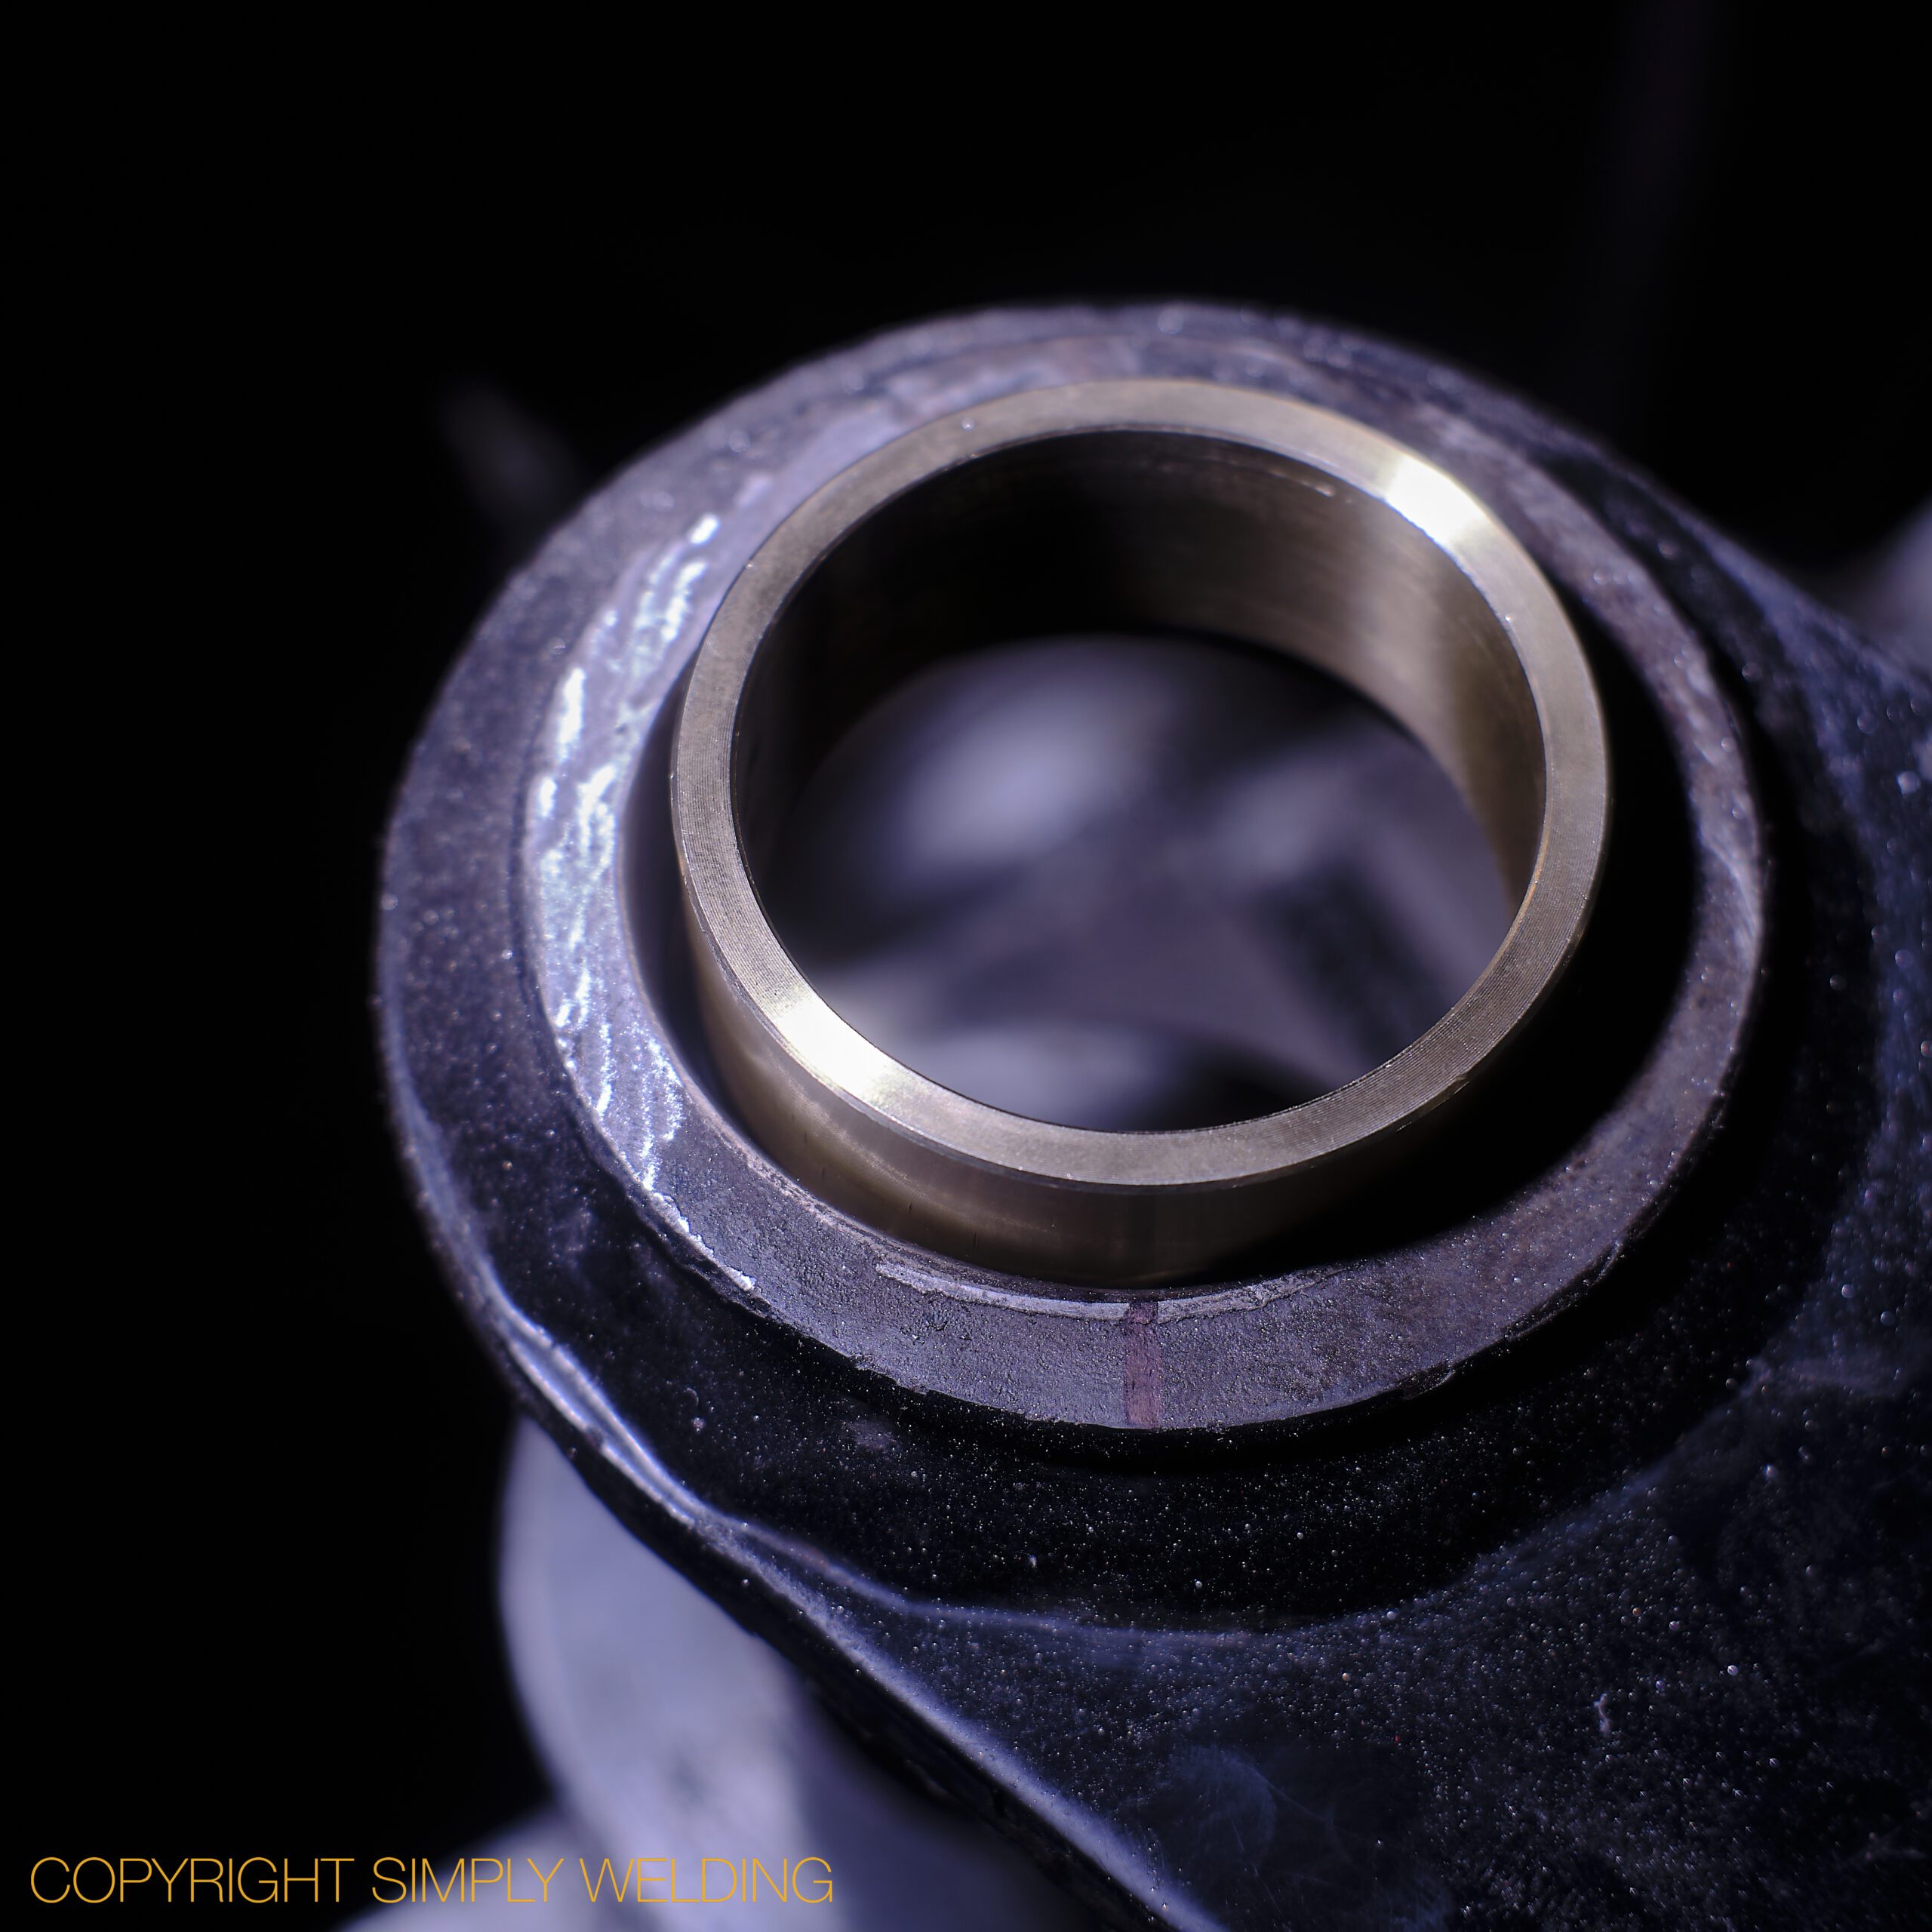
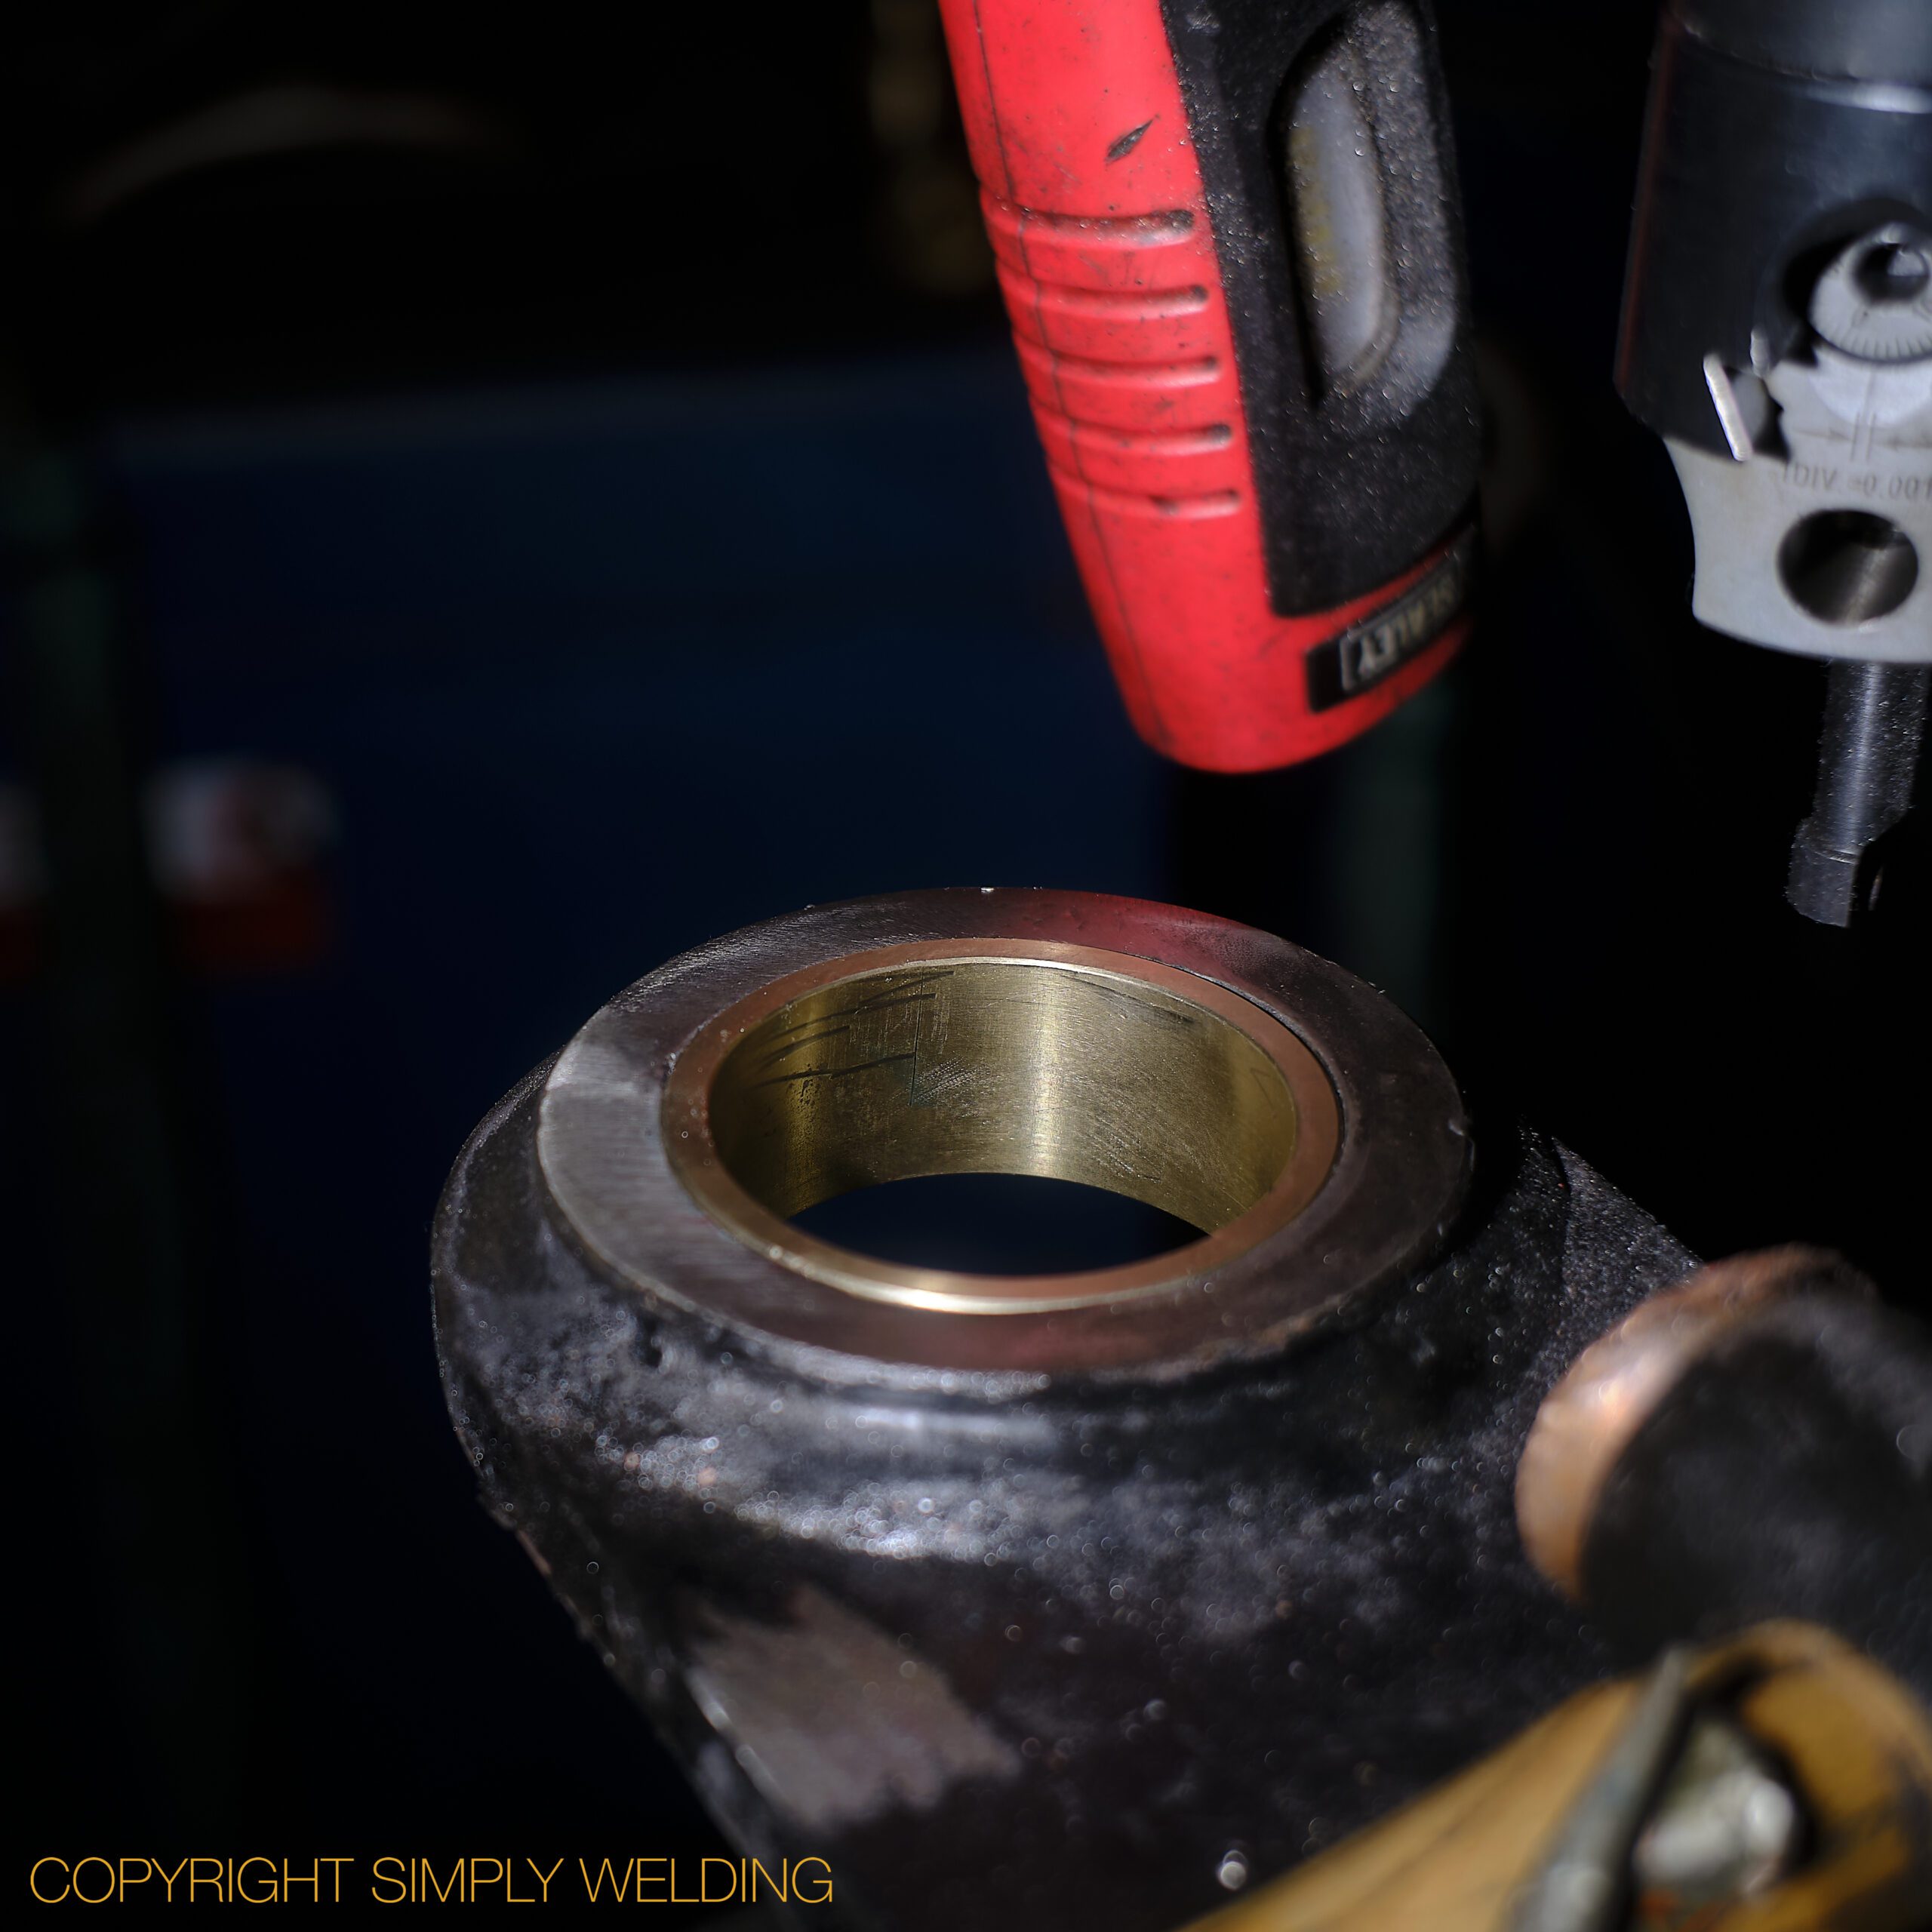
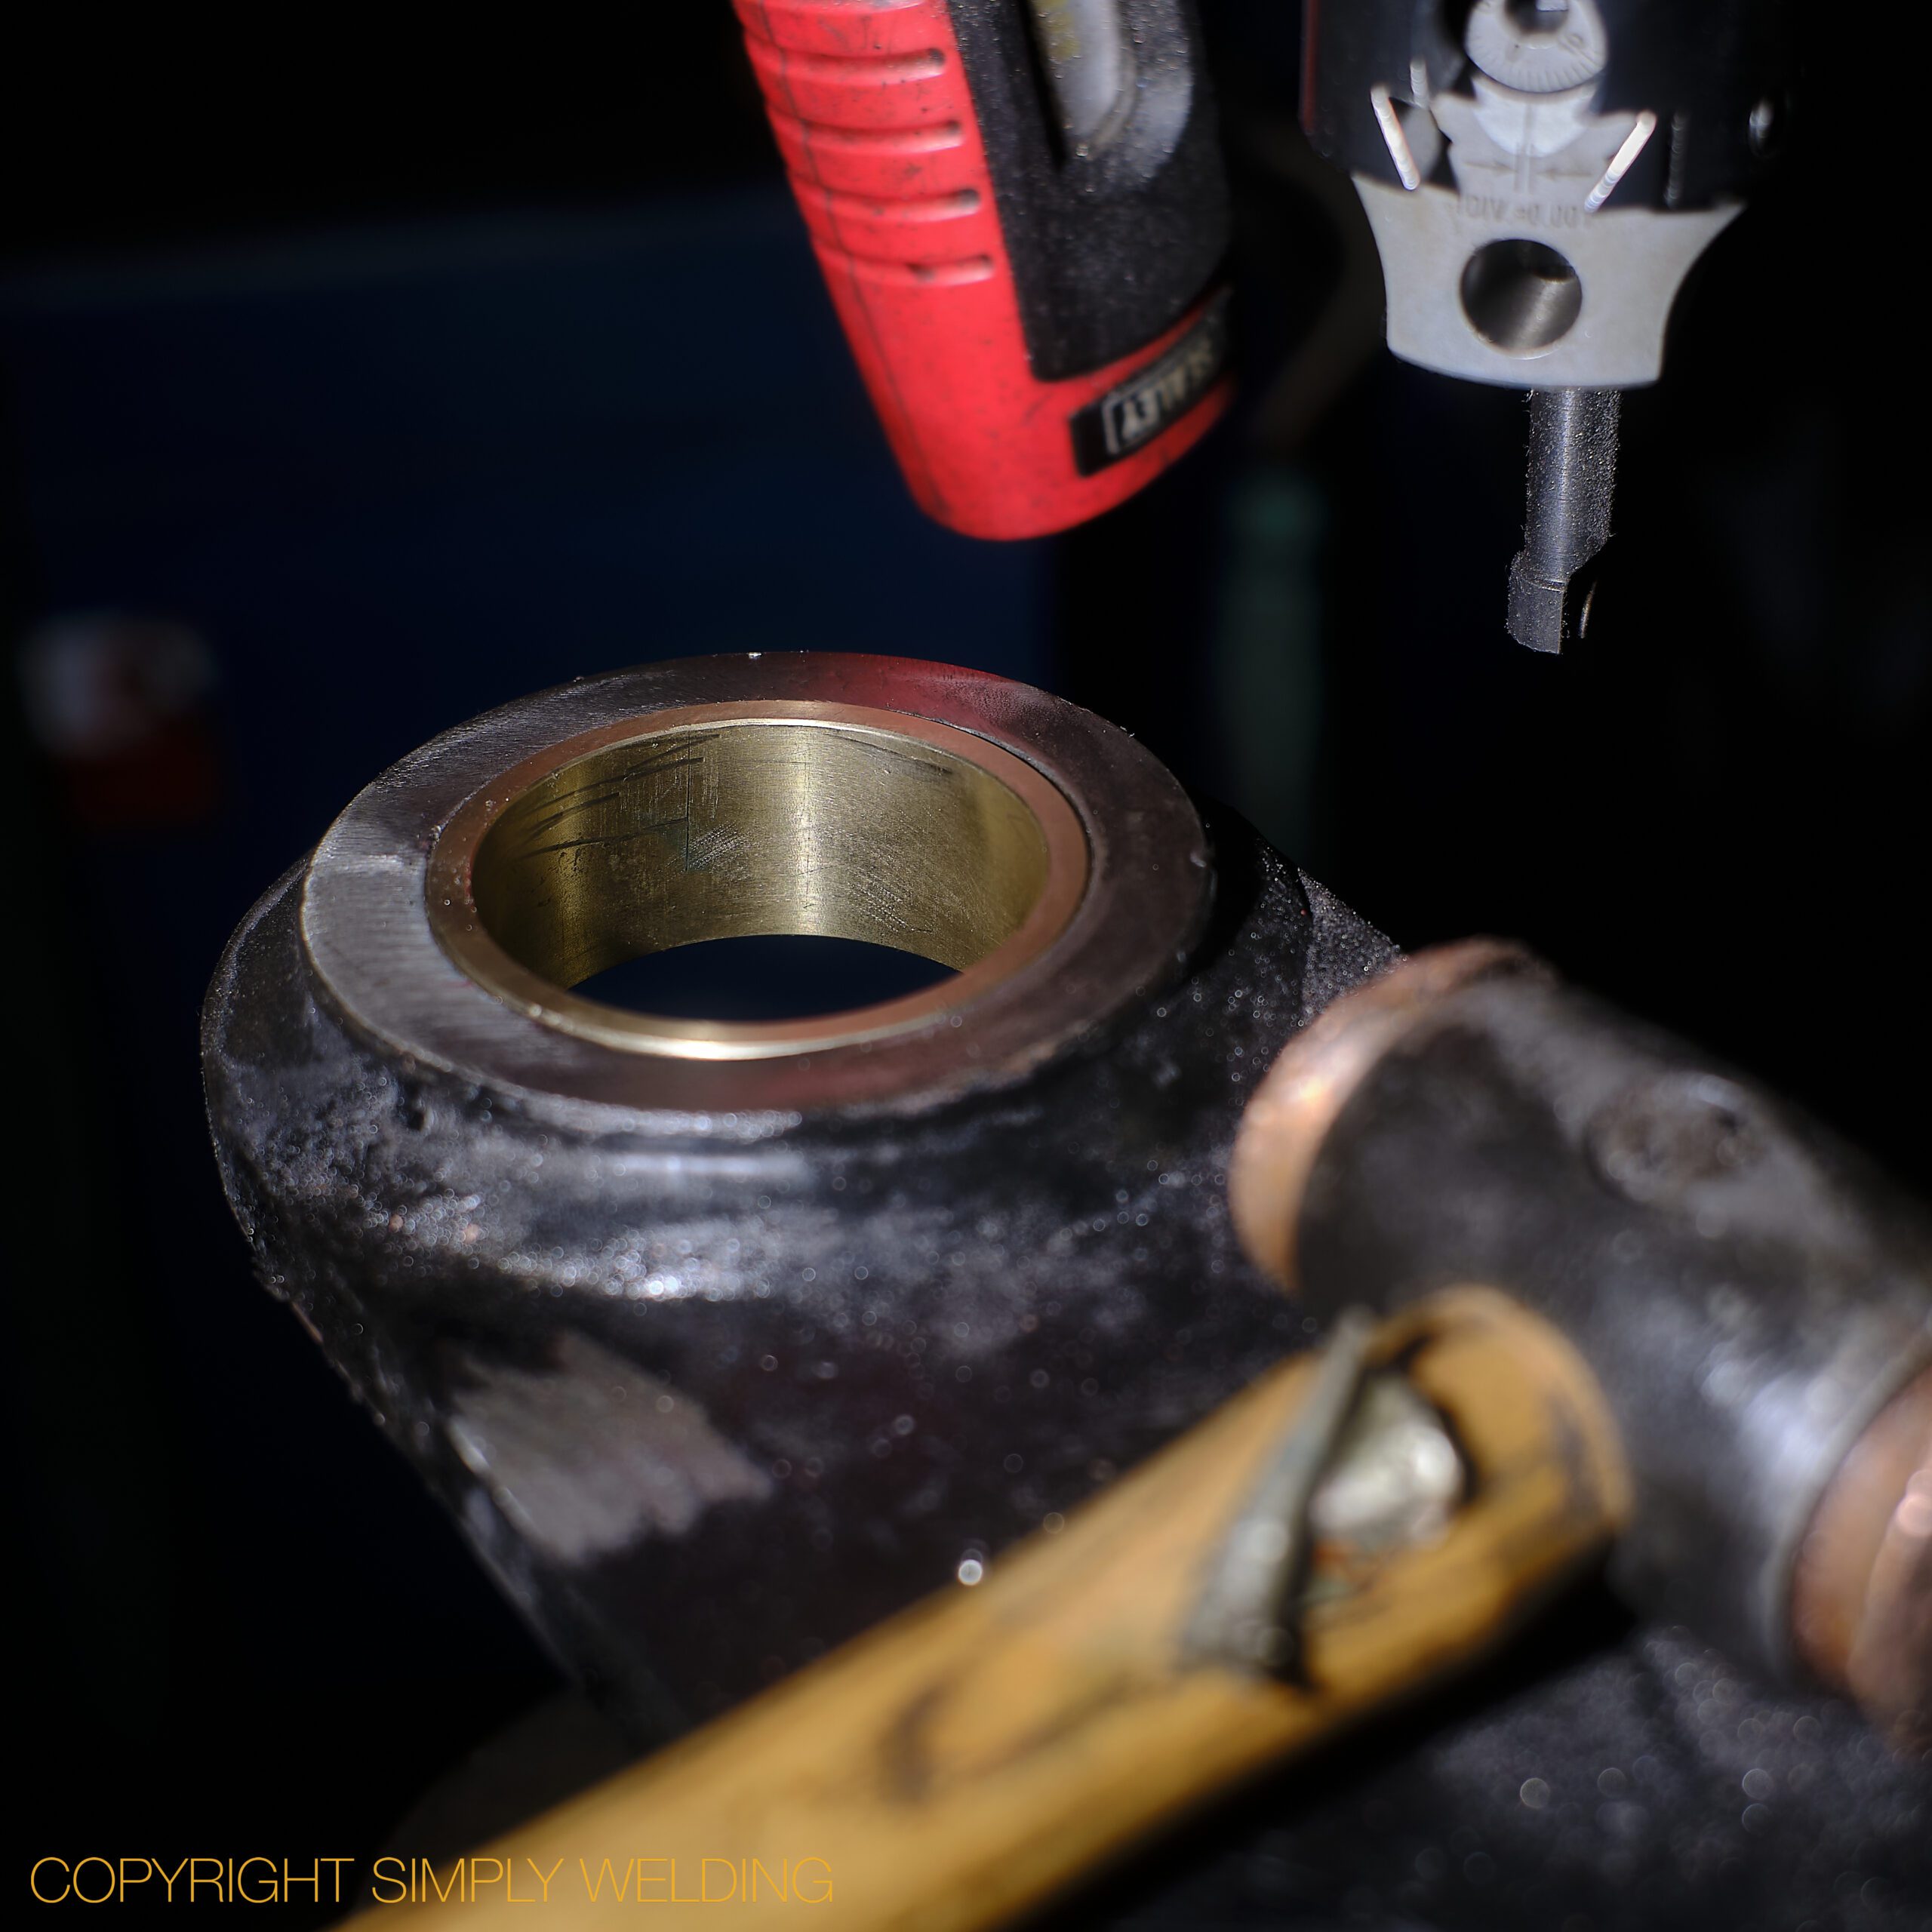
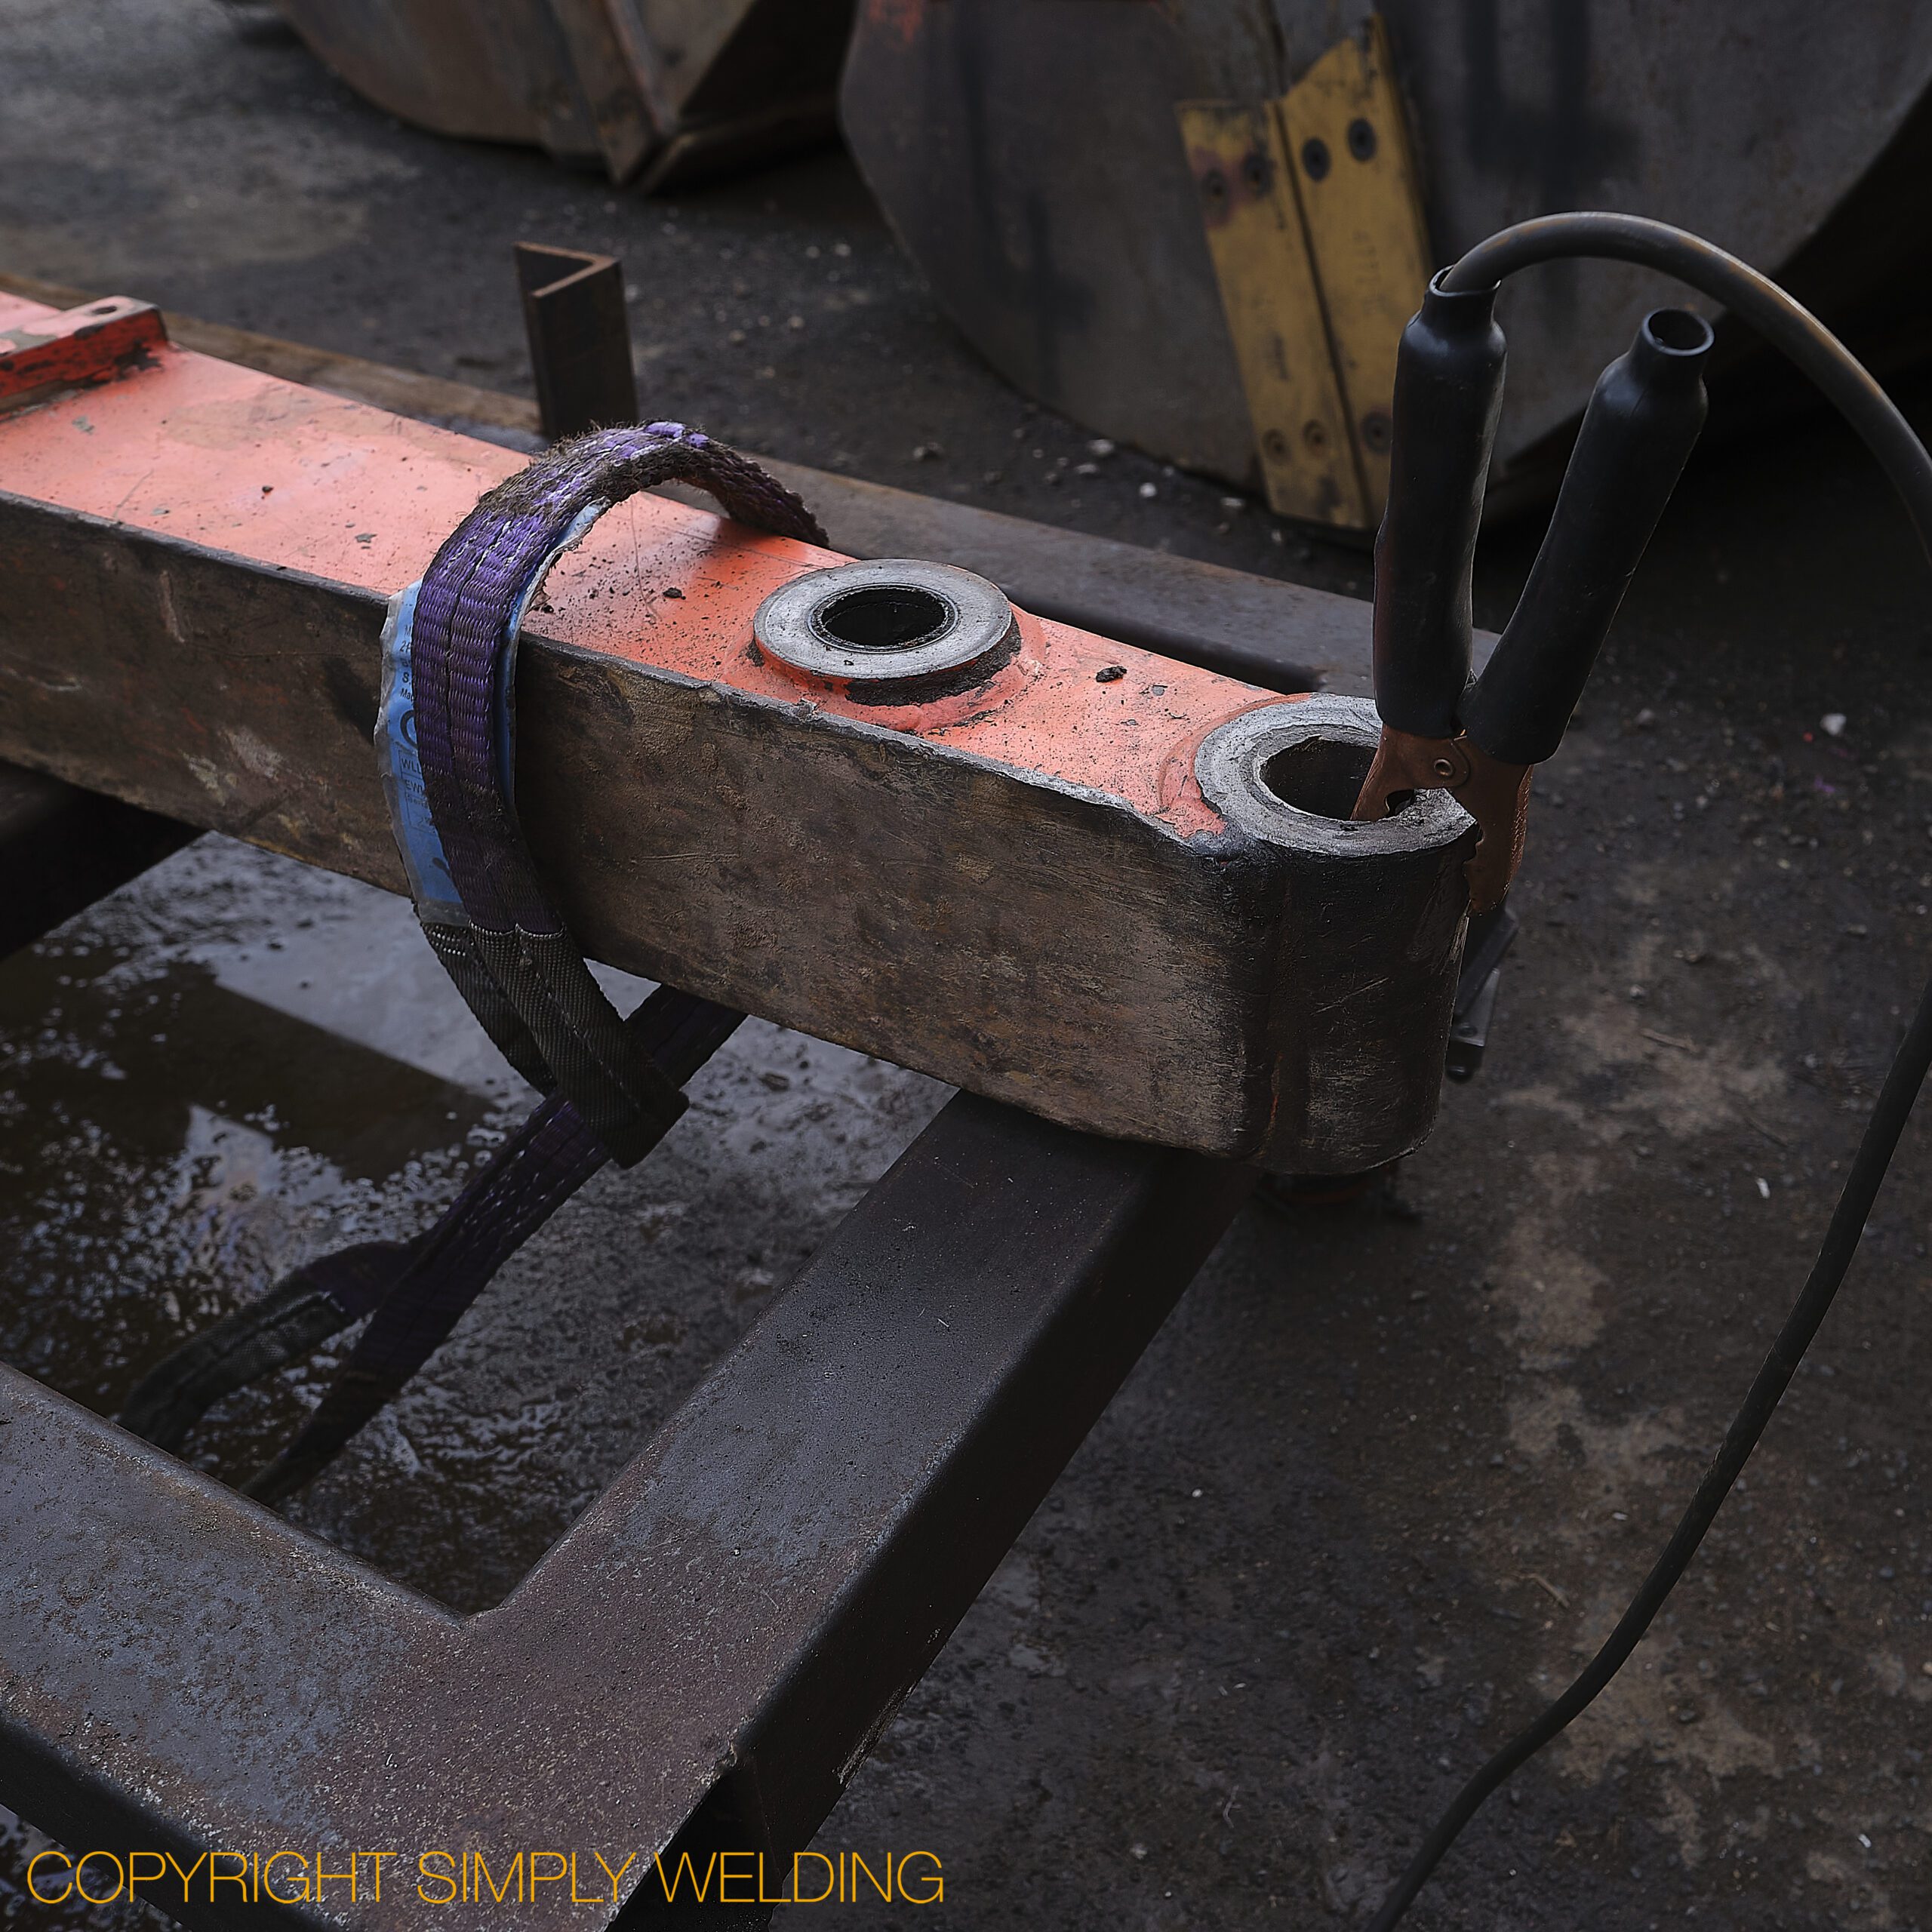
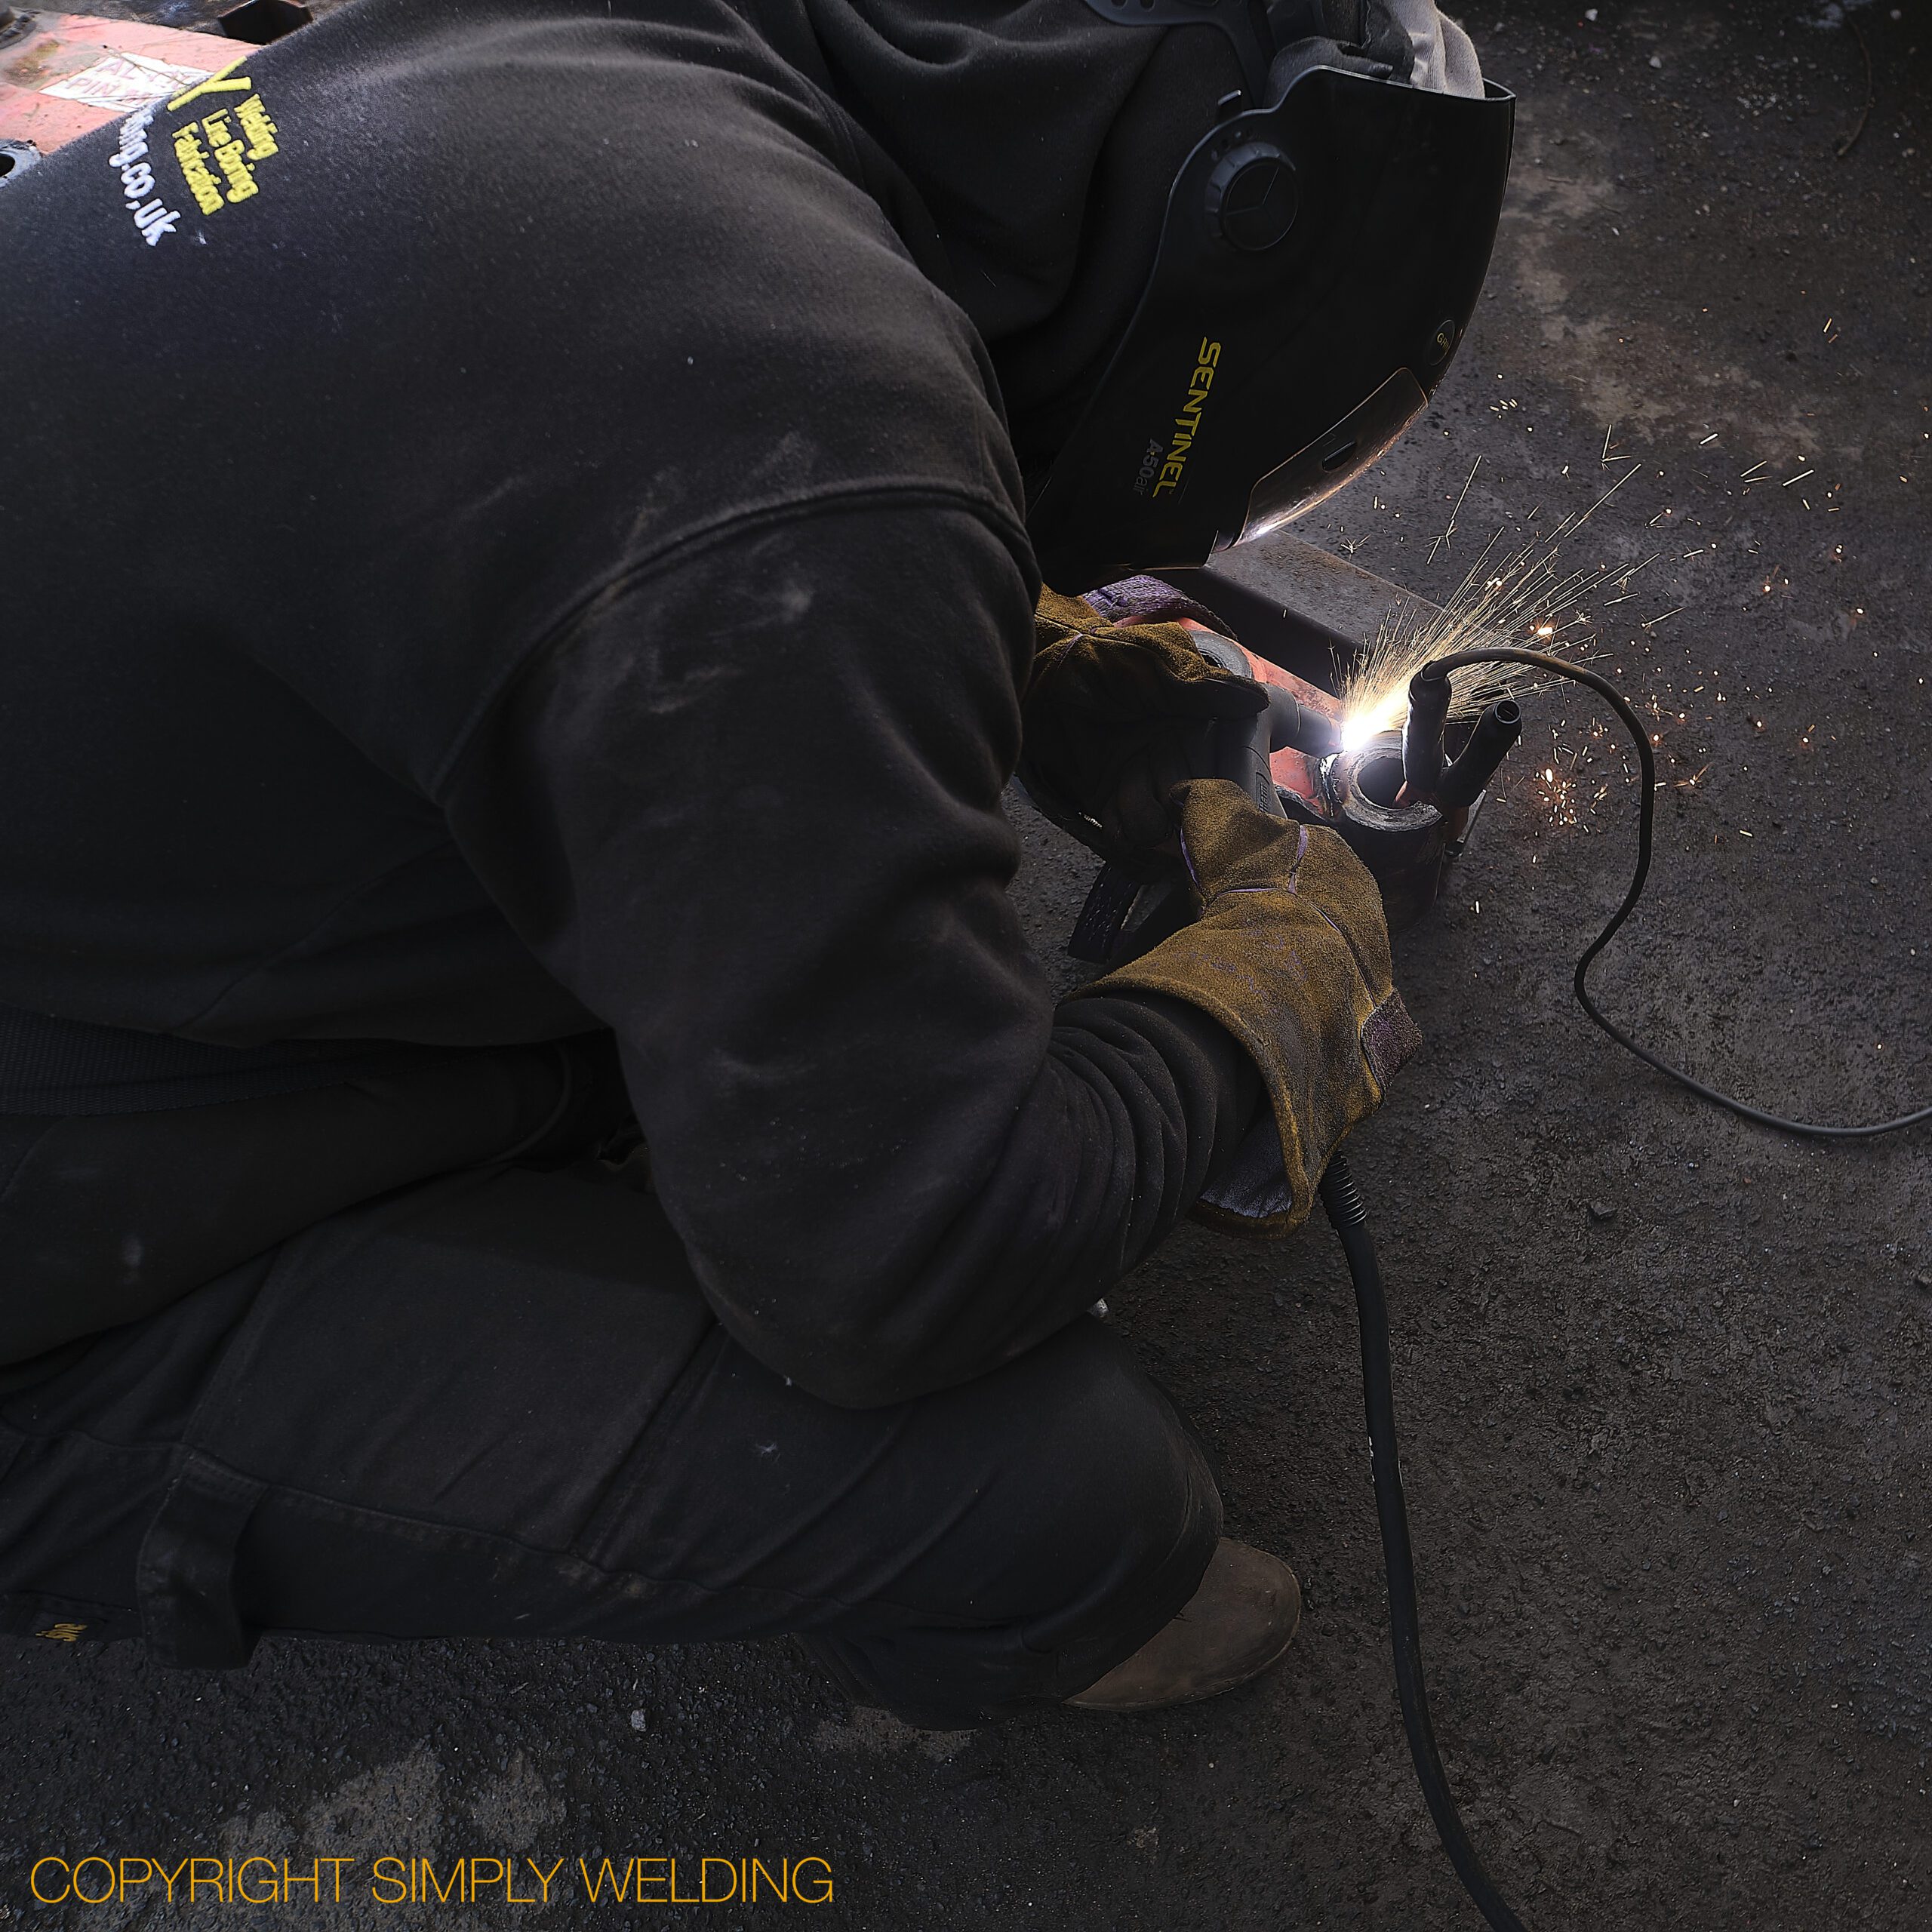
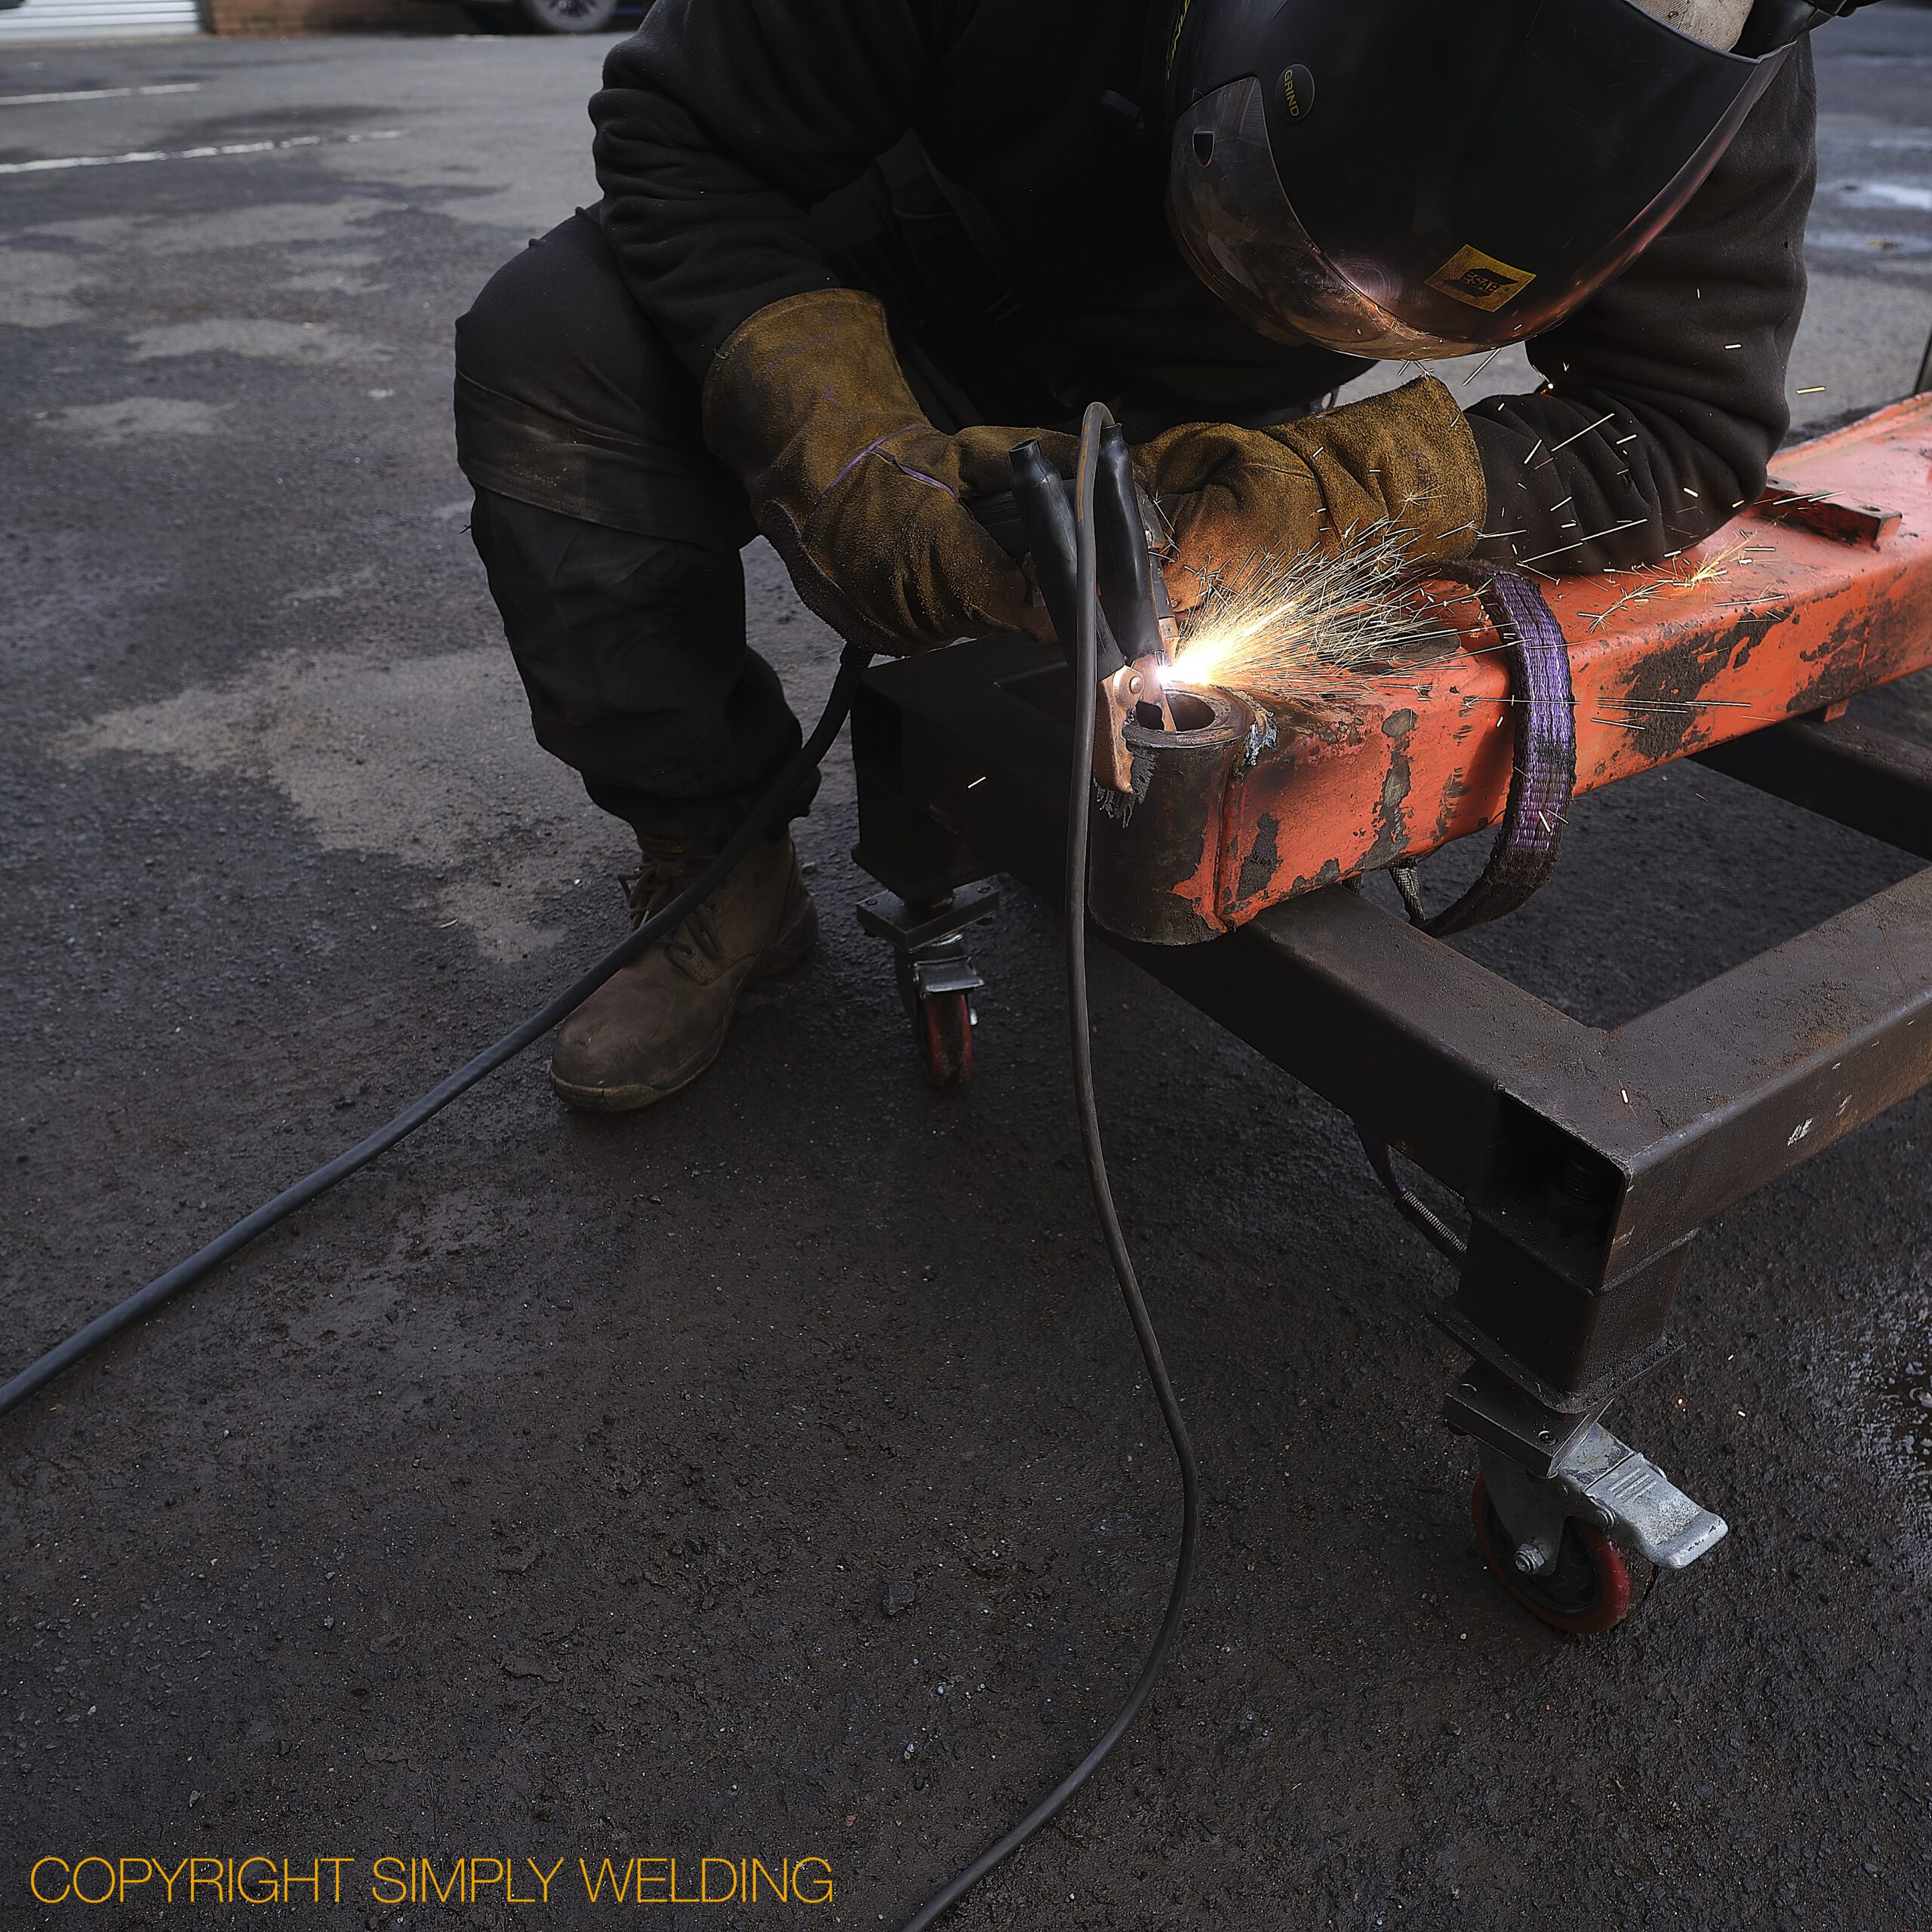
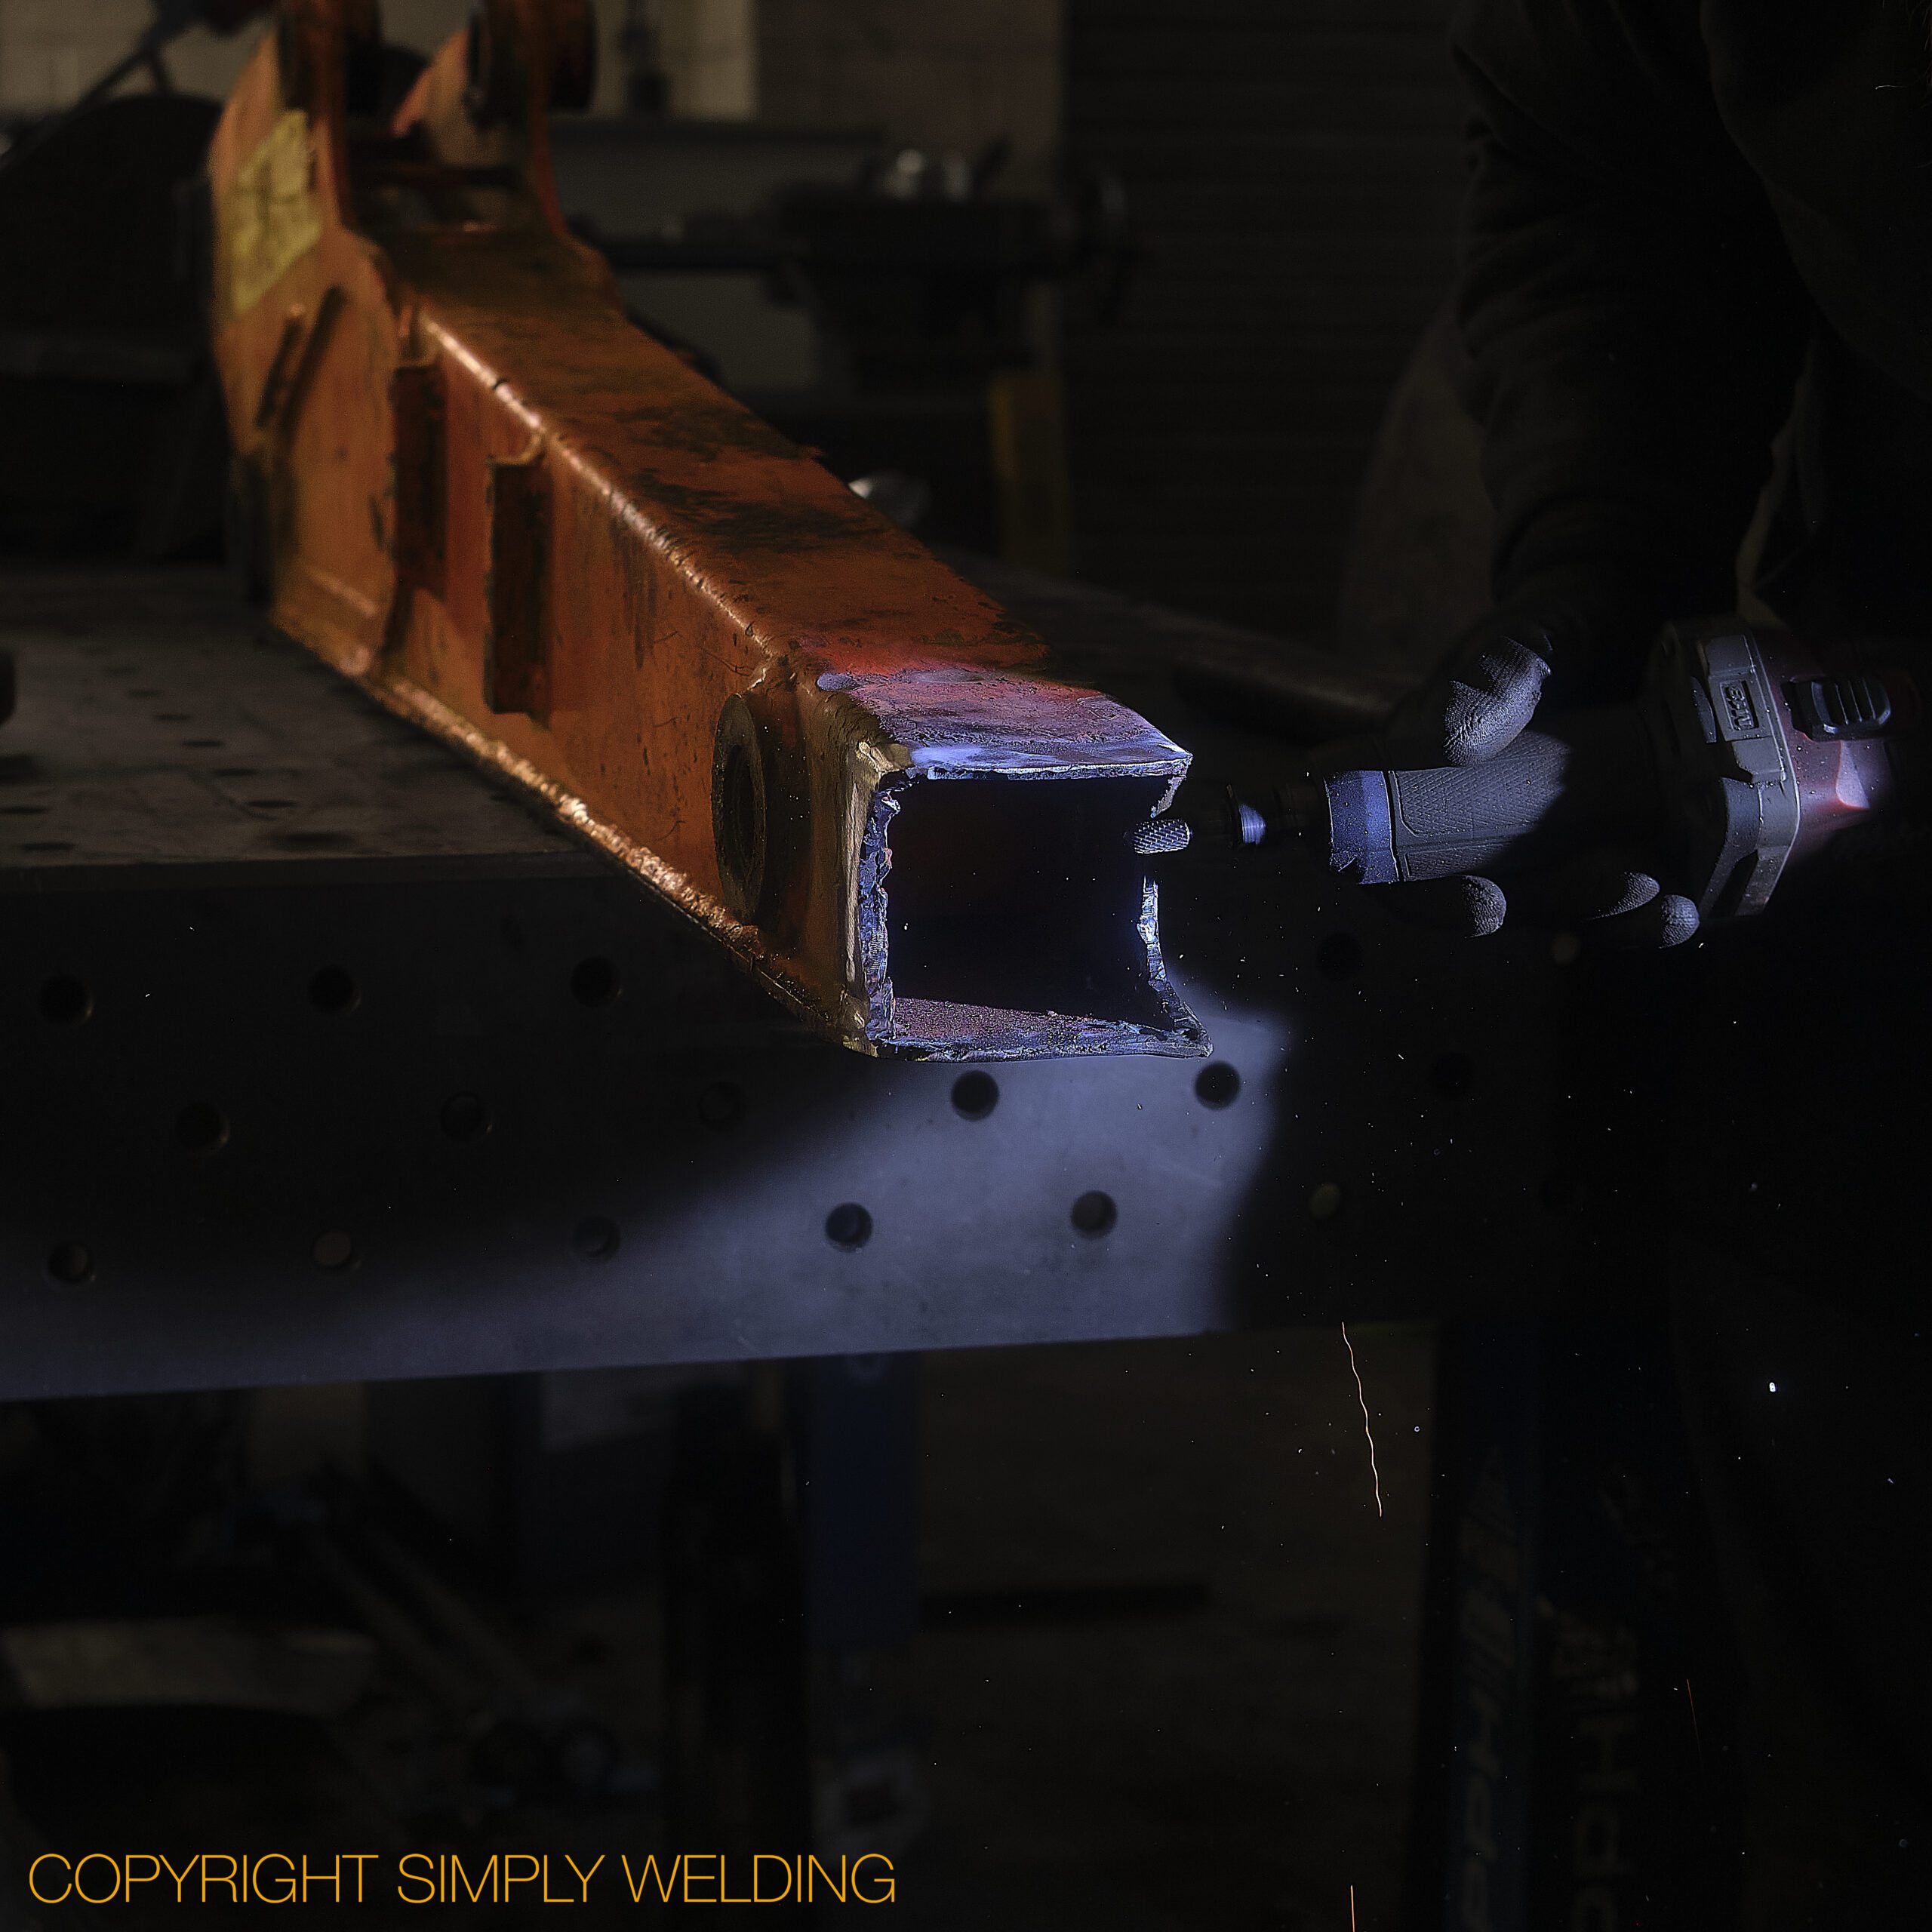
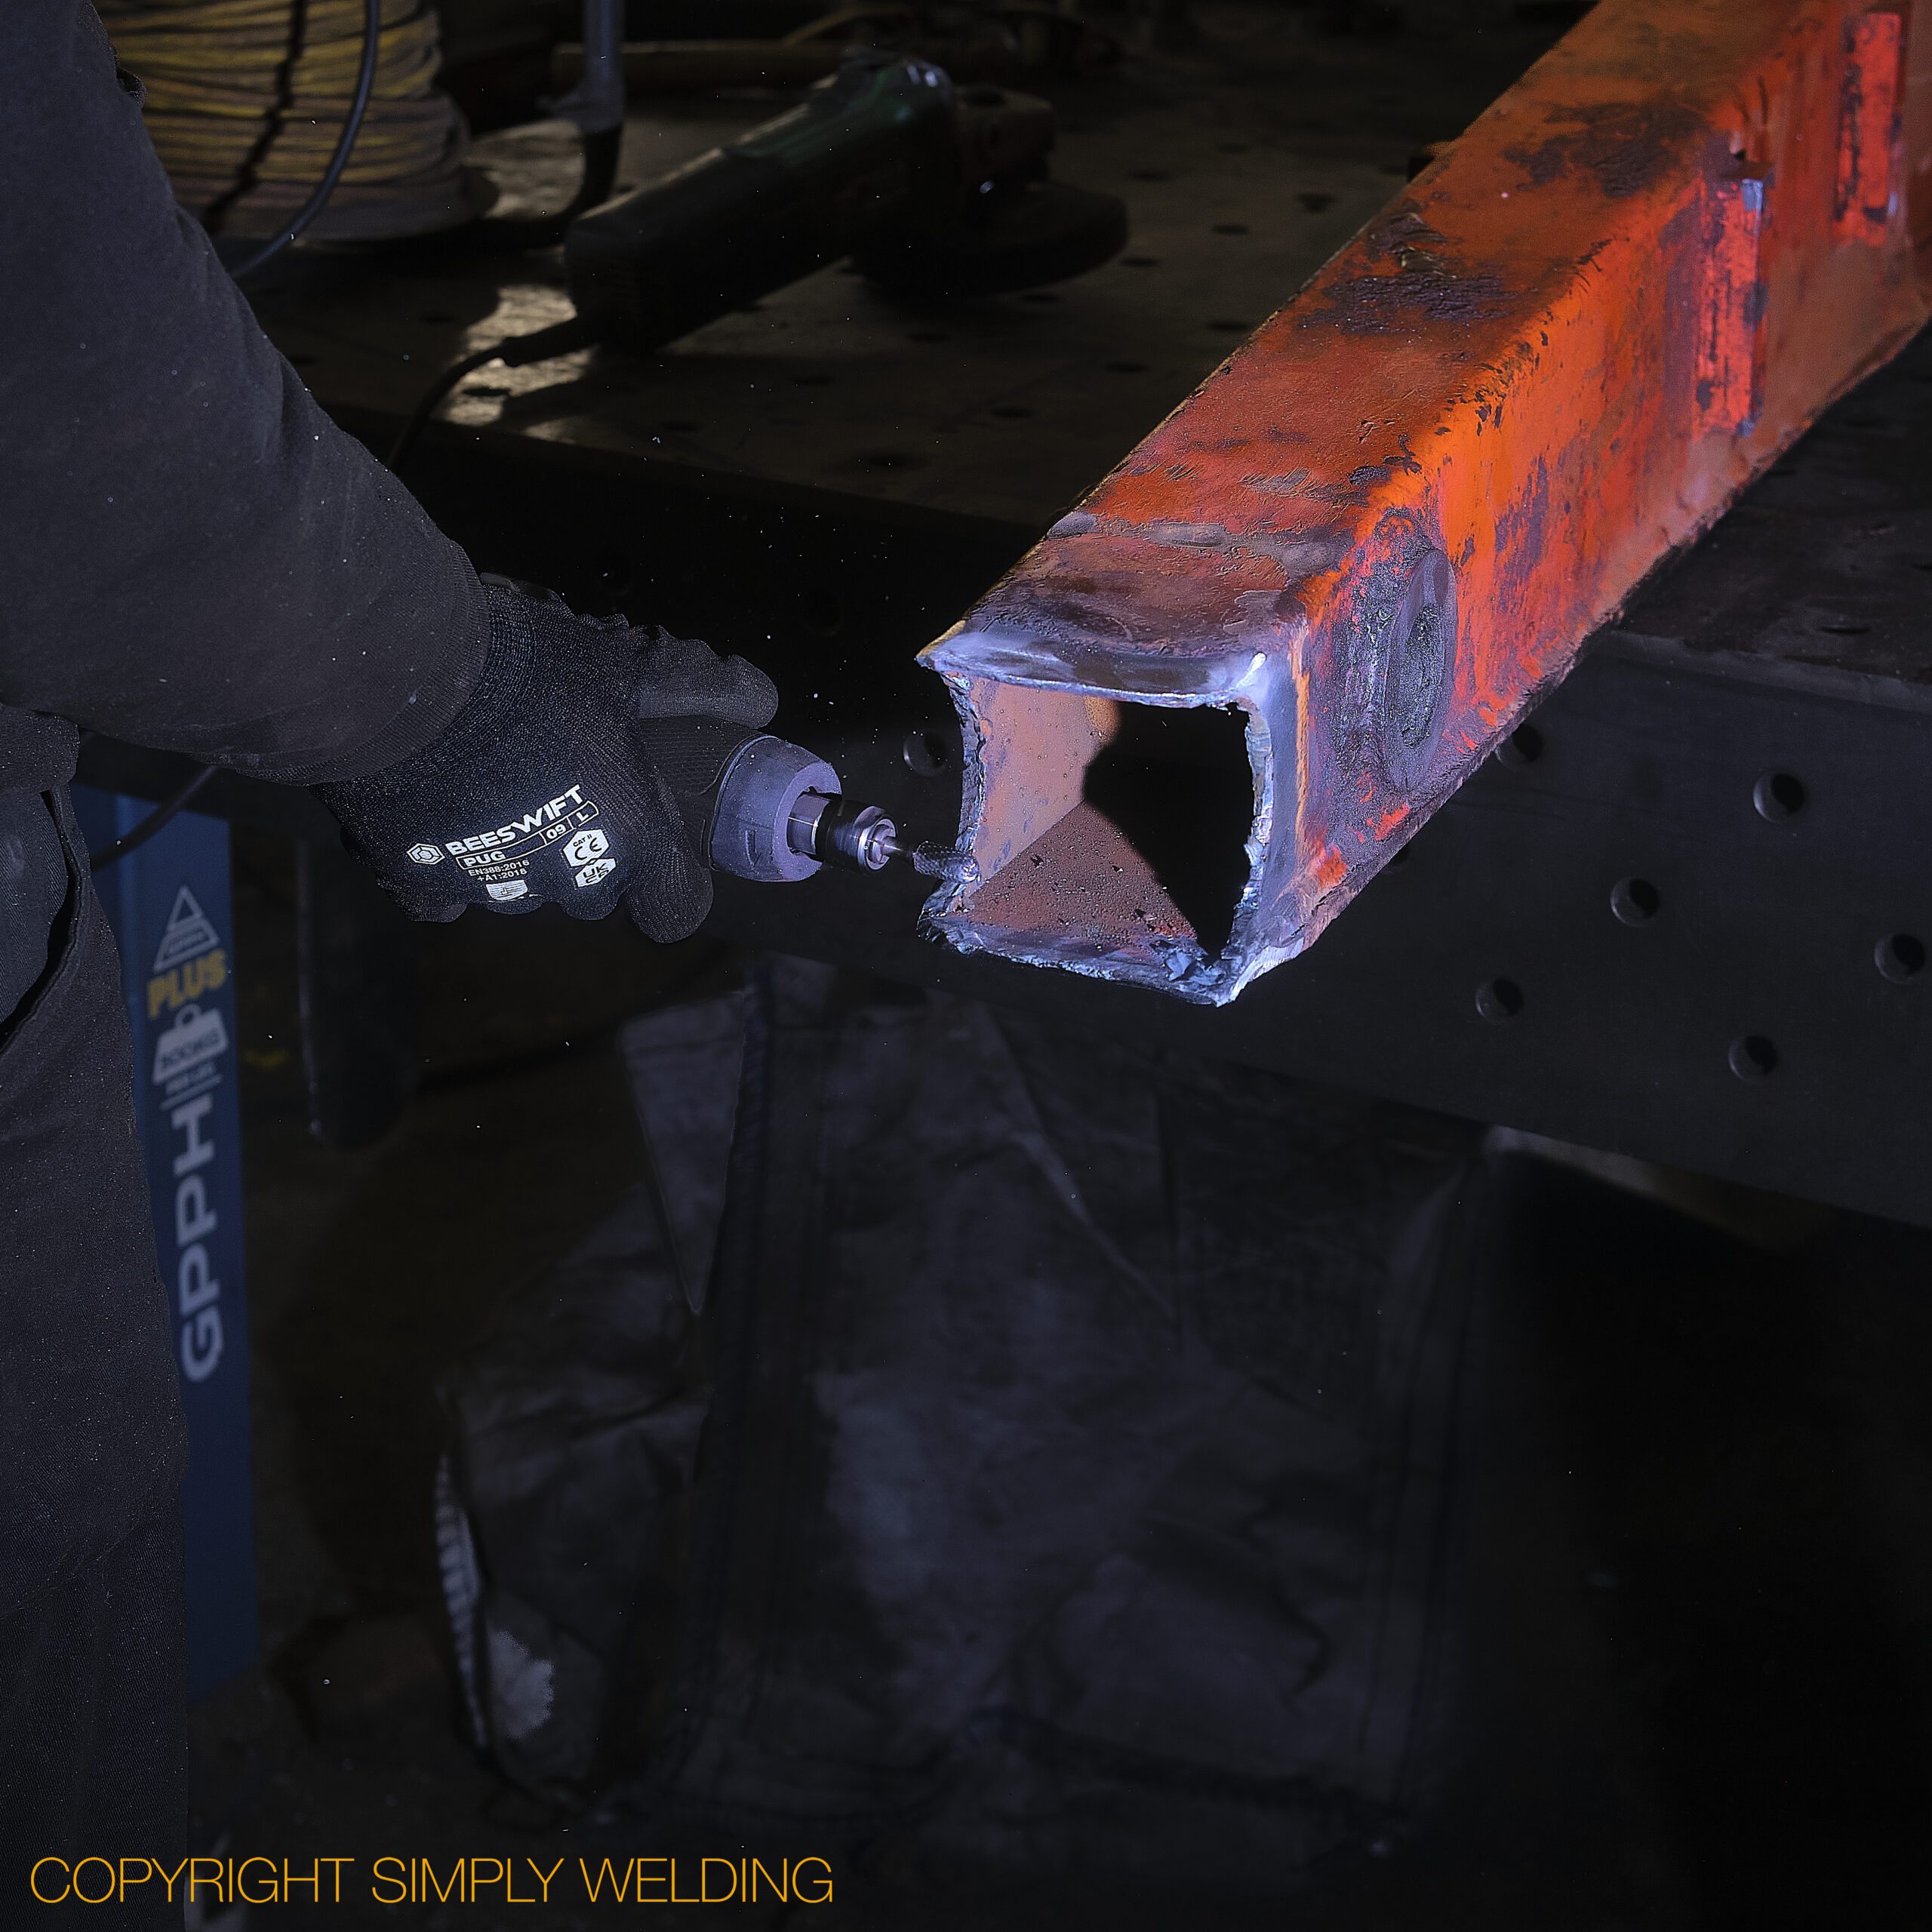
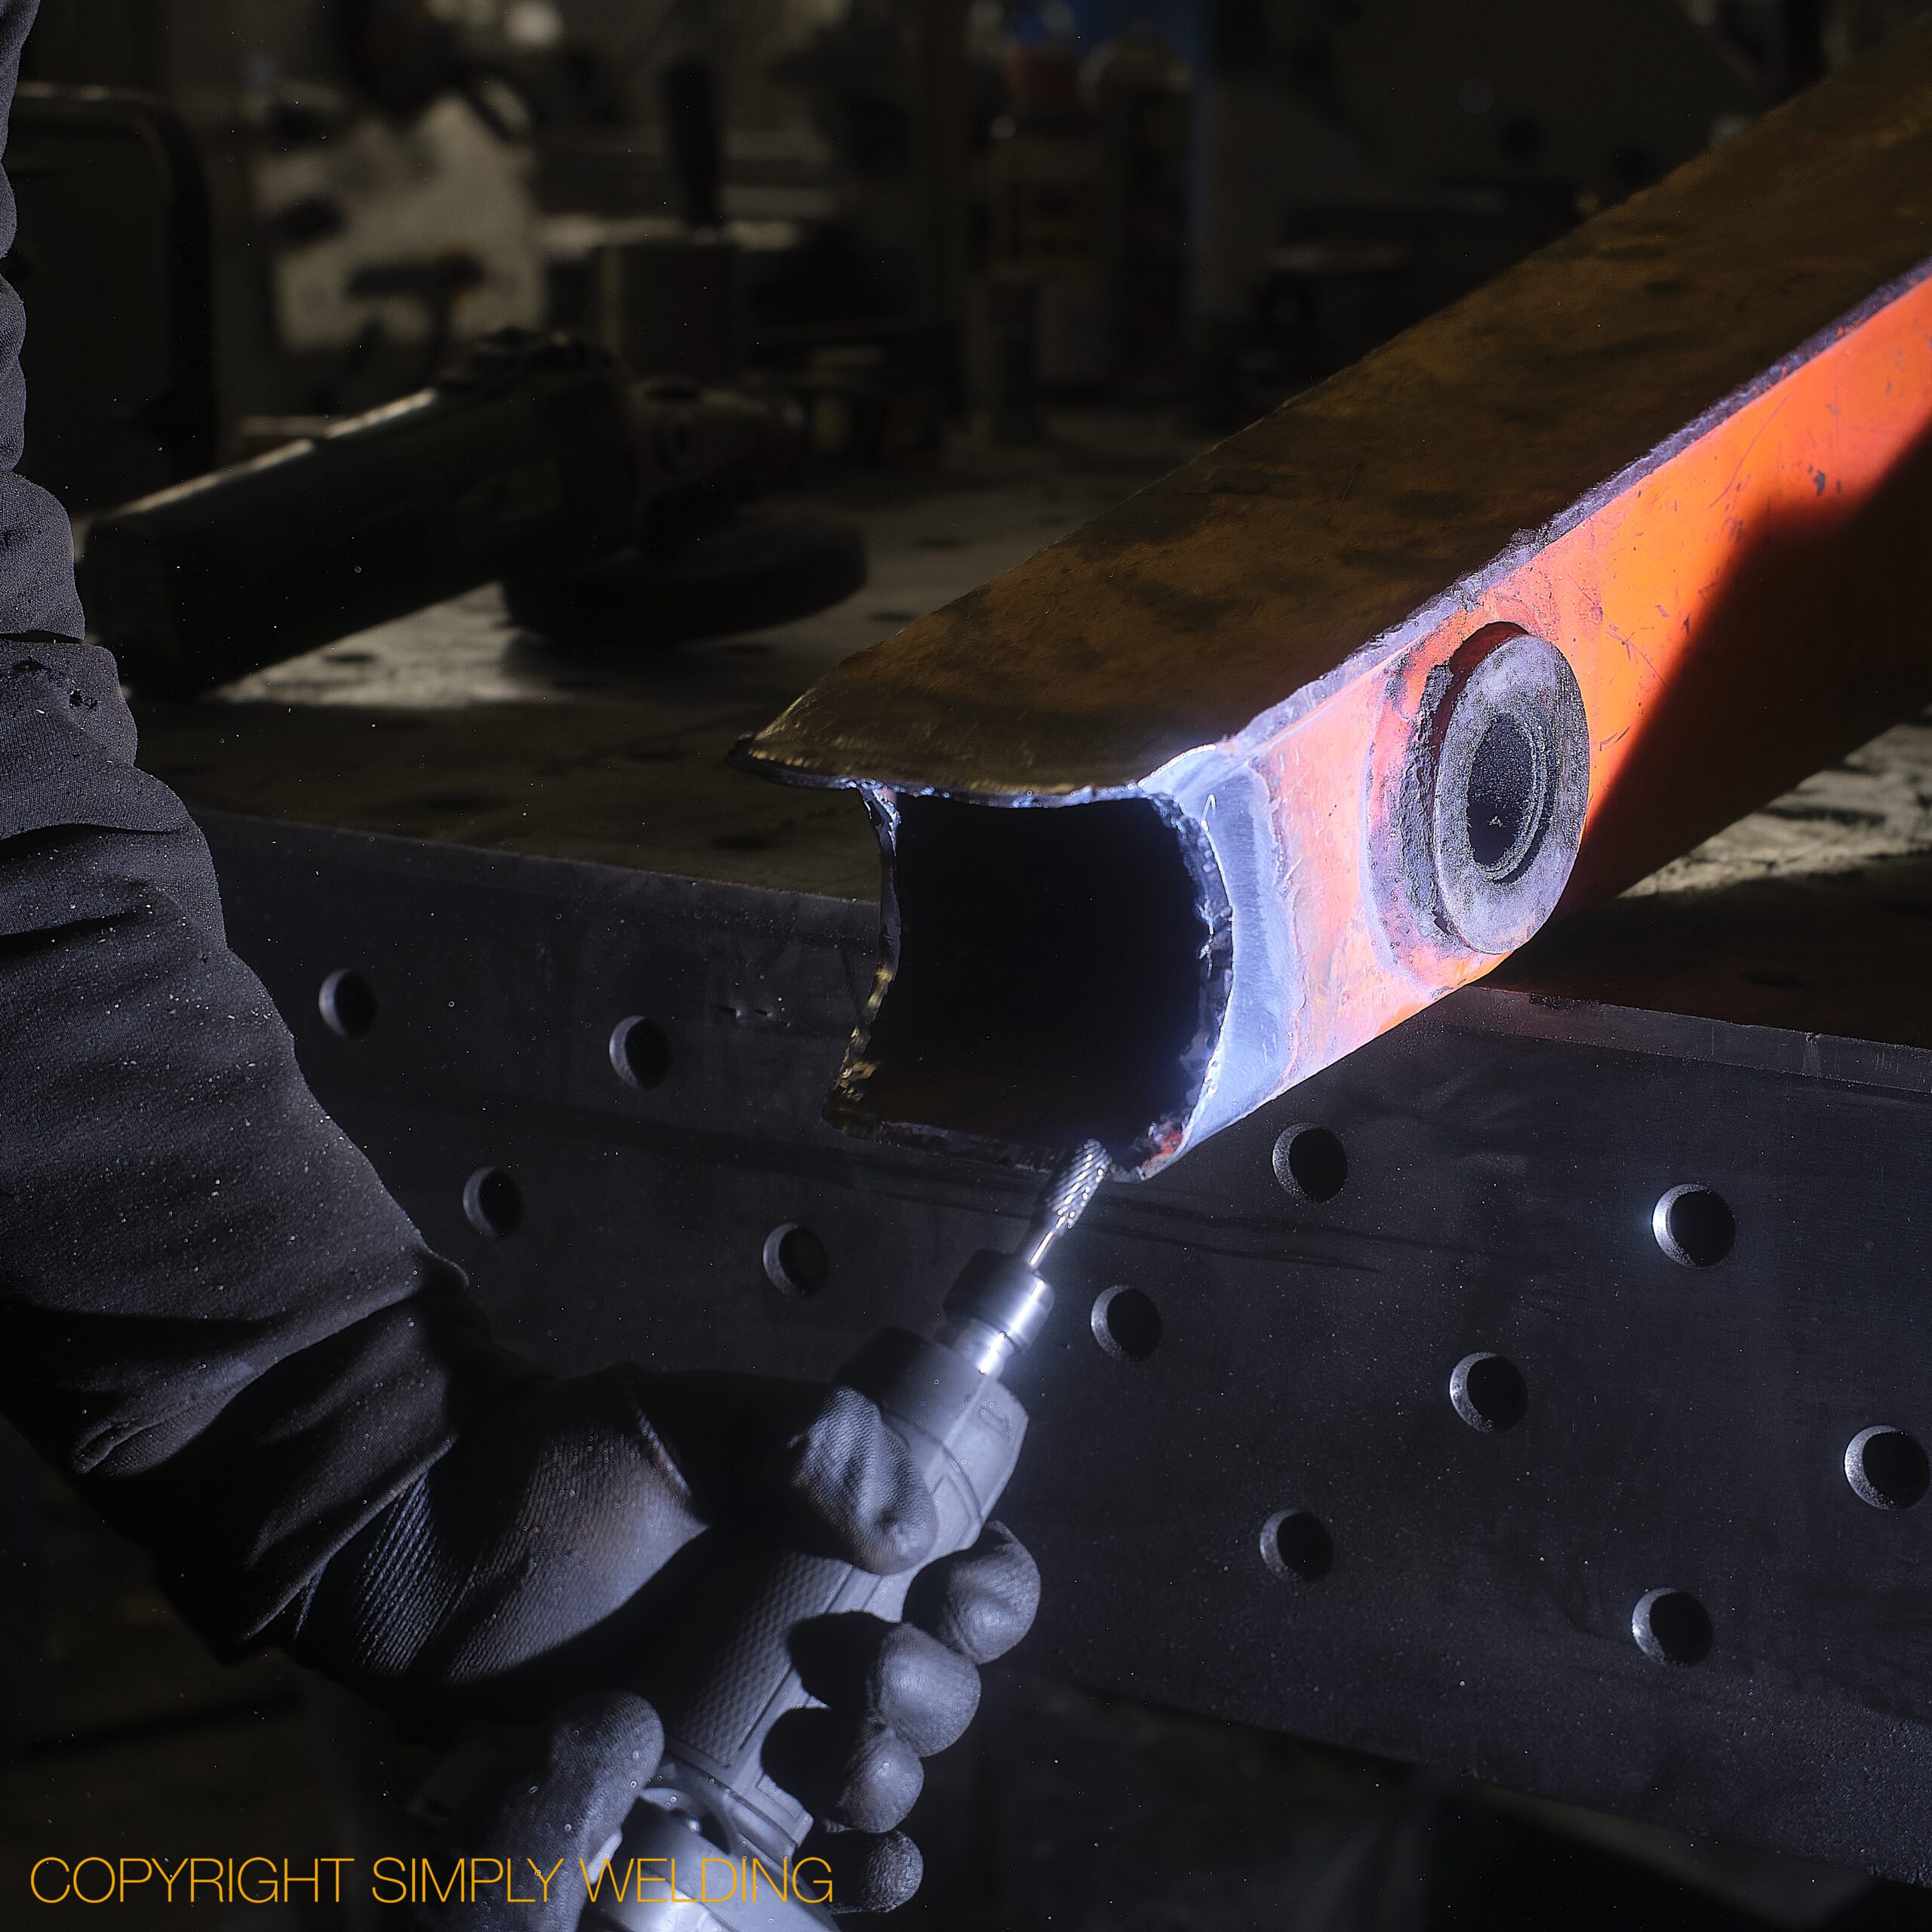
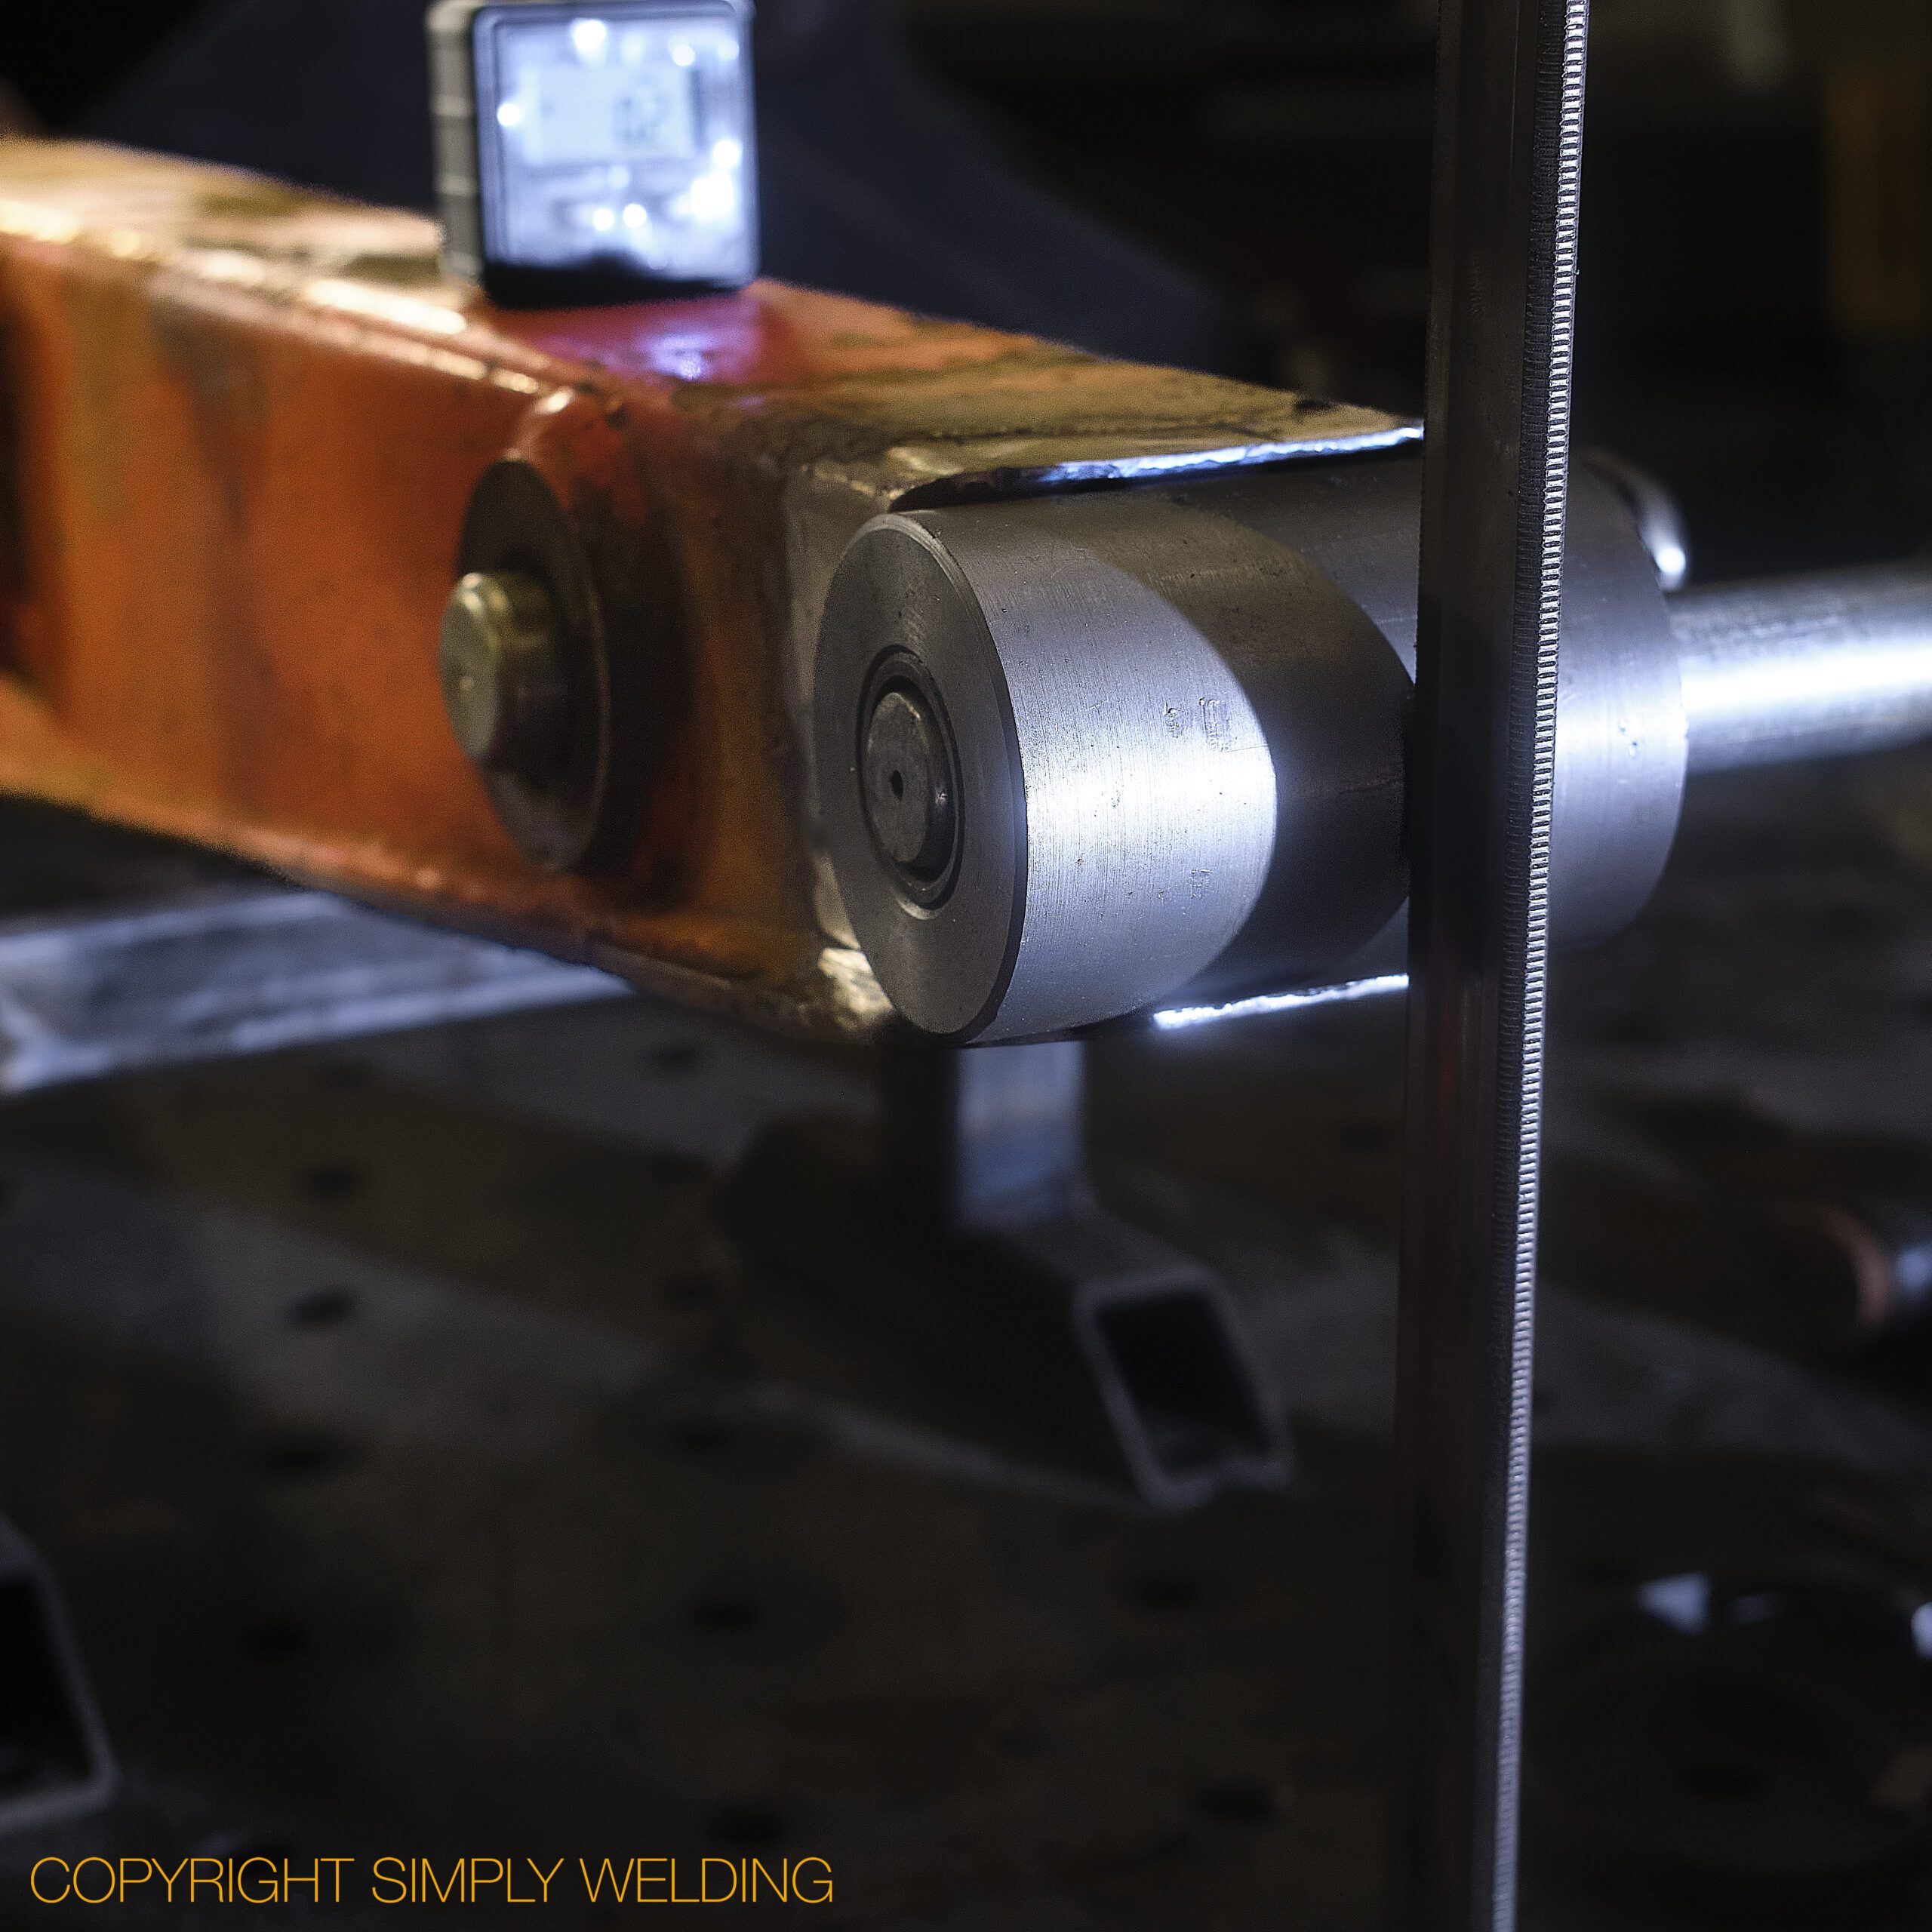
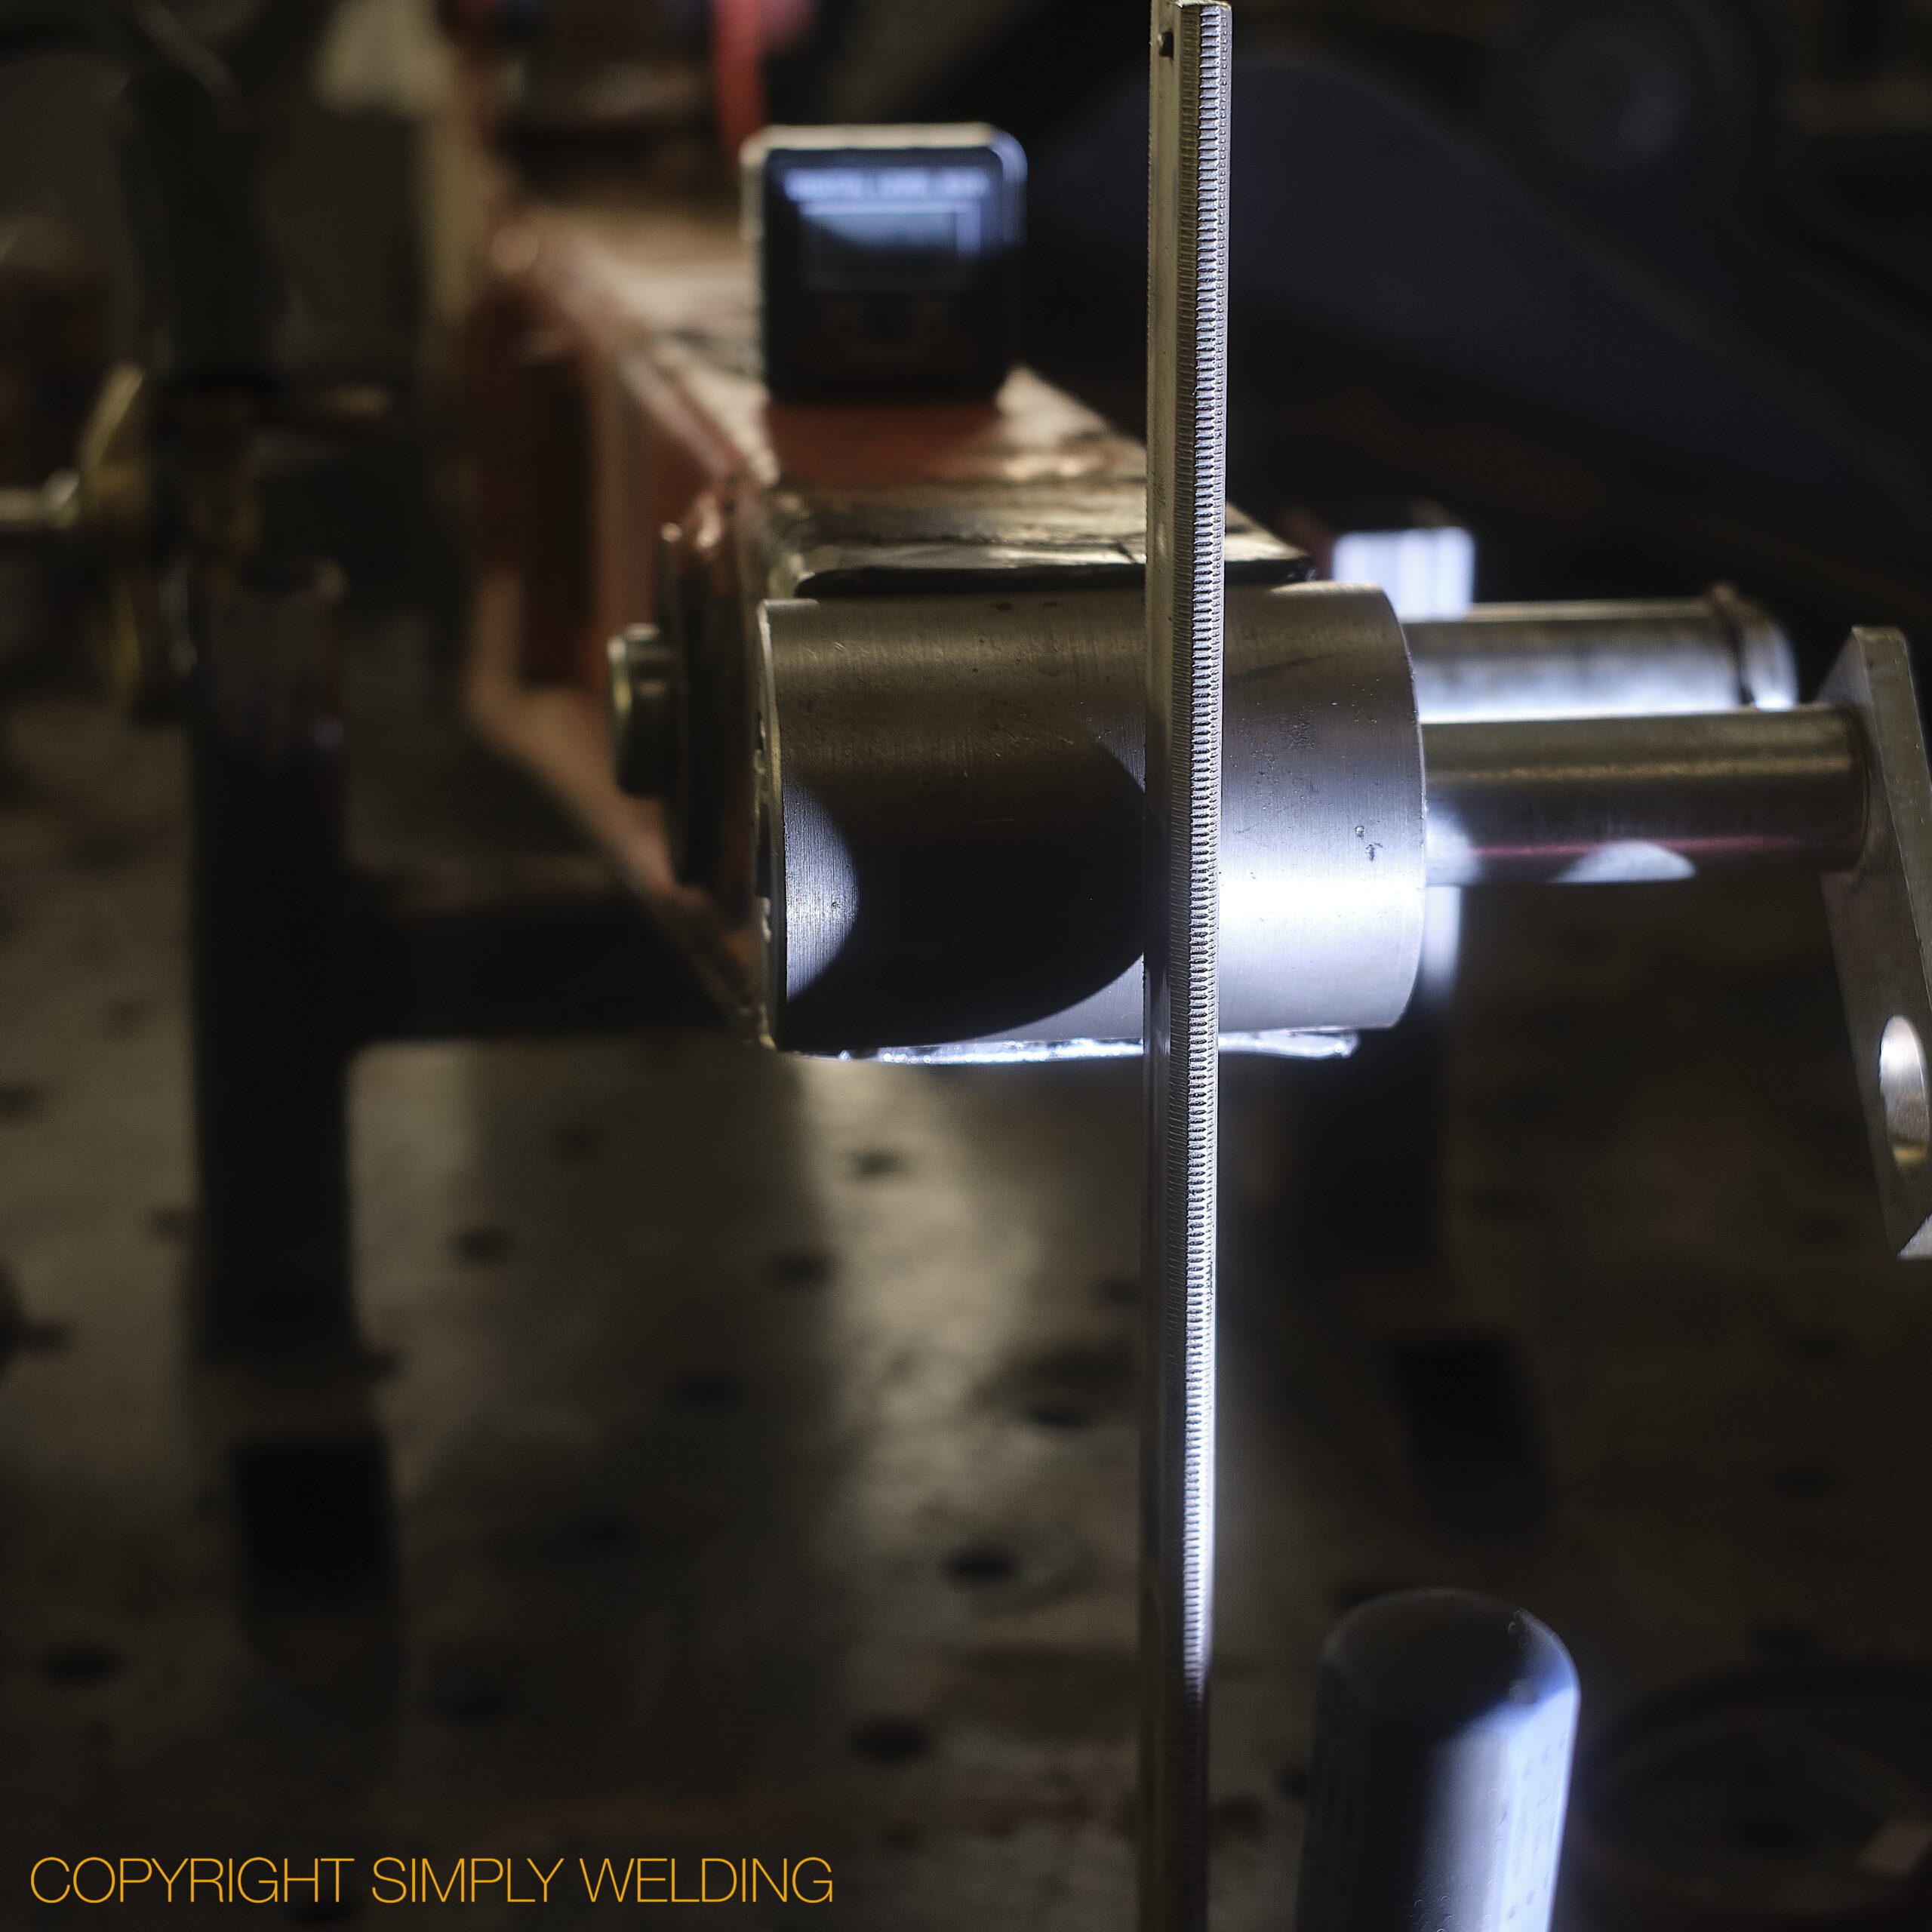
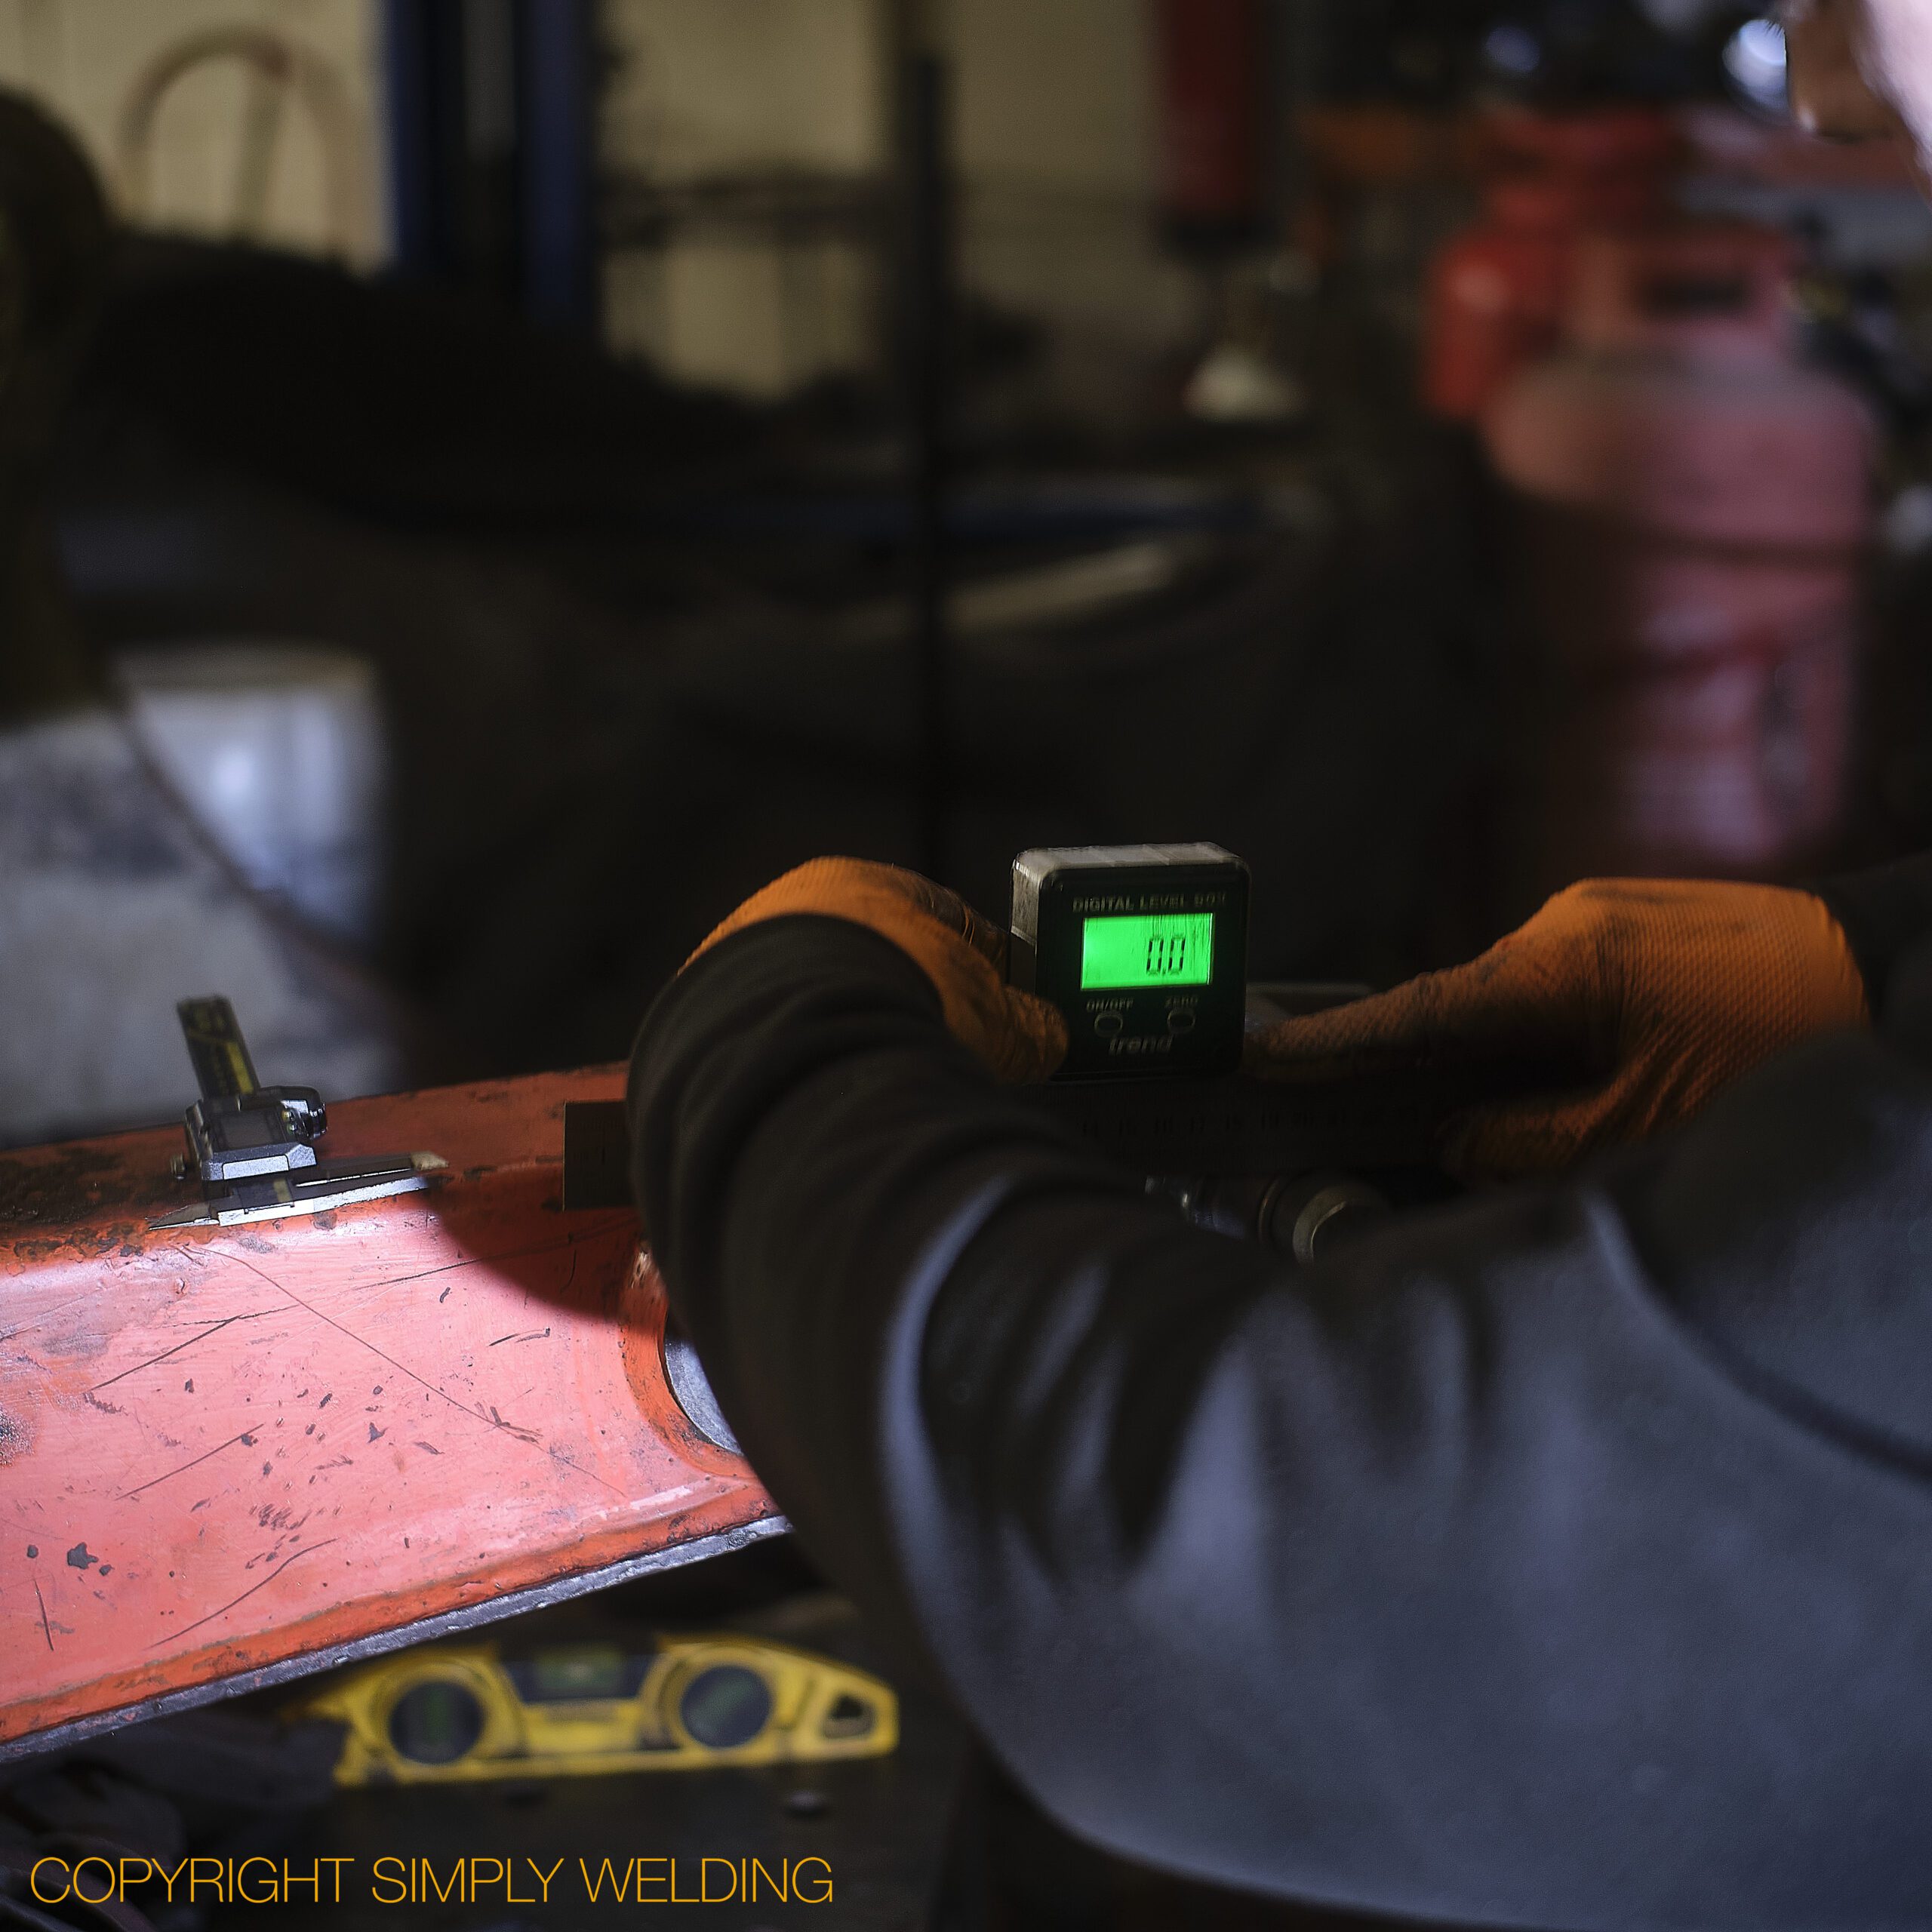
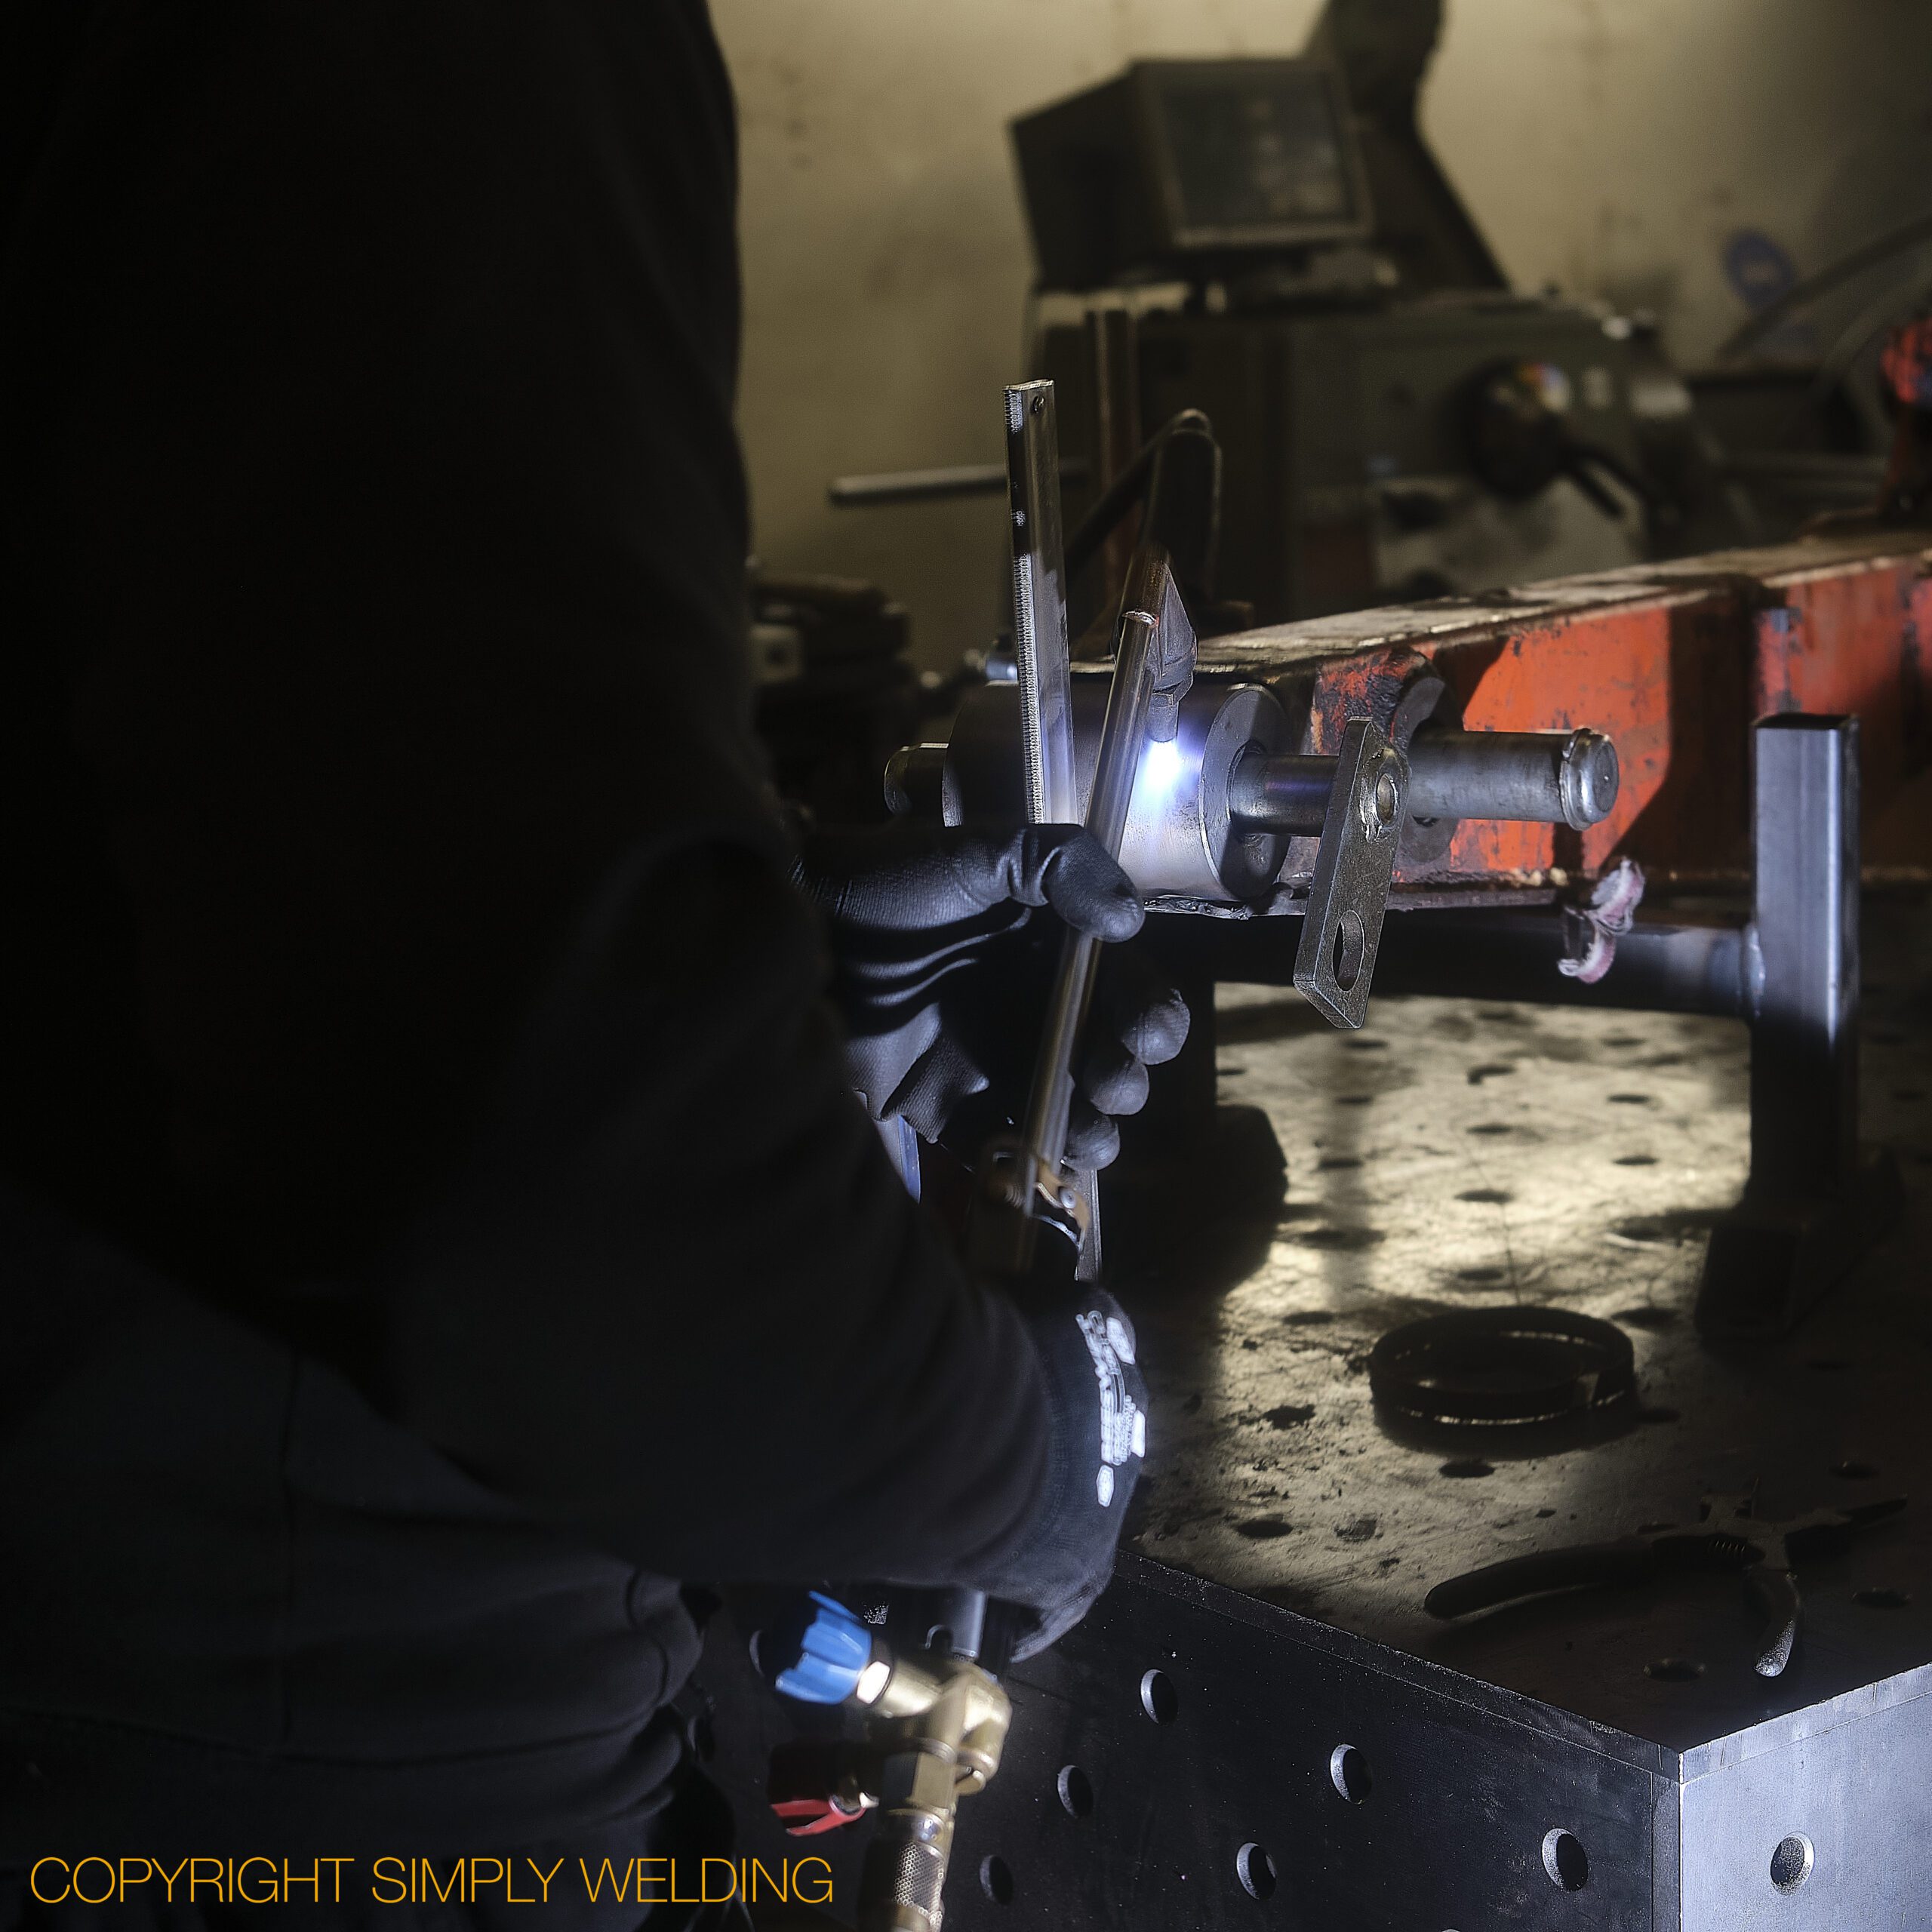
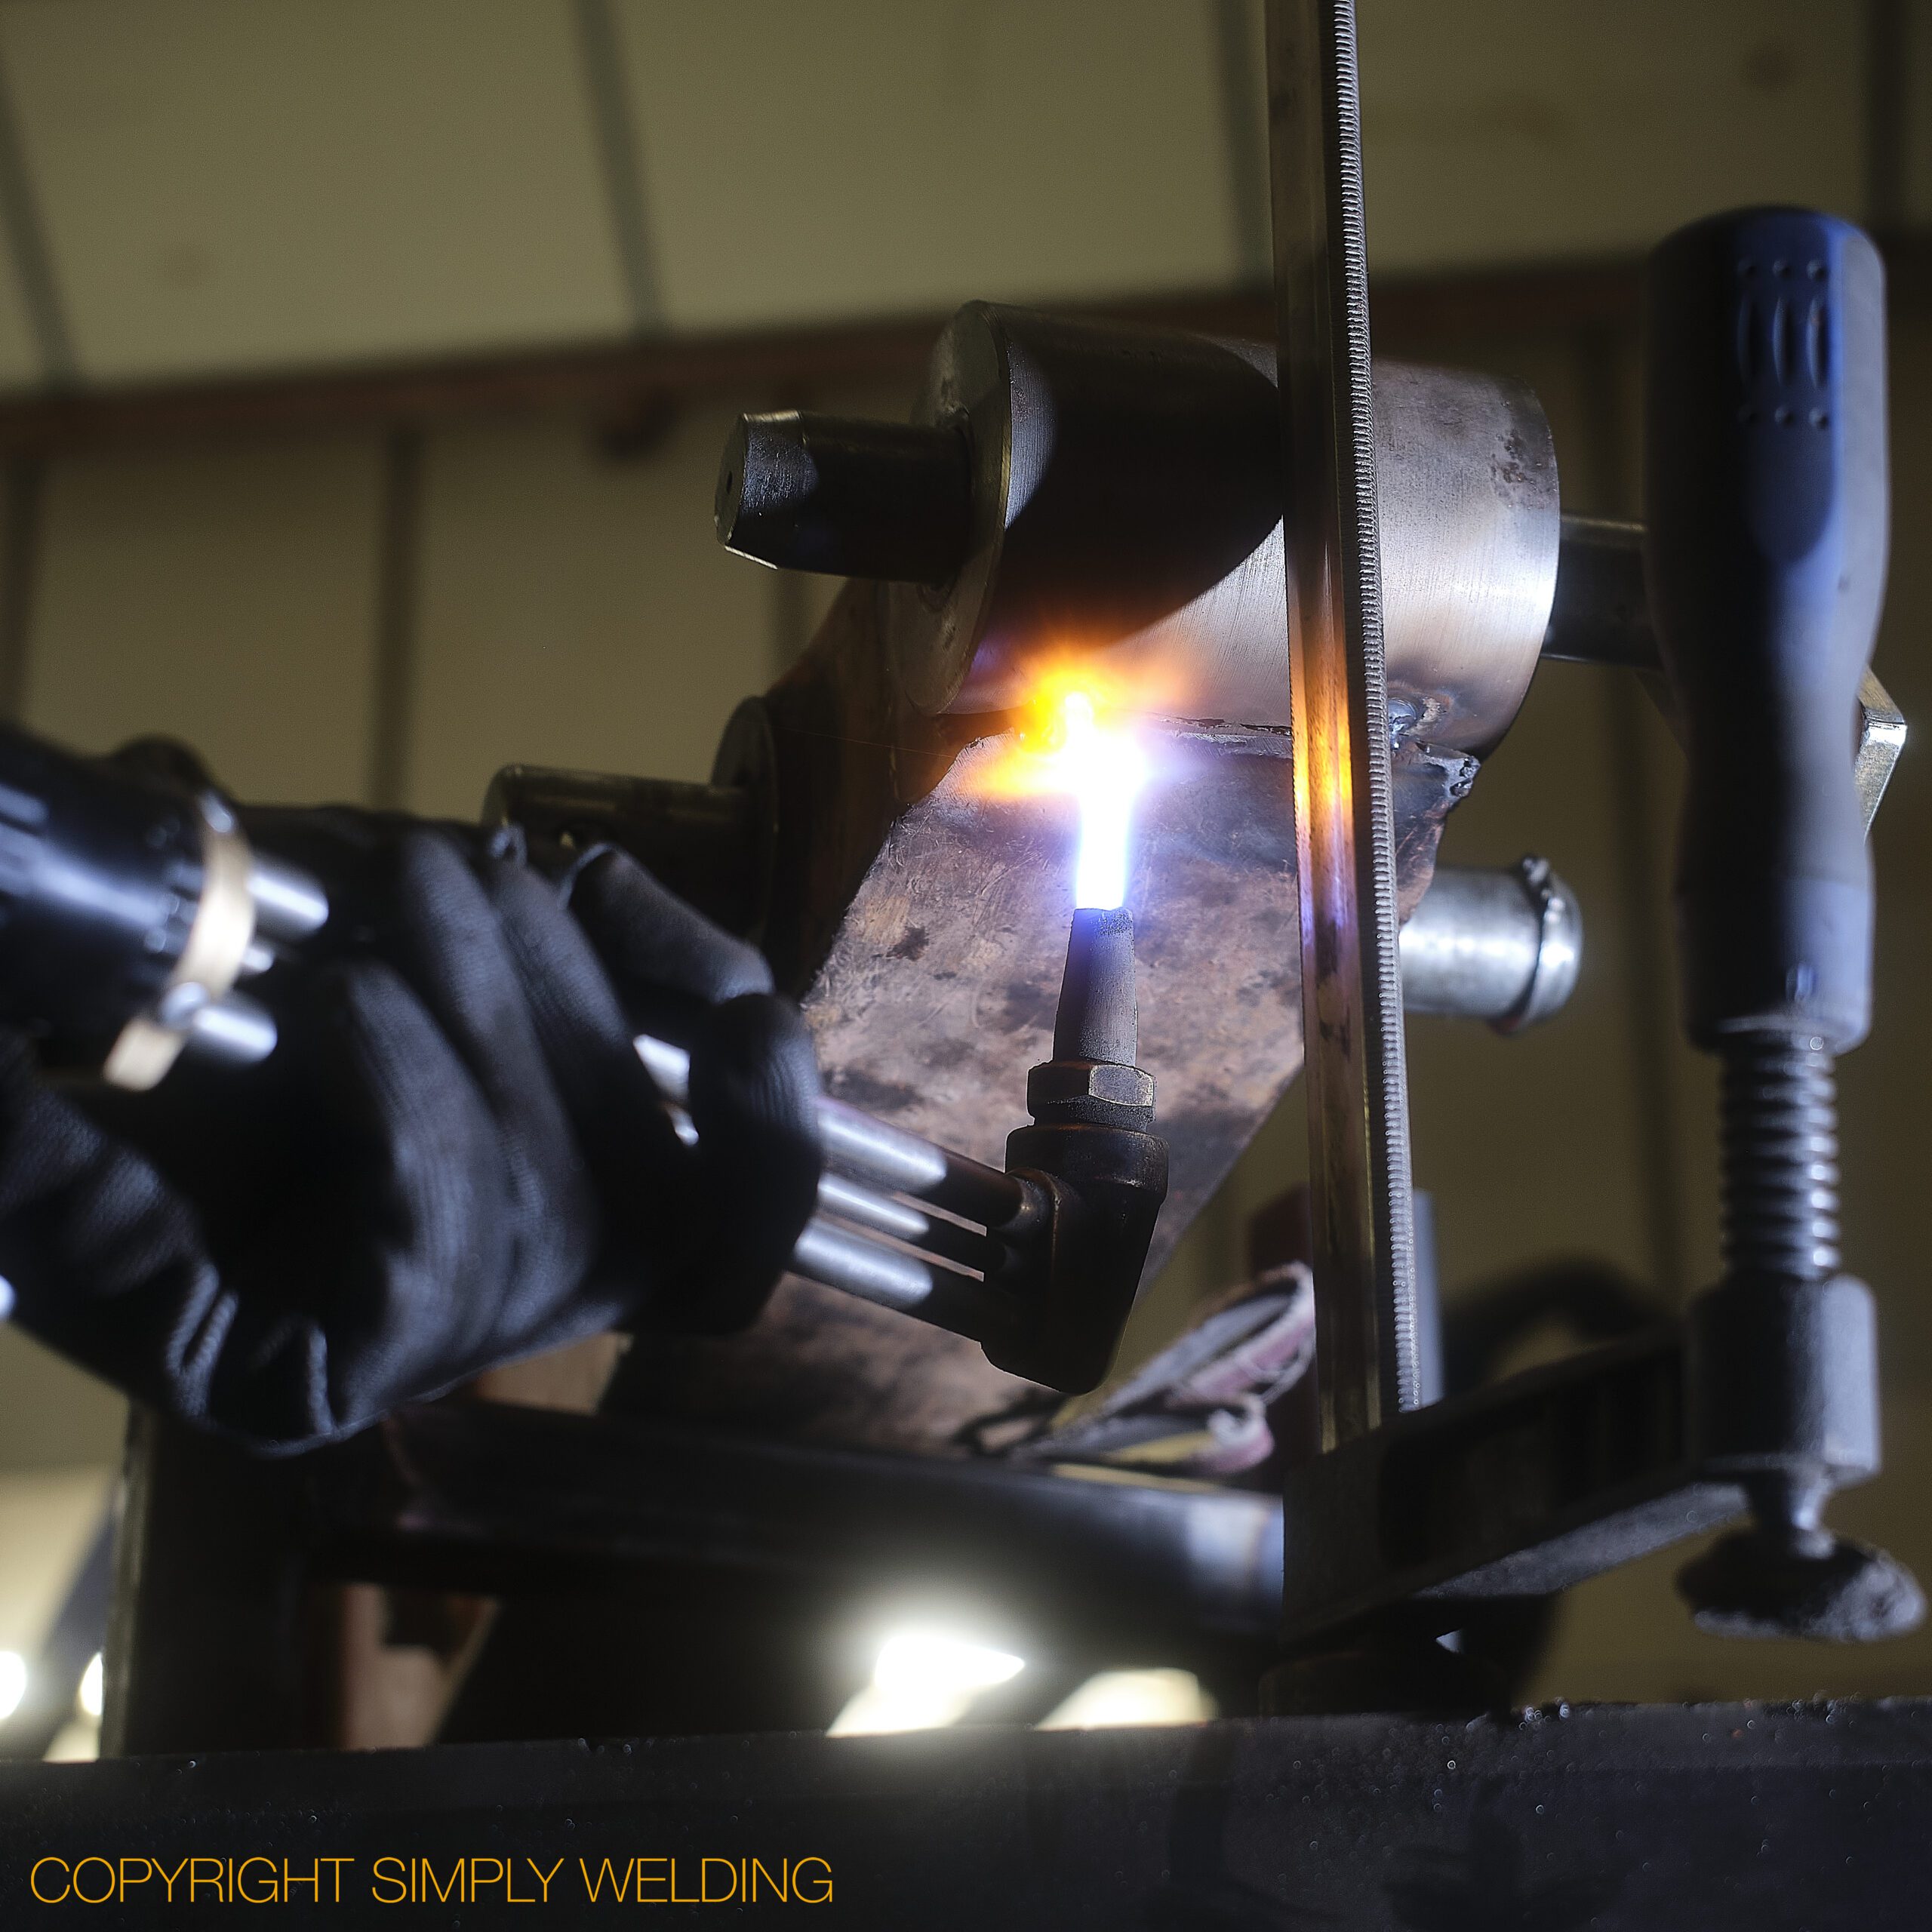
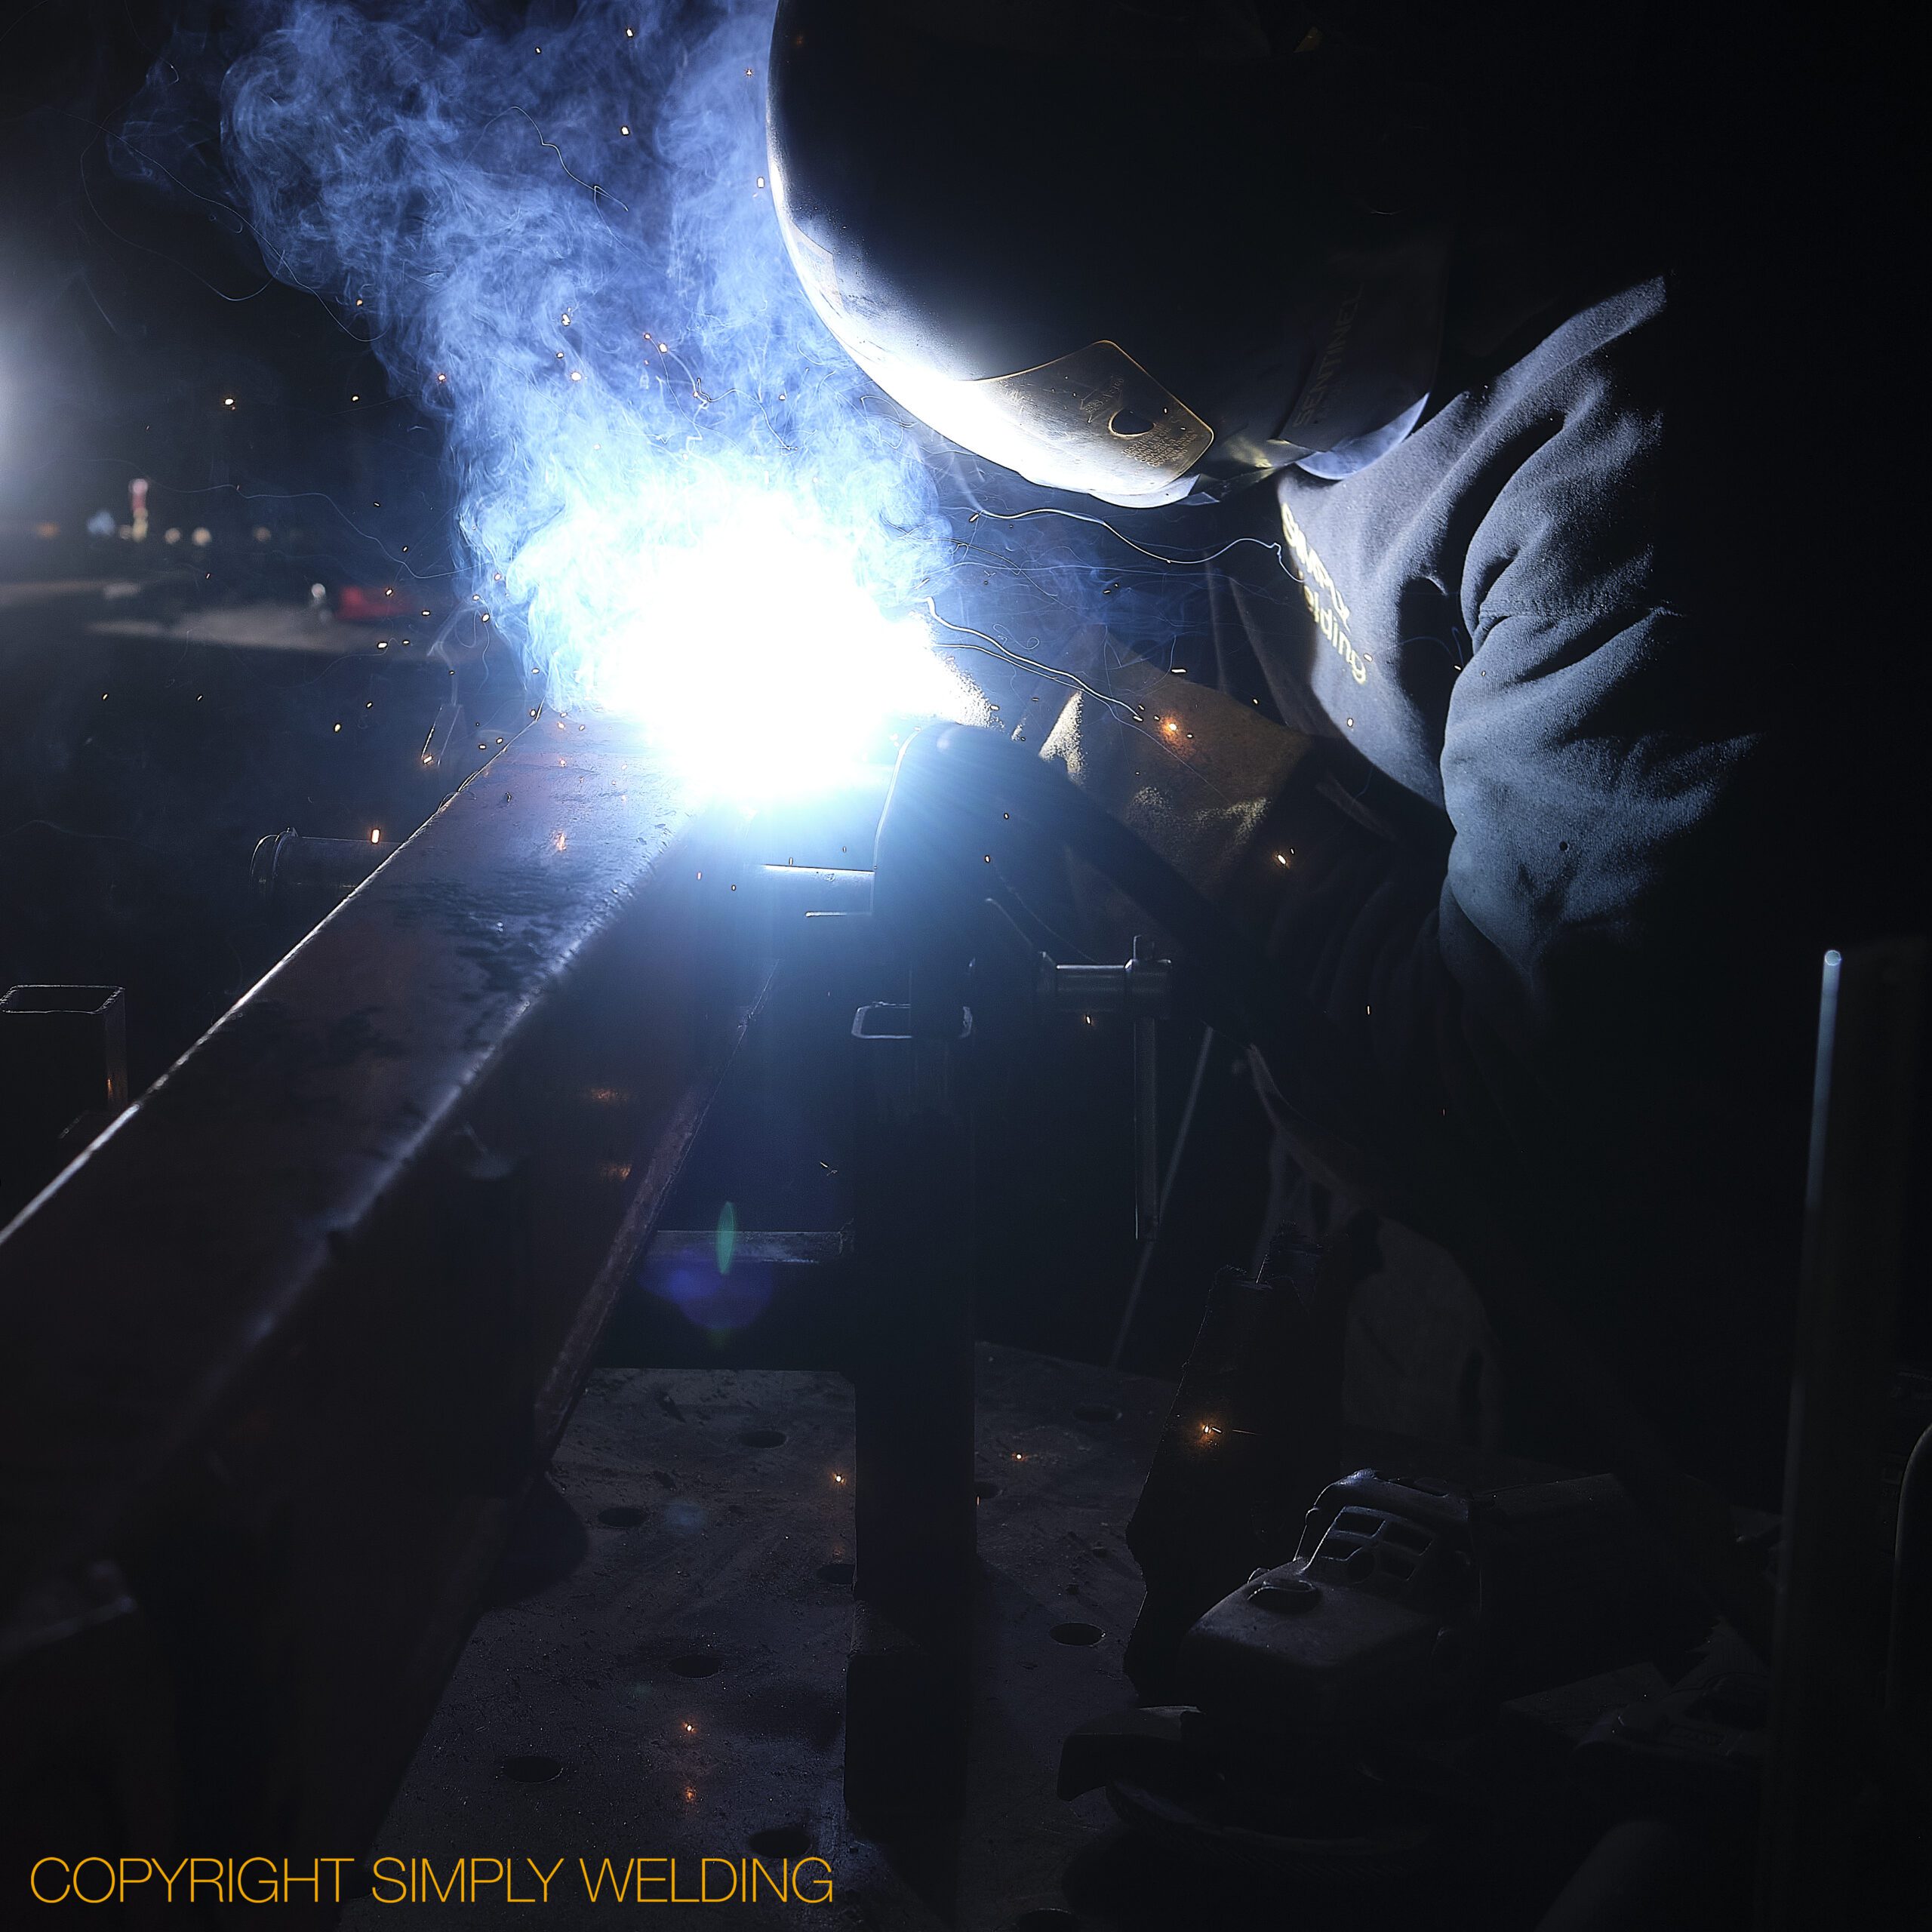
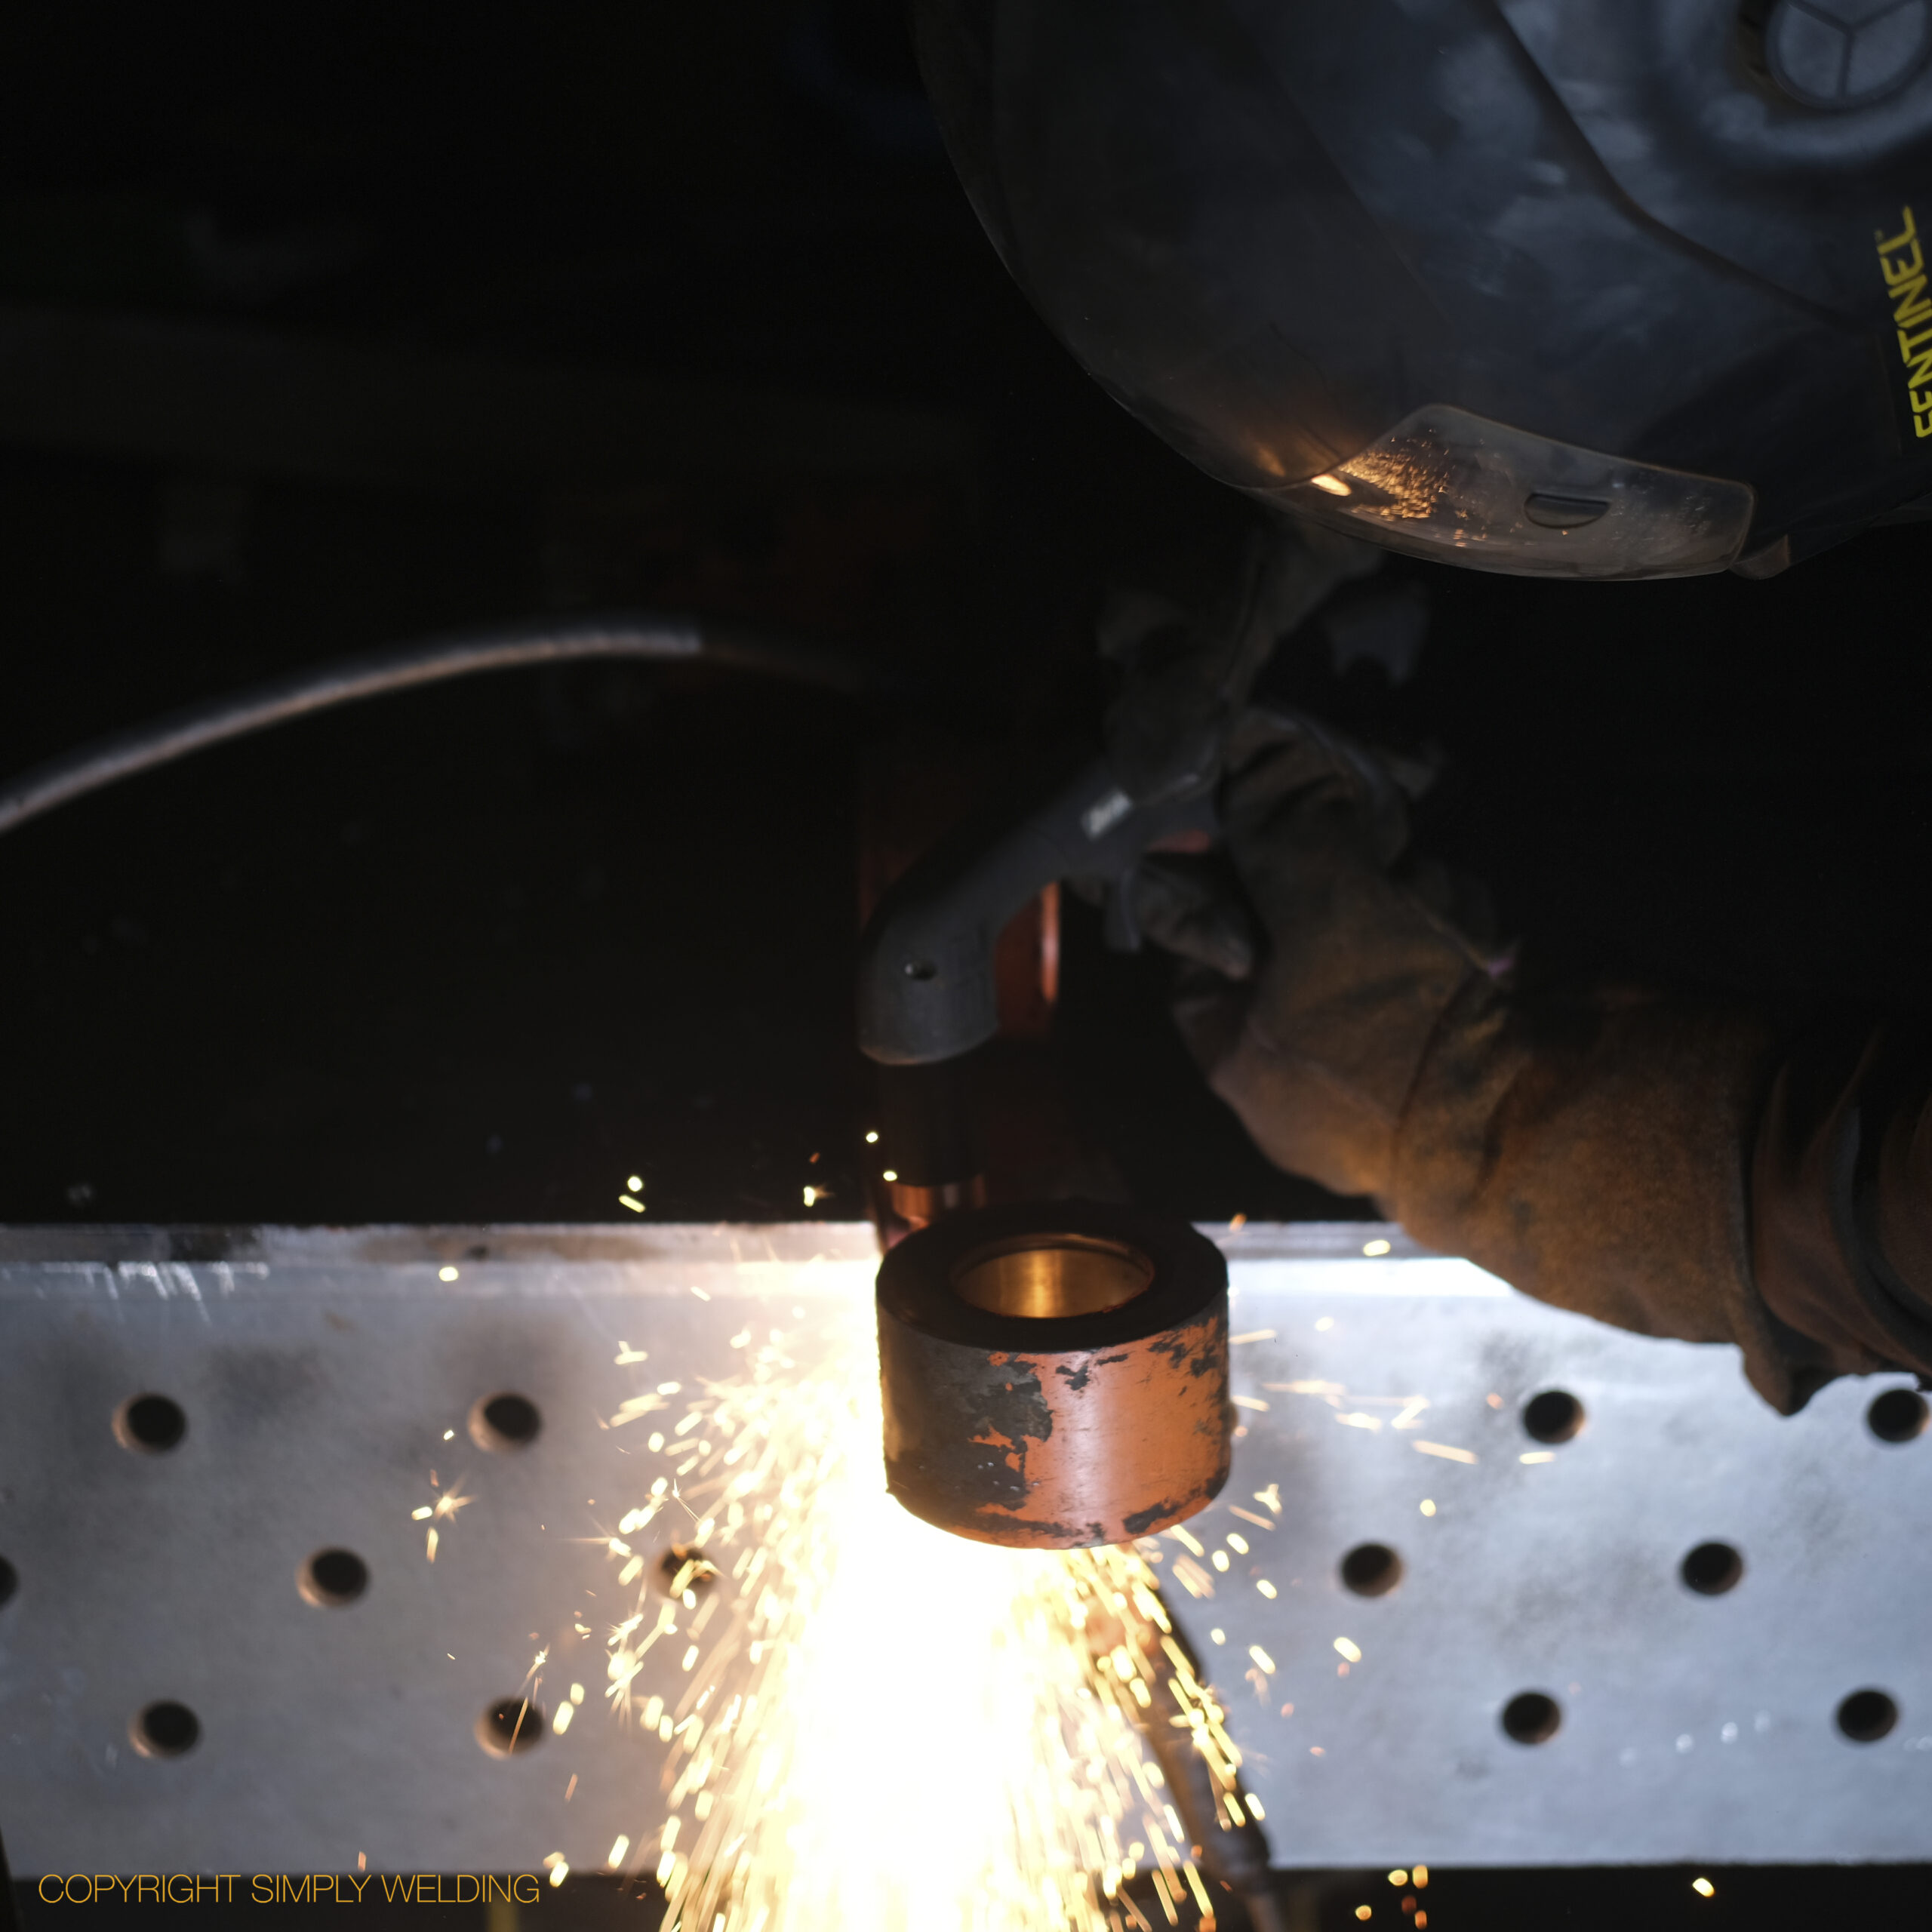
Kubota KX61-3 worn boss replacement: arc gouged off the worn boss, turned a new one with hardened bushes, lined it up on the dipper arm and fully welded it with Böhler dual-shield wire.
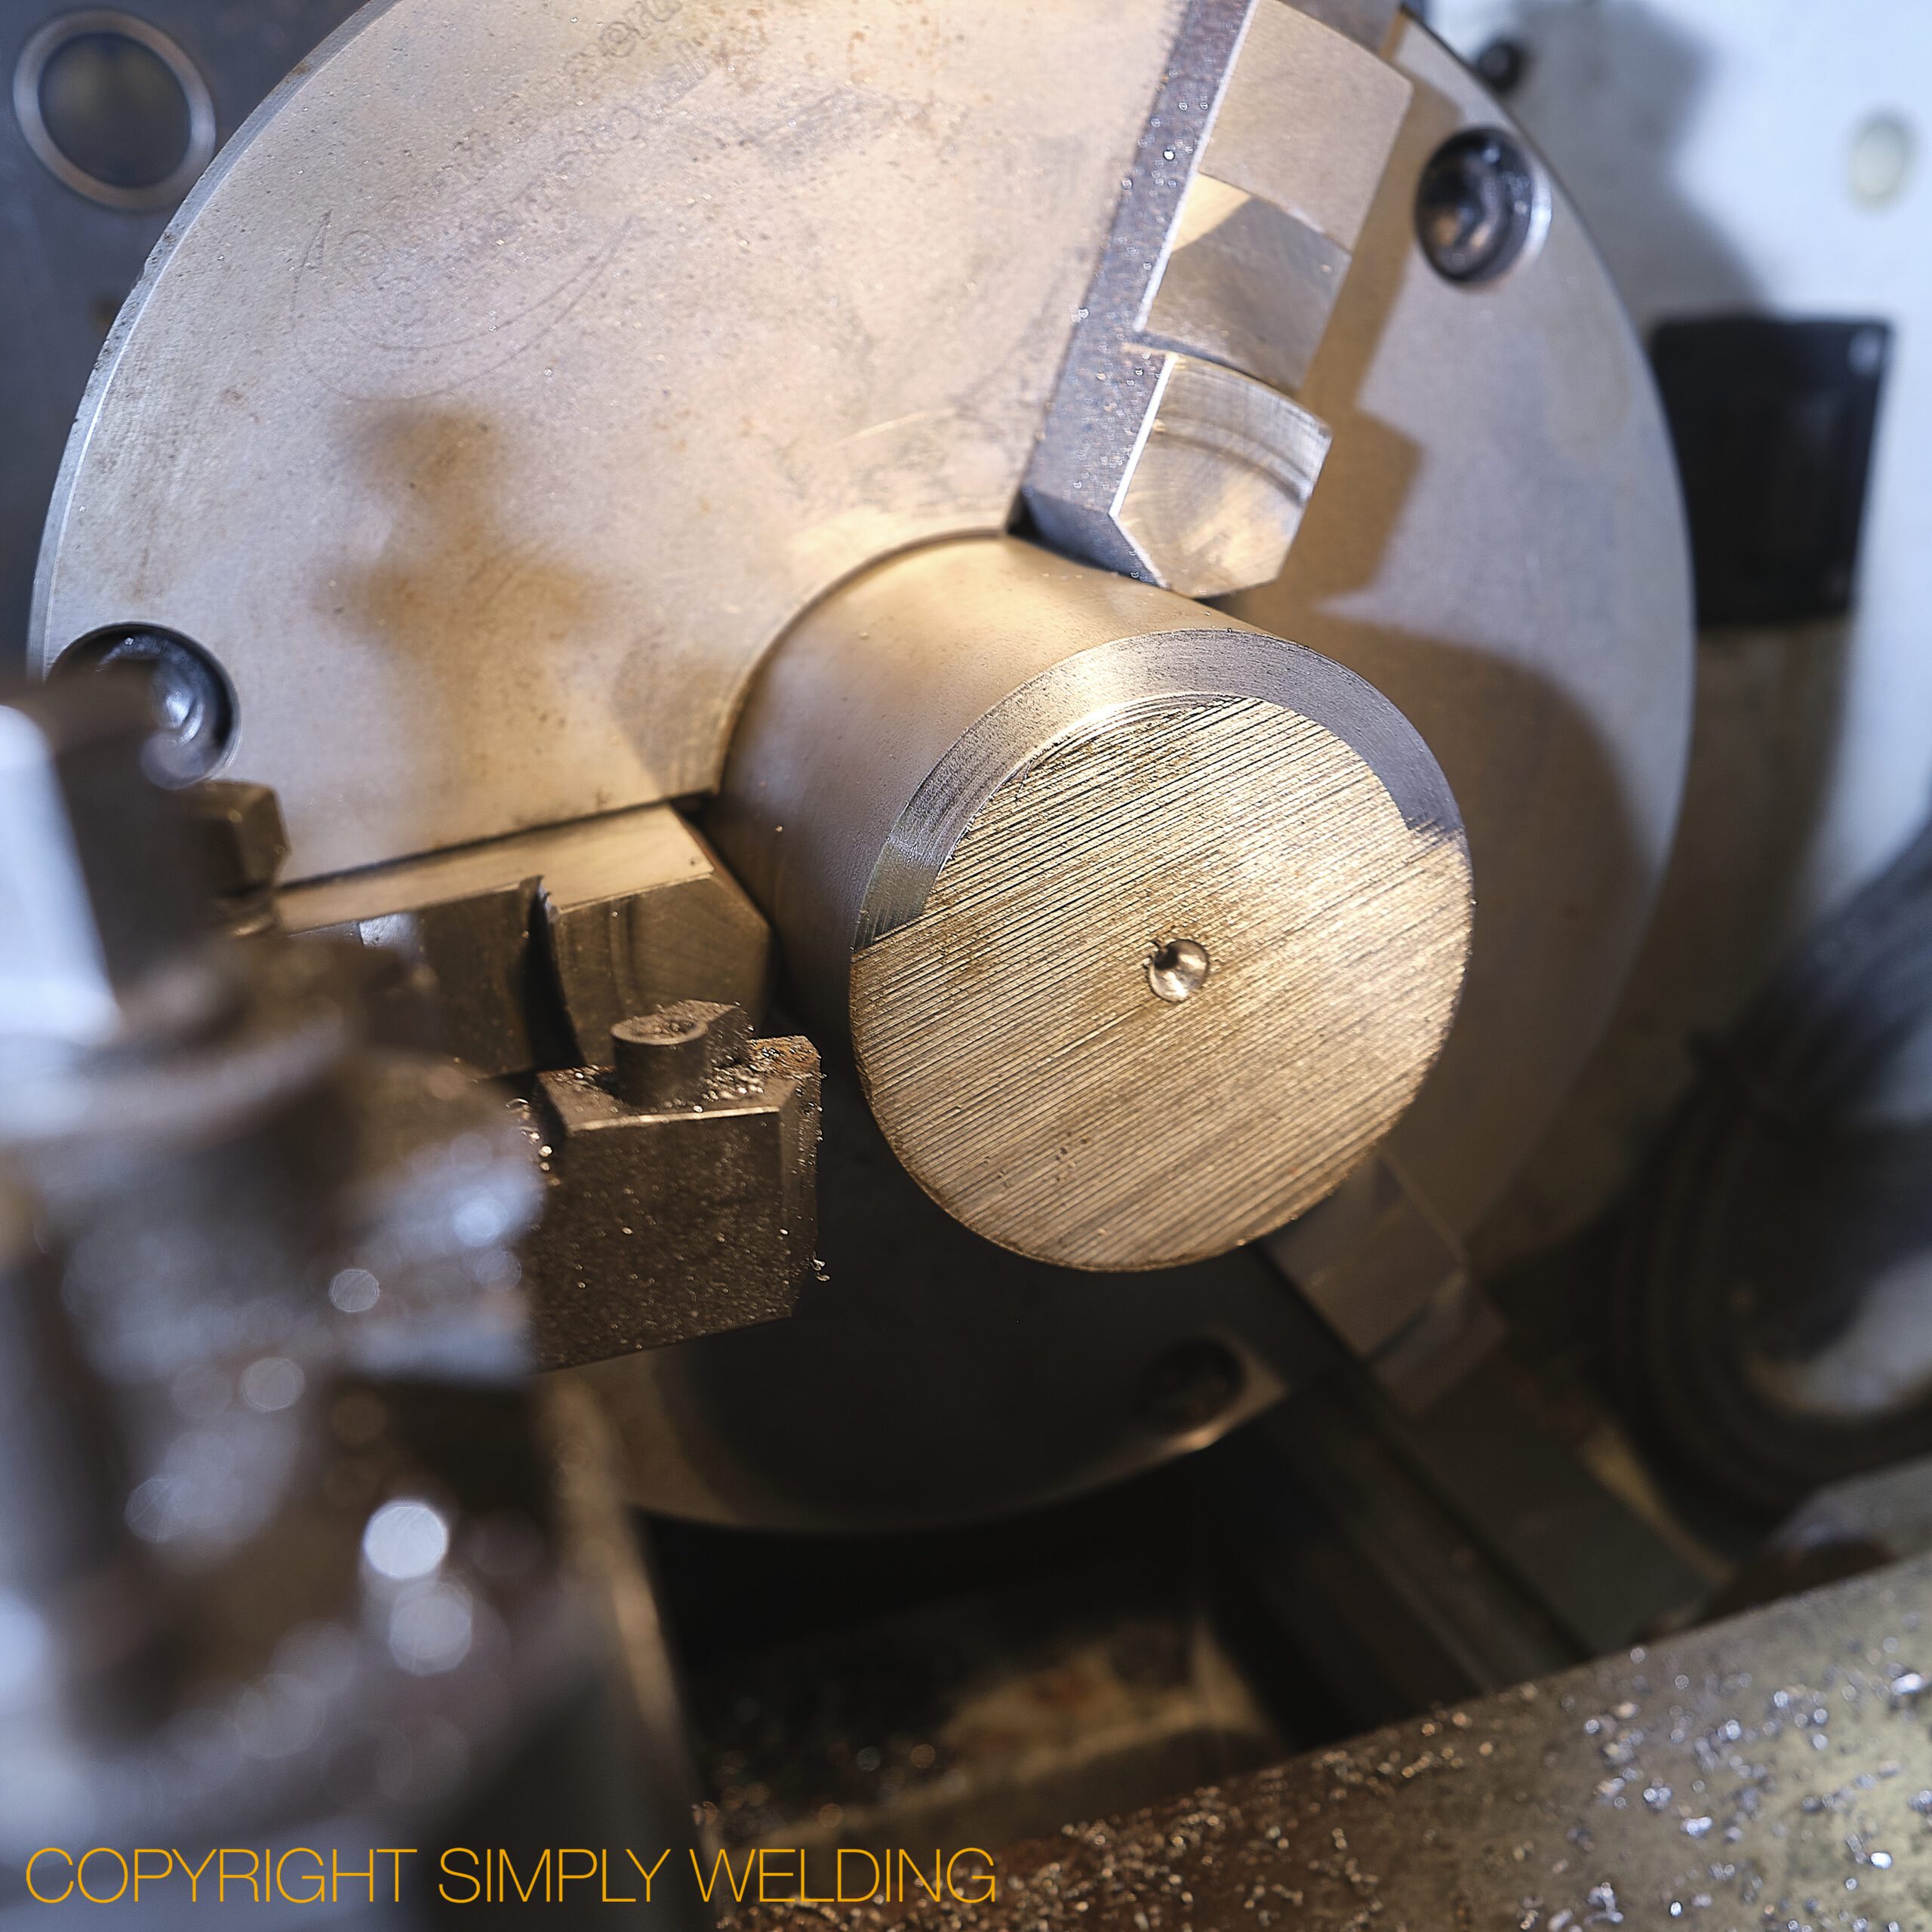
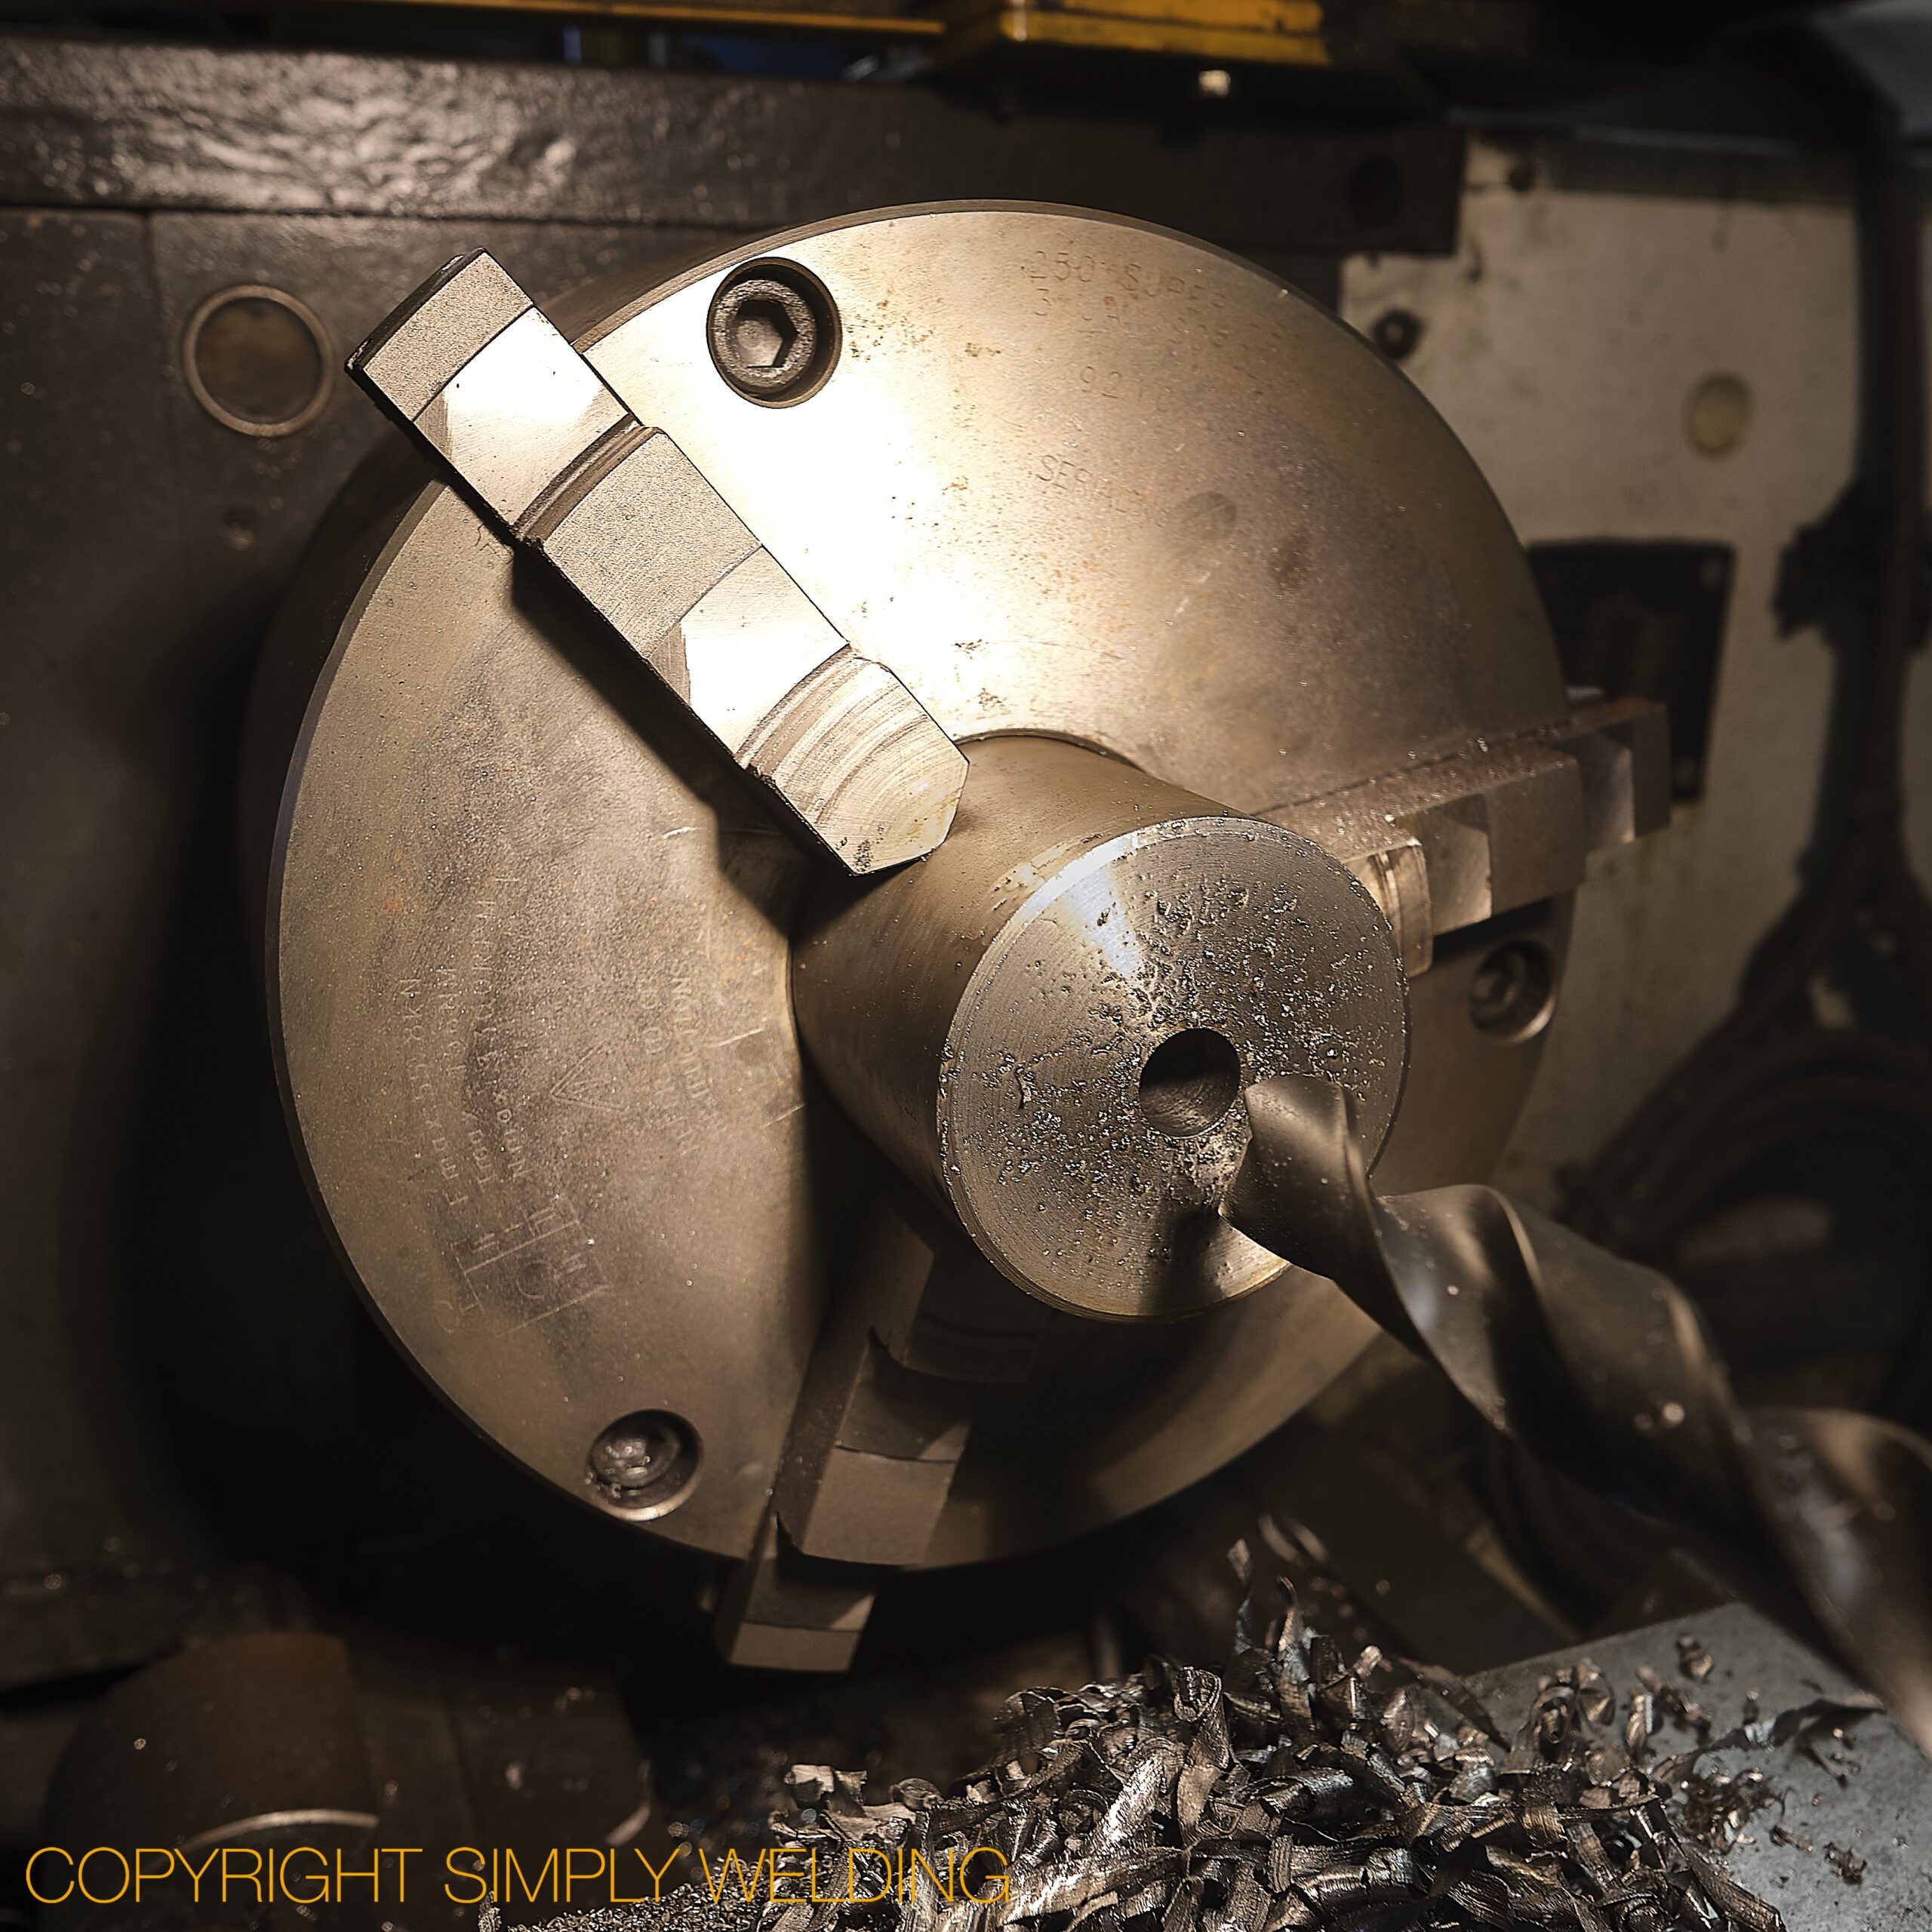
Bobcat E26 Quick Hitch Pin Centre Change

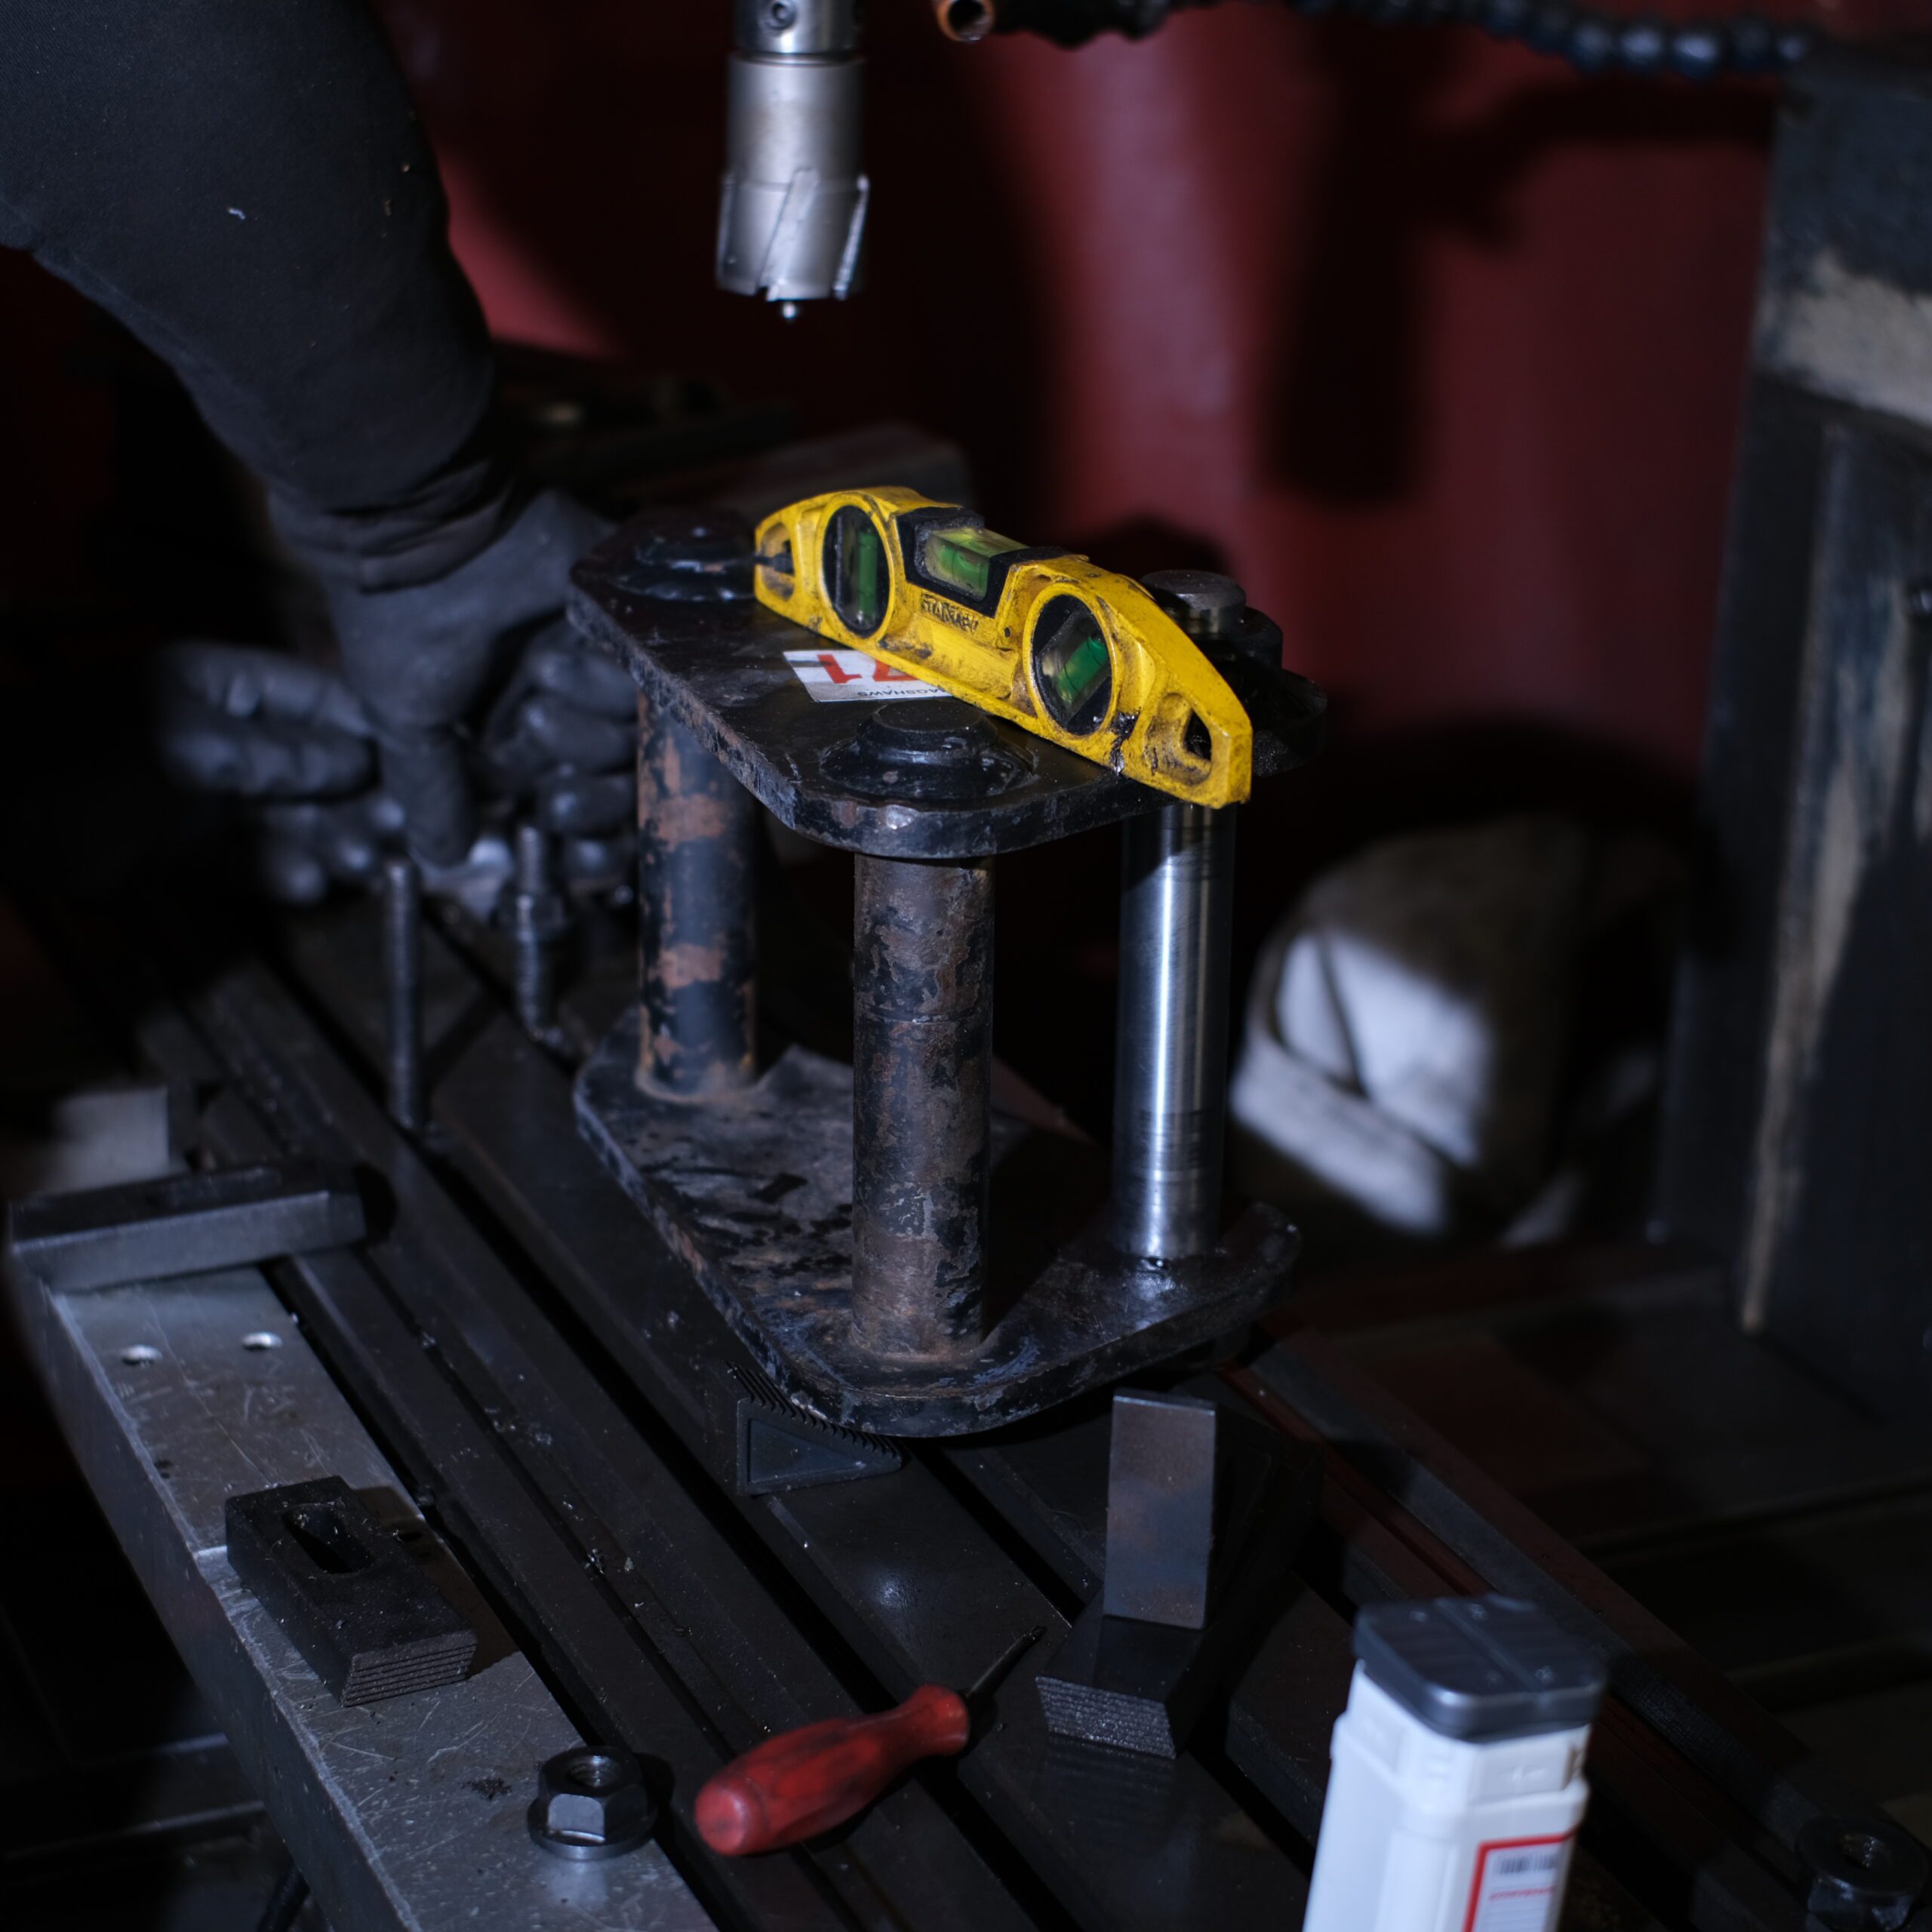
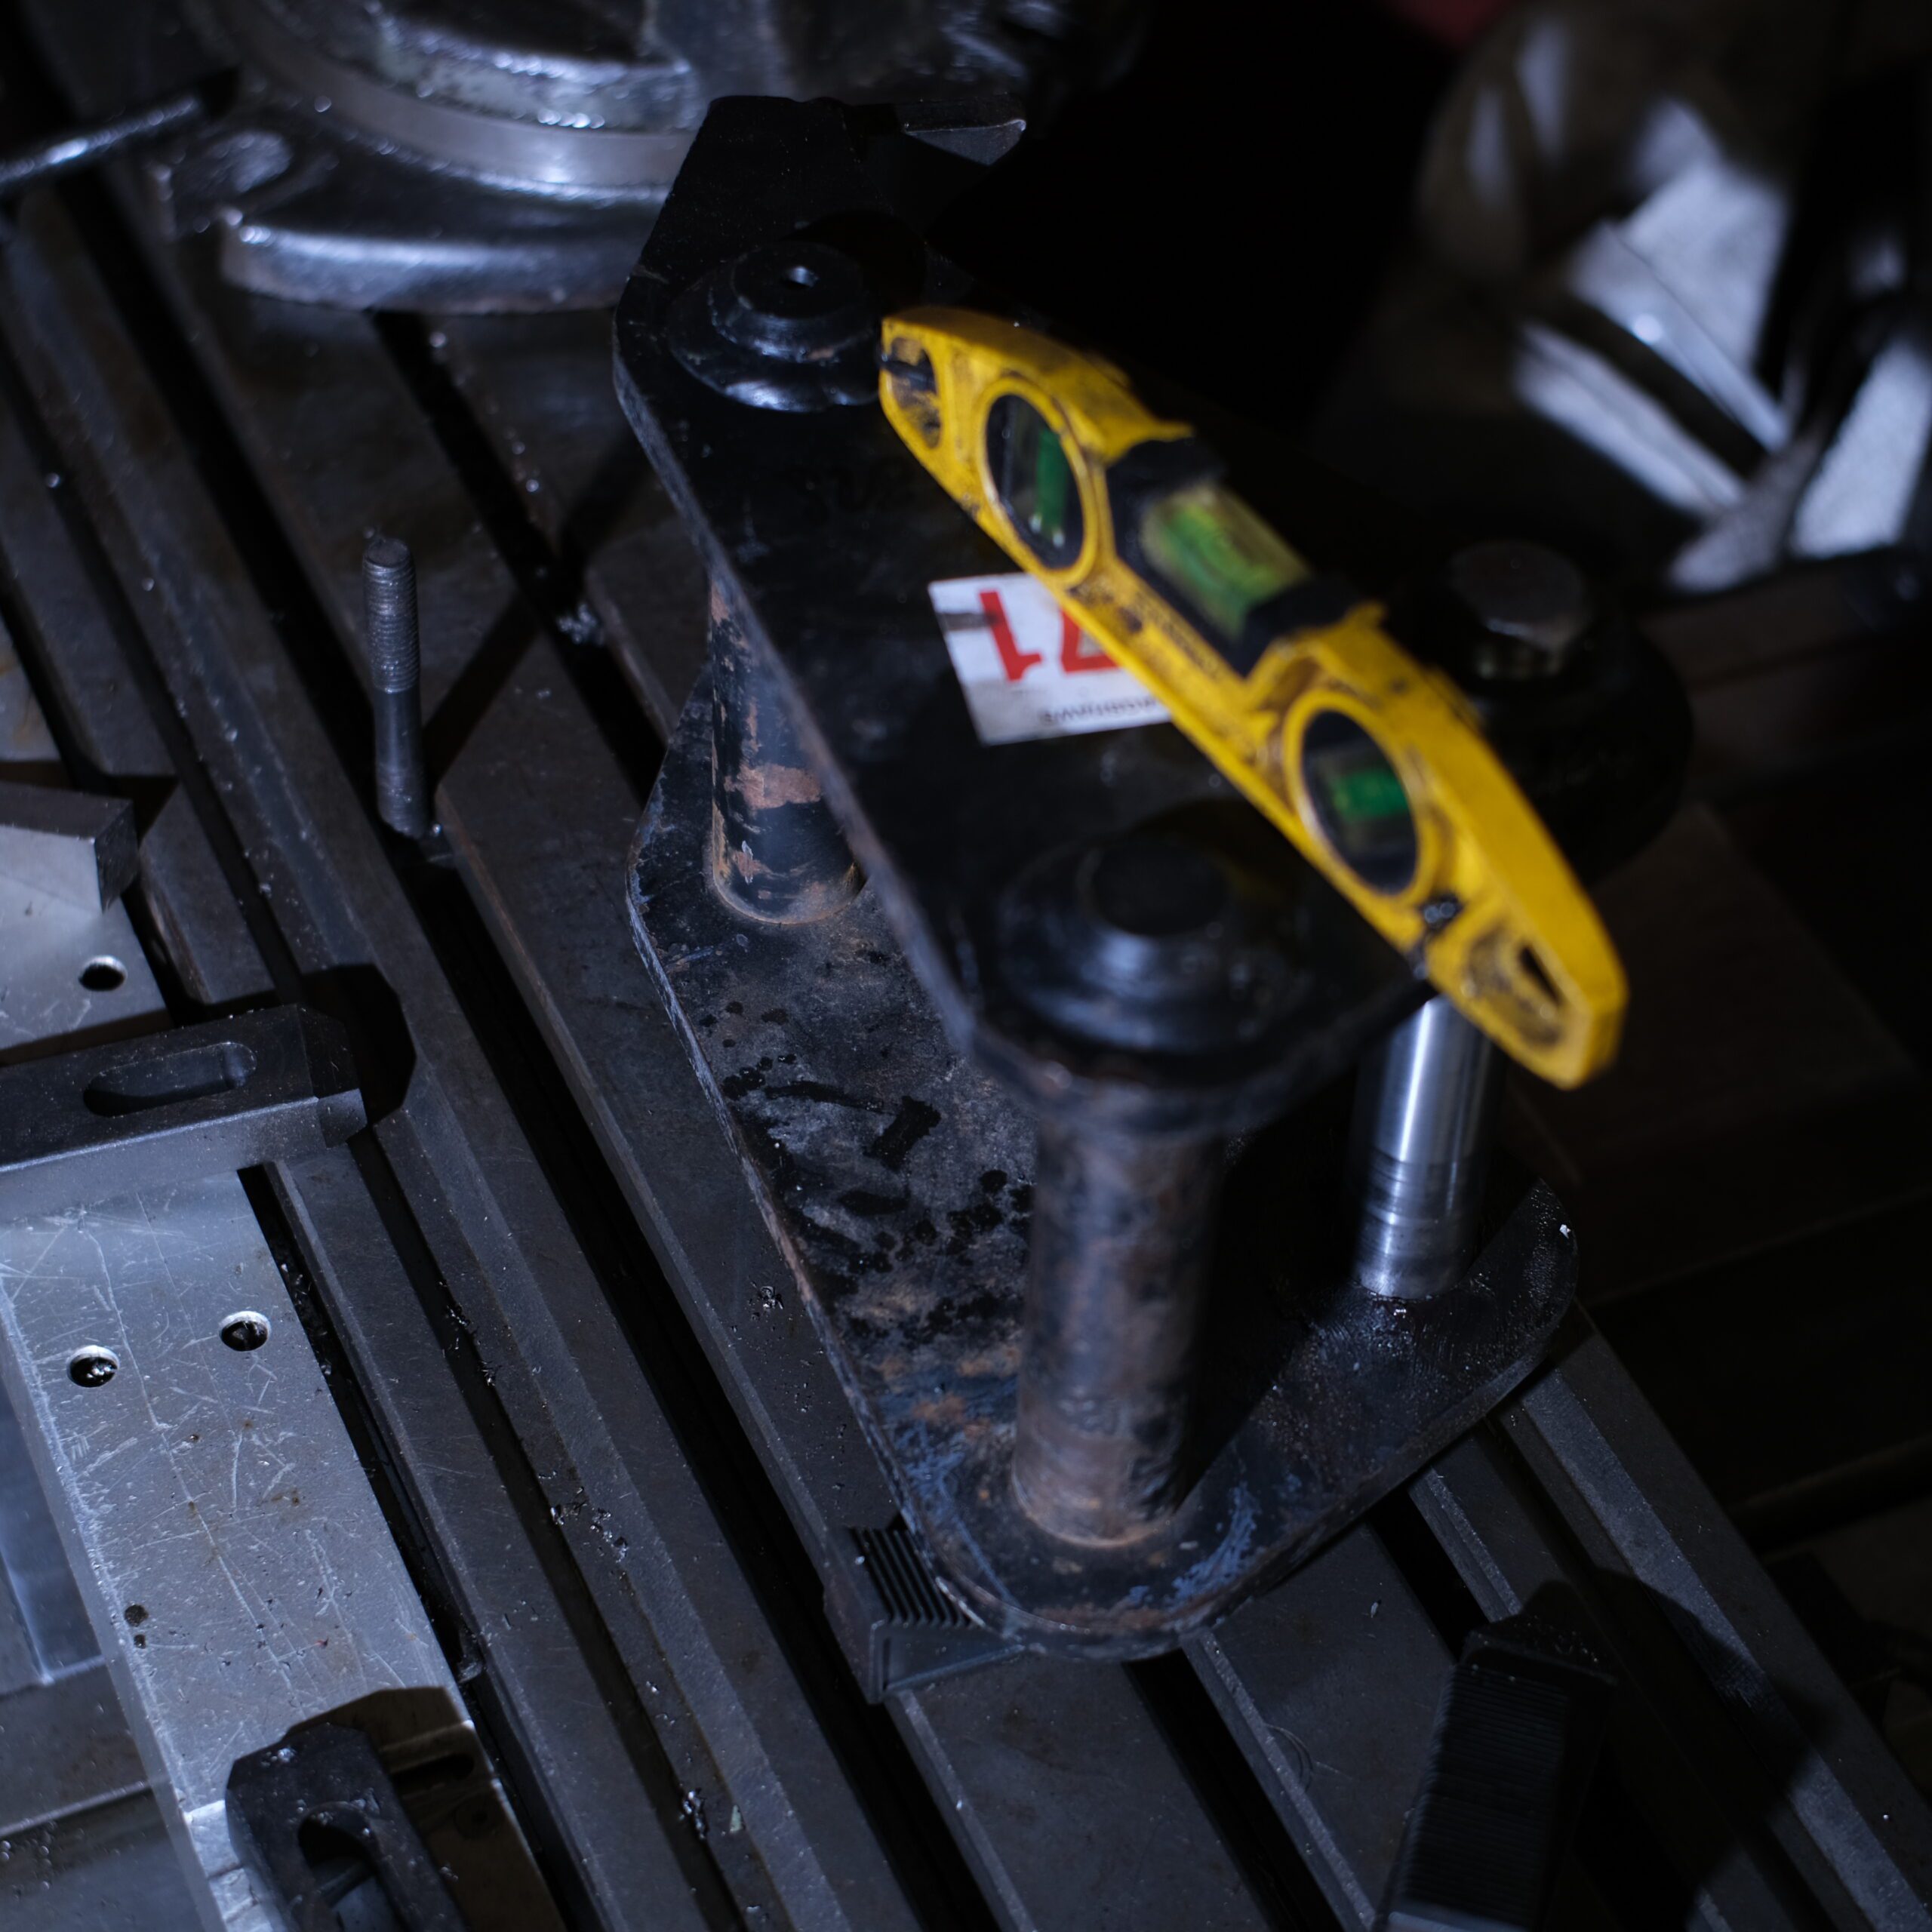
Changed an attachment saddle from 7.5" to 8" pin centres to fit the quick hitch on a Bobcat E26 mini digger.
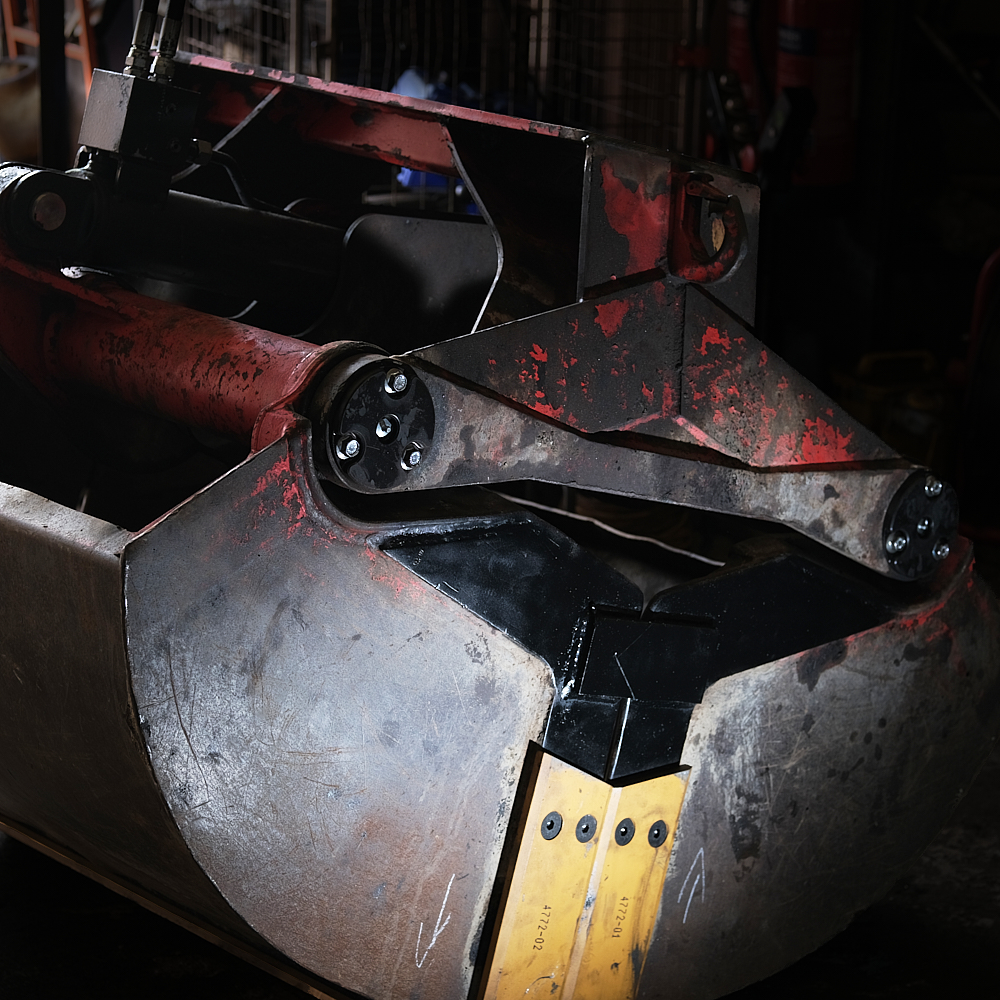
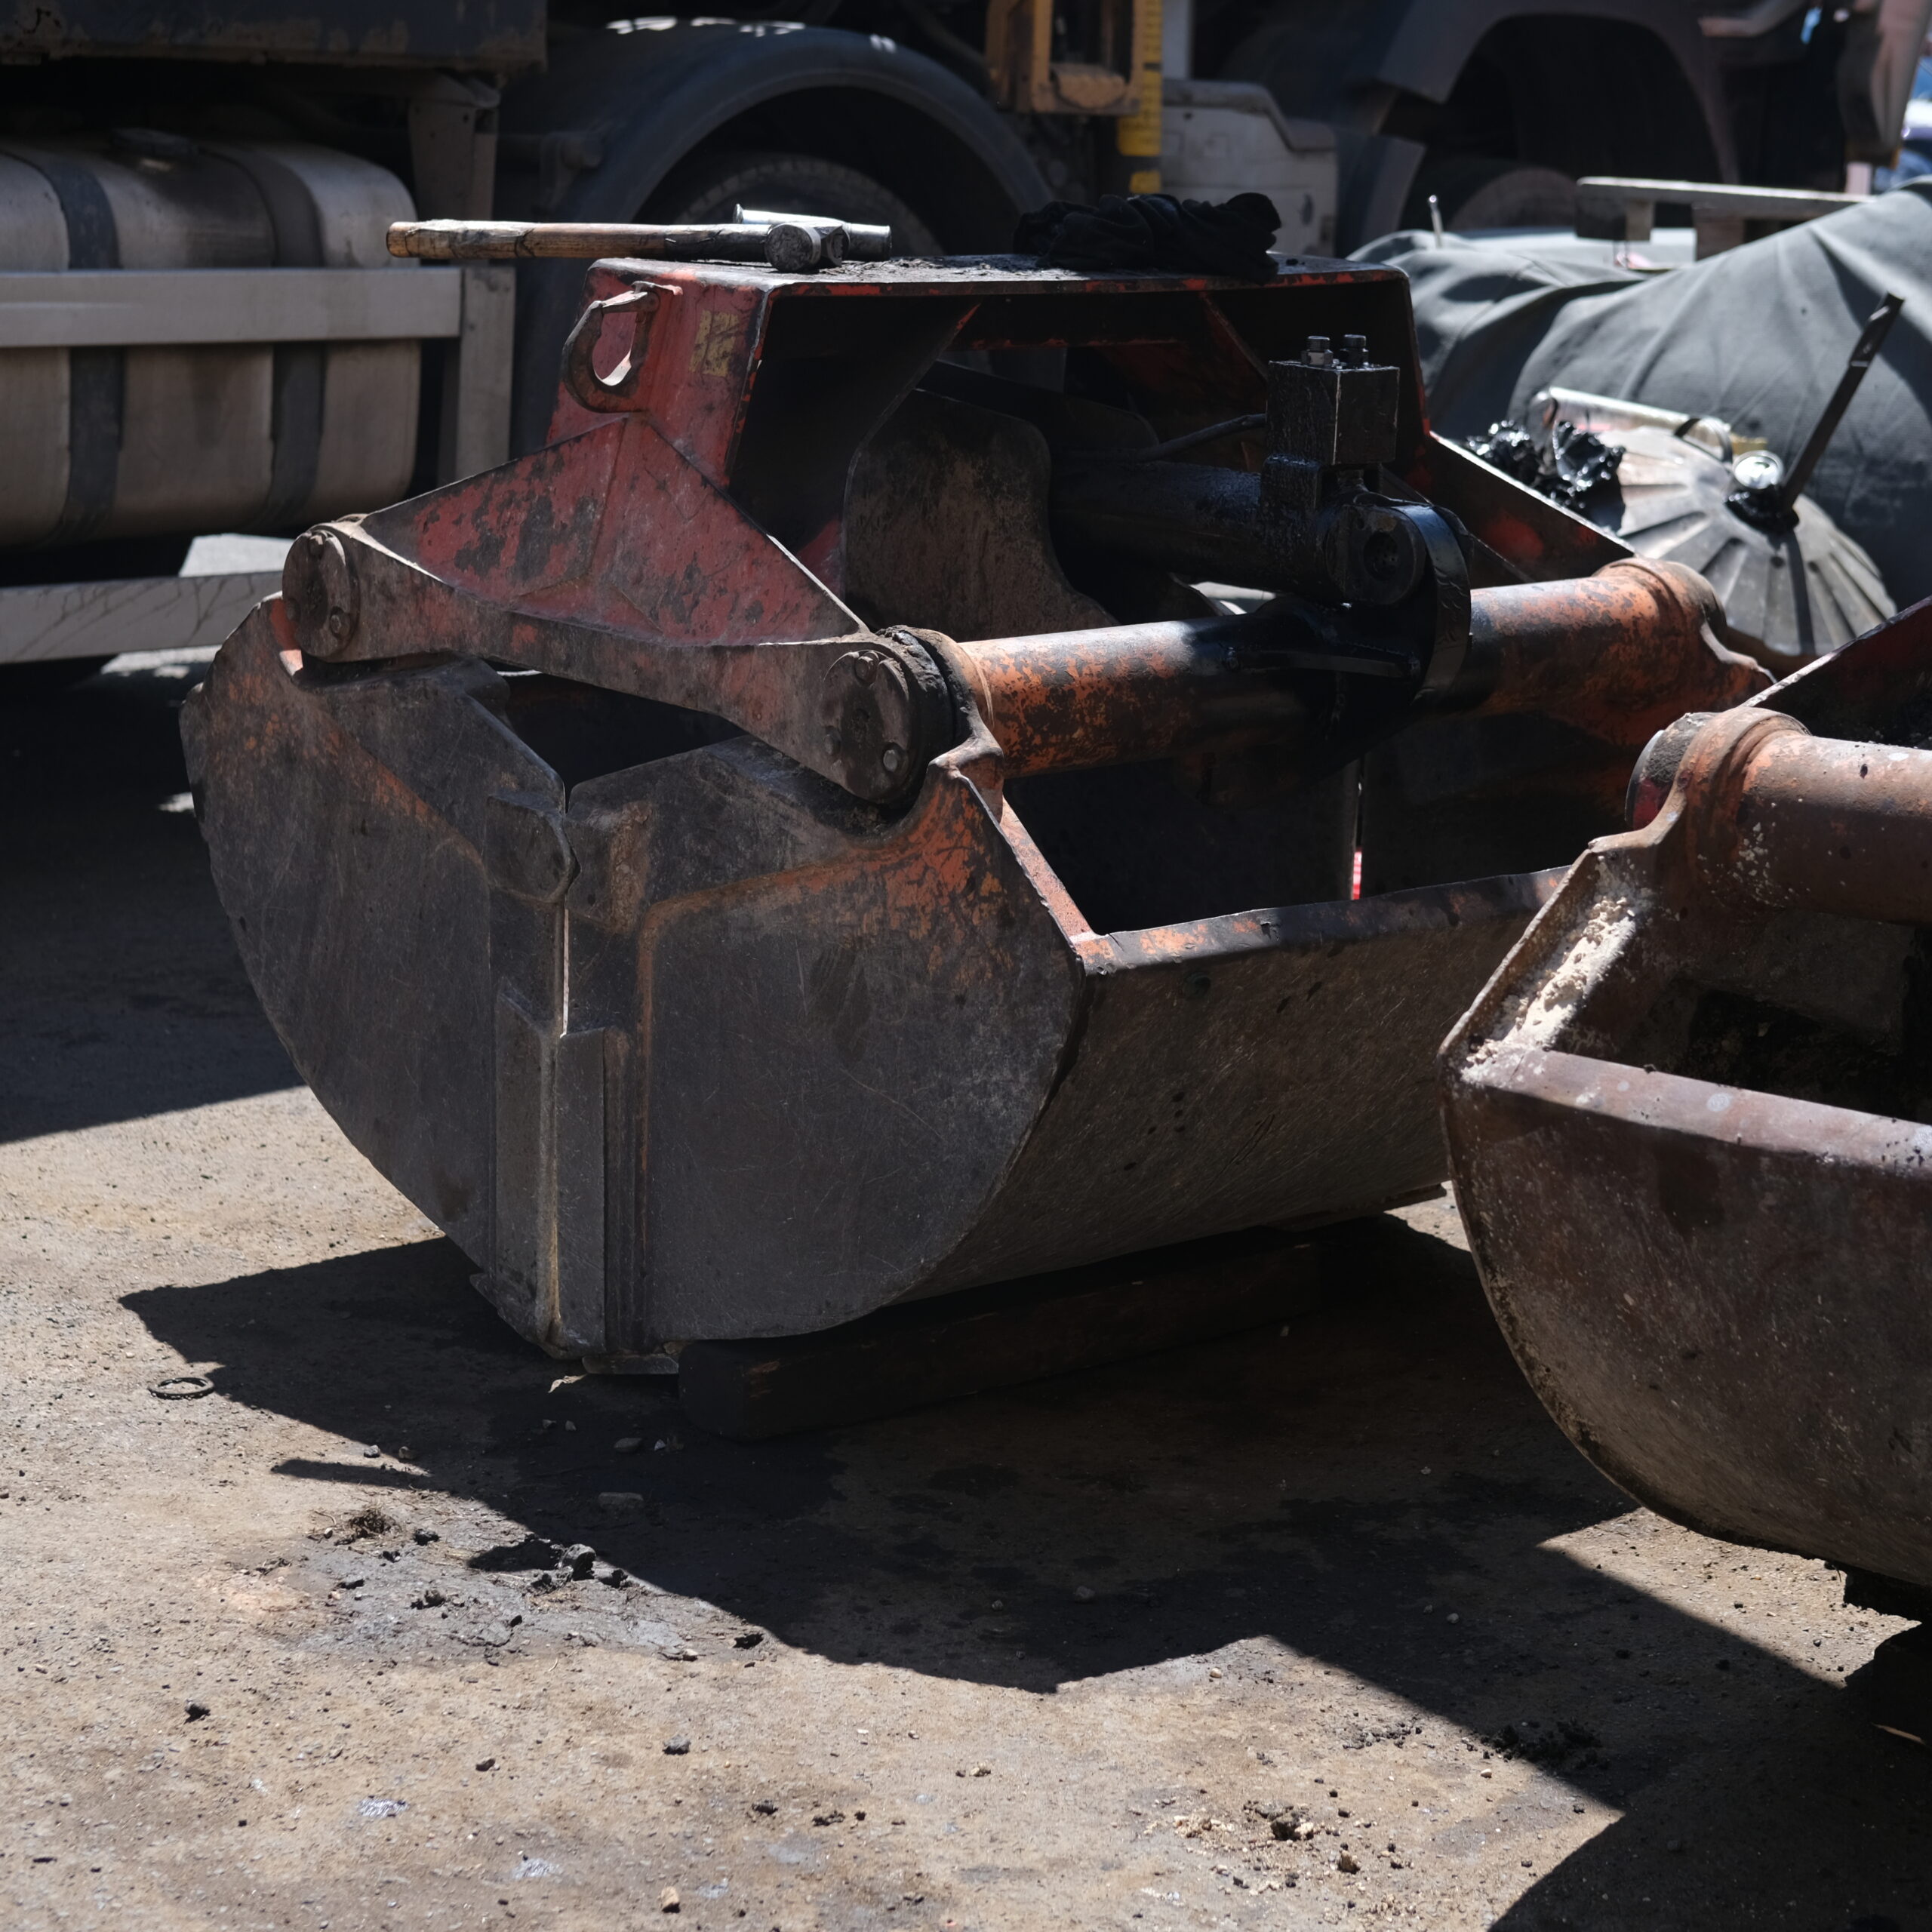
Kinshofer KM602 Grab Bucket A-Frame Repair

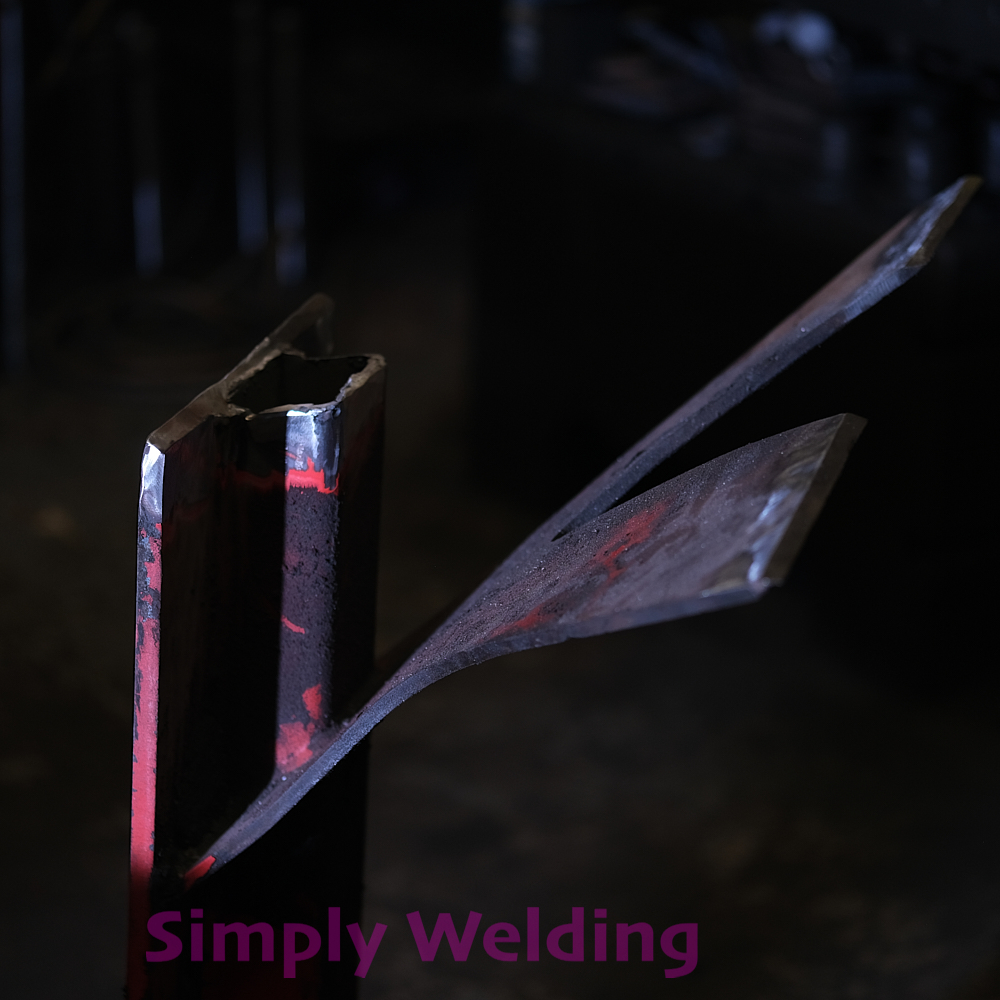
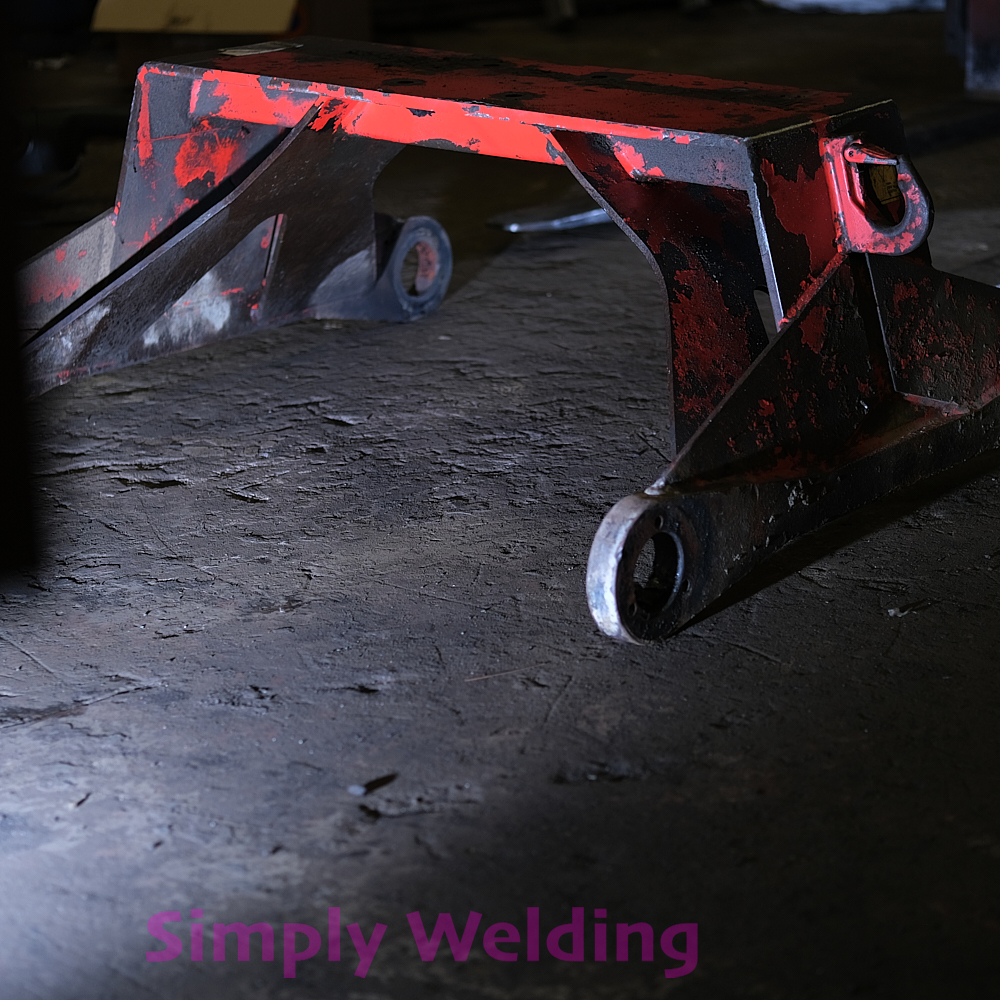
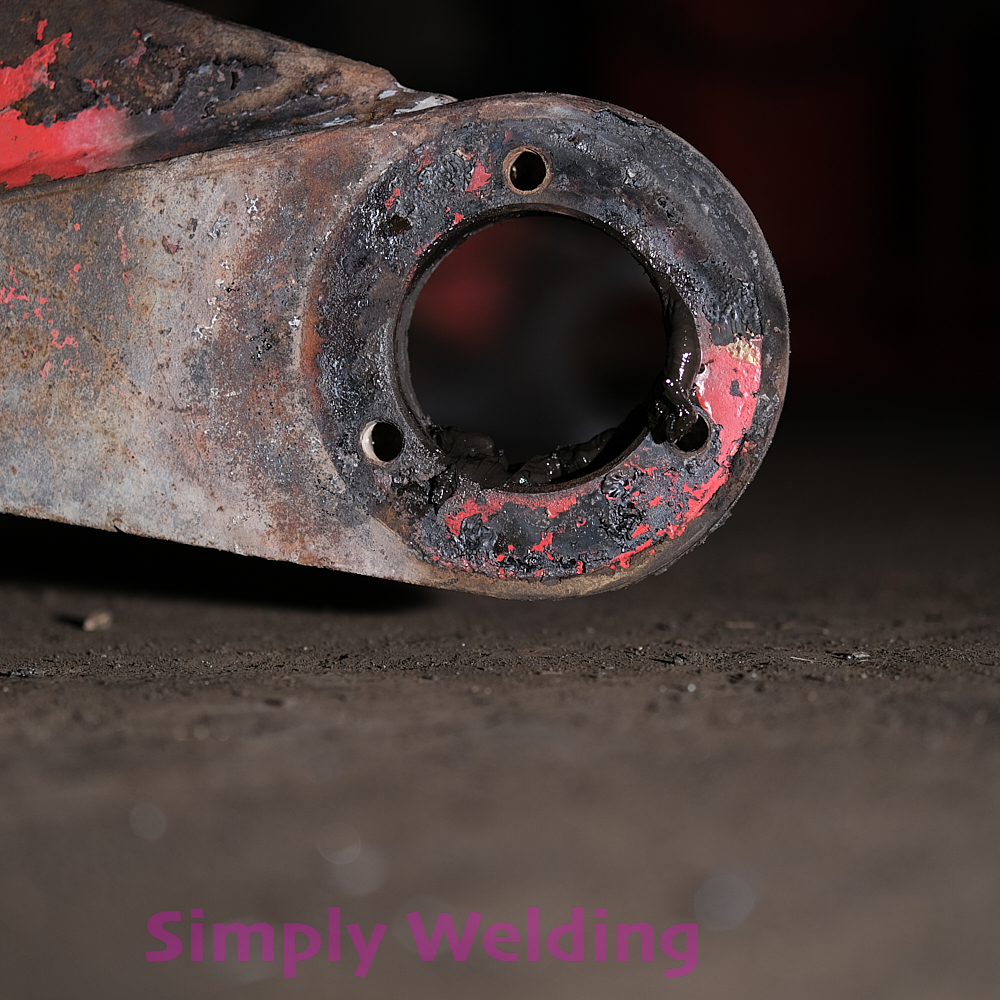
Twisted grab bucket A-frame, 40mm out of square and spread by 10mm, straightened and rebuilt to factory dimensions.
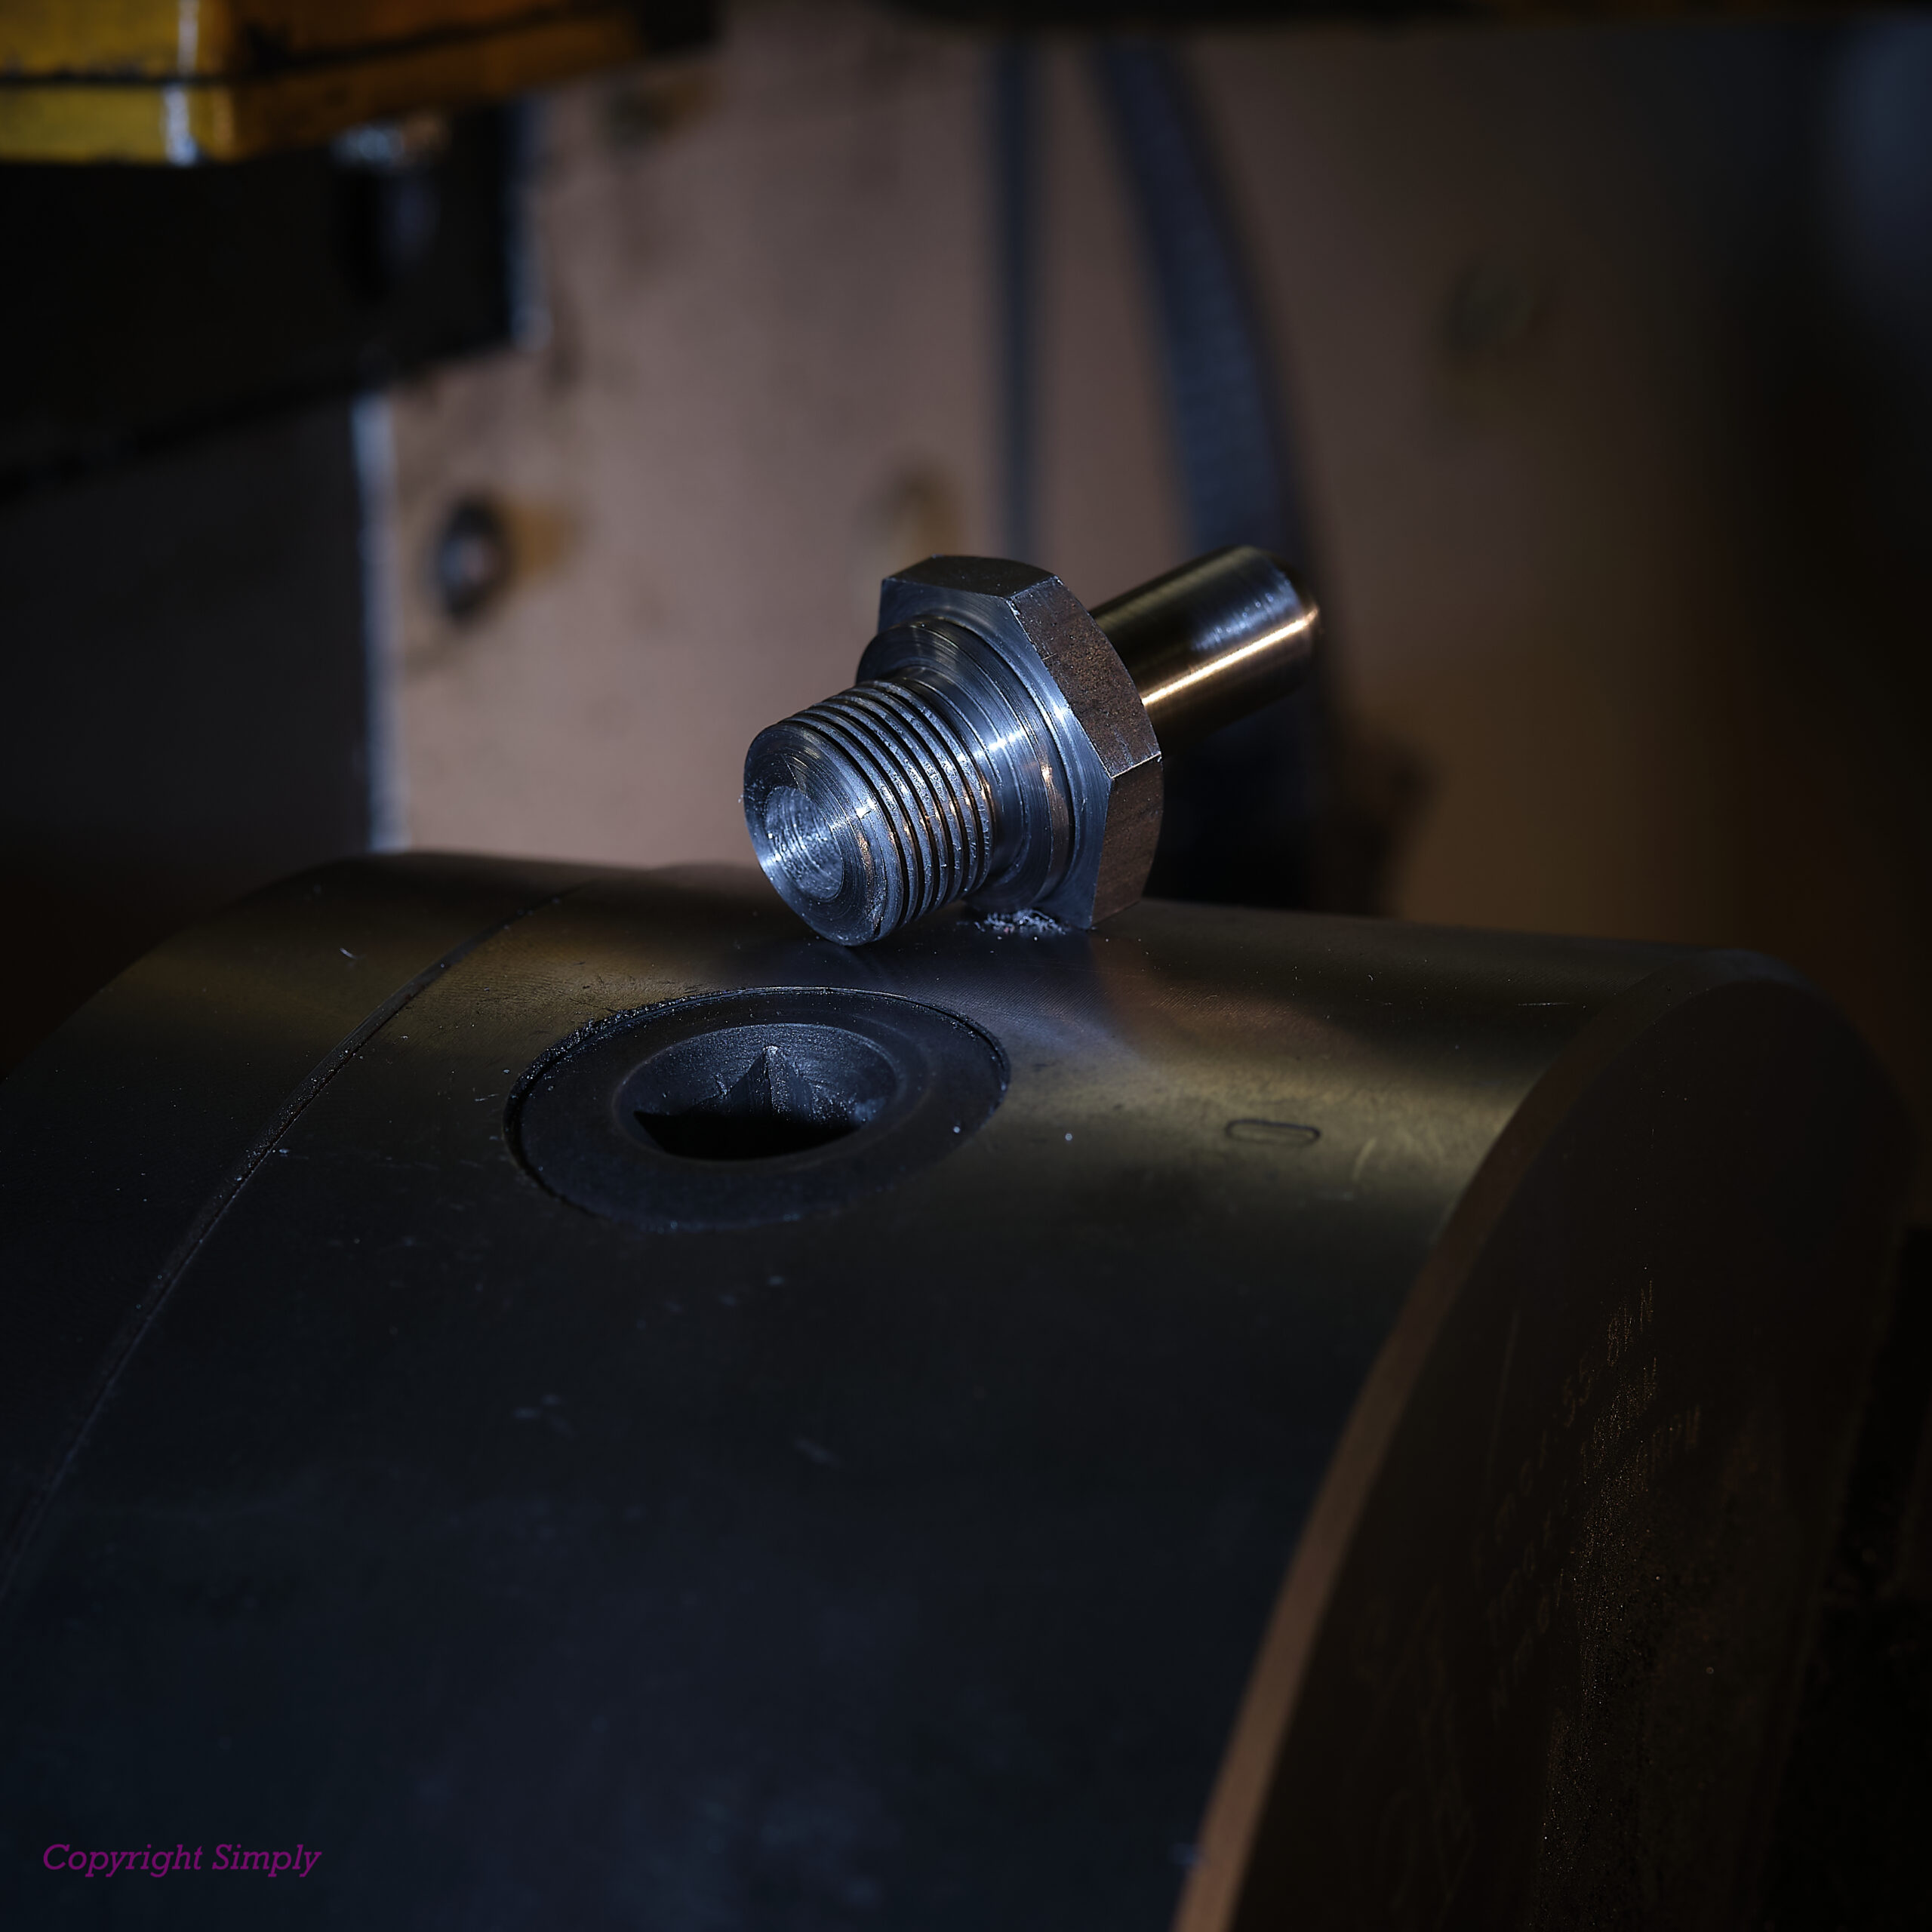
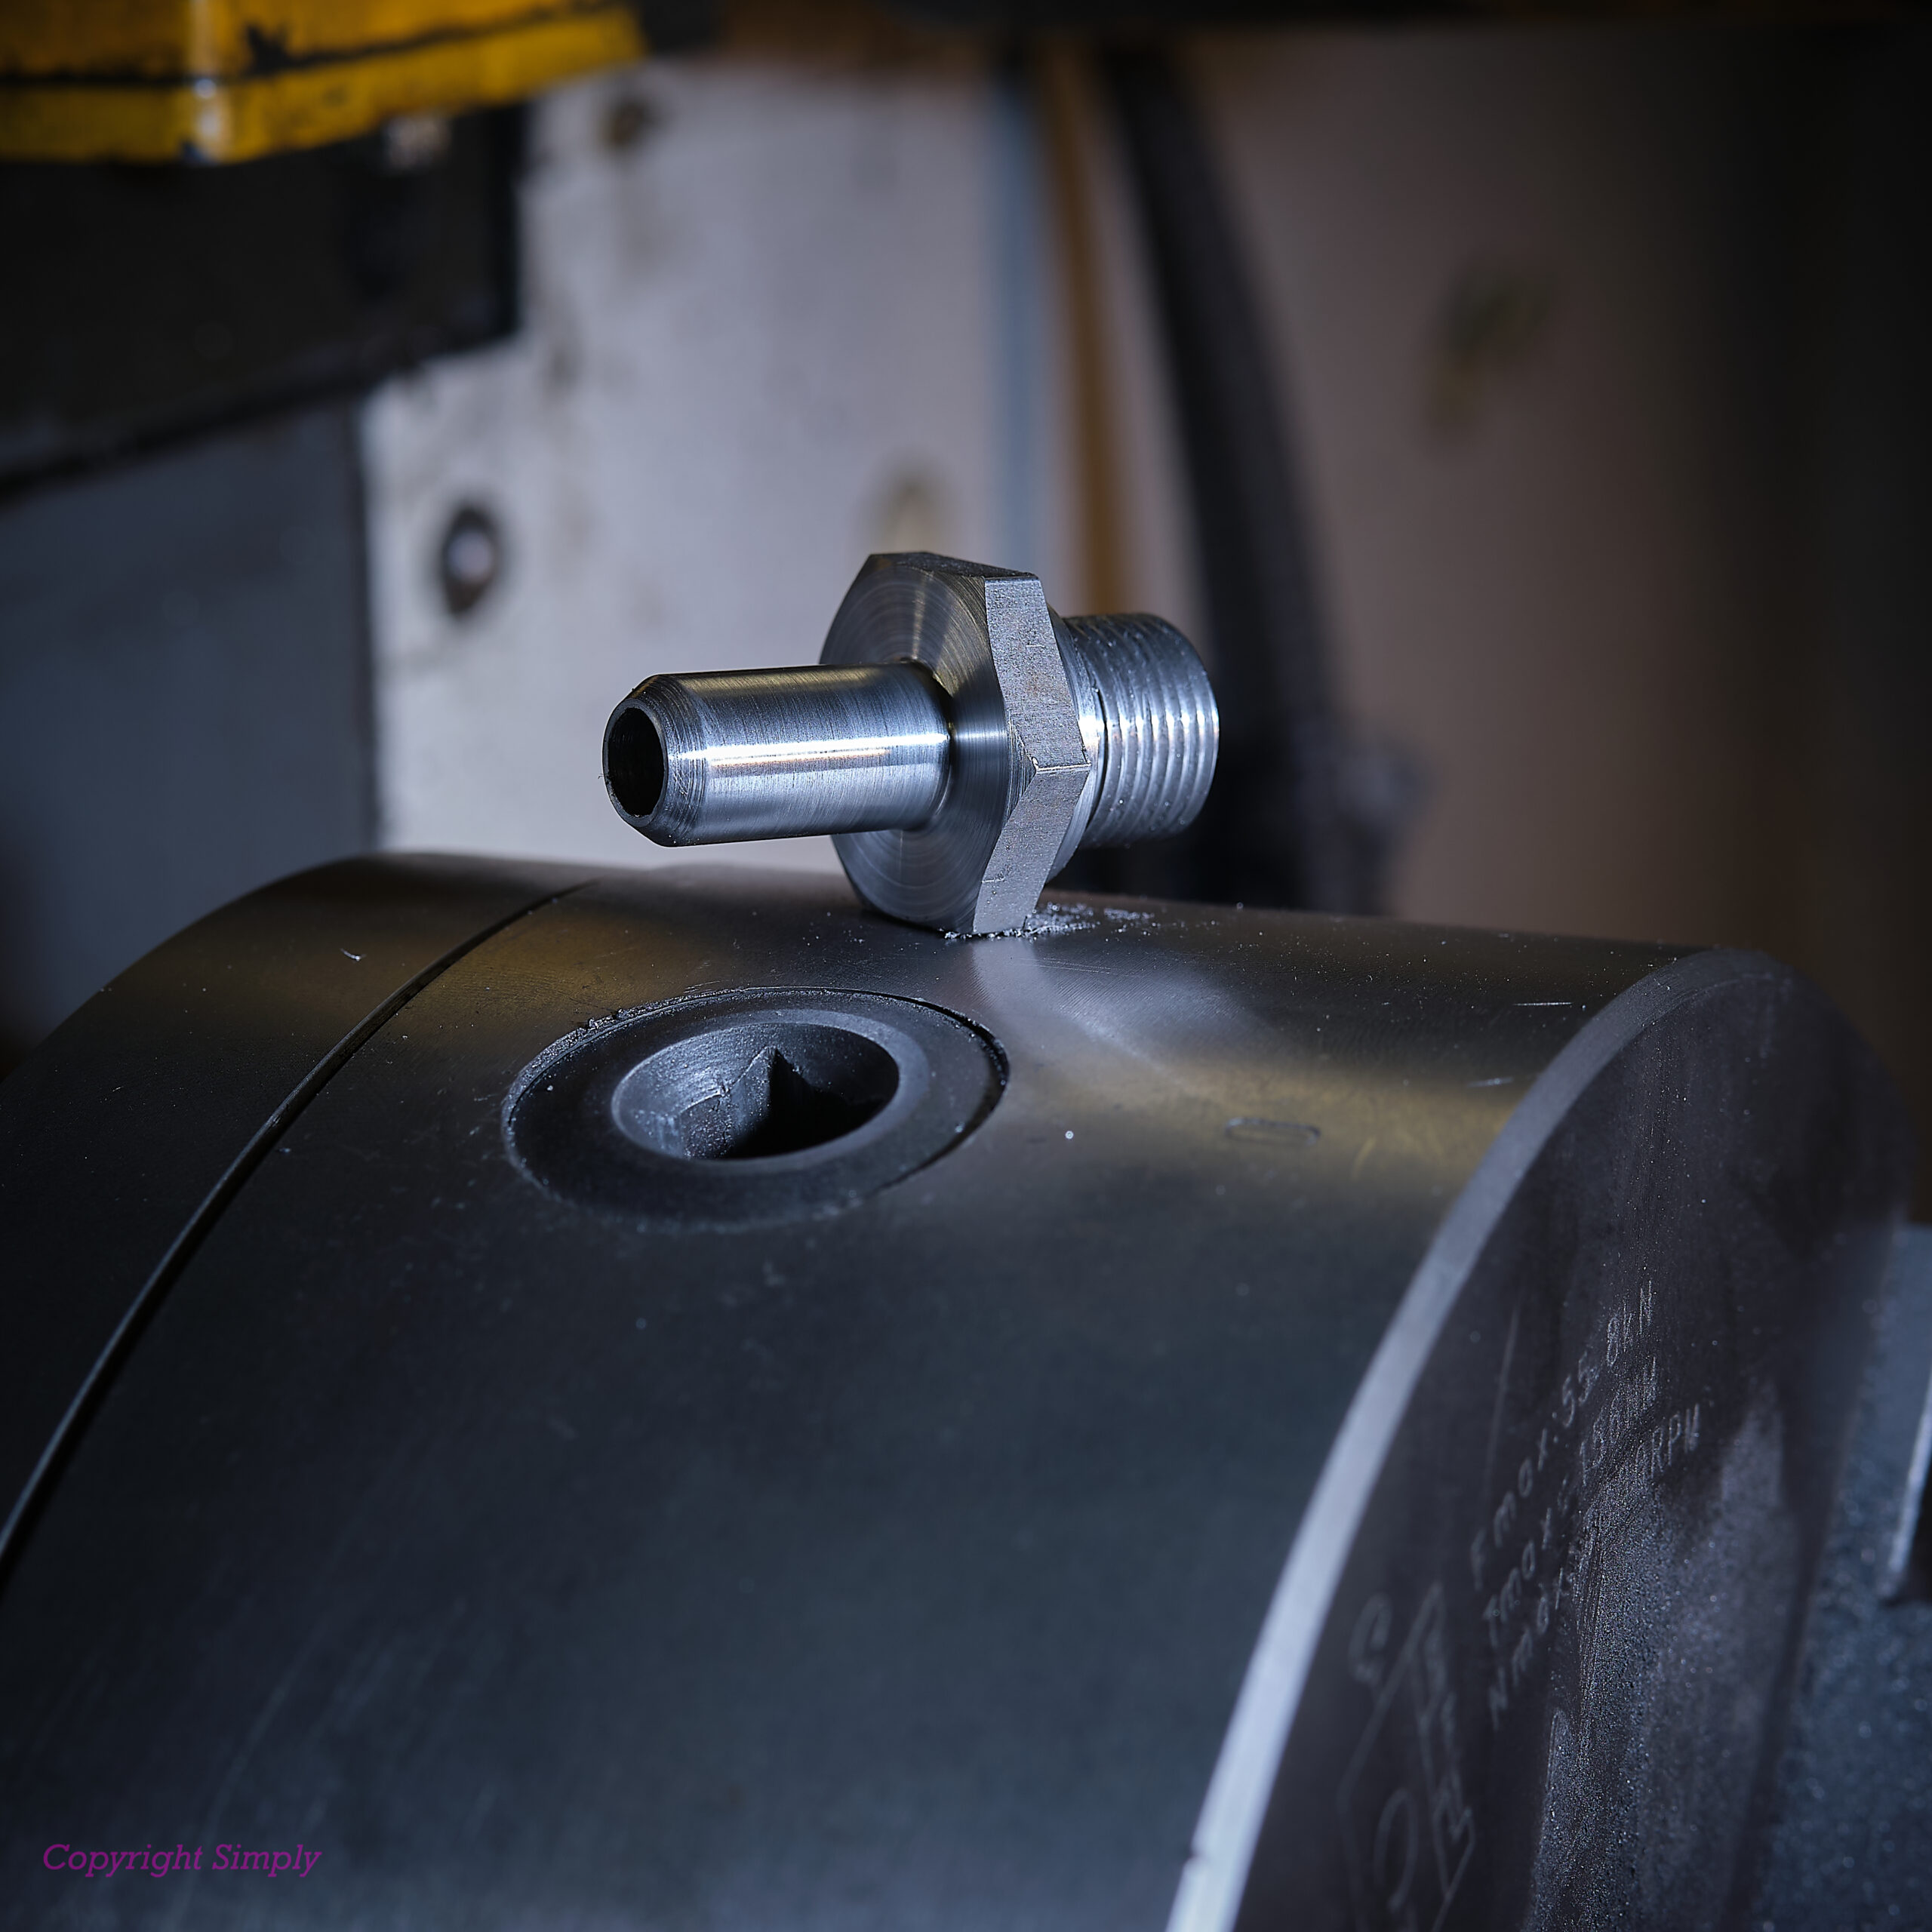
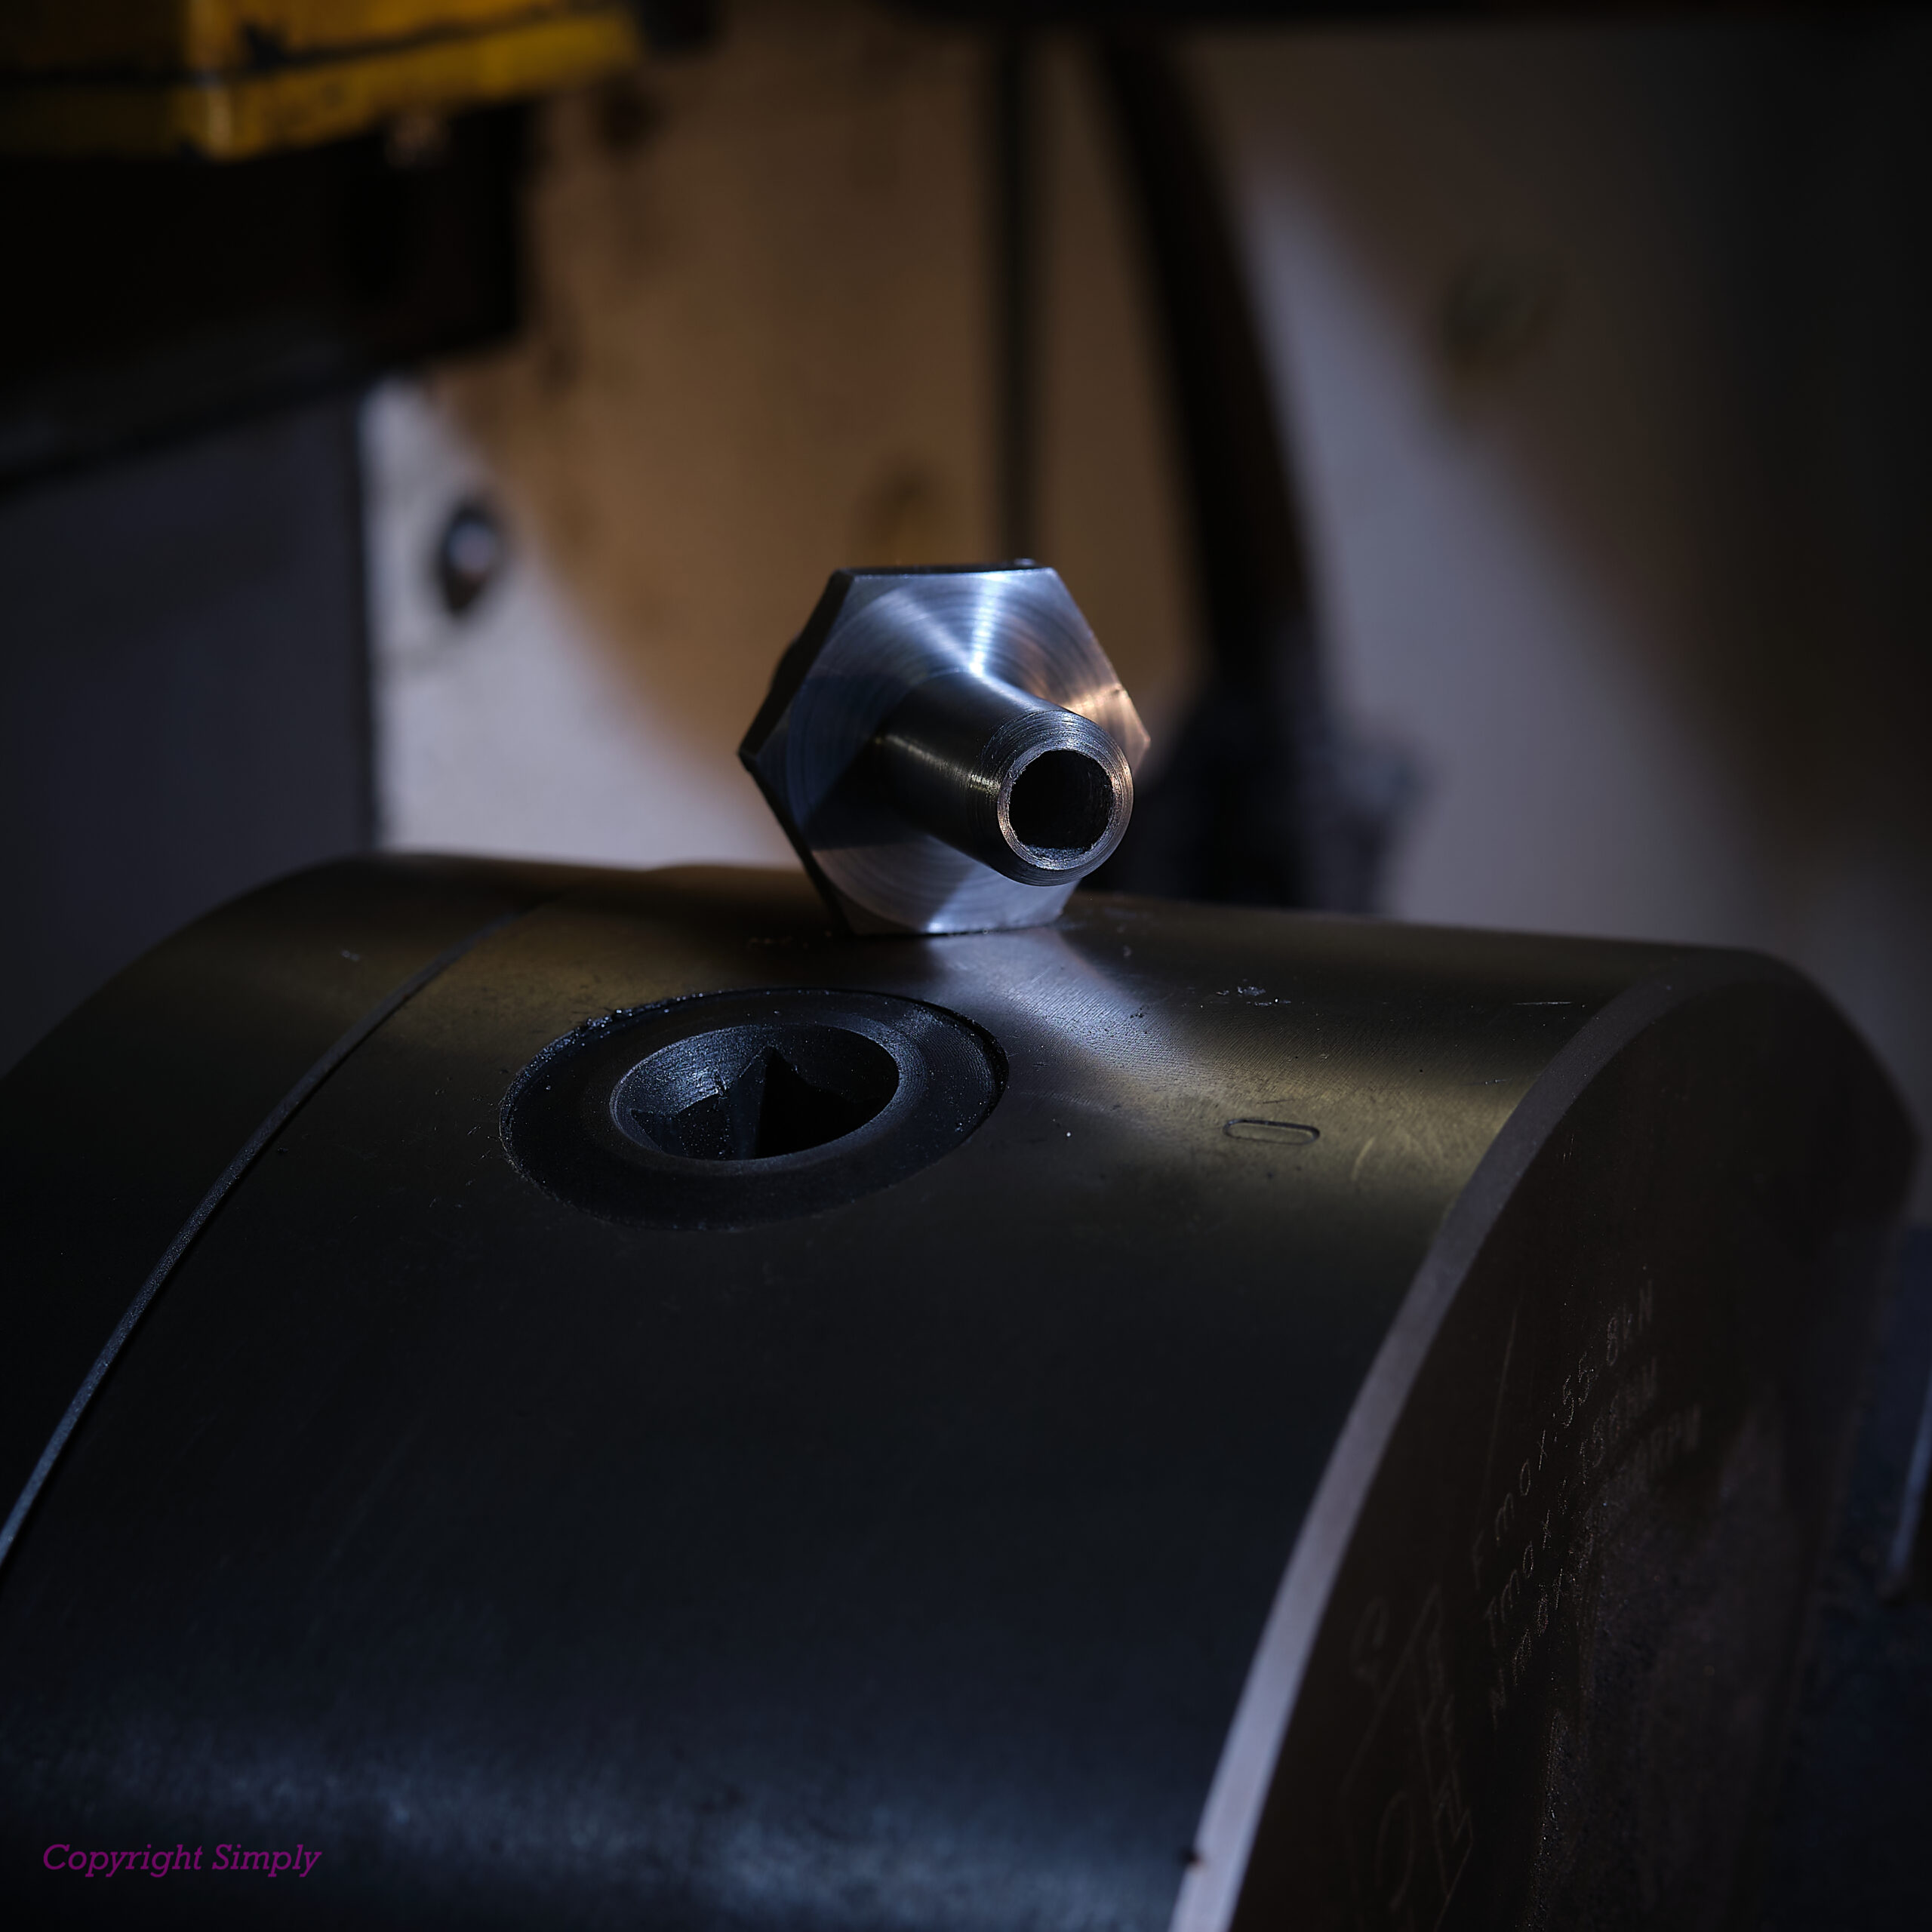
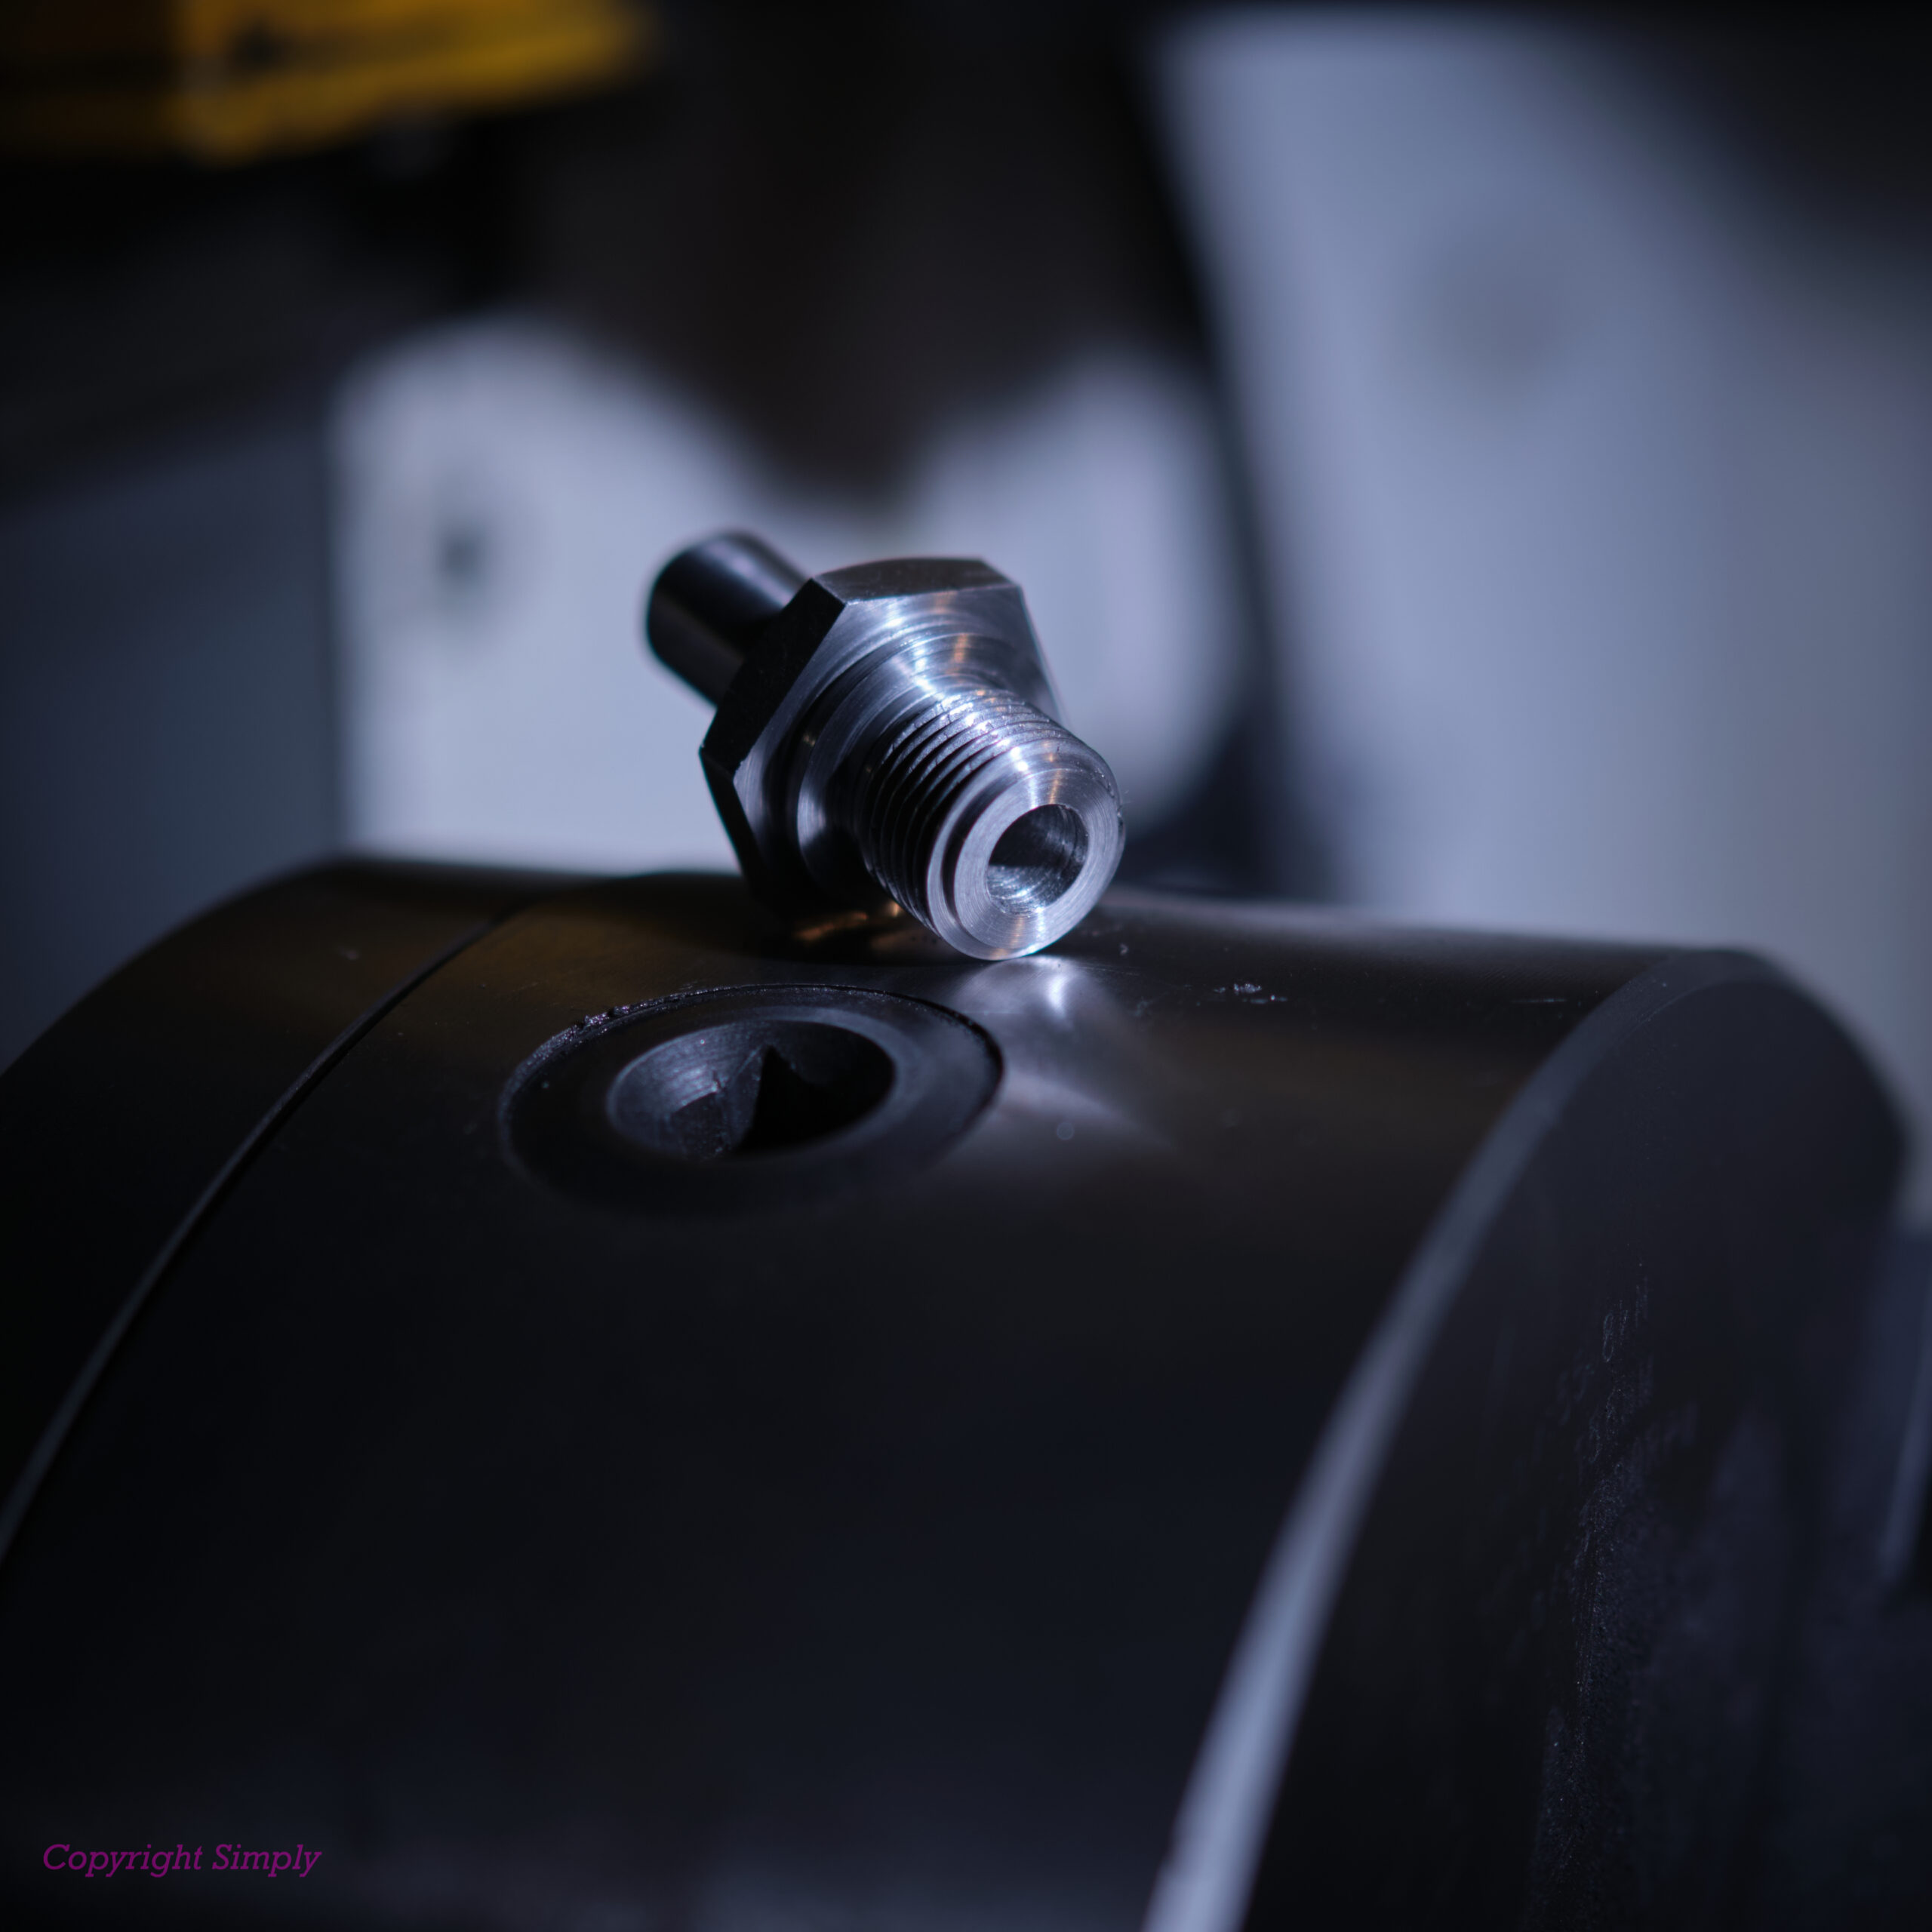
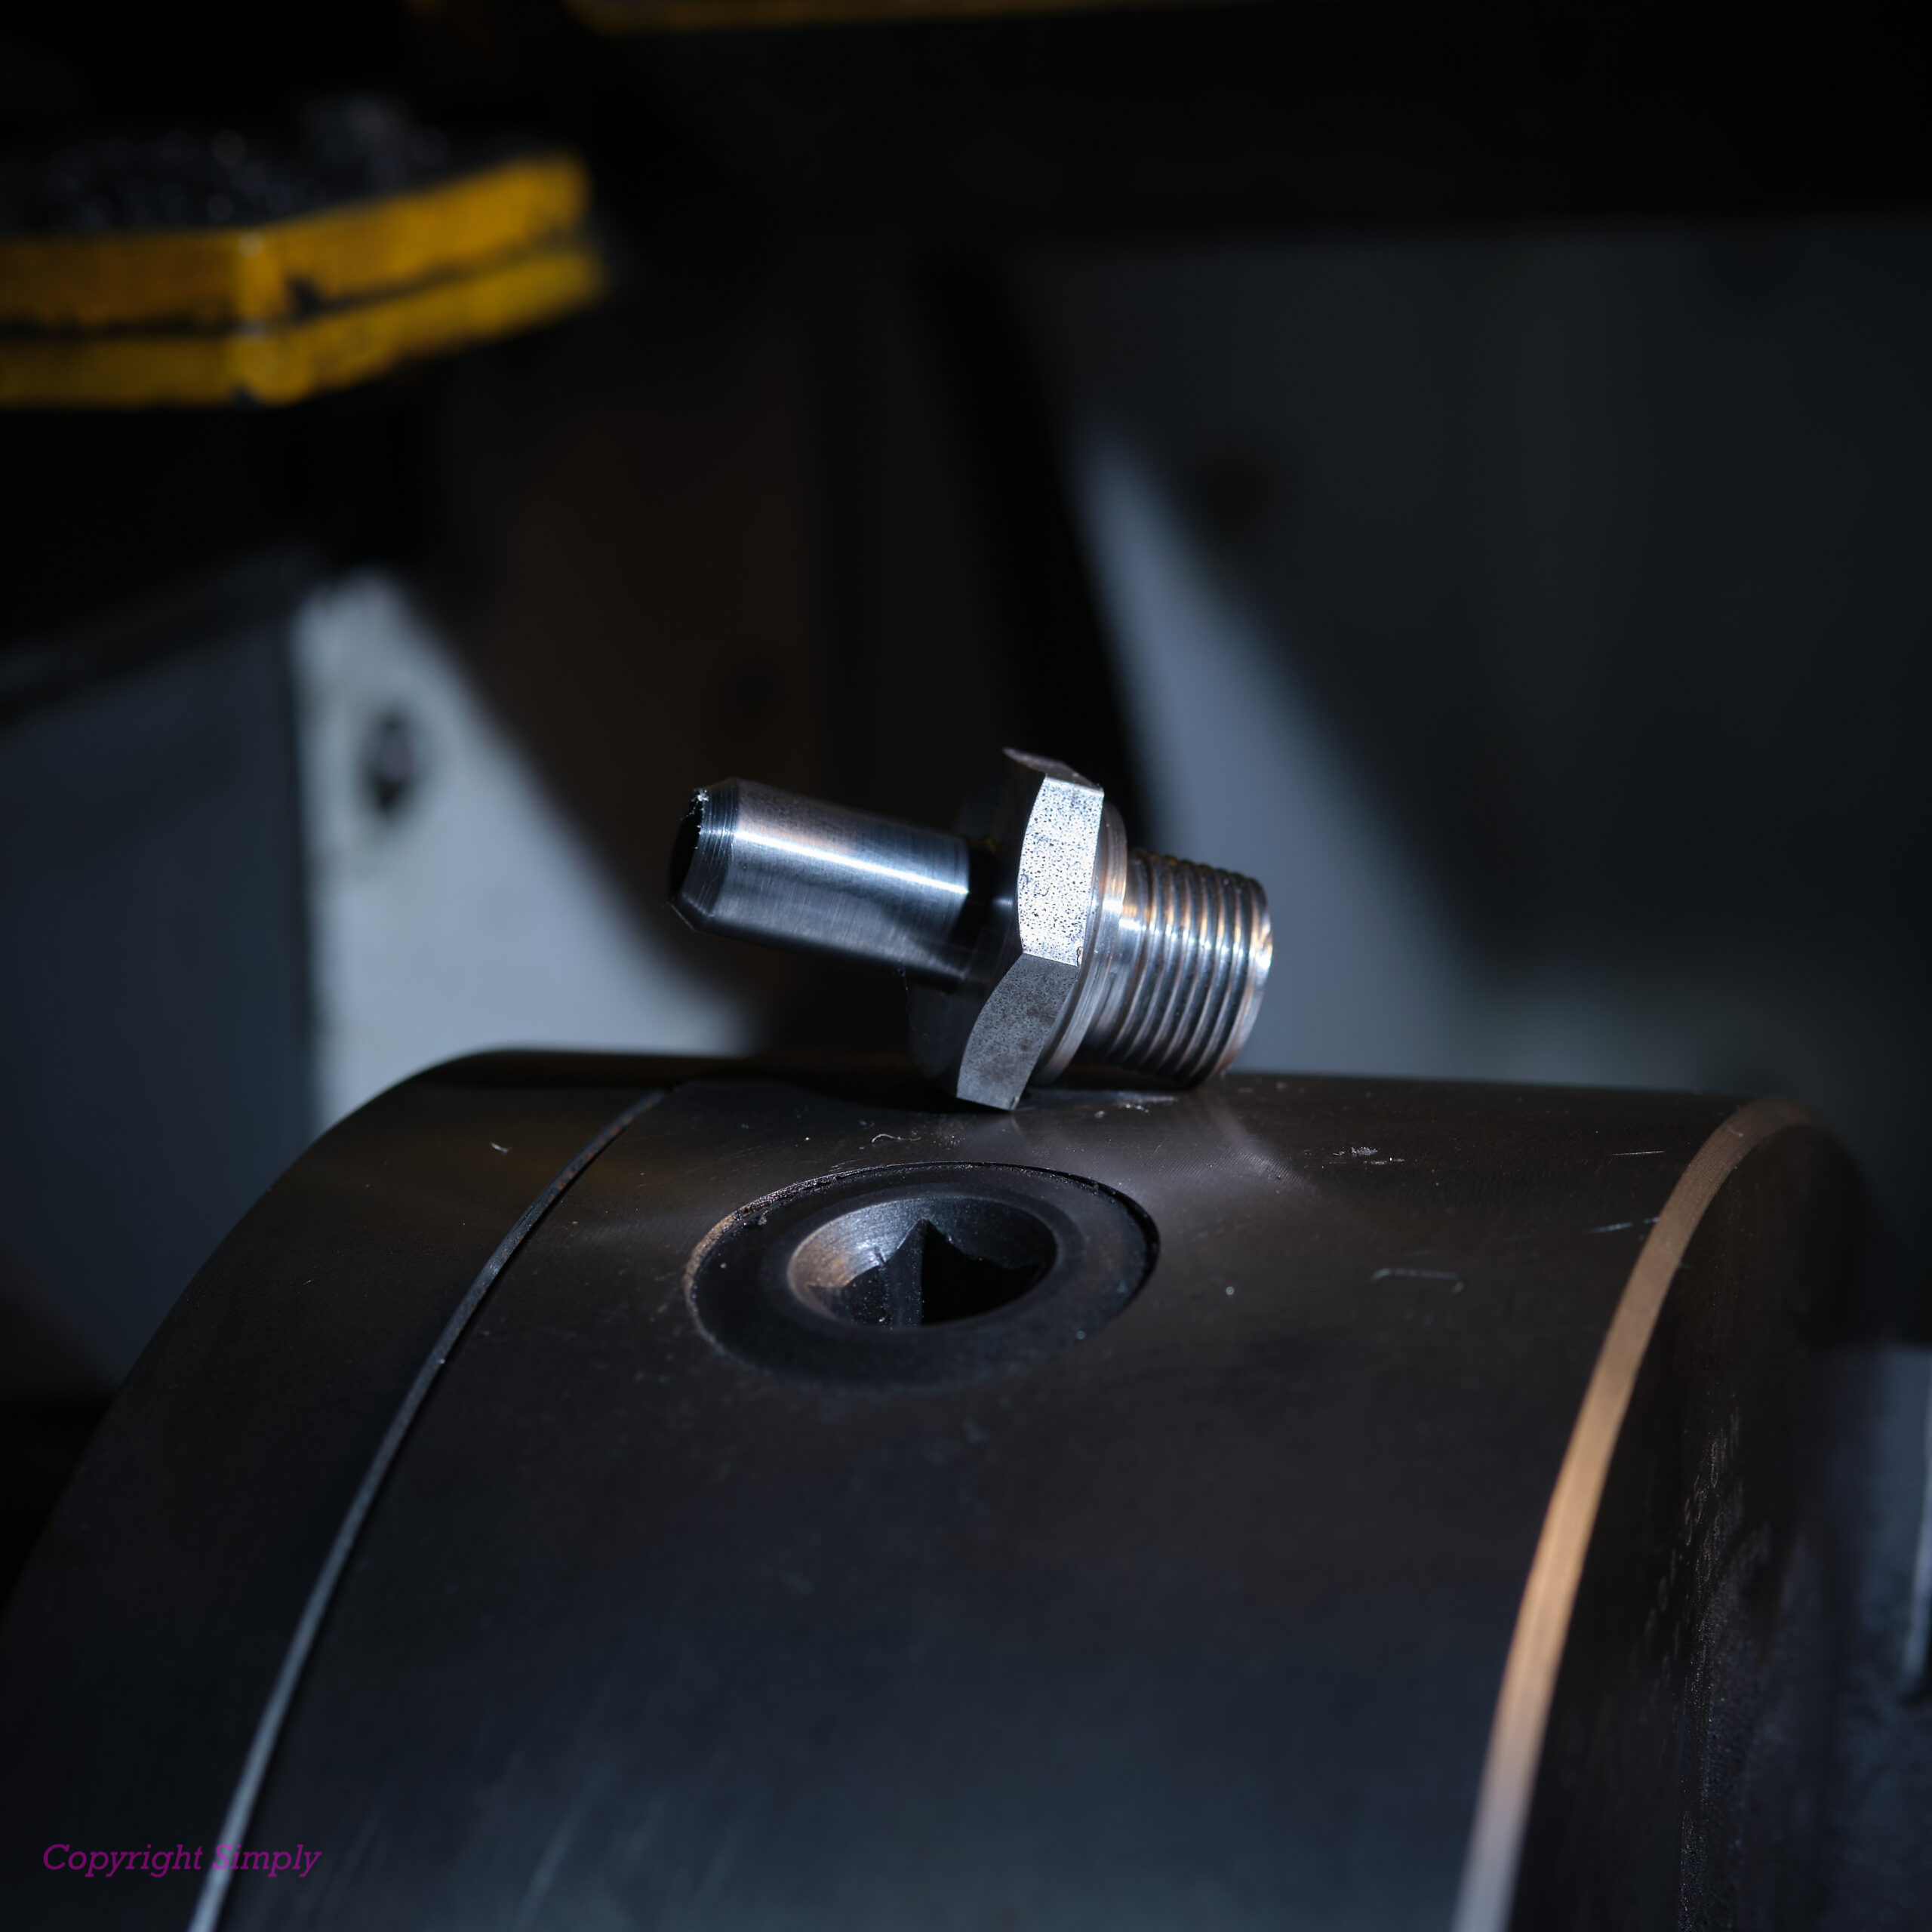
Machining a Hydraulic Valve Stem Adapter

Machined a valve stem adapter for a hydraulic ram, as there was no UK stock and a 10-week lead time.

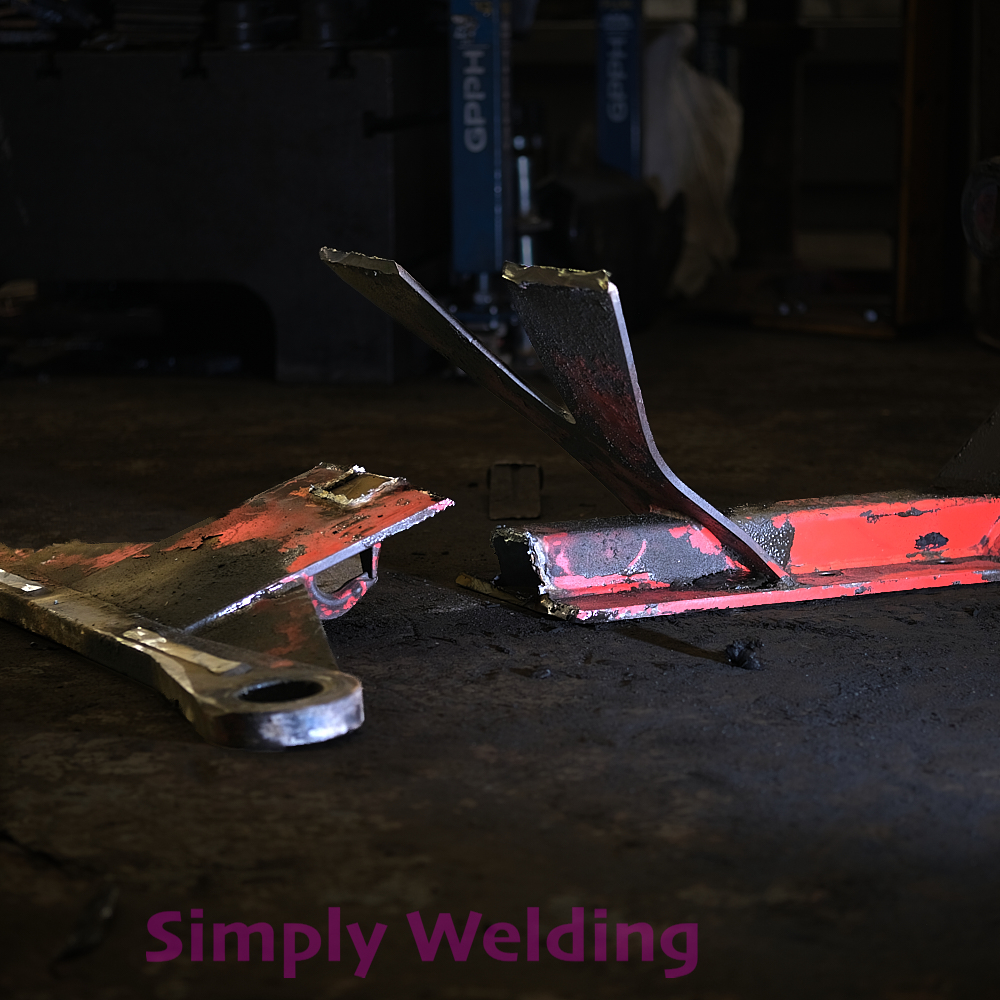
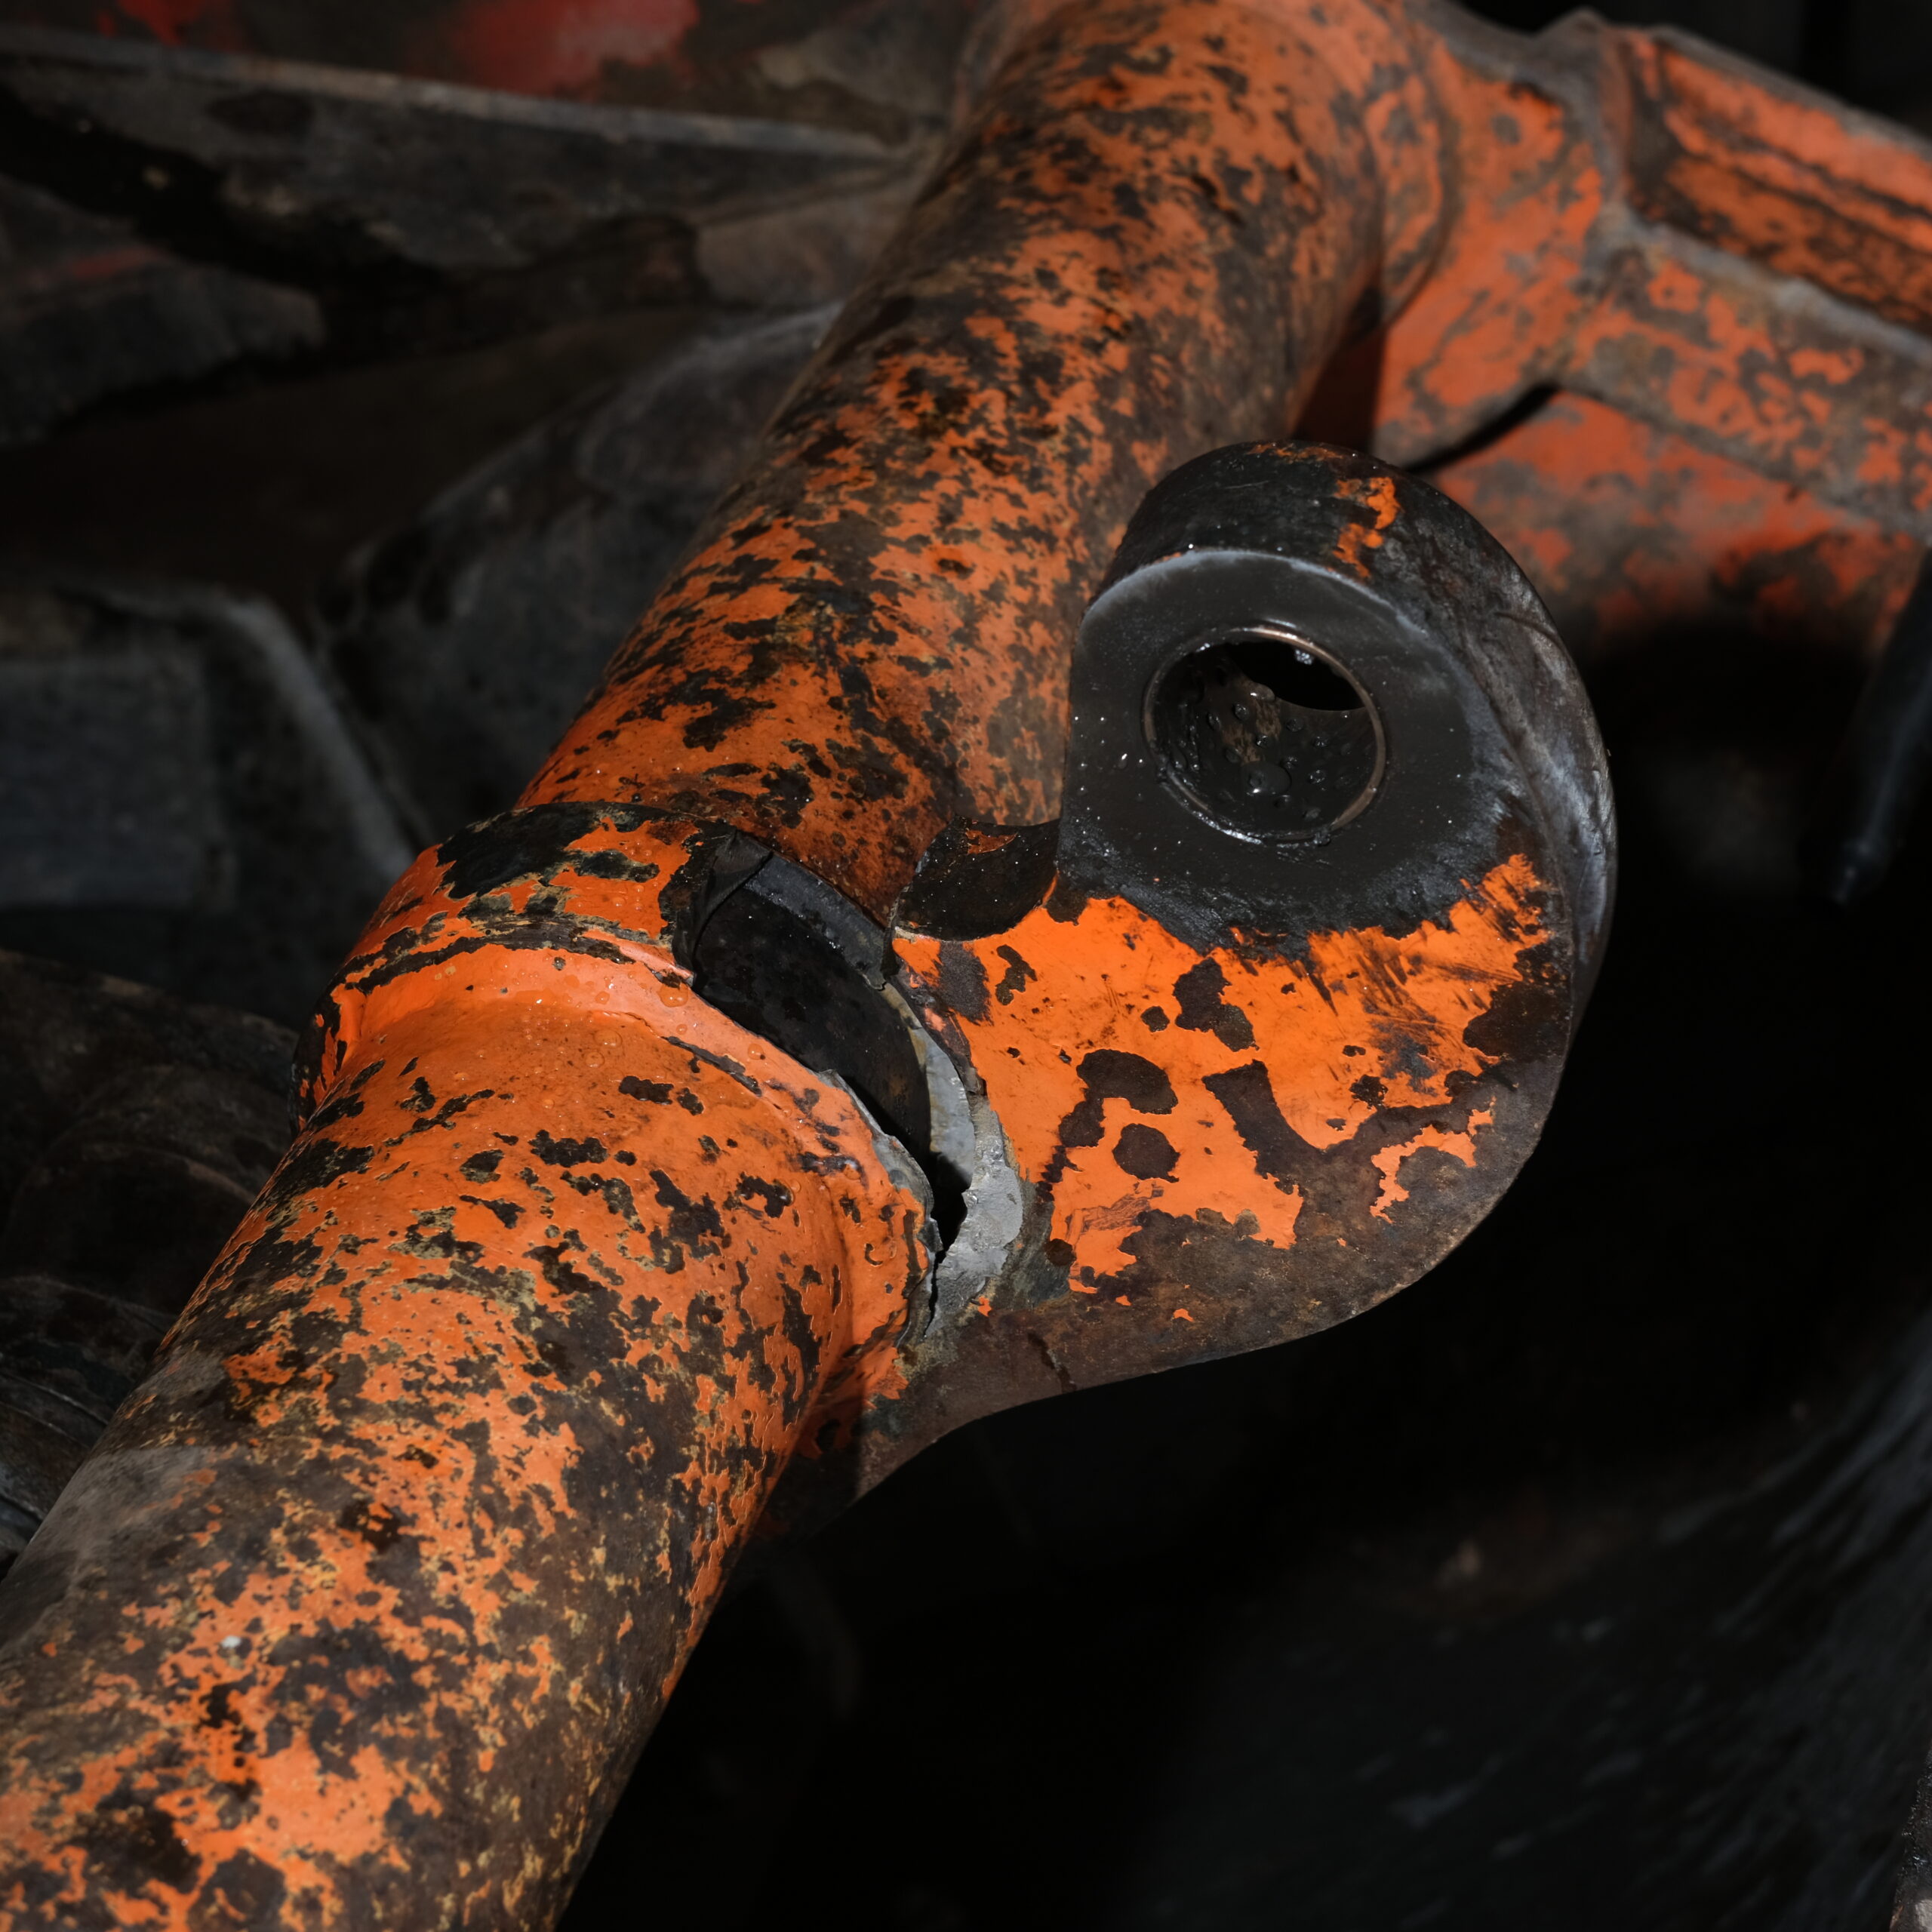
Kinshofer KM602 Clamshell Bucket Severed Lug Repair

The 40mm ram clevis-to-clam pivot lug had almost completely sheared off. It was repaired and strengthened with extra gussets.
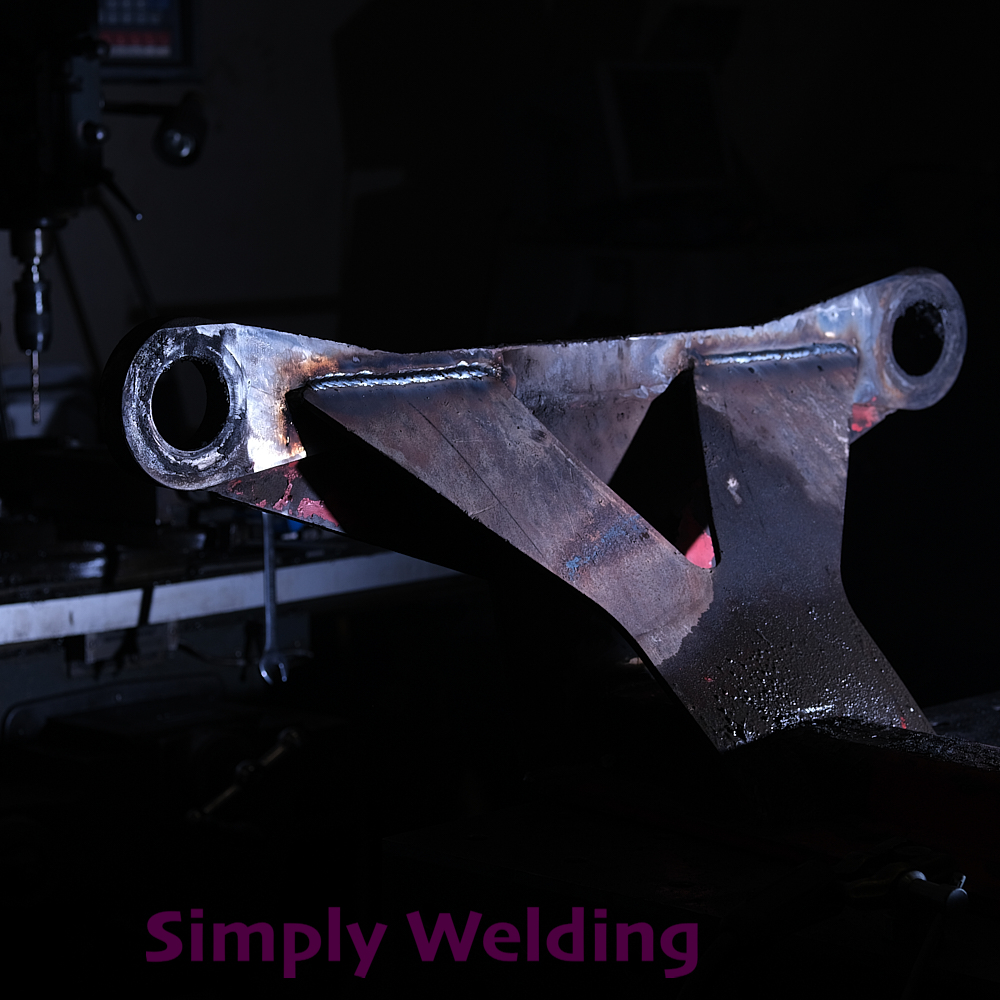
SEVERED LUG ON A KINSHOFER KM602
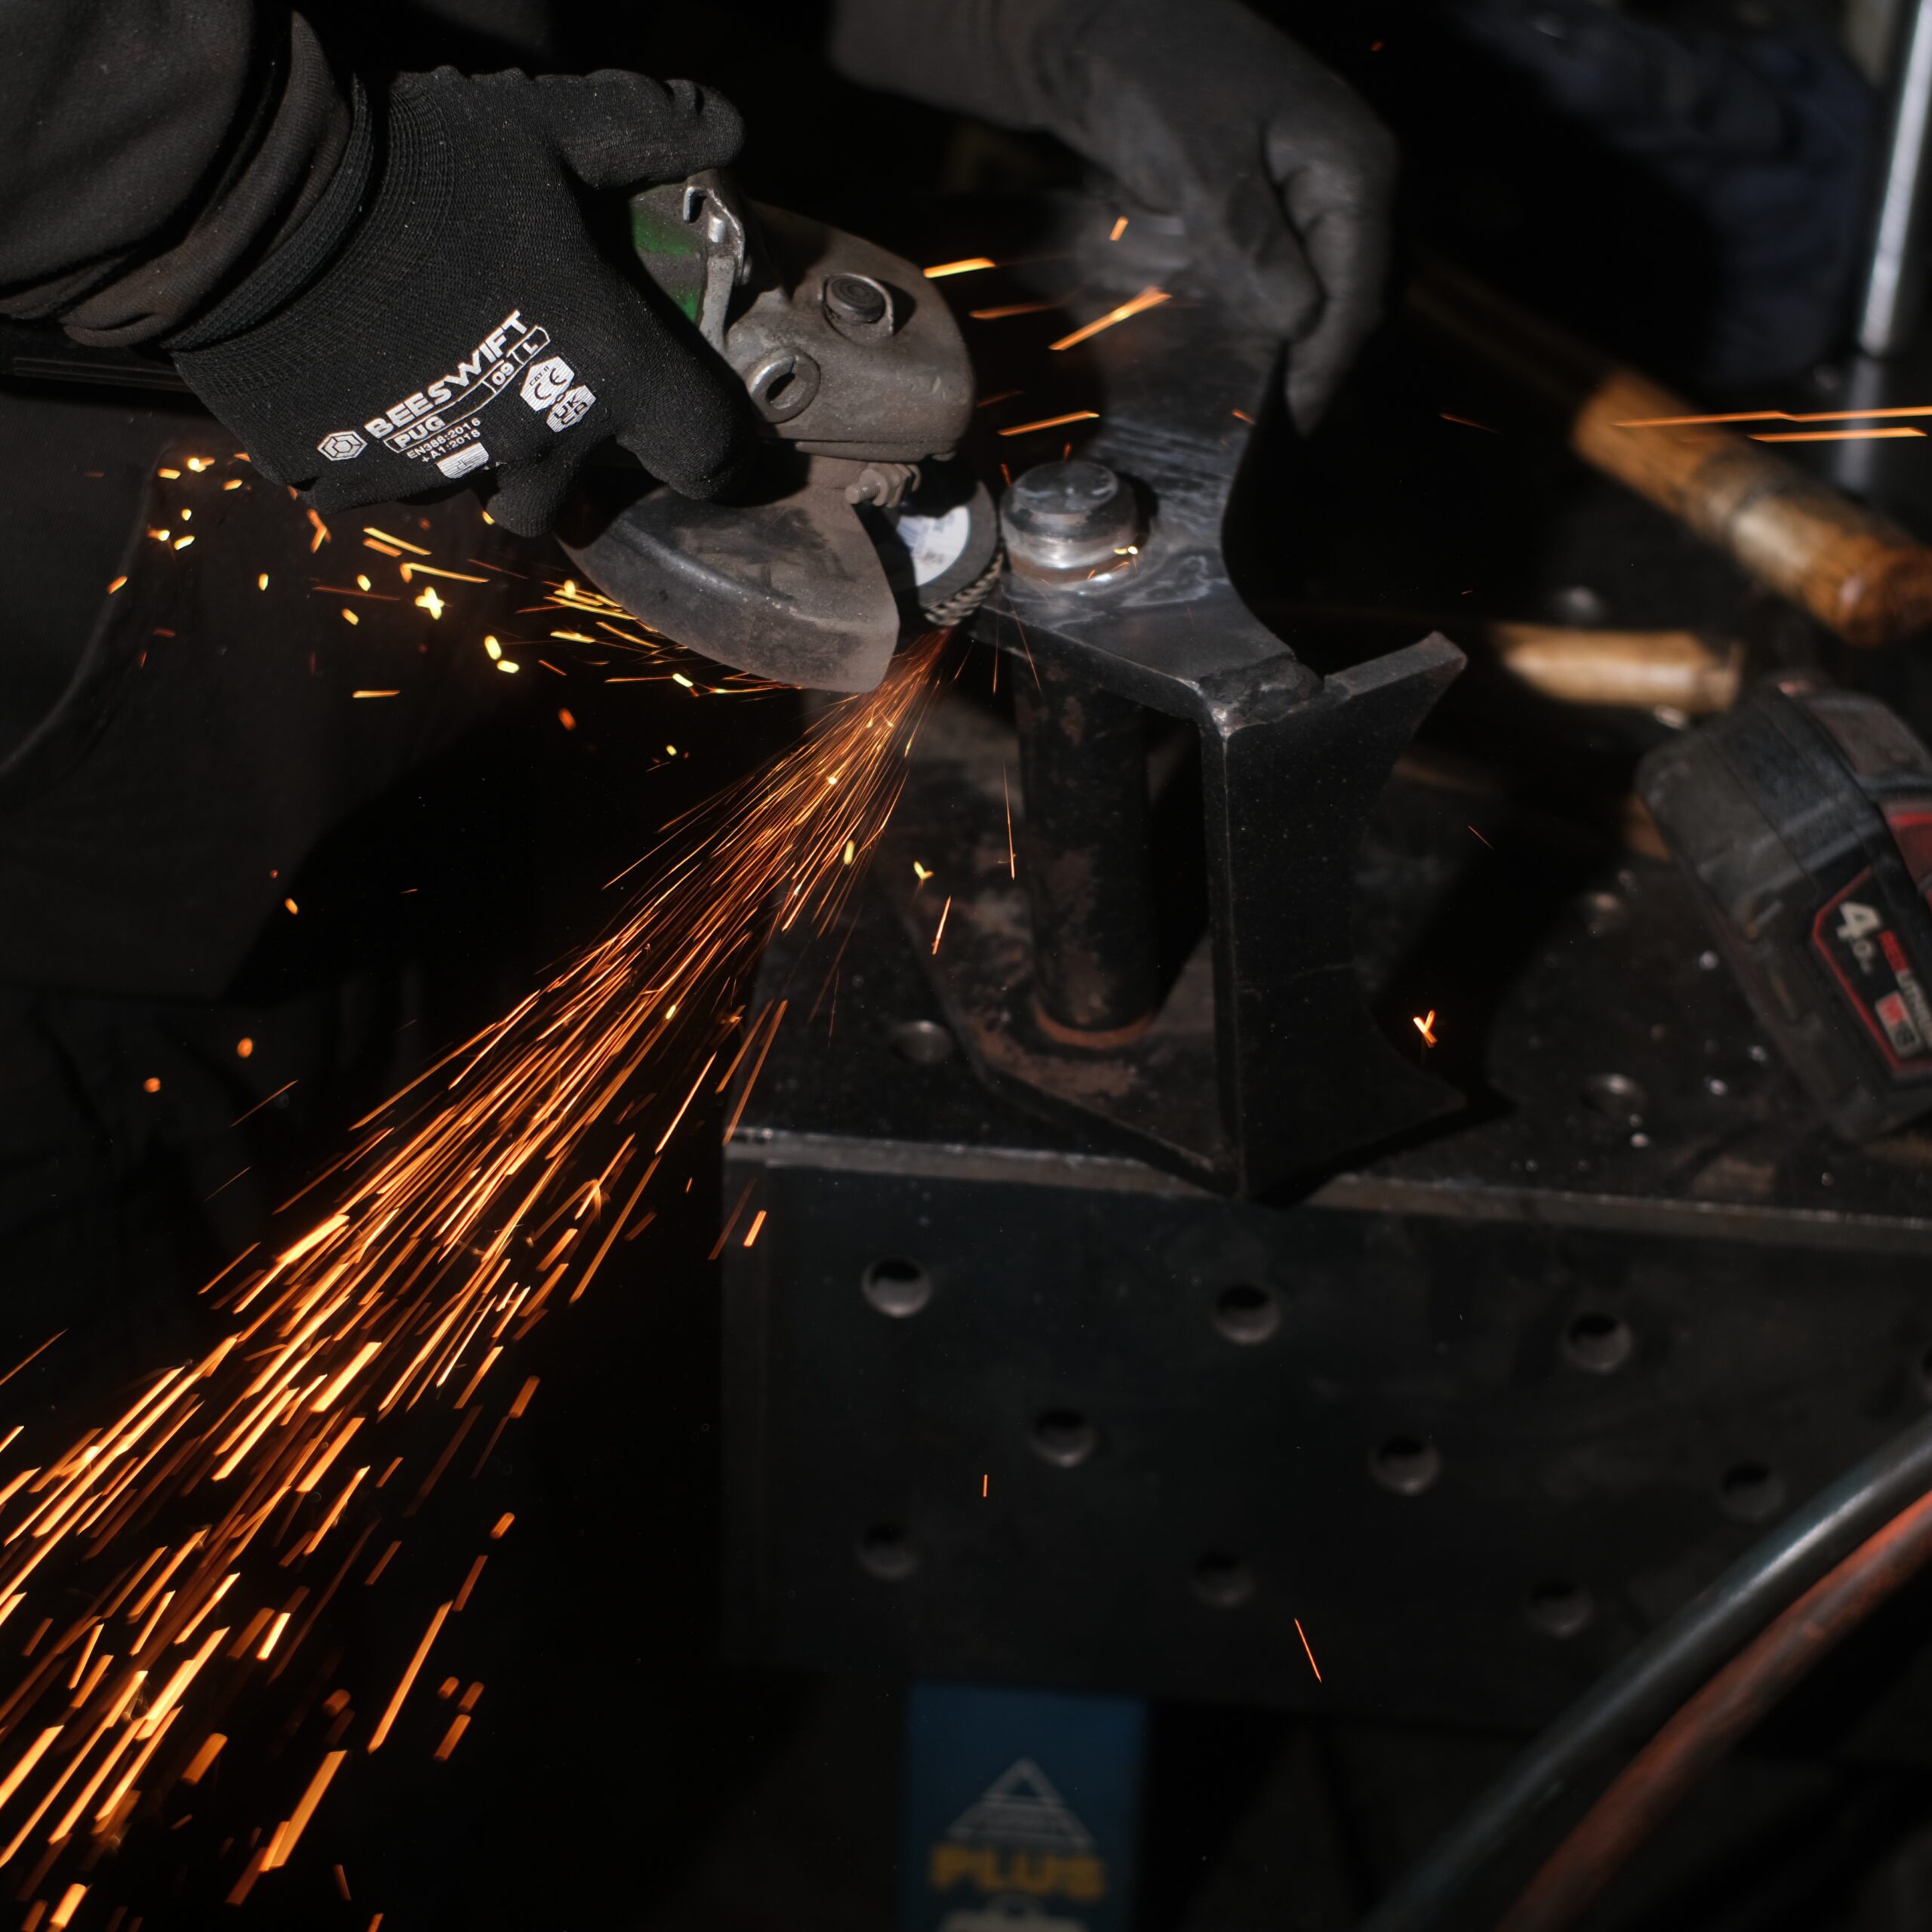
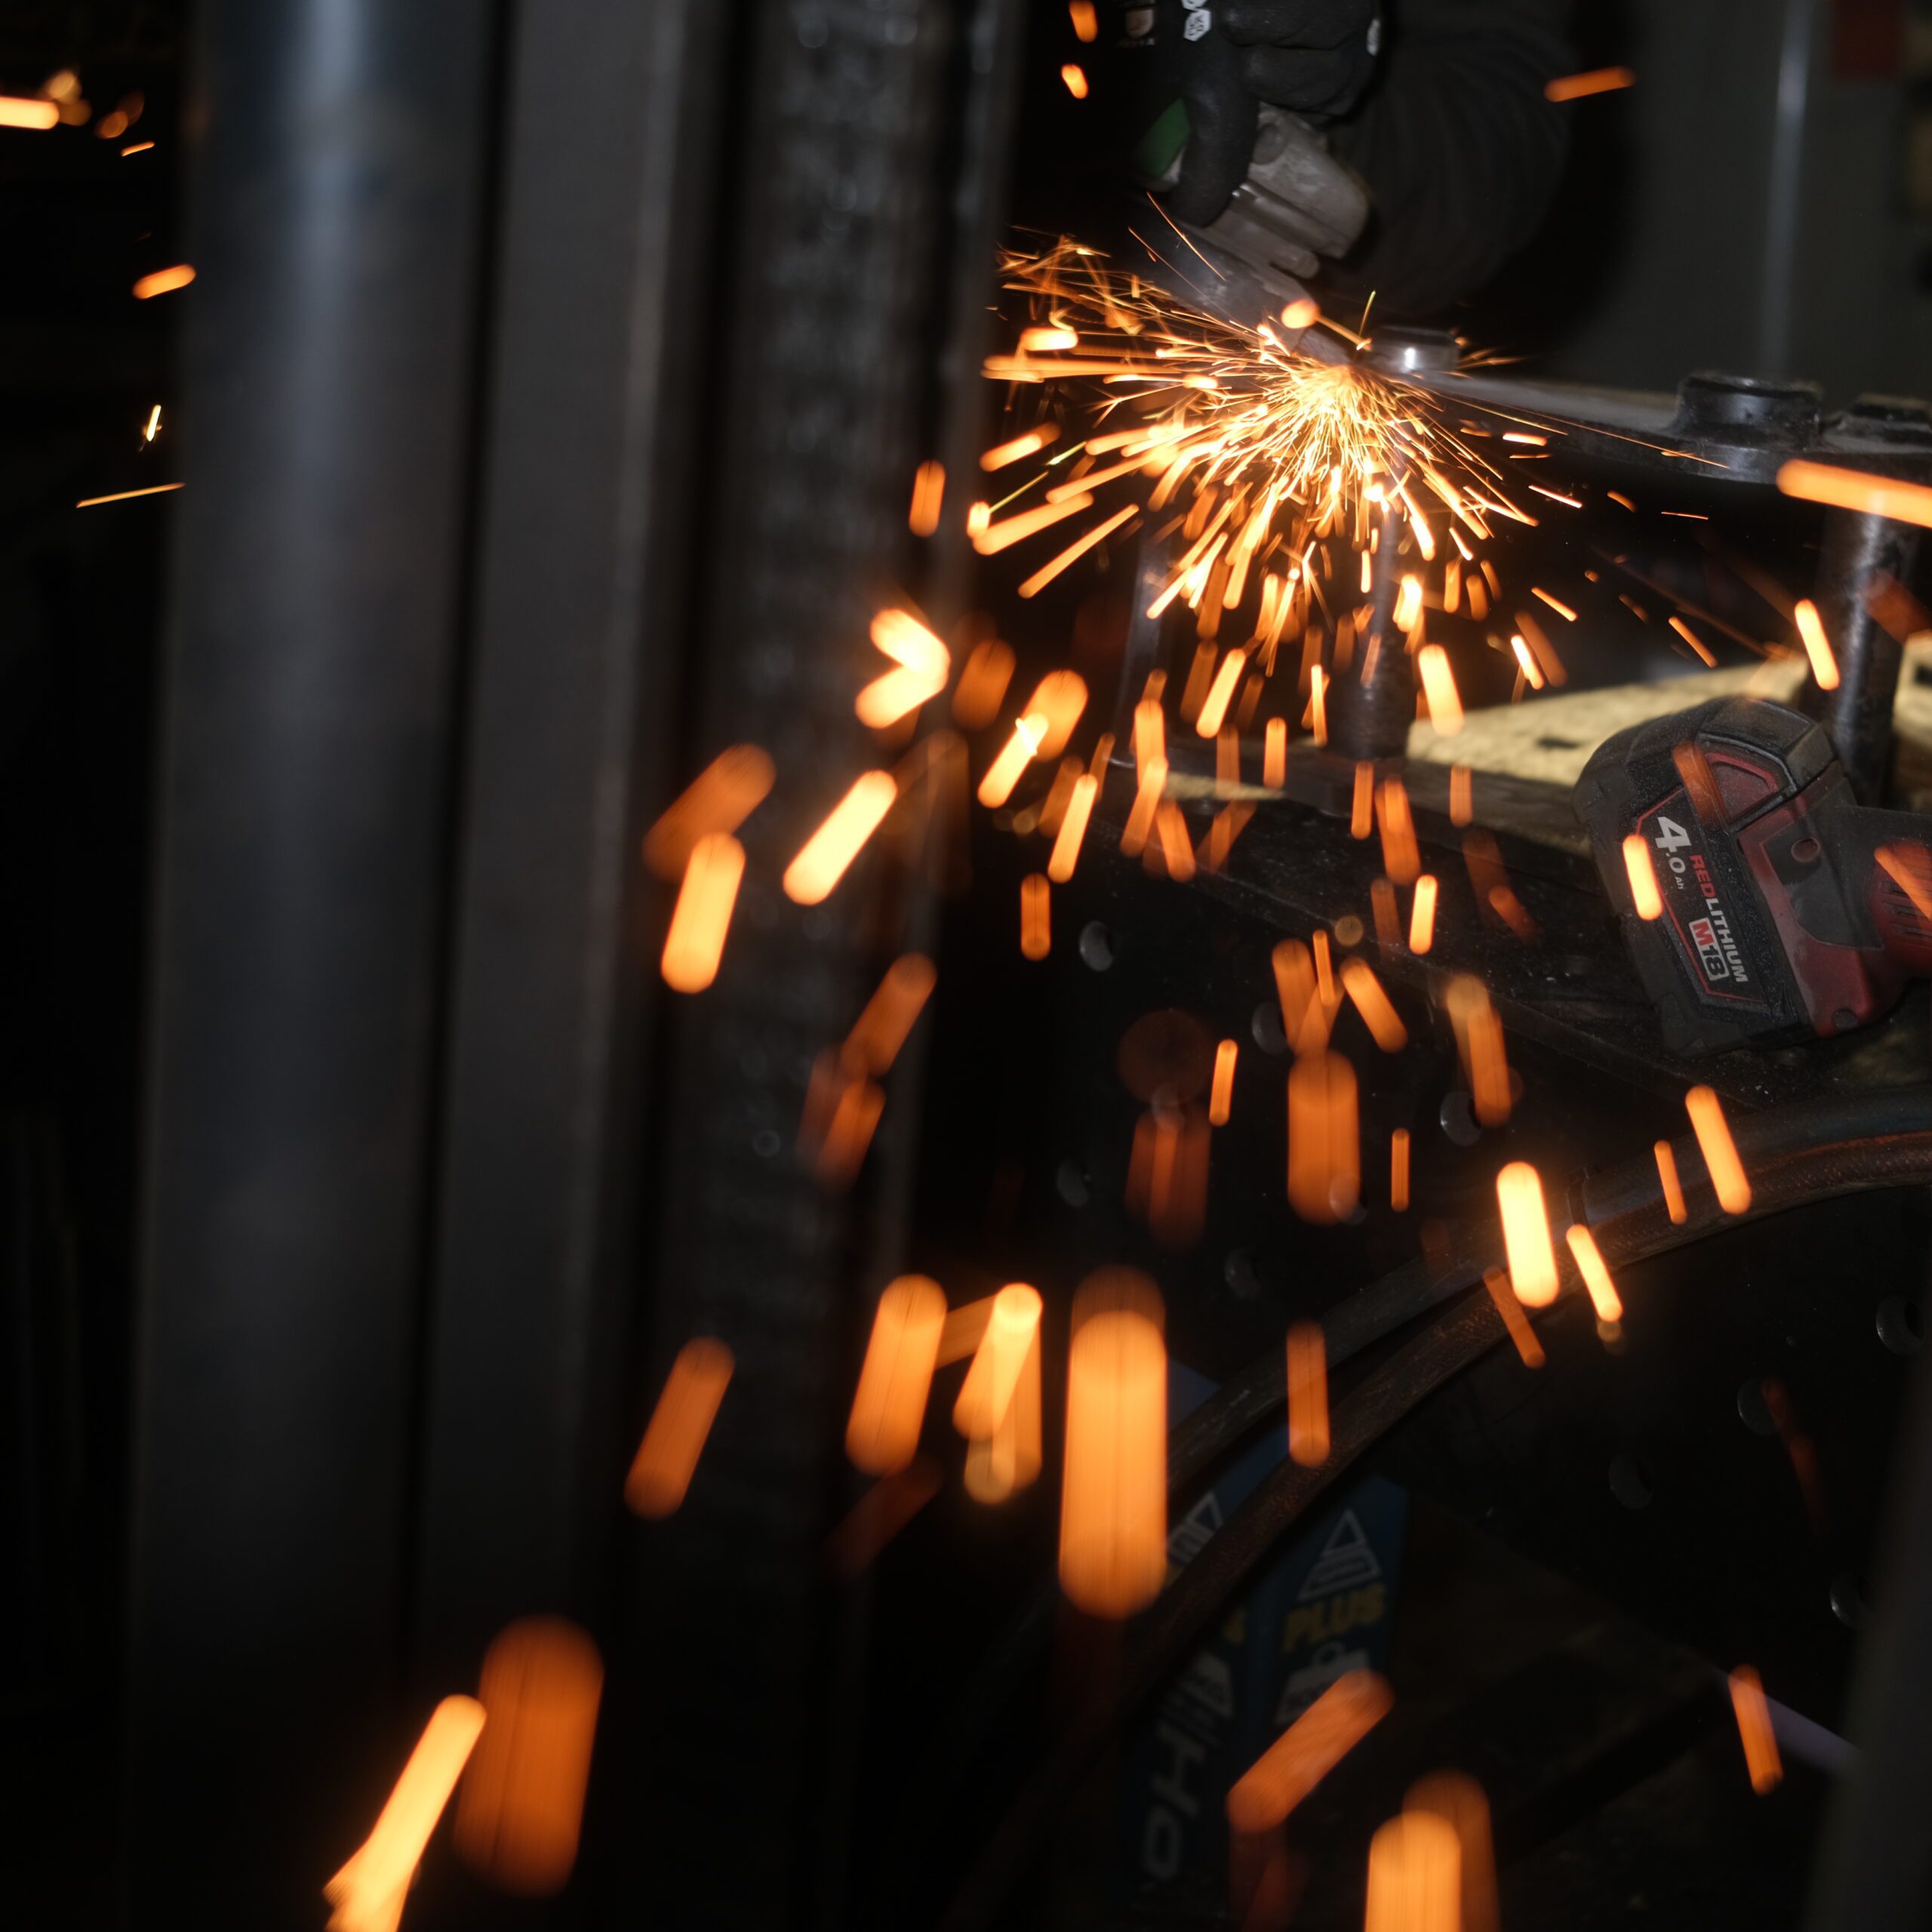
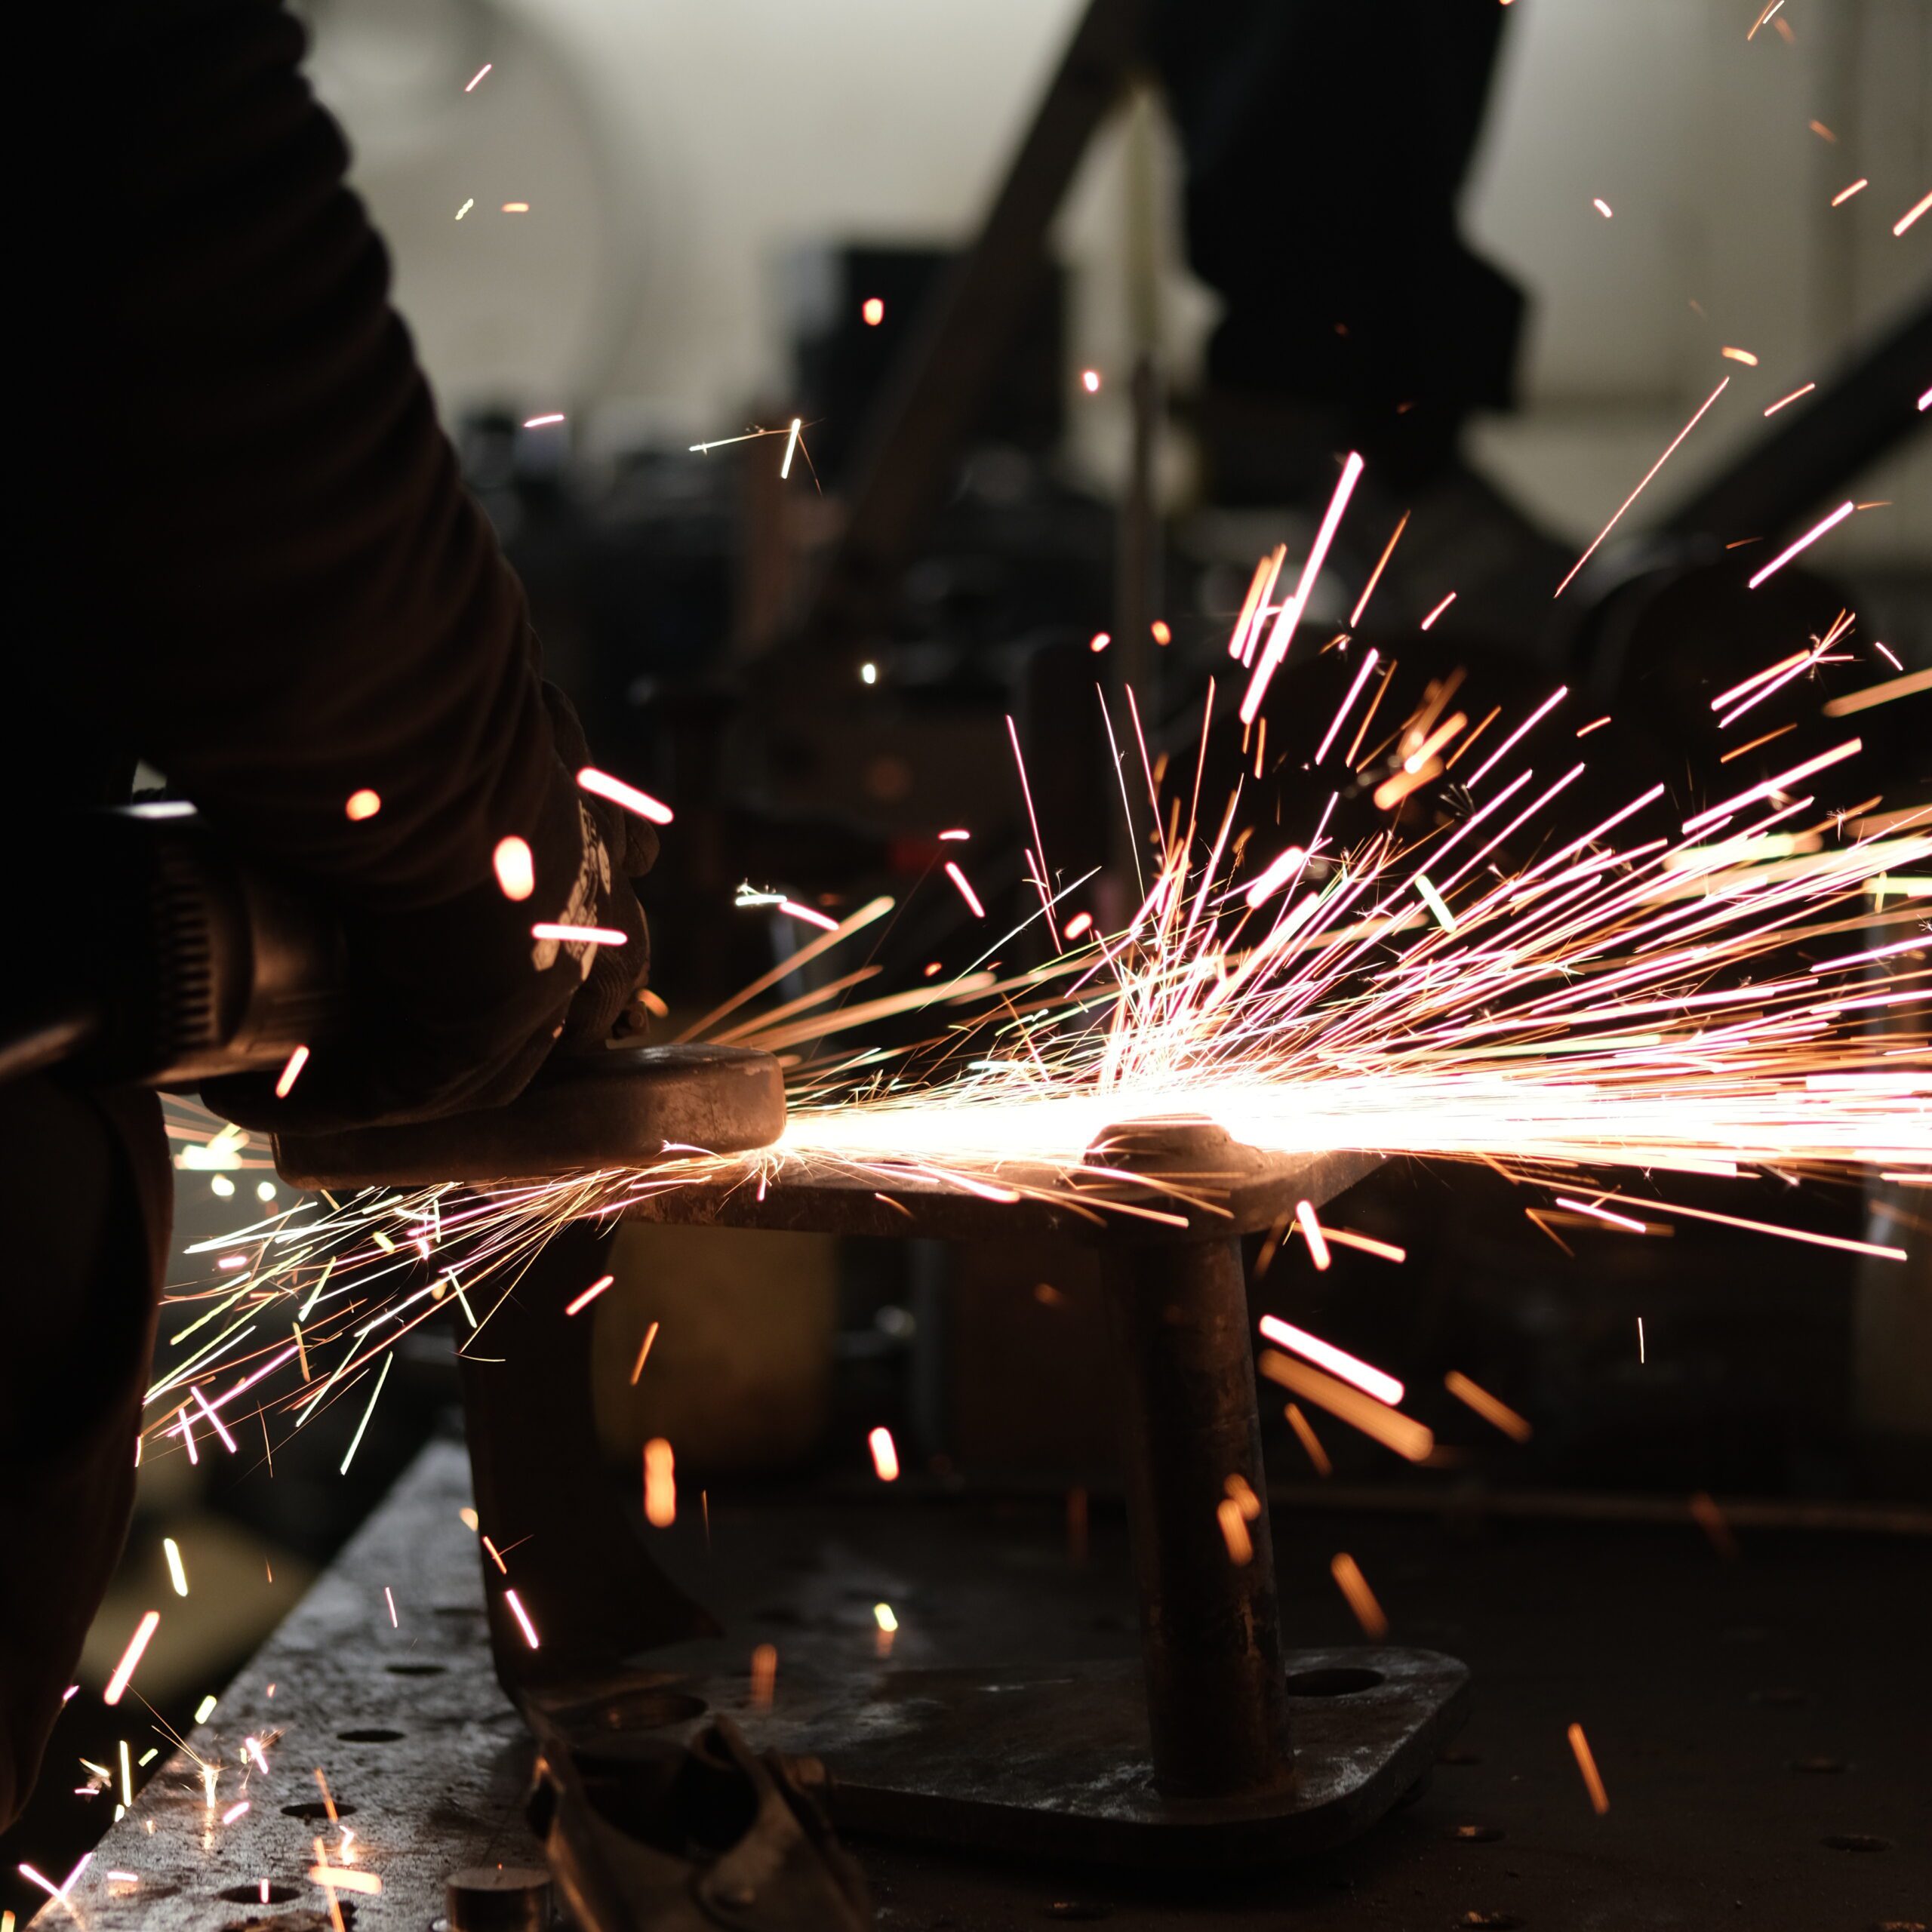
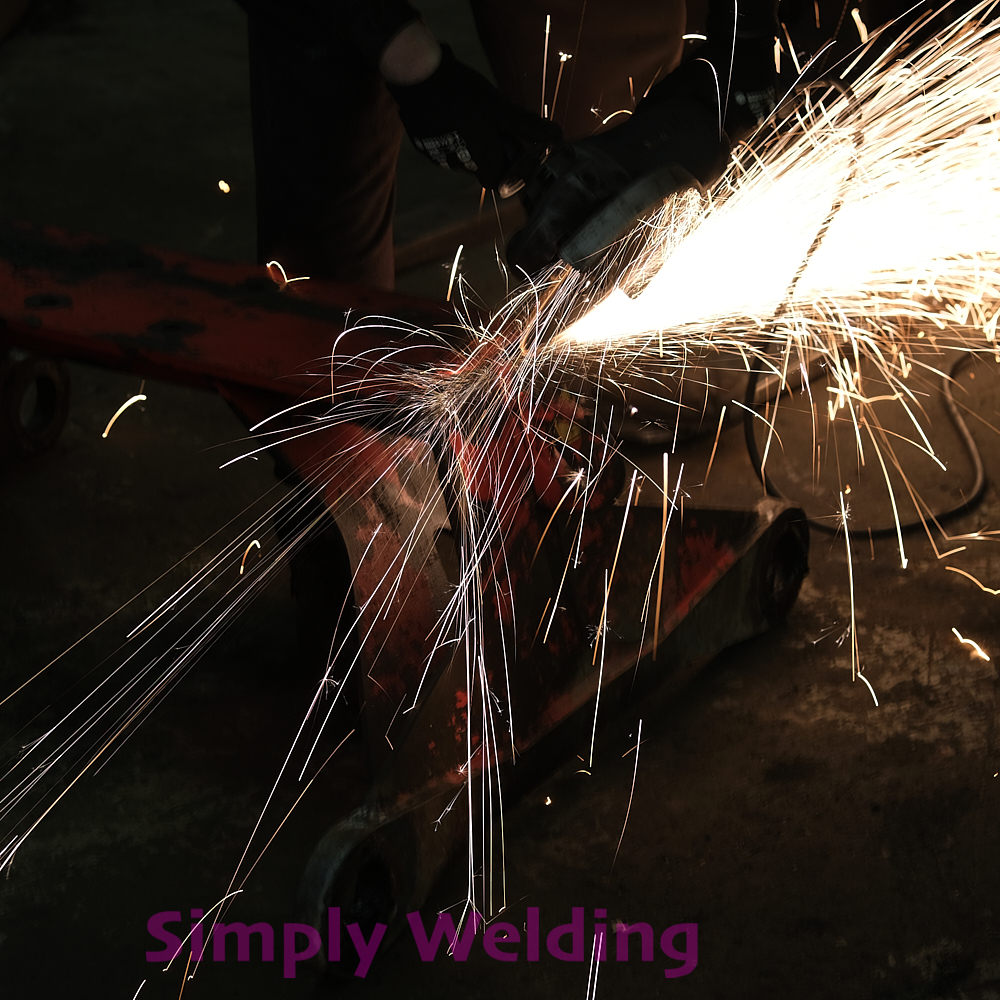
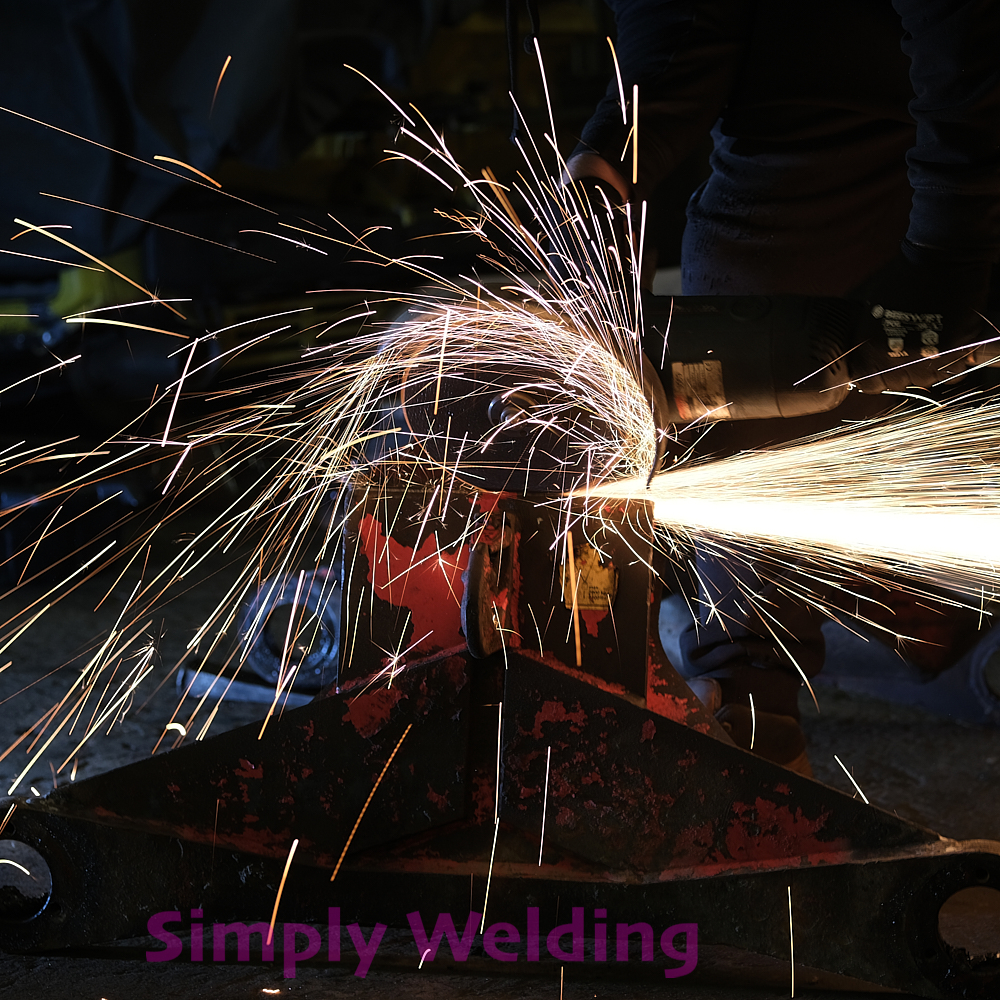
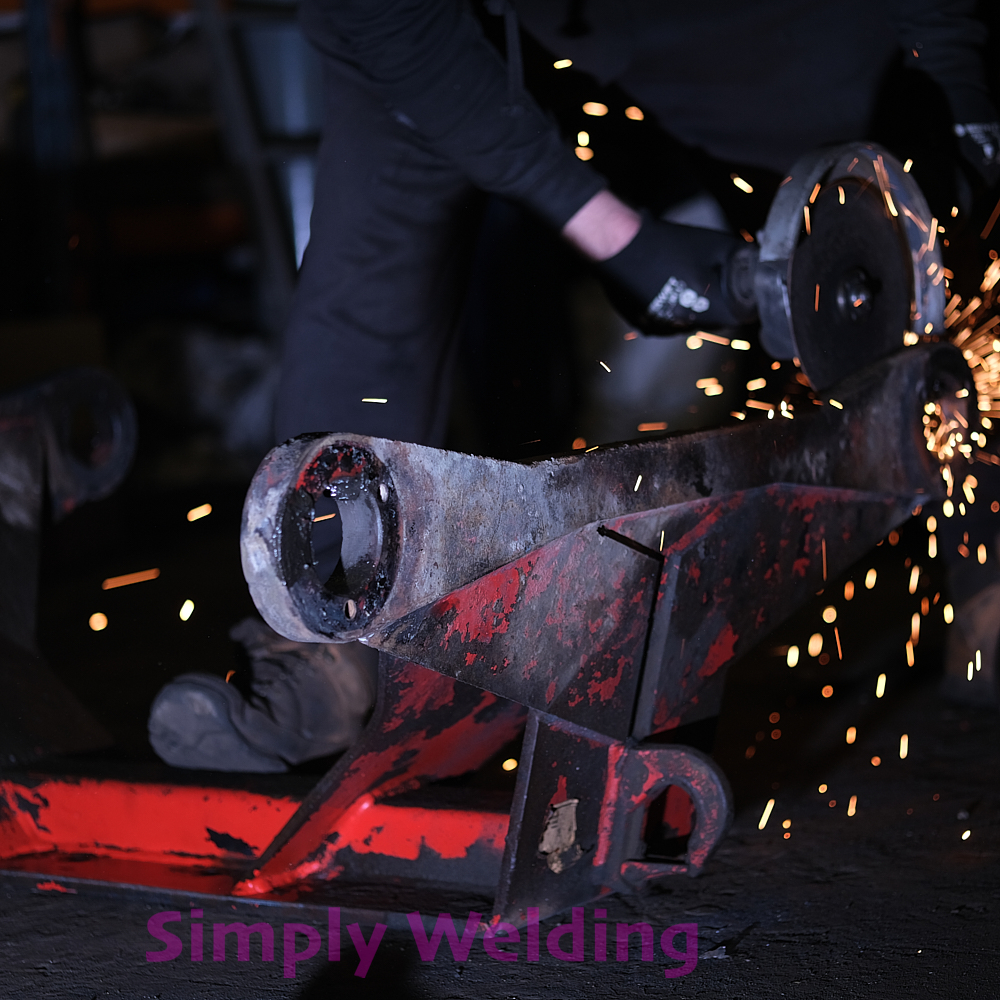
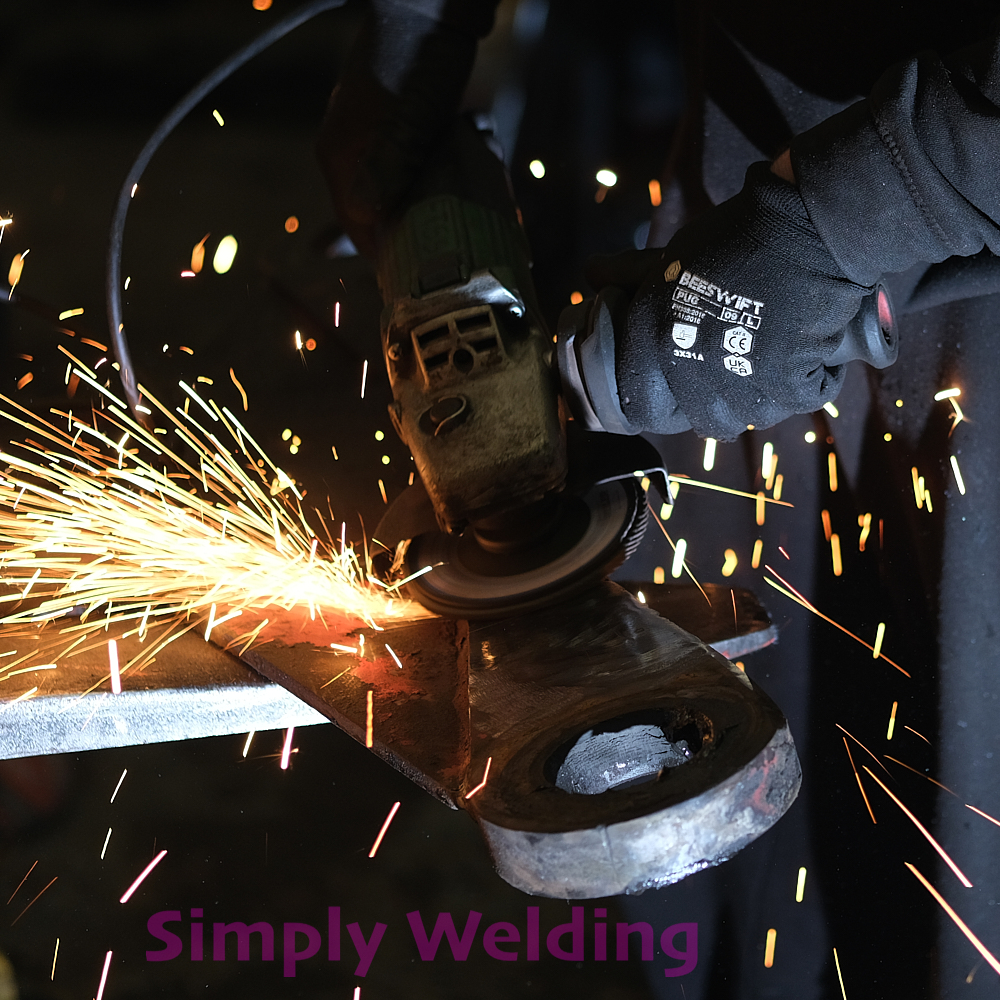
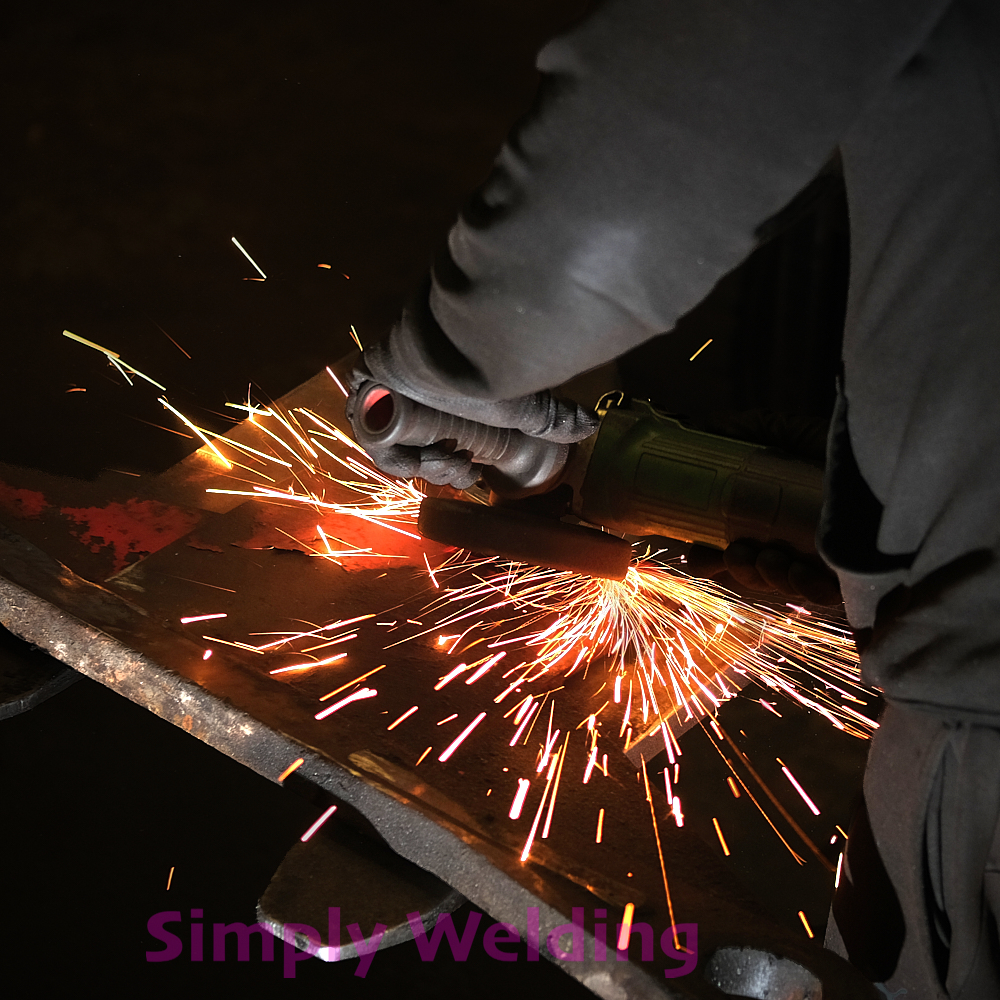
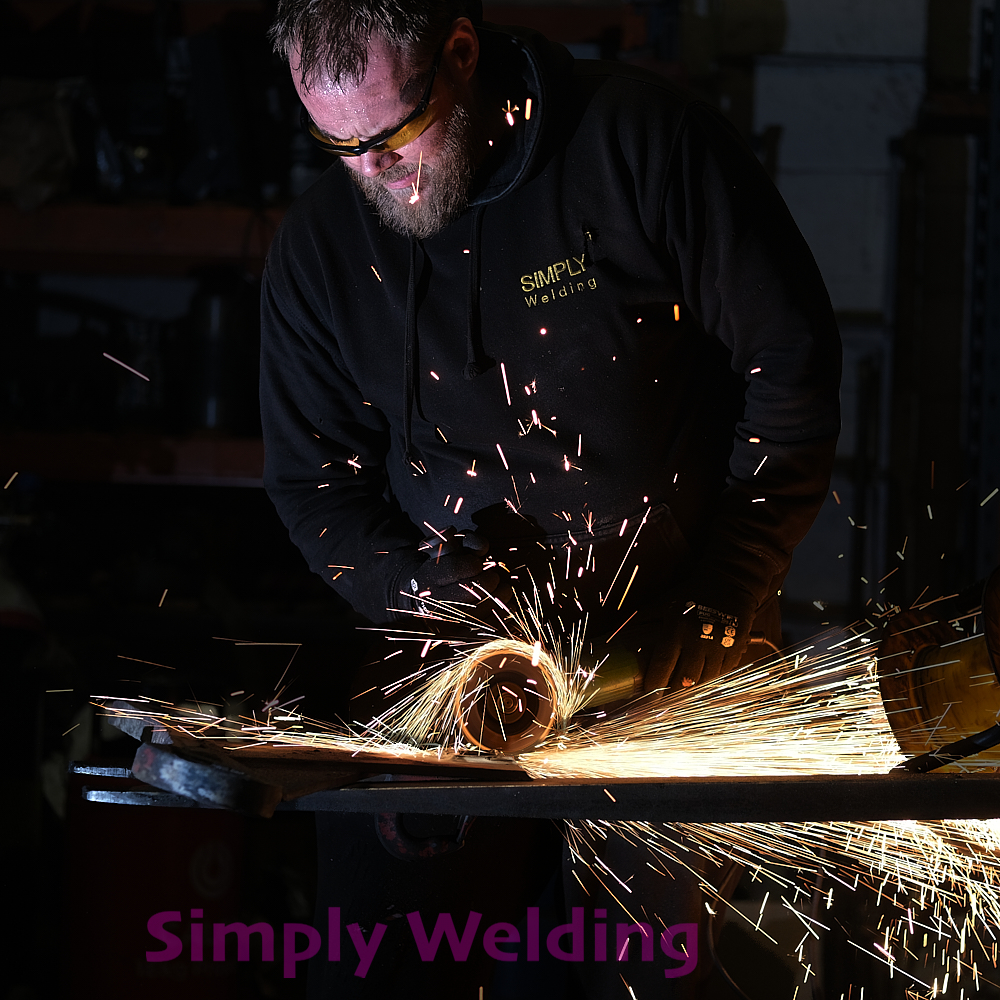
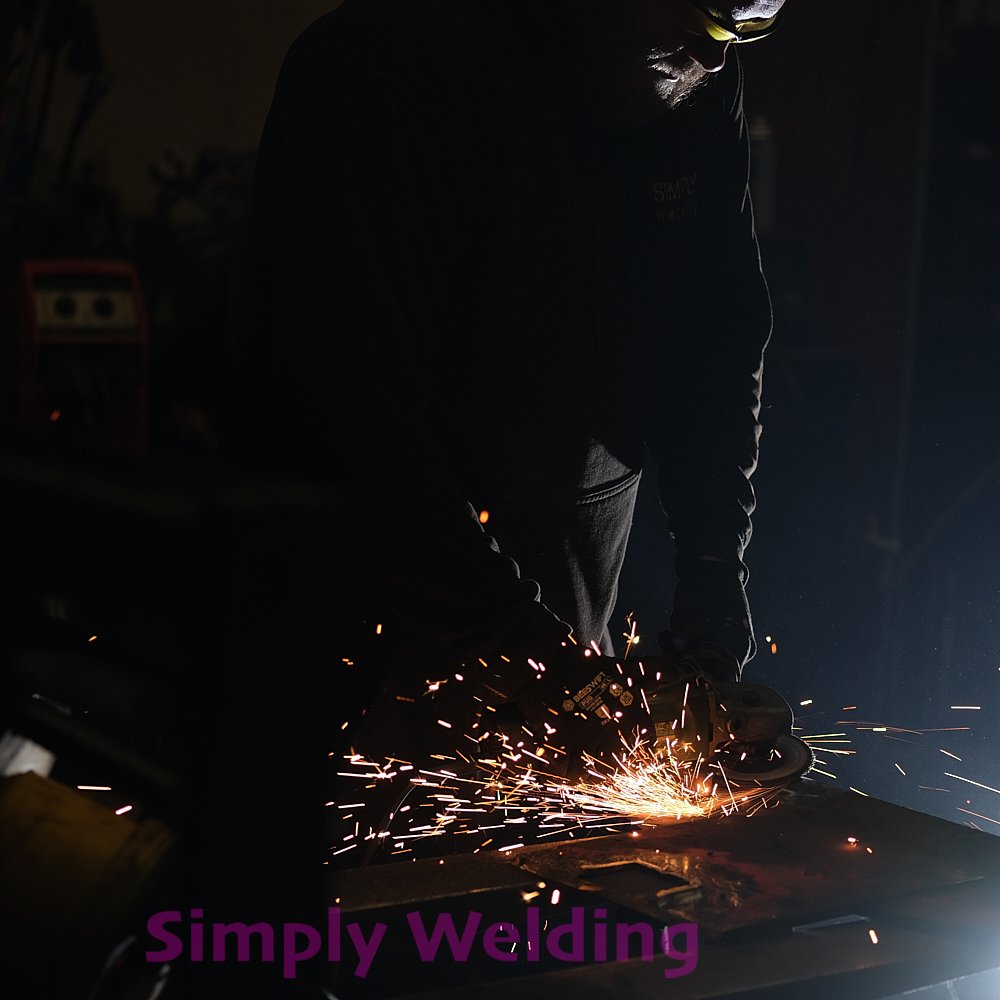
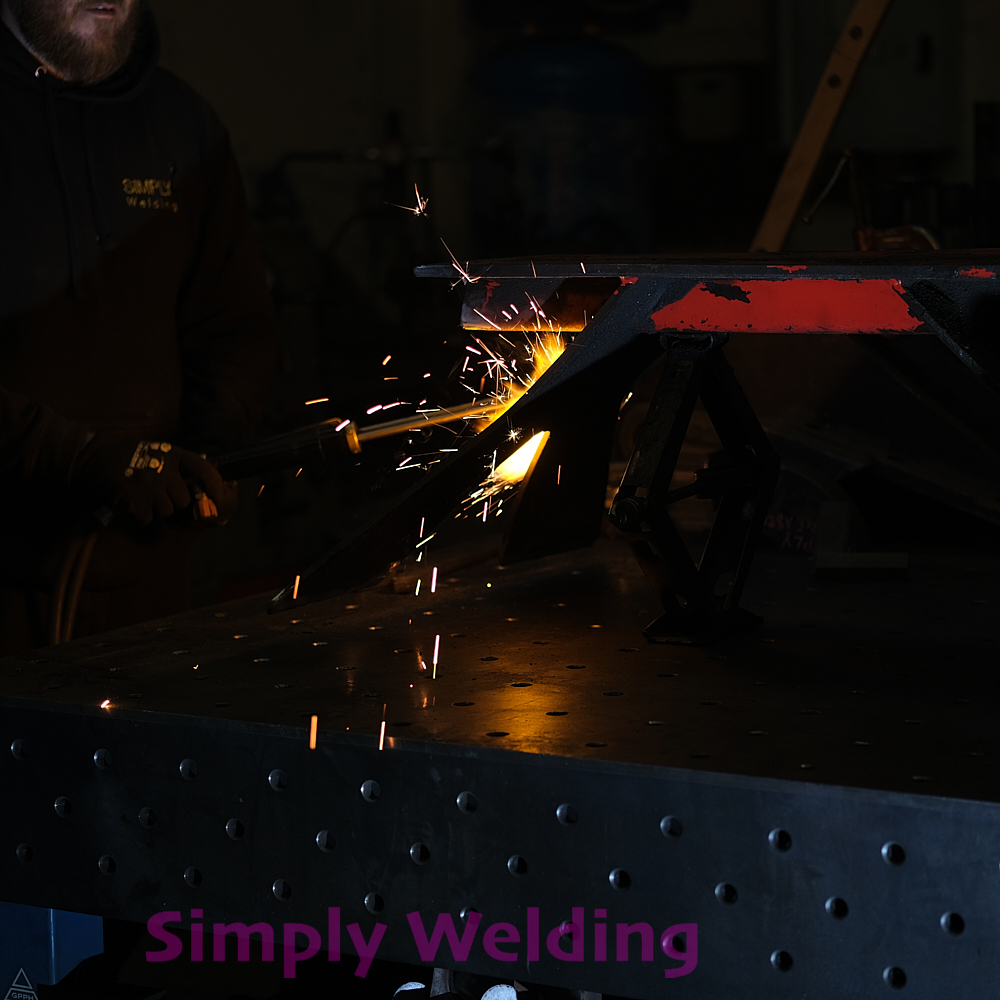
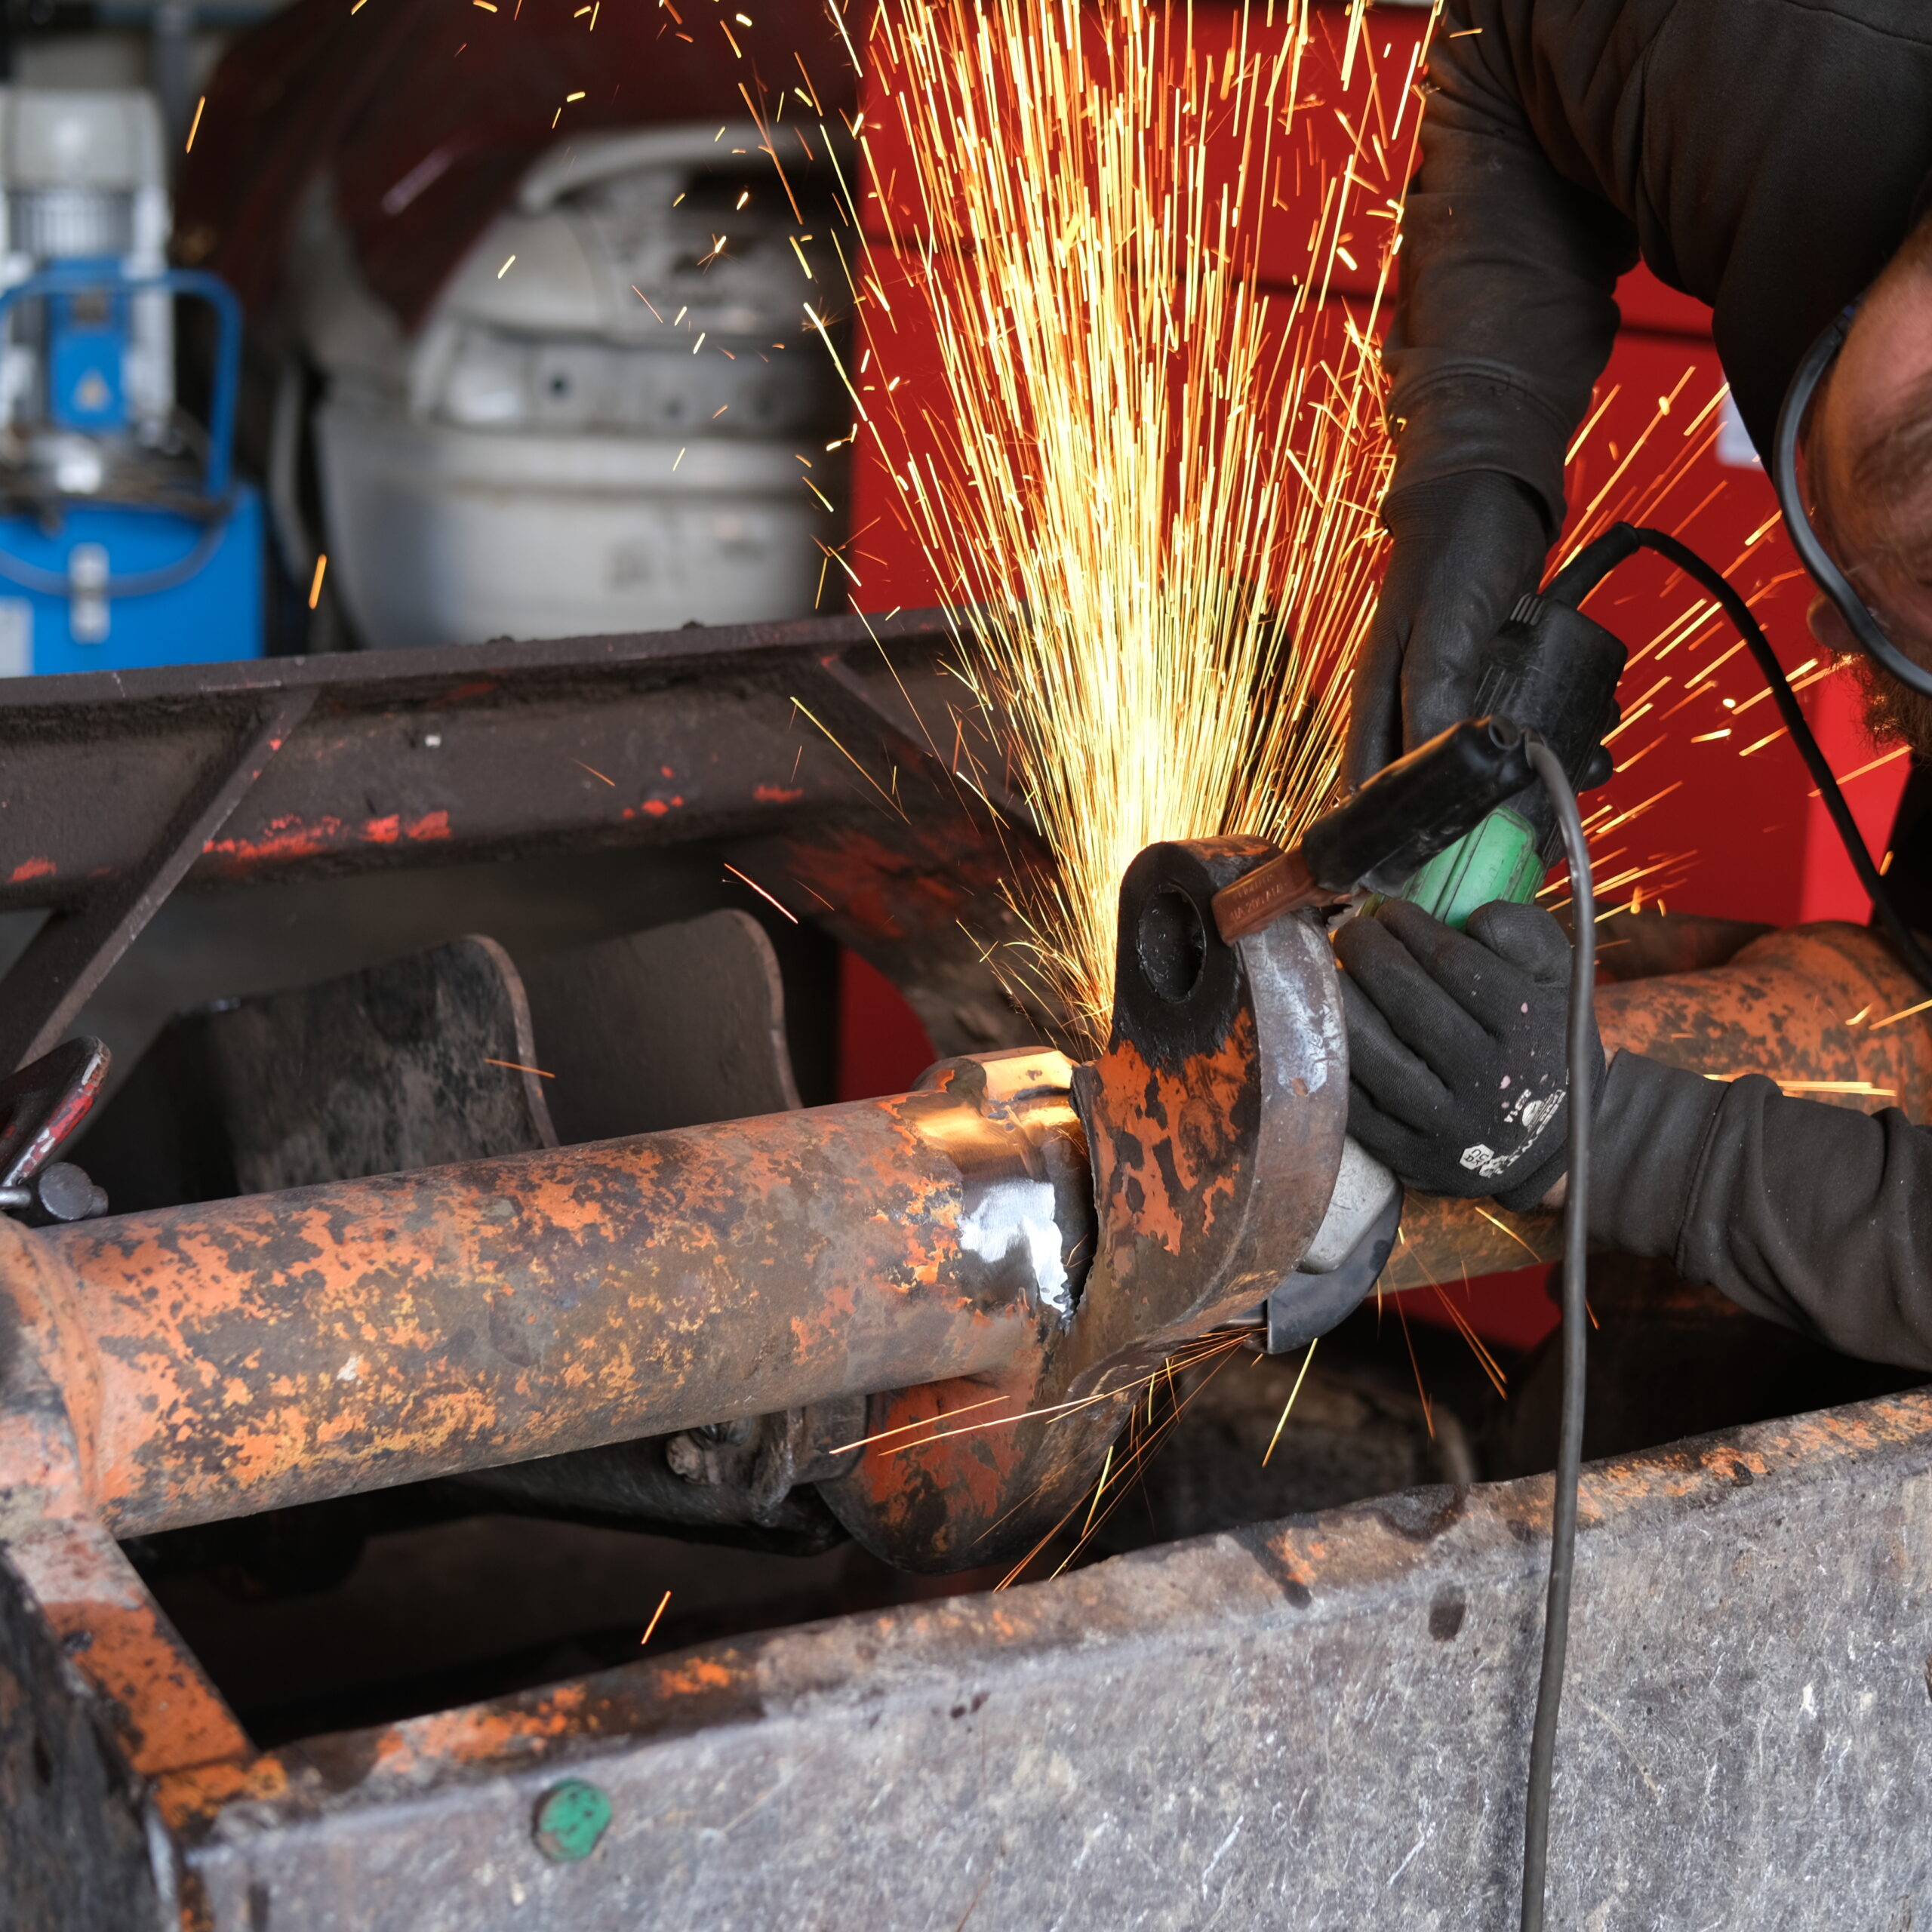
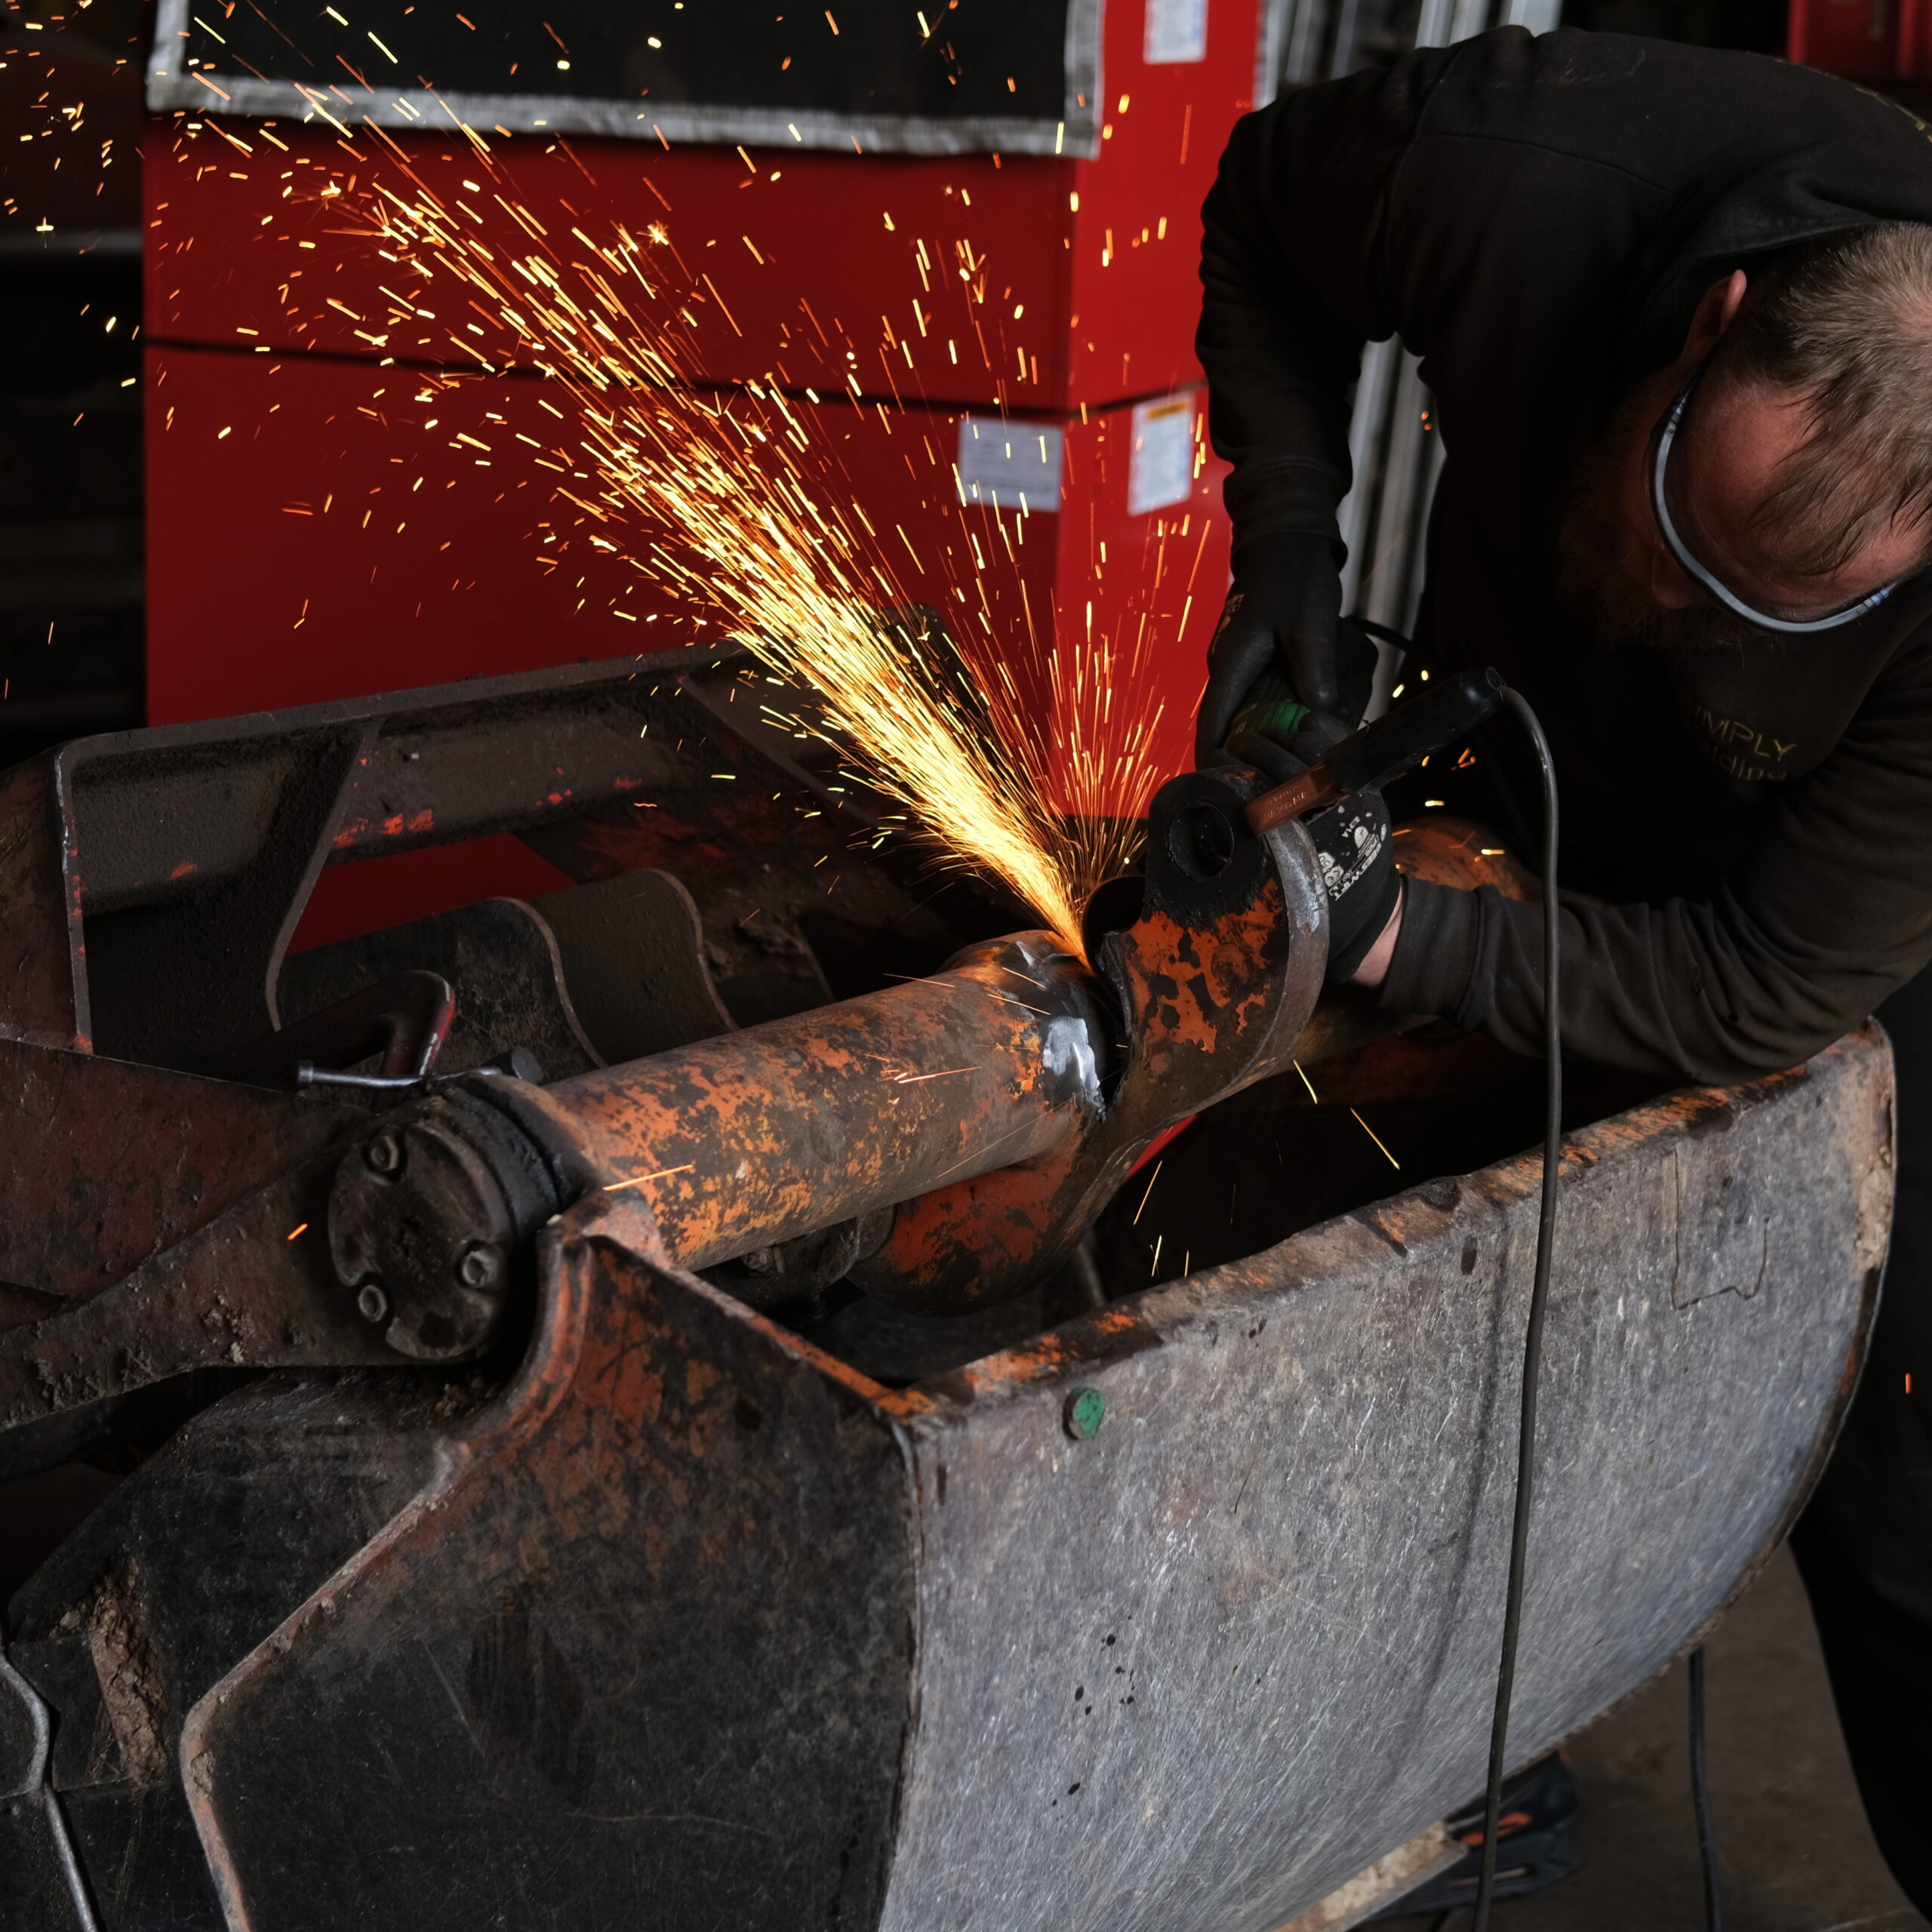
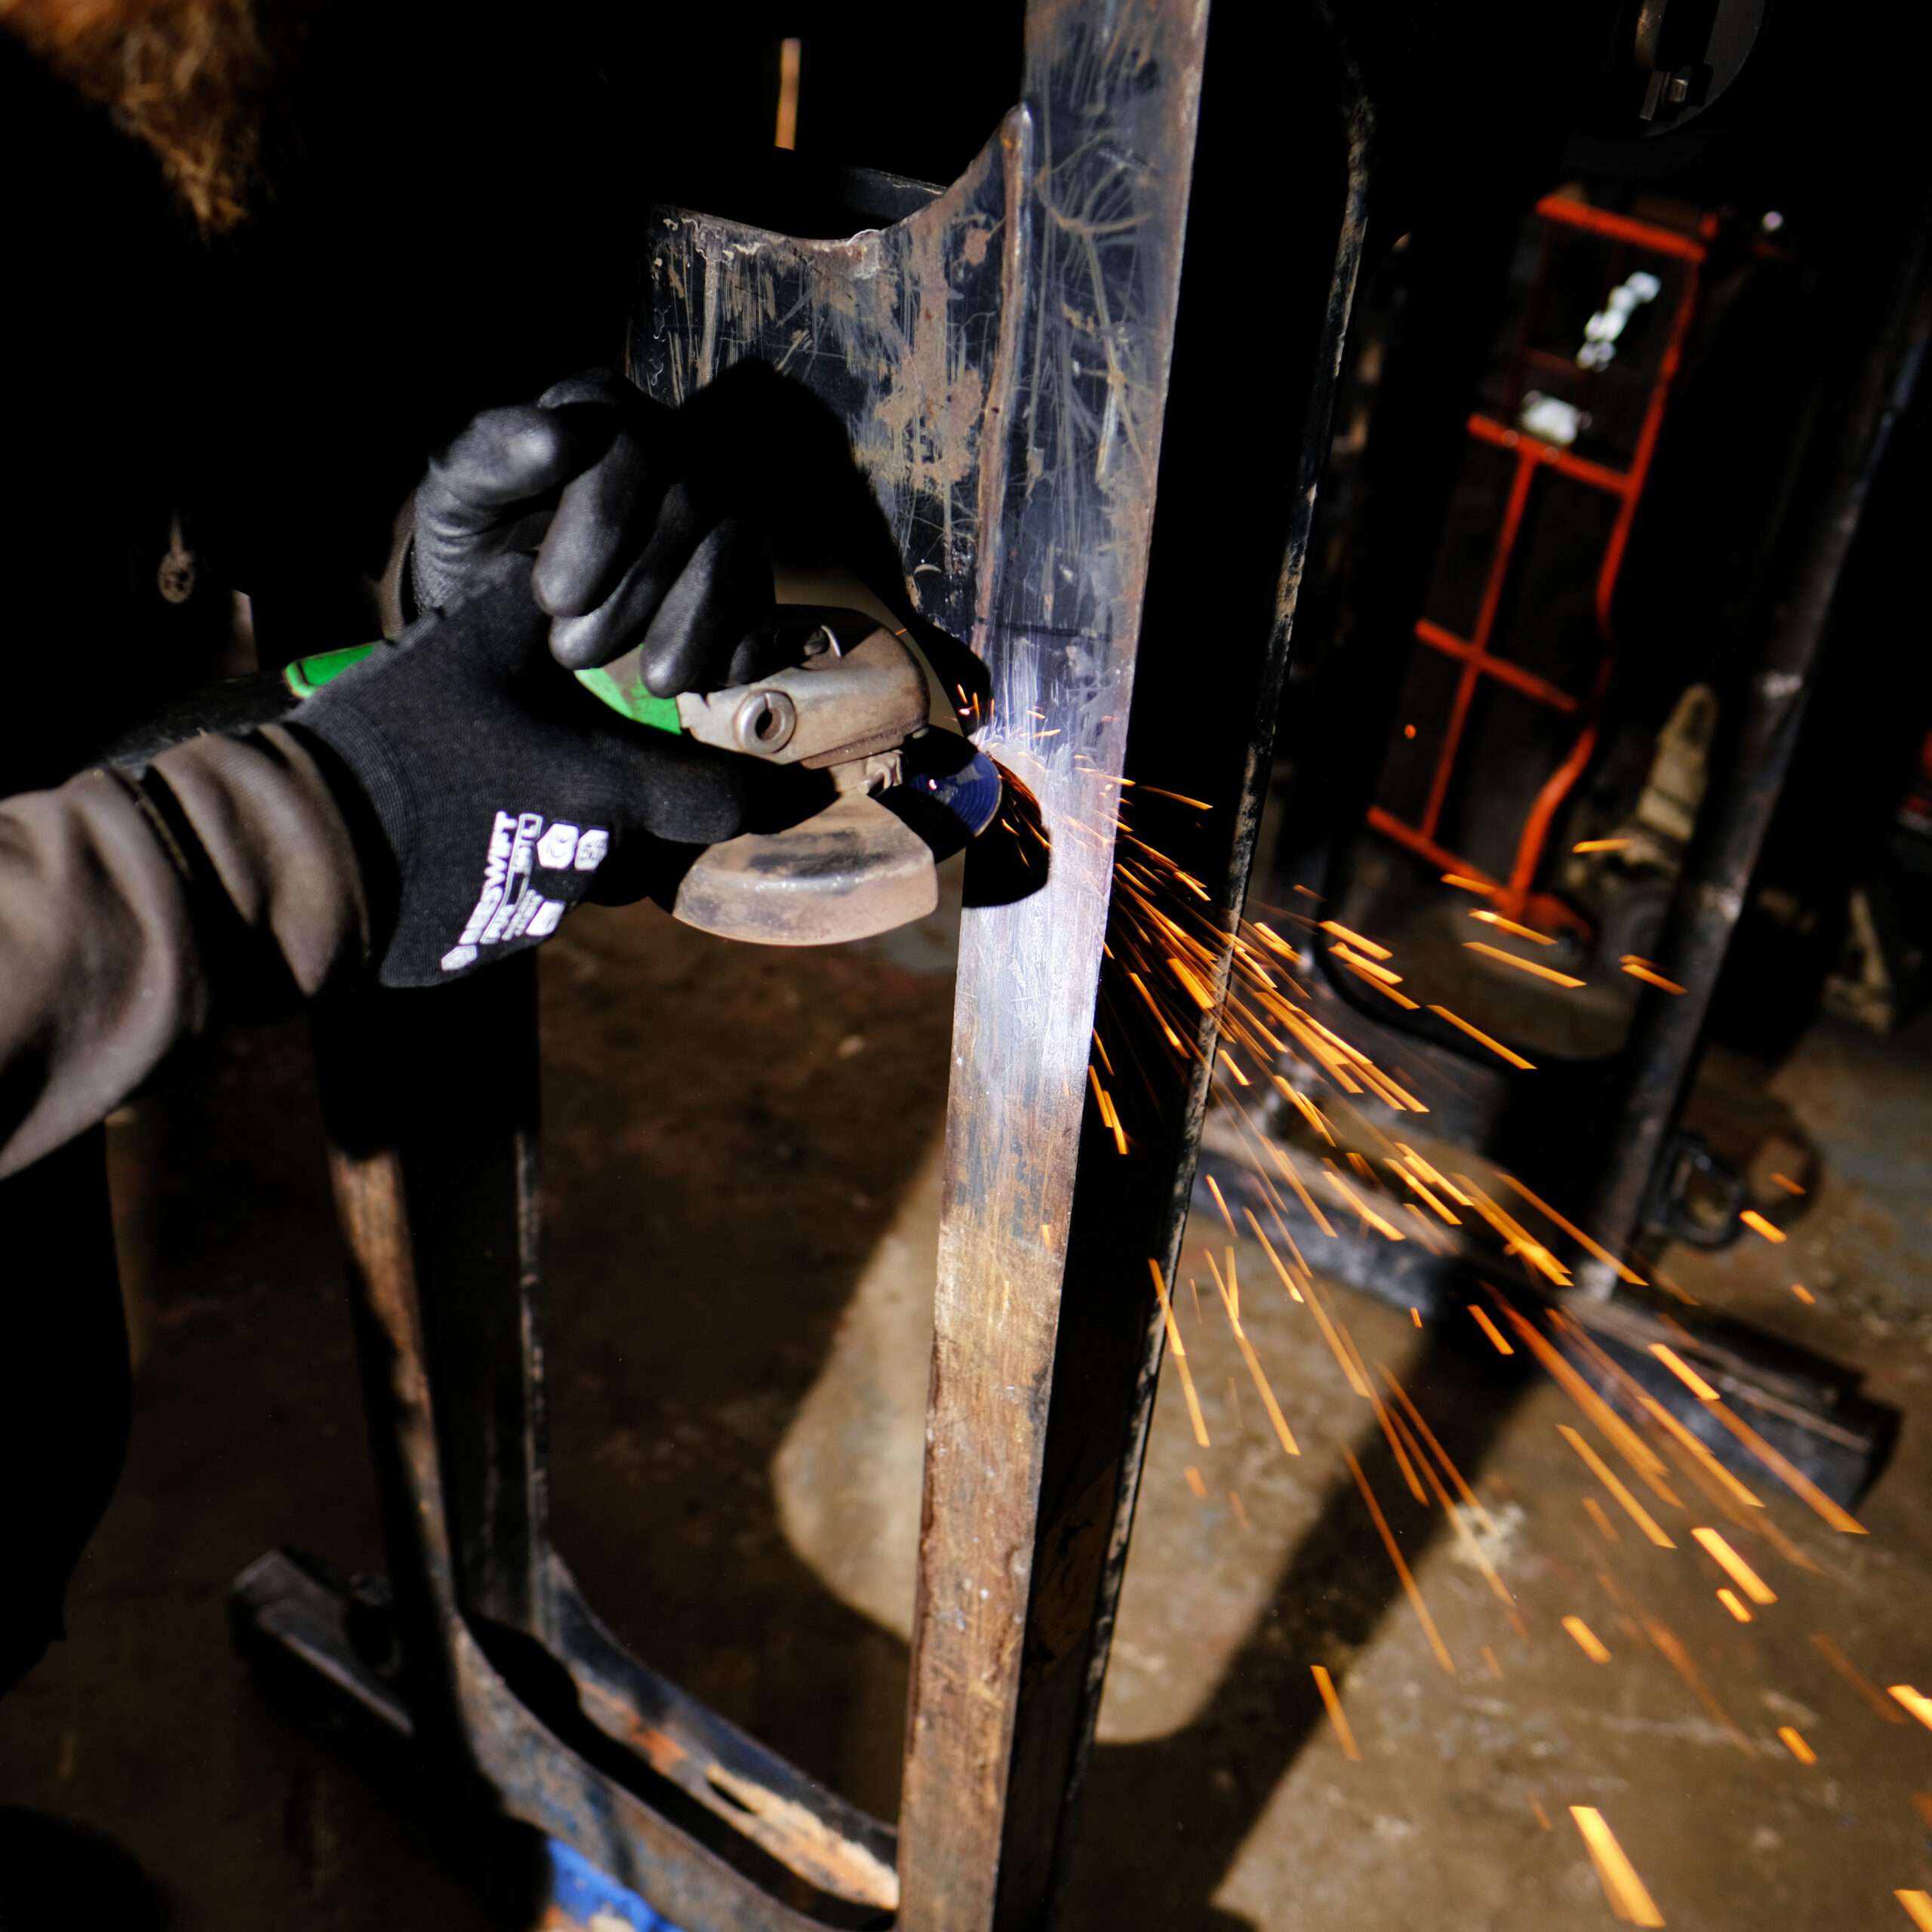
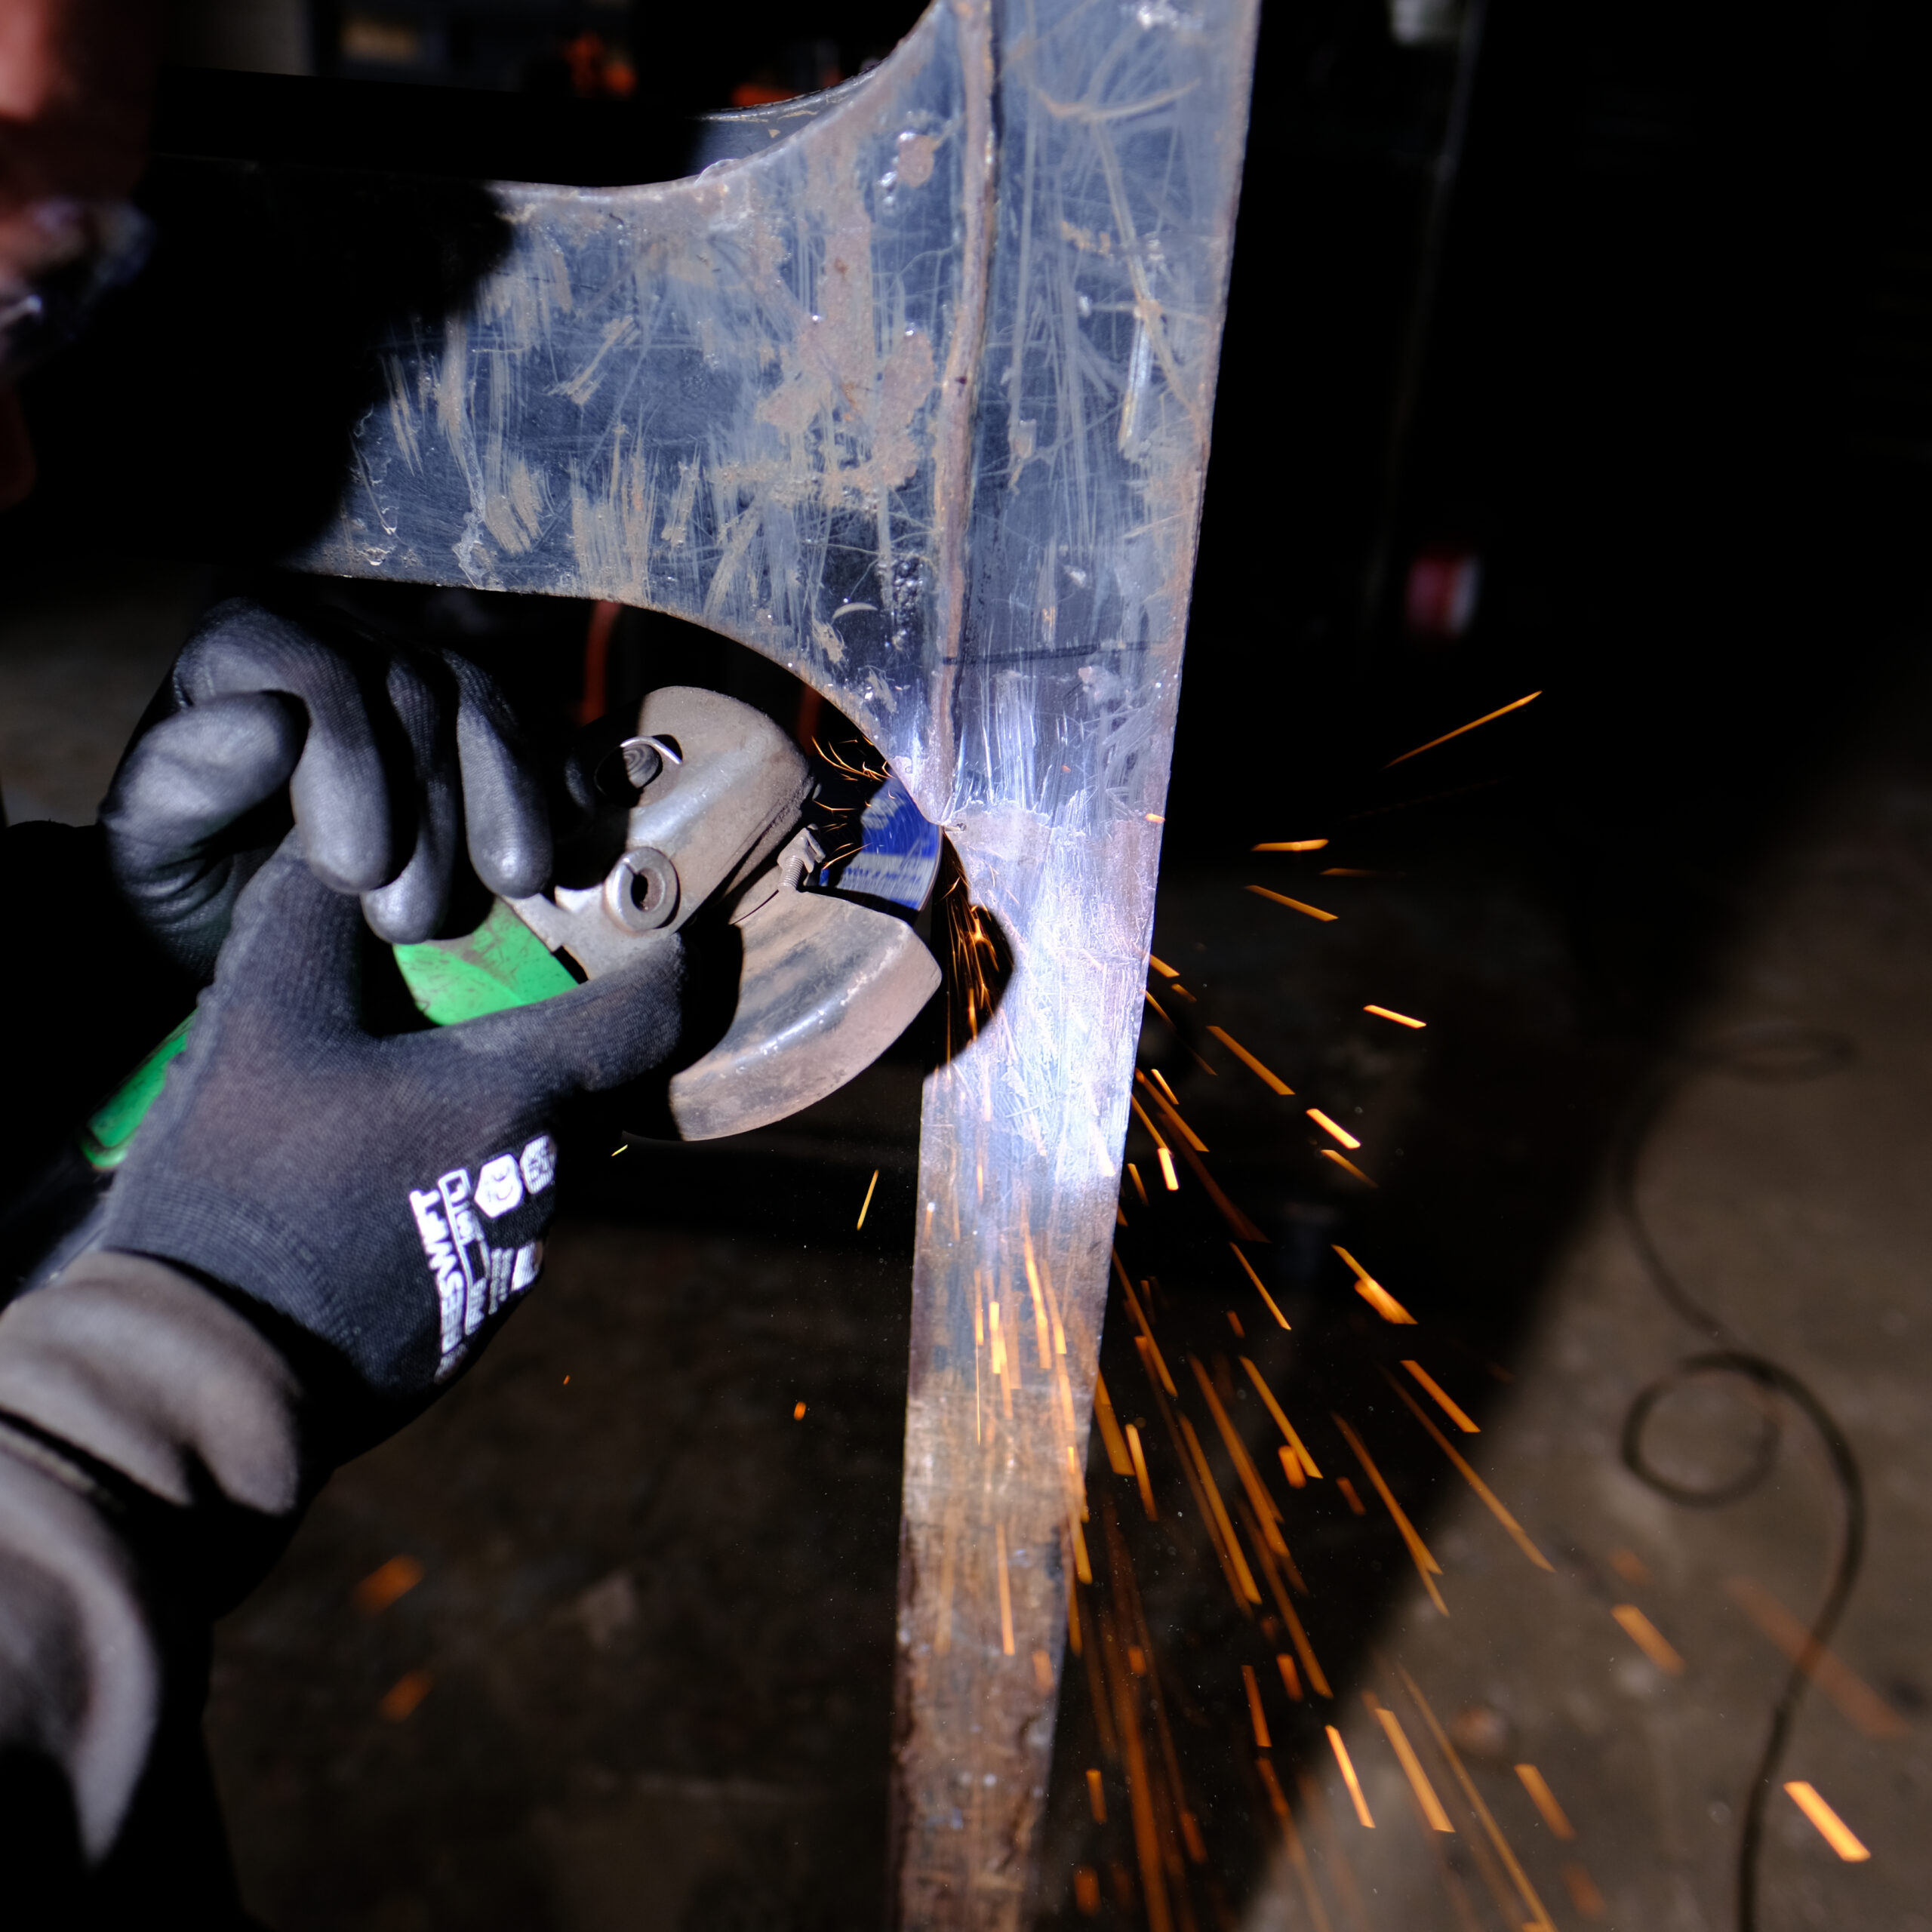
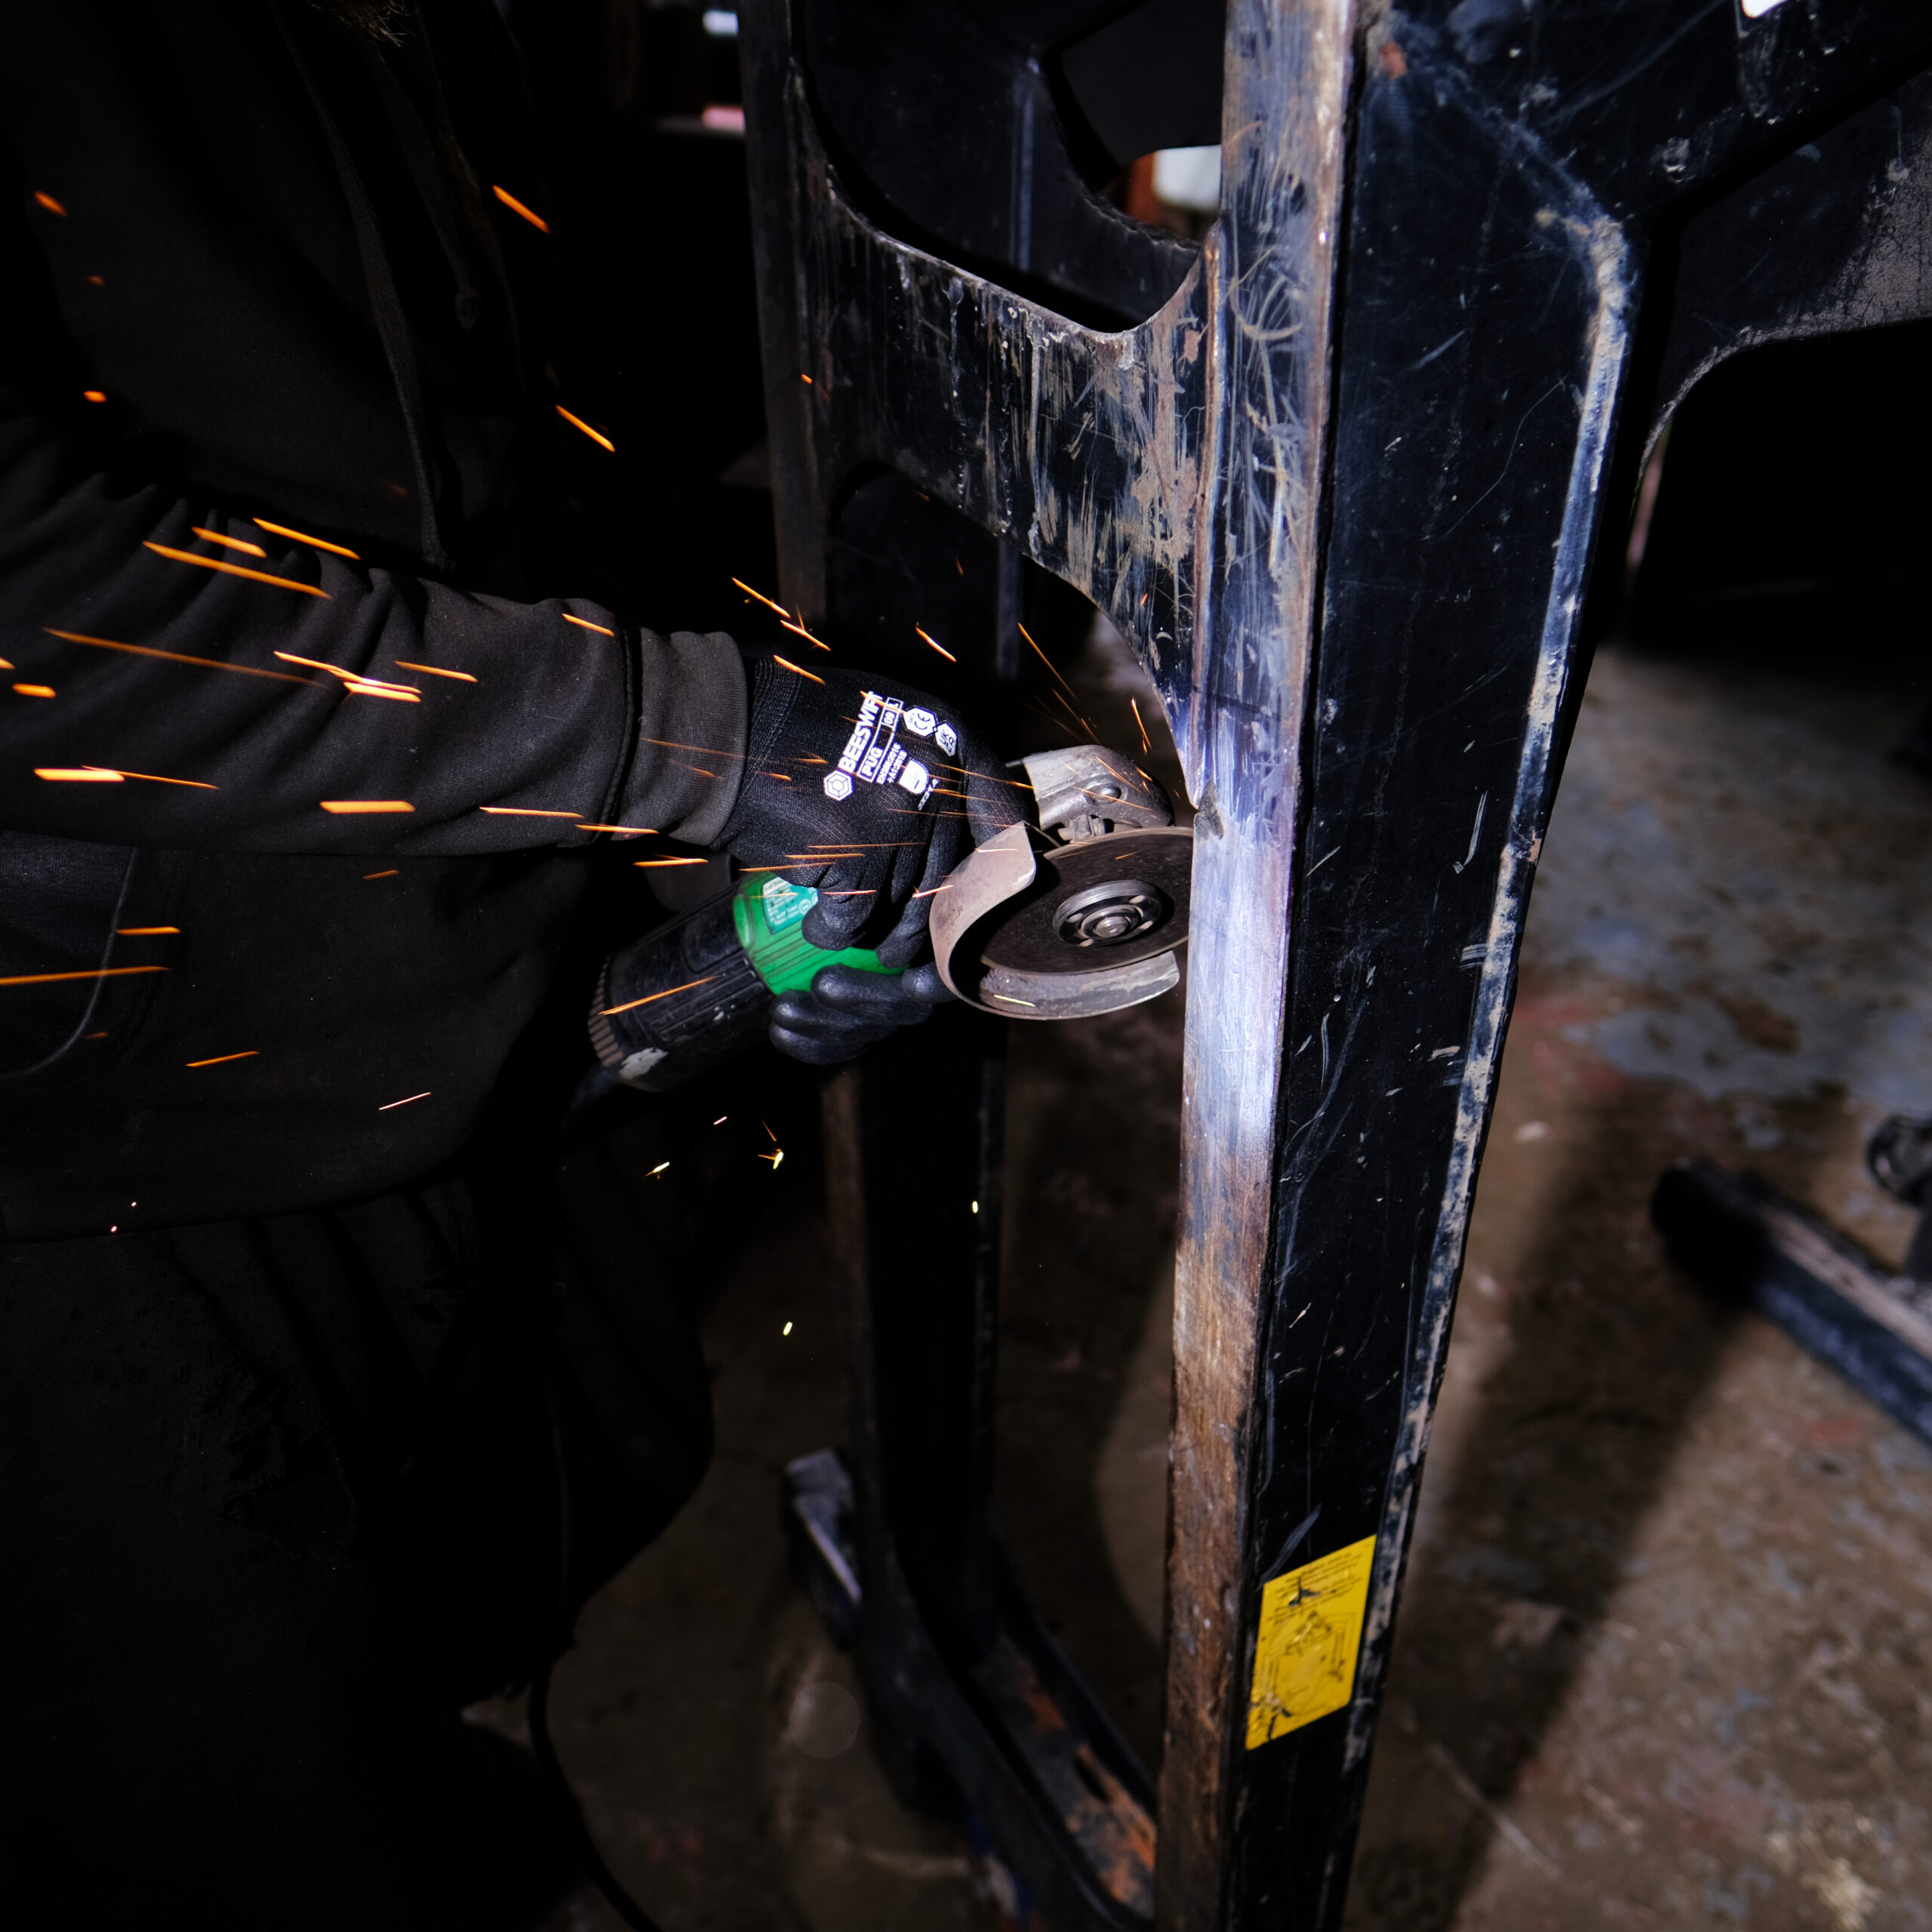
Grinding back the broken weld on a damaged / severed lug on Kinshofer grab bucket
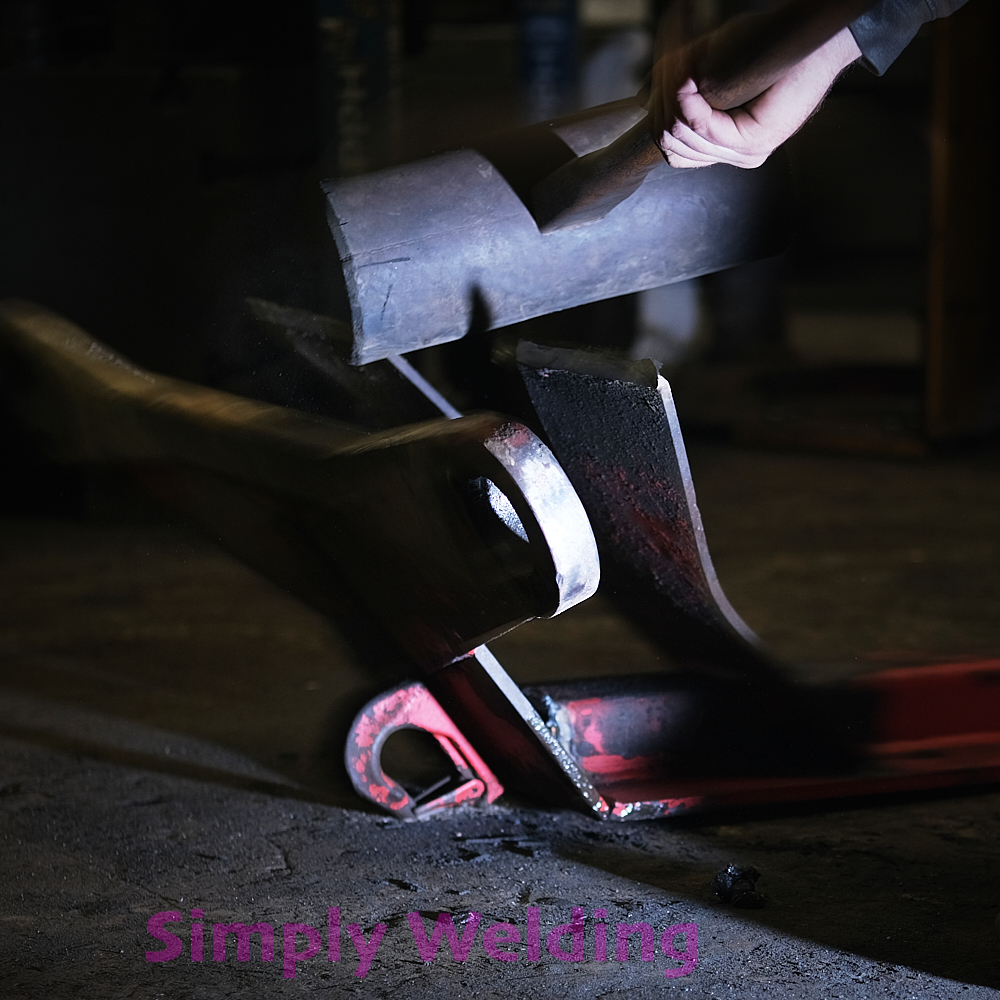
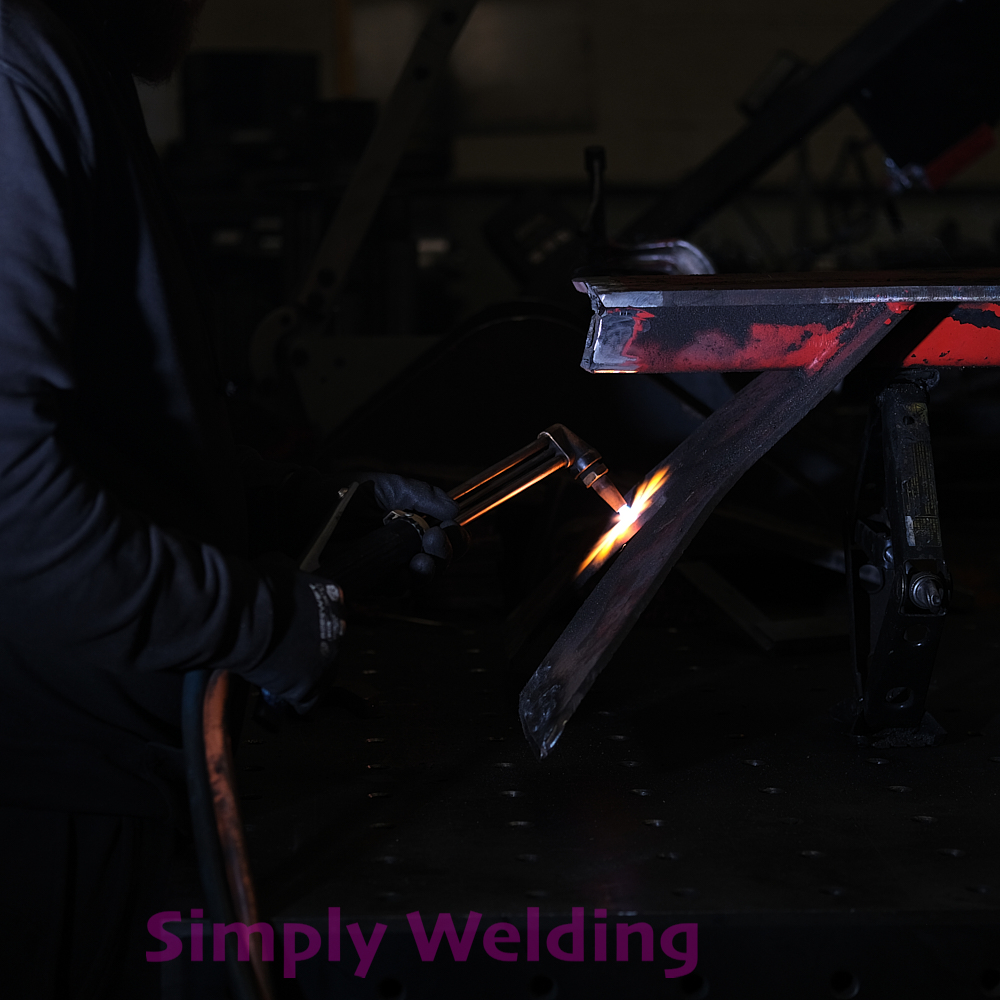
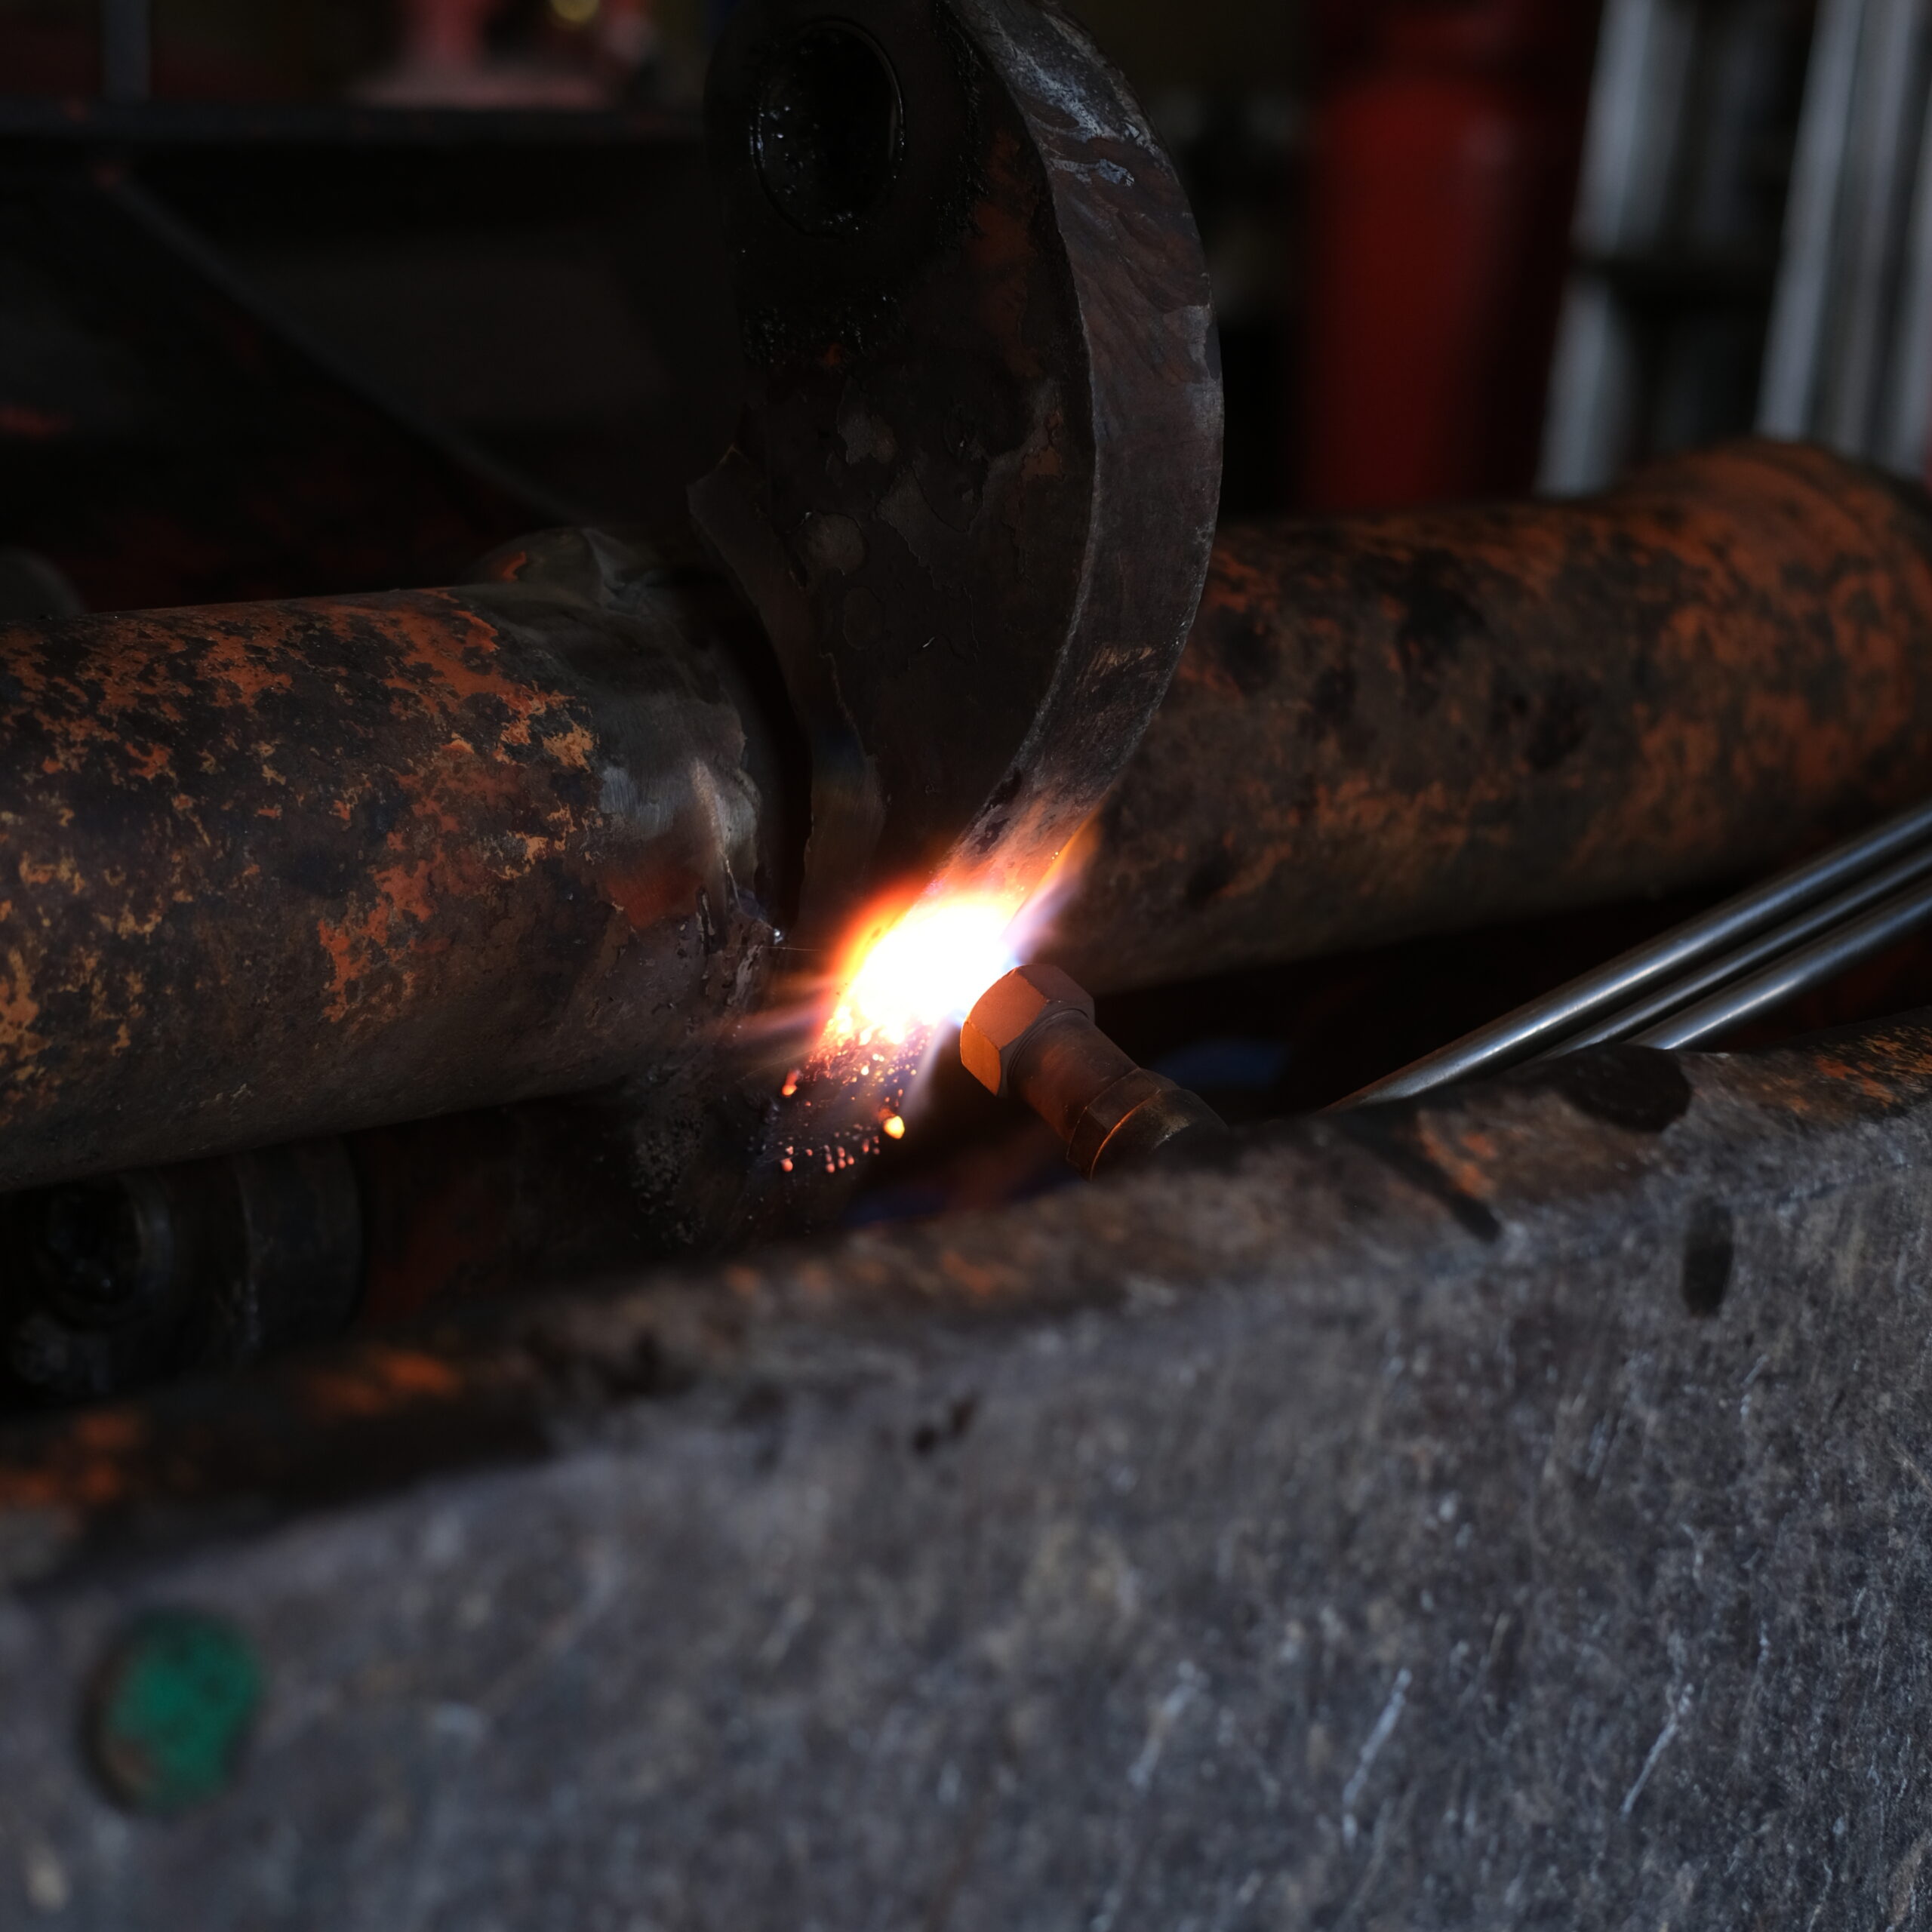
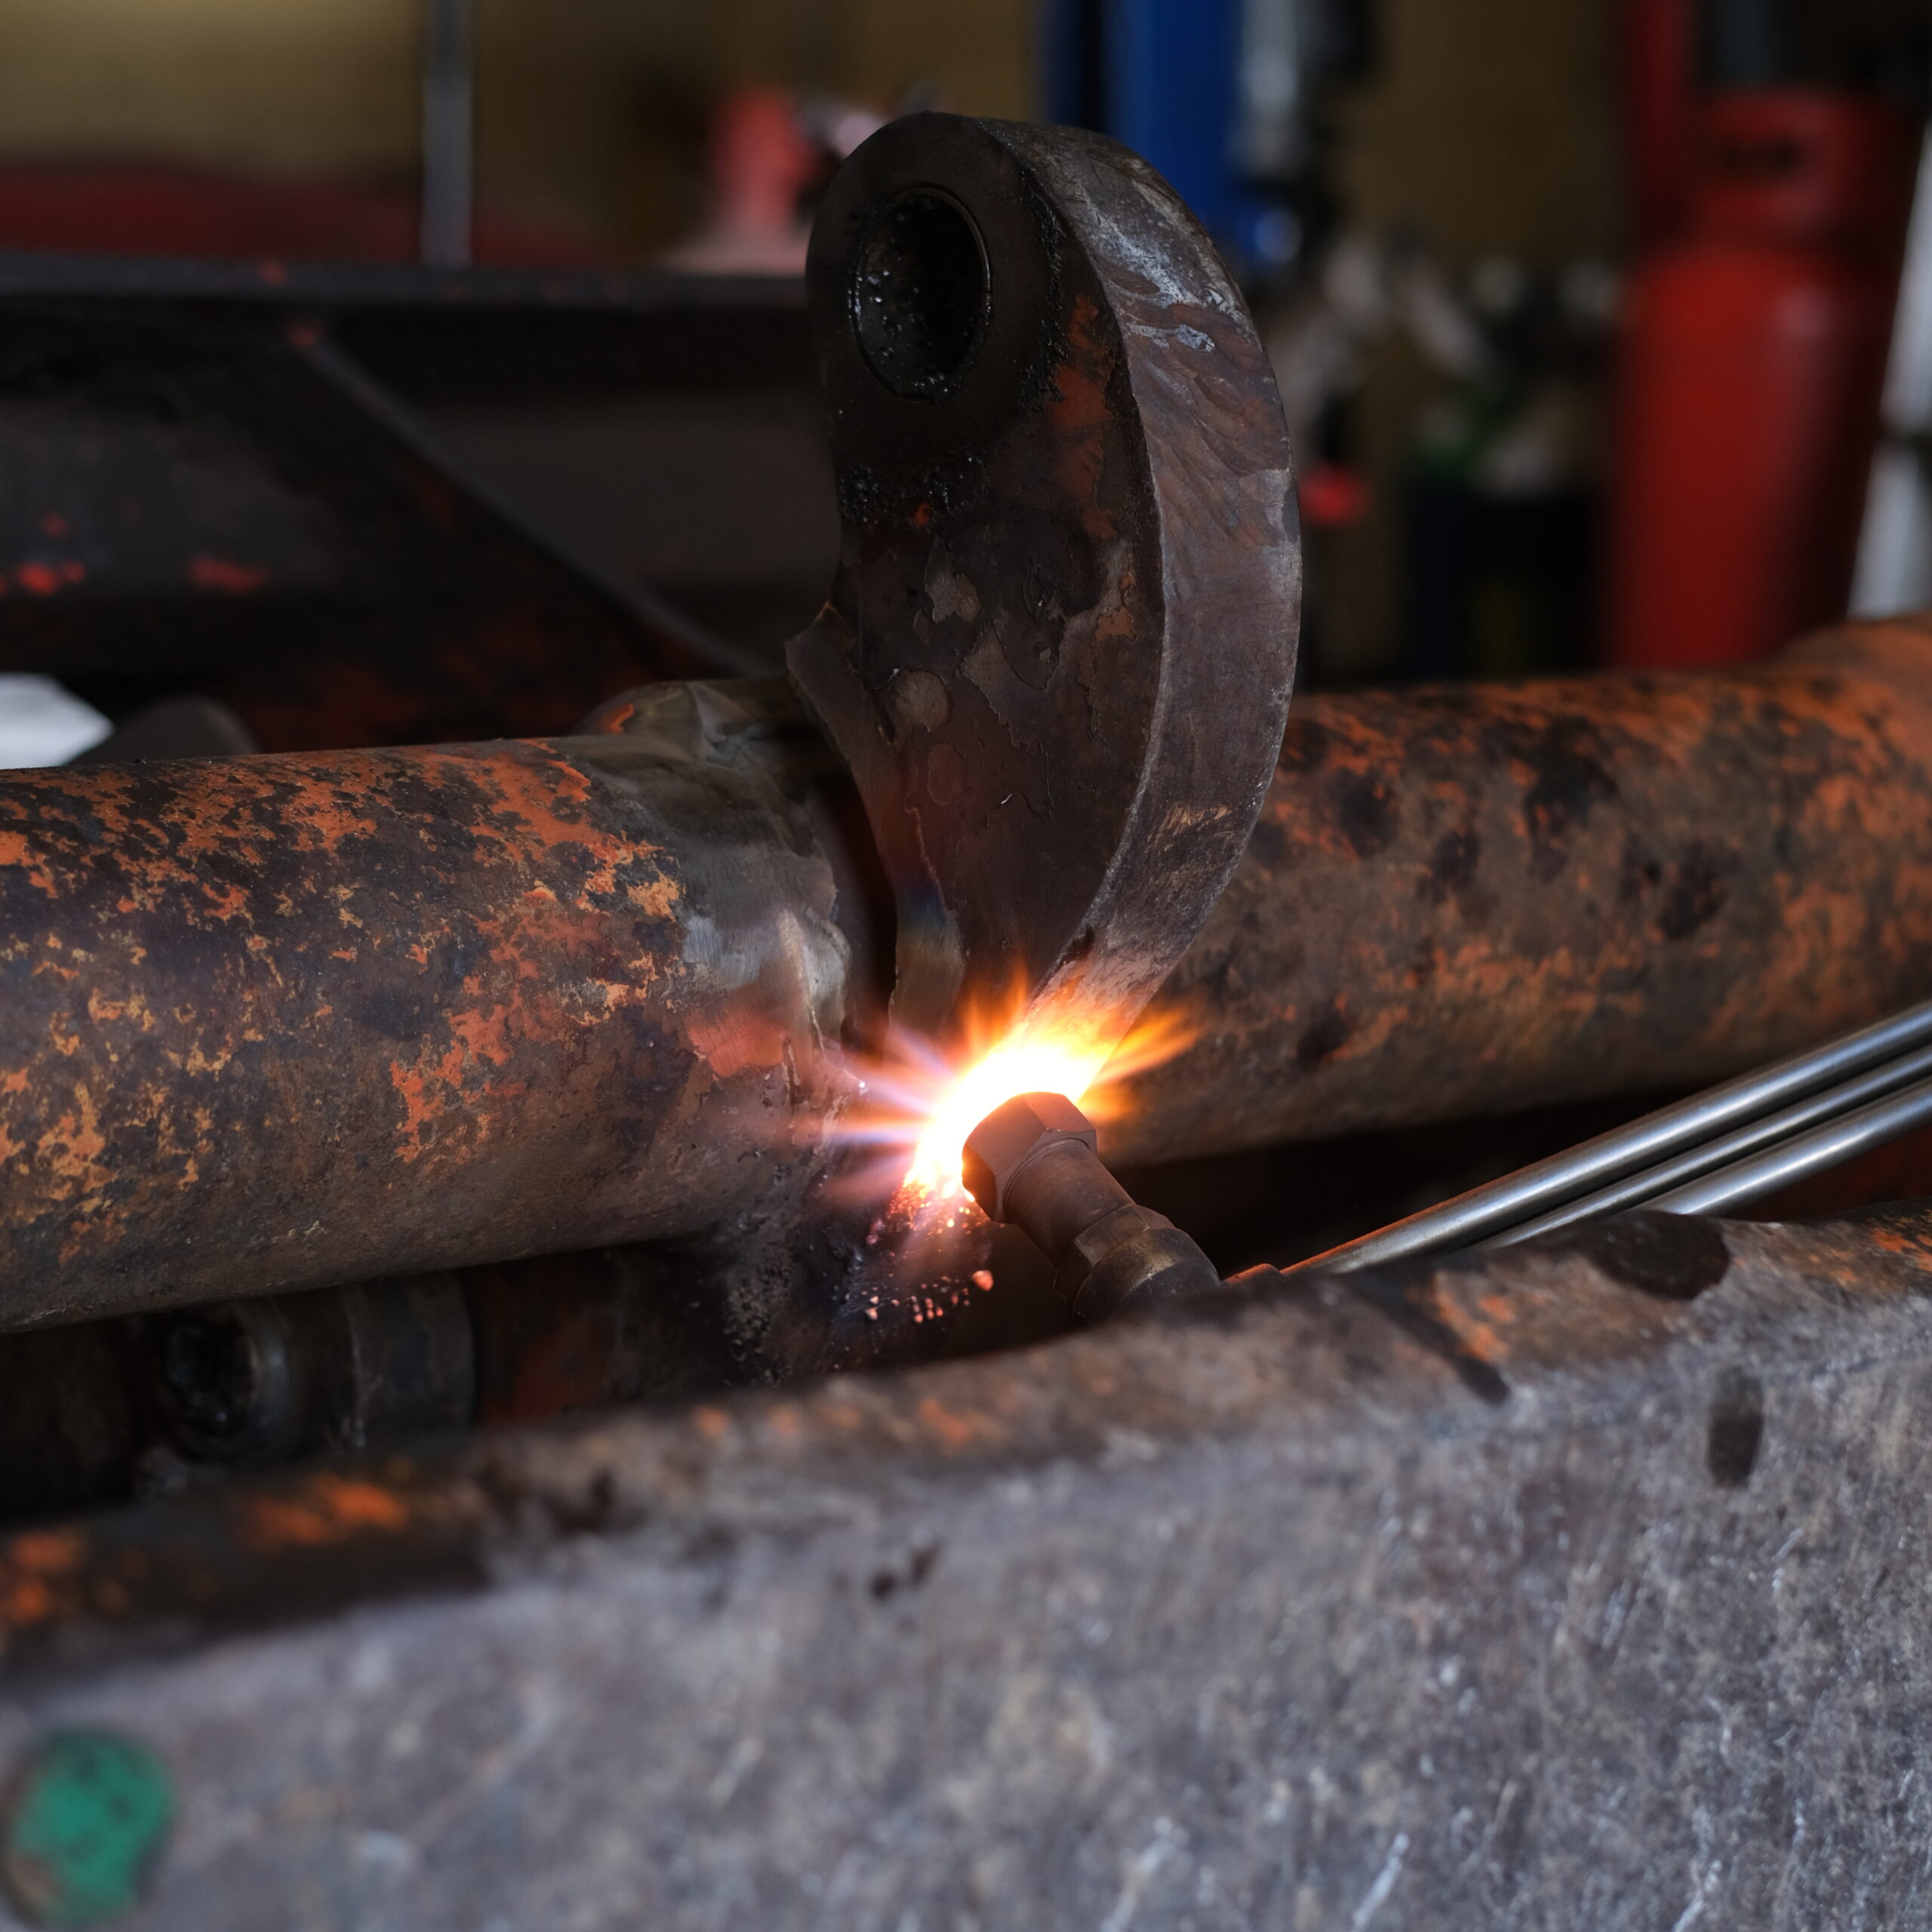
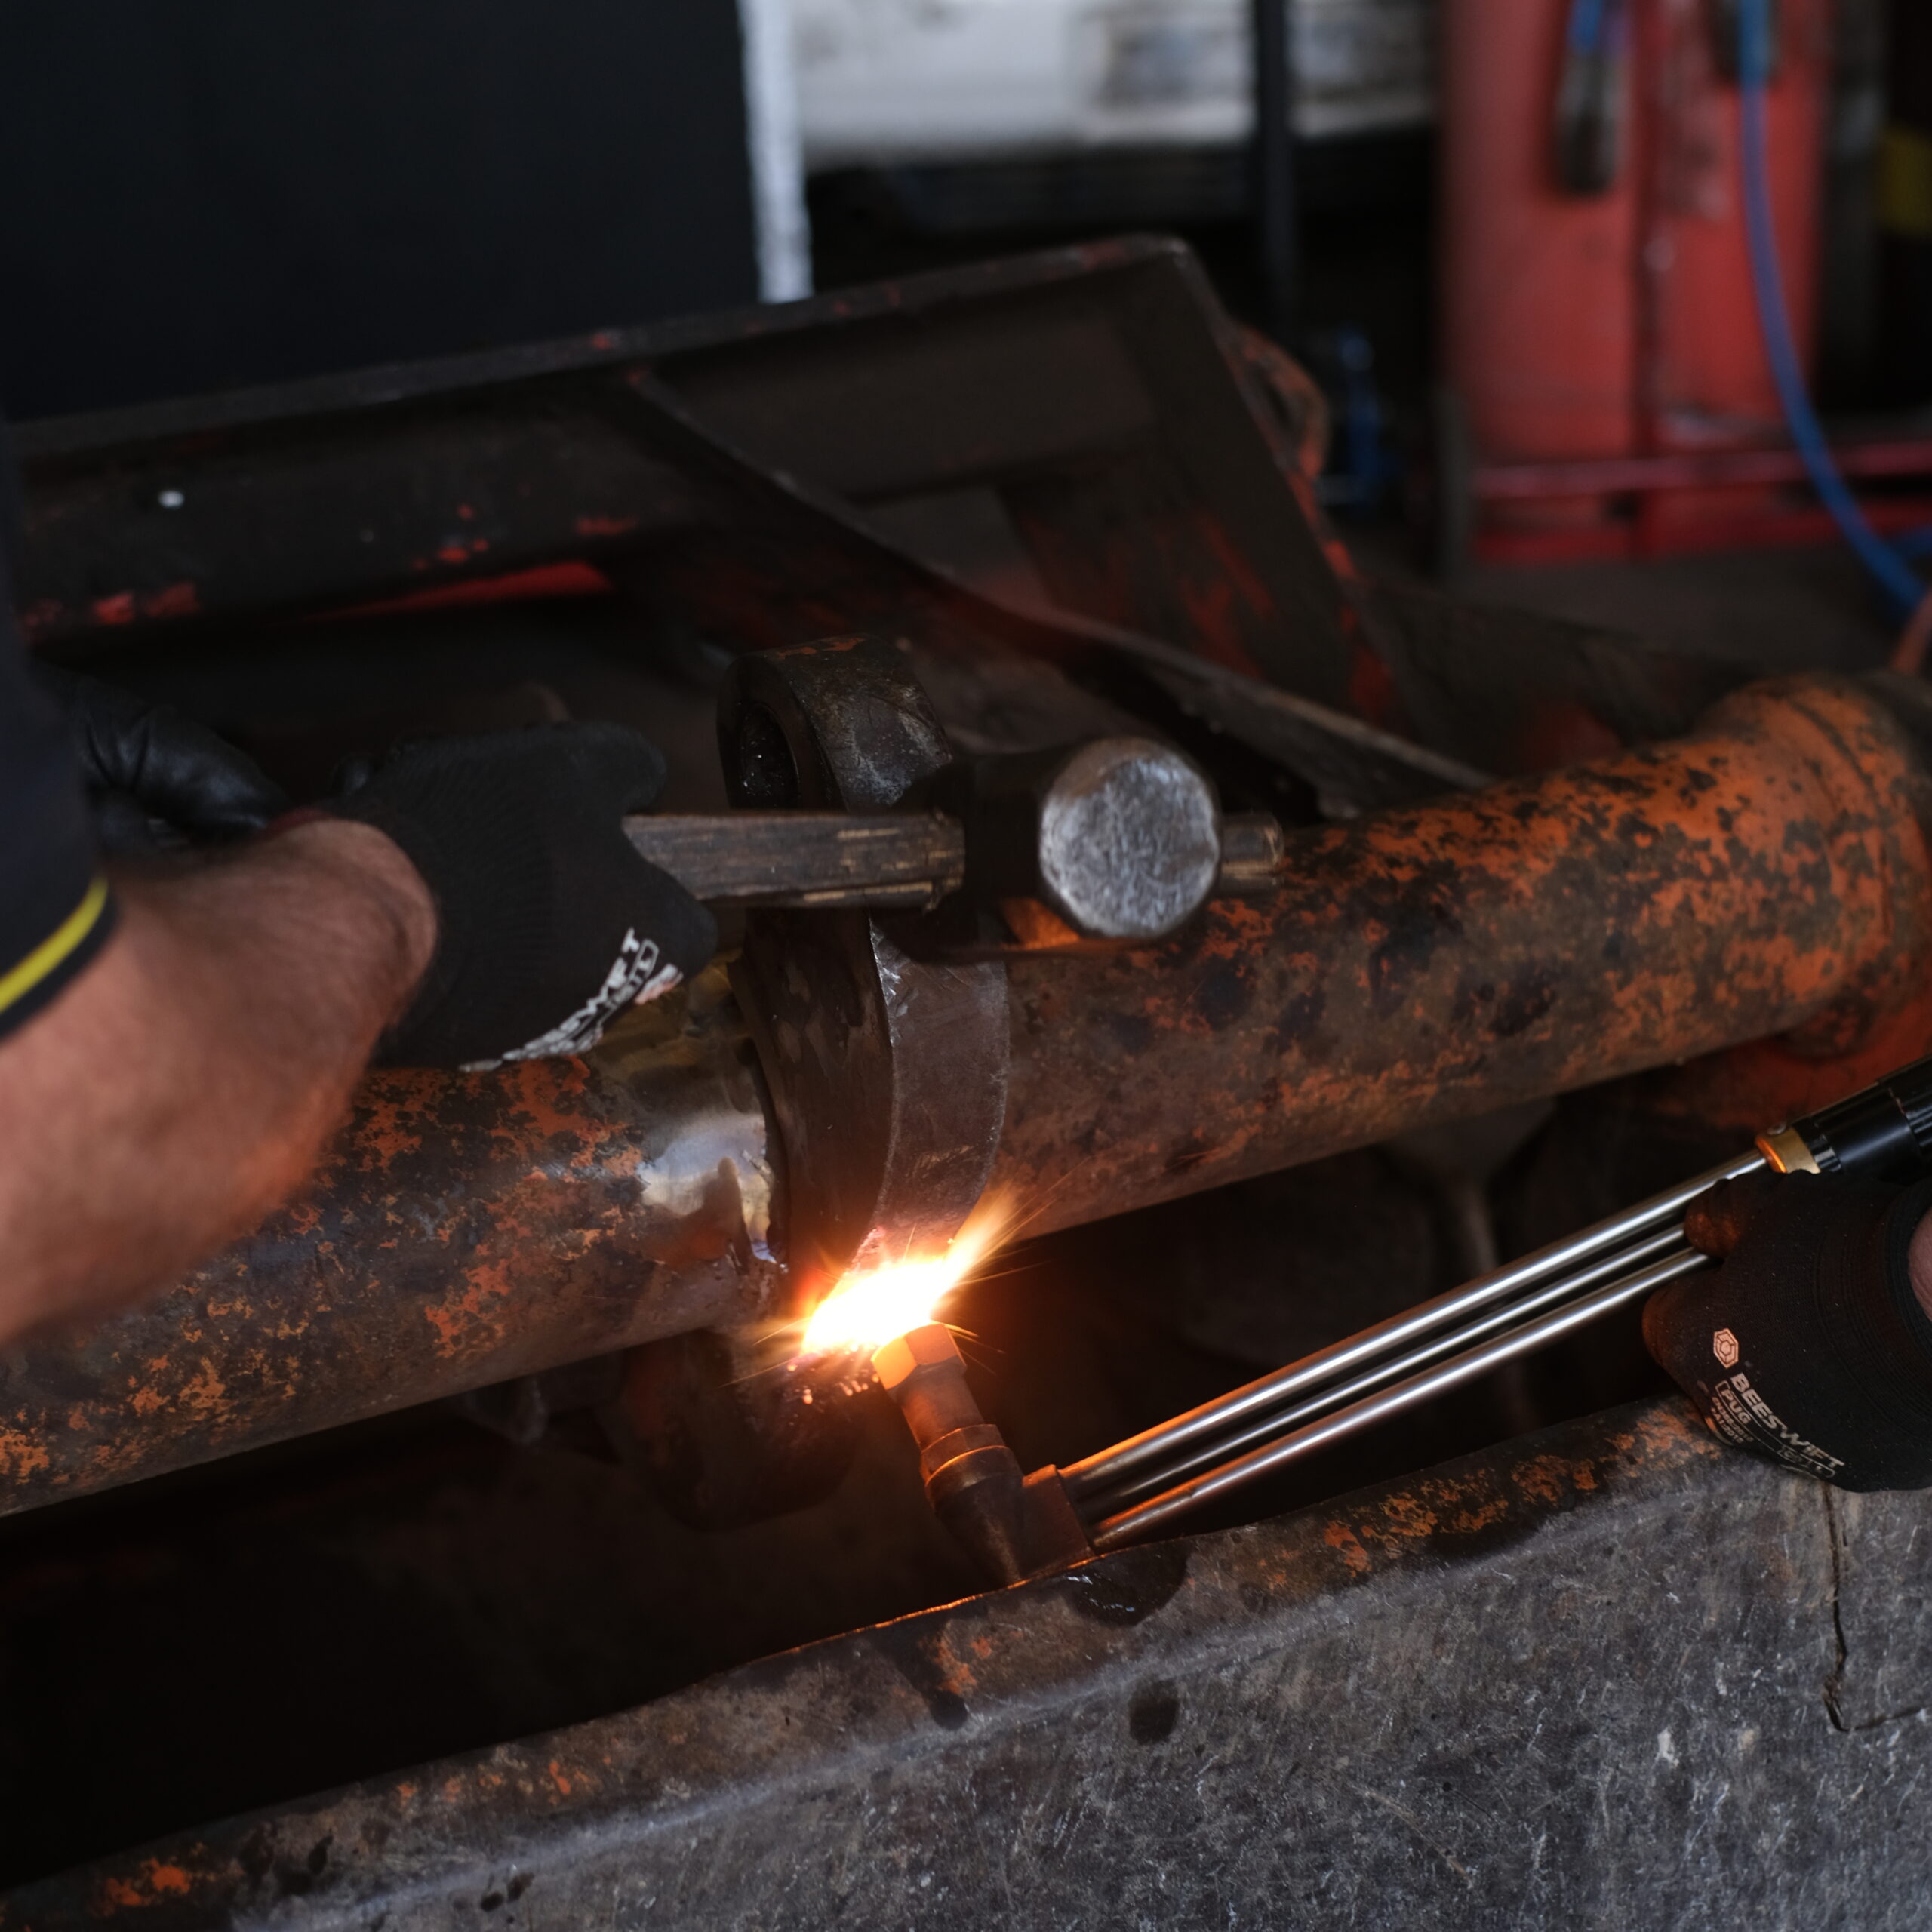
Warming the lower part of the severed lug so it could be coaxed back into position without snapping off completely.
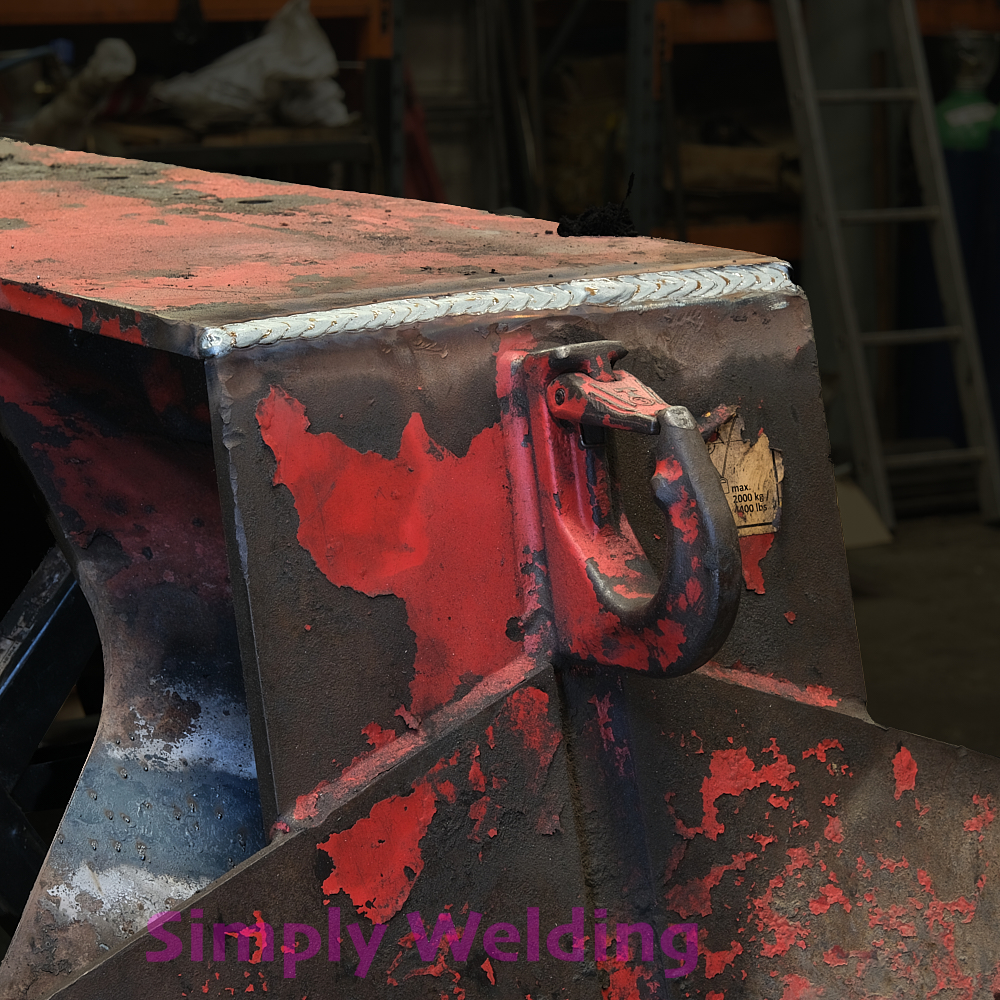
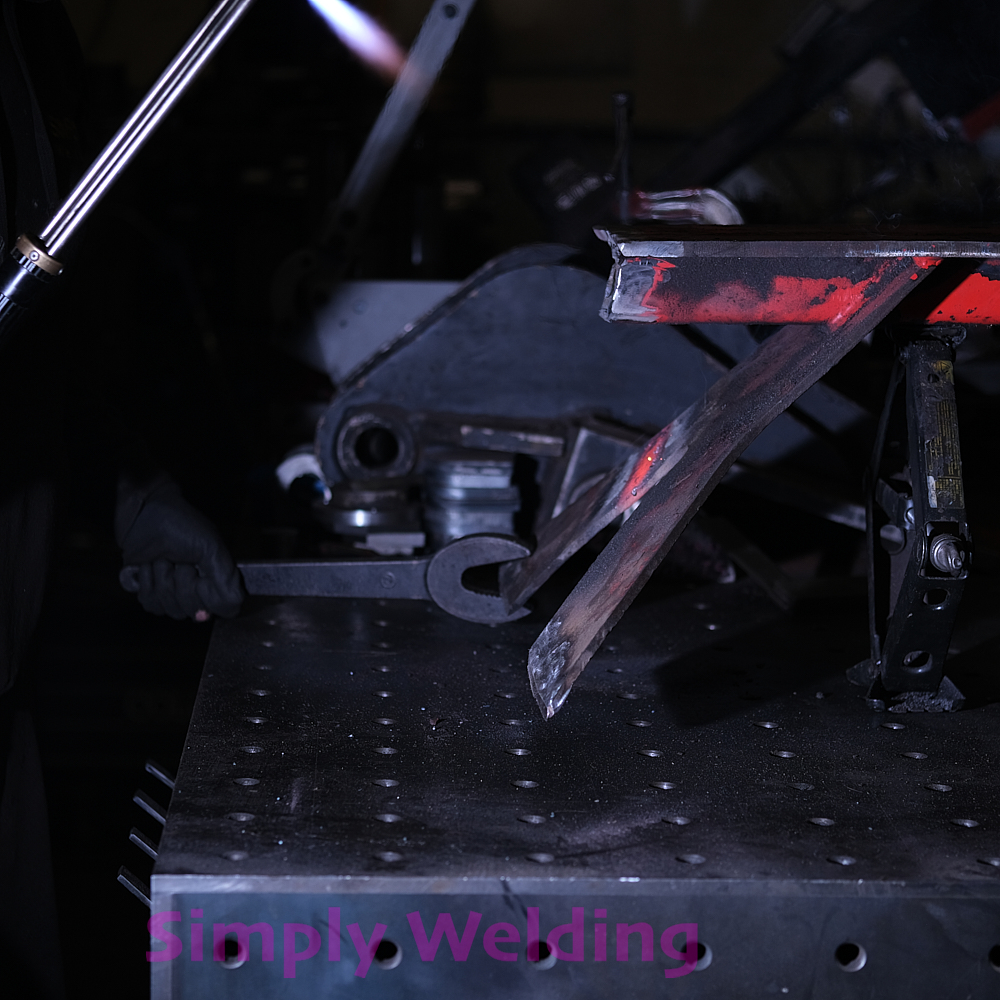
The lug on the Kinshofer bucket is hammered back in to place.
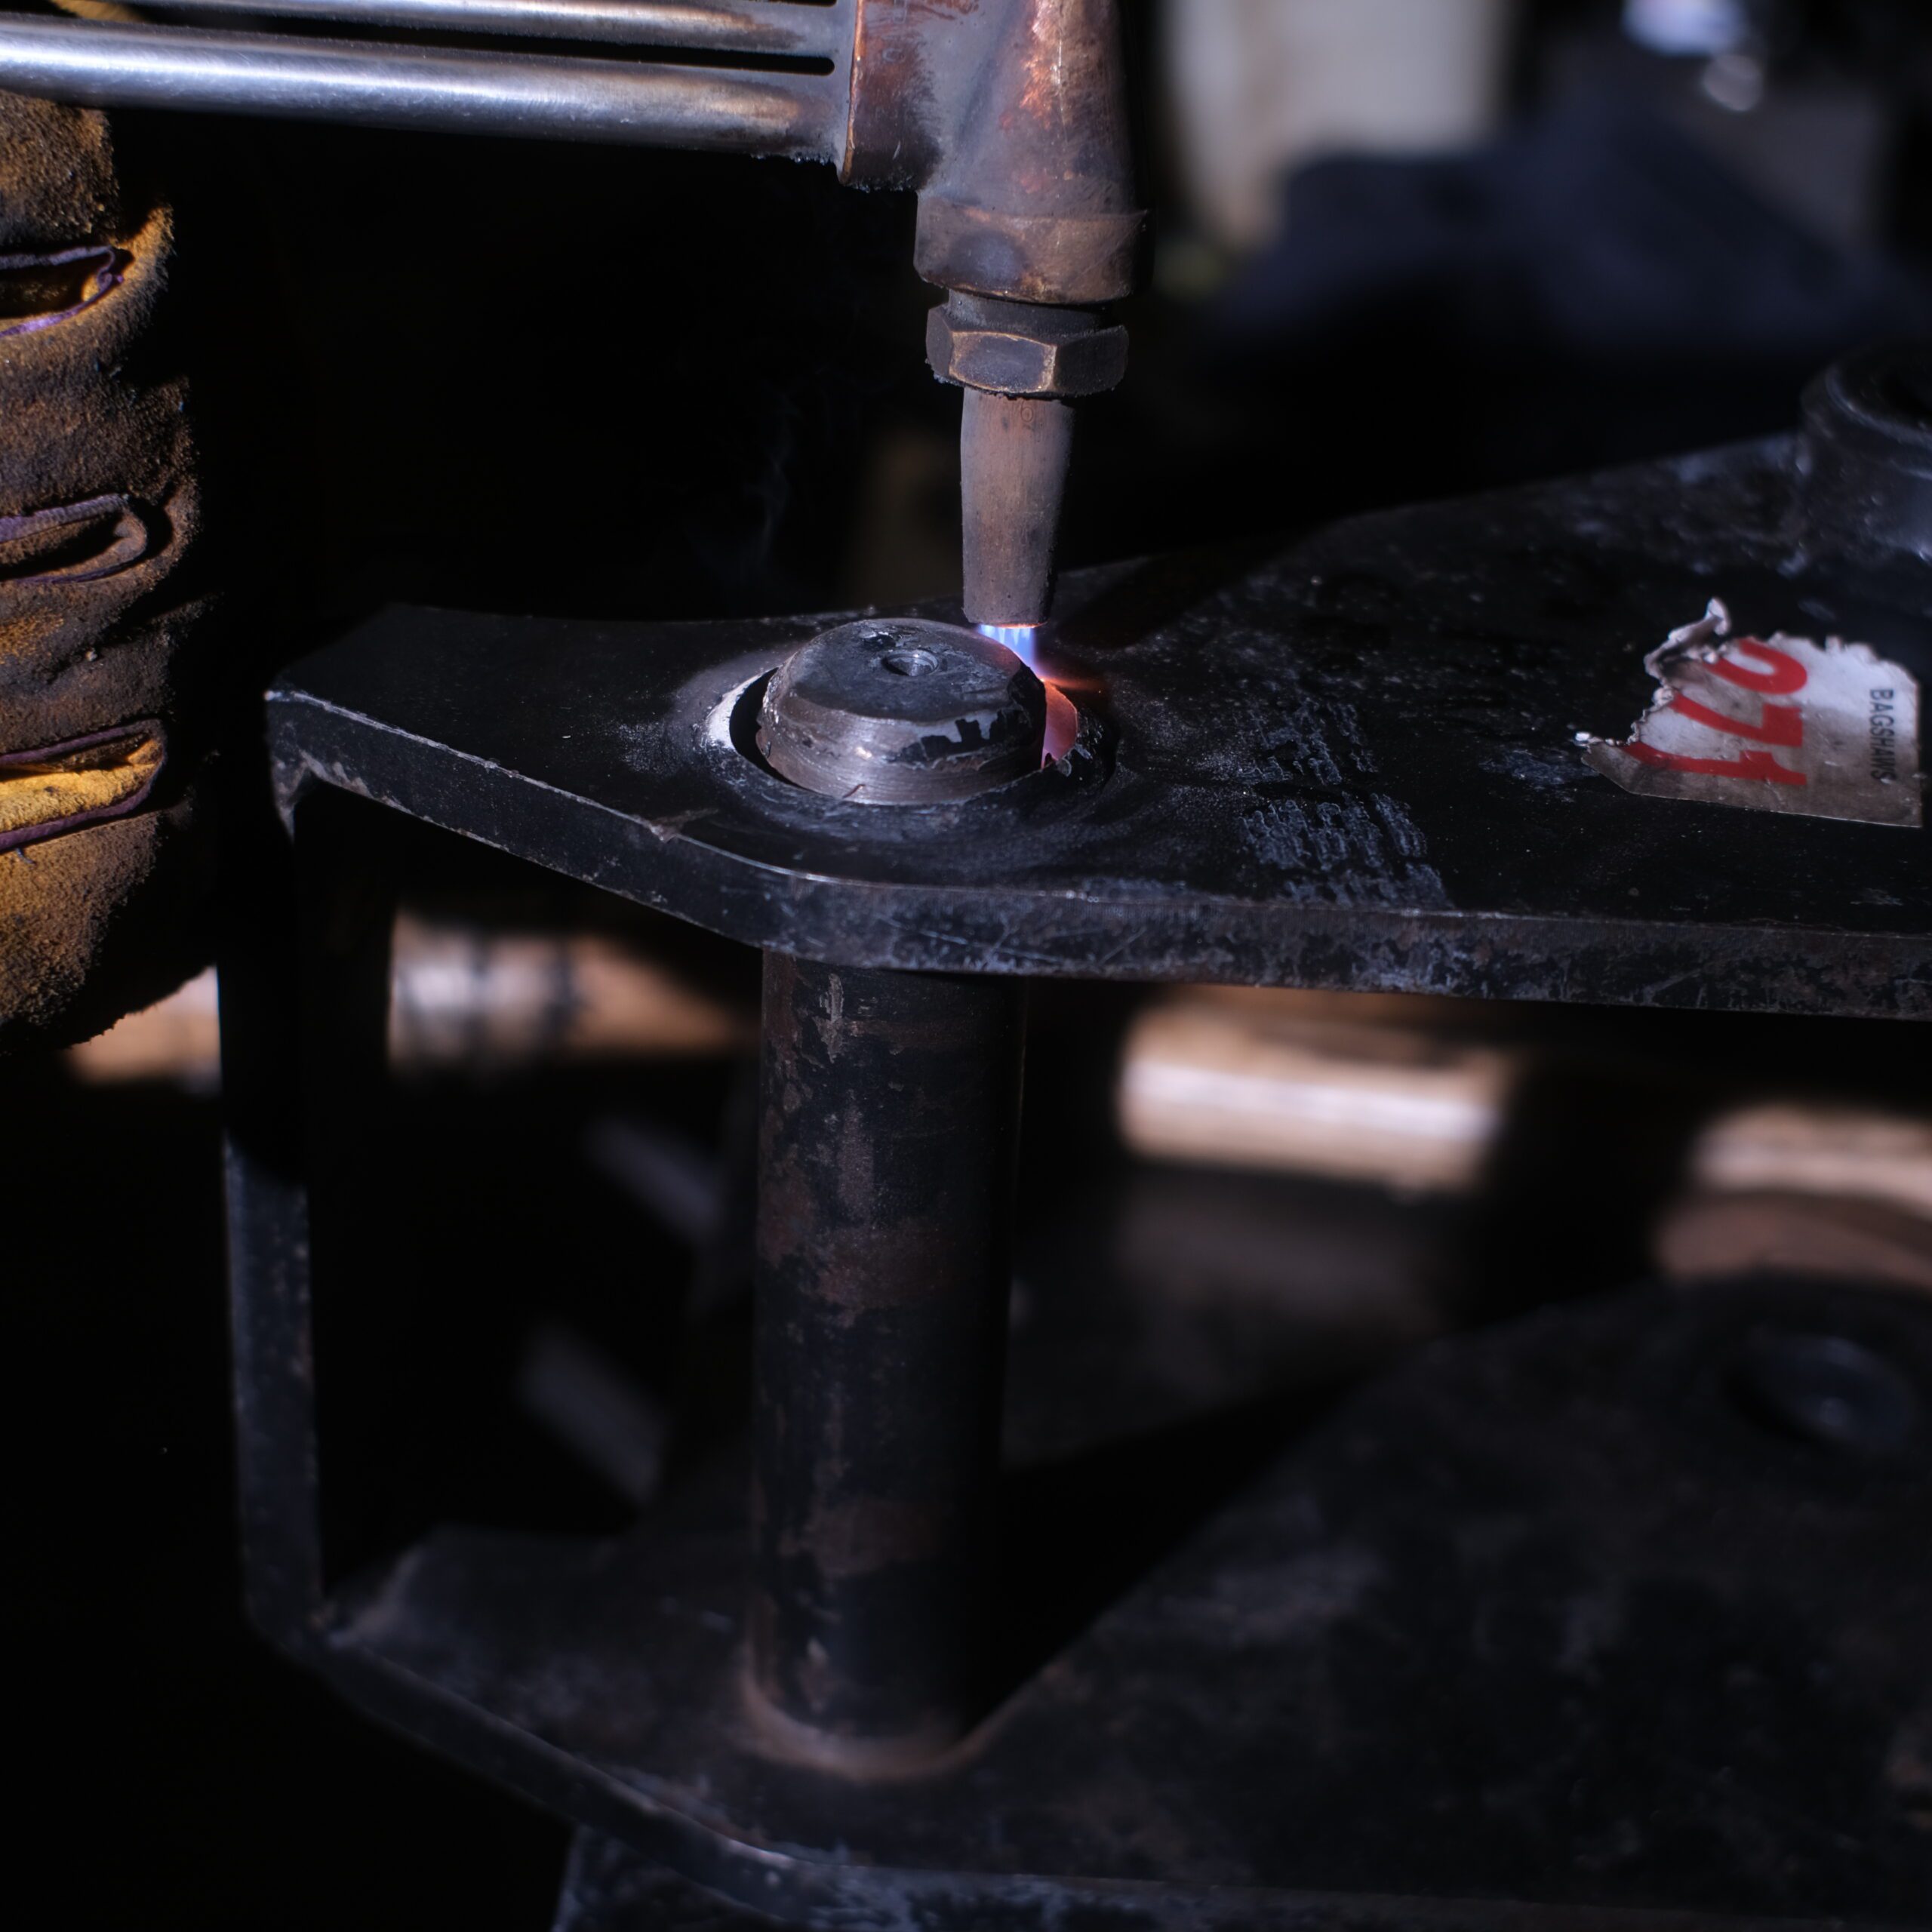
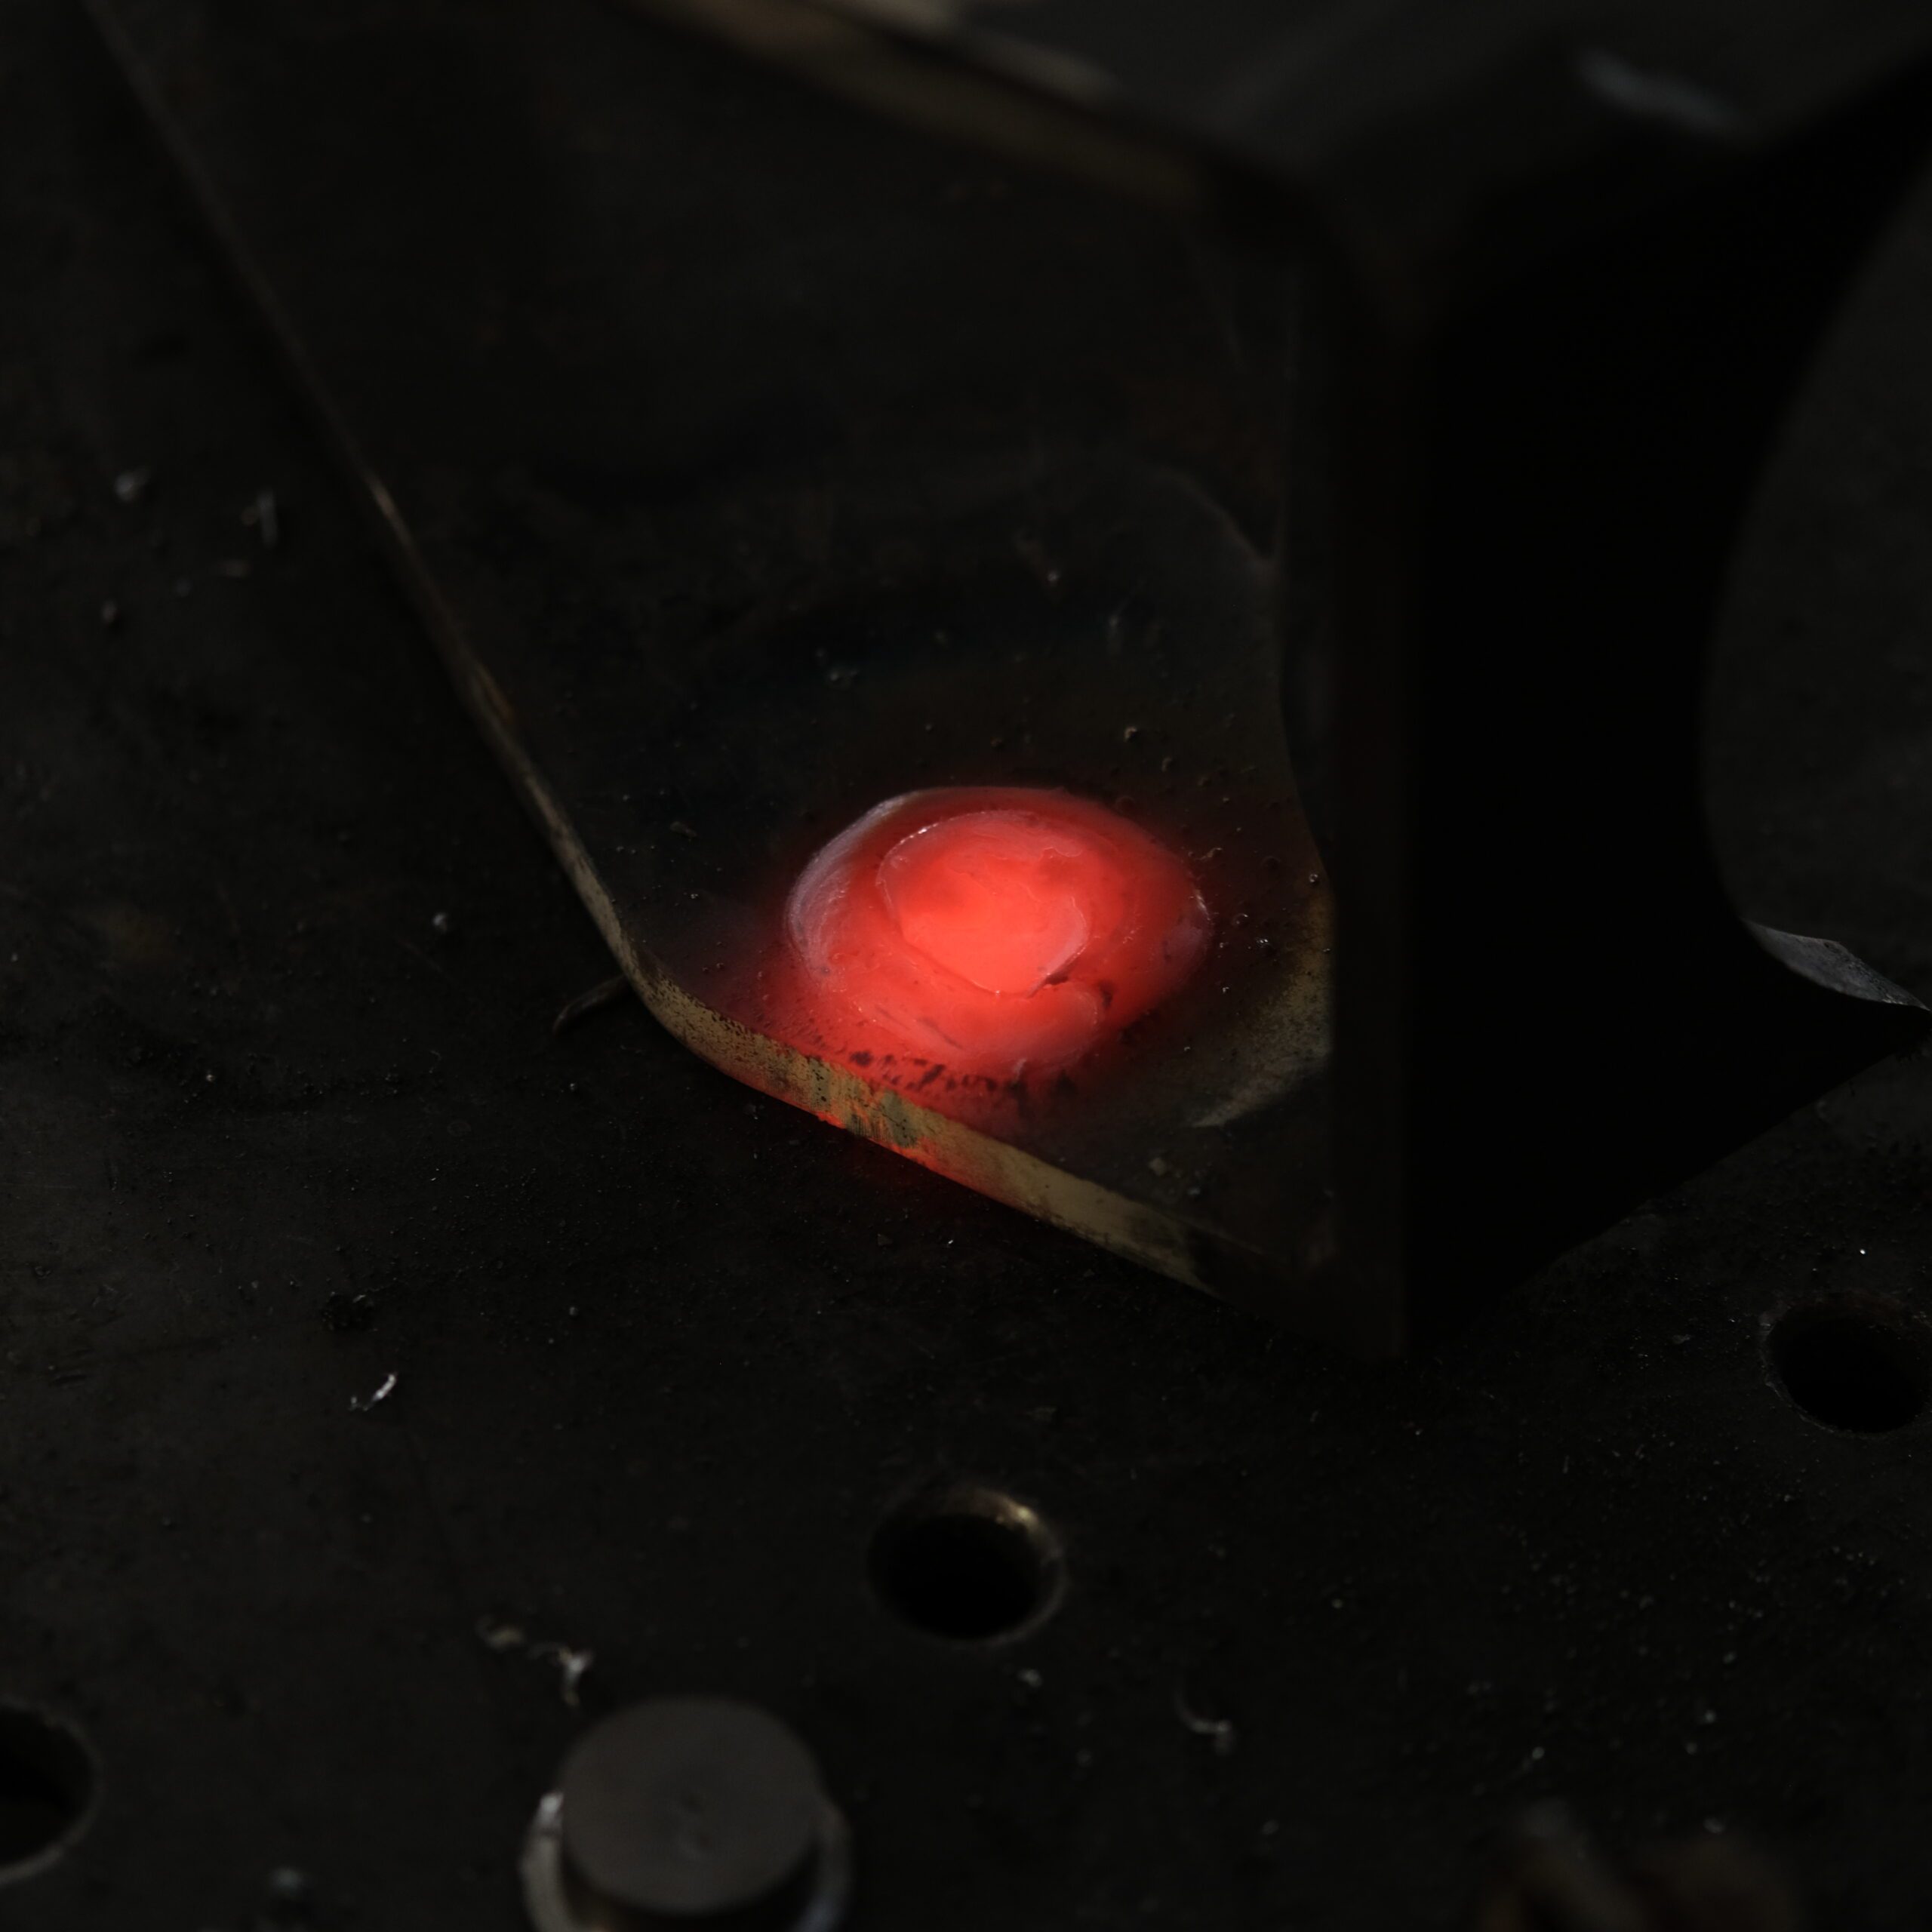
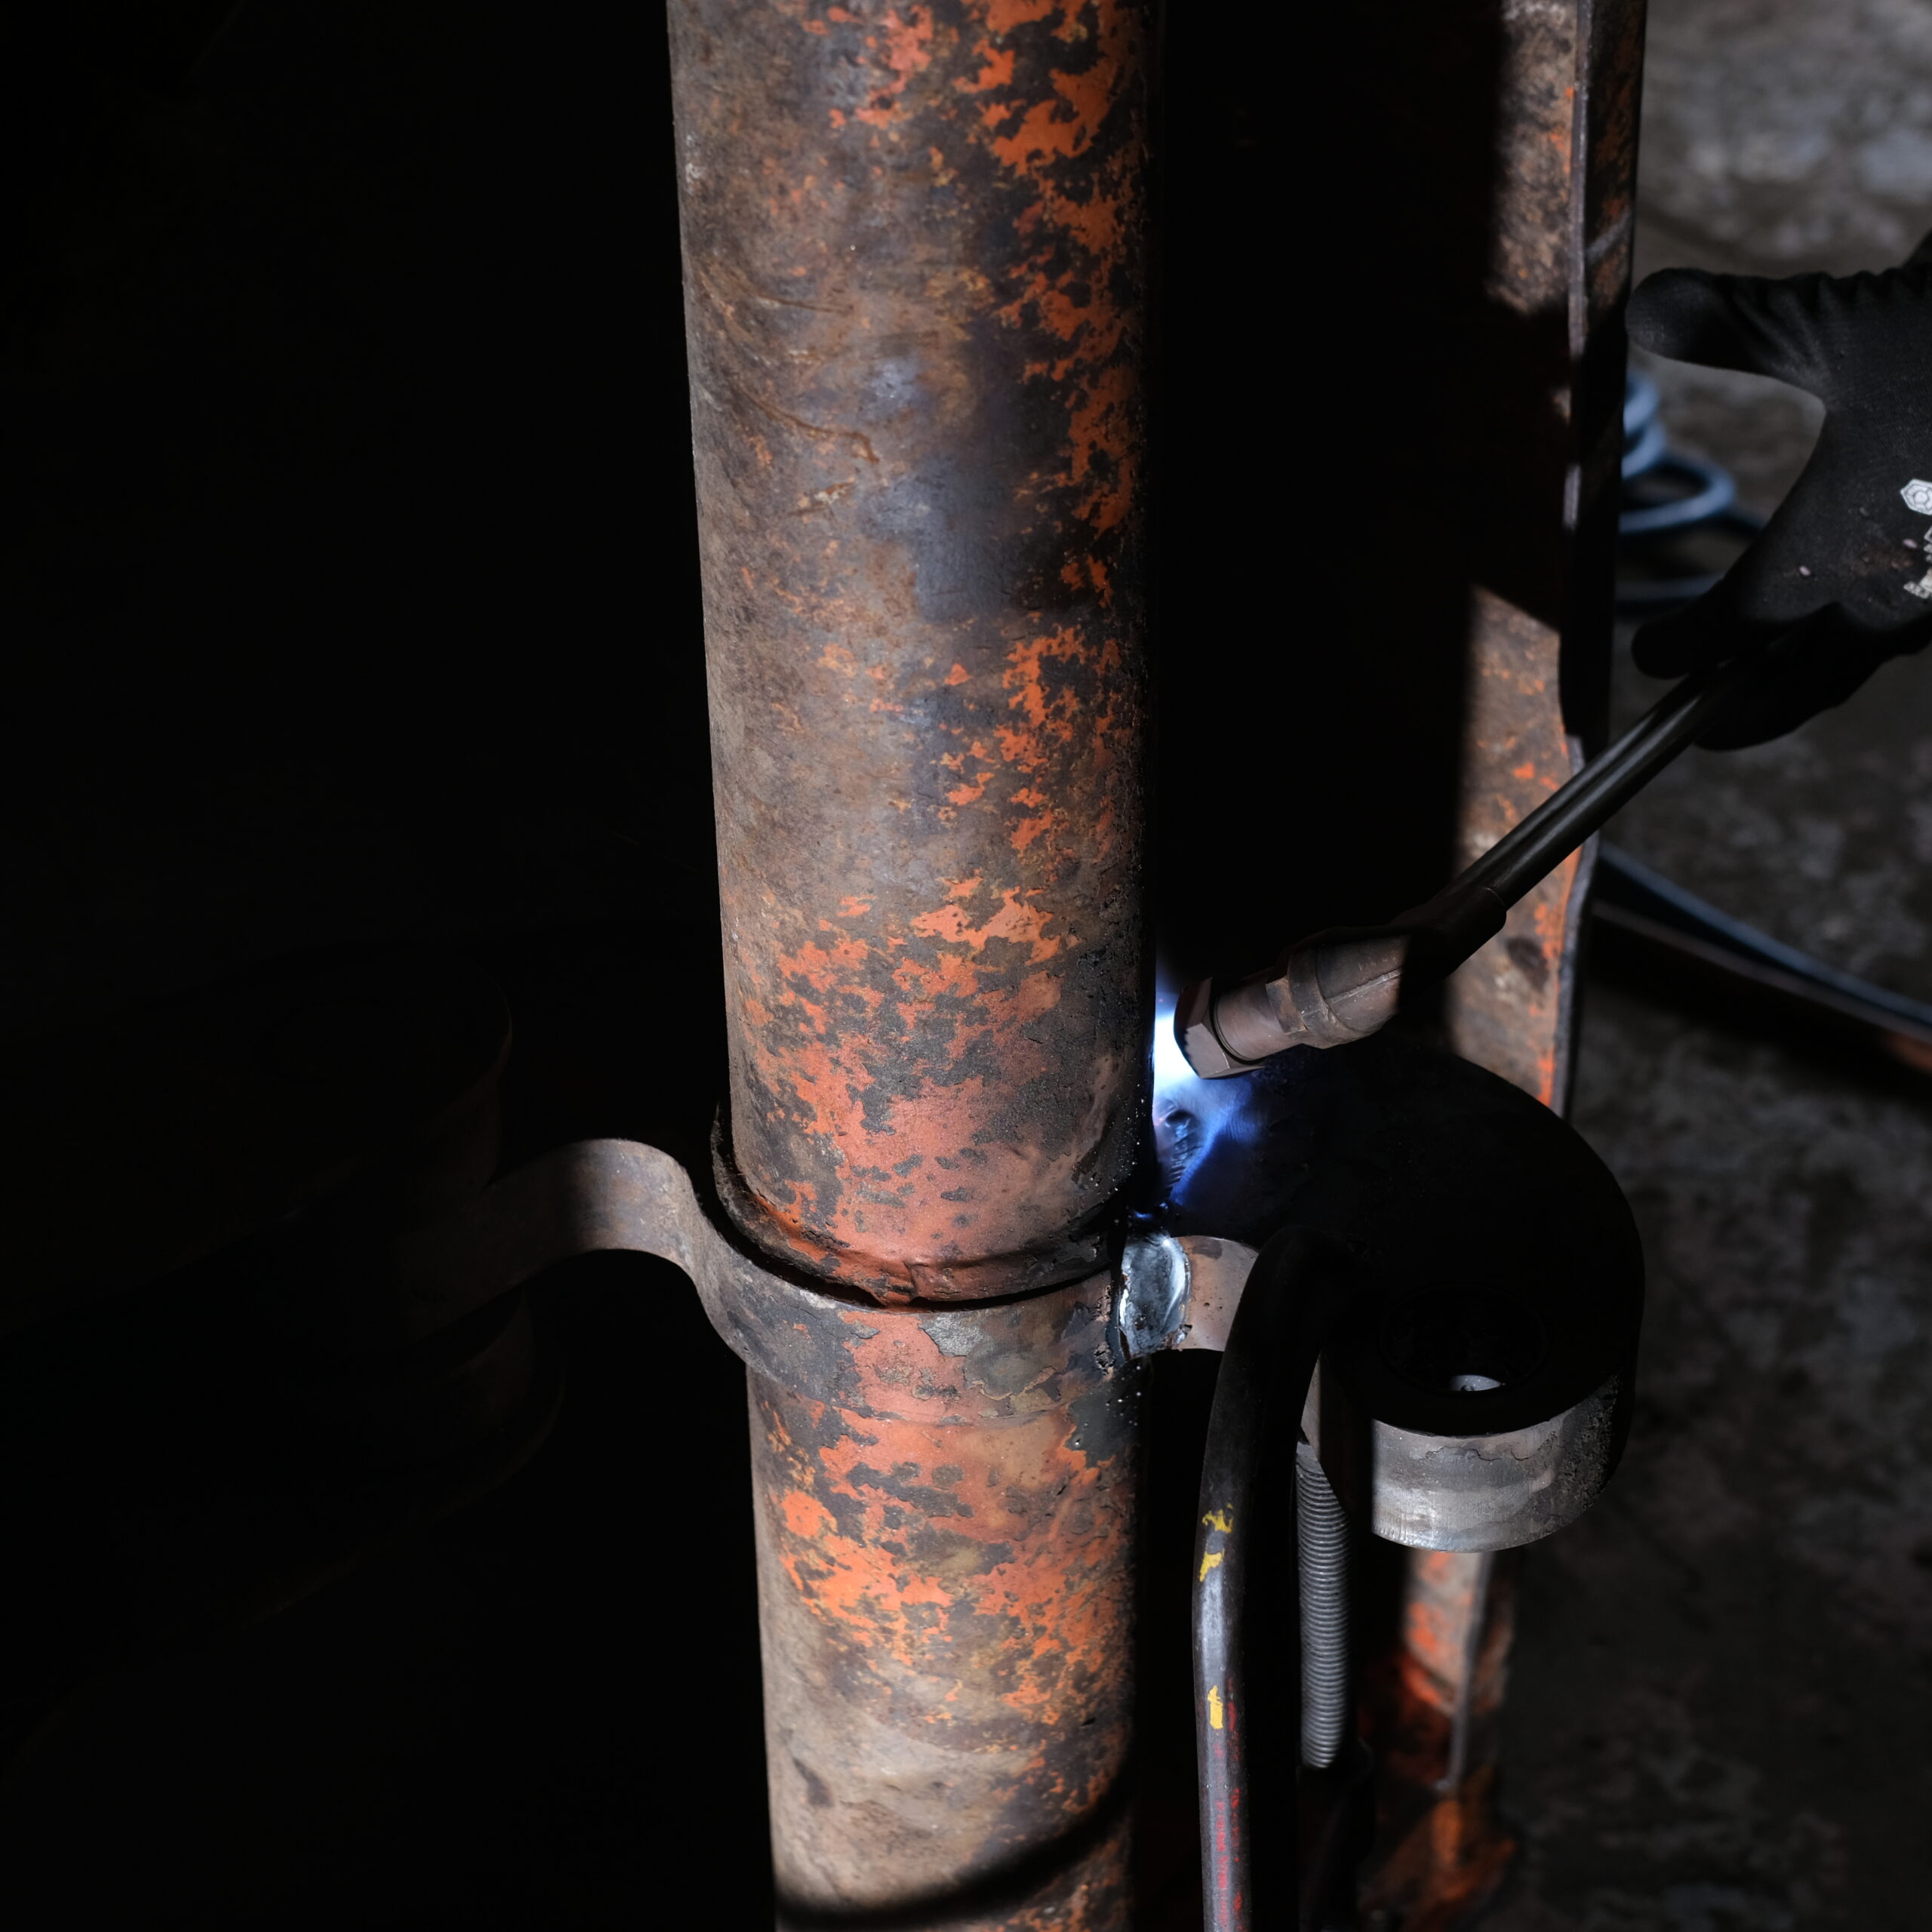
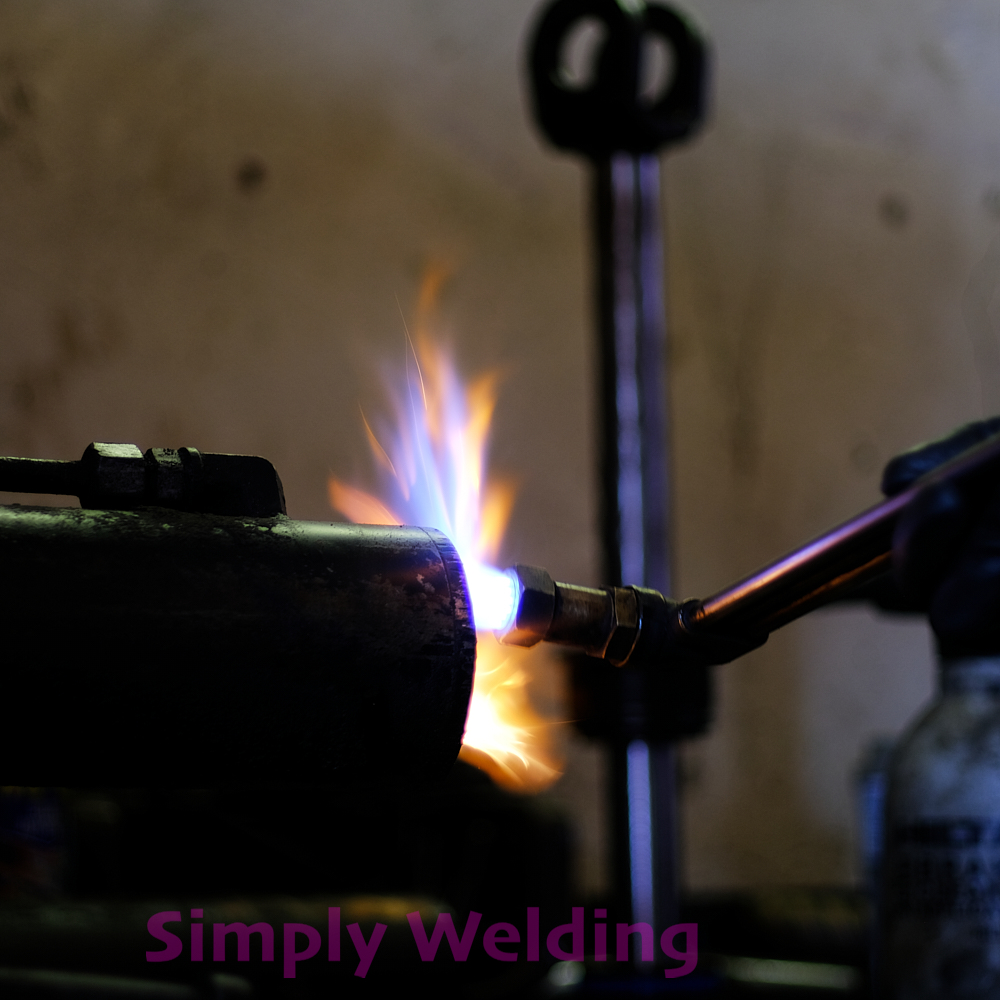
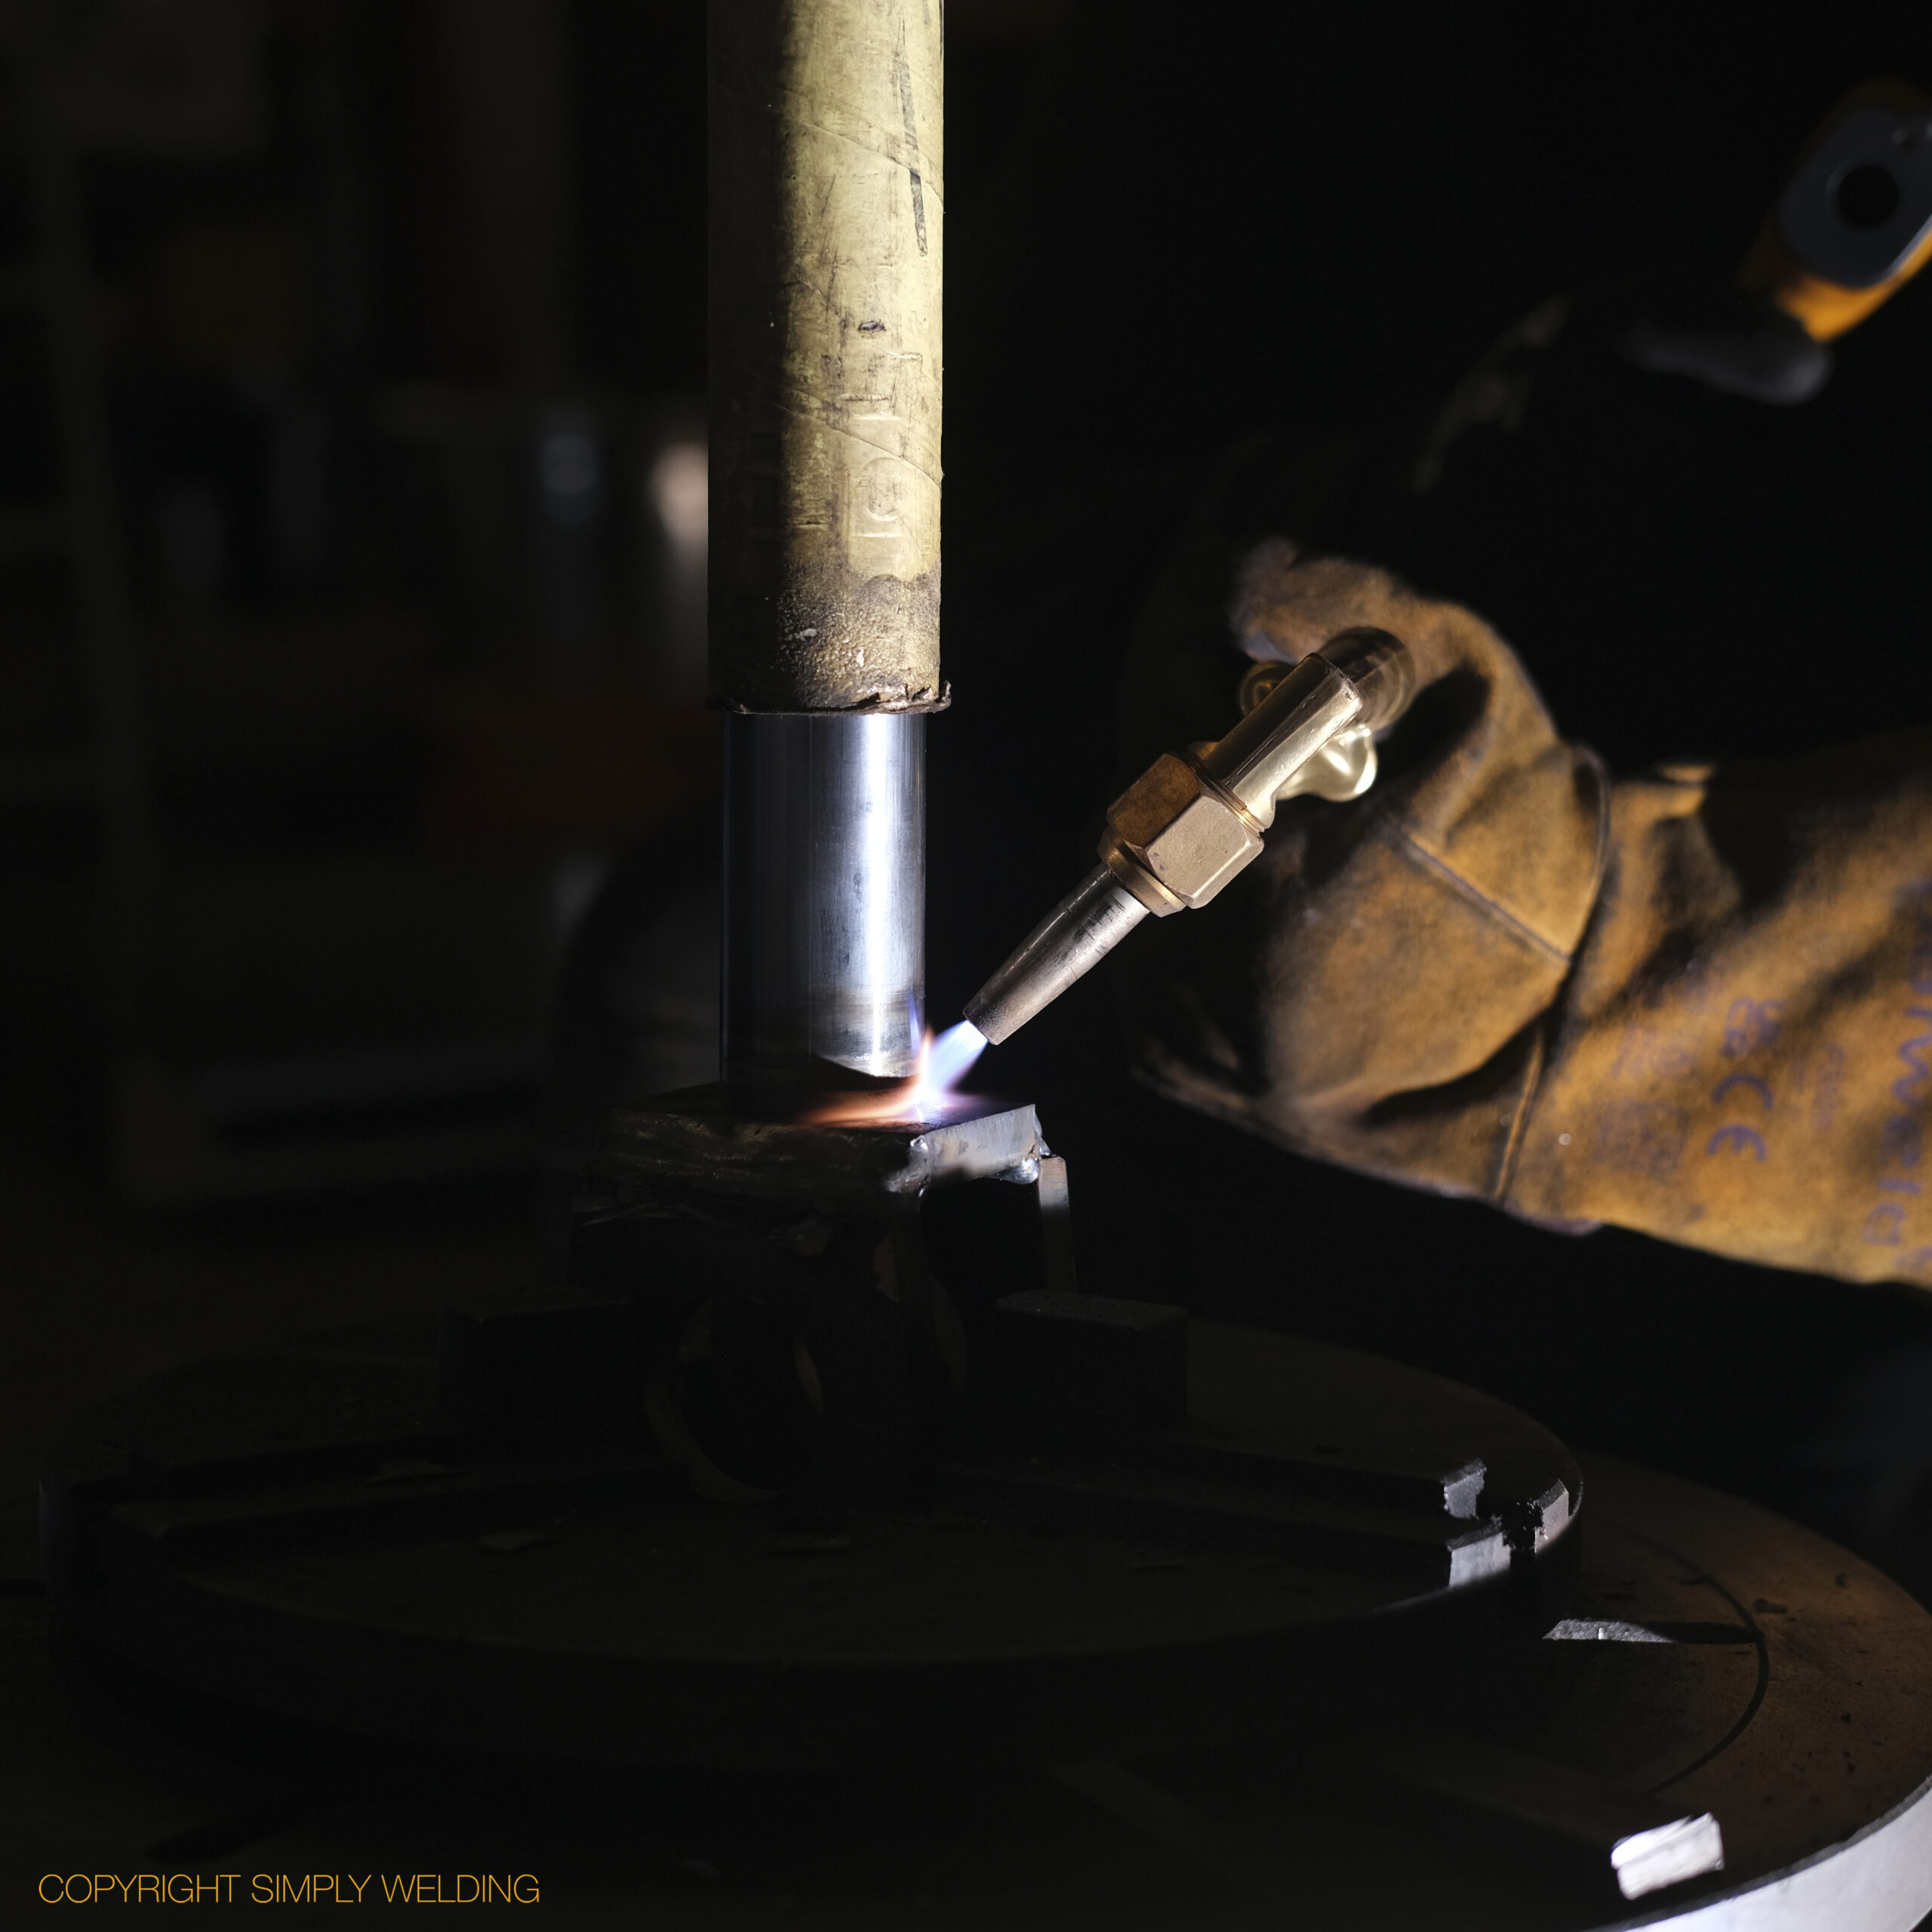
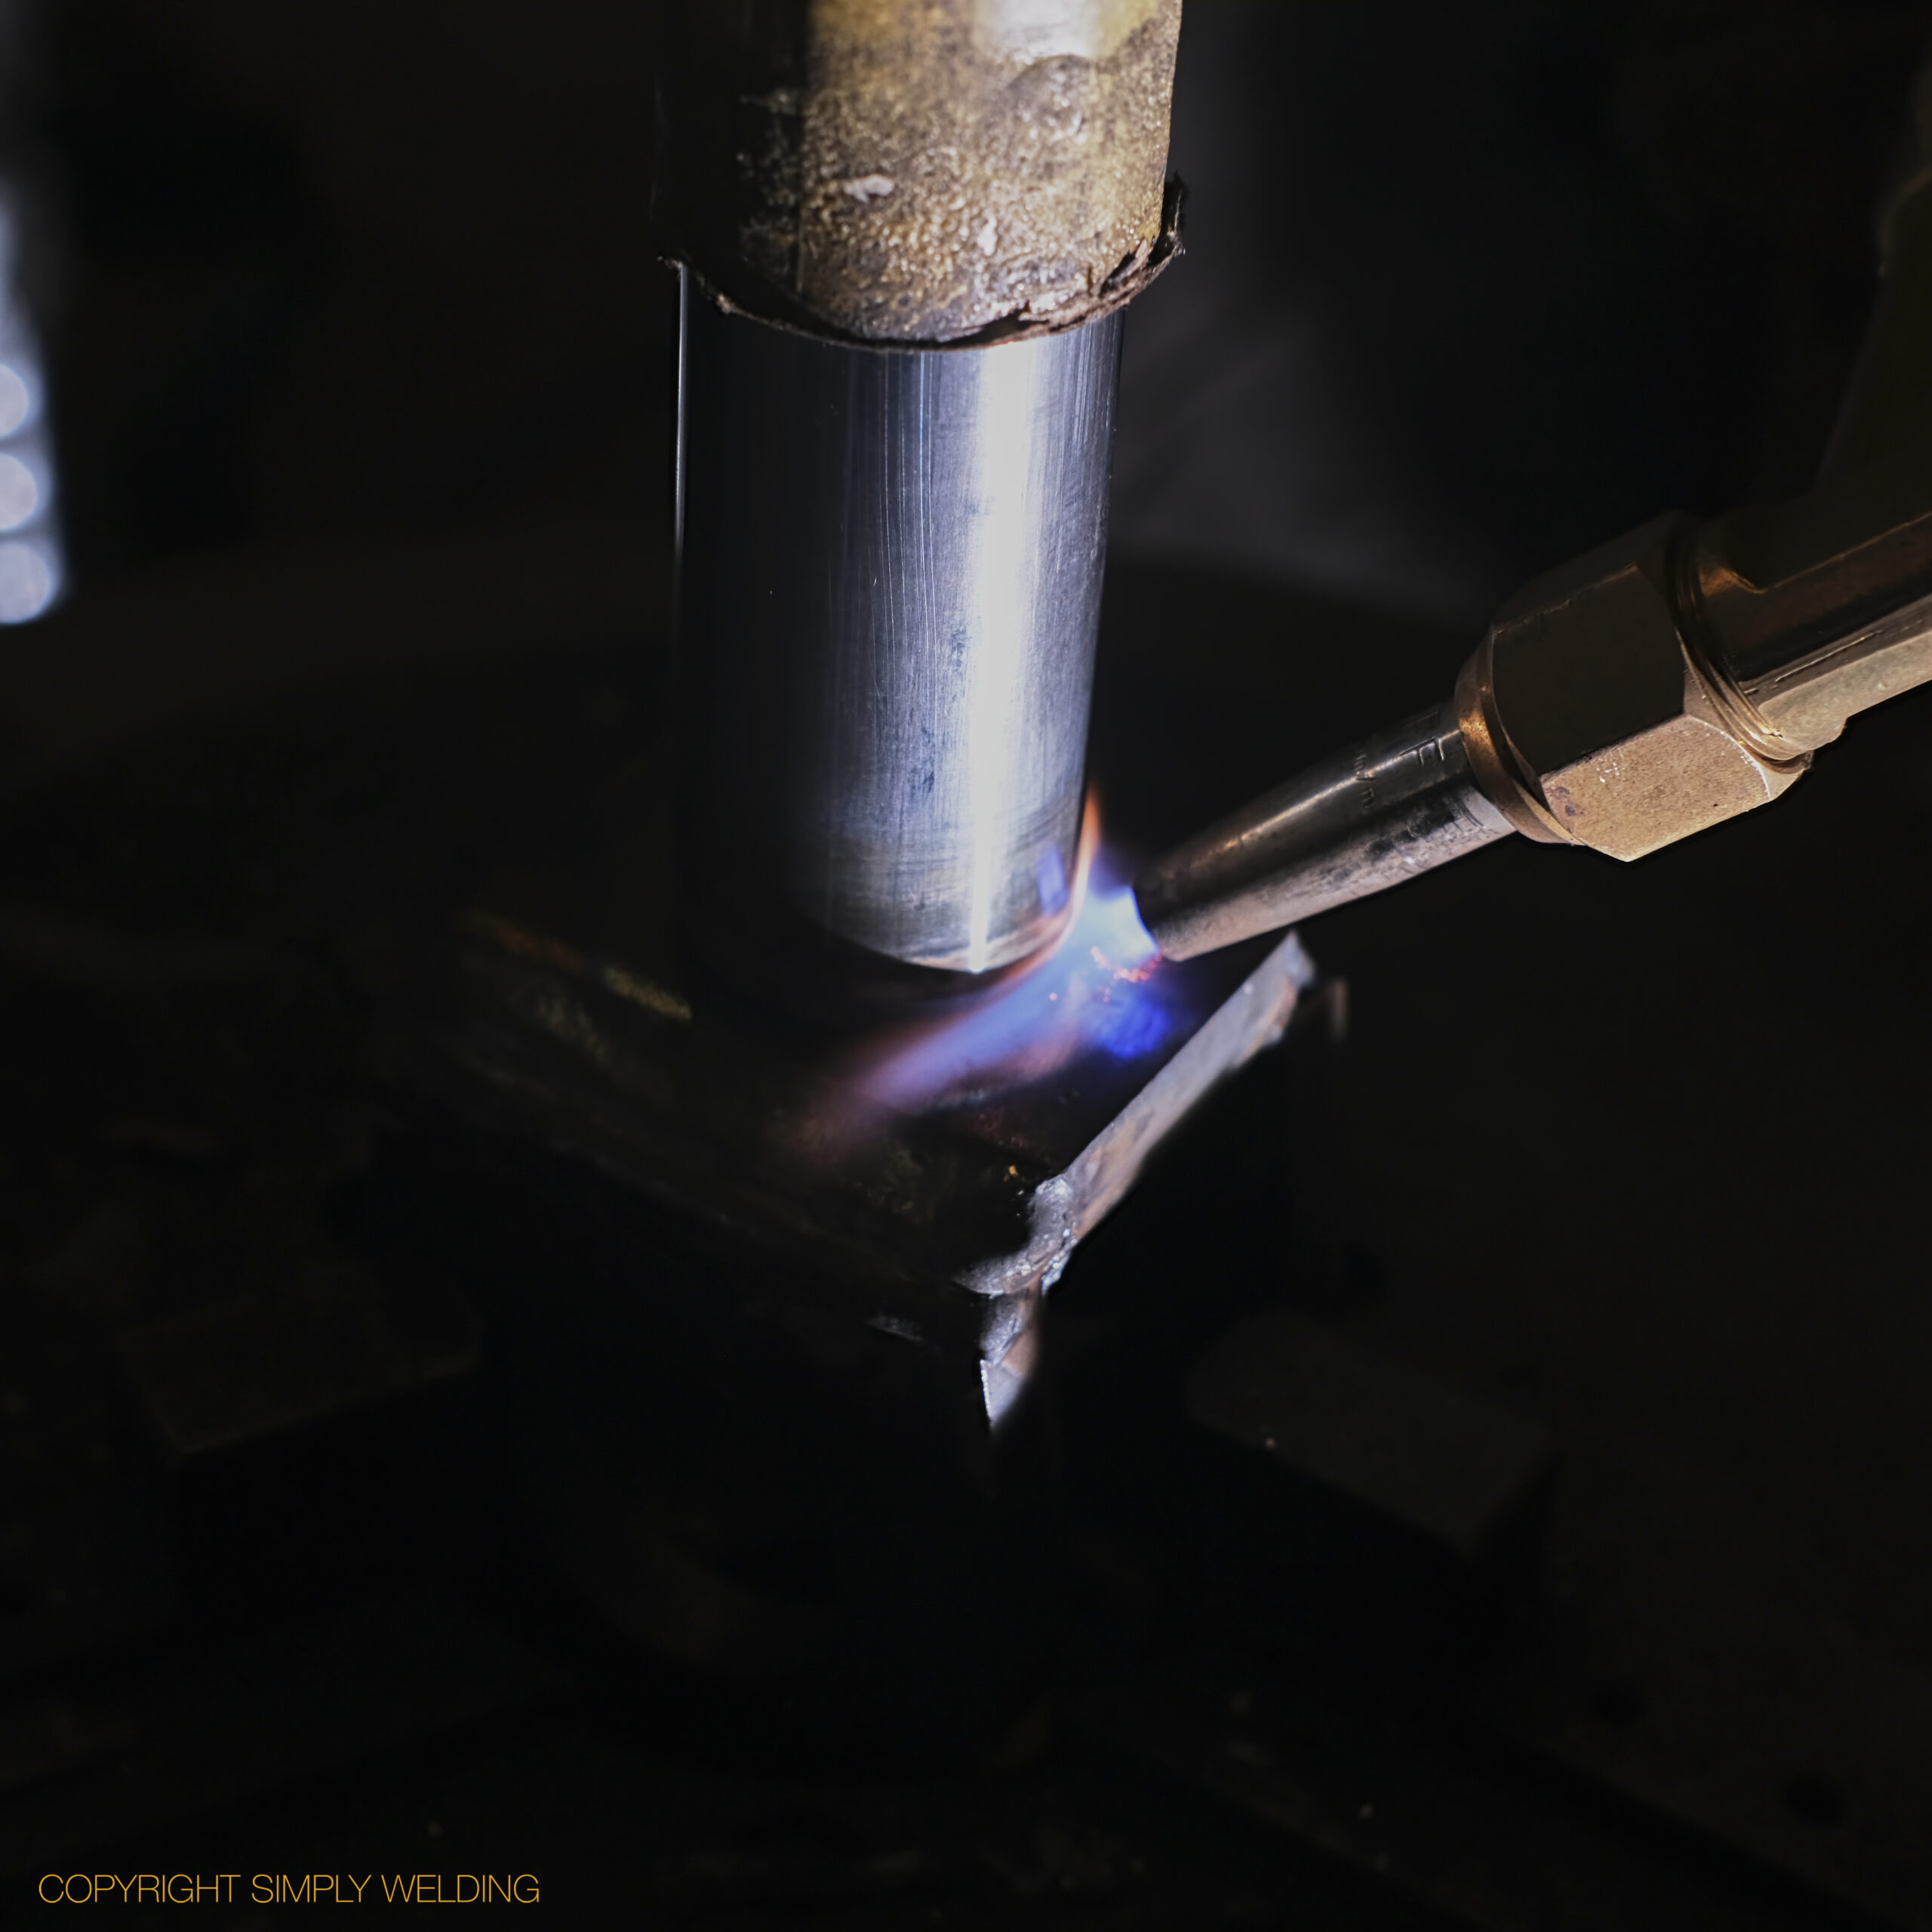
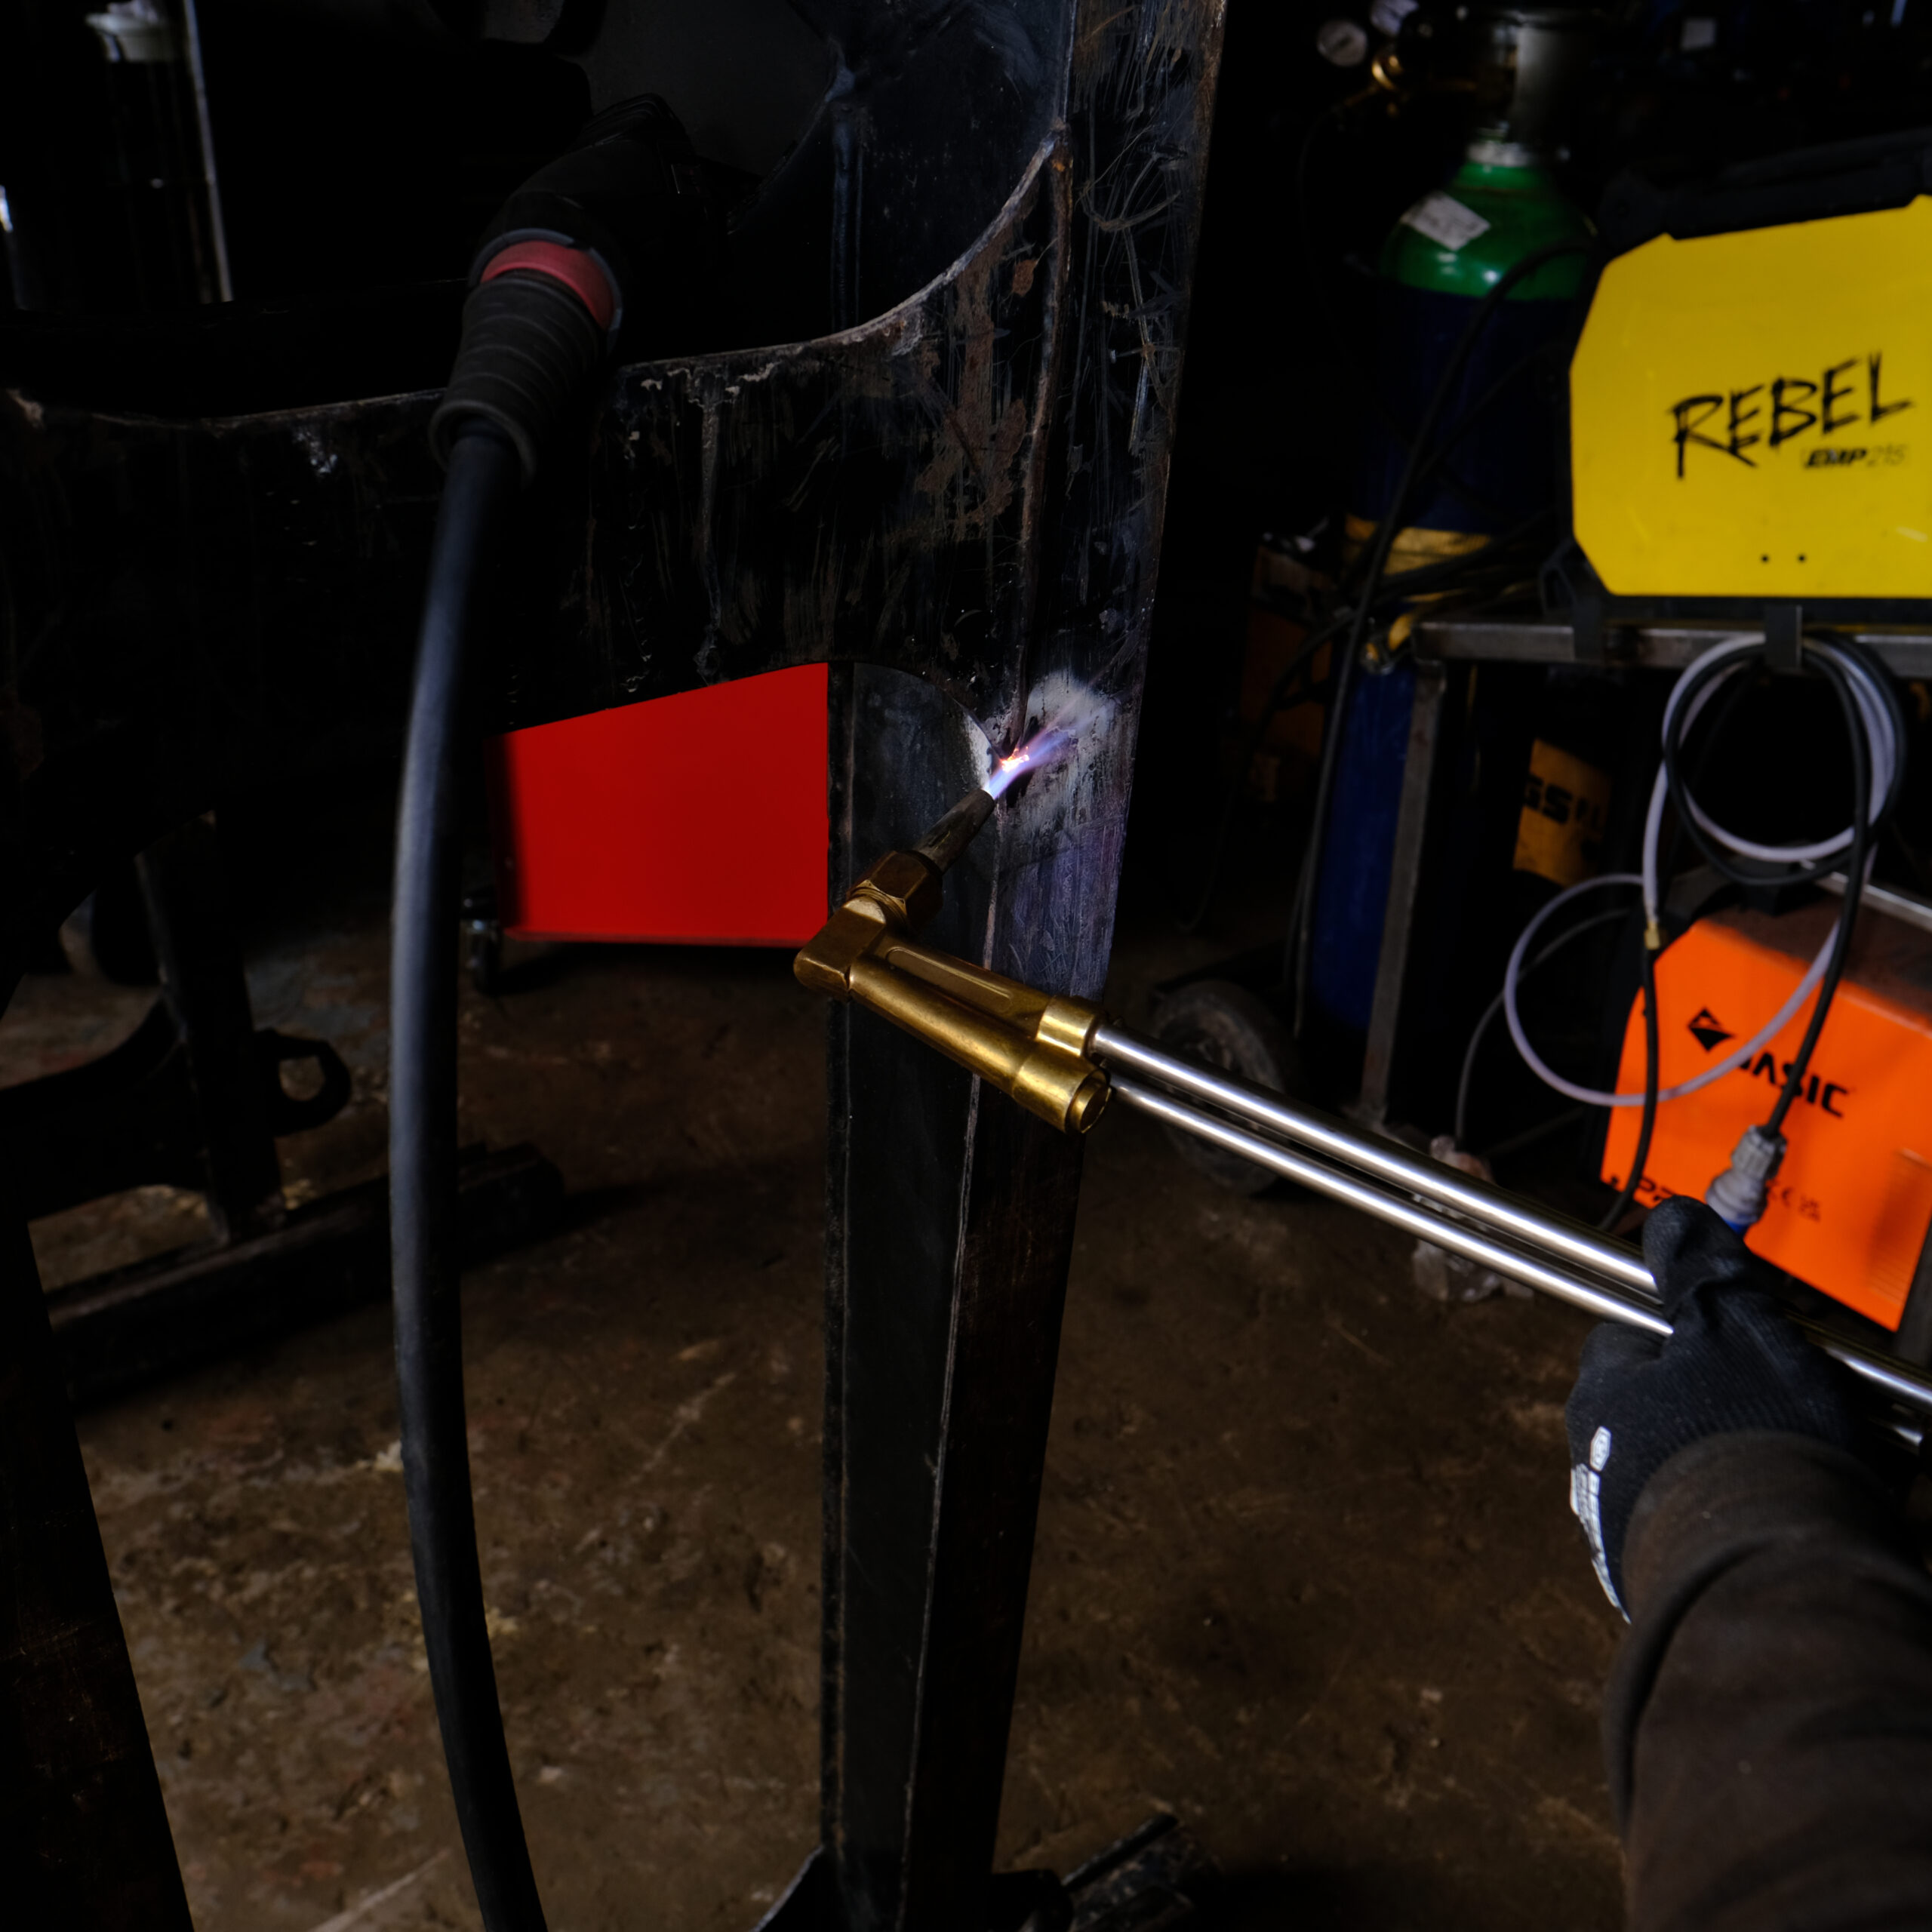
The area to be welded is being pre-heated with oxo-propane.
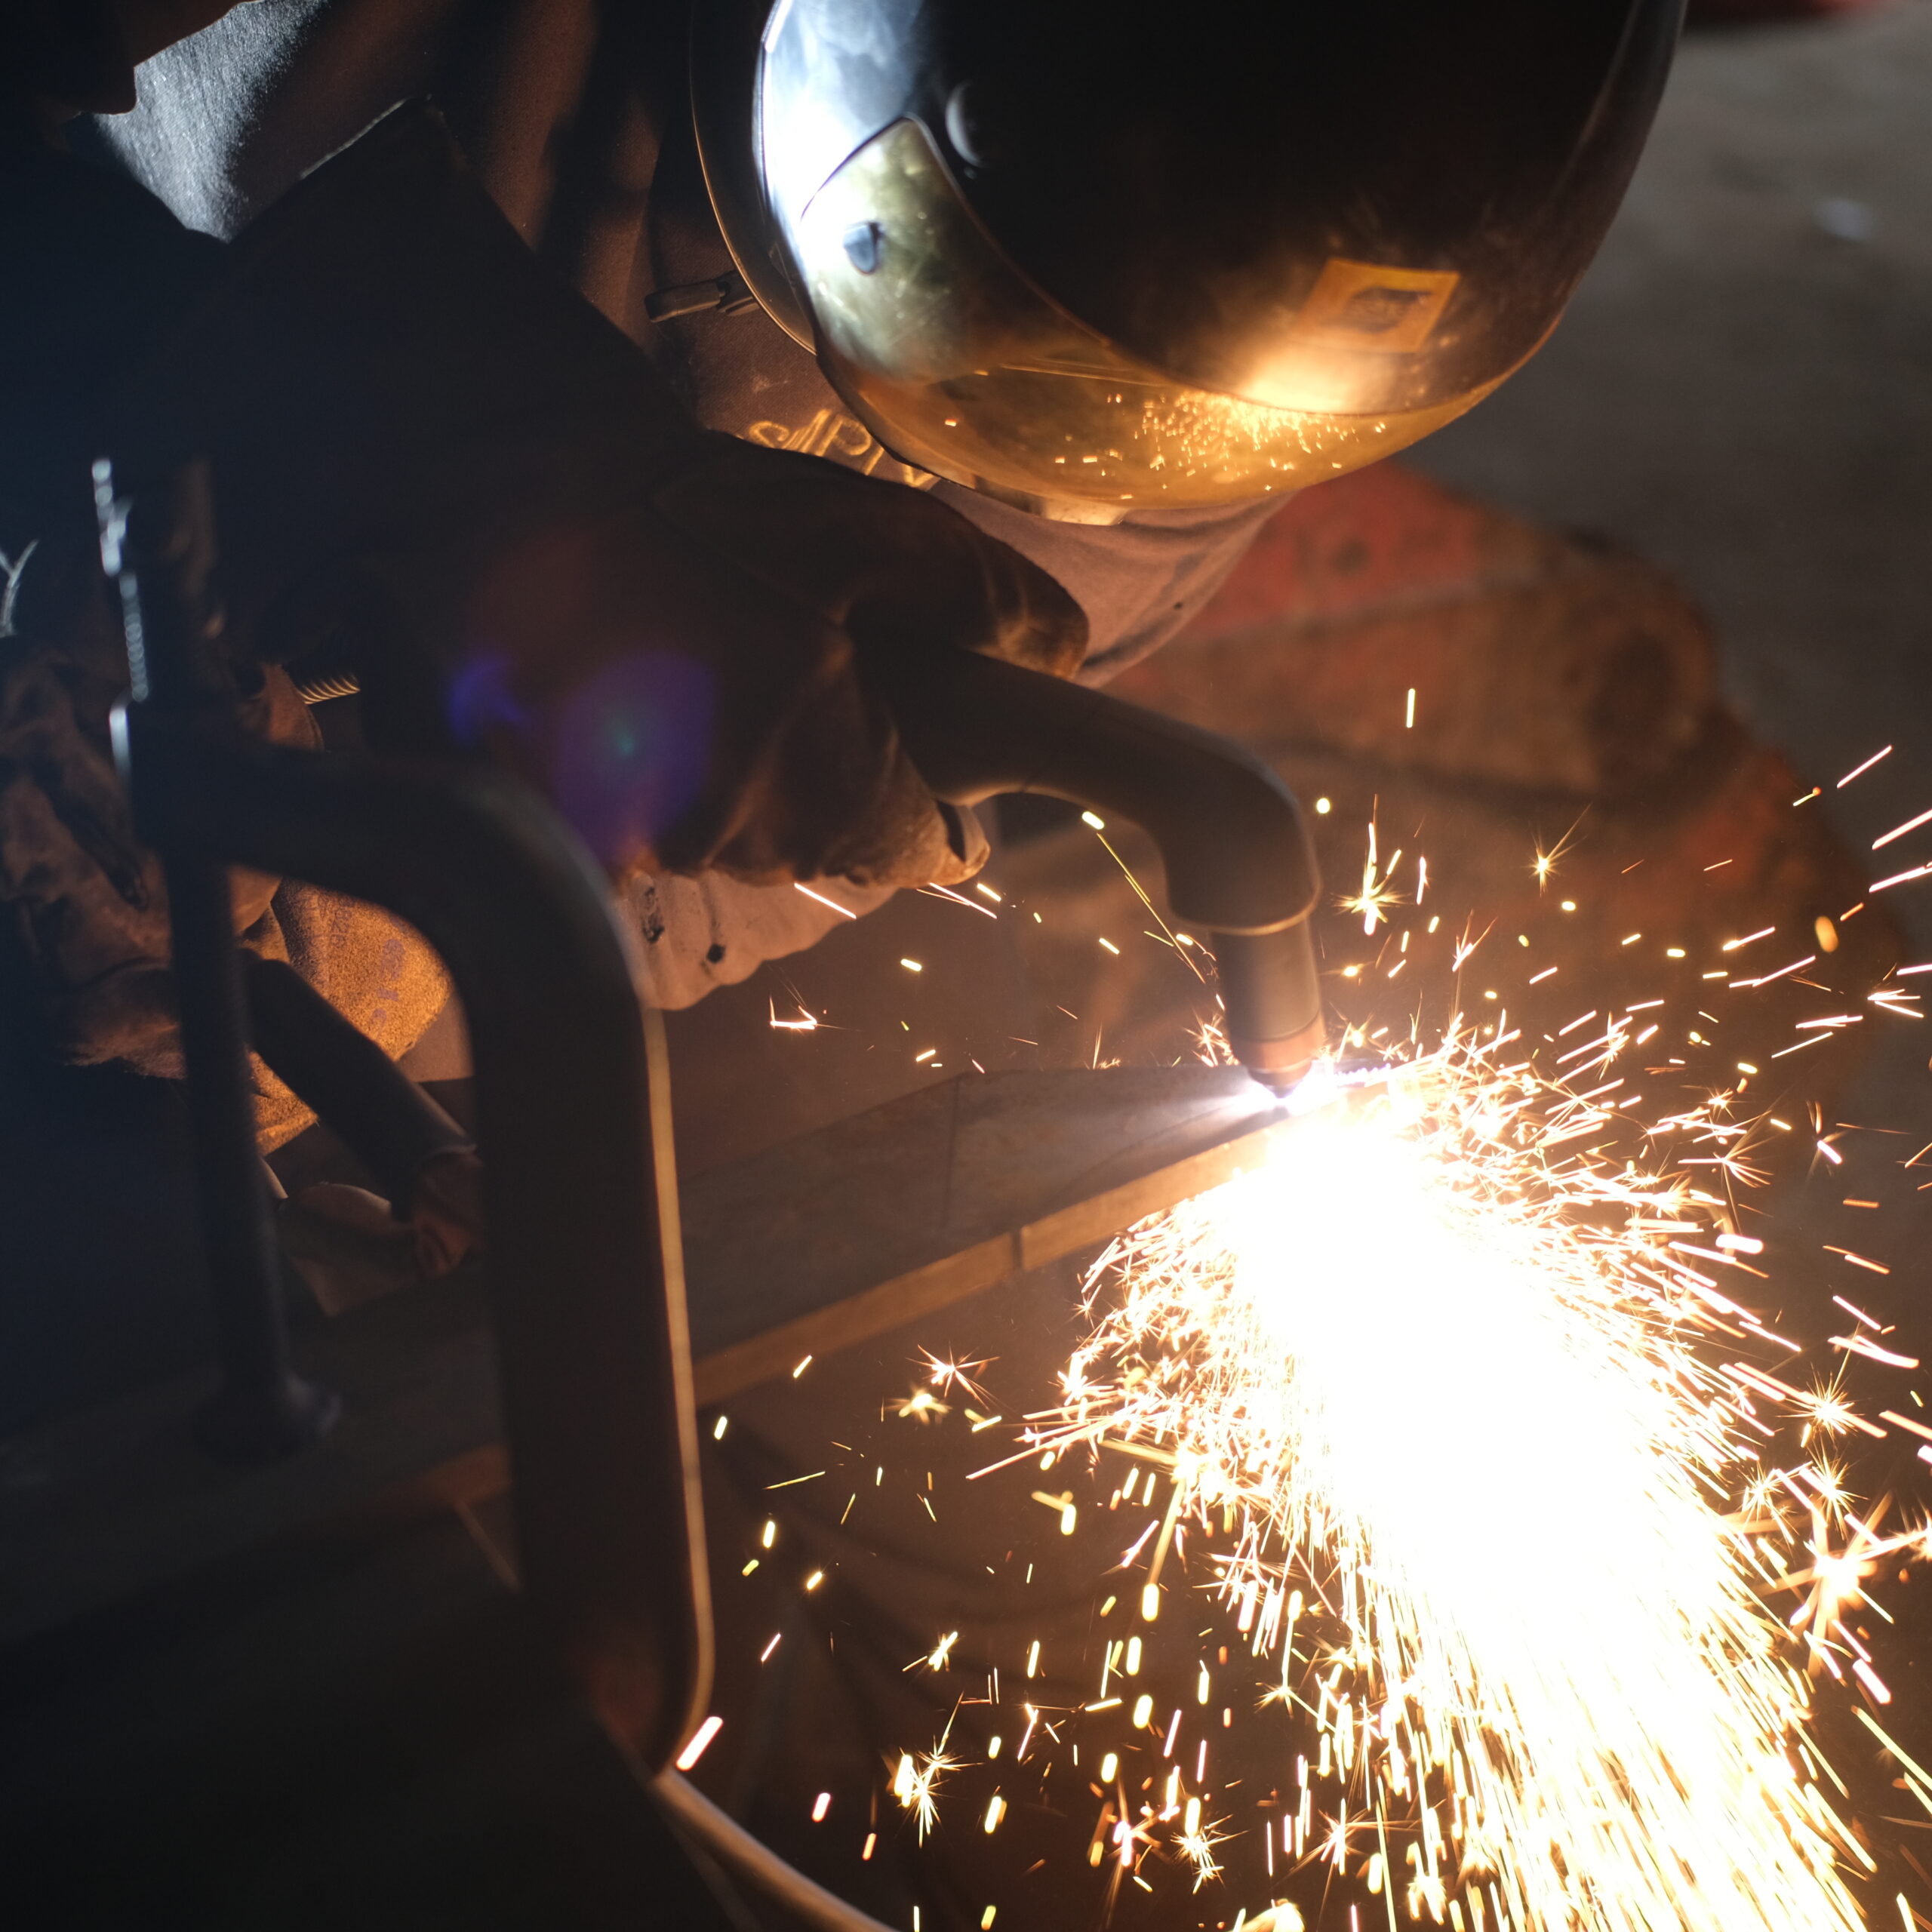
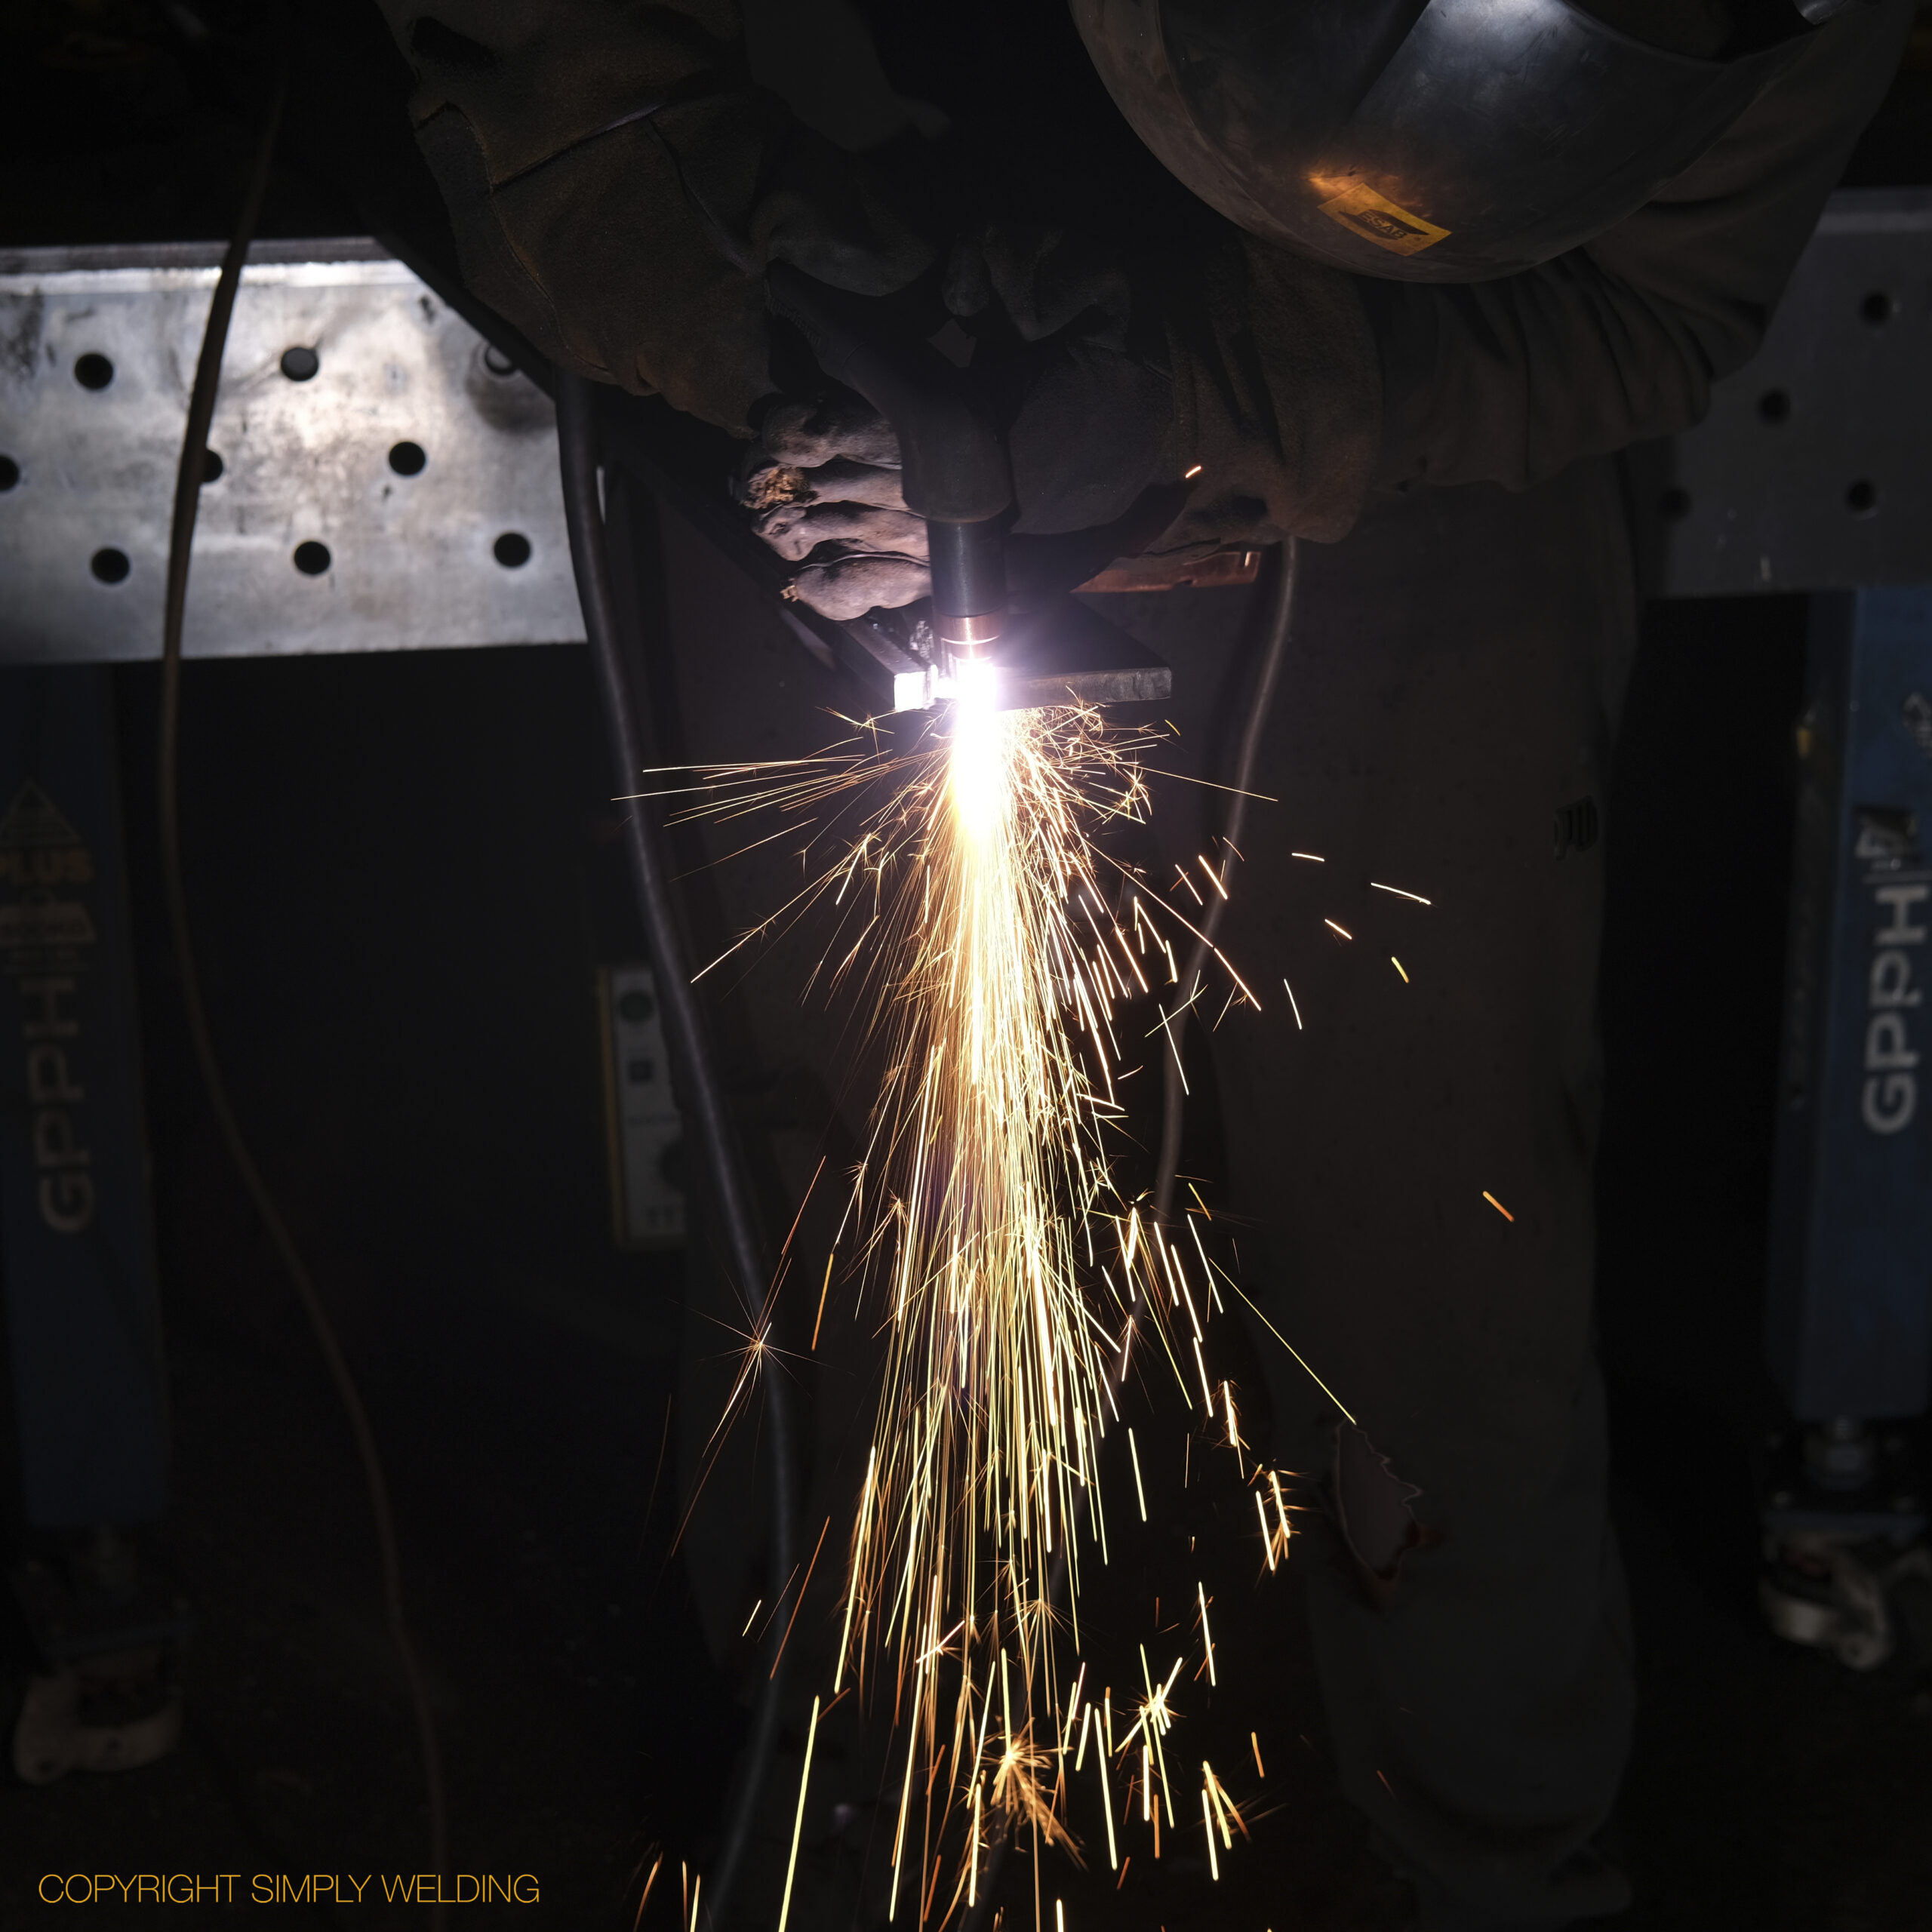
Plasma cutting additional strengthening gussets.
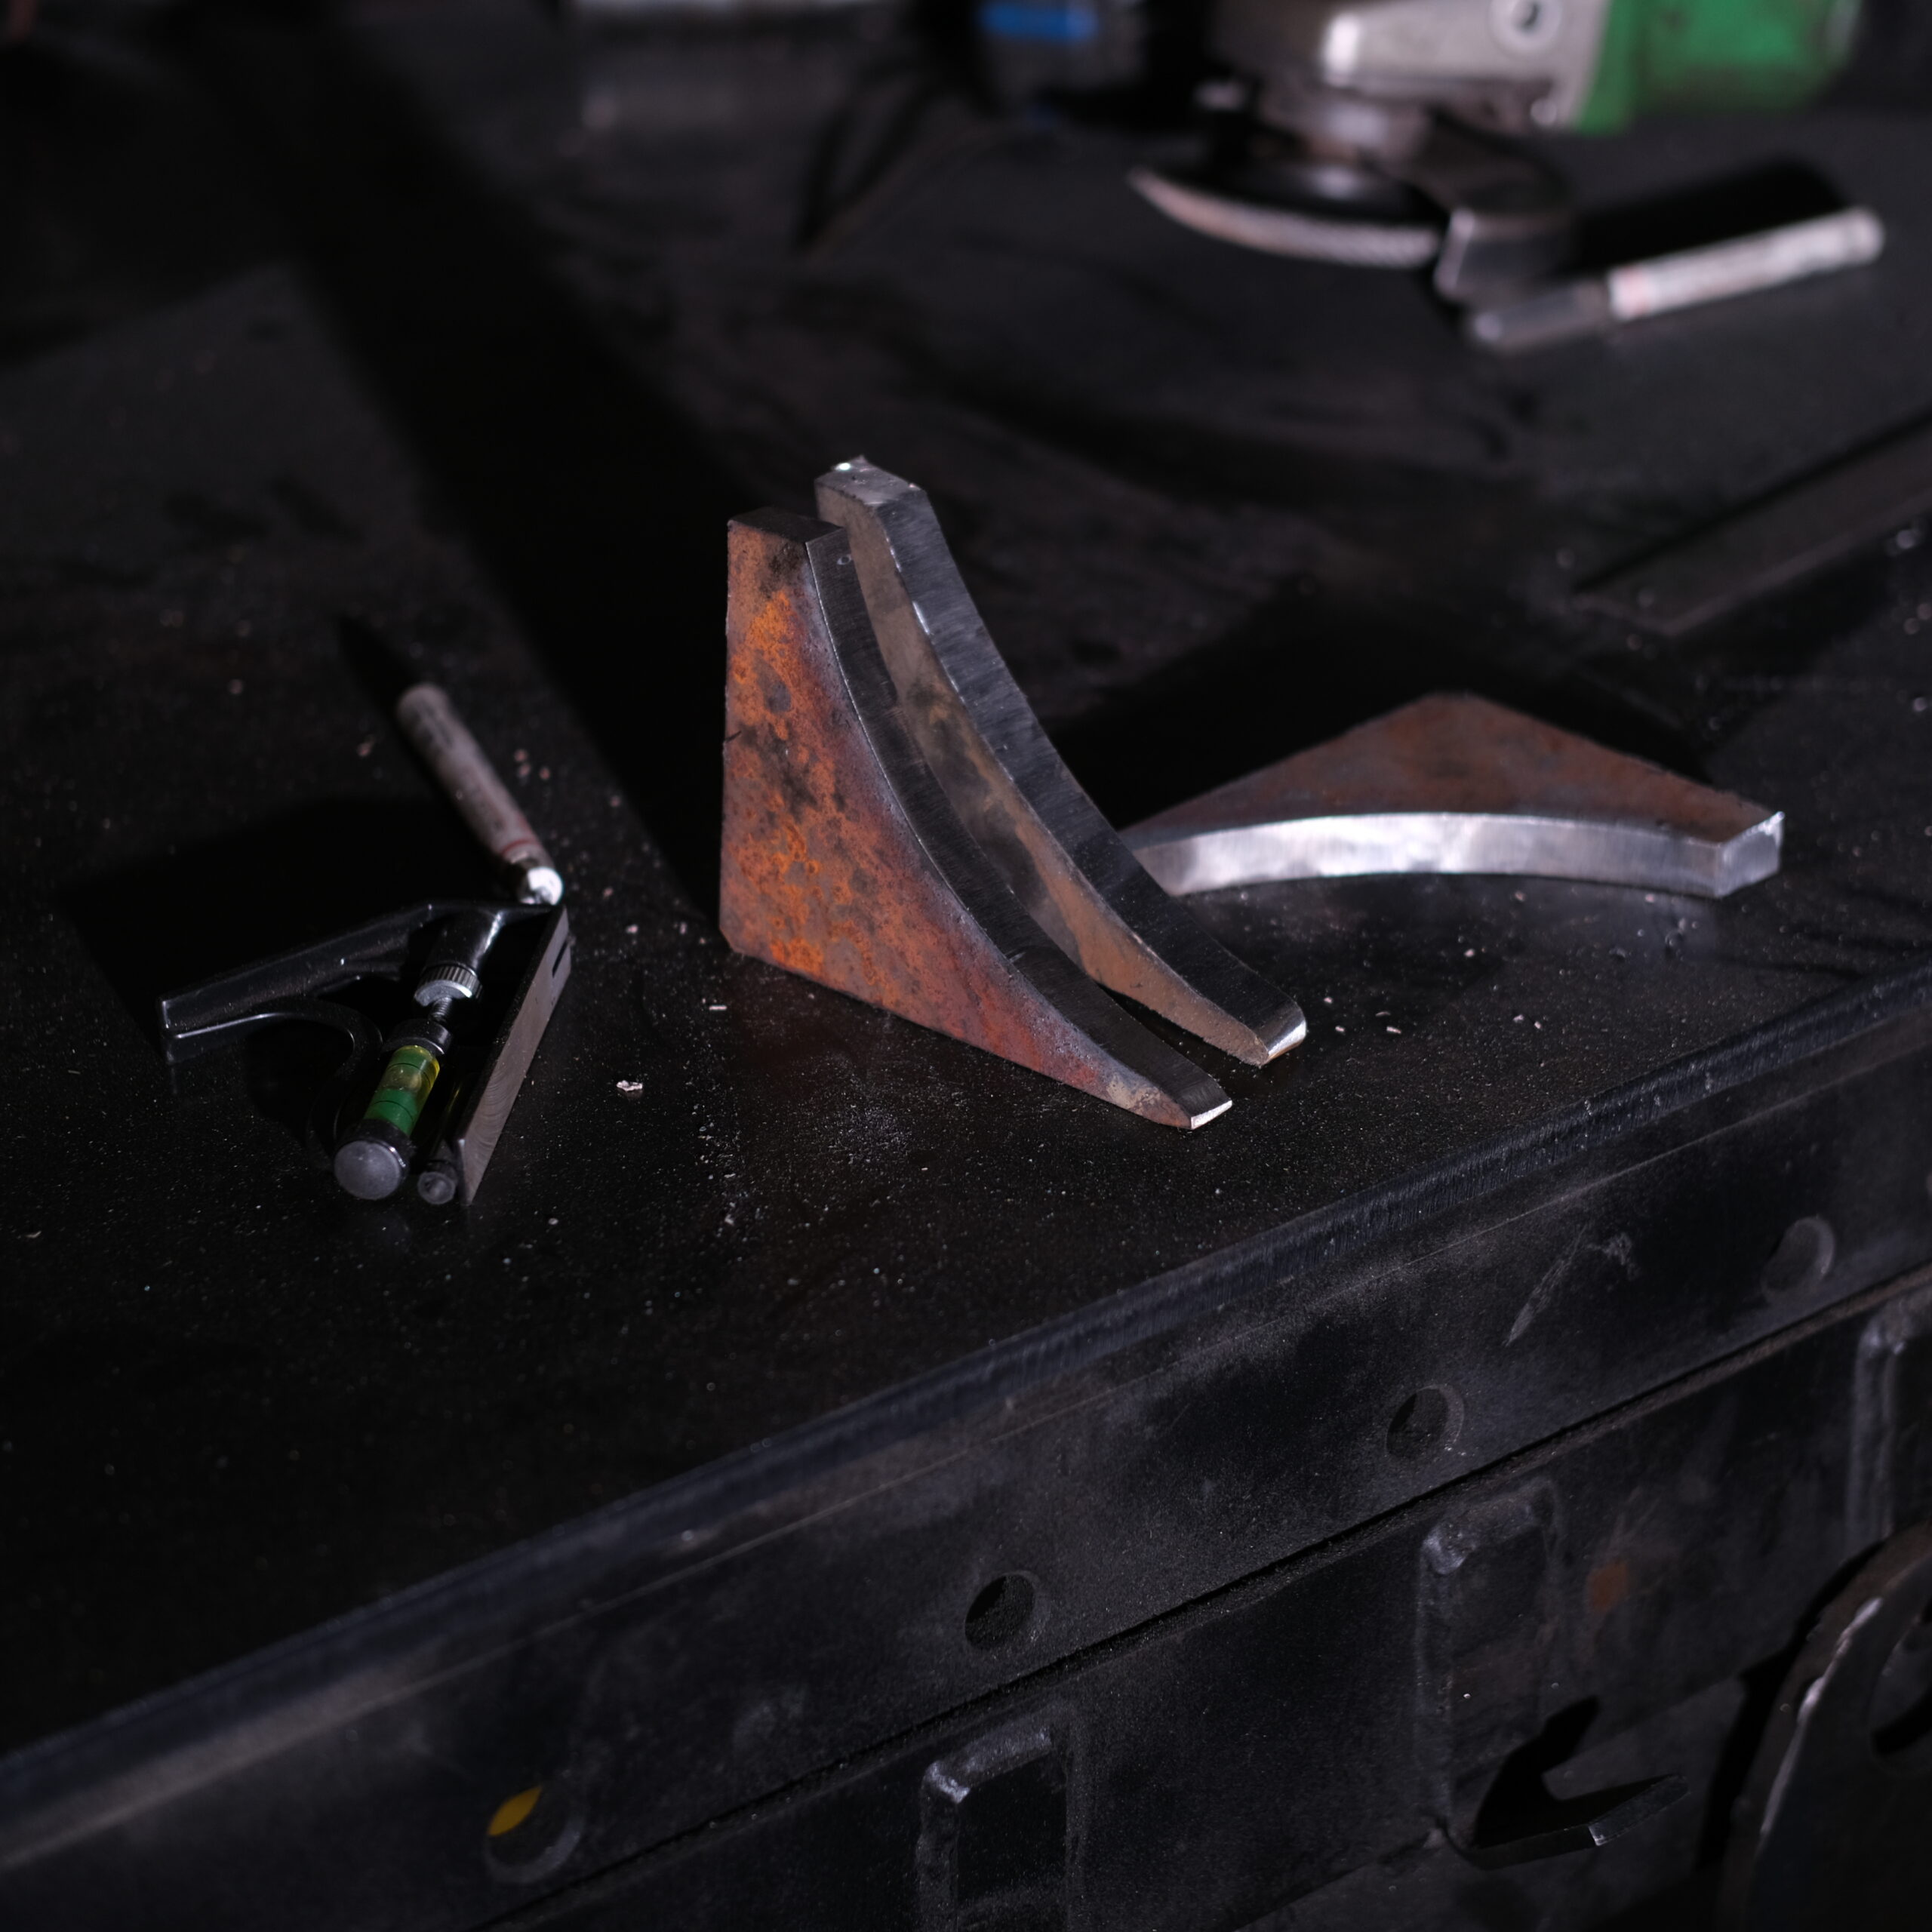
Img showing plasma cut strengthening gussets.
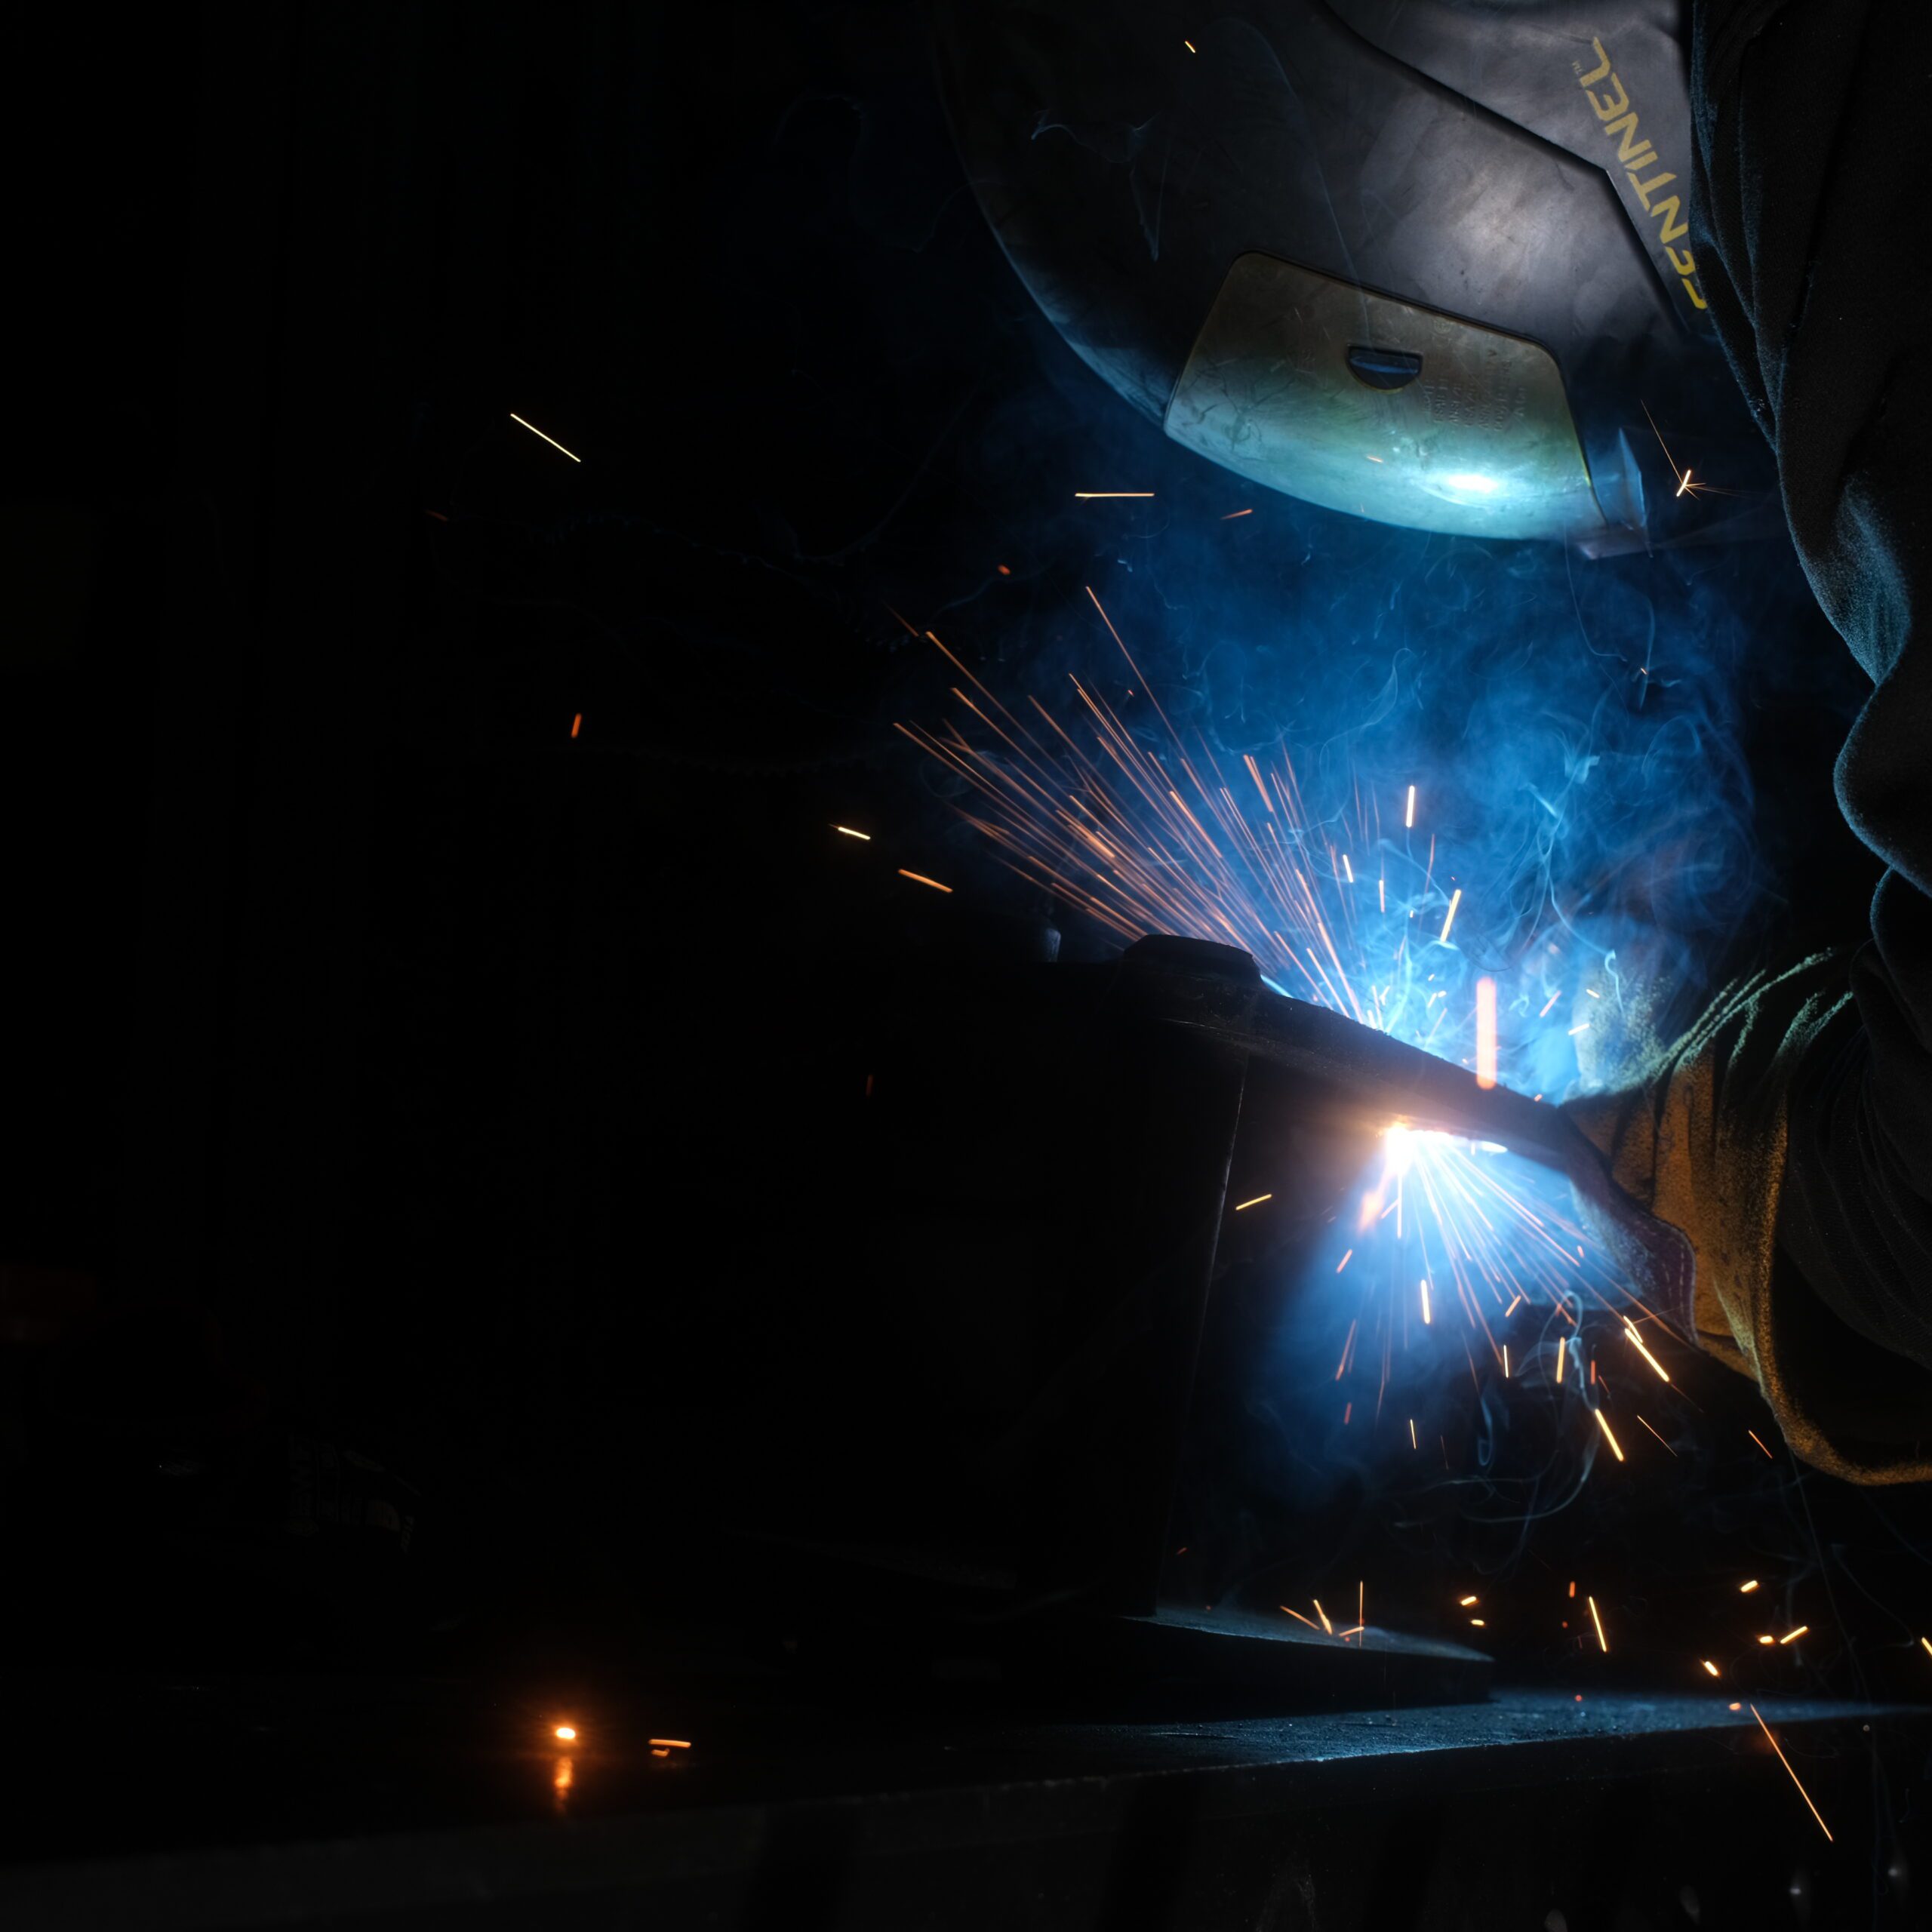
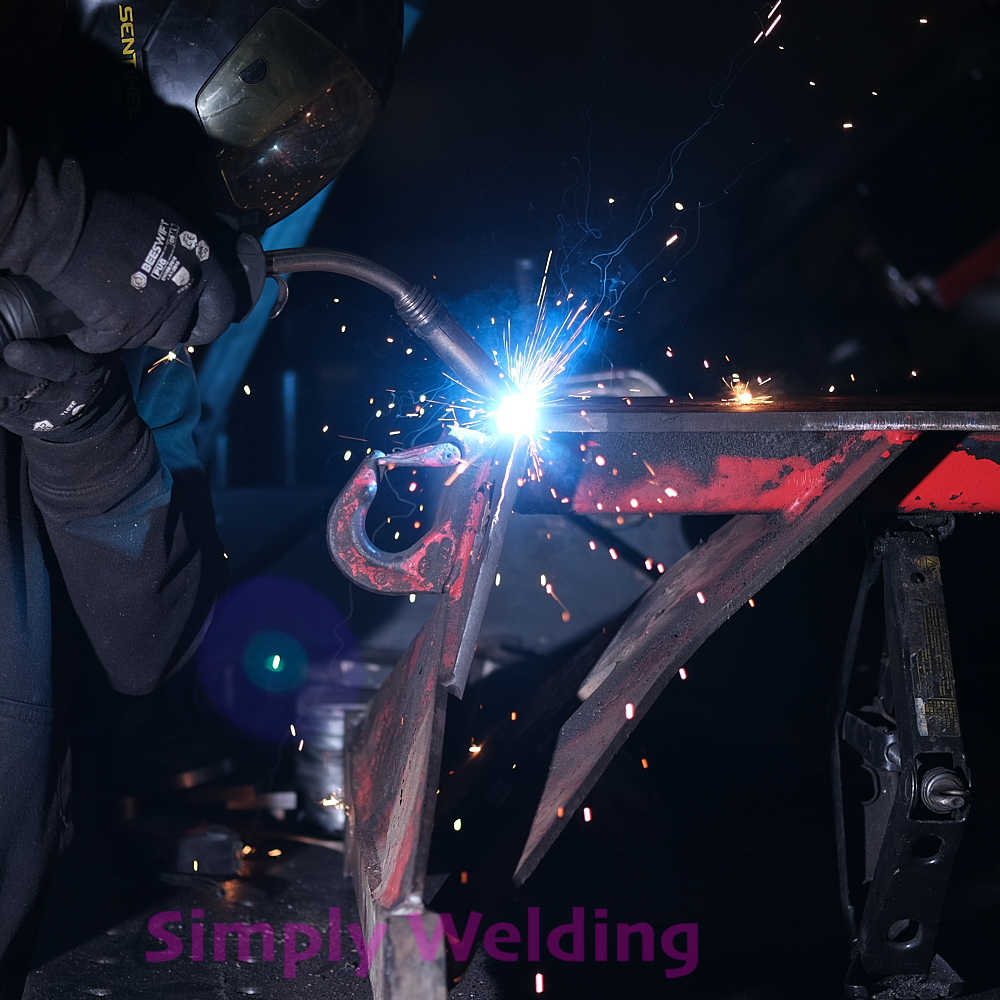
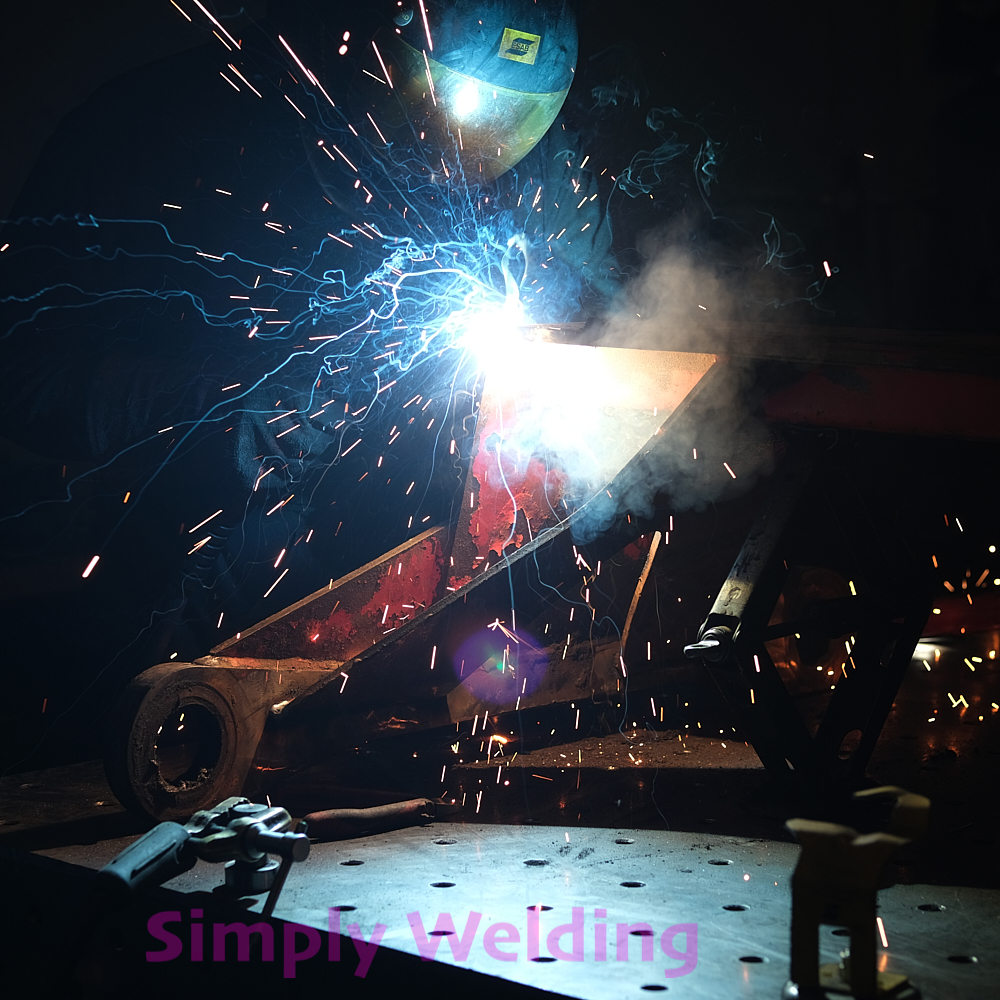
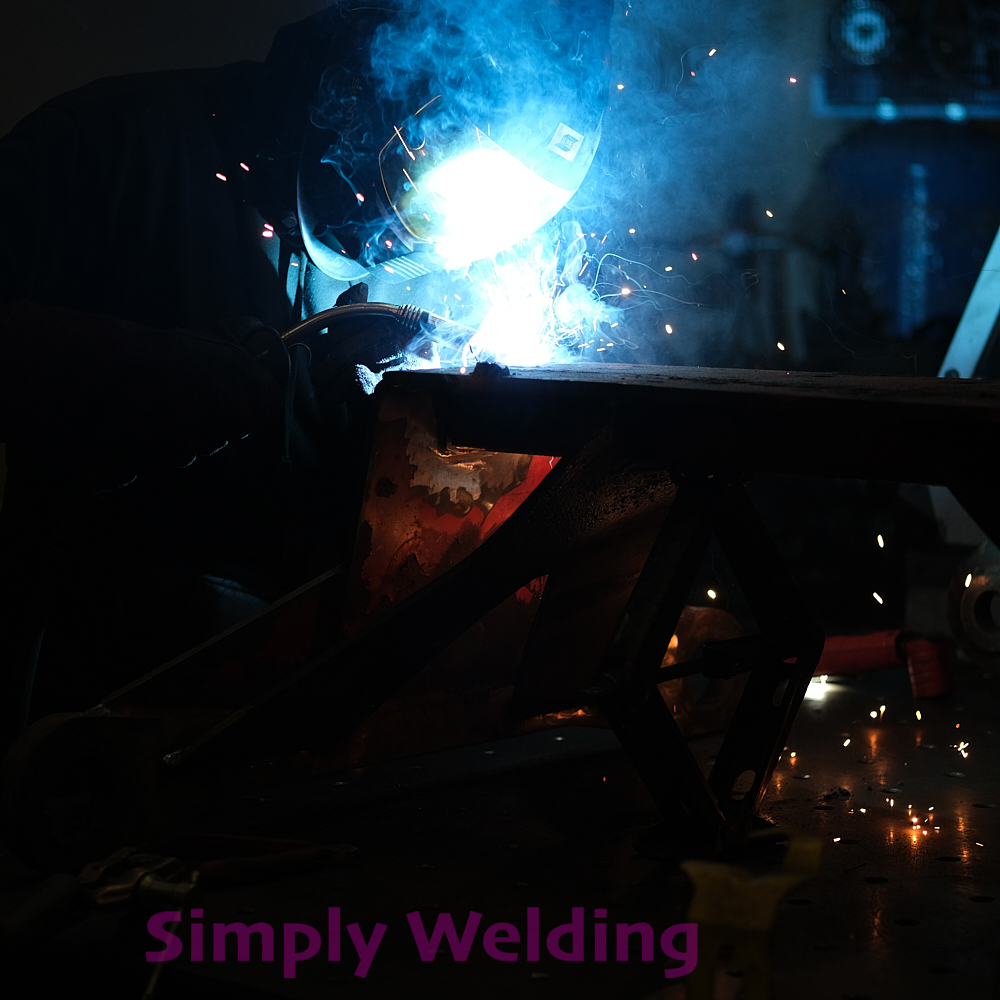
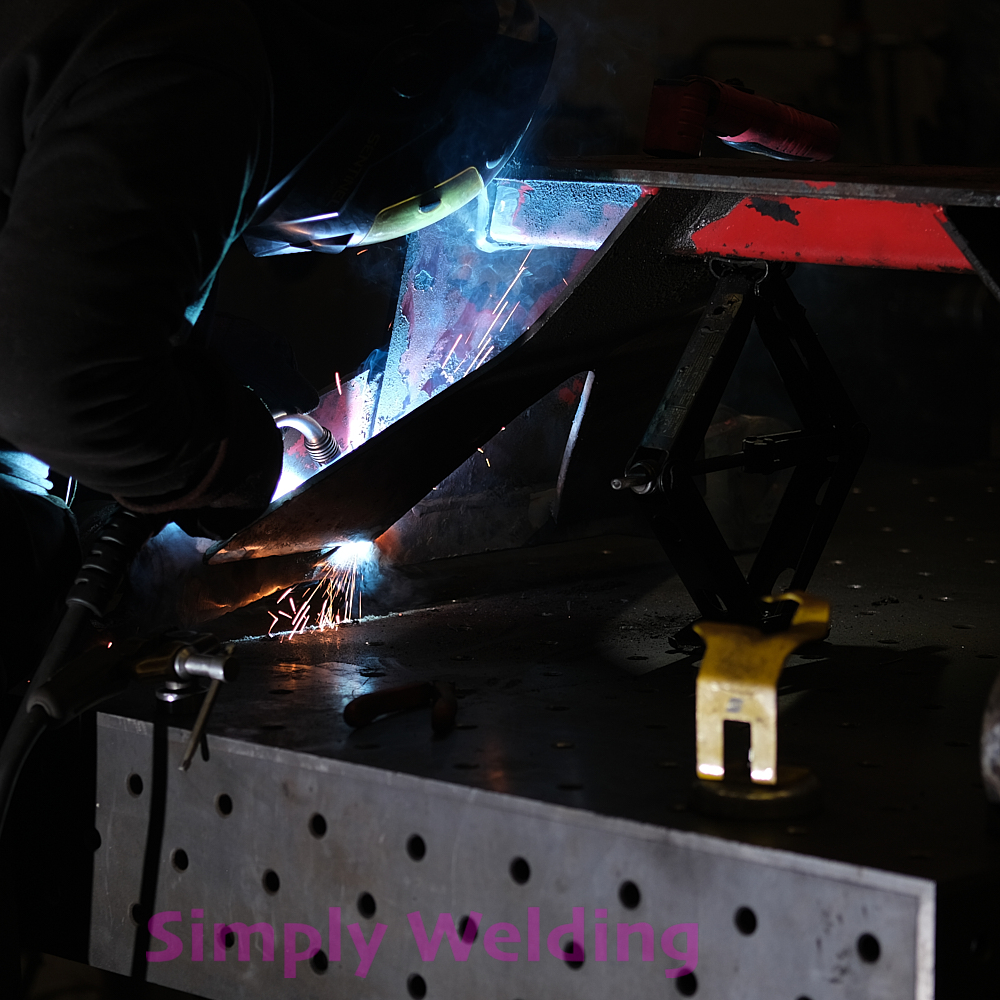
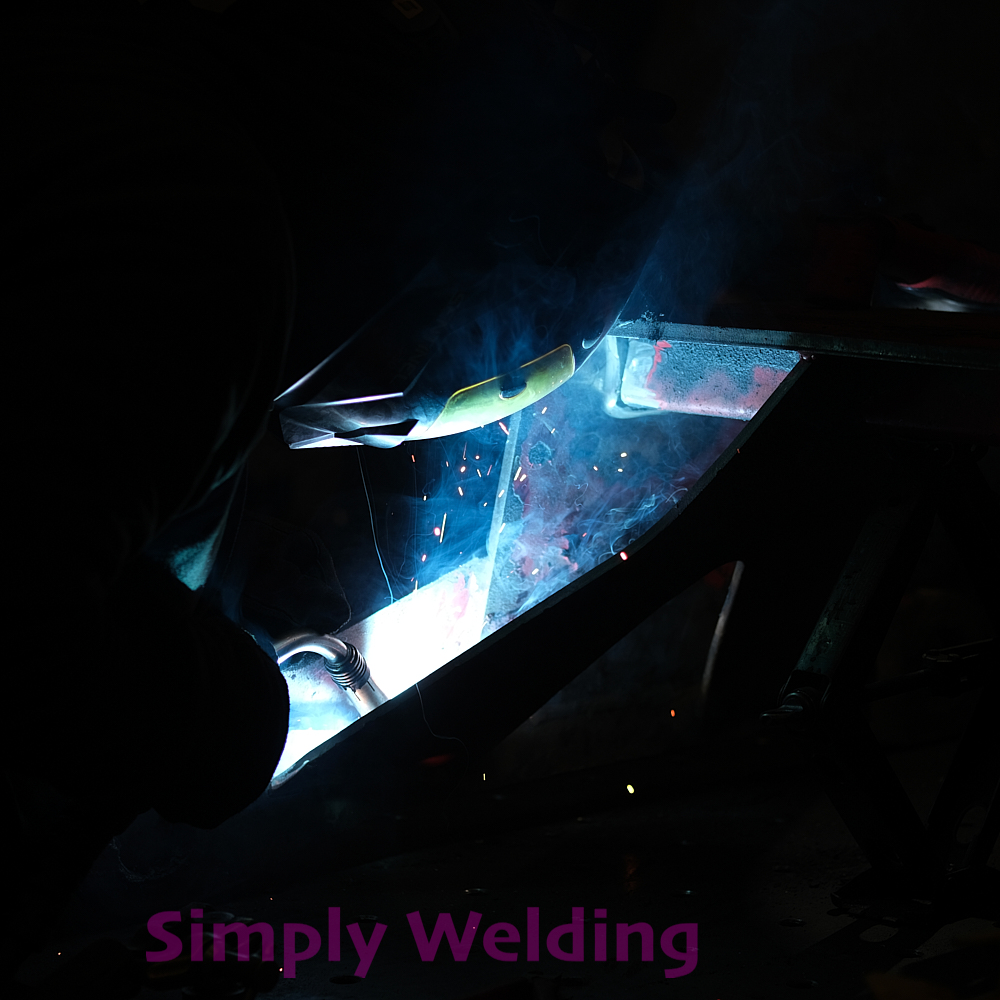
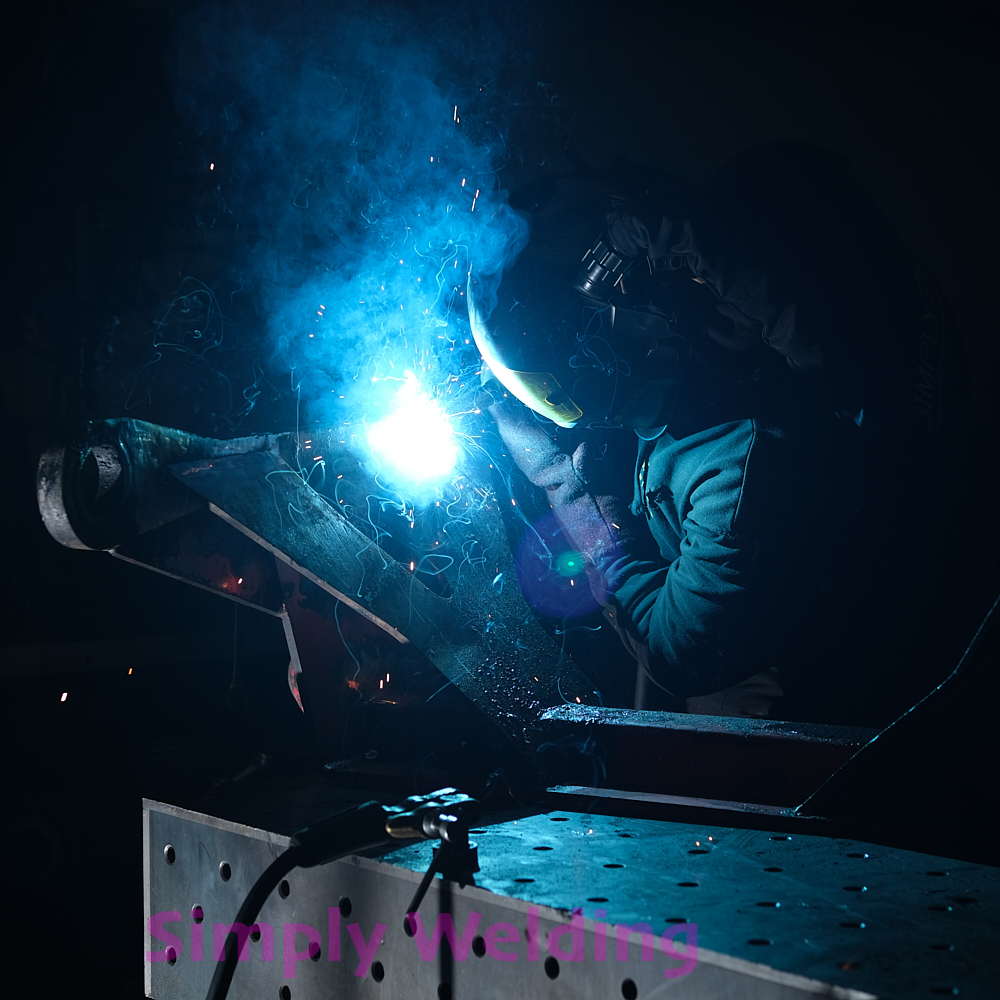
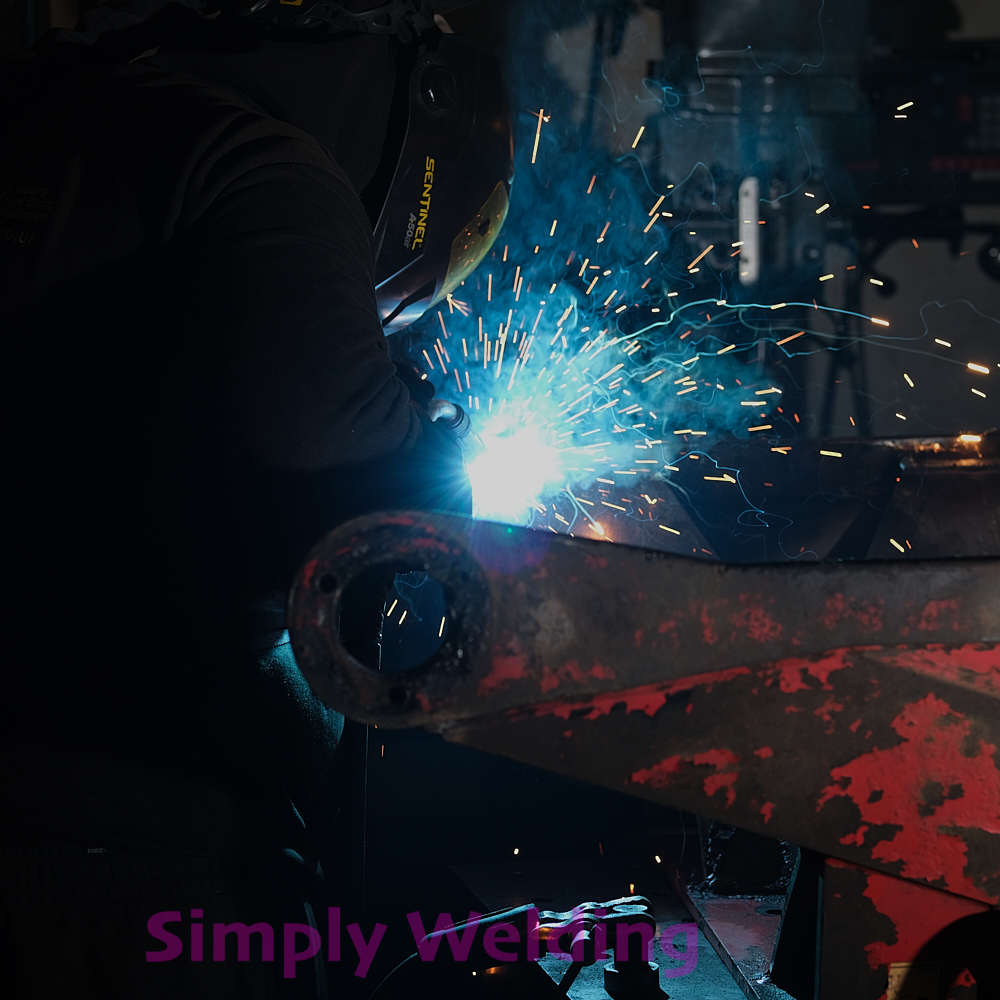
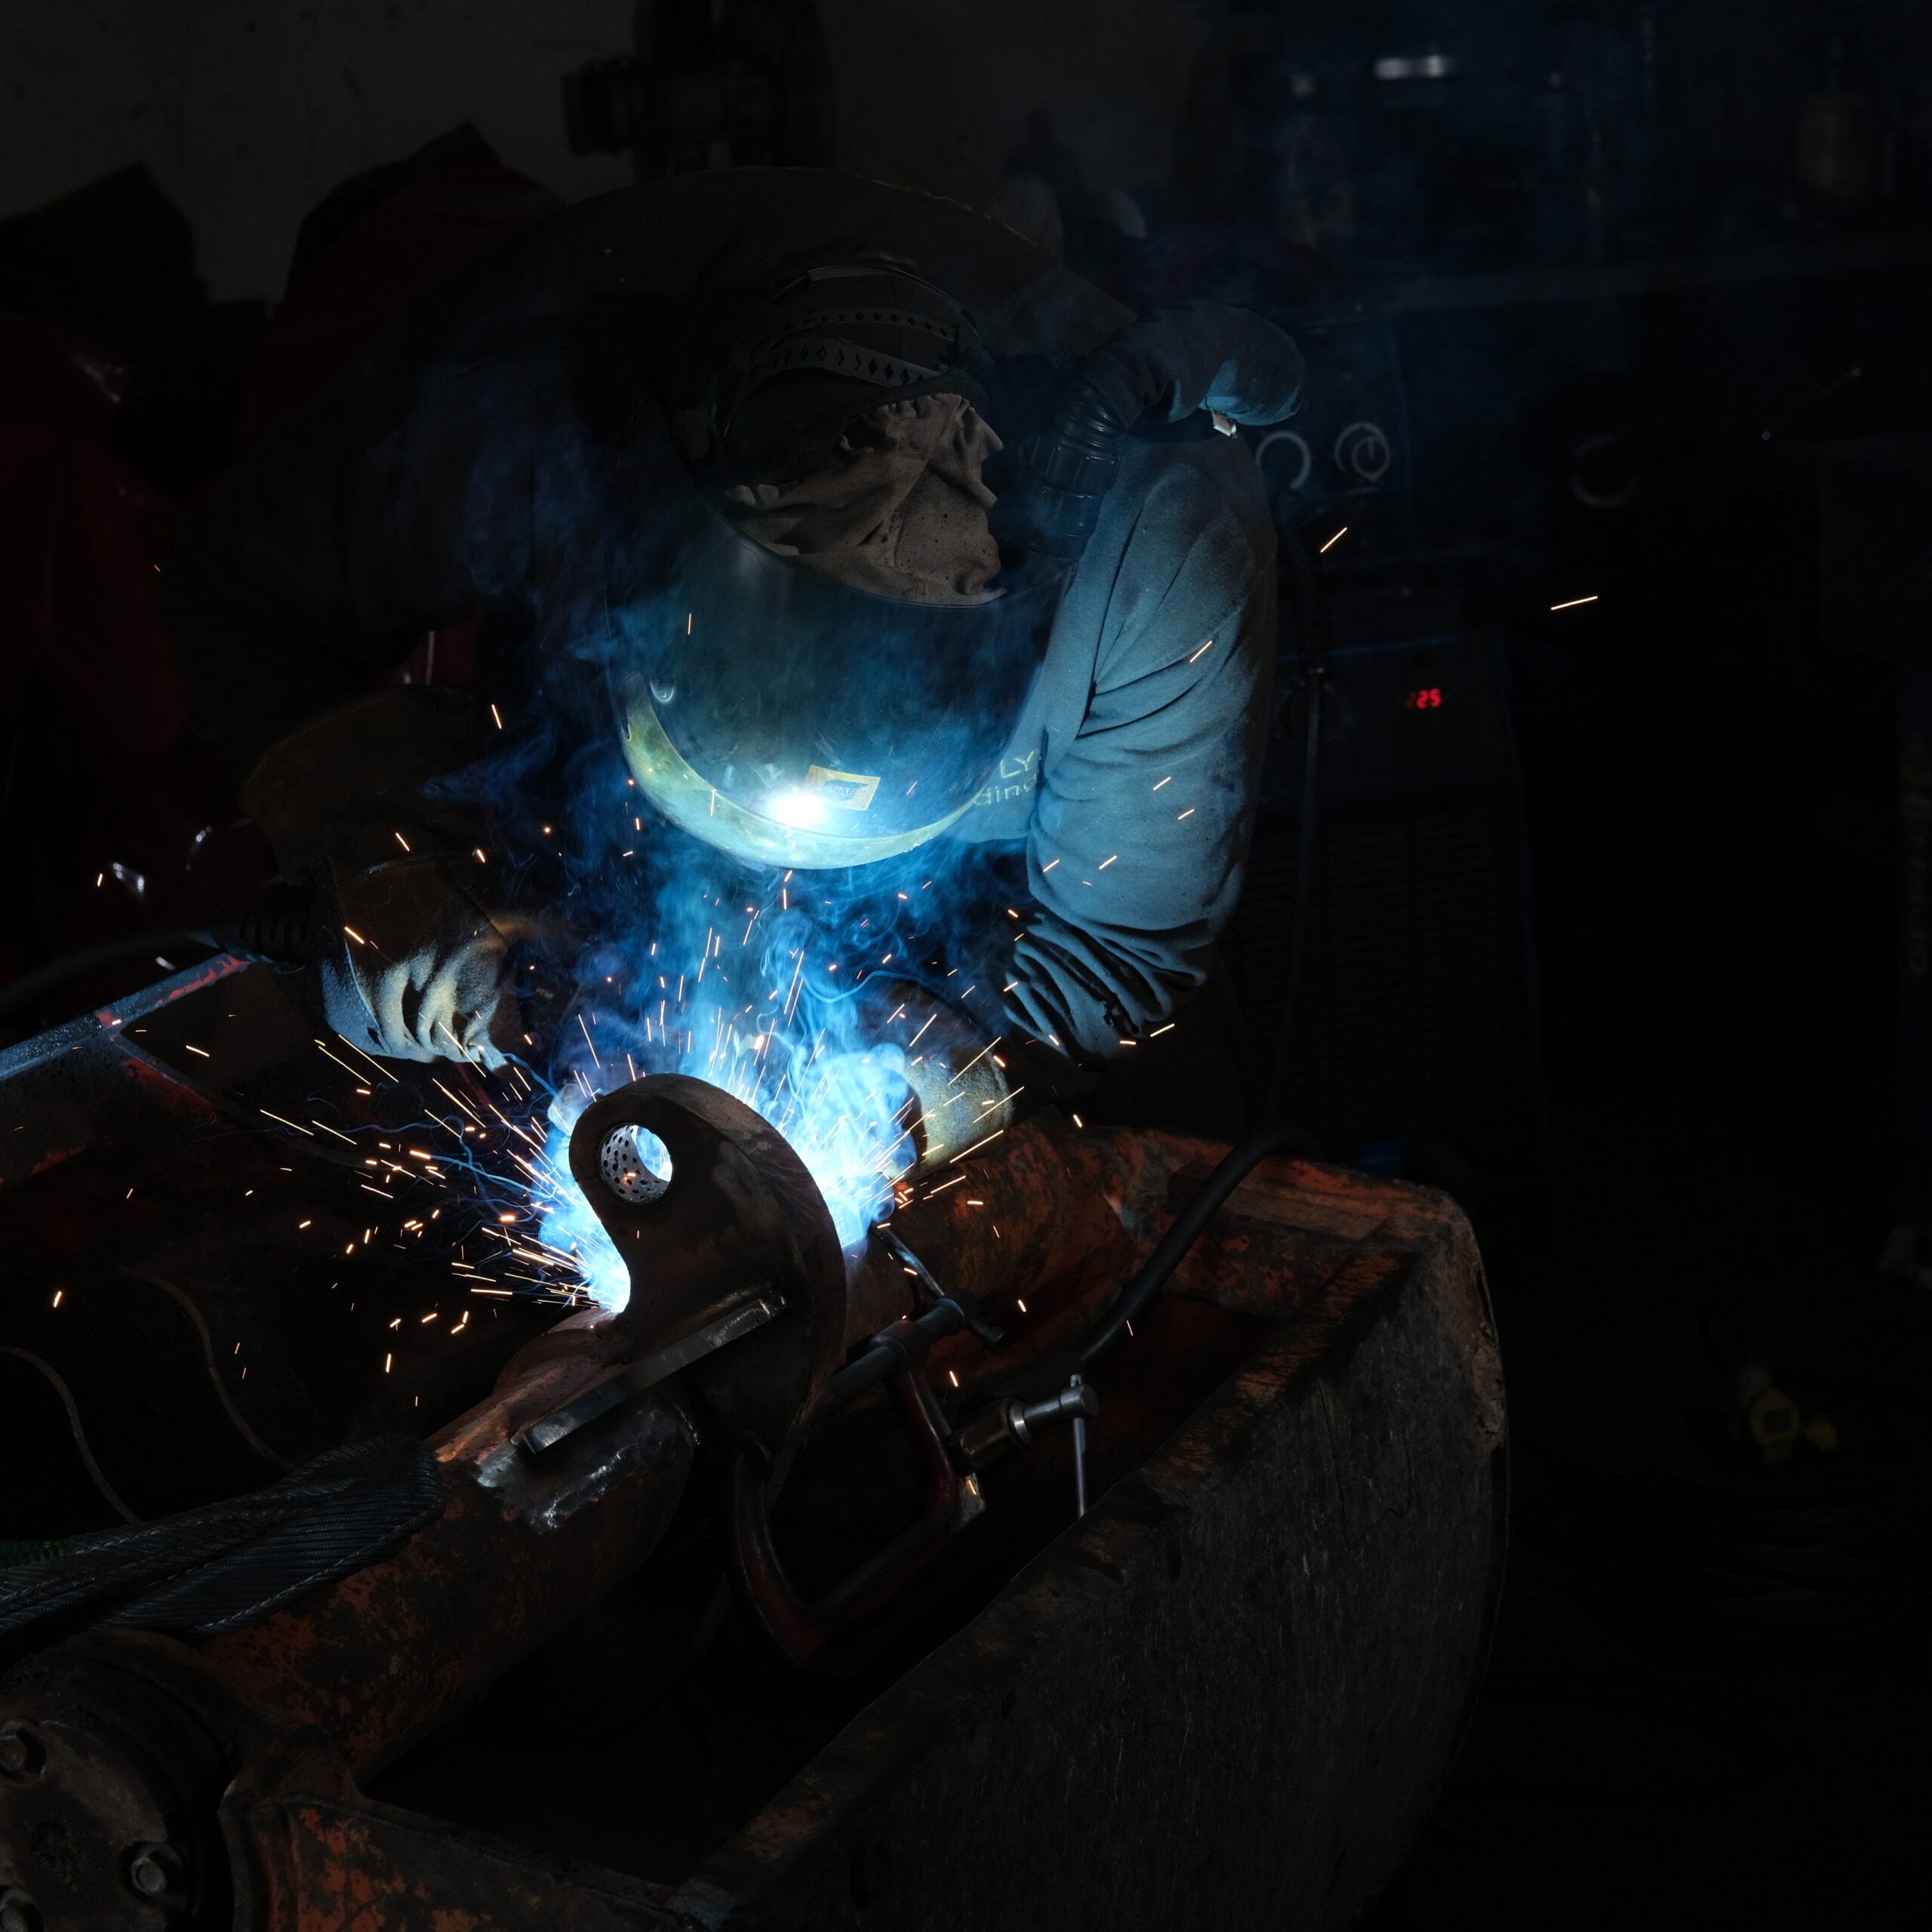
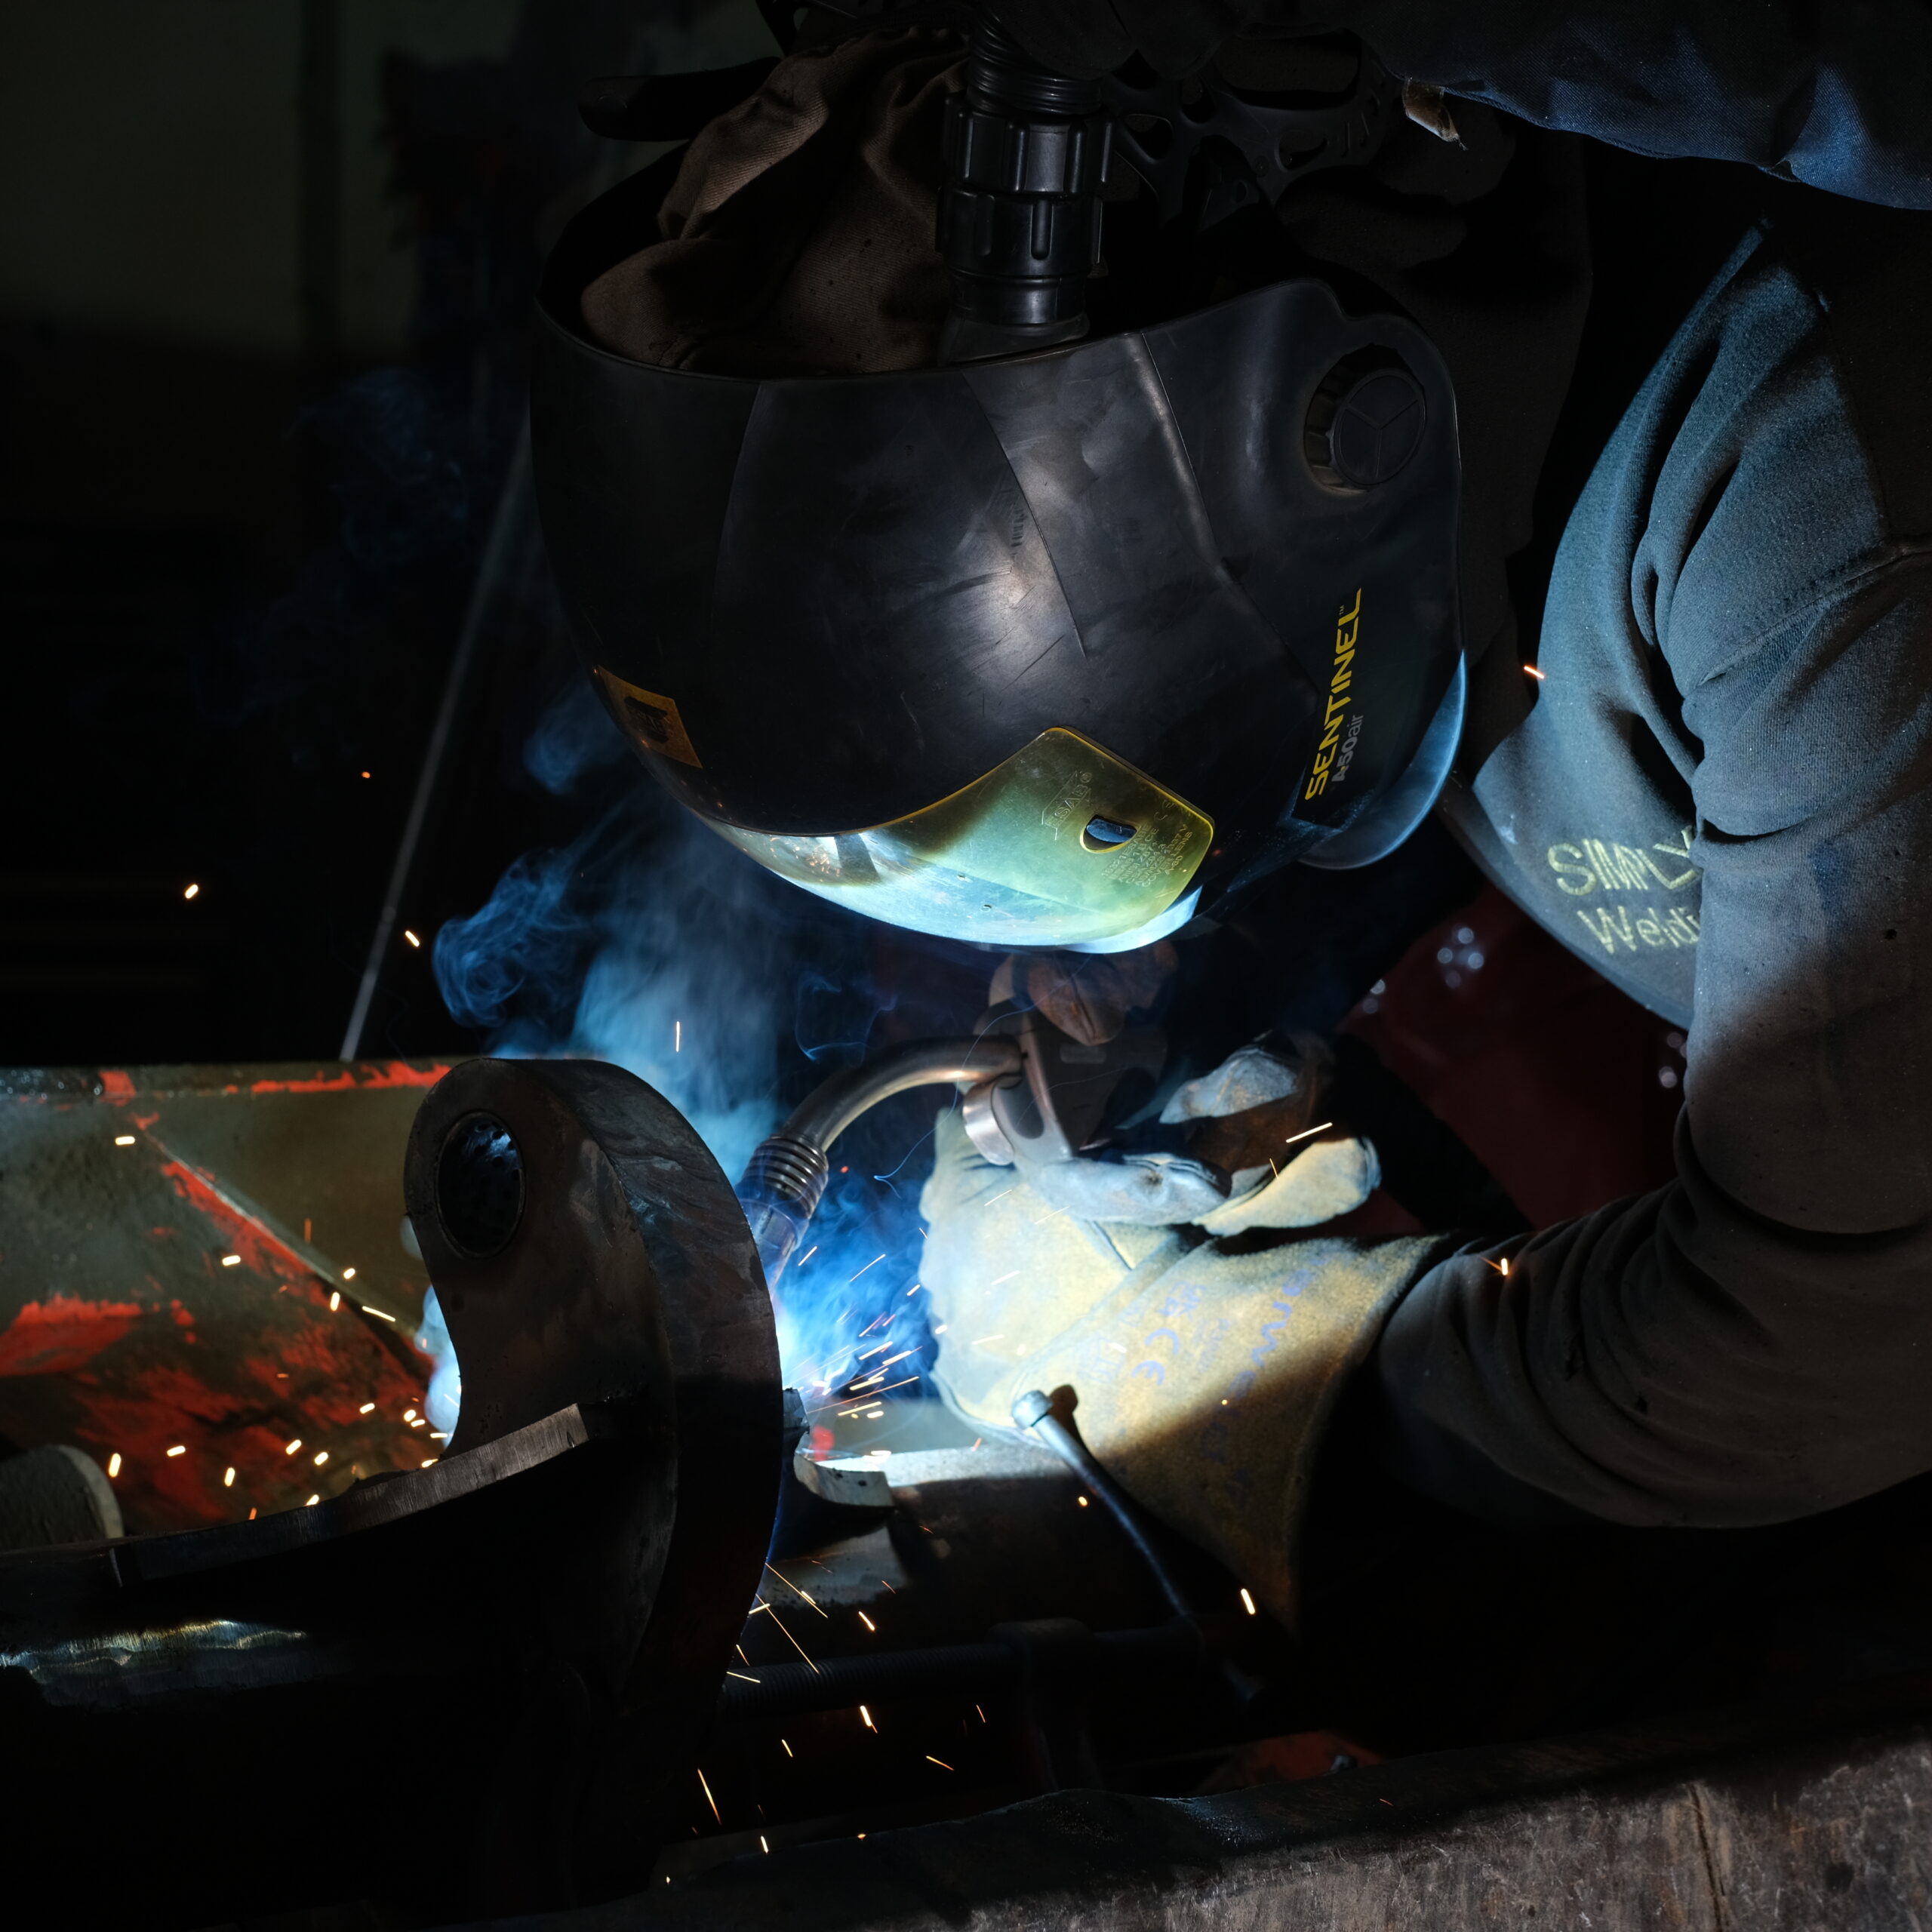
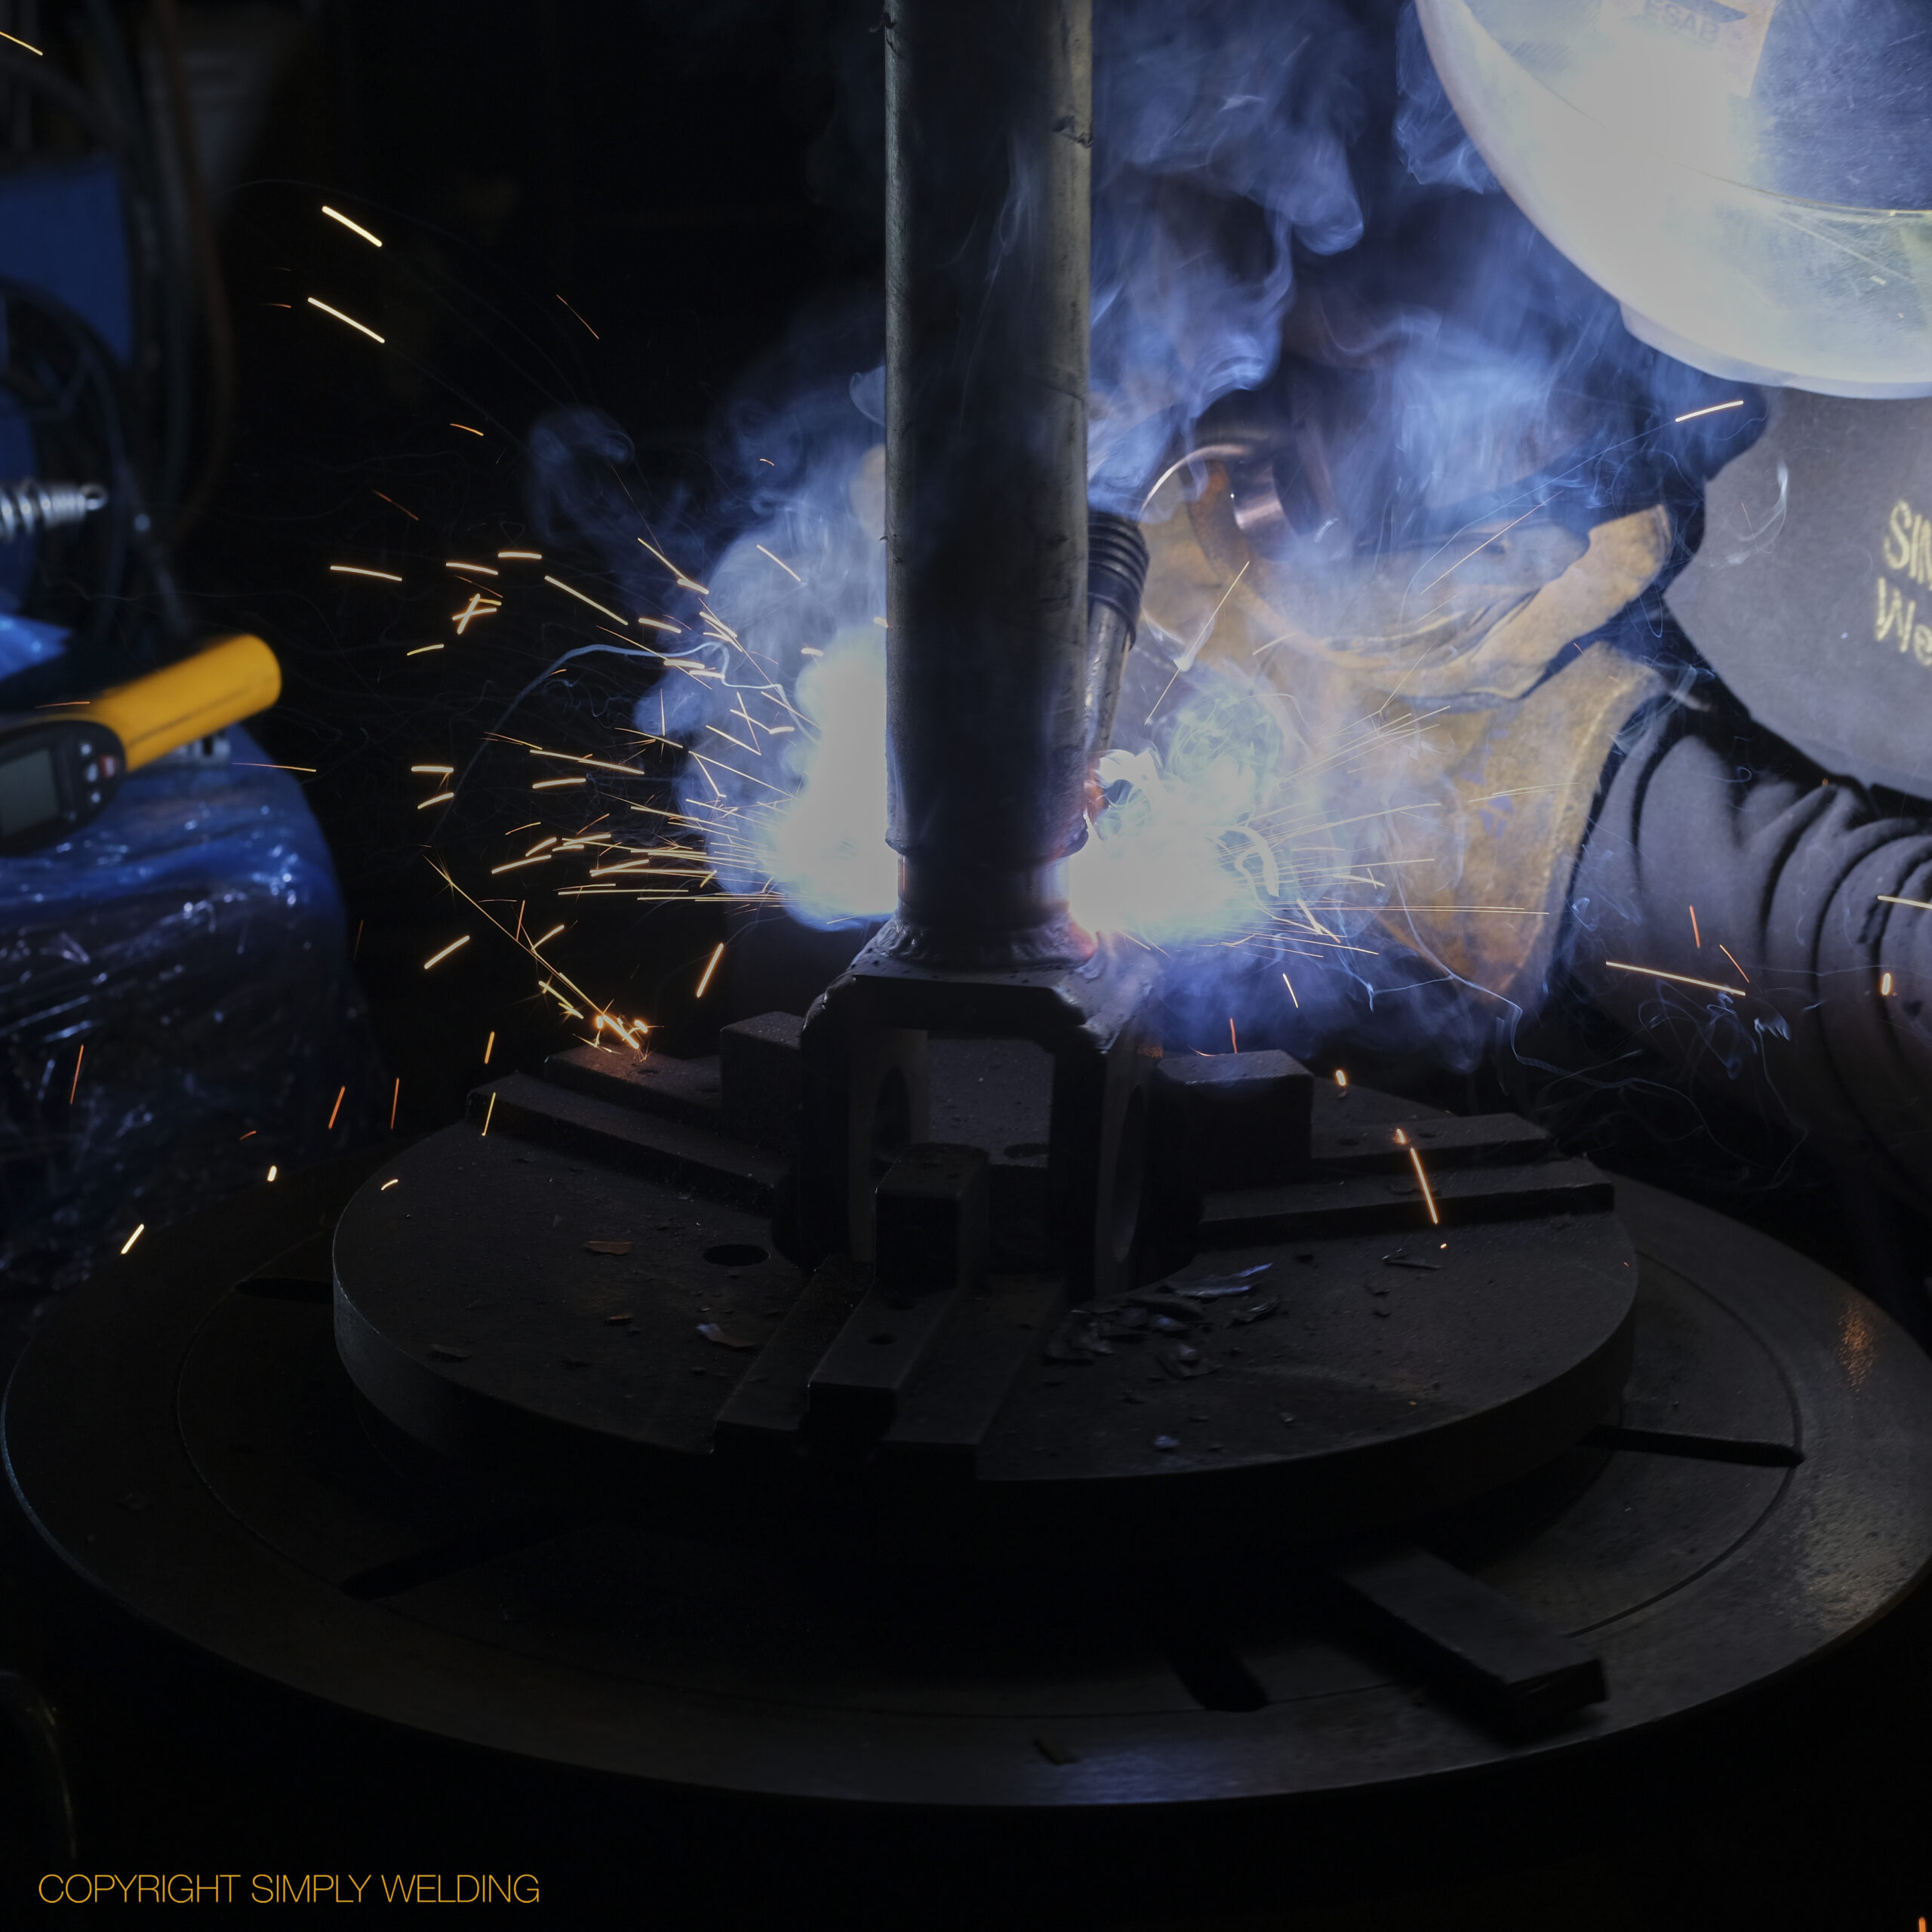
Pre-cut strengthening gussets being welded in to position.
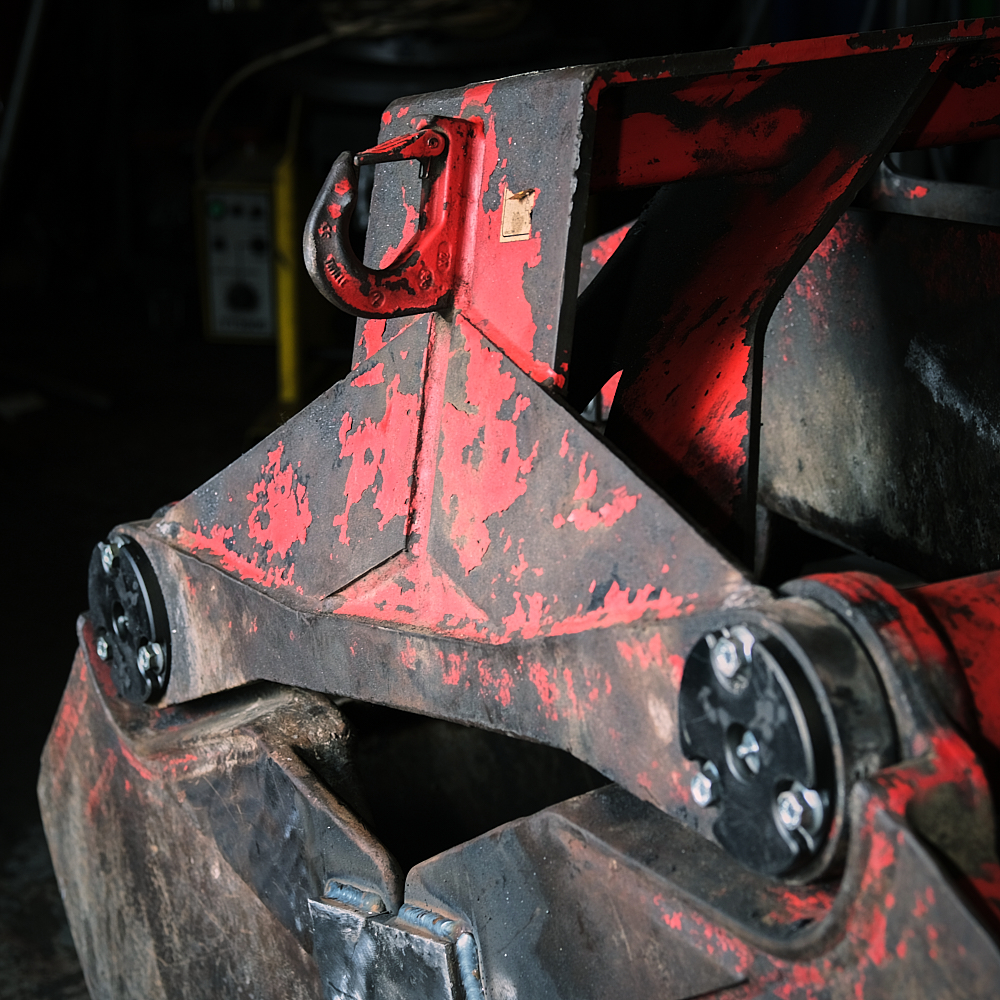
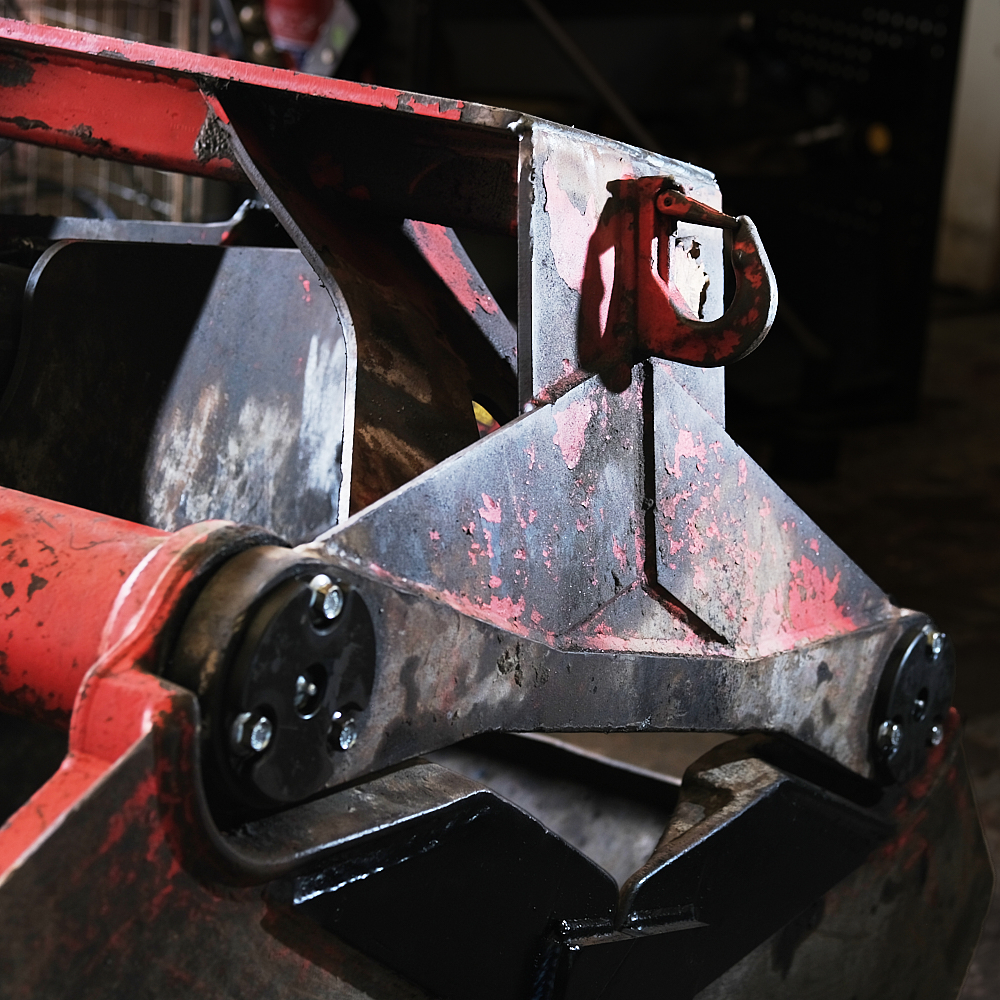
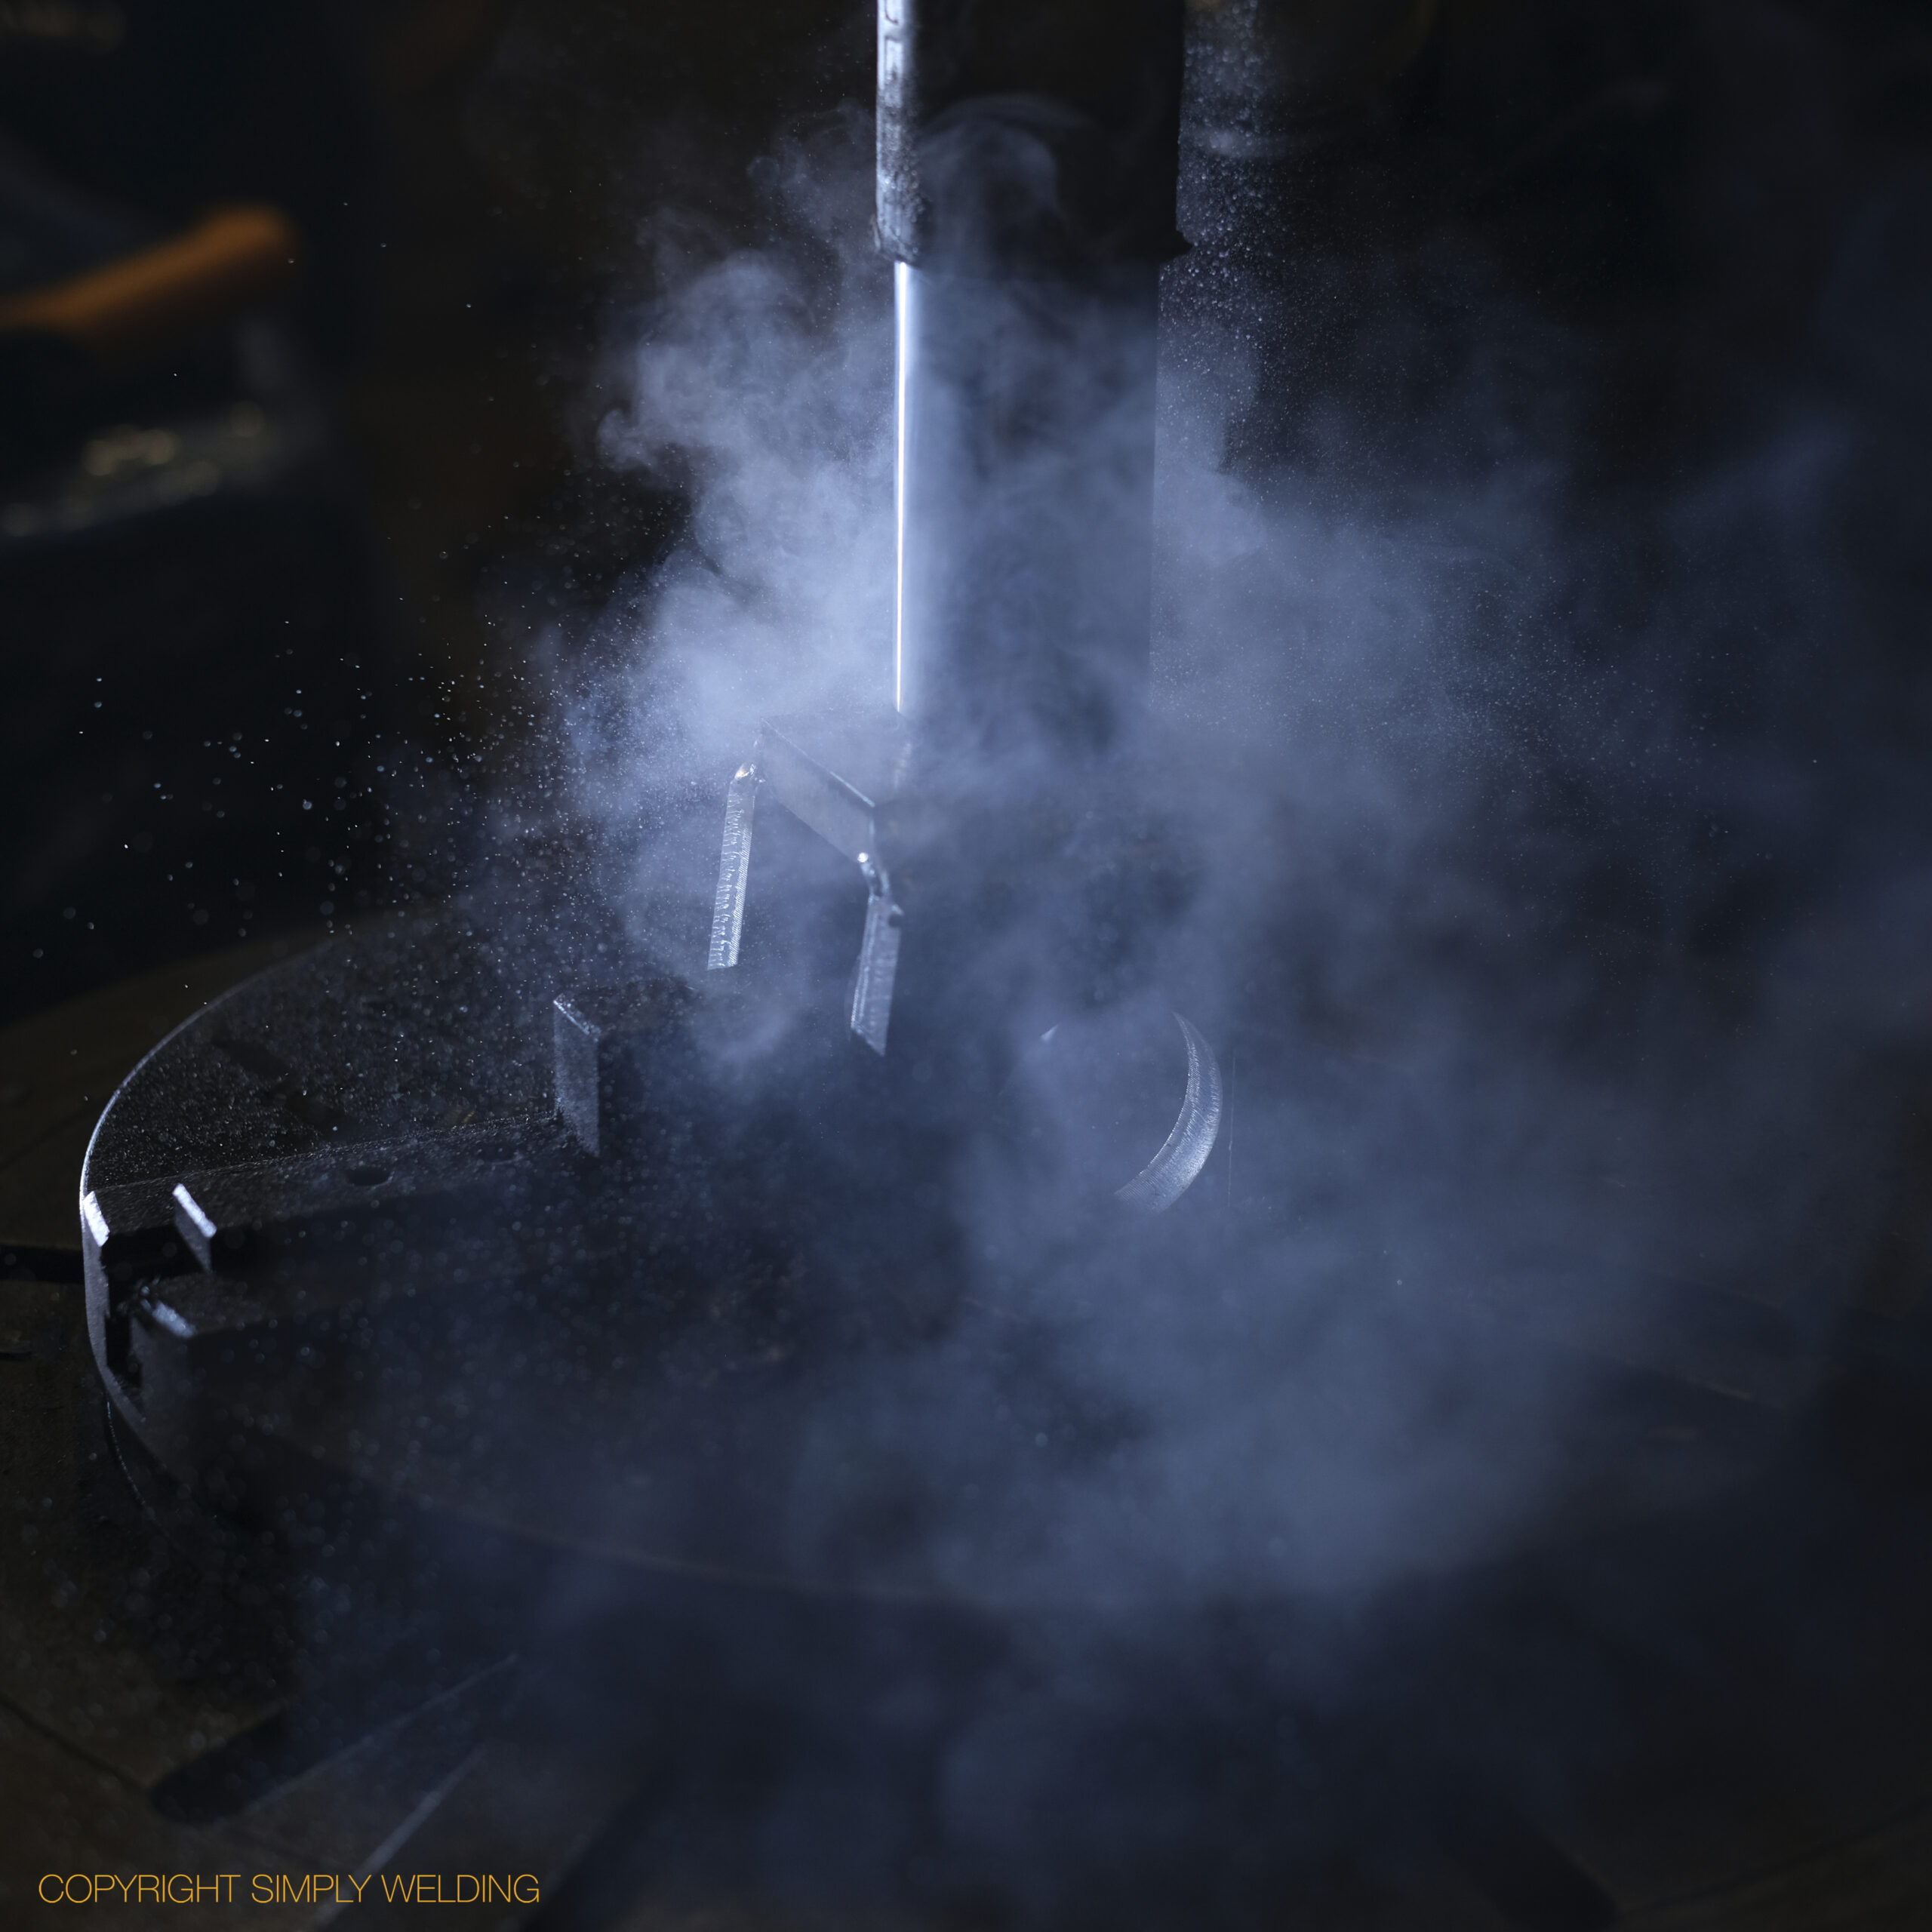
Kinshofer KM602 severed lug repaired, tested and awaiting collection.

Kinshofer KM602 Hydraulic Ram Repair

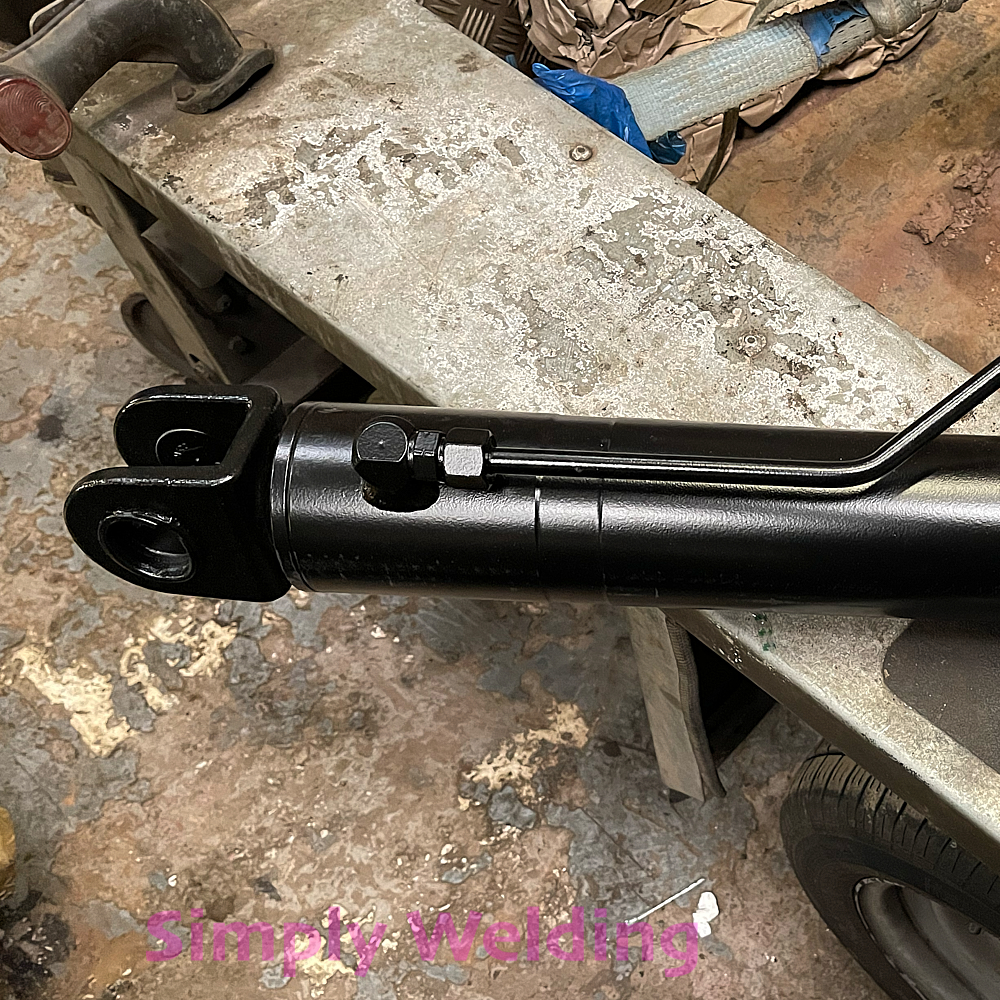
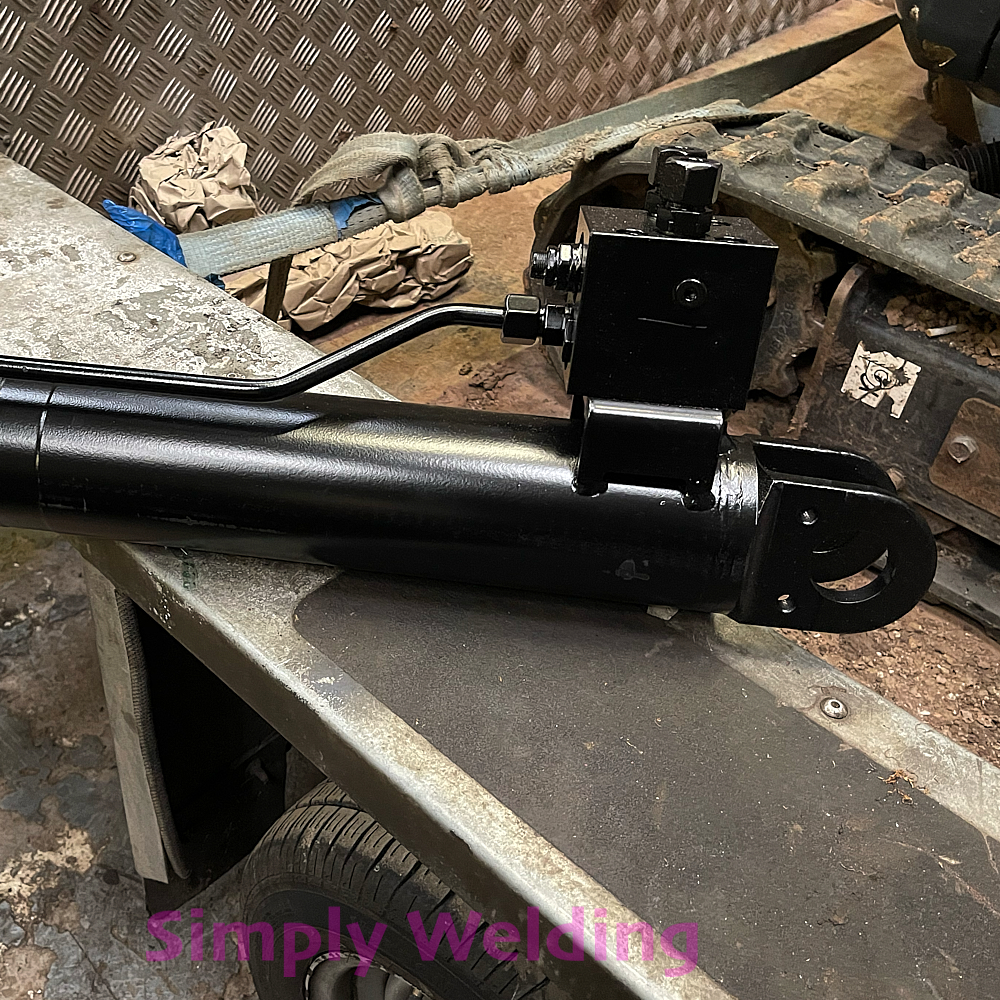
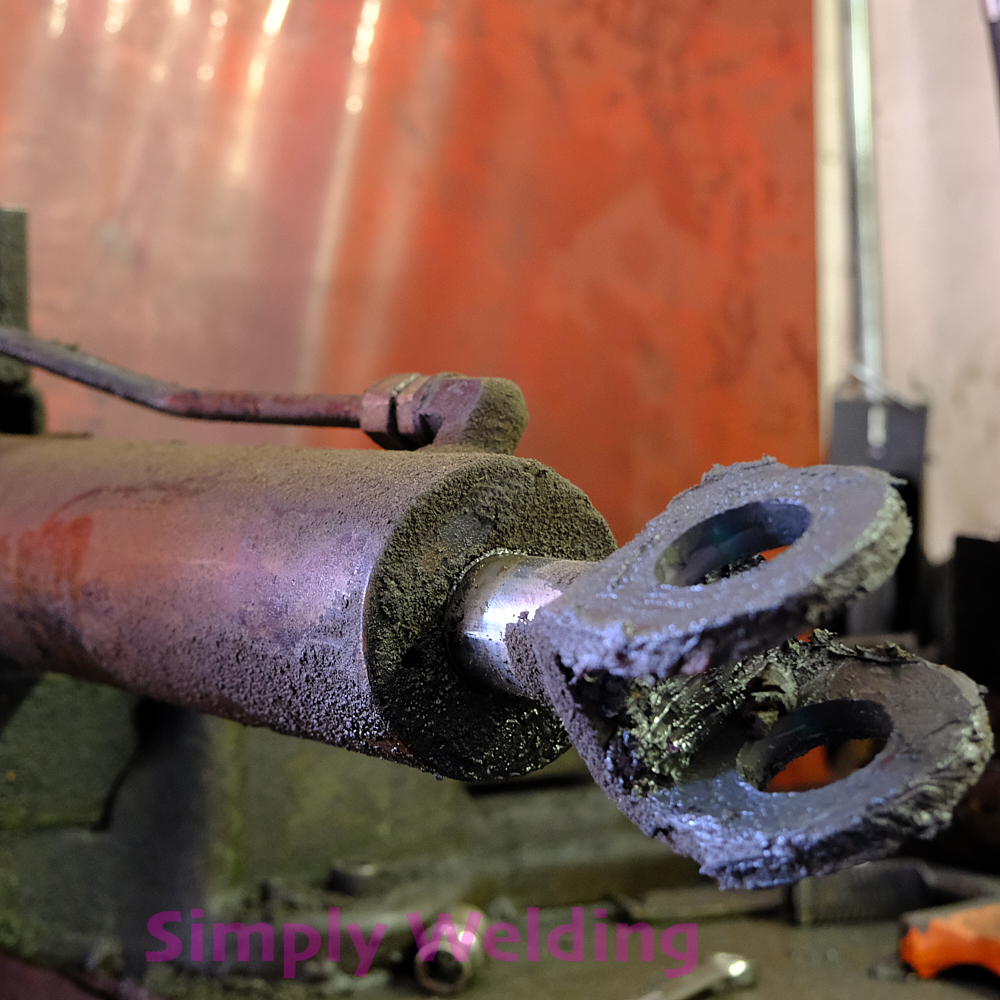
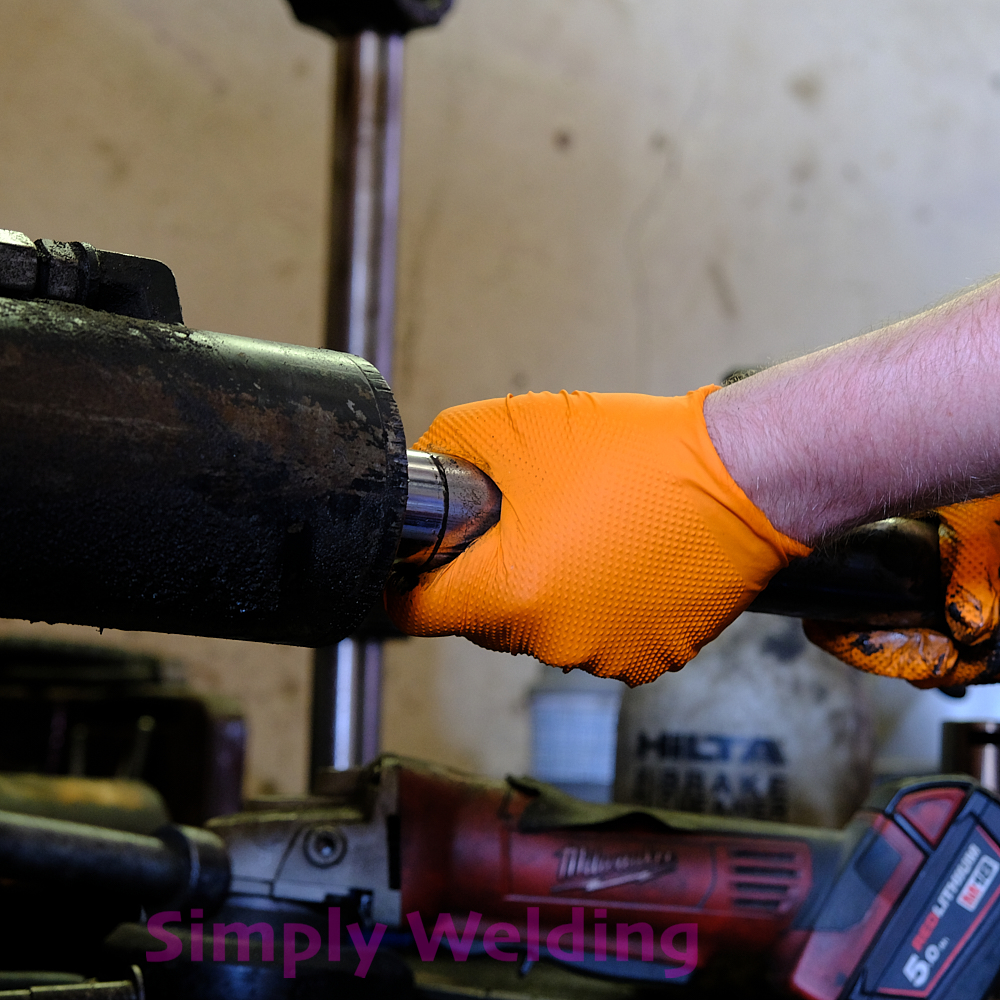
The piston had come off the rod, damaging both threads. Repaired to as-new condition with a new rod, piston and seals, then shot blasted and painted.
RoboFlail Mower Frame Repair

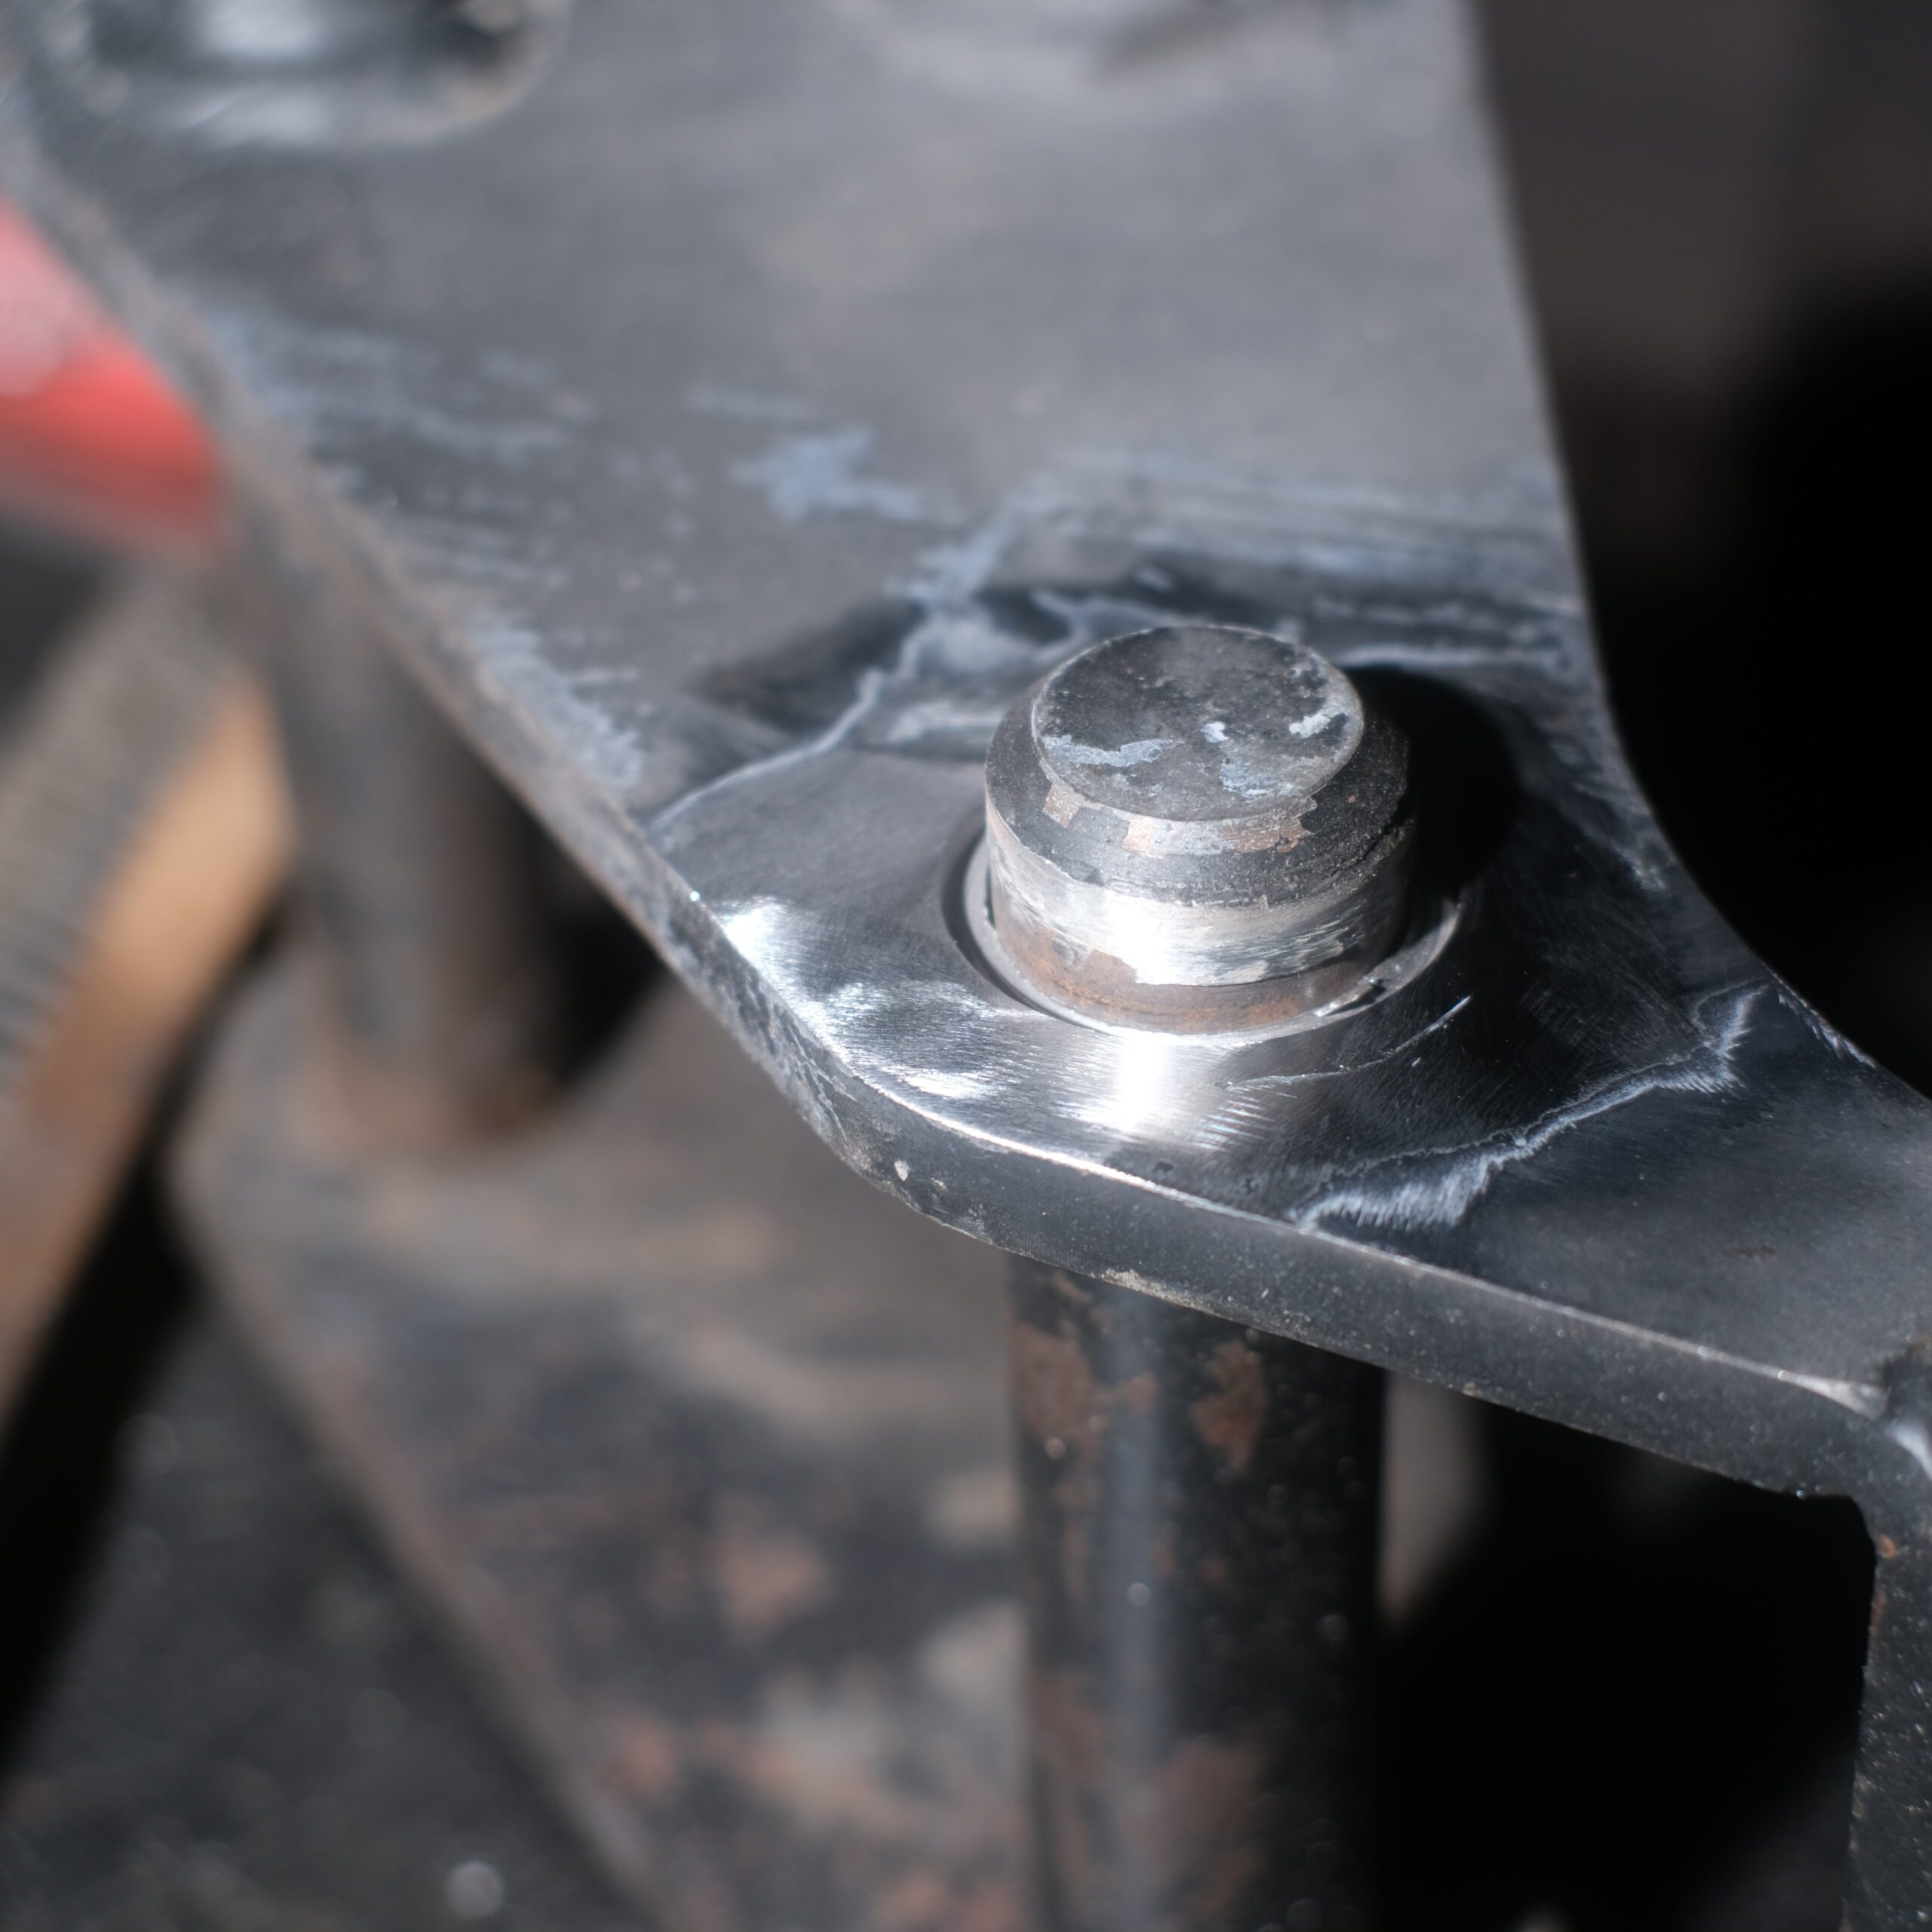
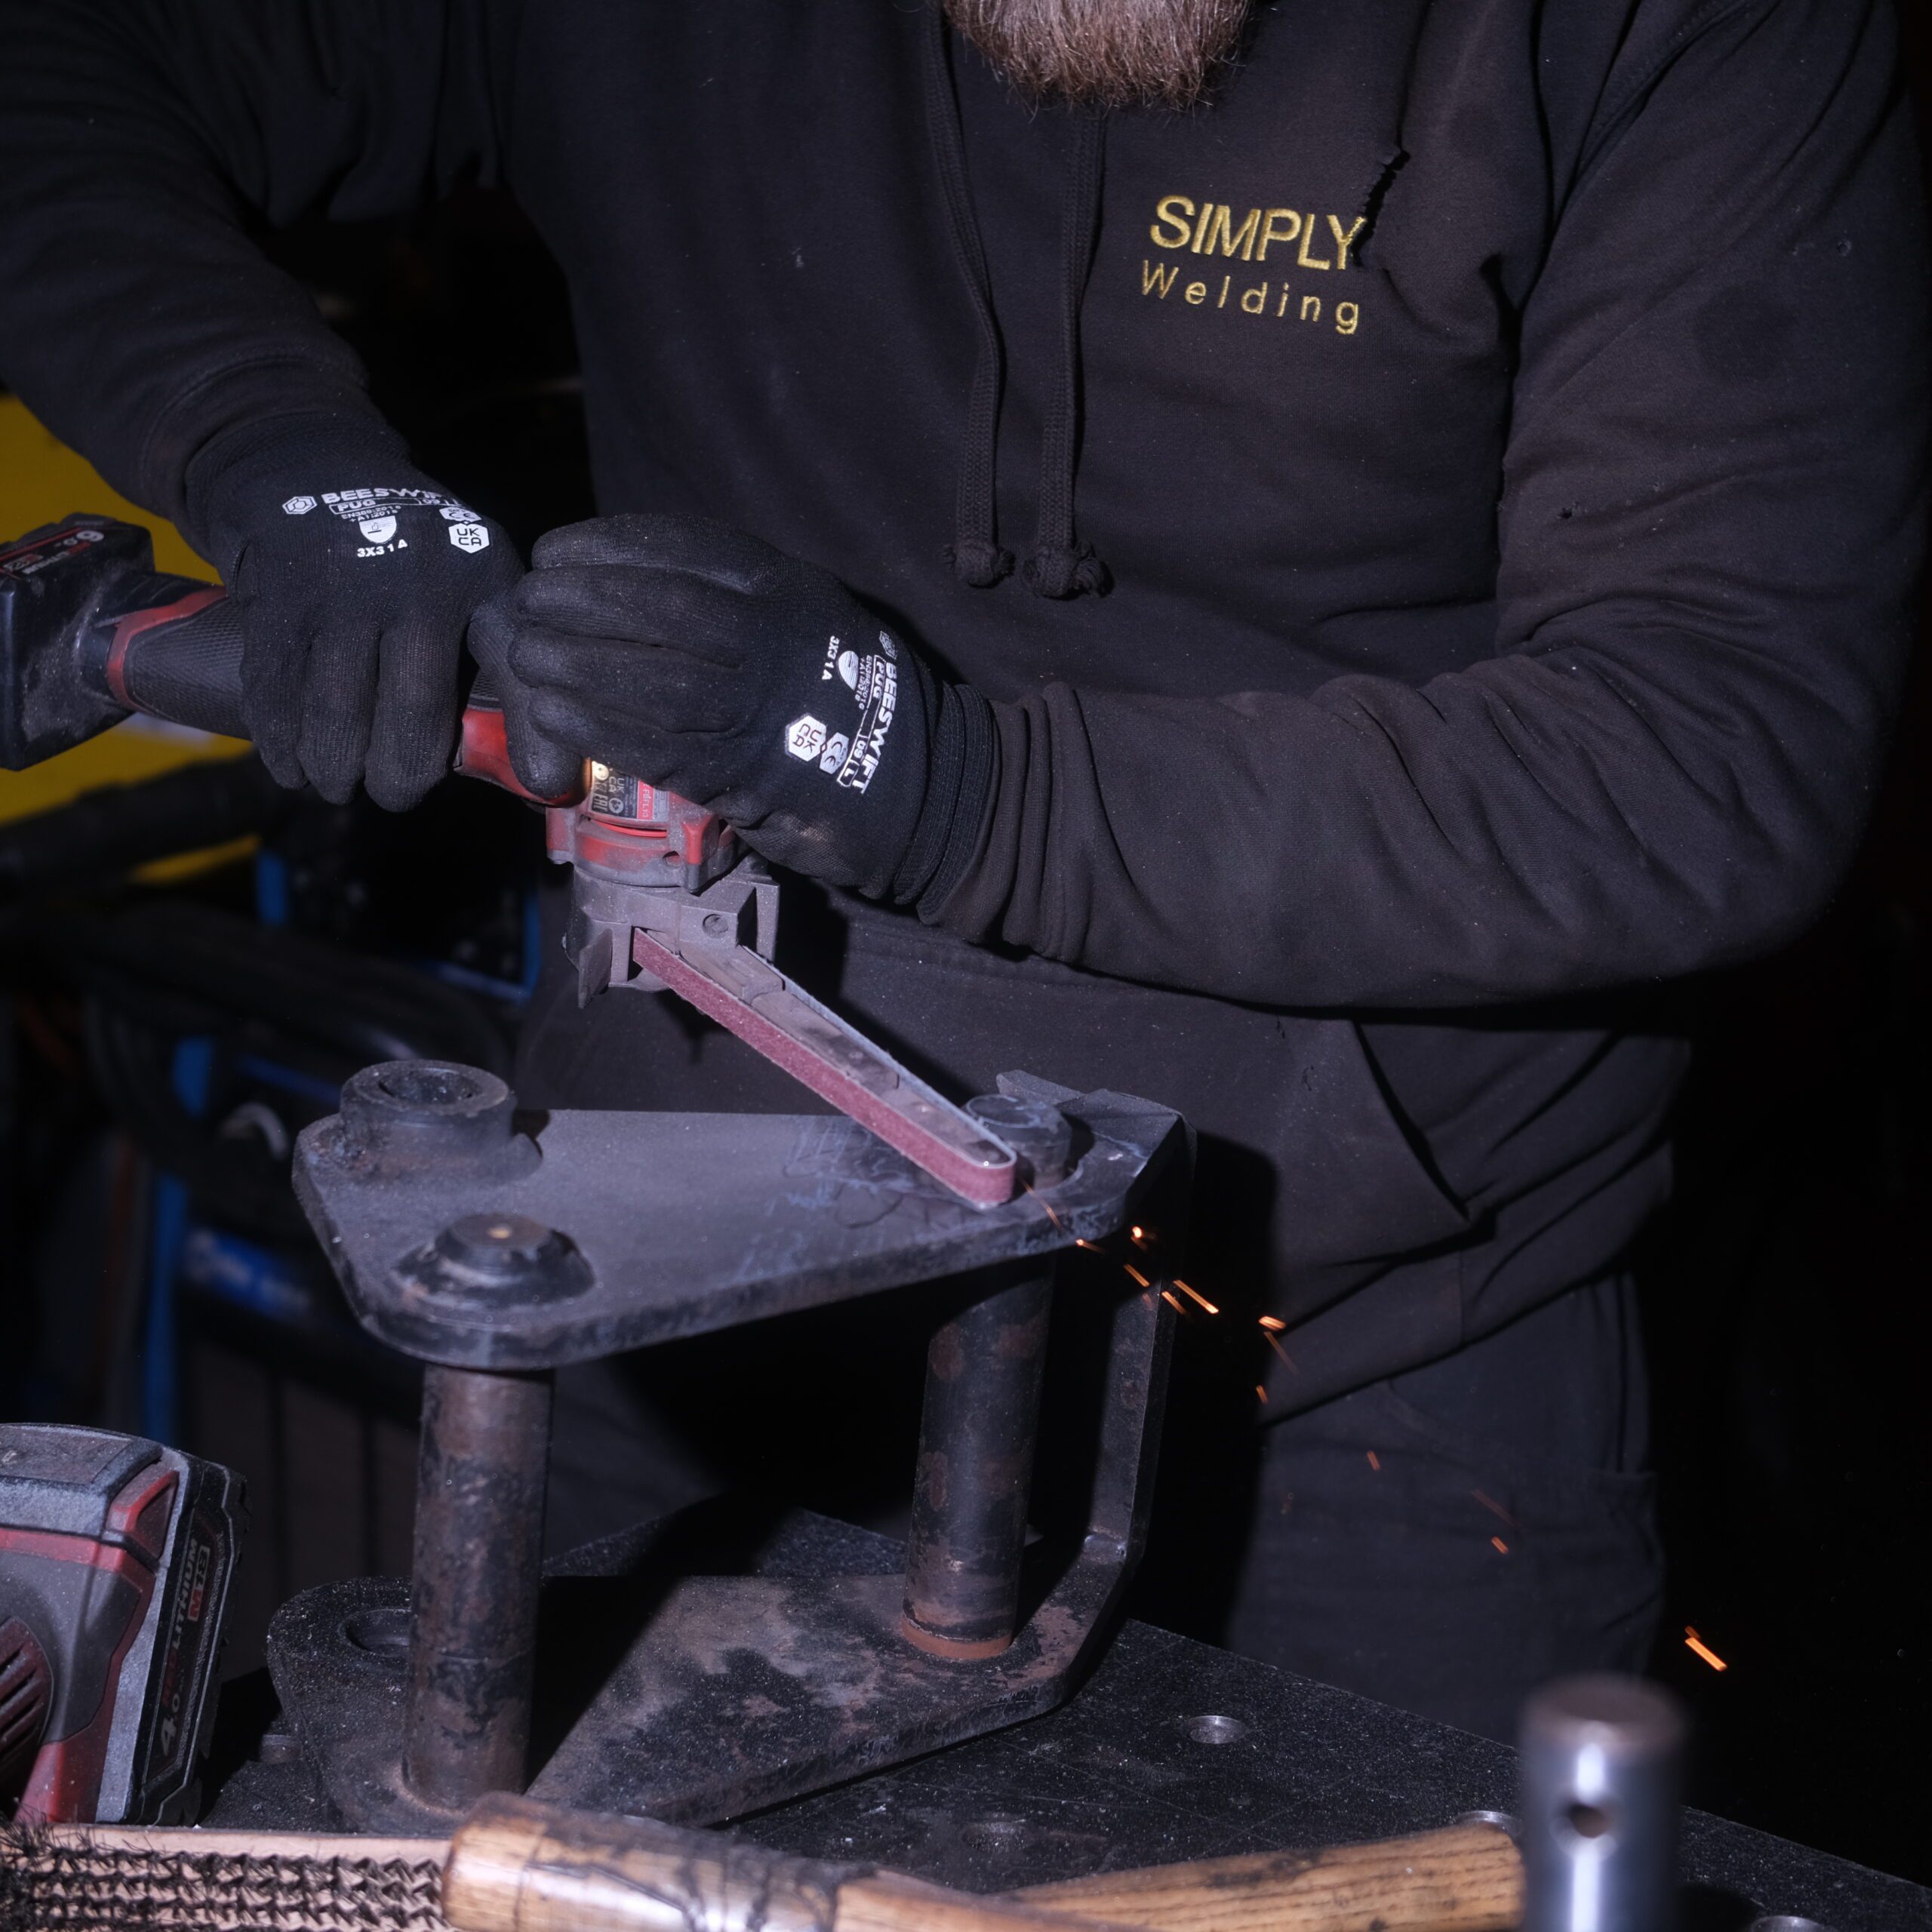
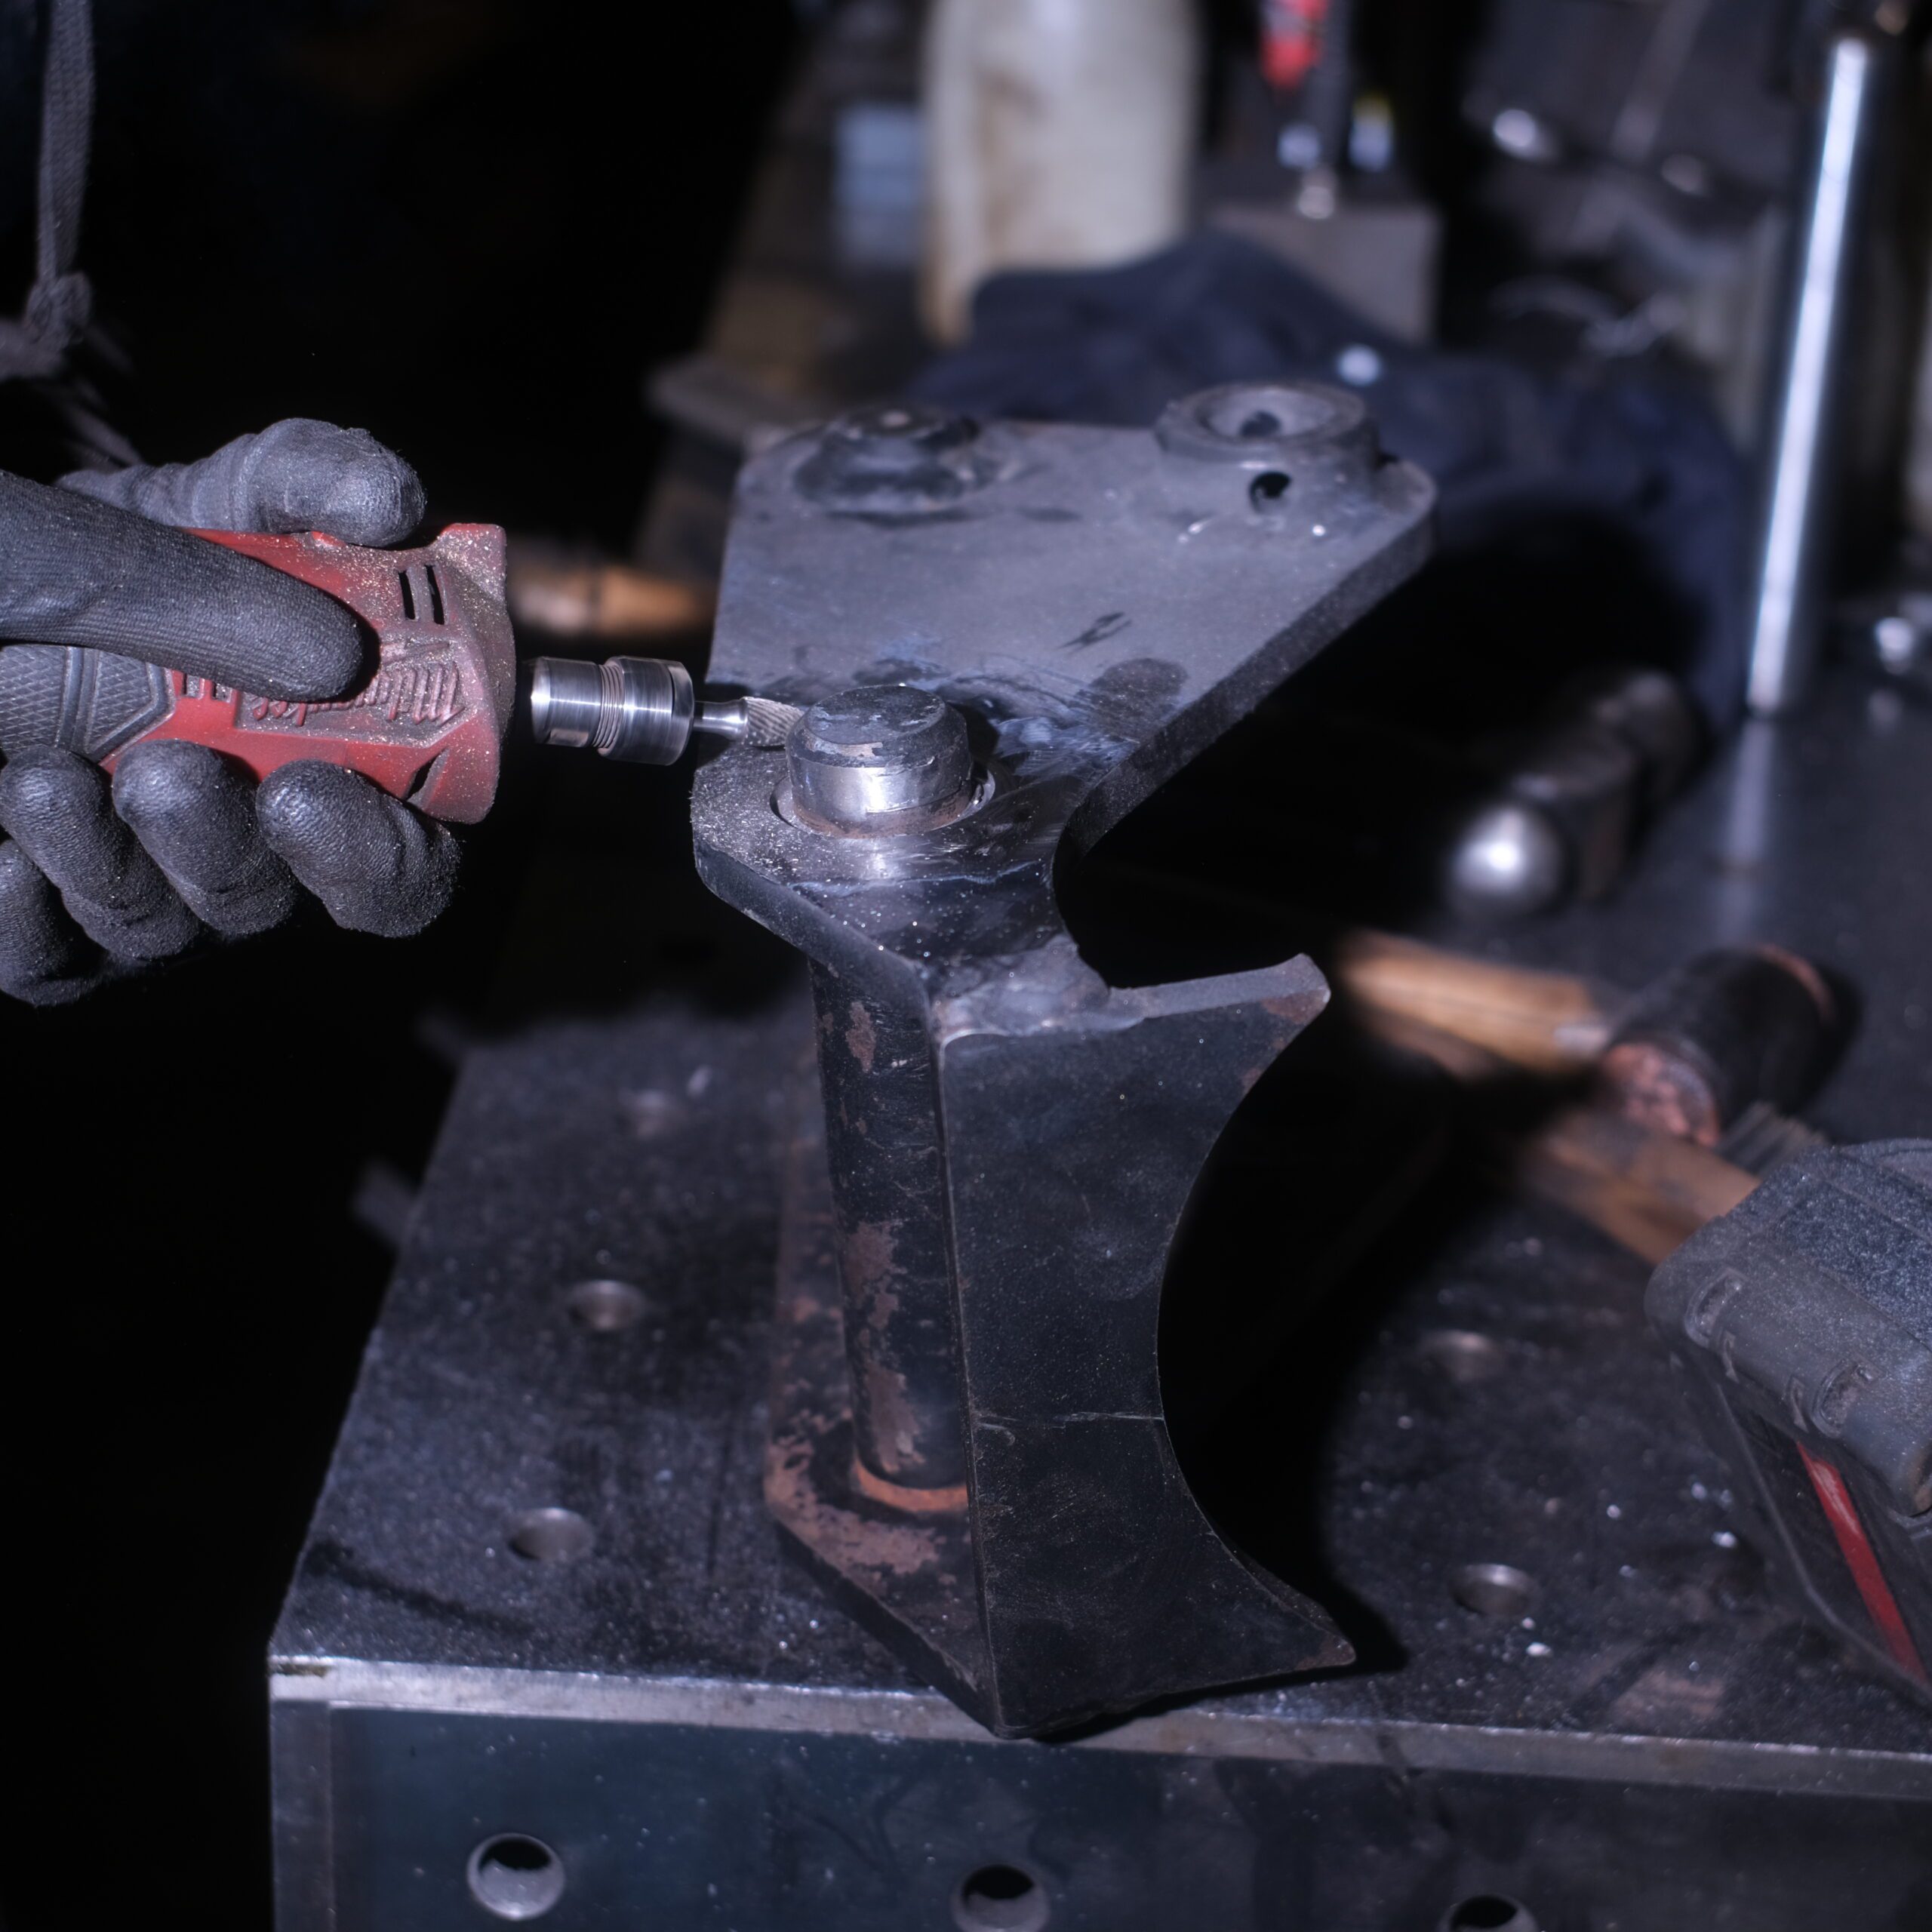
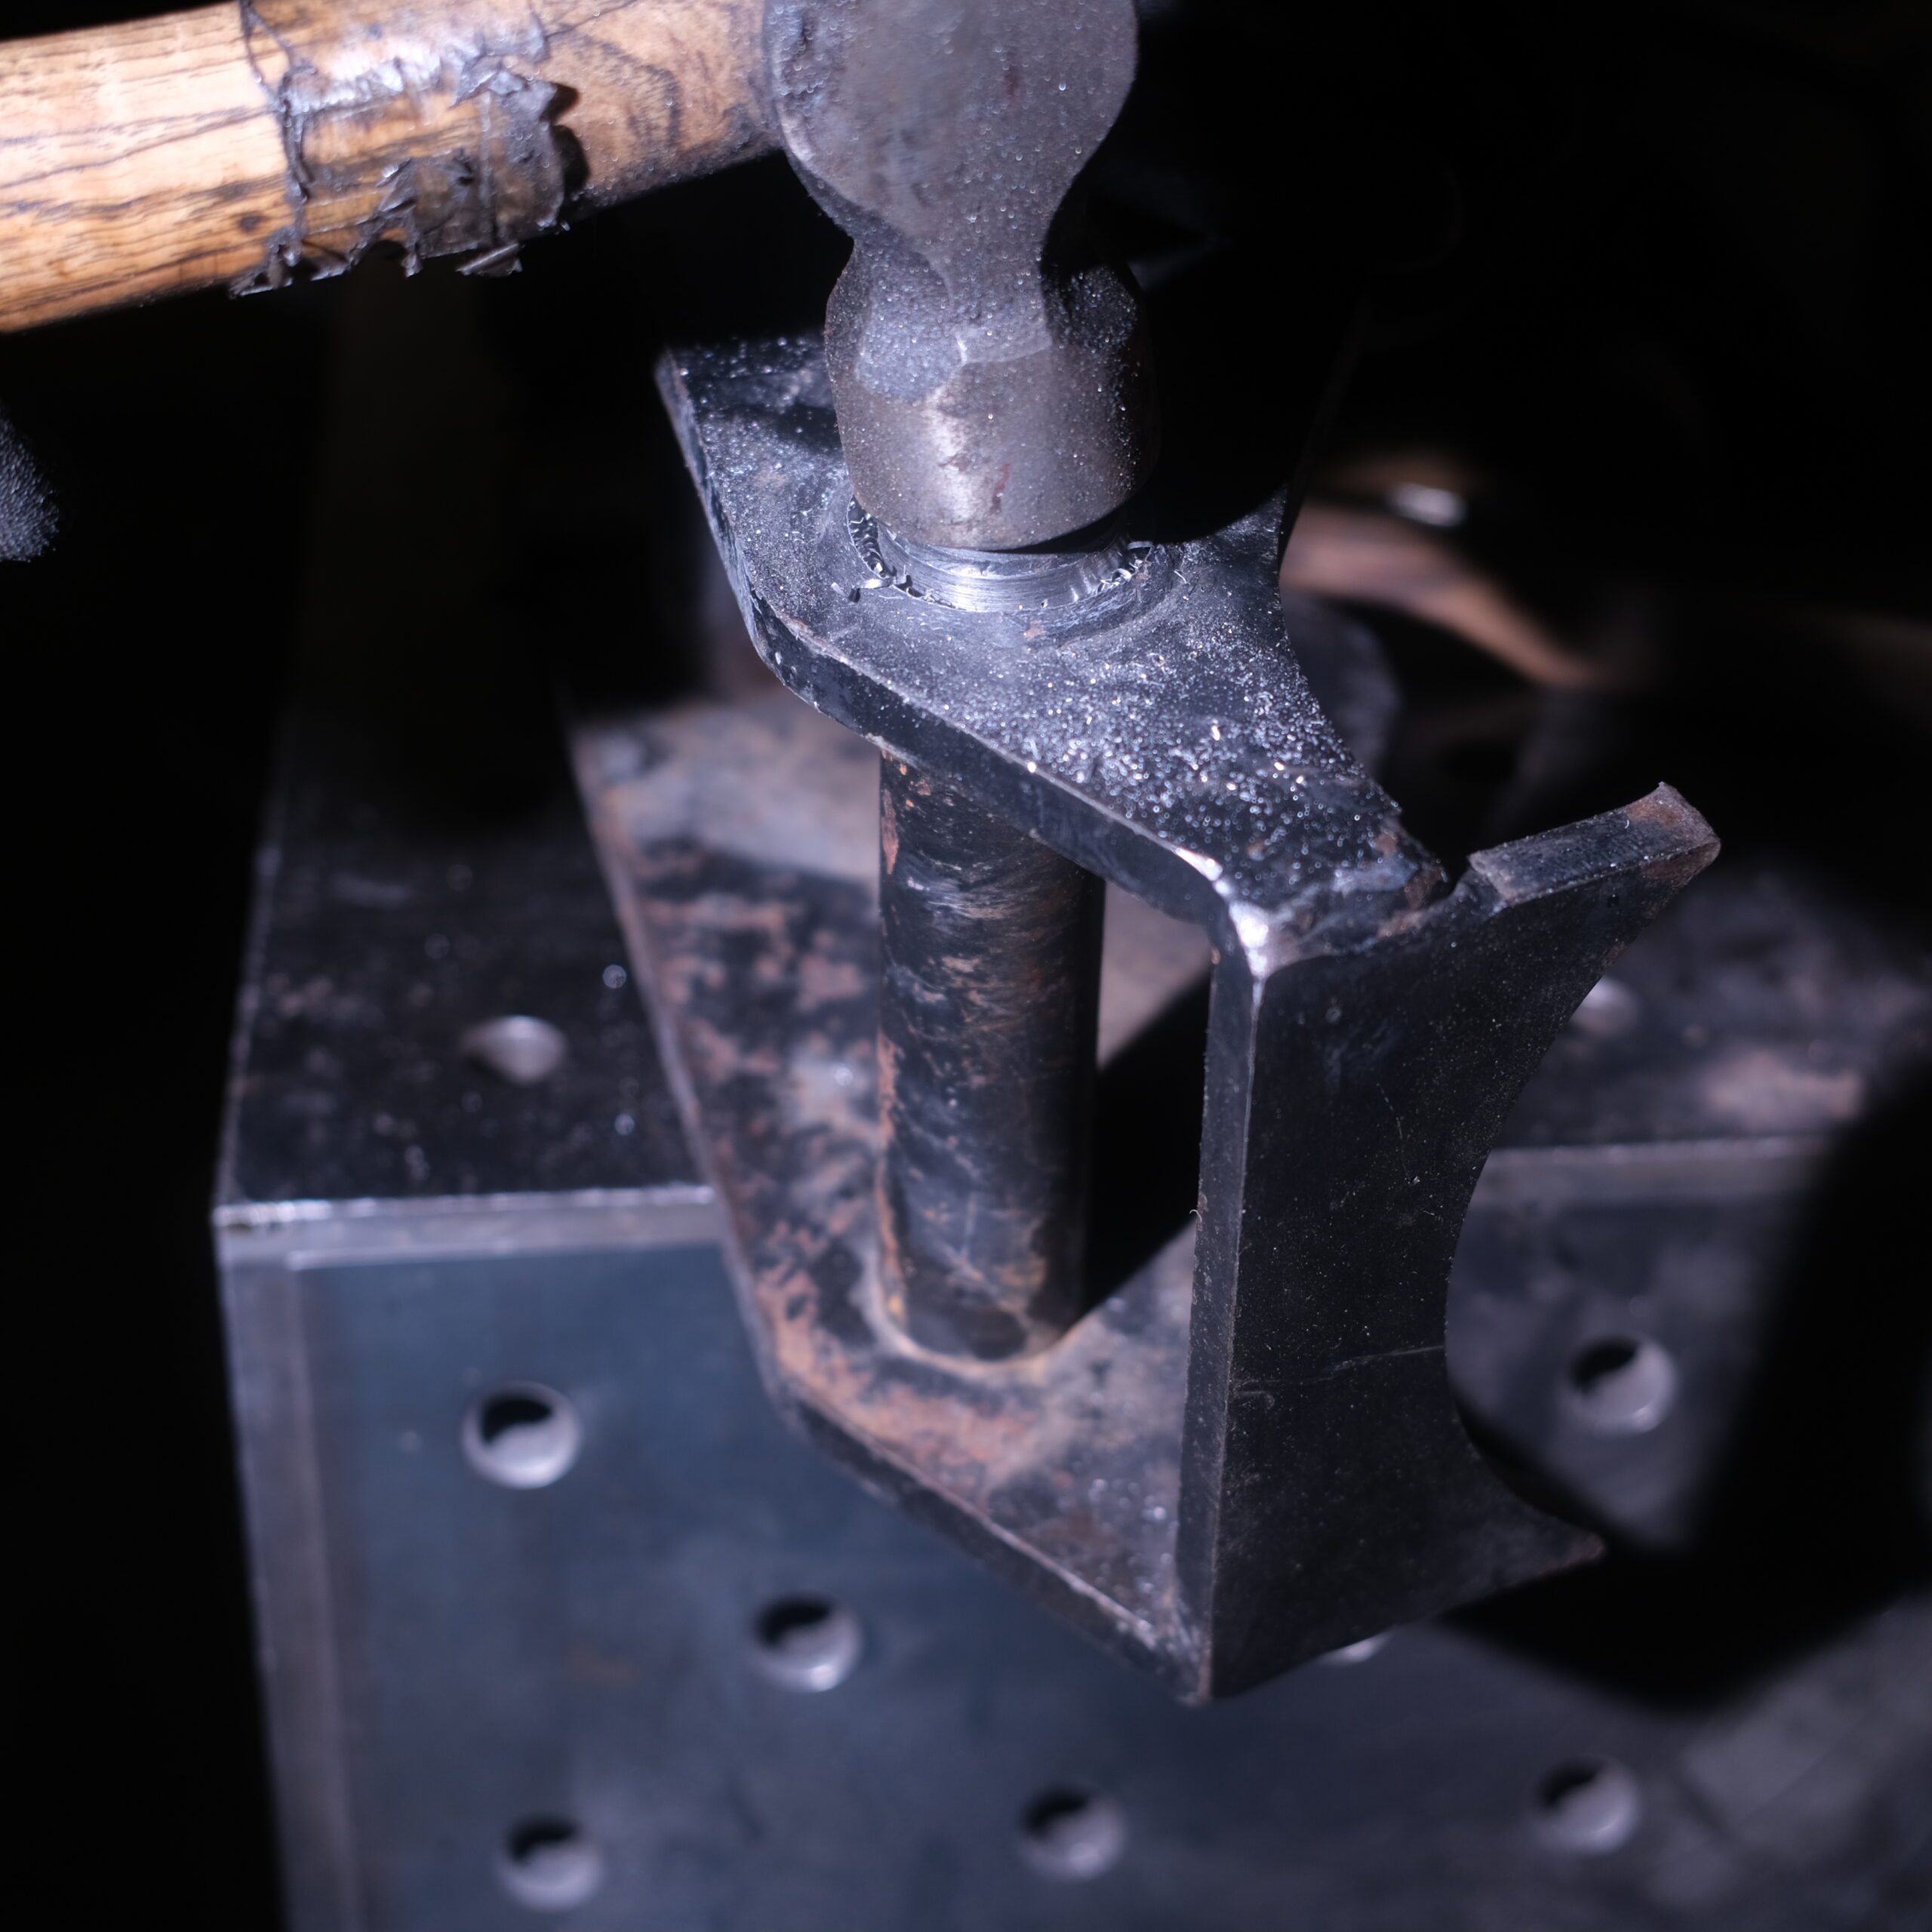
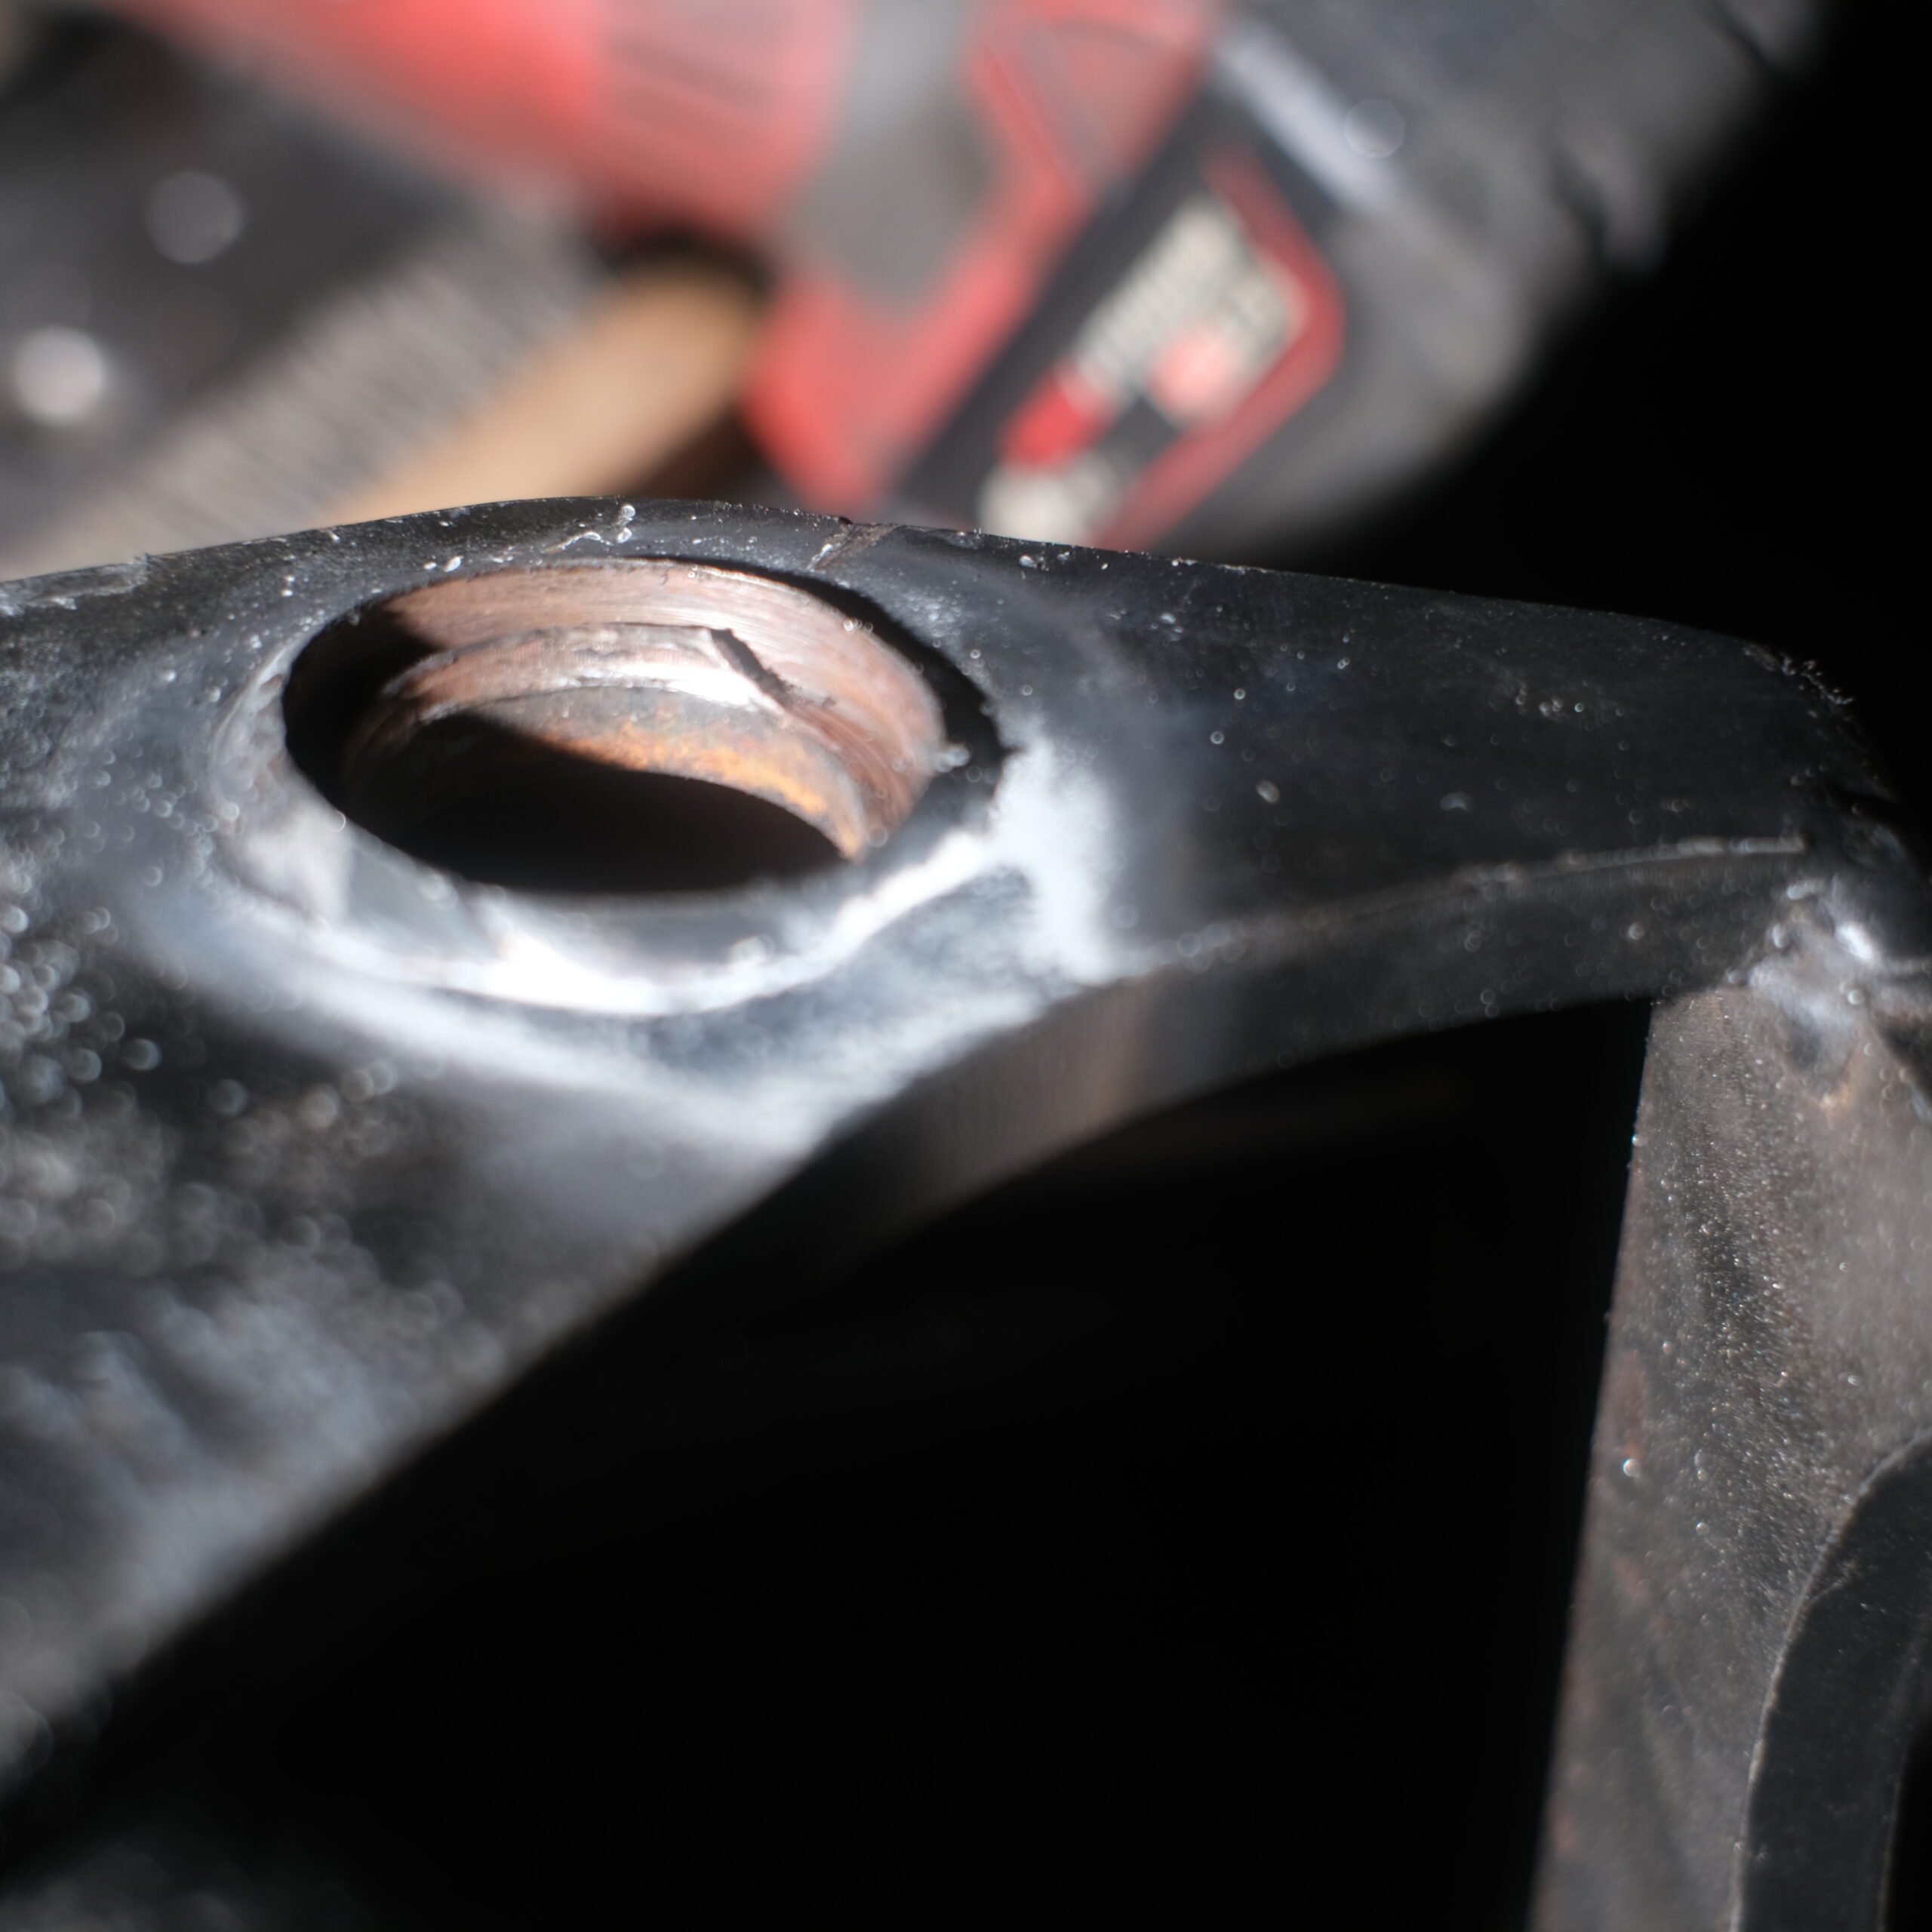
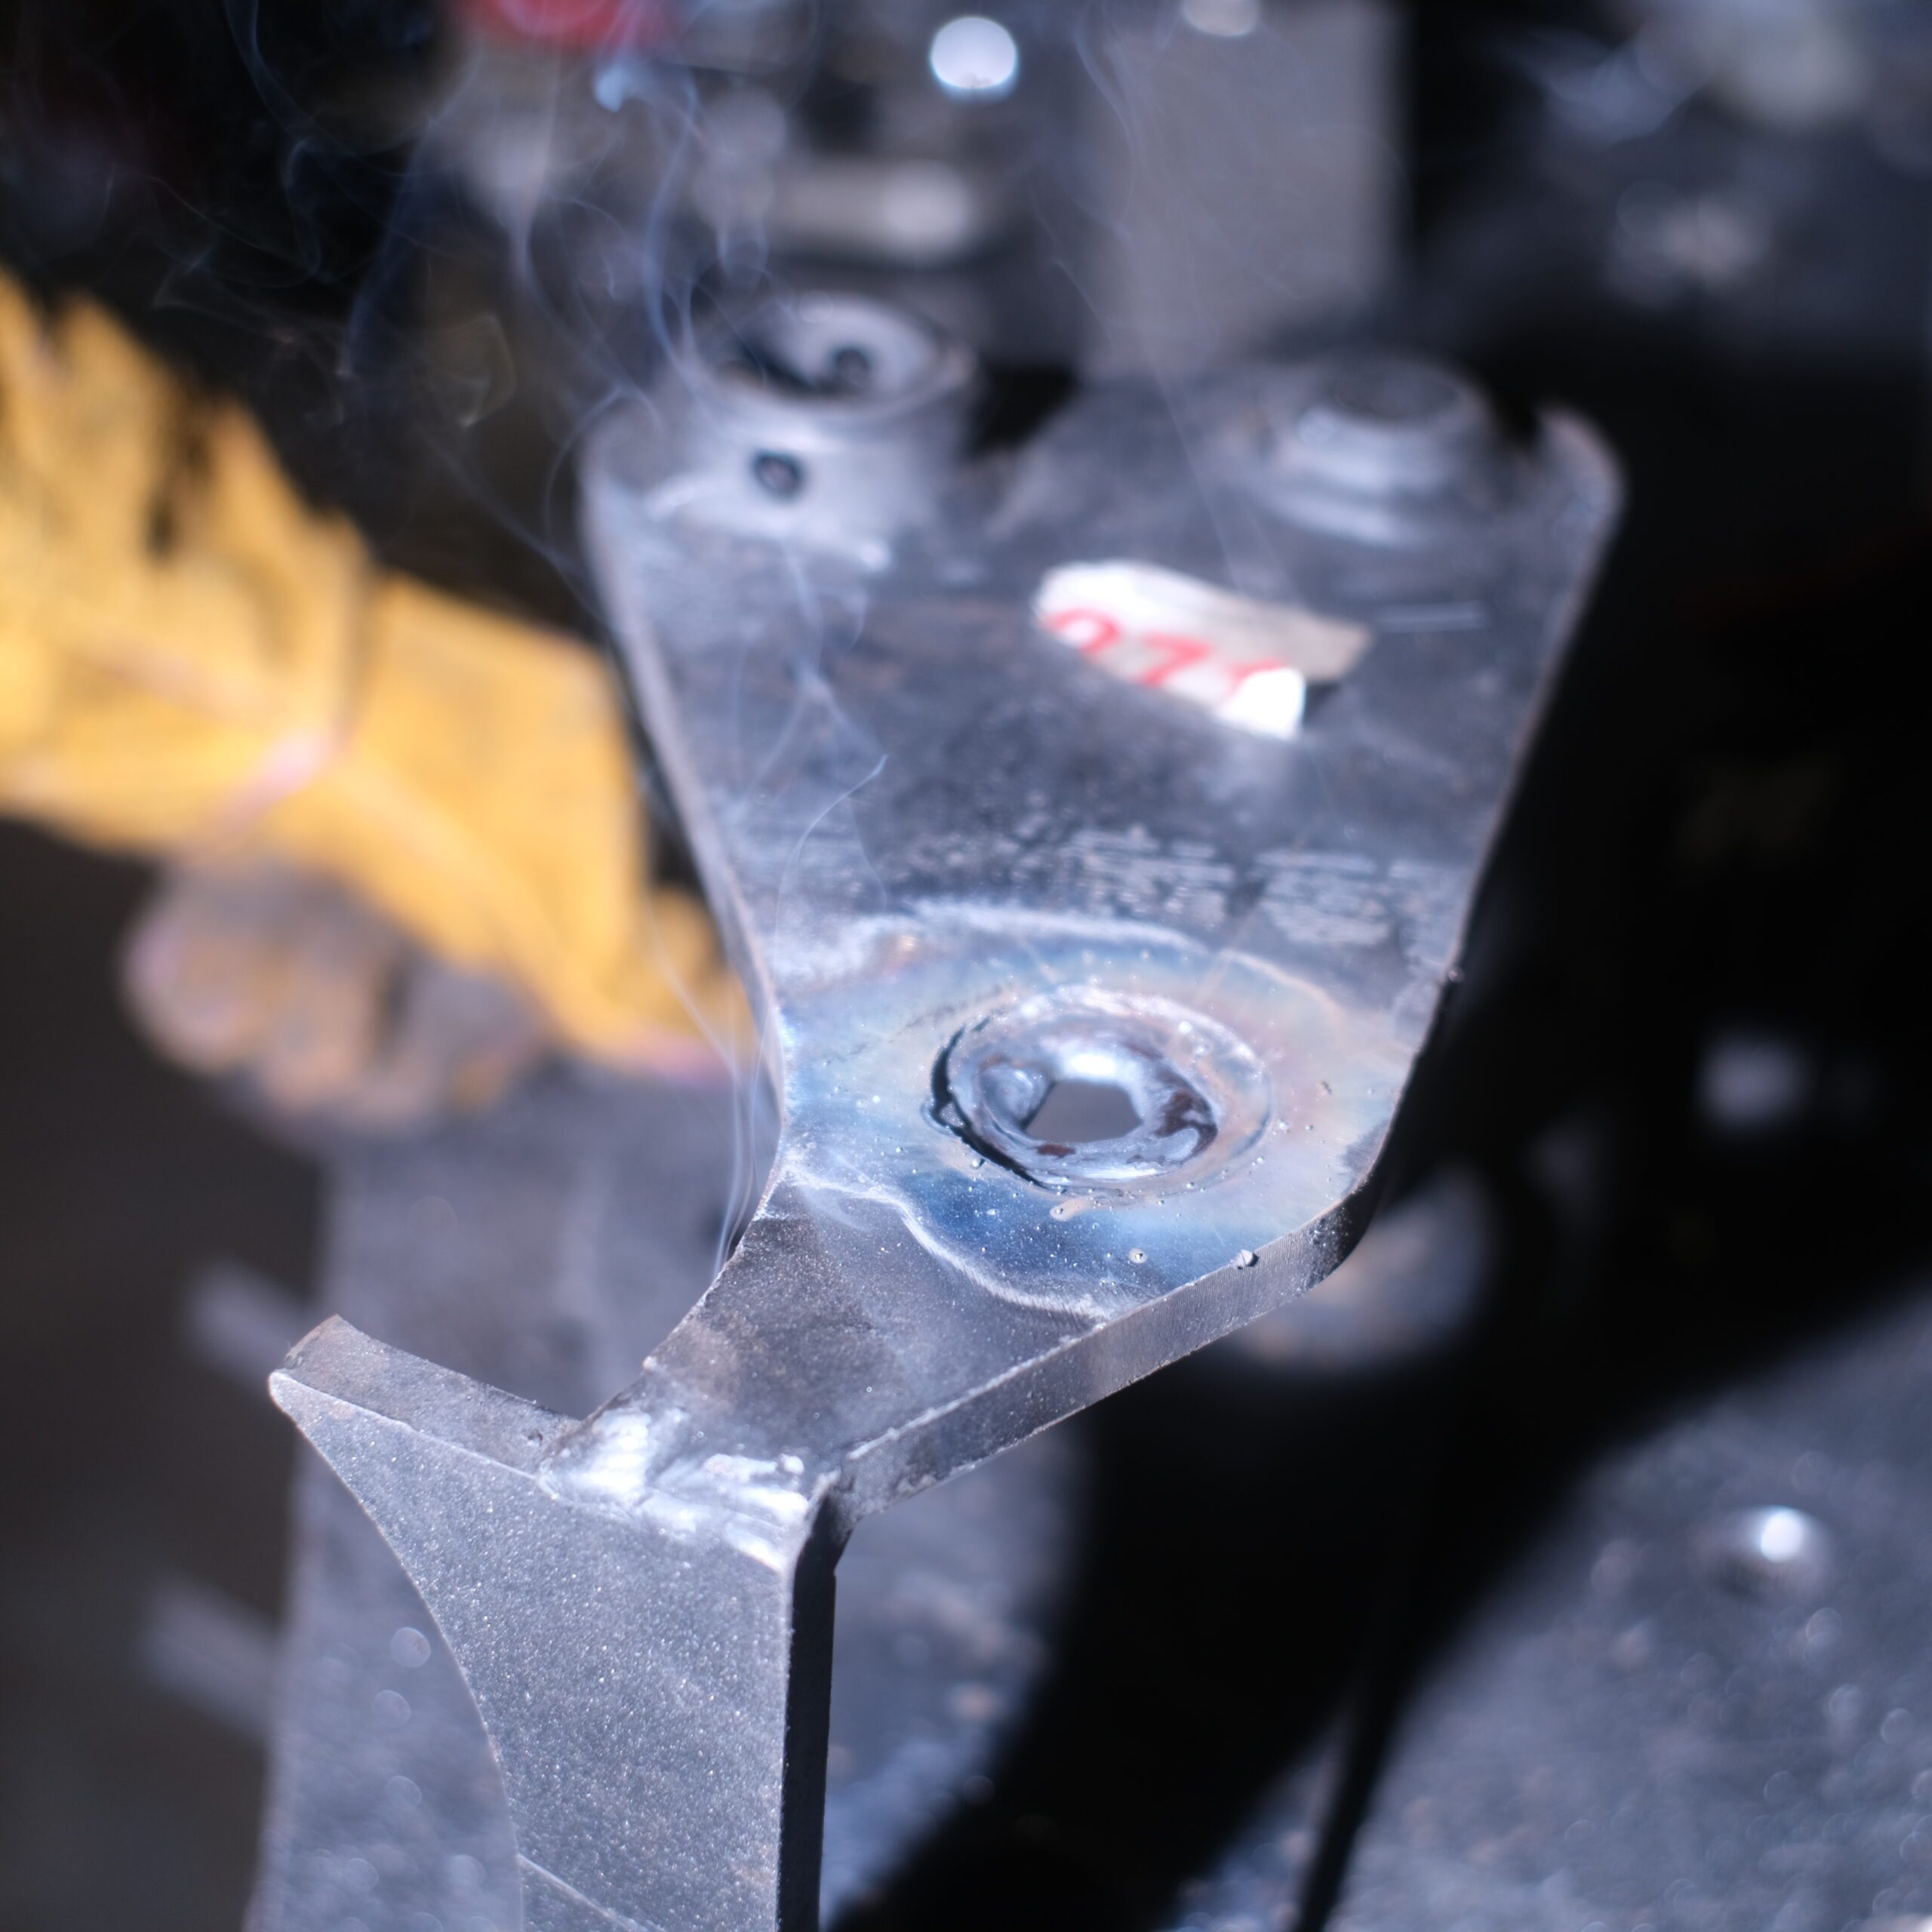
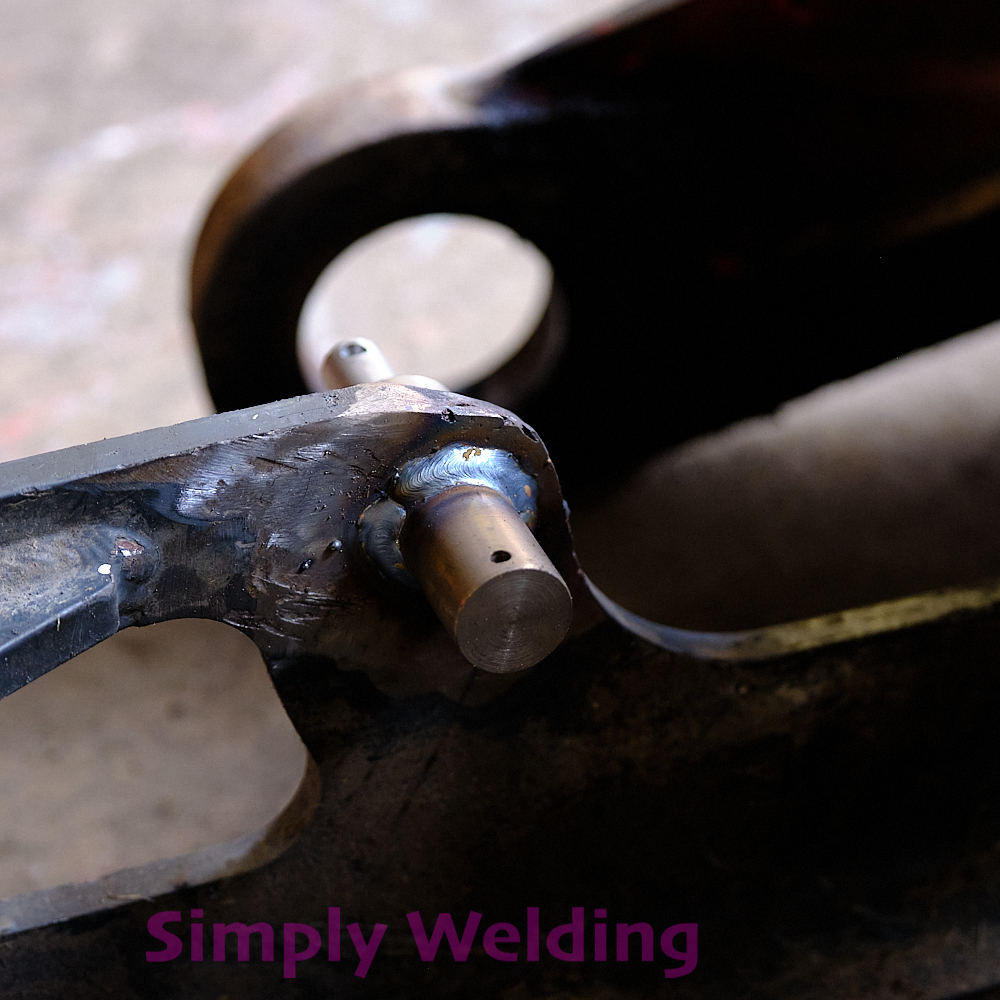
Removed the broken pivot pin from a RoboFlail remote-control mower’s front frame, then turned a new pin and welded it in.
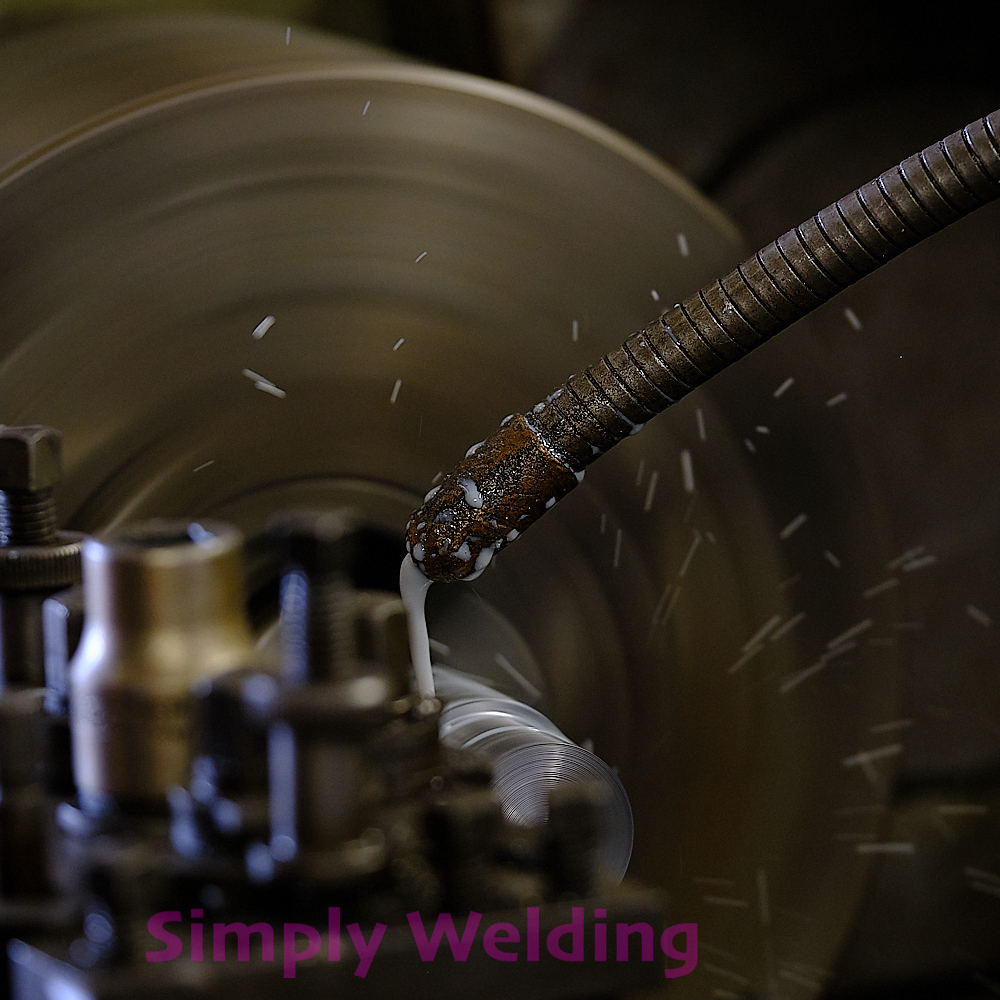
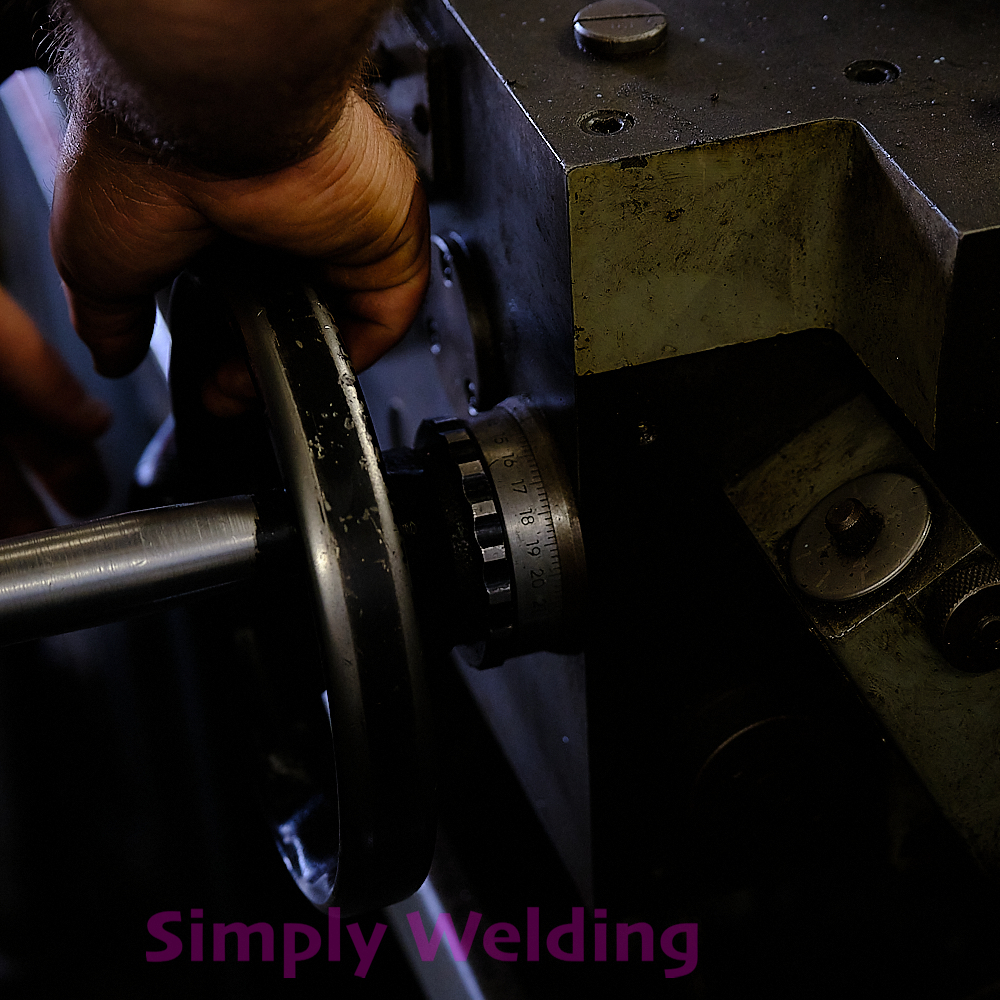
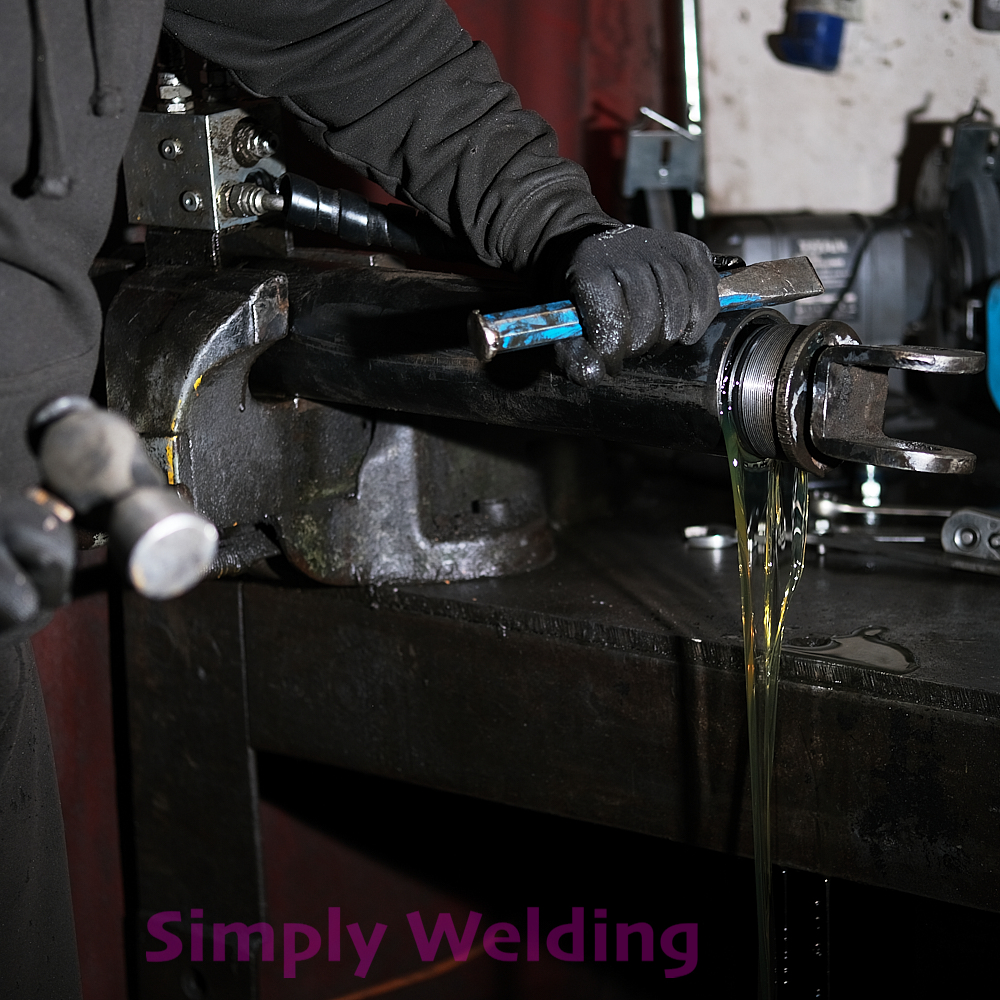
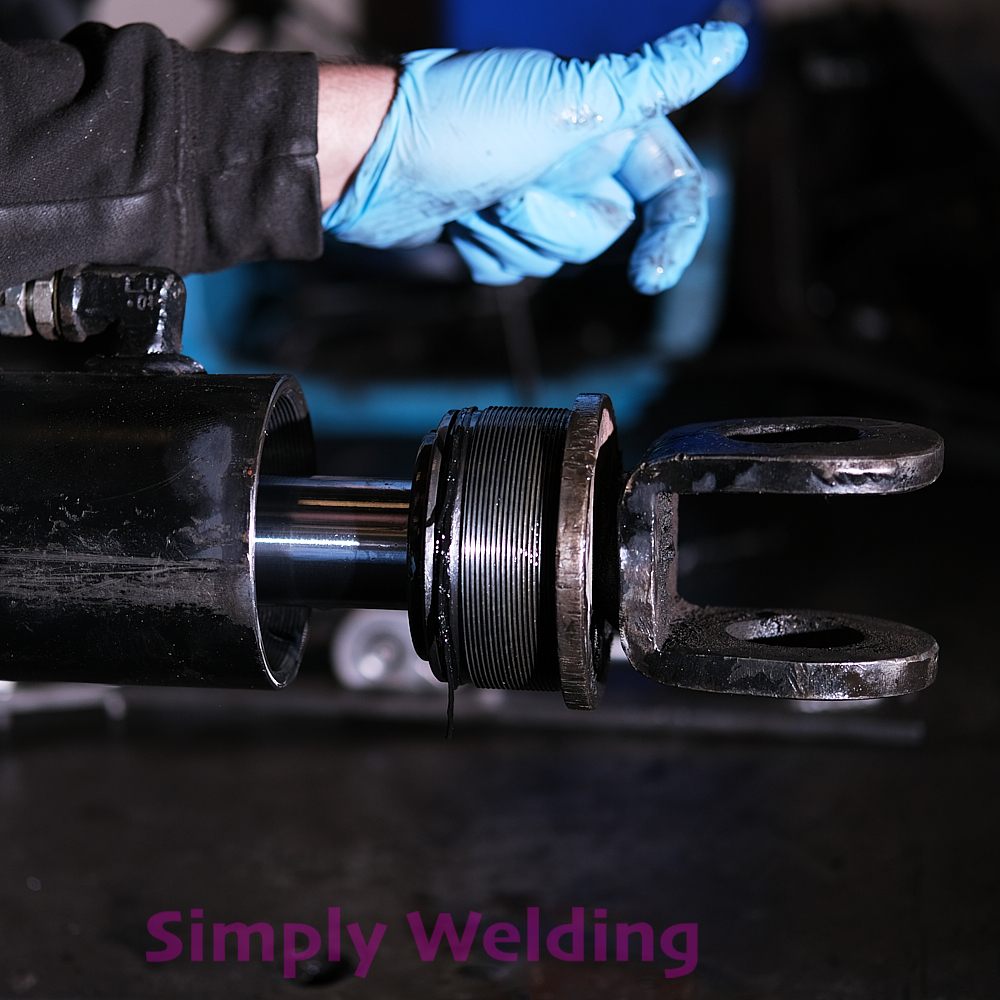
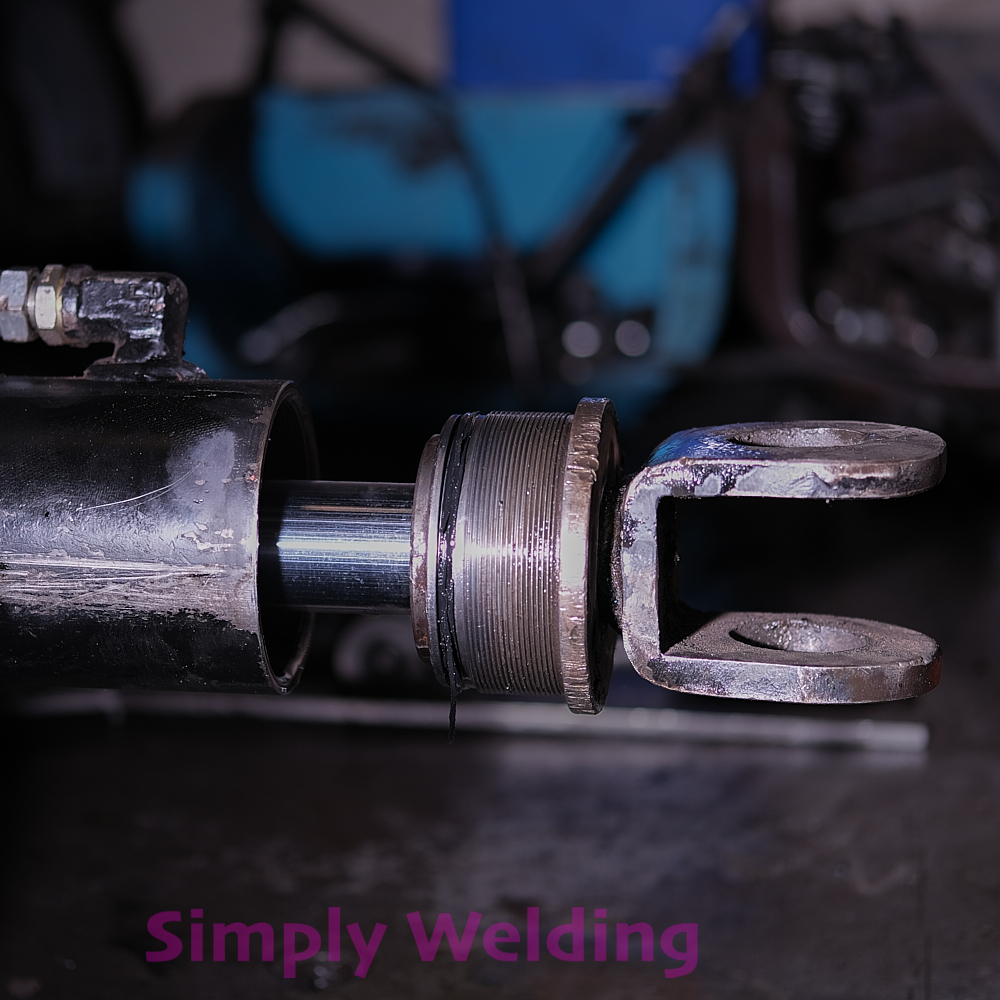
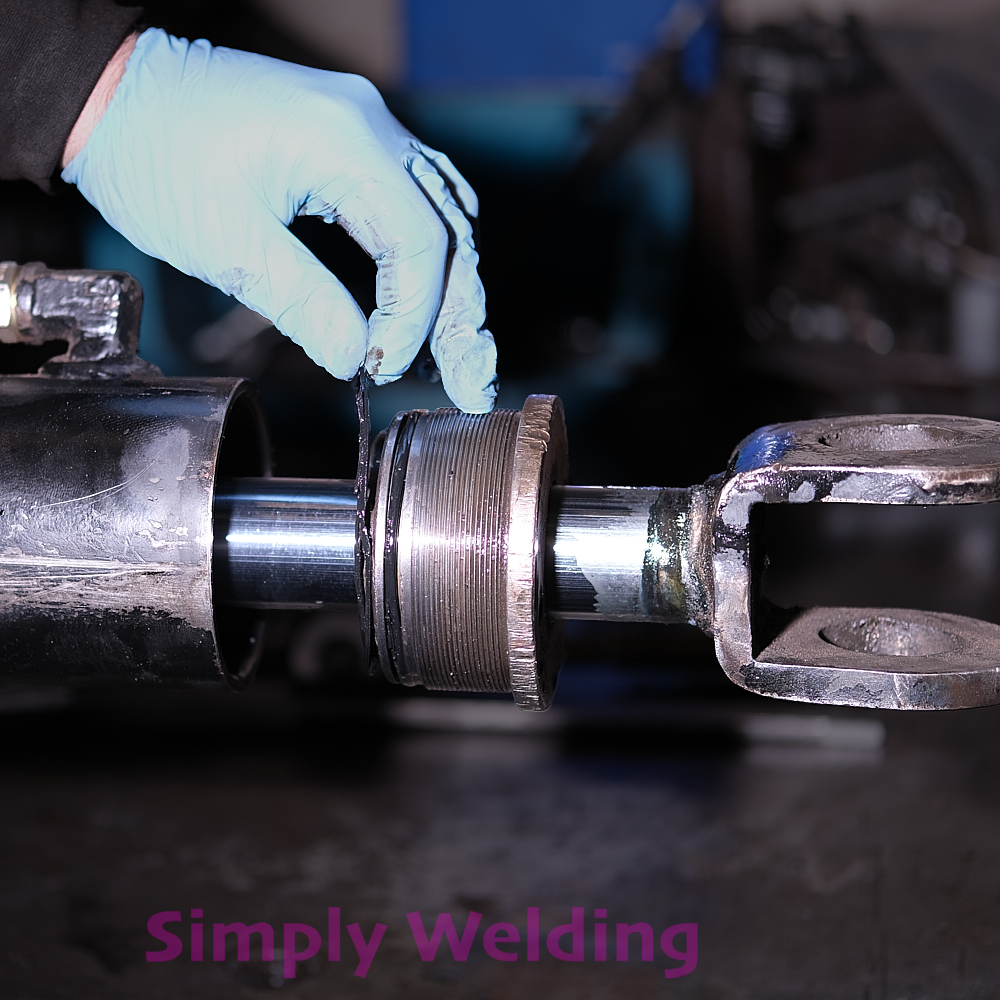
Hydraulic Ram Repair – Leaking Gland Nut

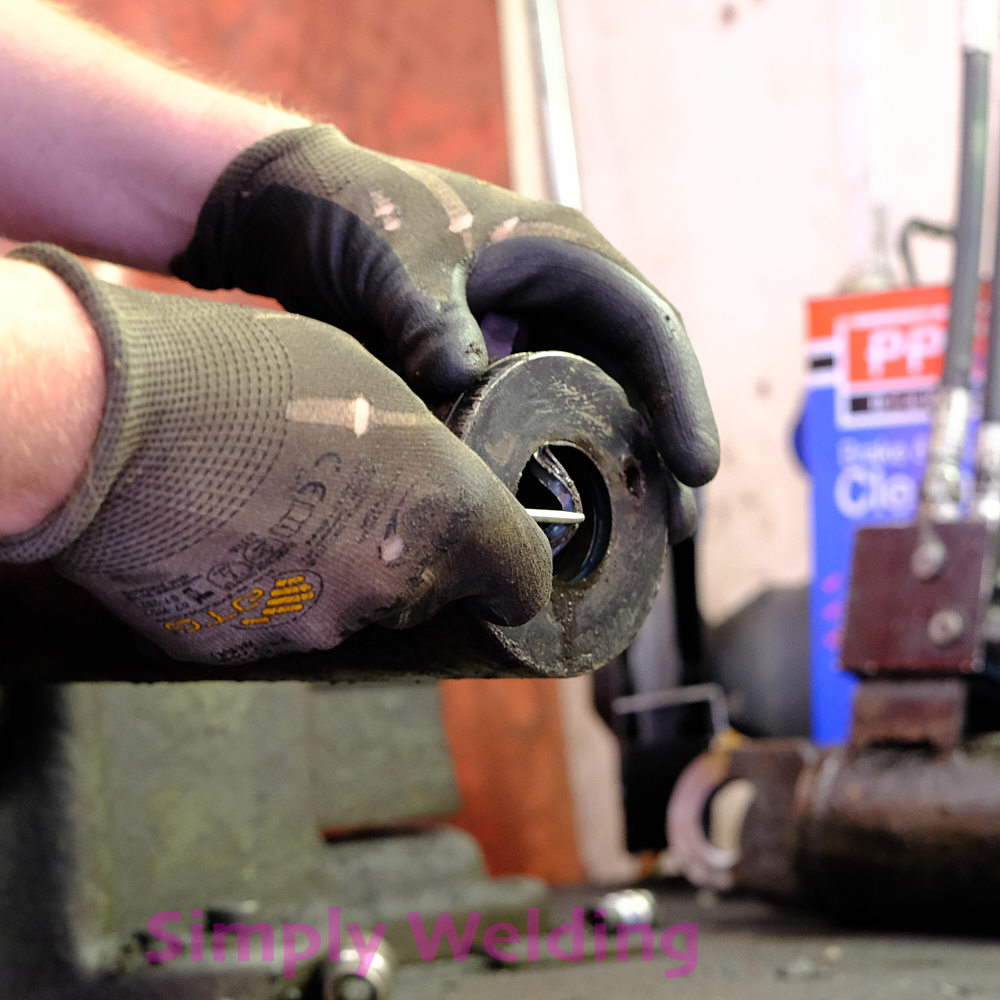
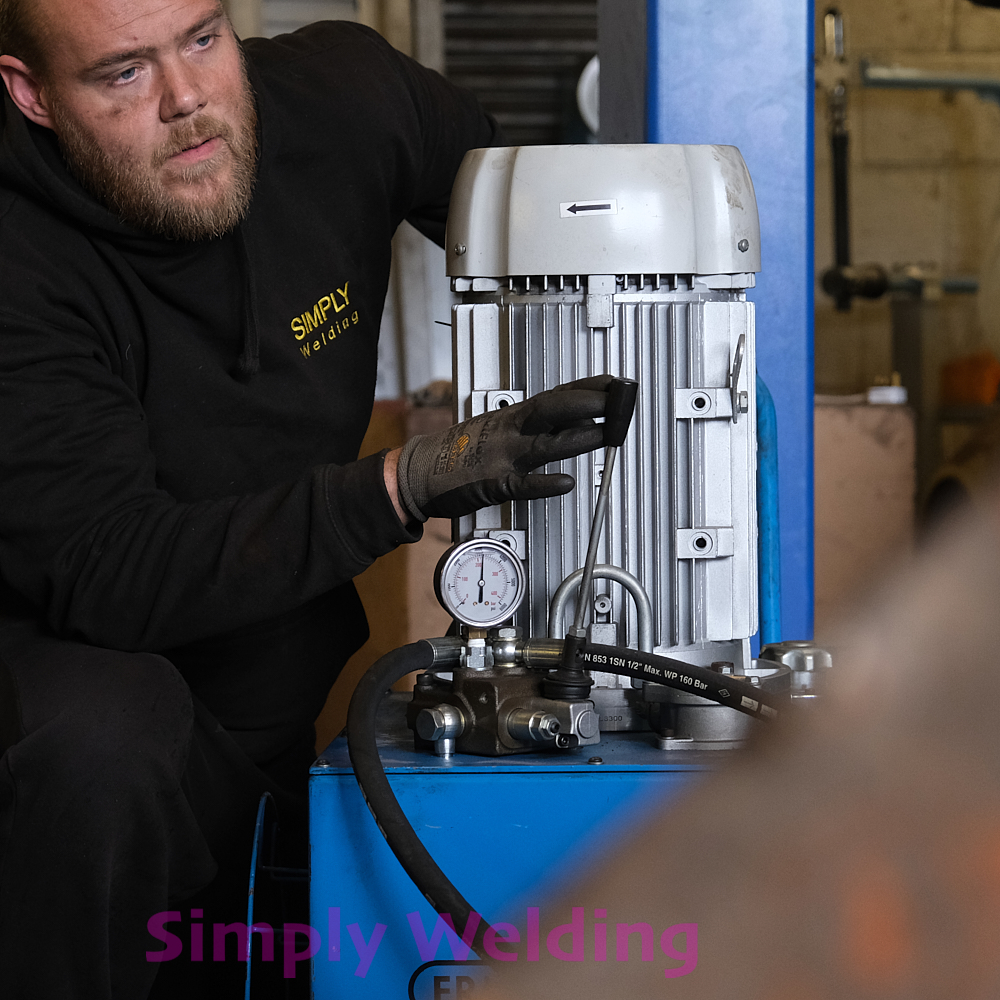
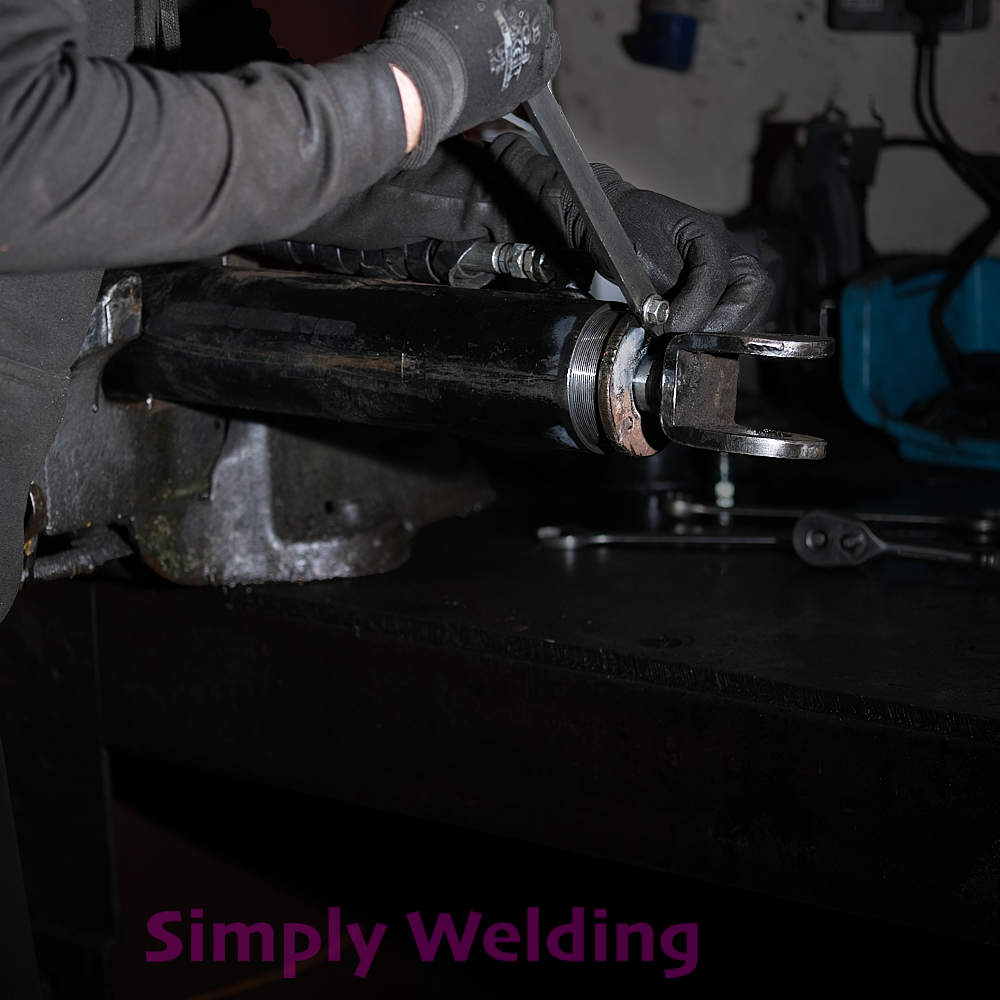
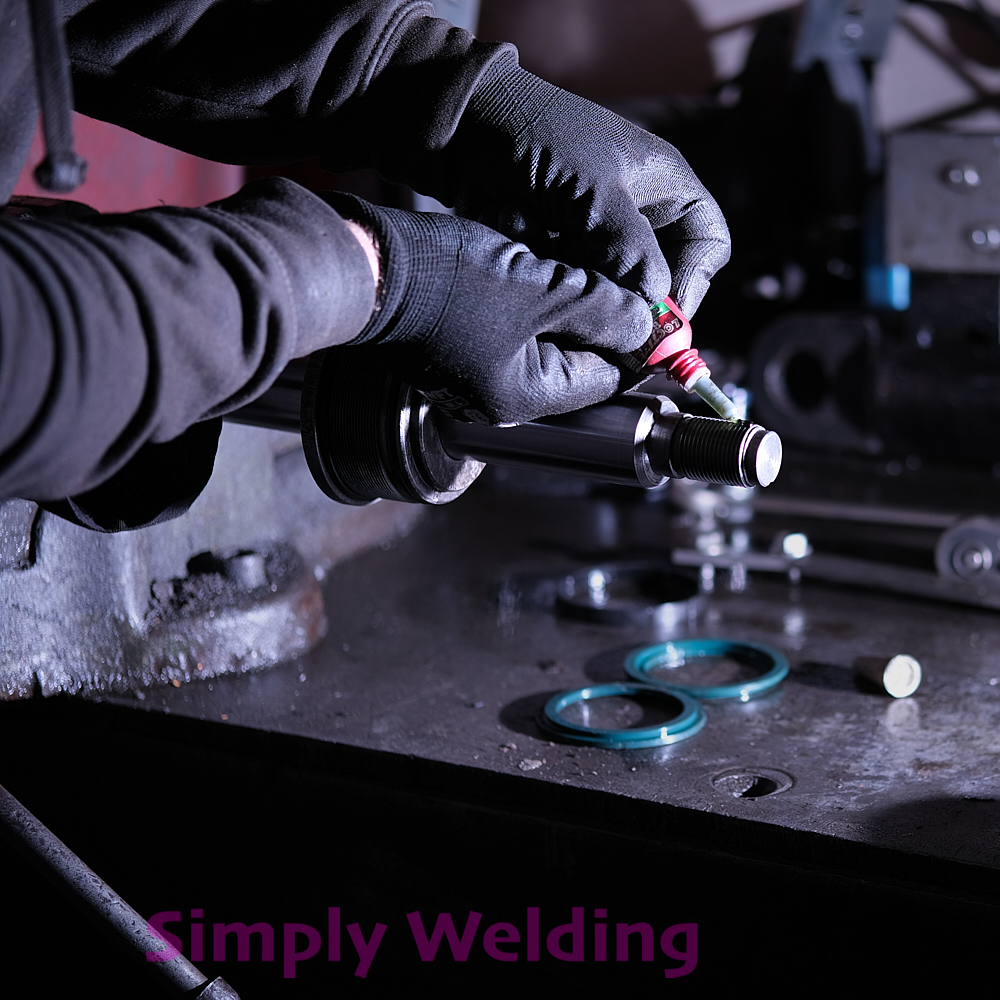
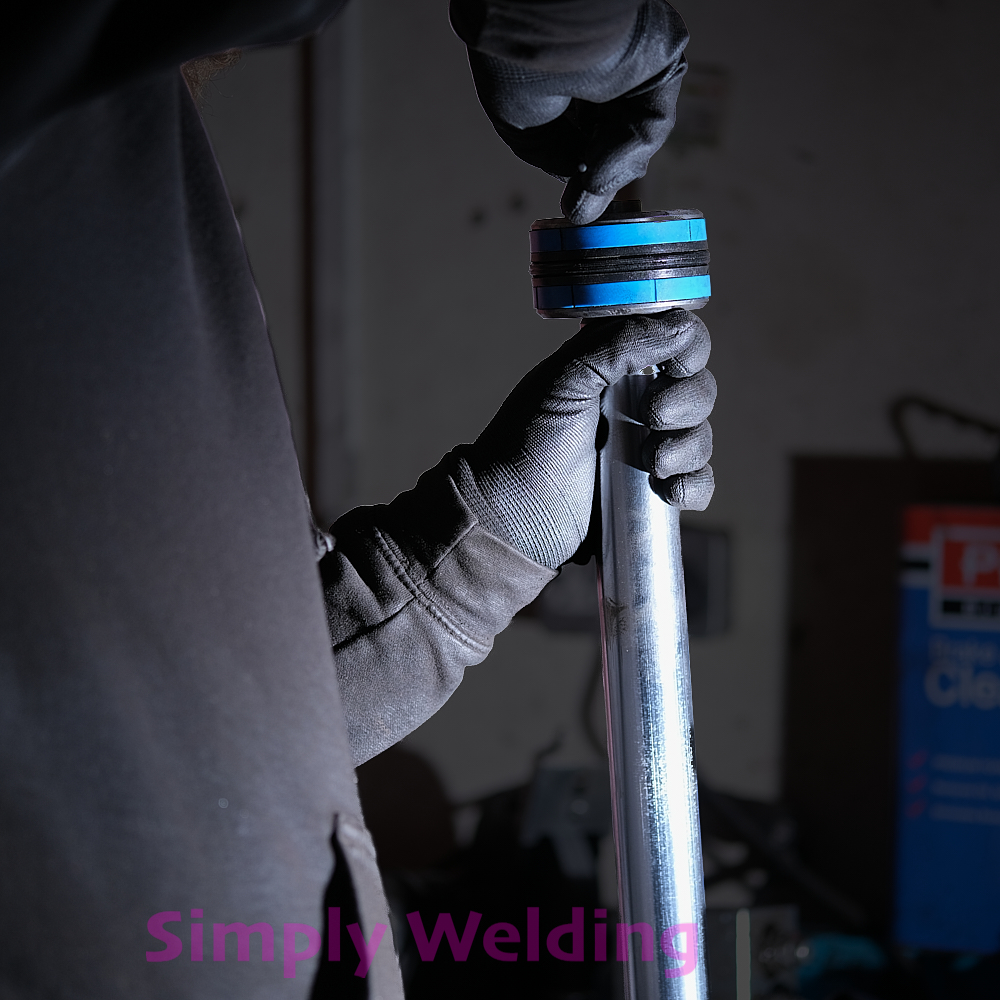
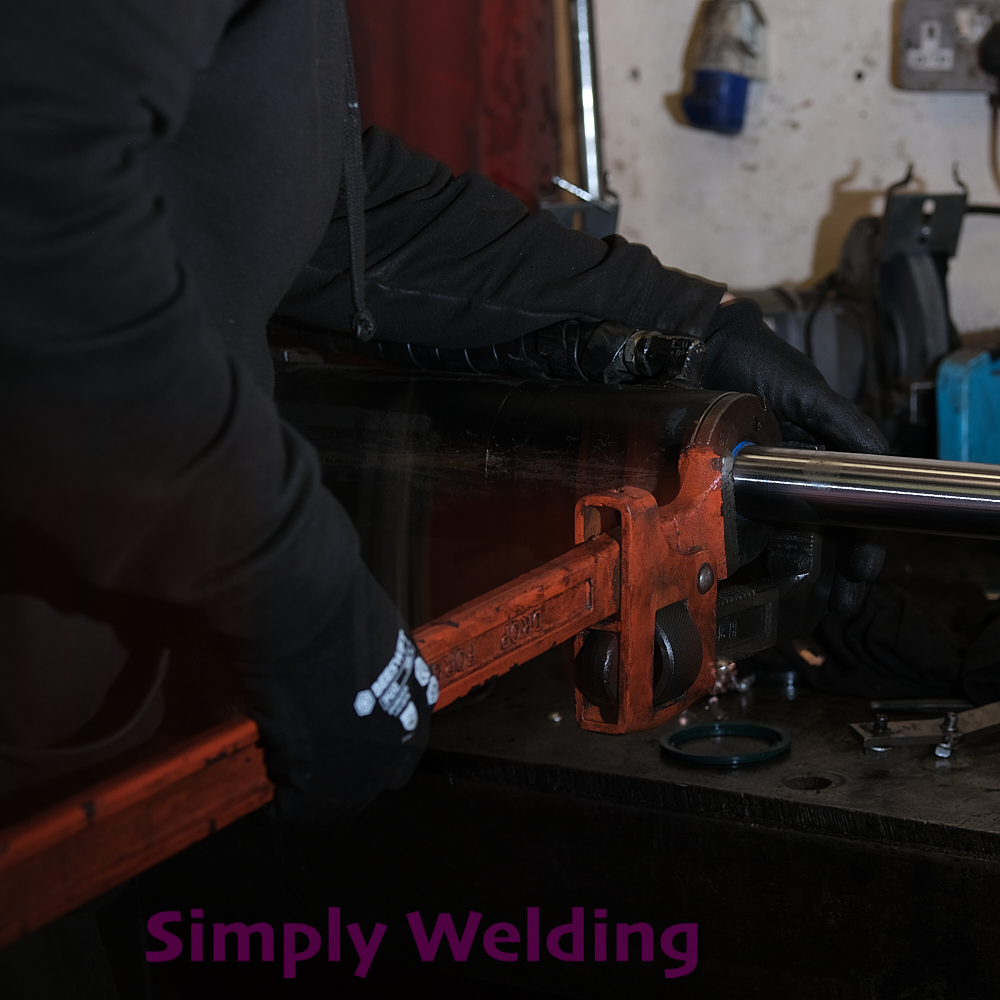
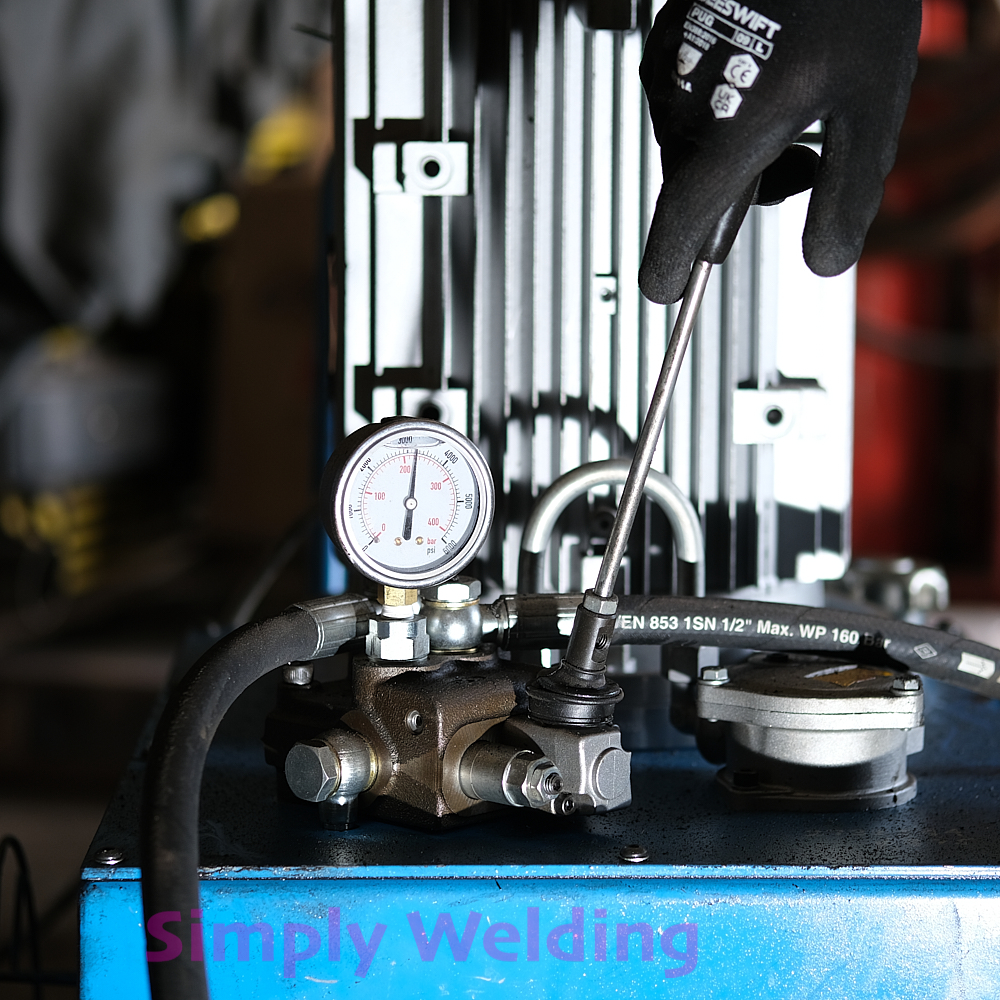
A hydraulic cylinder leaking from the gland was tested and stripped, and the issue was identified as a damaged gland nut O-ring. It was repaired with a new O-ring and a full set of piston and gland seals, then reassembled and tested.
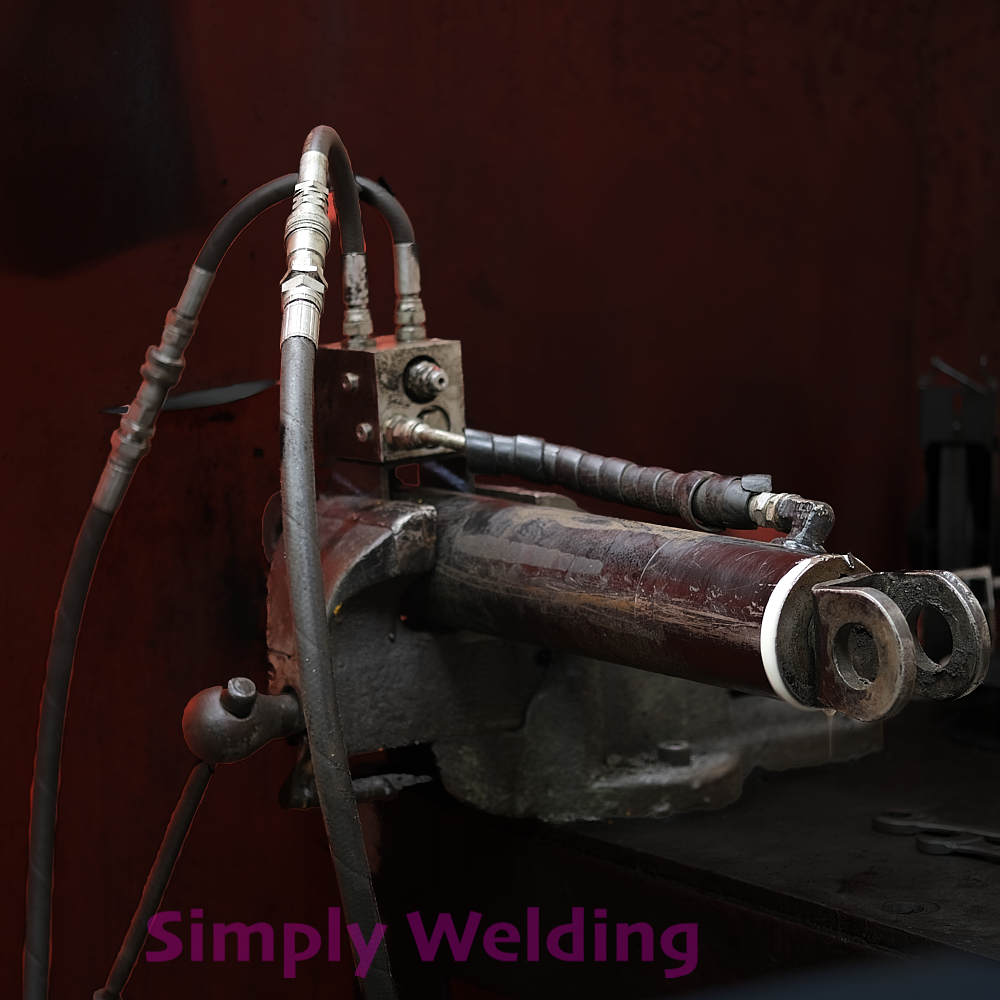
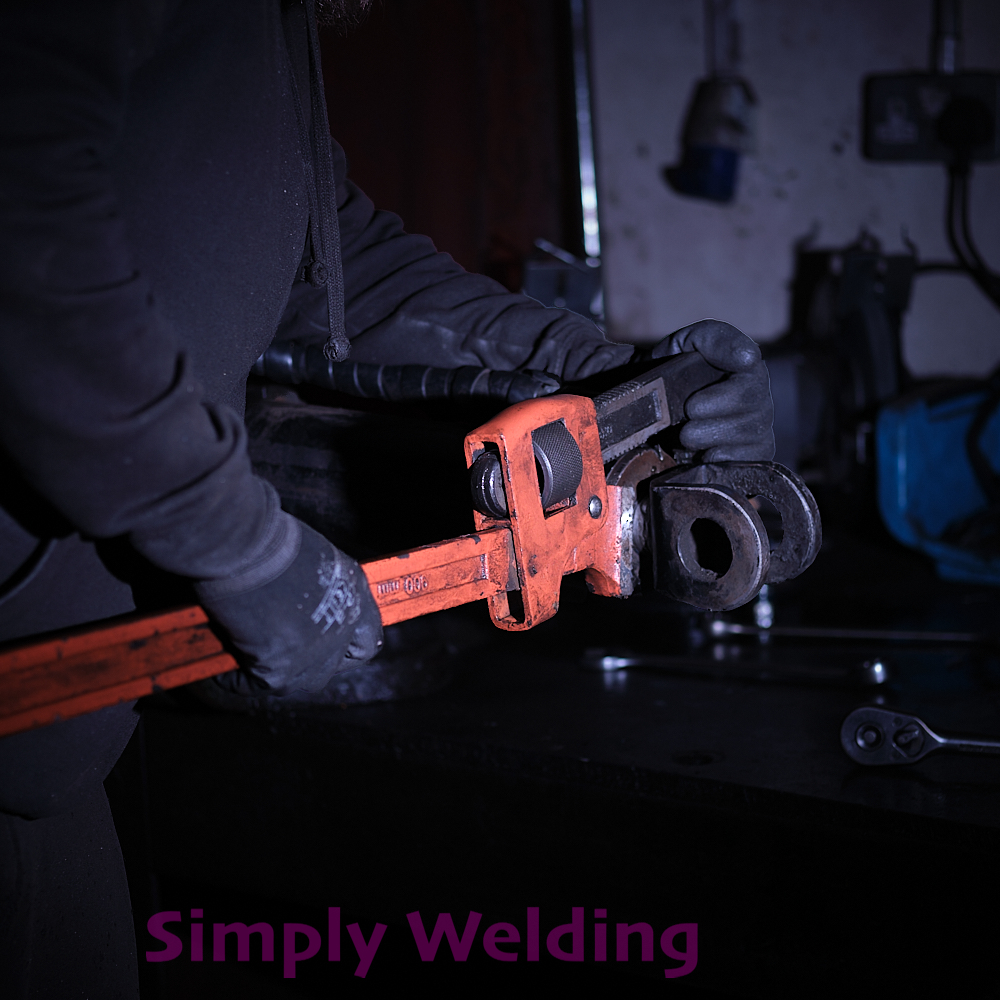
Line Boring Hitachi 20t Tipping Links

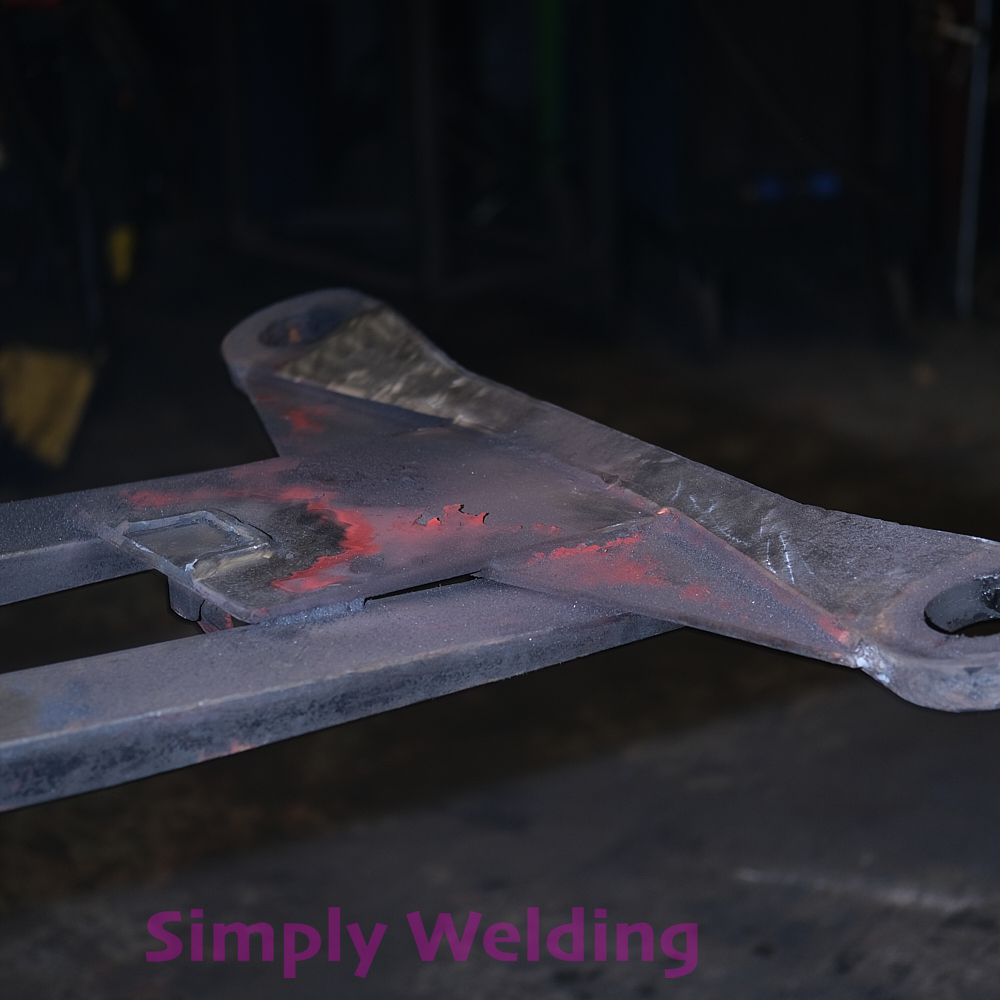
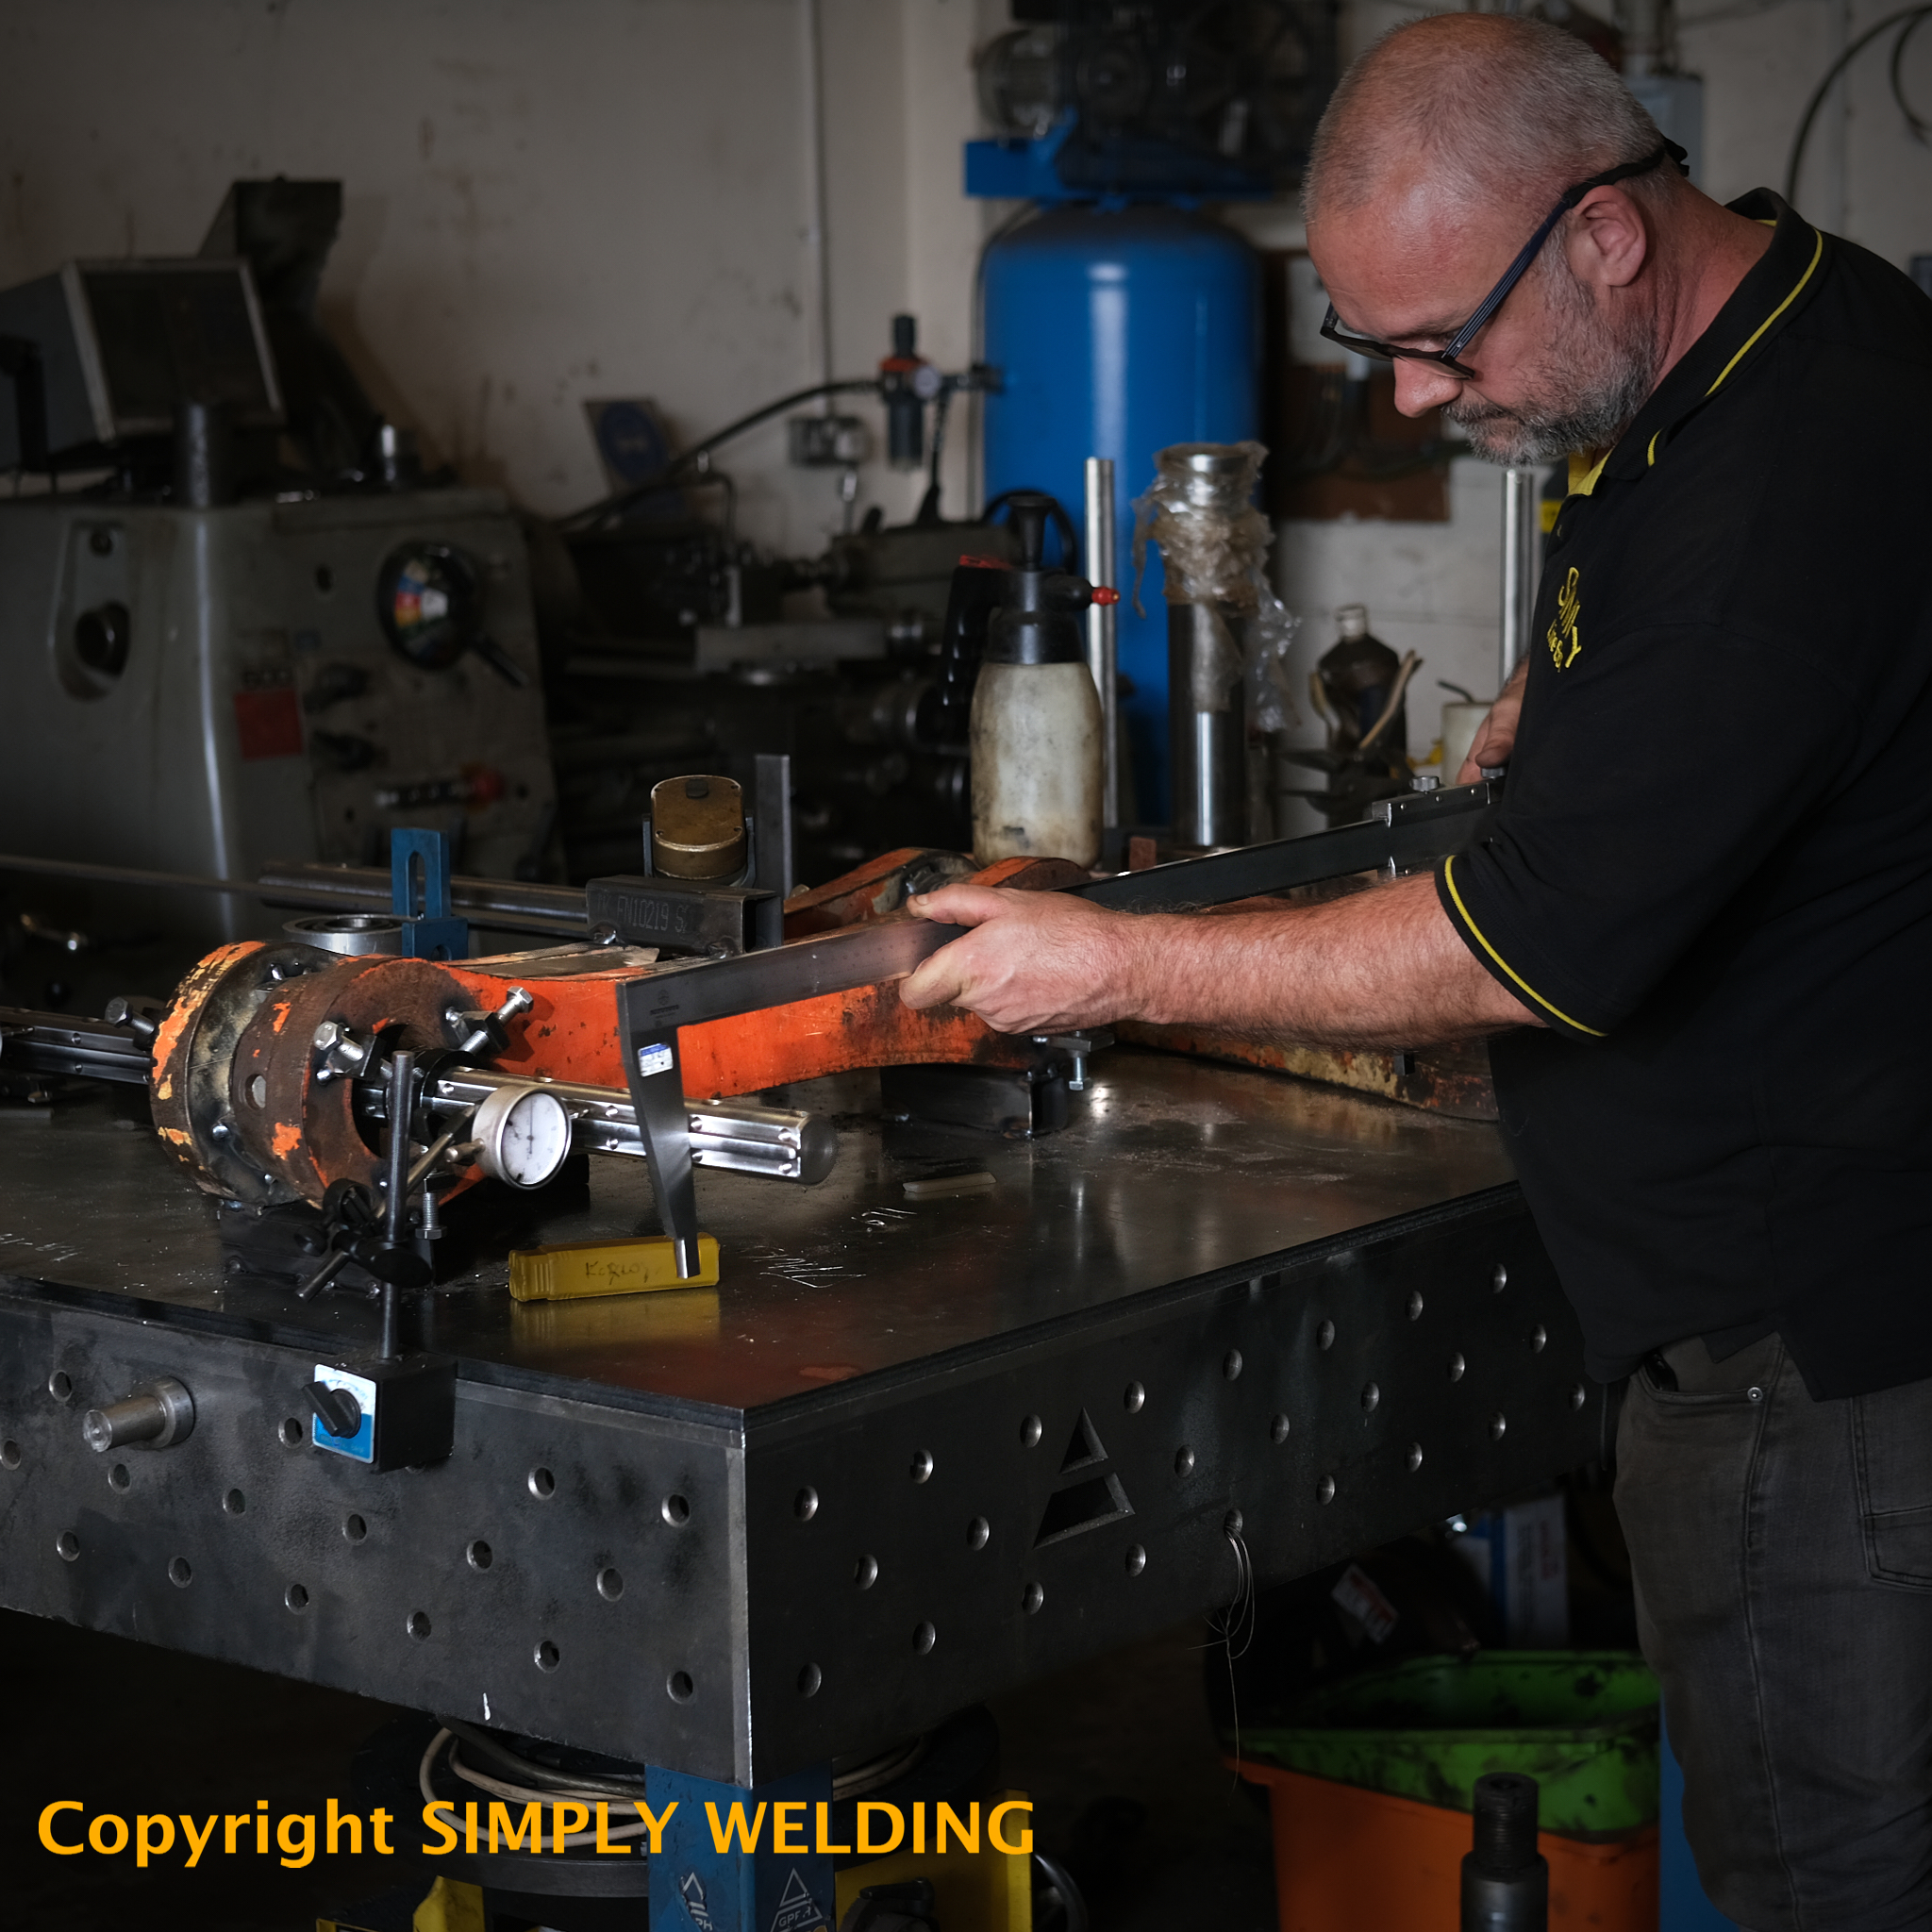
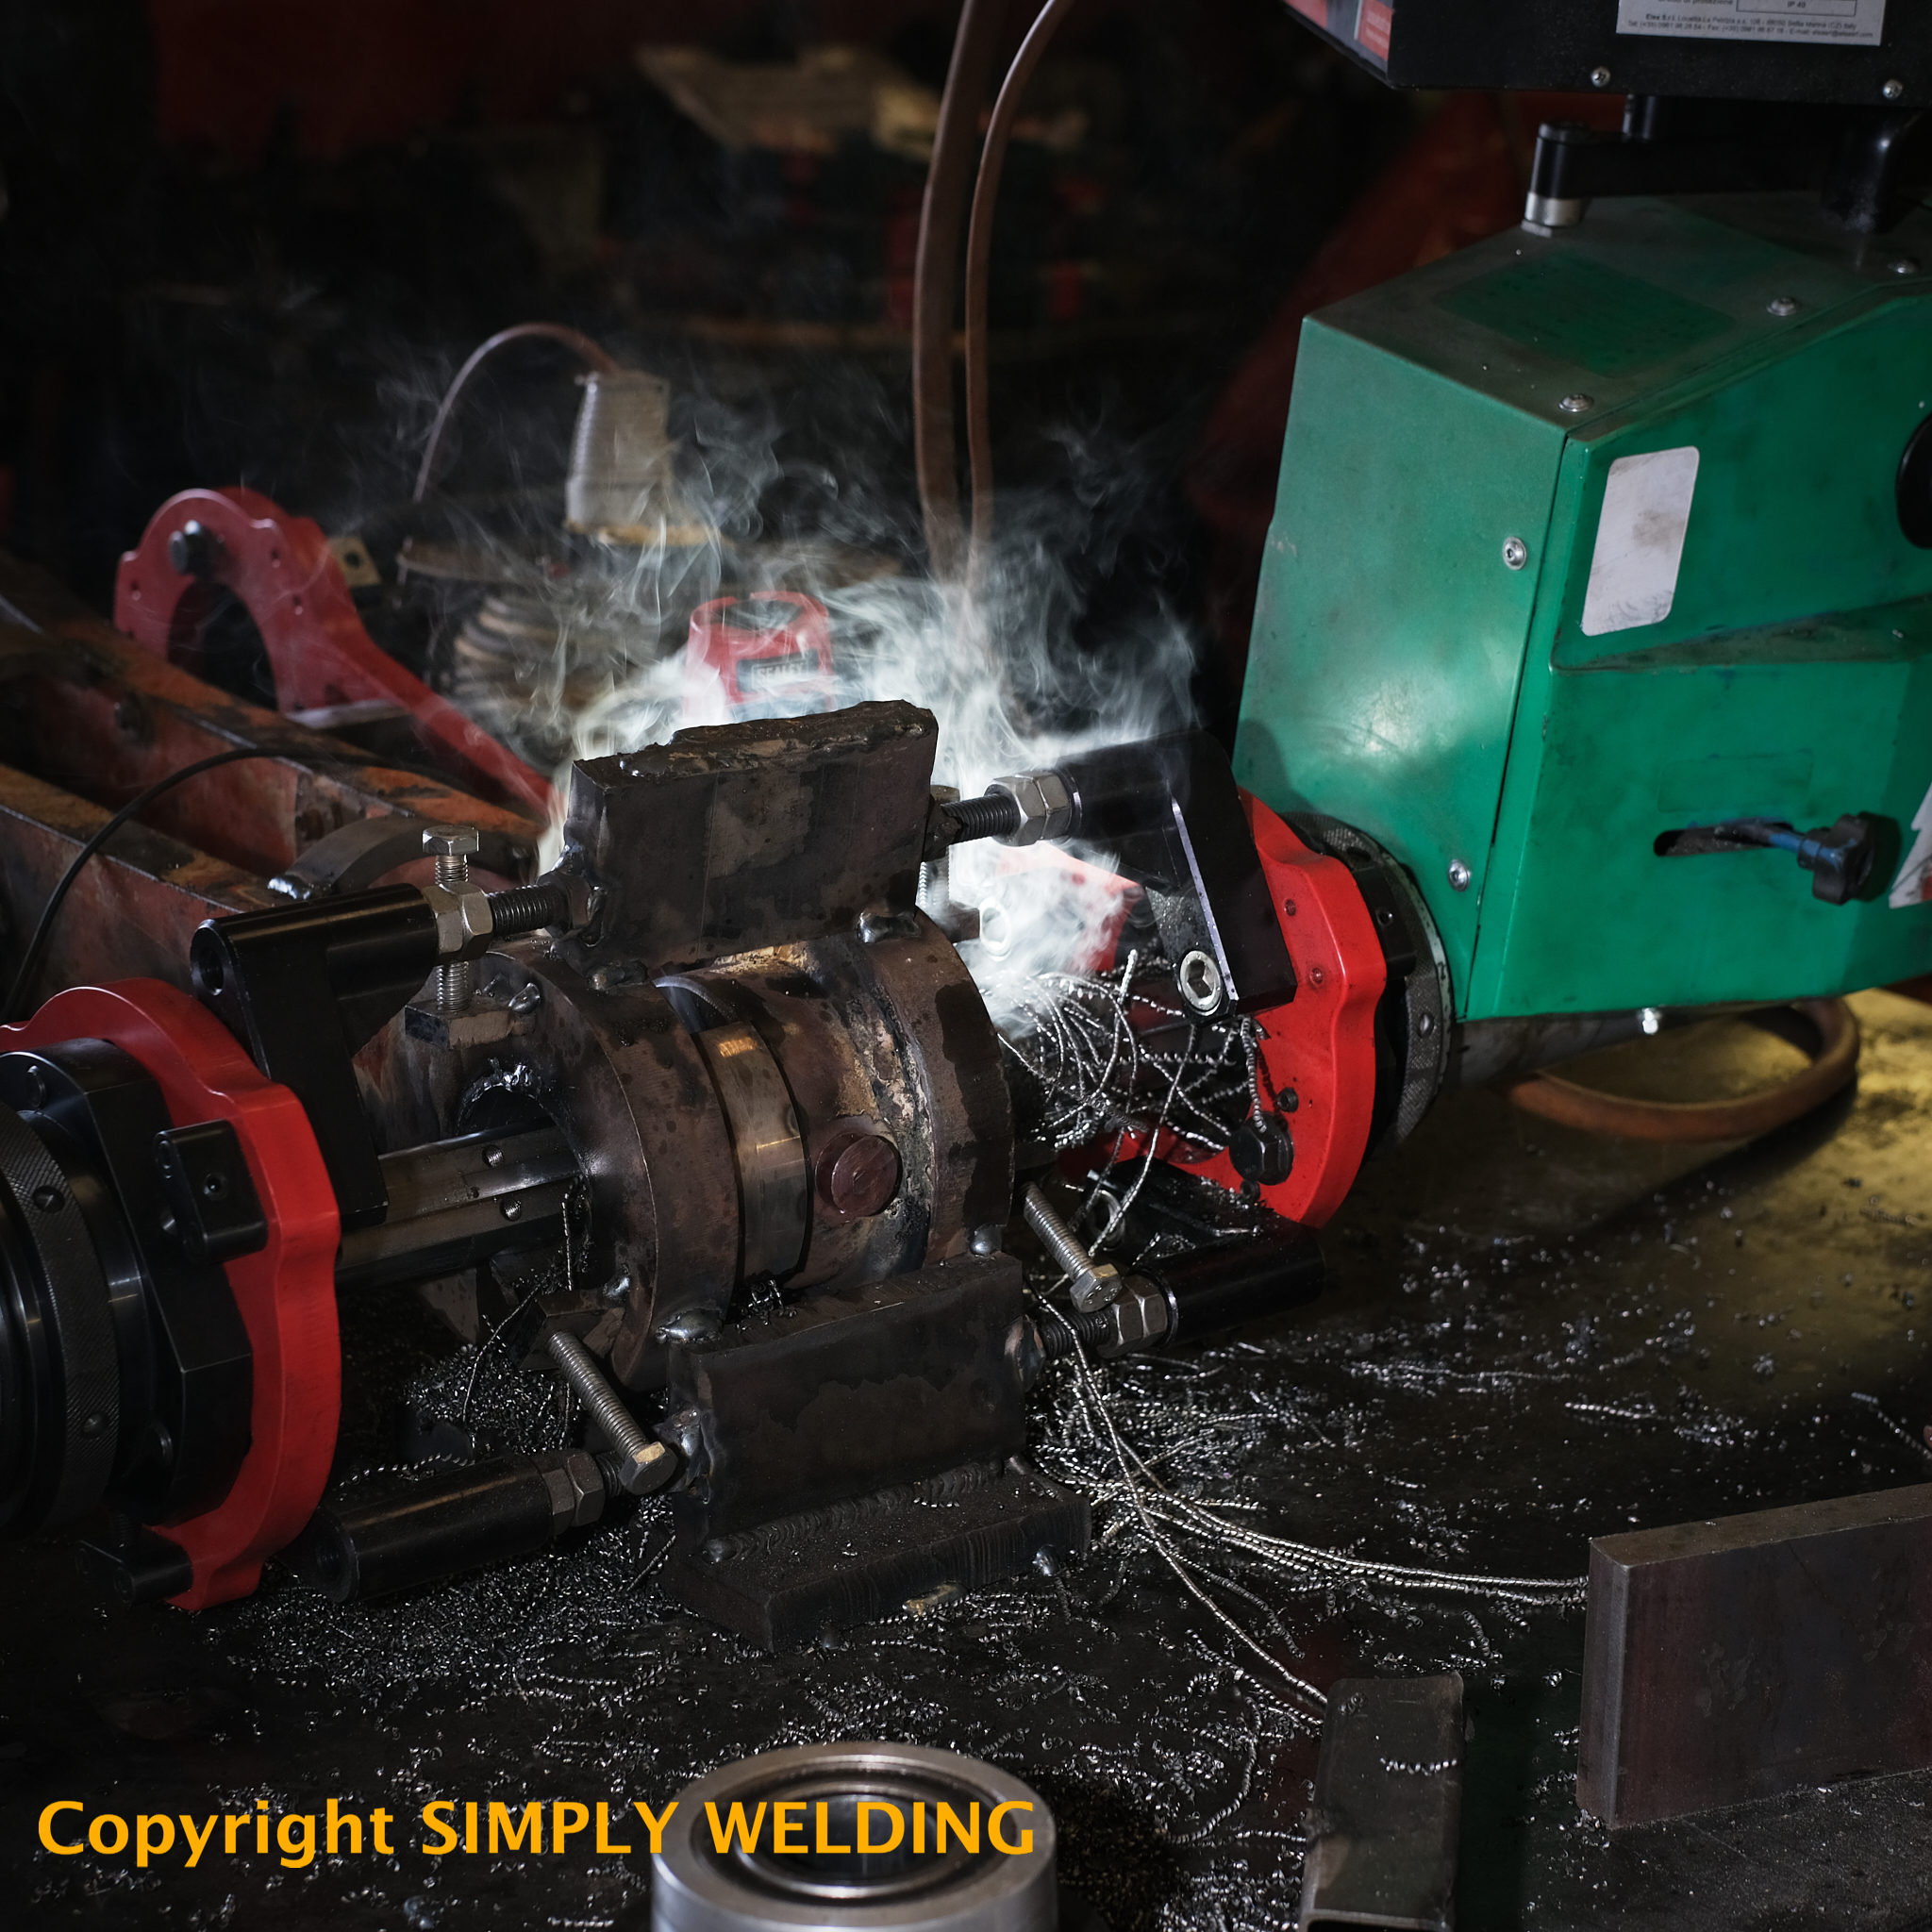
Bore welded and line bored worn tipping links from a Hitachi 20t quarry spec excavator.
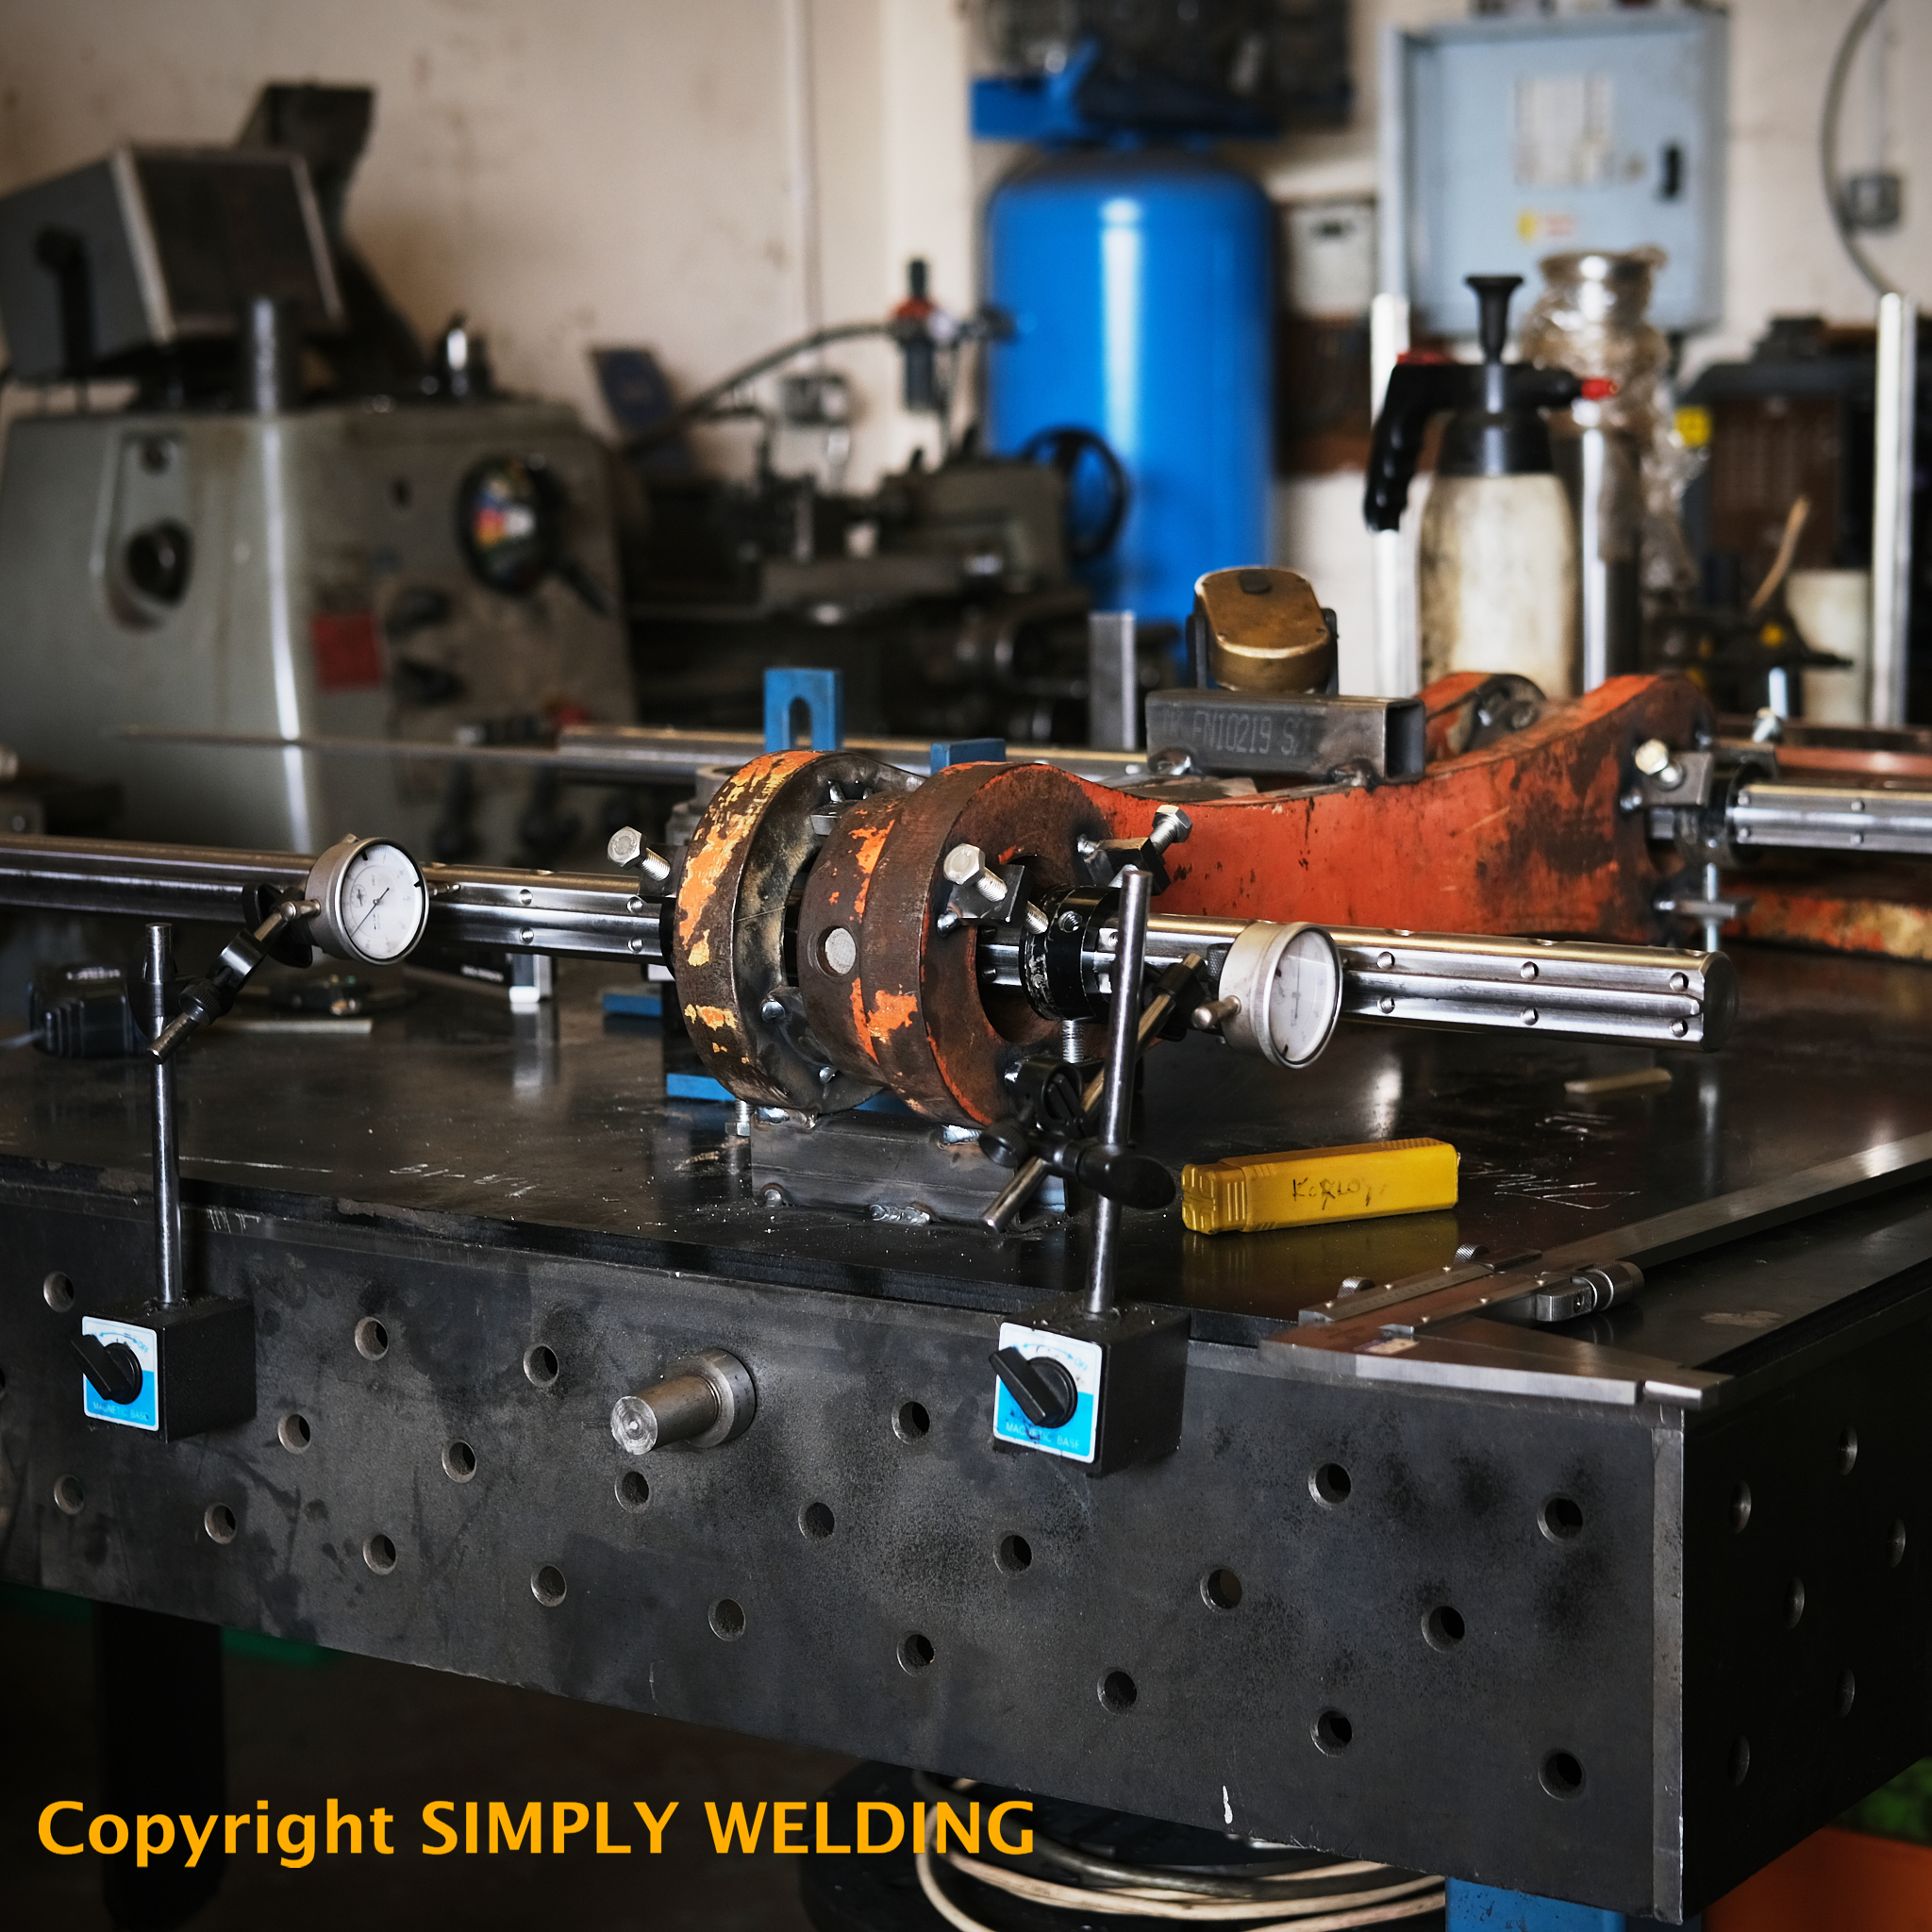
Setting up boring bars to achieve pin centres.
Setting up line boring bars to achieve pin centres.
Line boring the excavator tipping links.
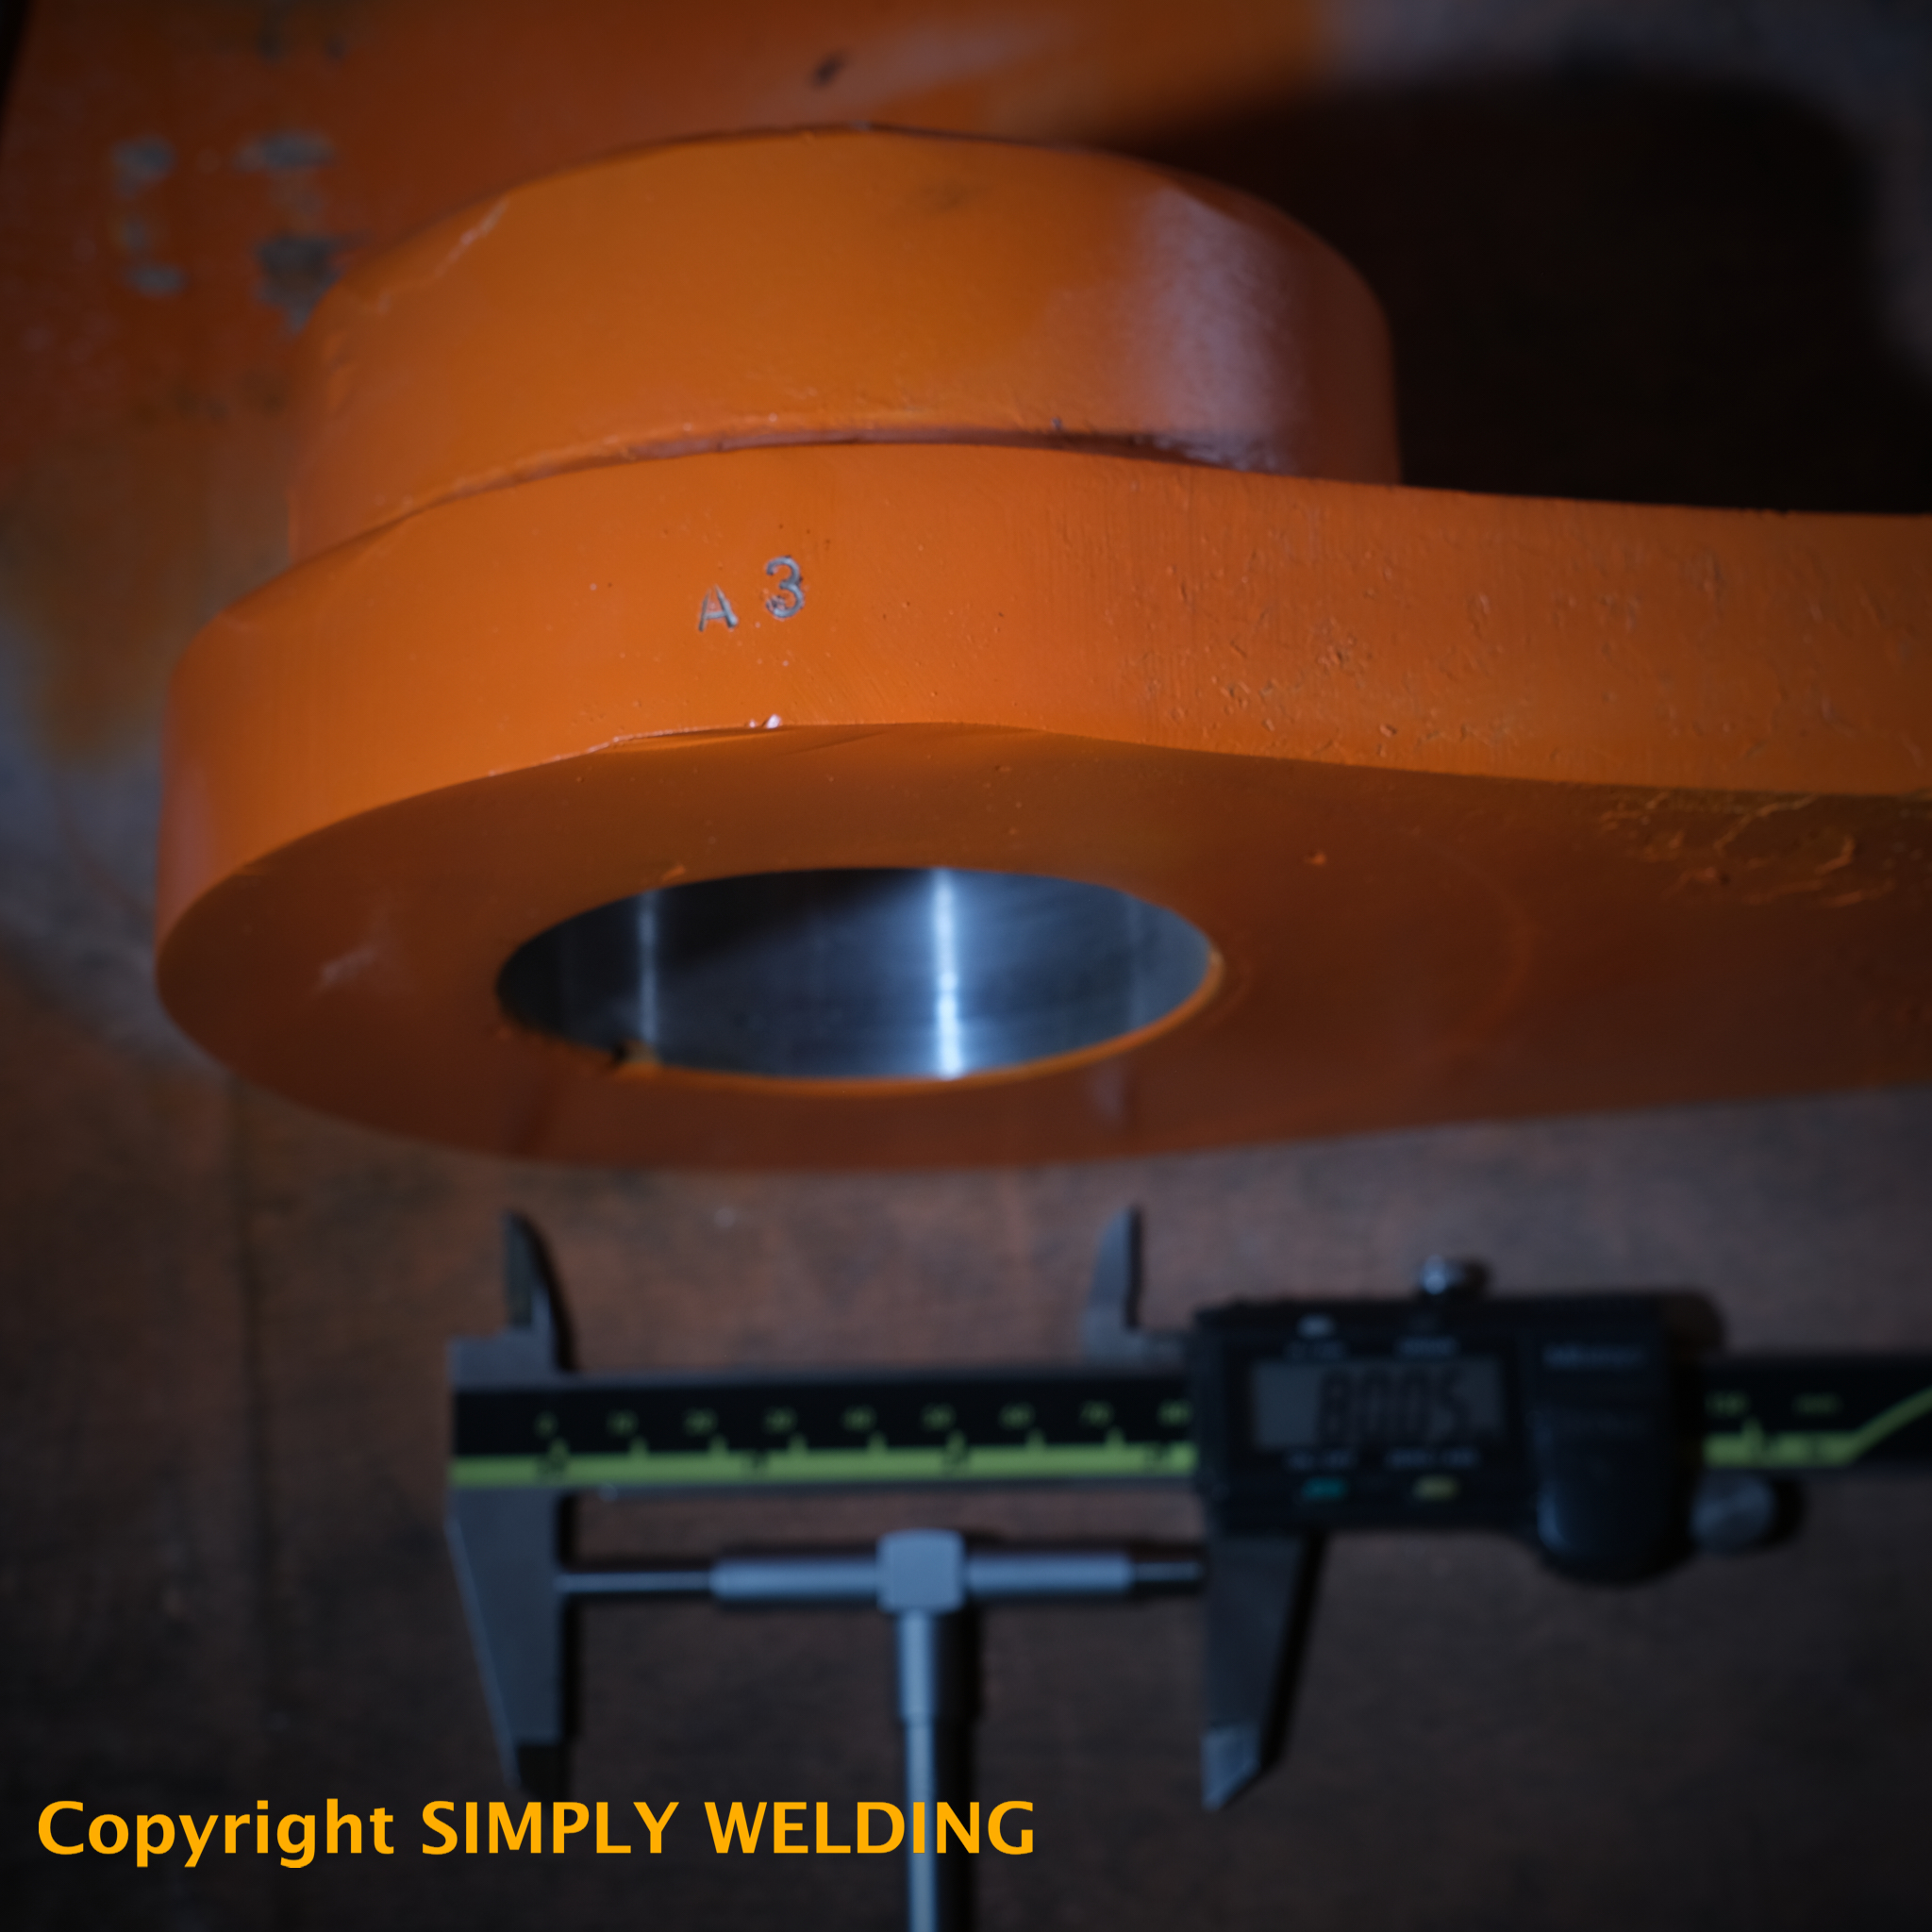
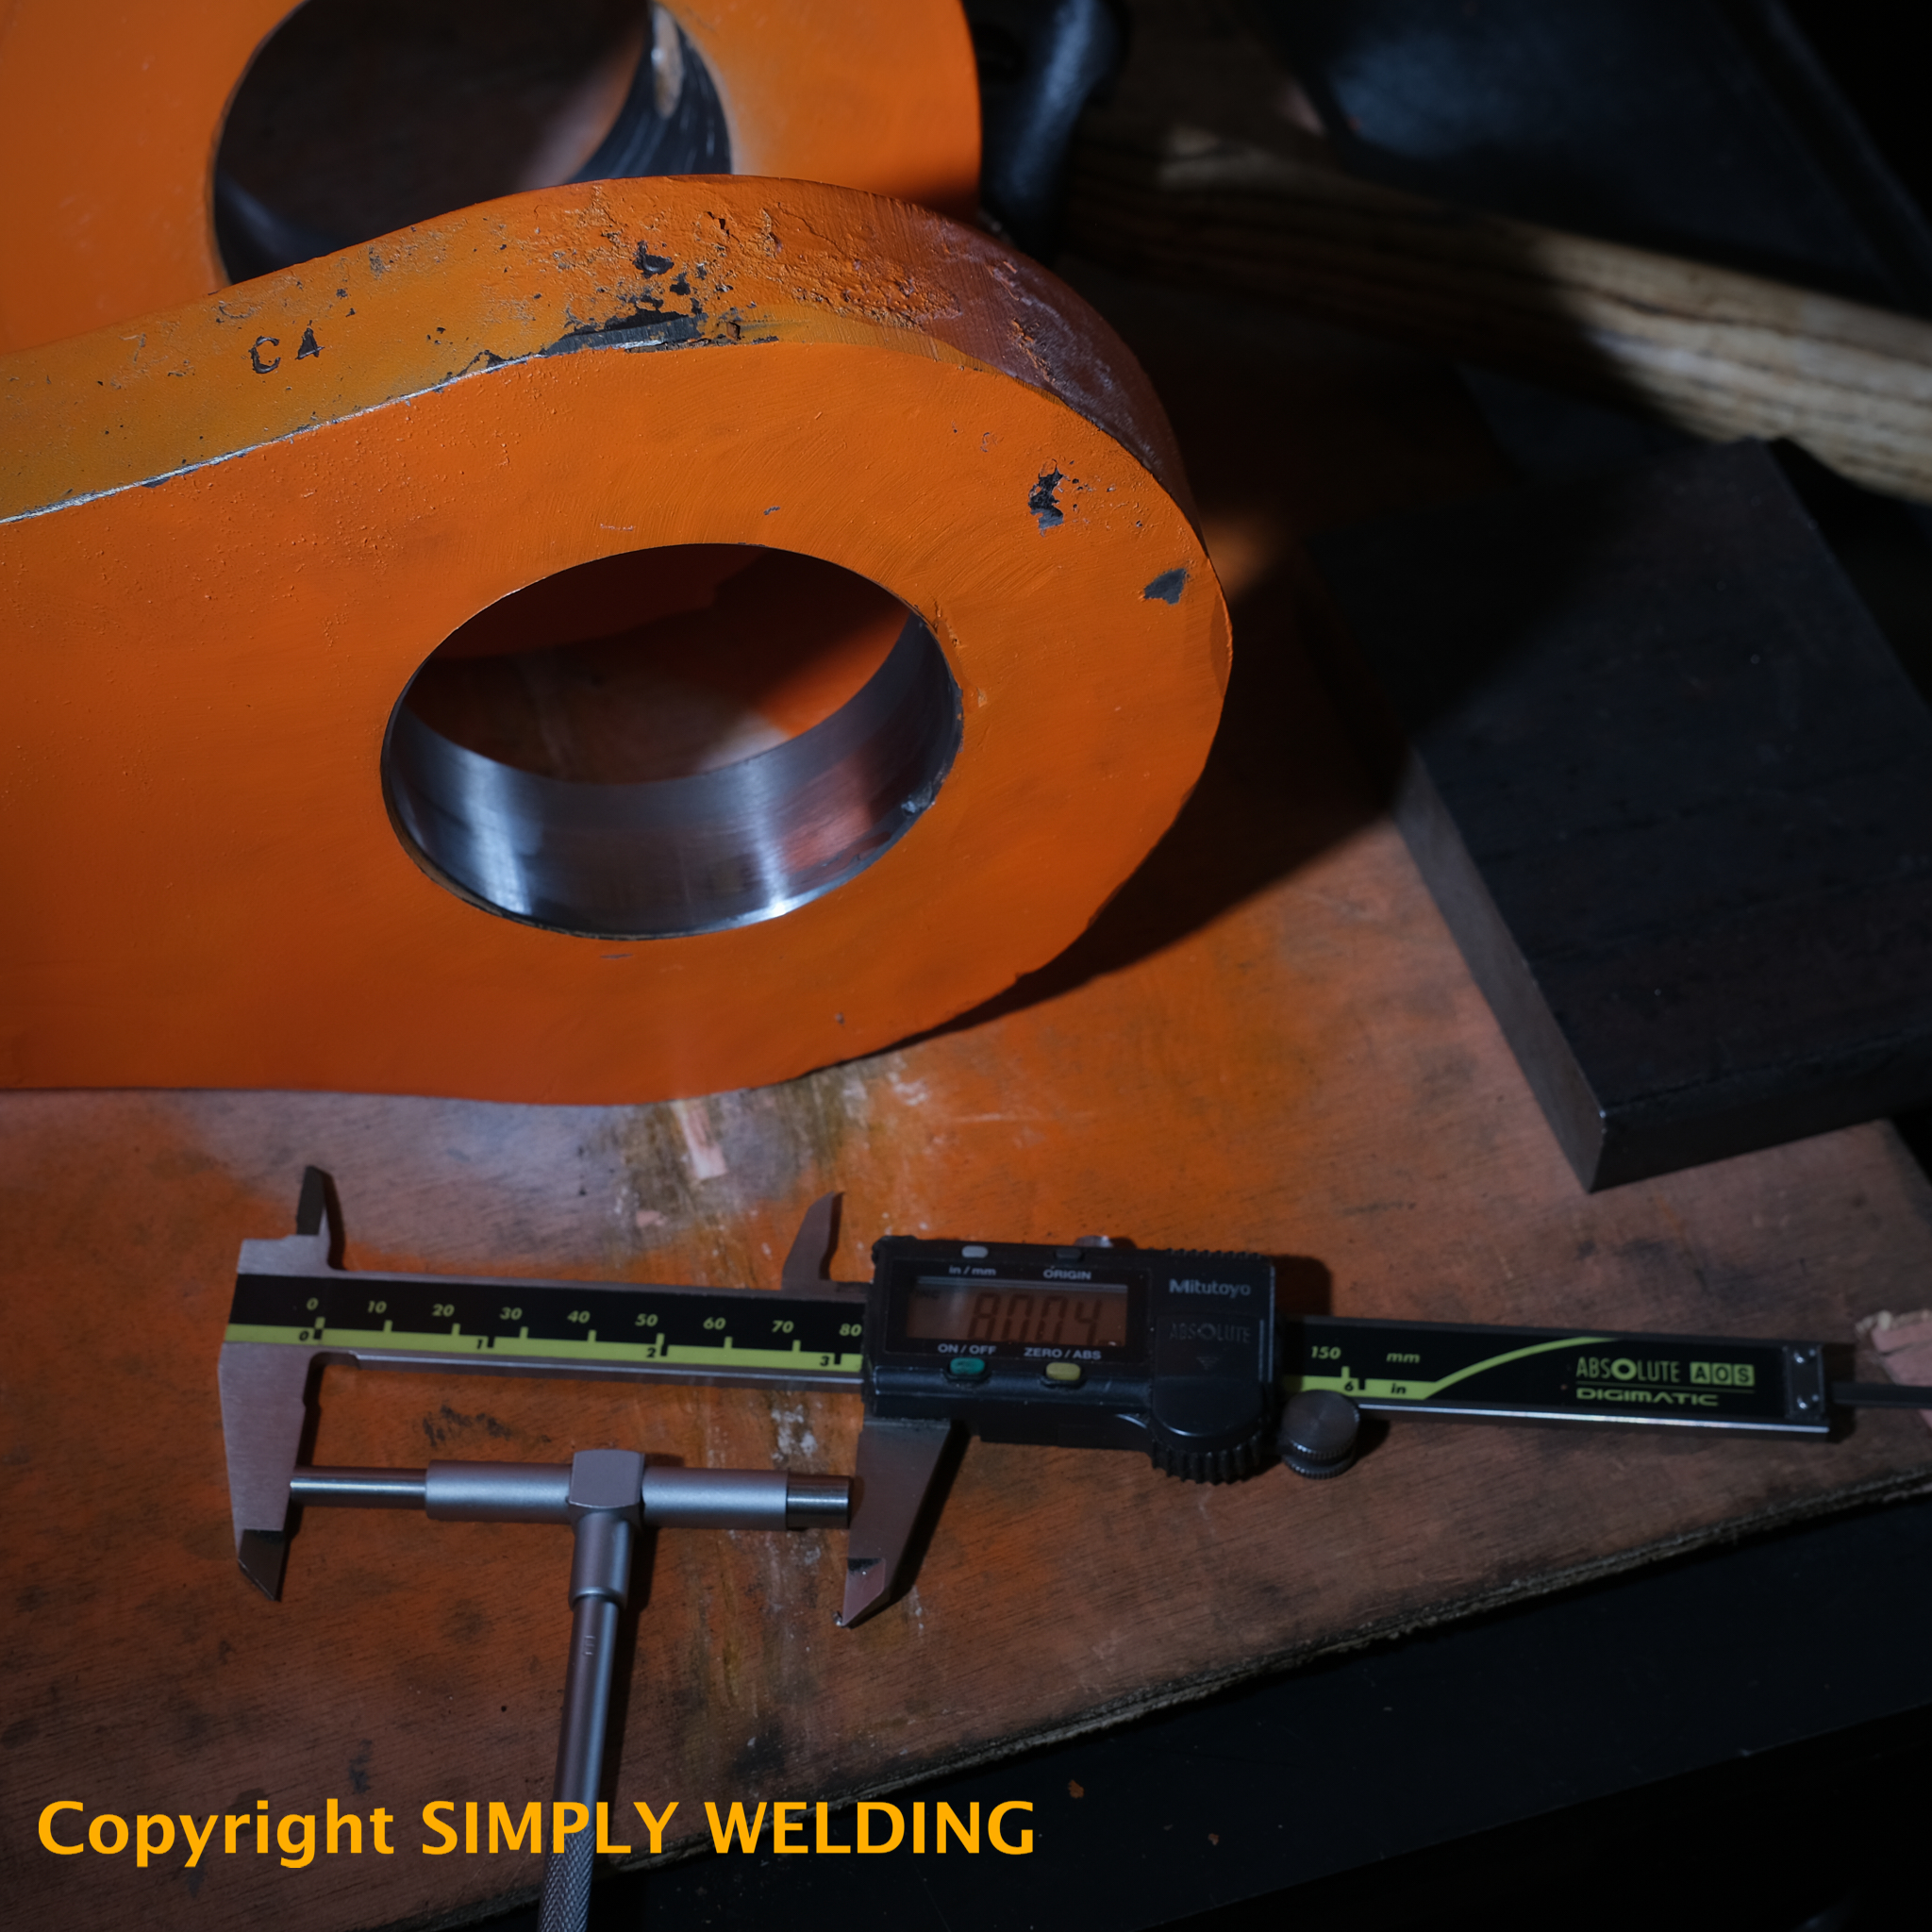
Post line bored tipping link showing final size.
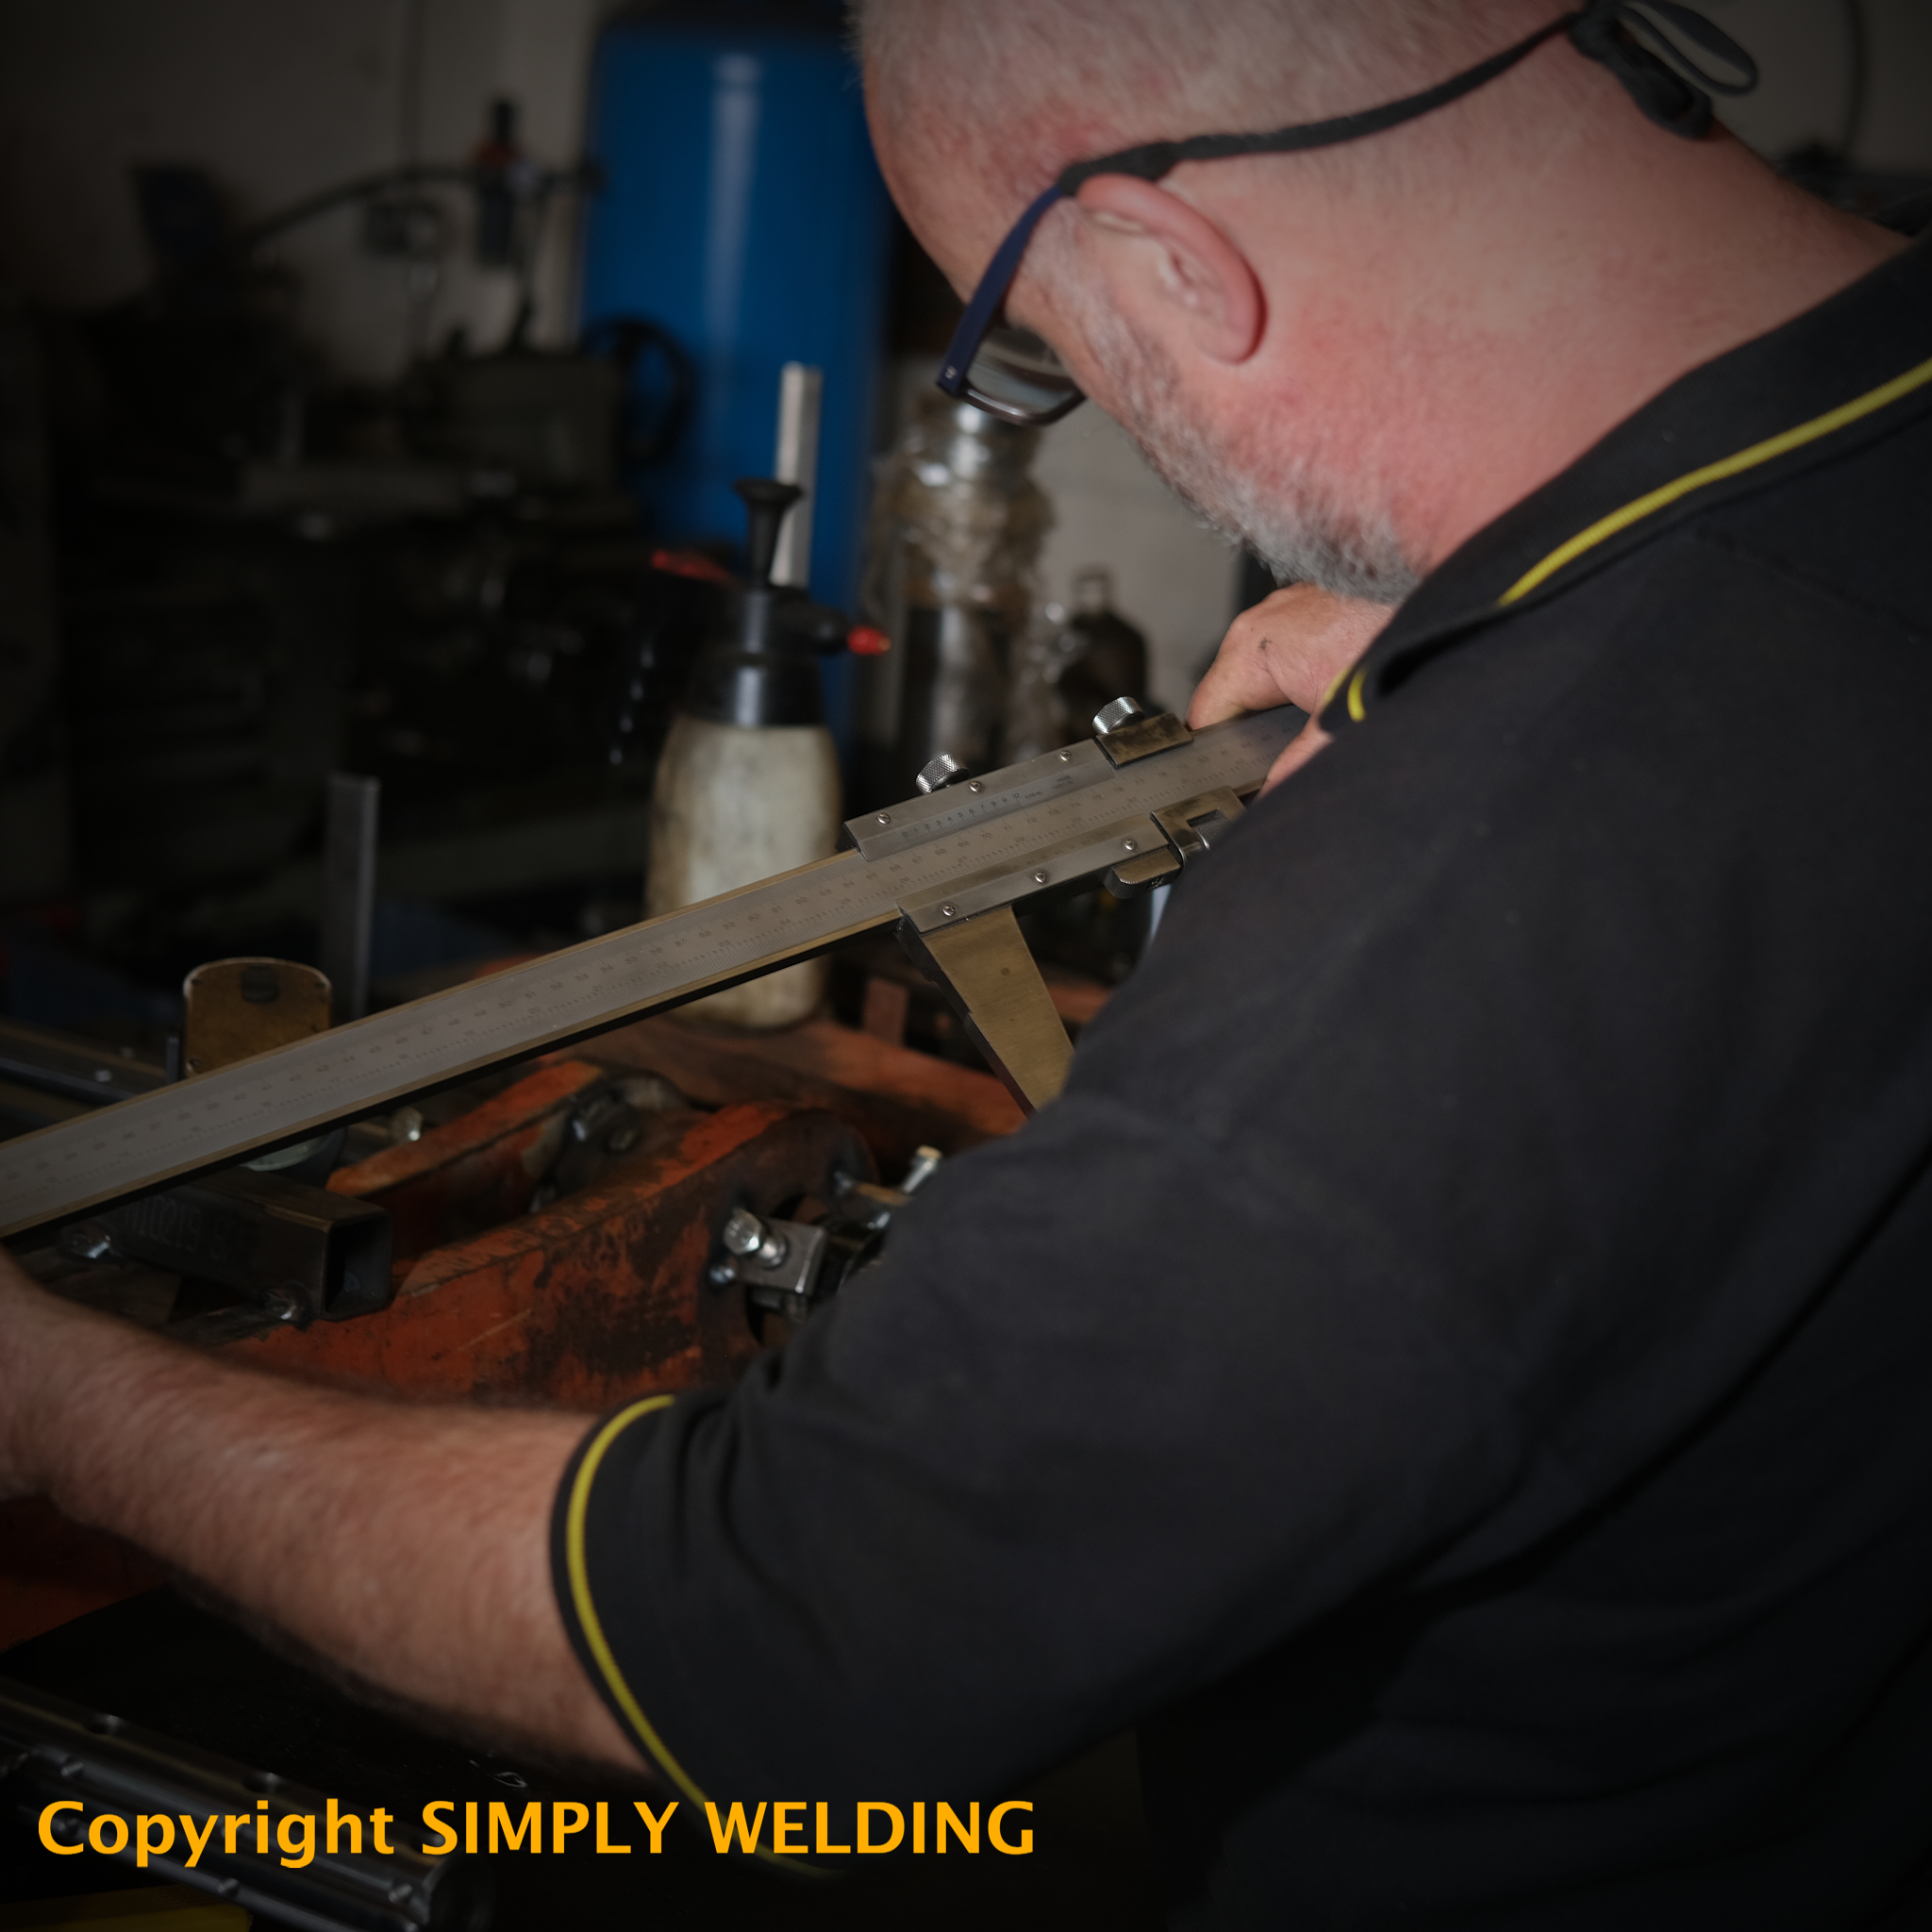
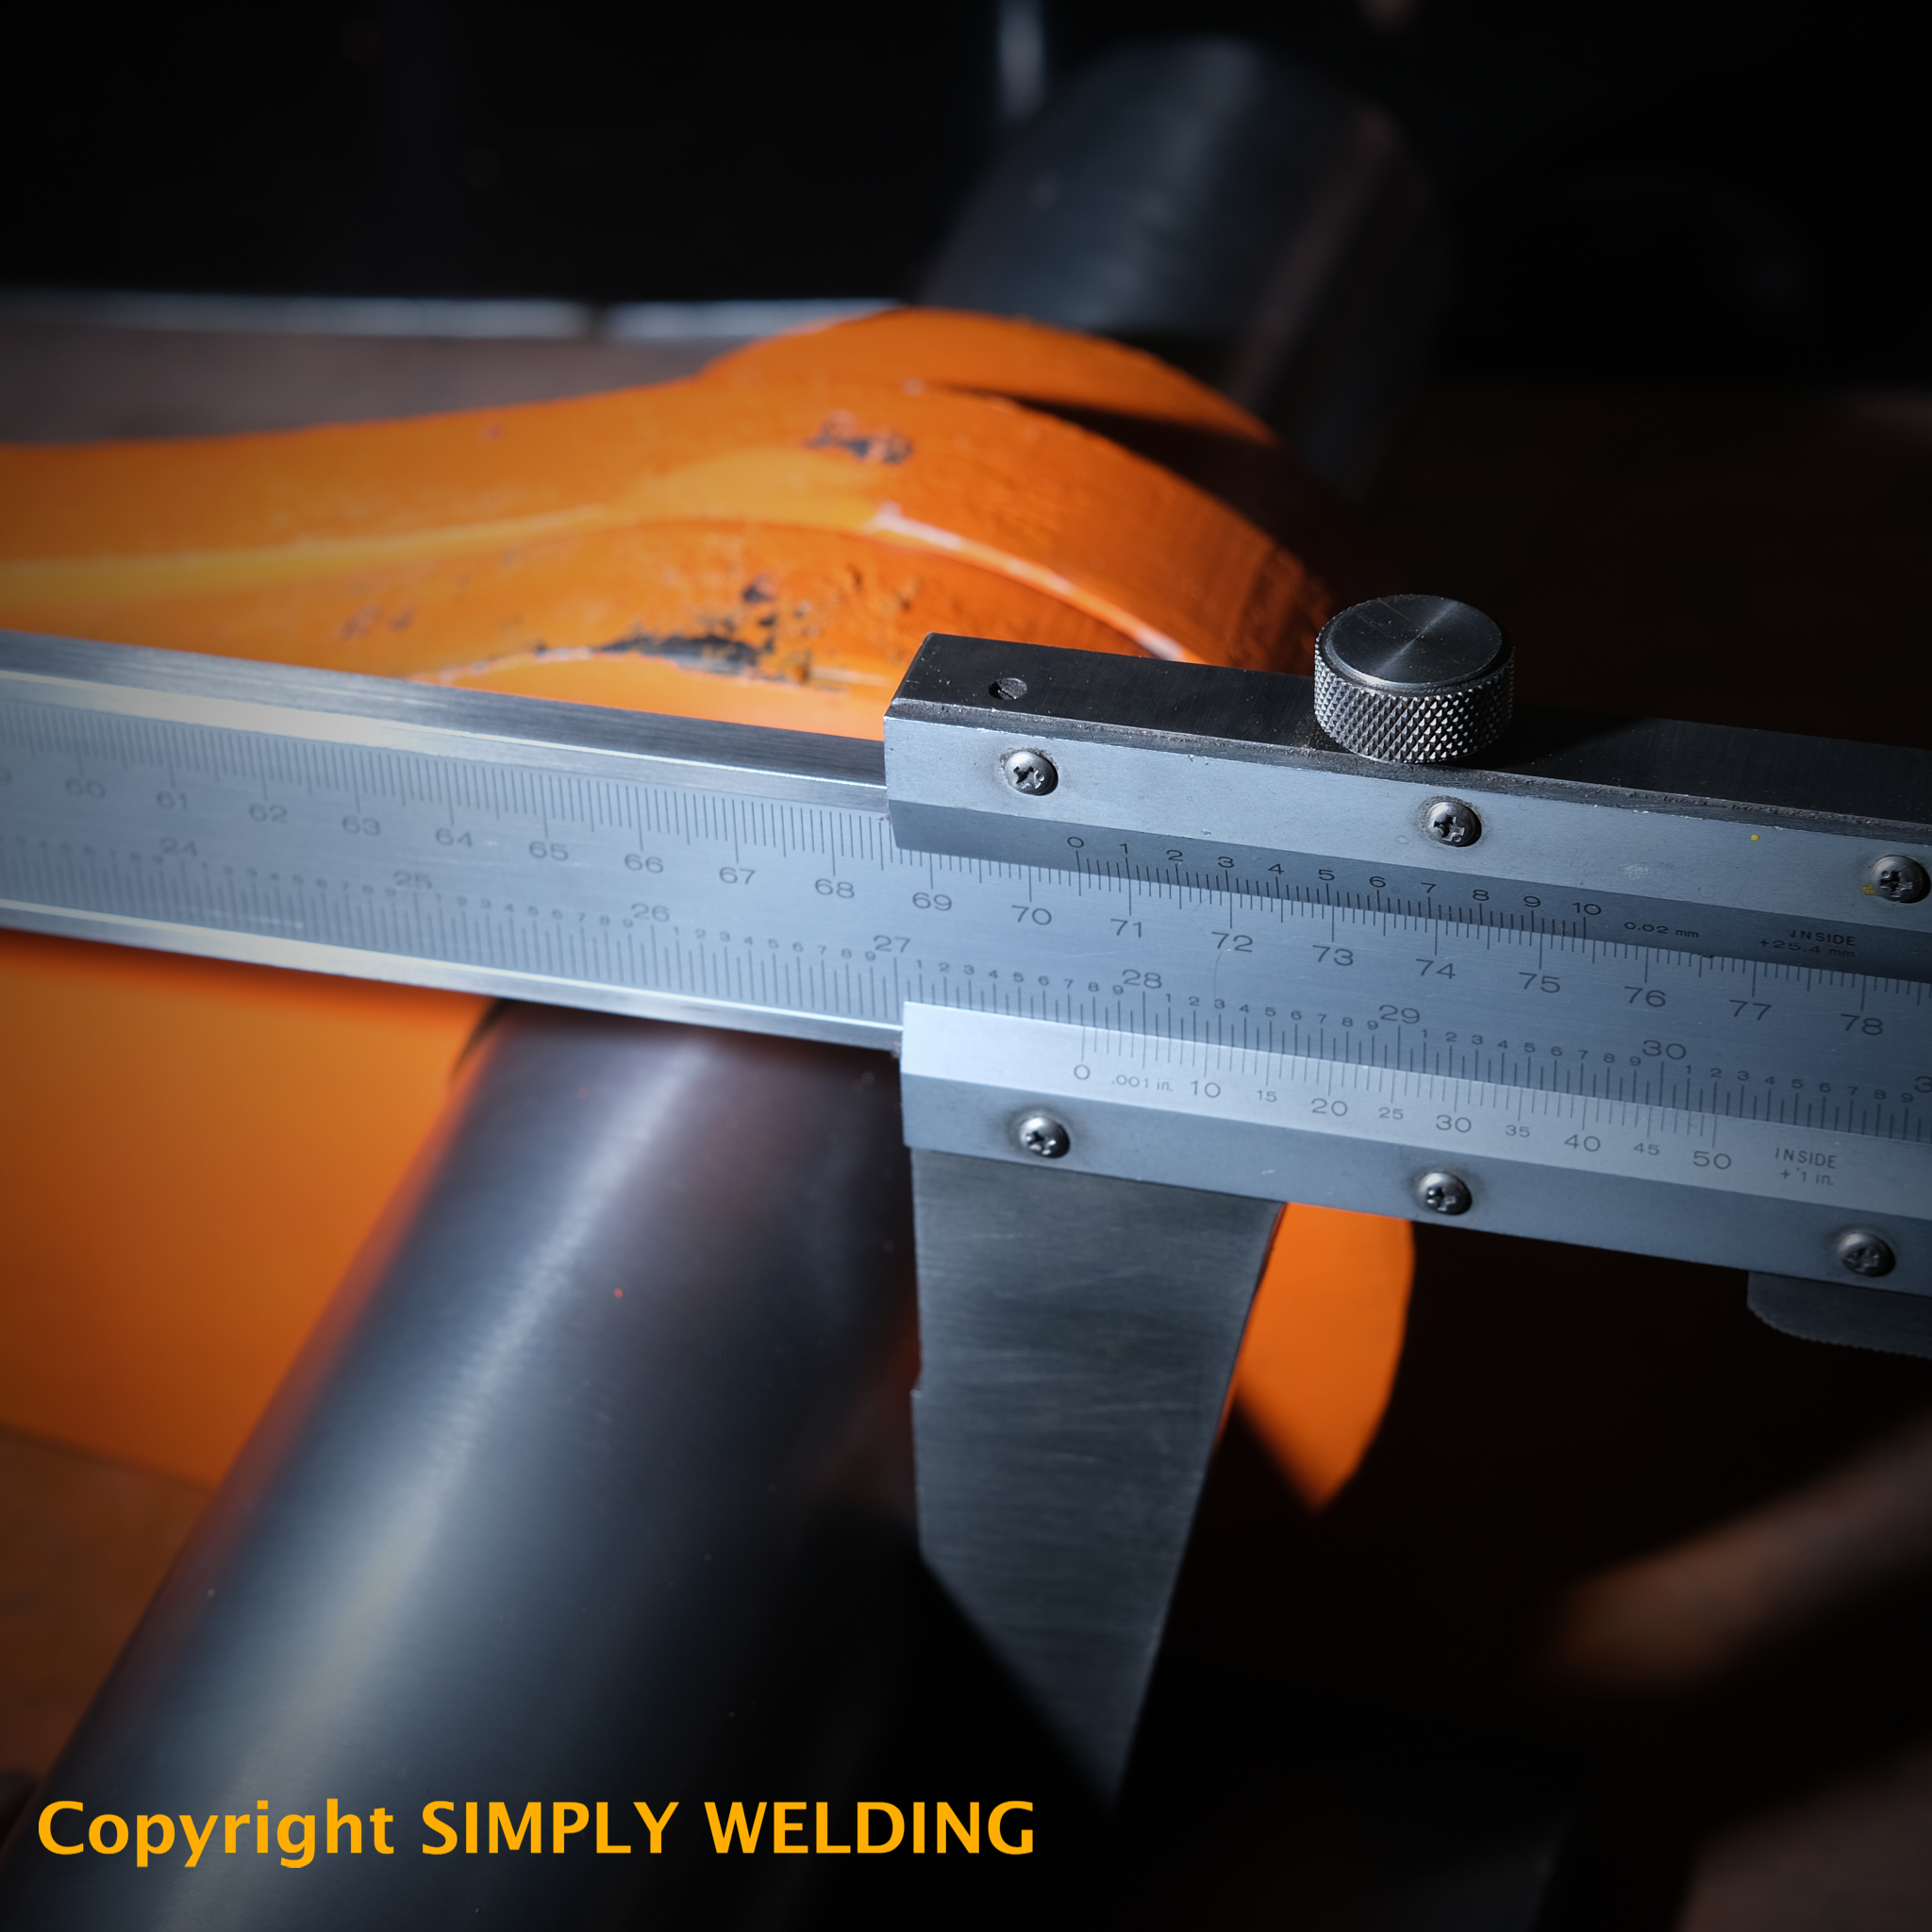
Line bored tipping link showing 705mm outside-to-outside pin measurement, which equals 630mm pin centres.

Universal Beam Modifications – House Extension

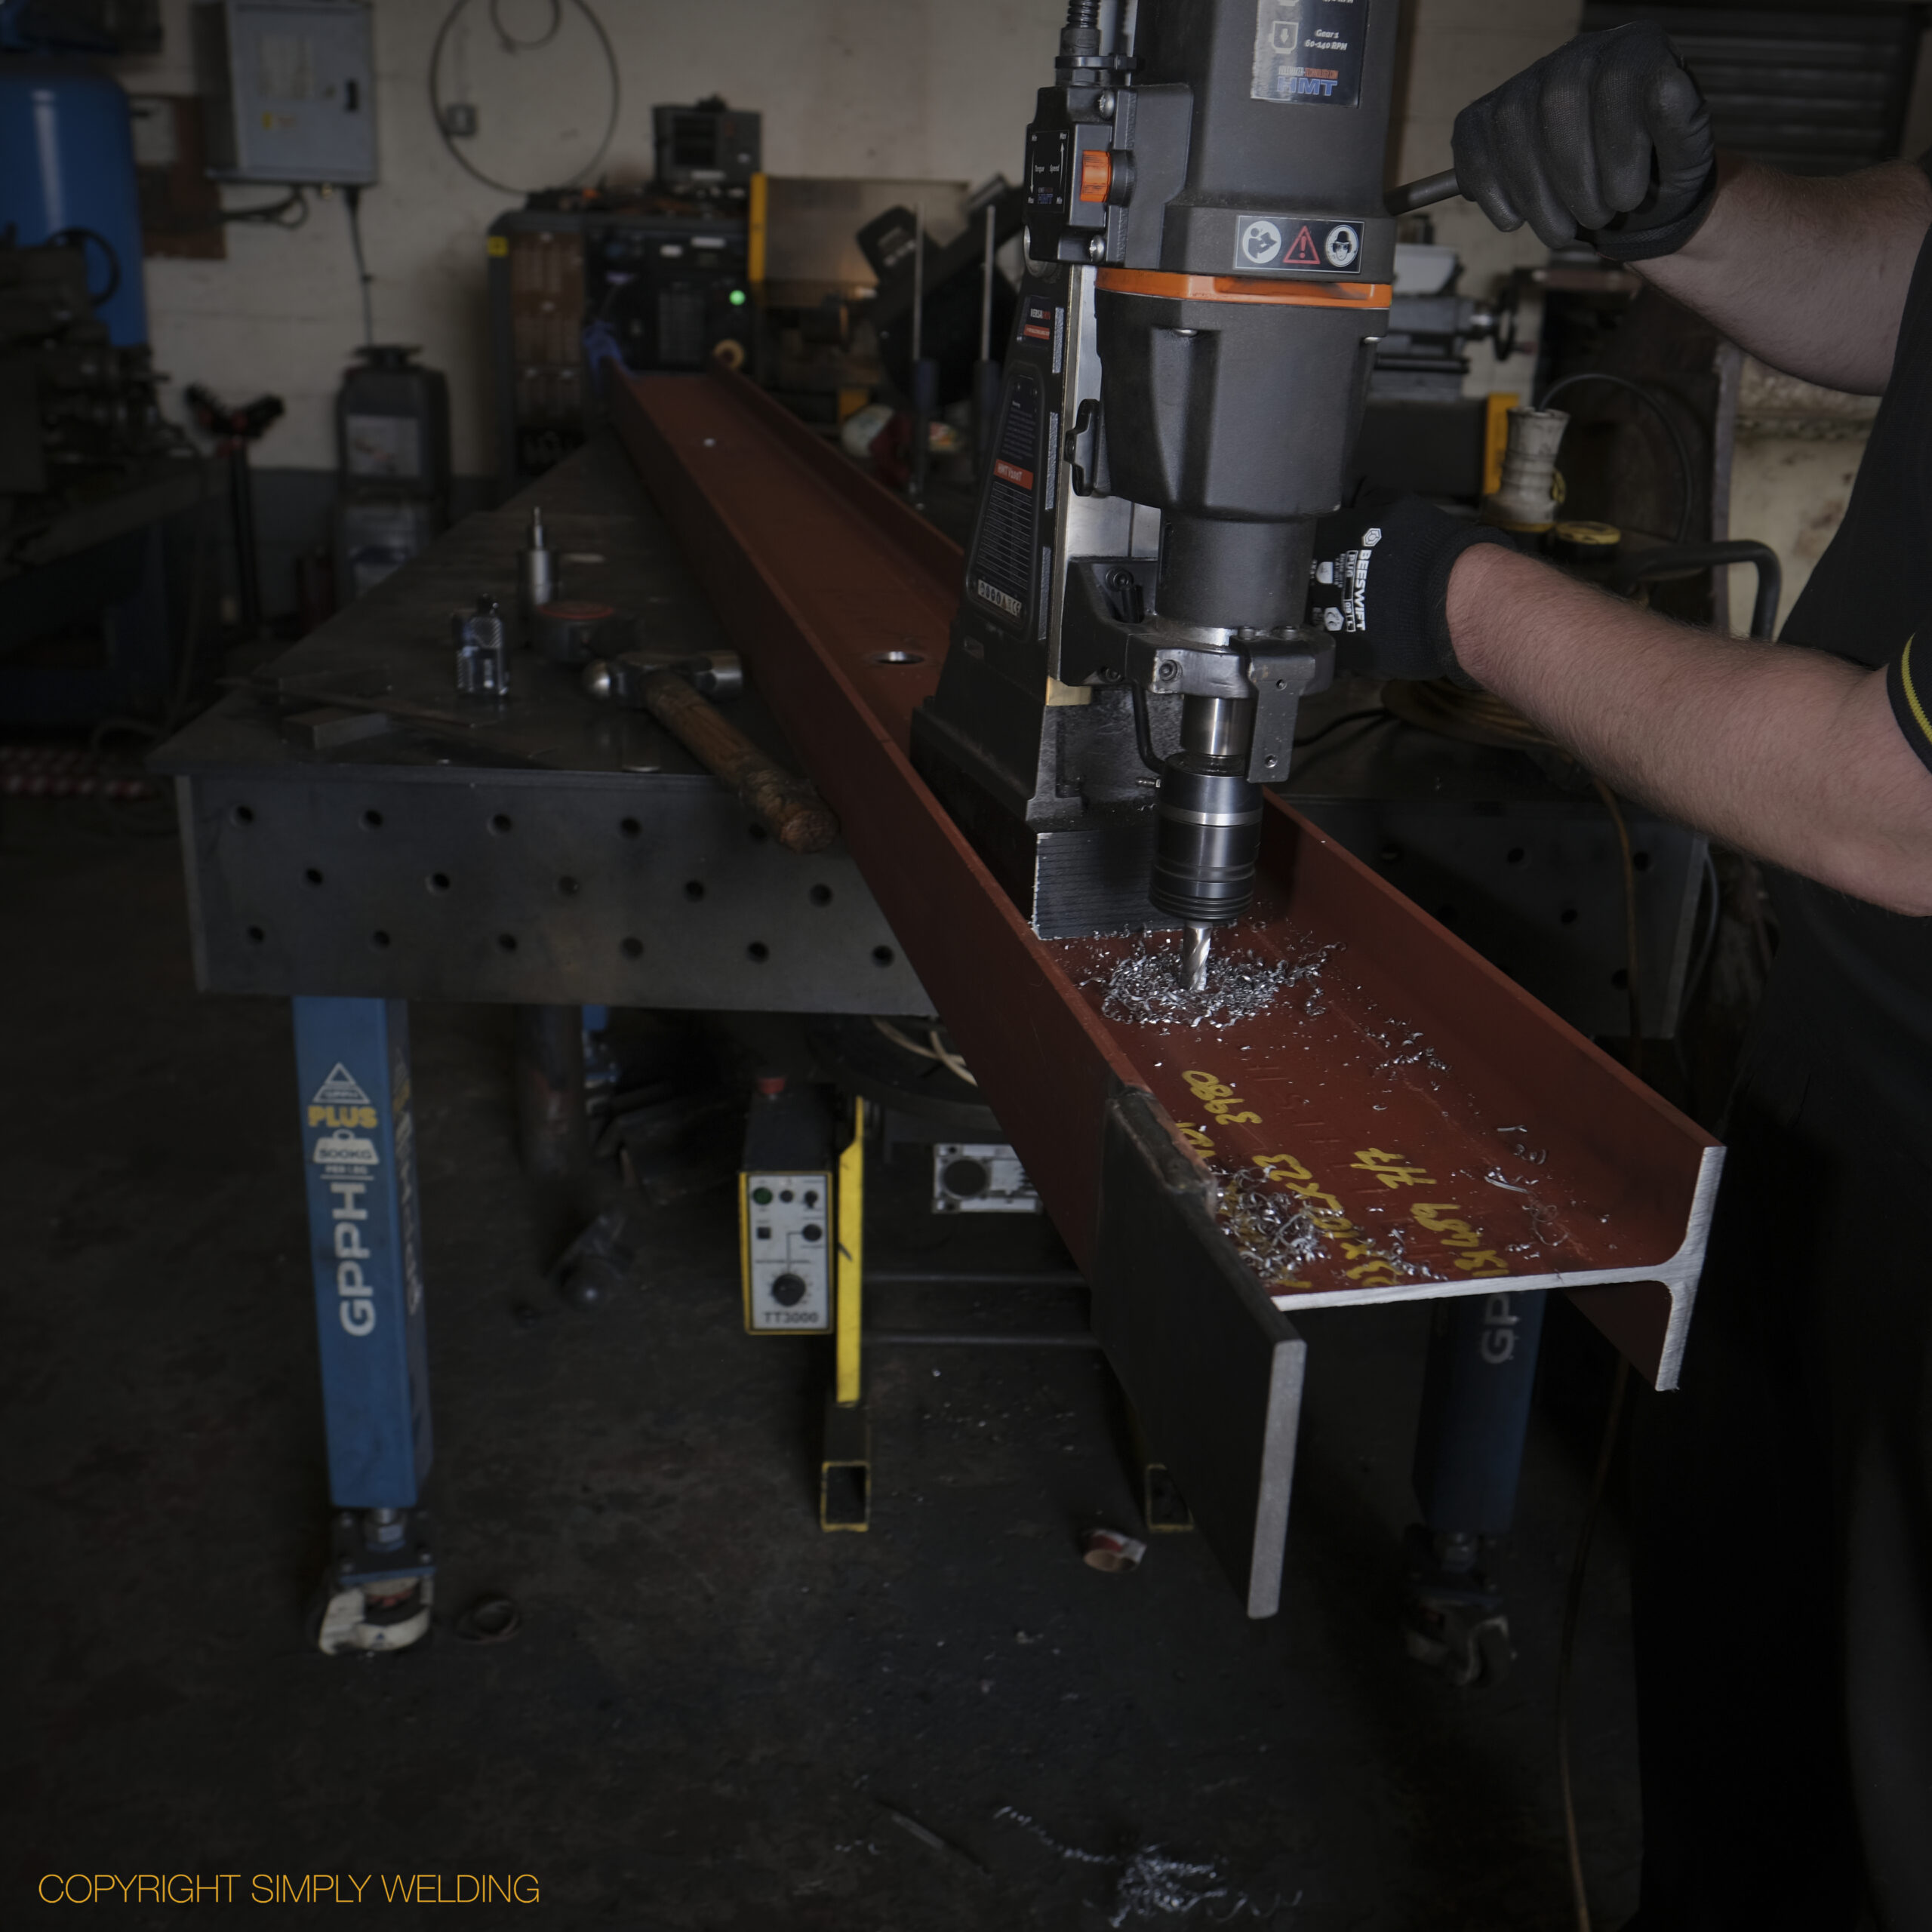
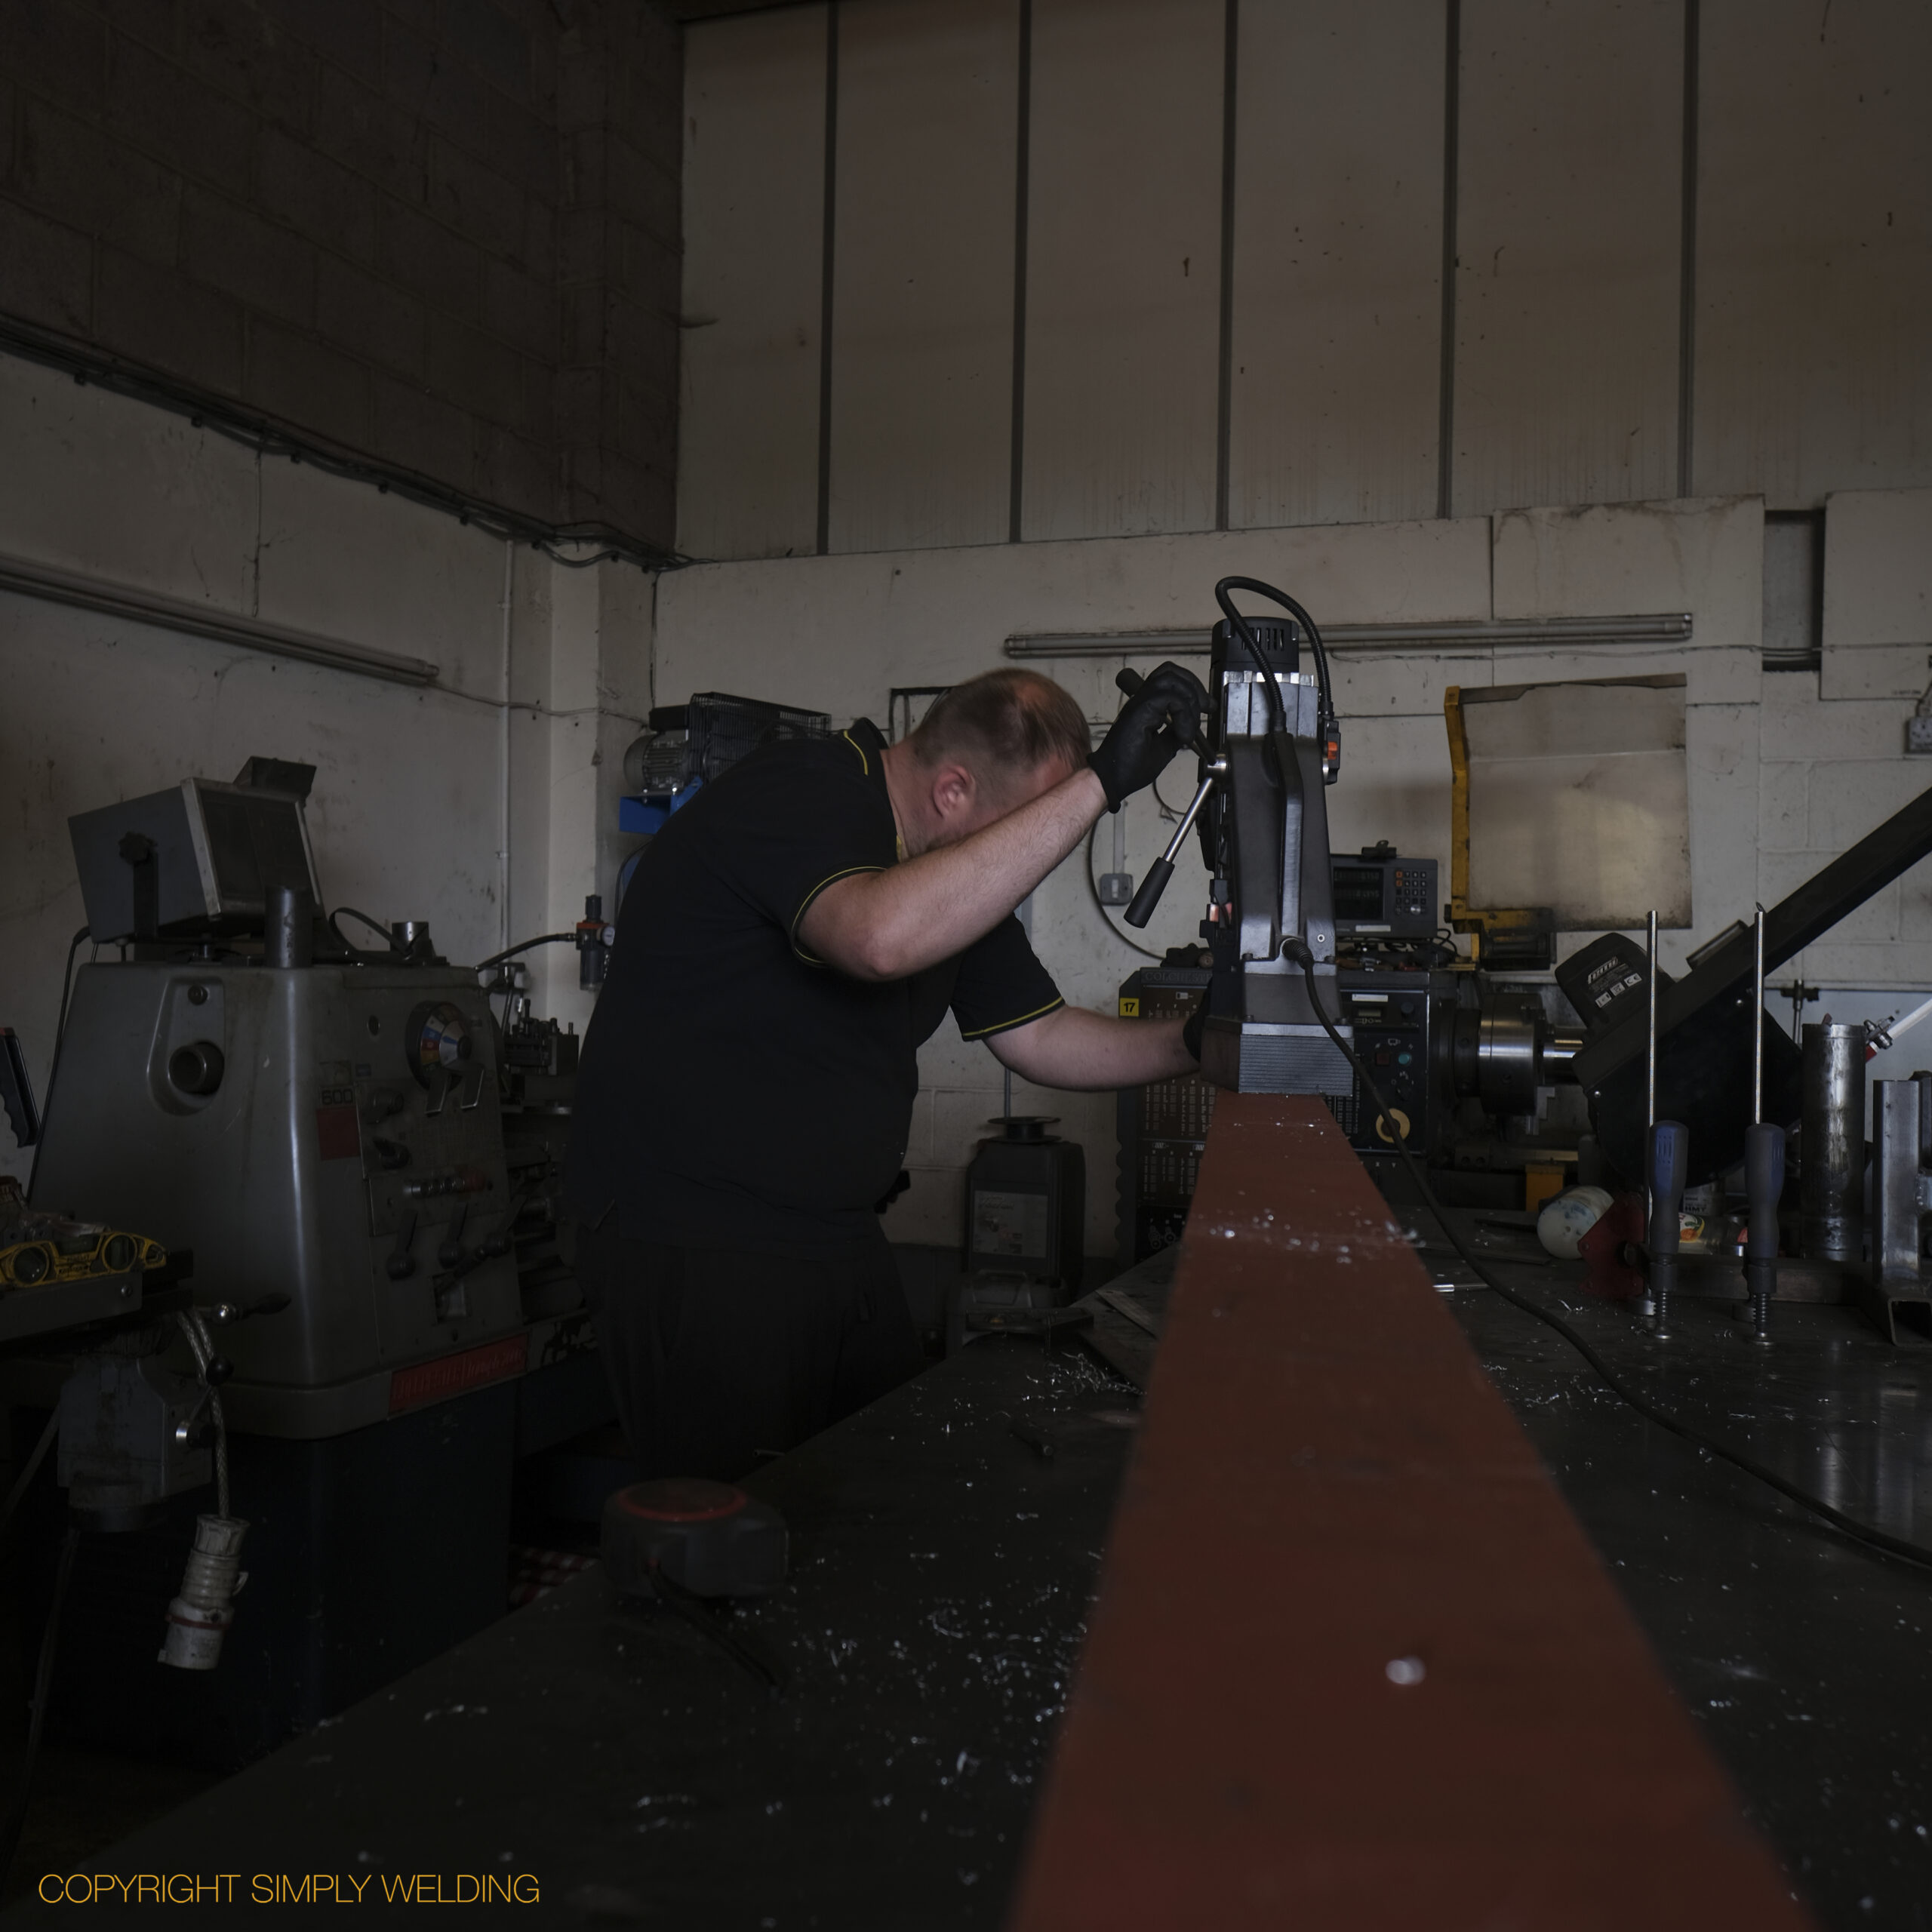
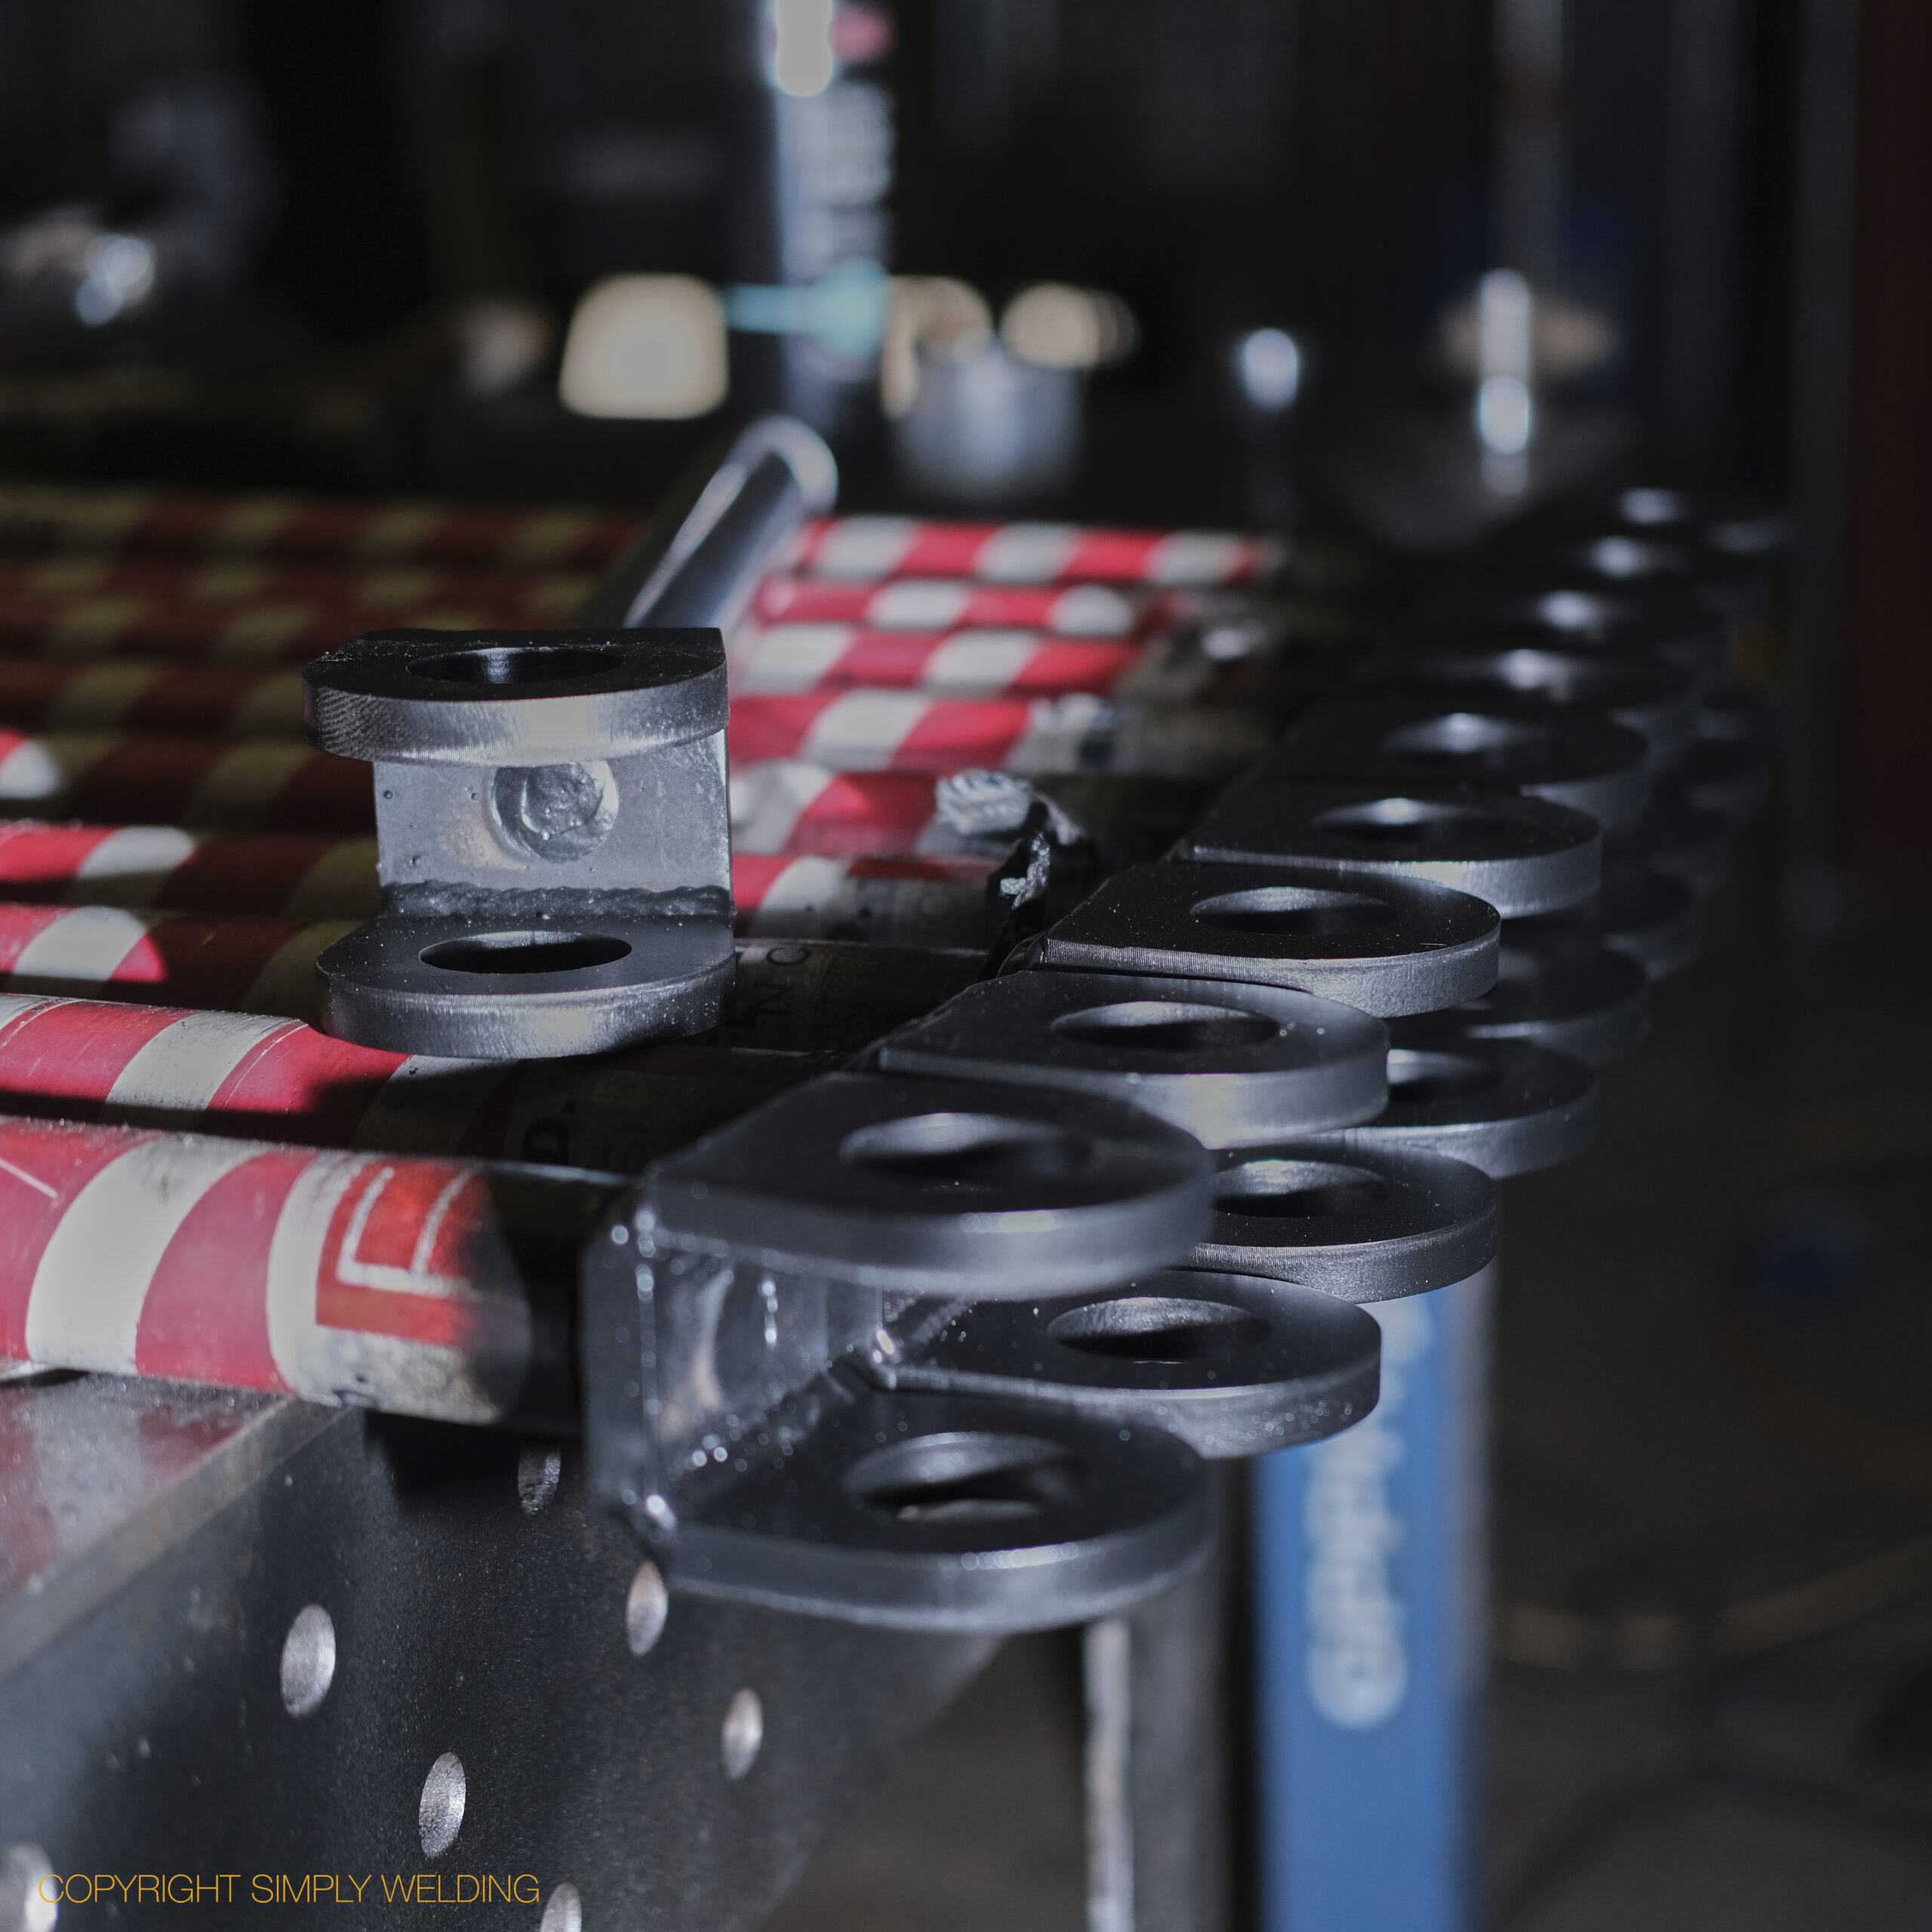
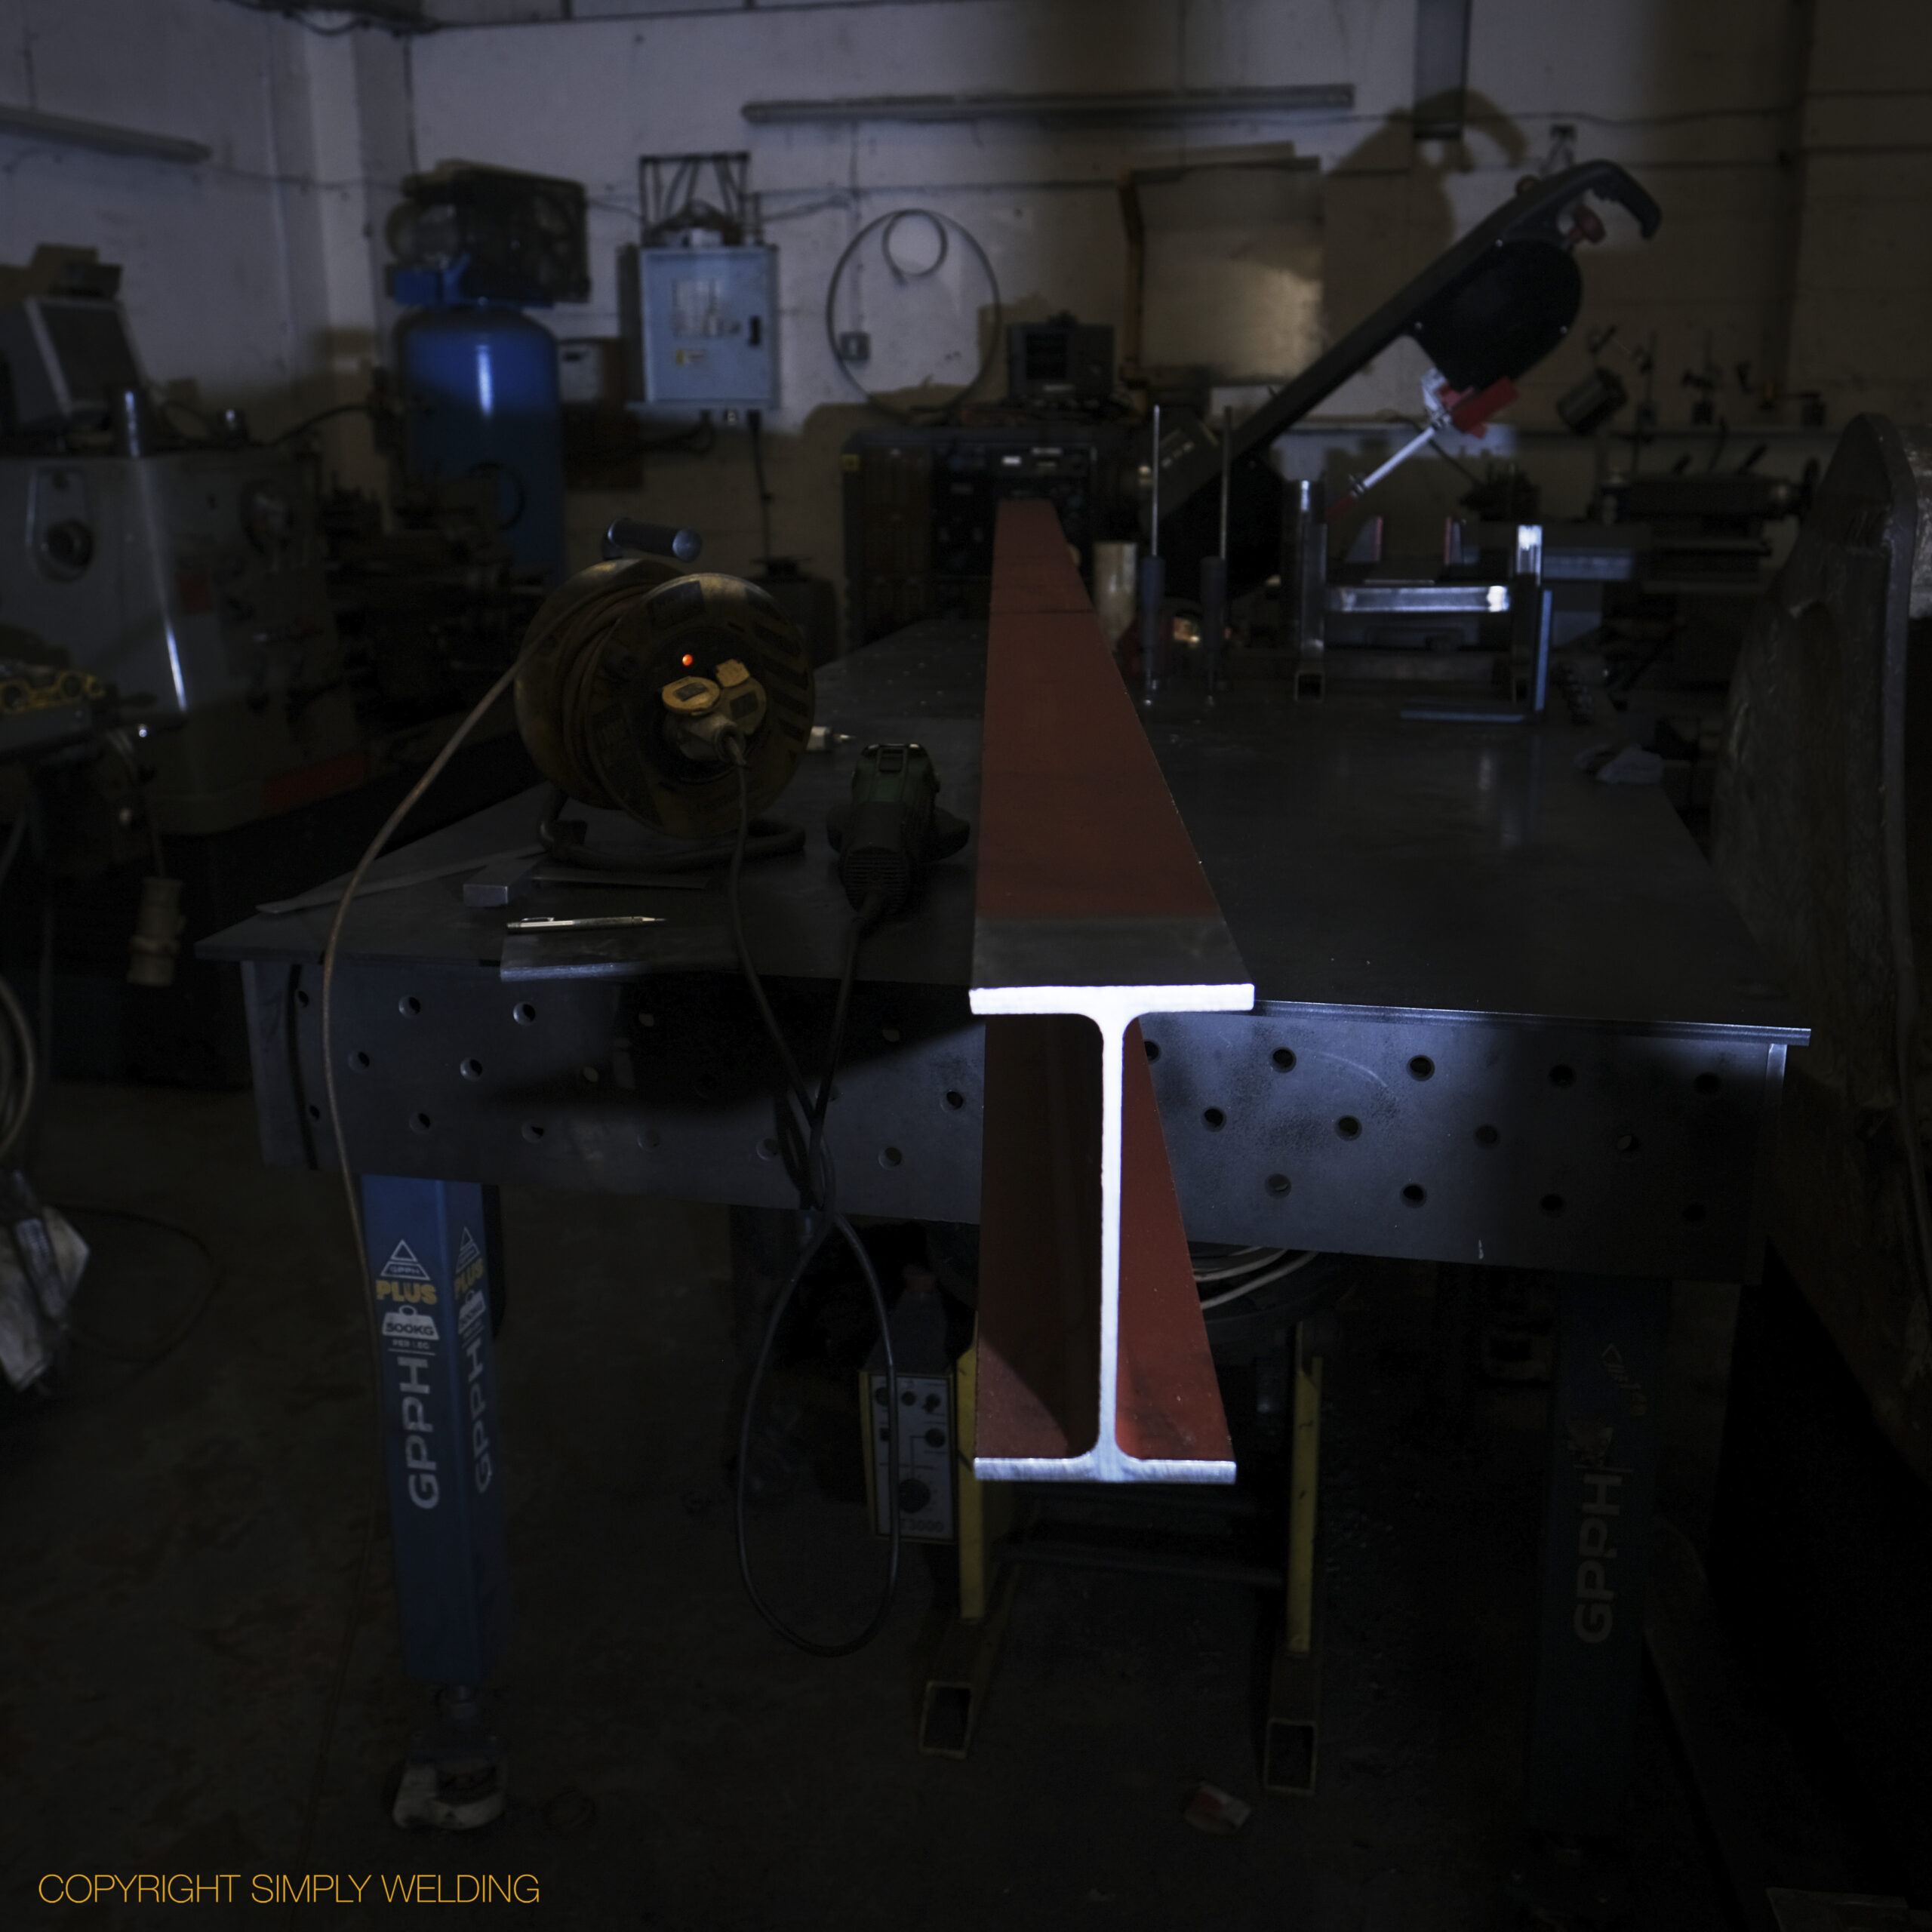
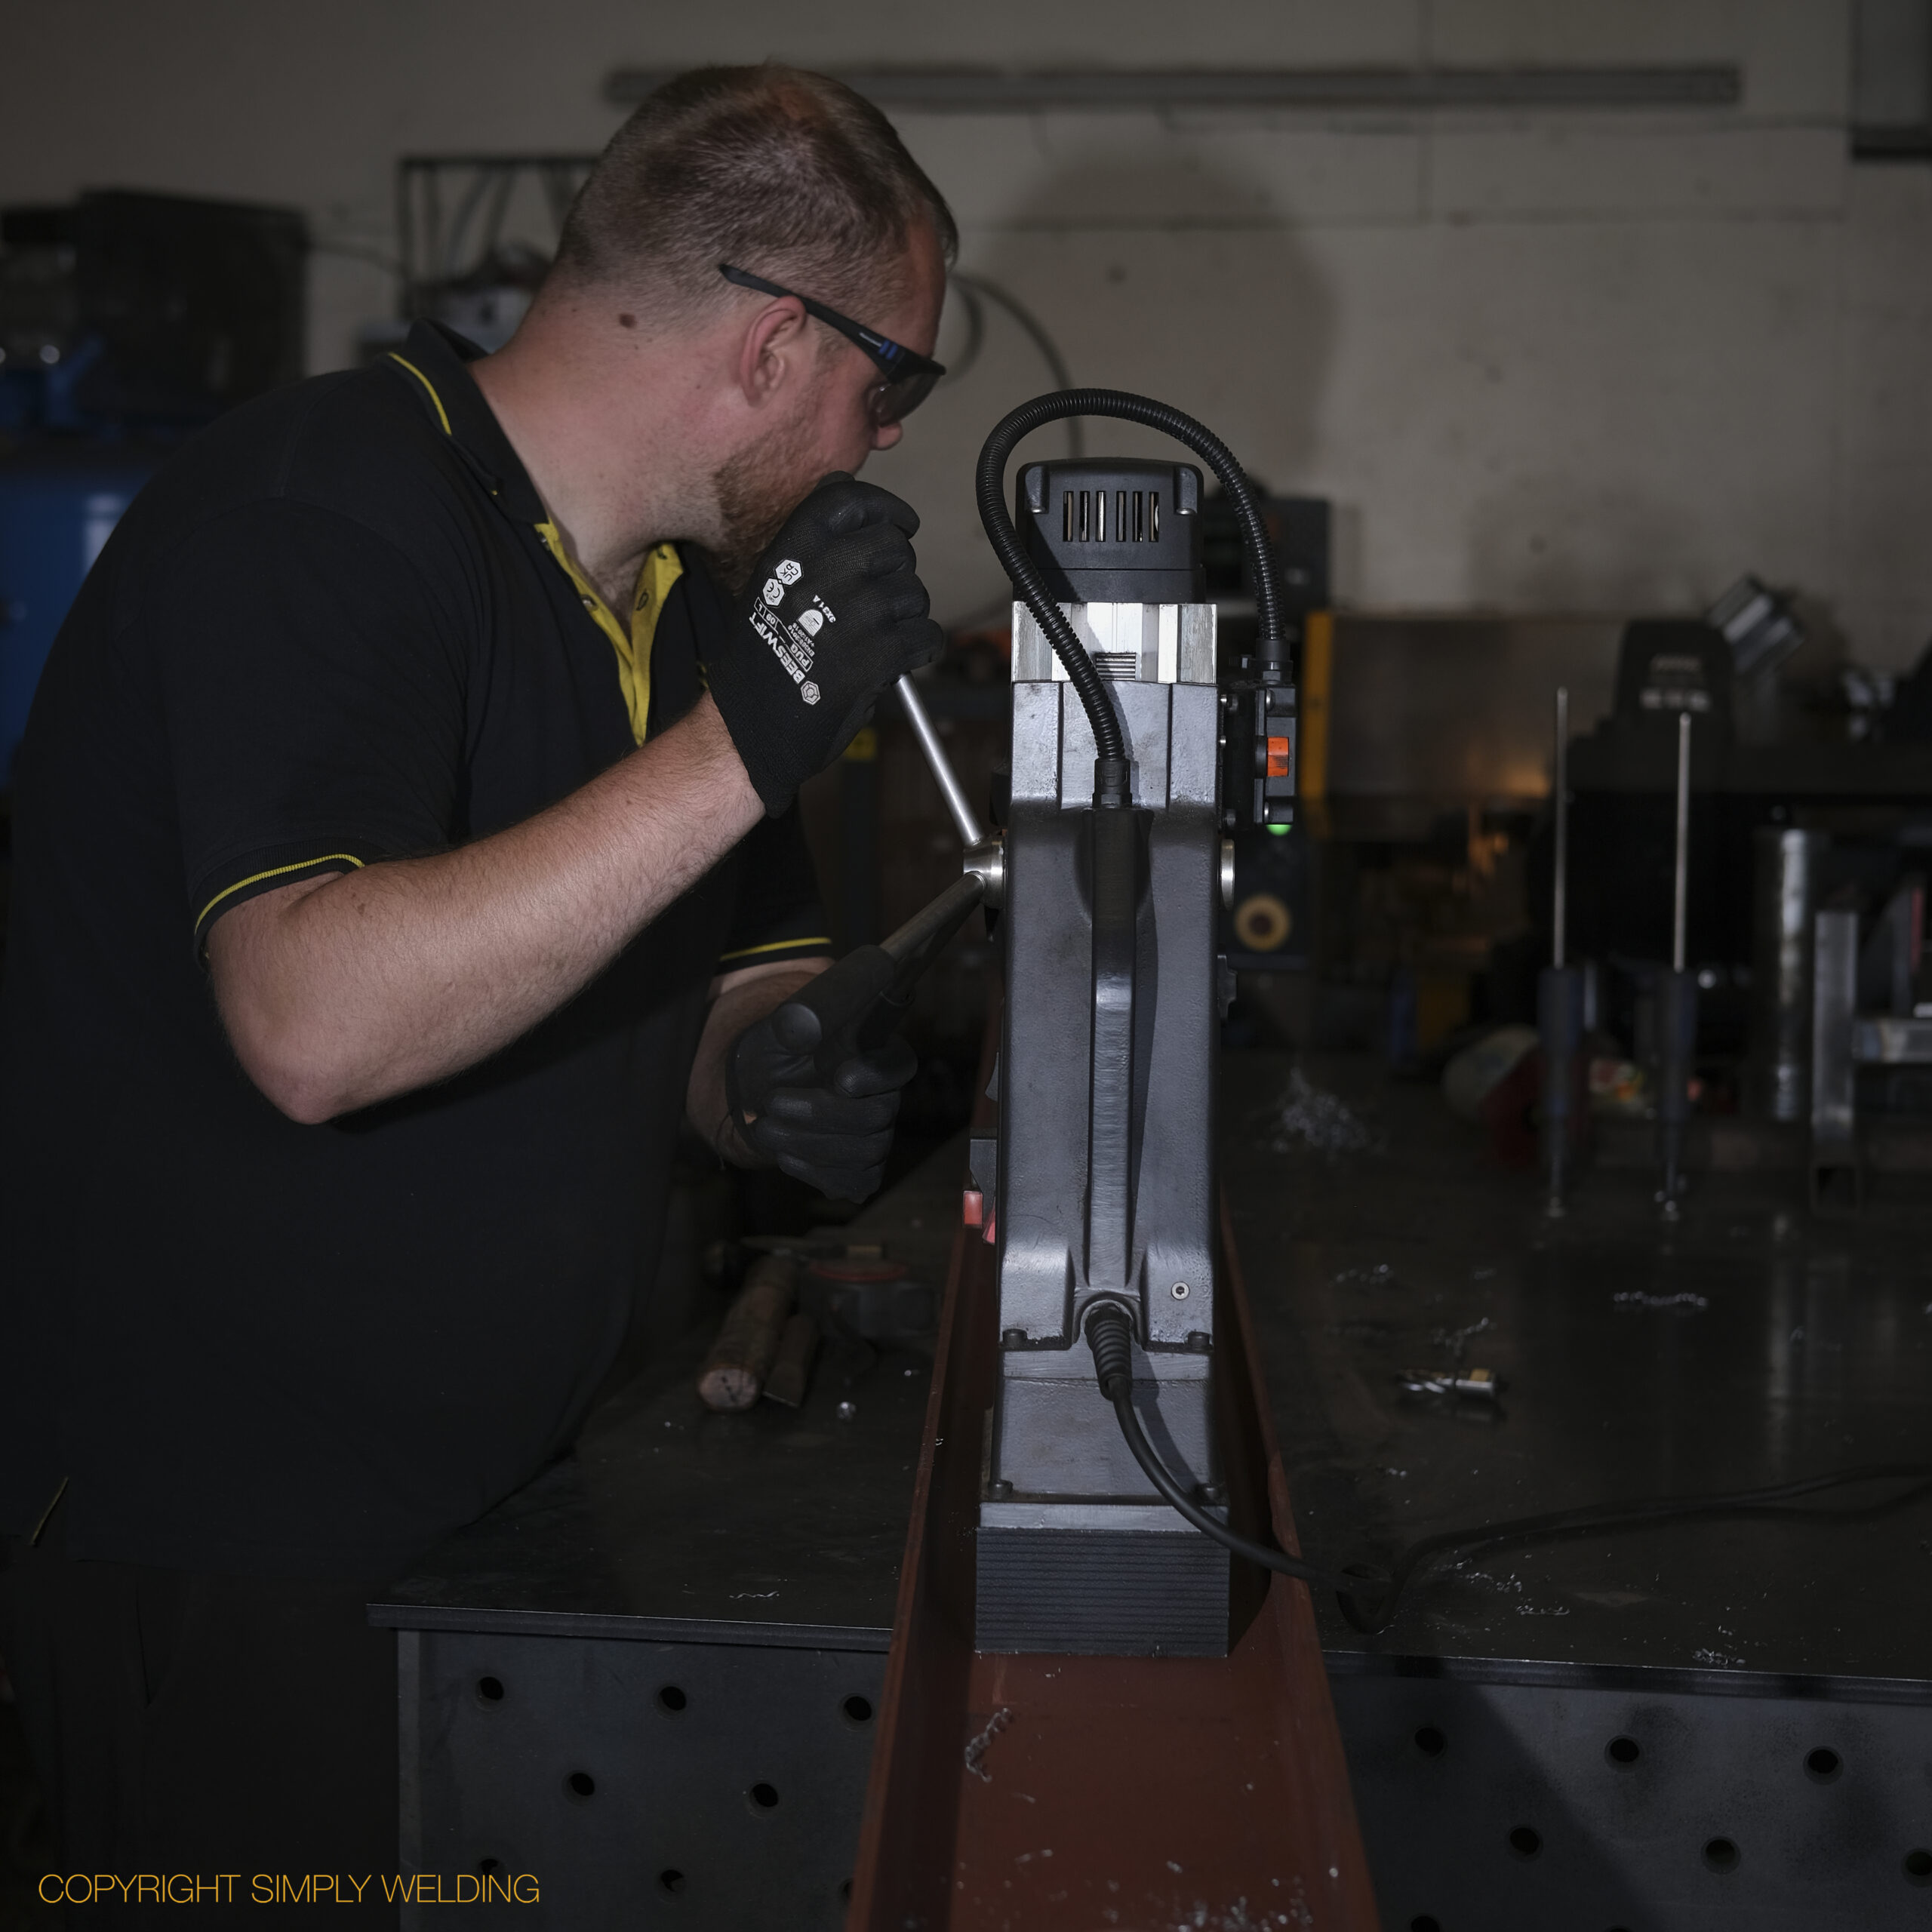
Drilled 44mm service holes through the web and 20 x 17mm holes through the top flange of universal beams, and welded pad plates to both ends.
Fire Escape Repair – Kingswinford School

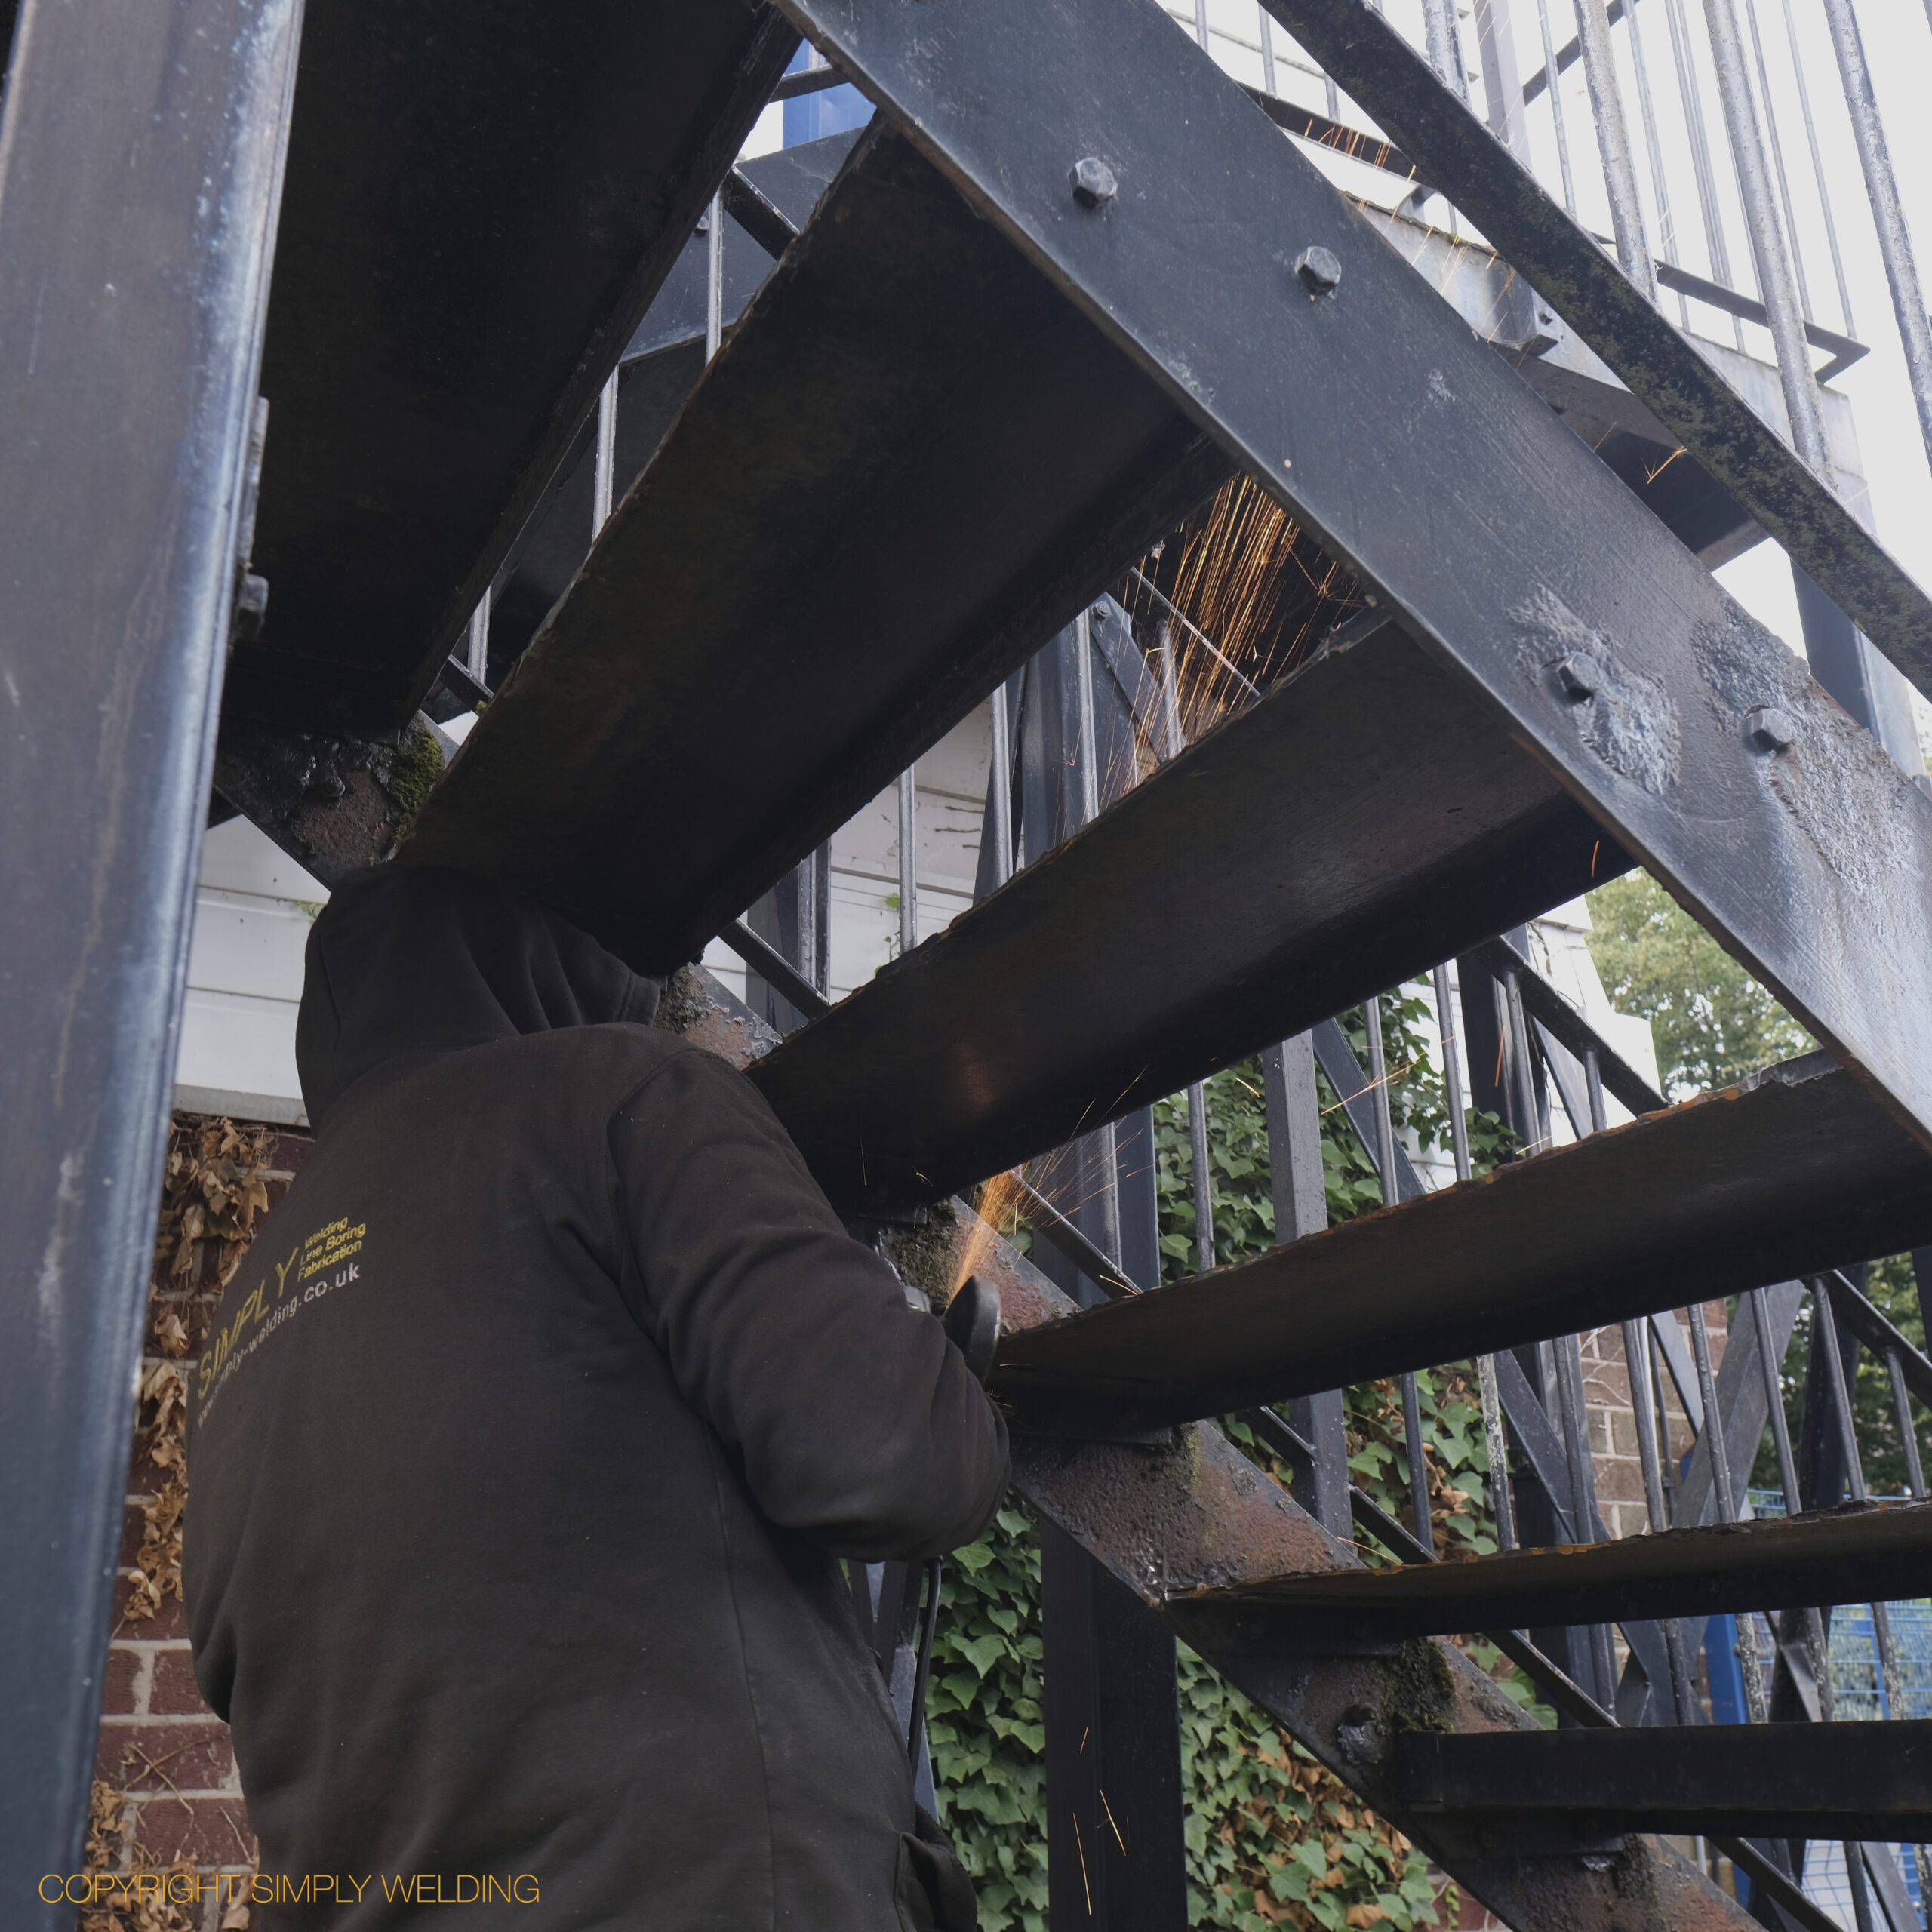
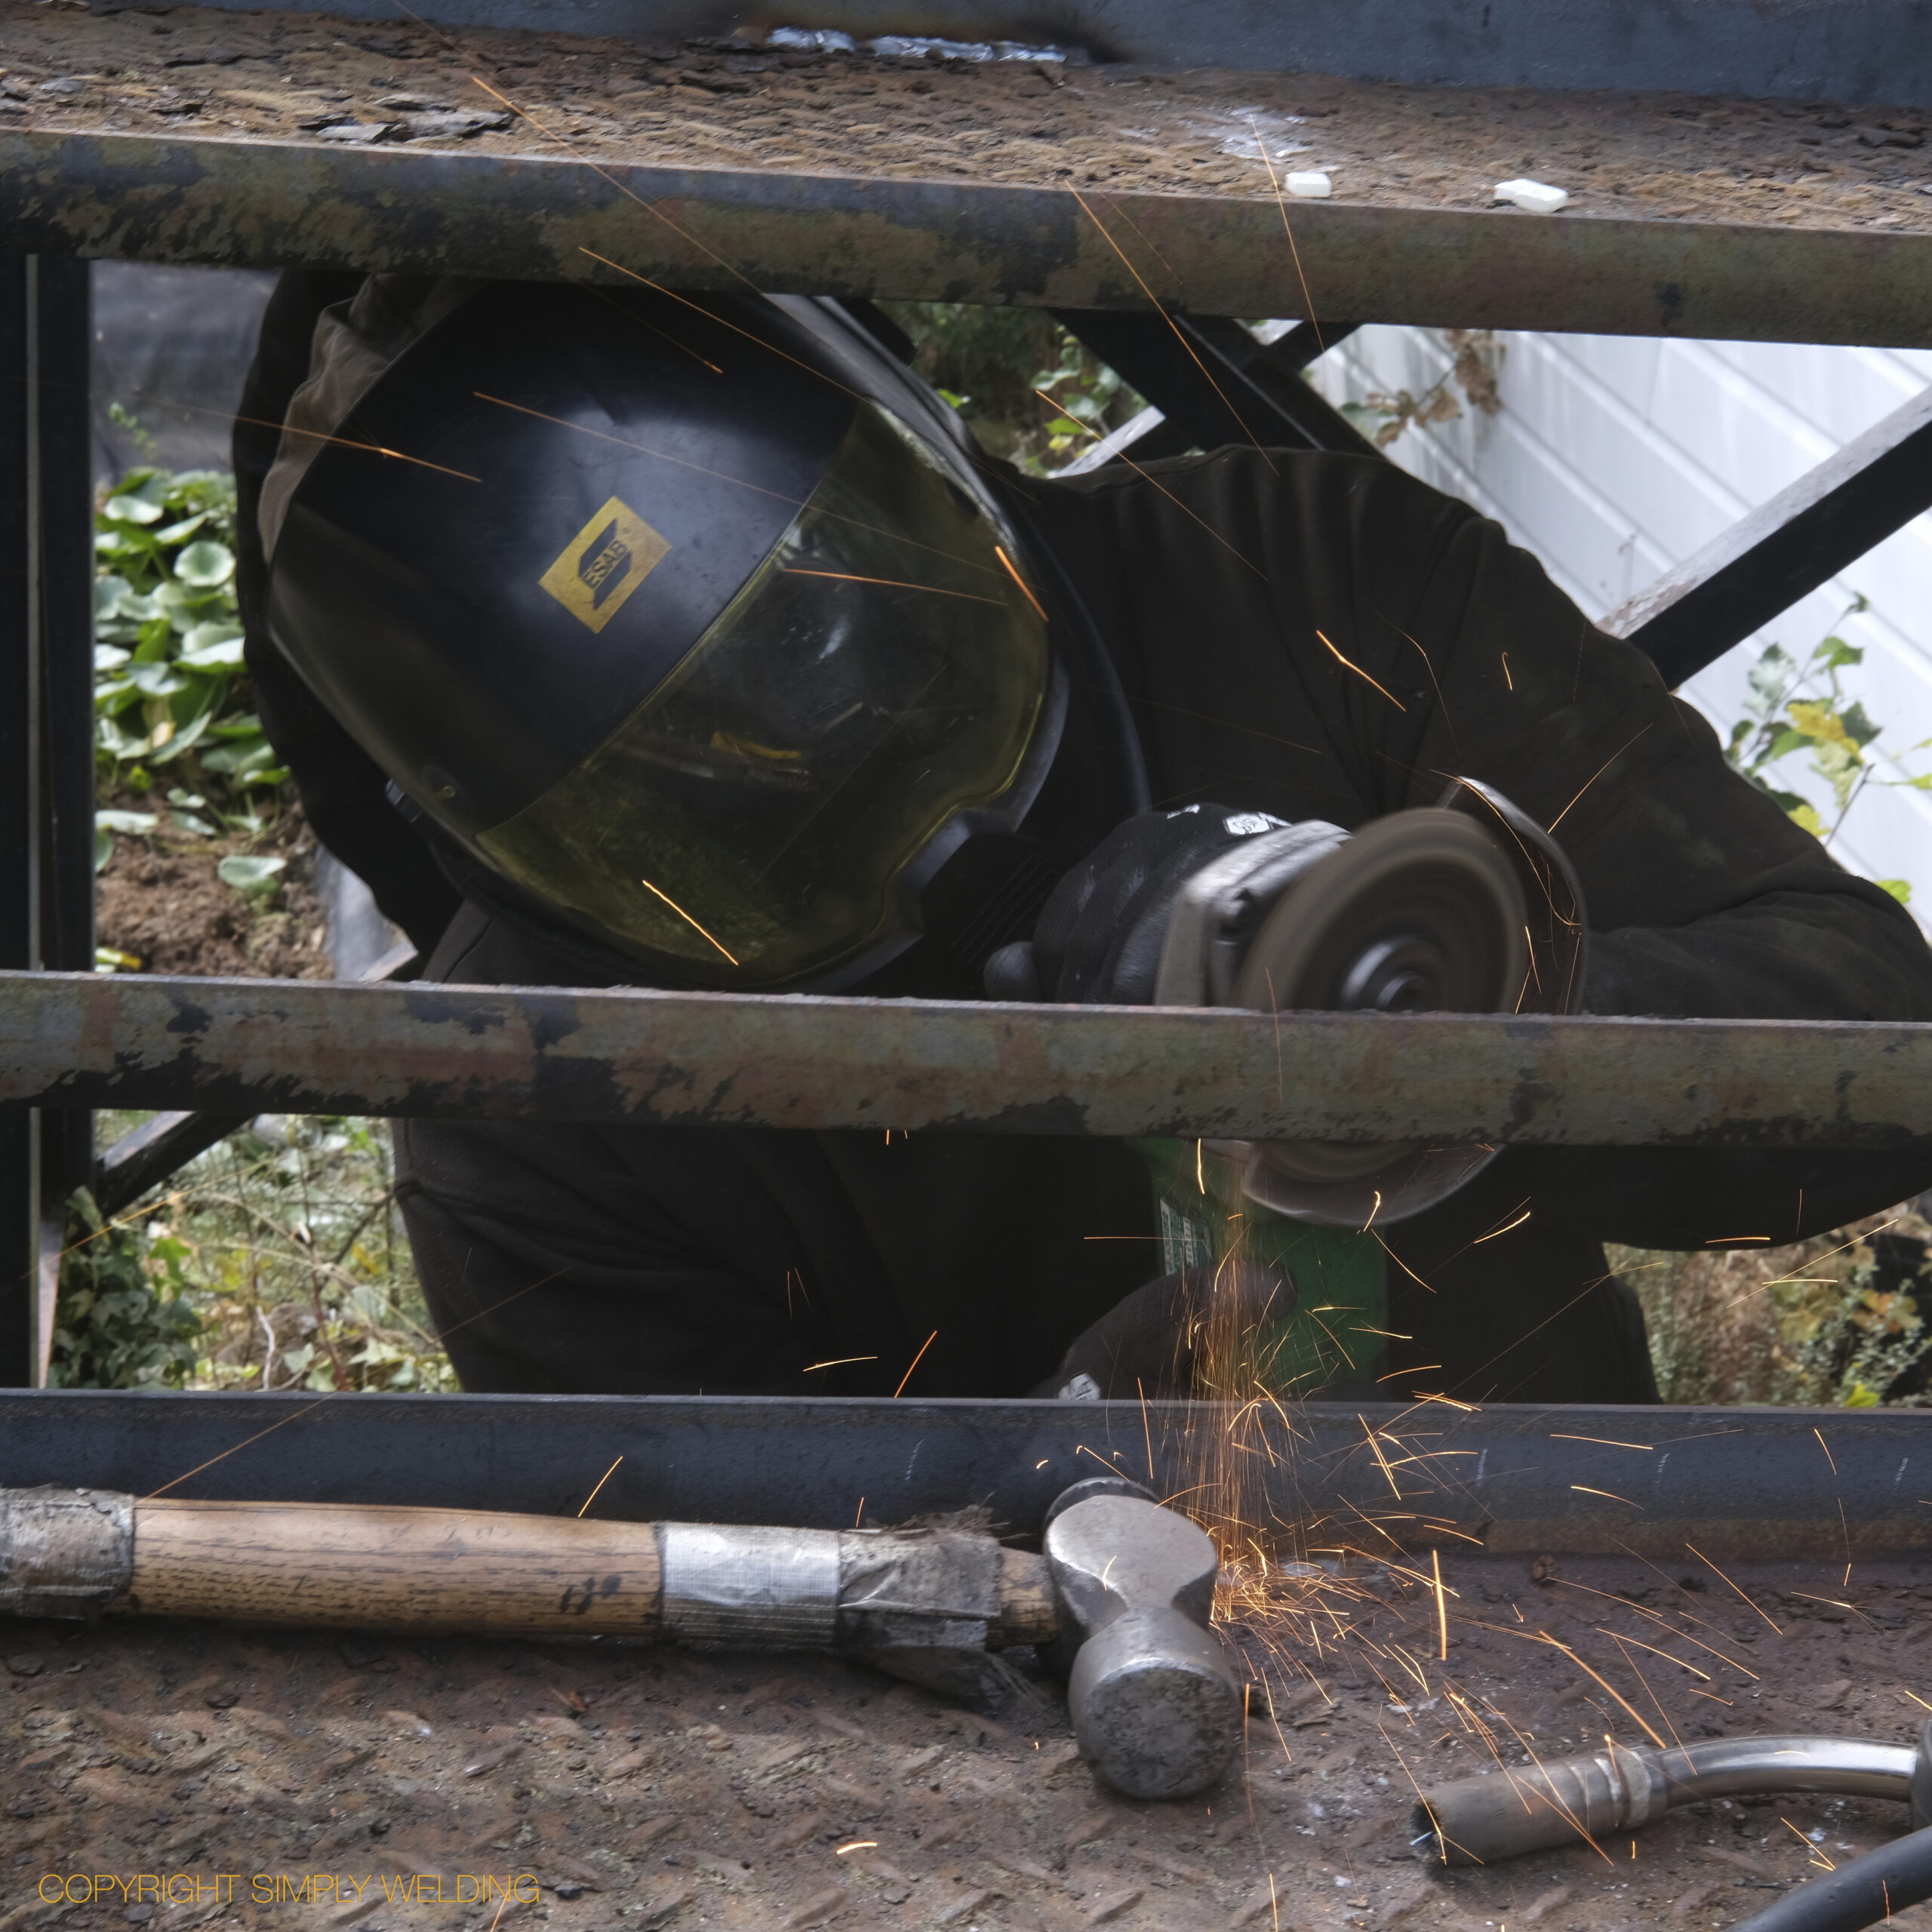
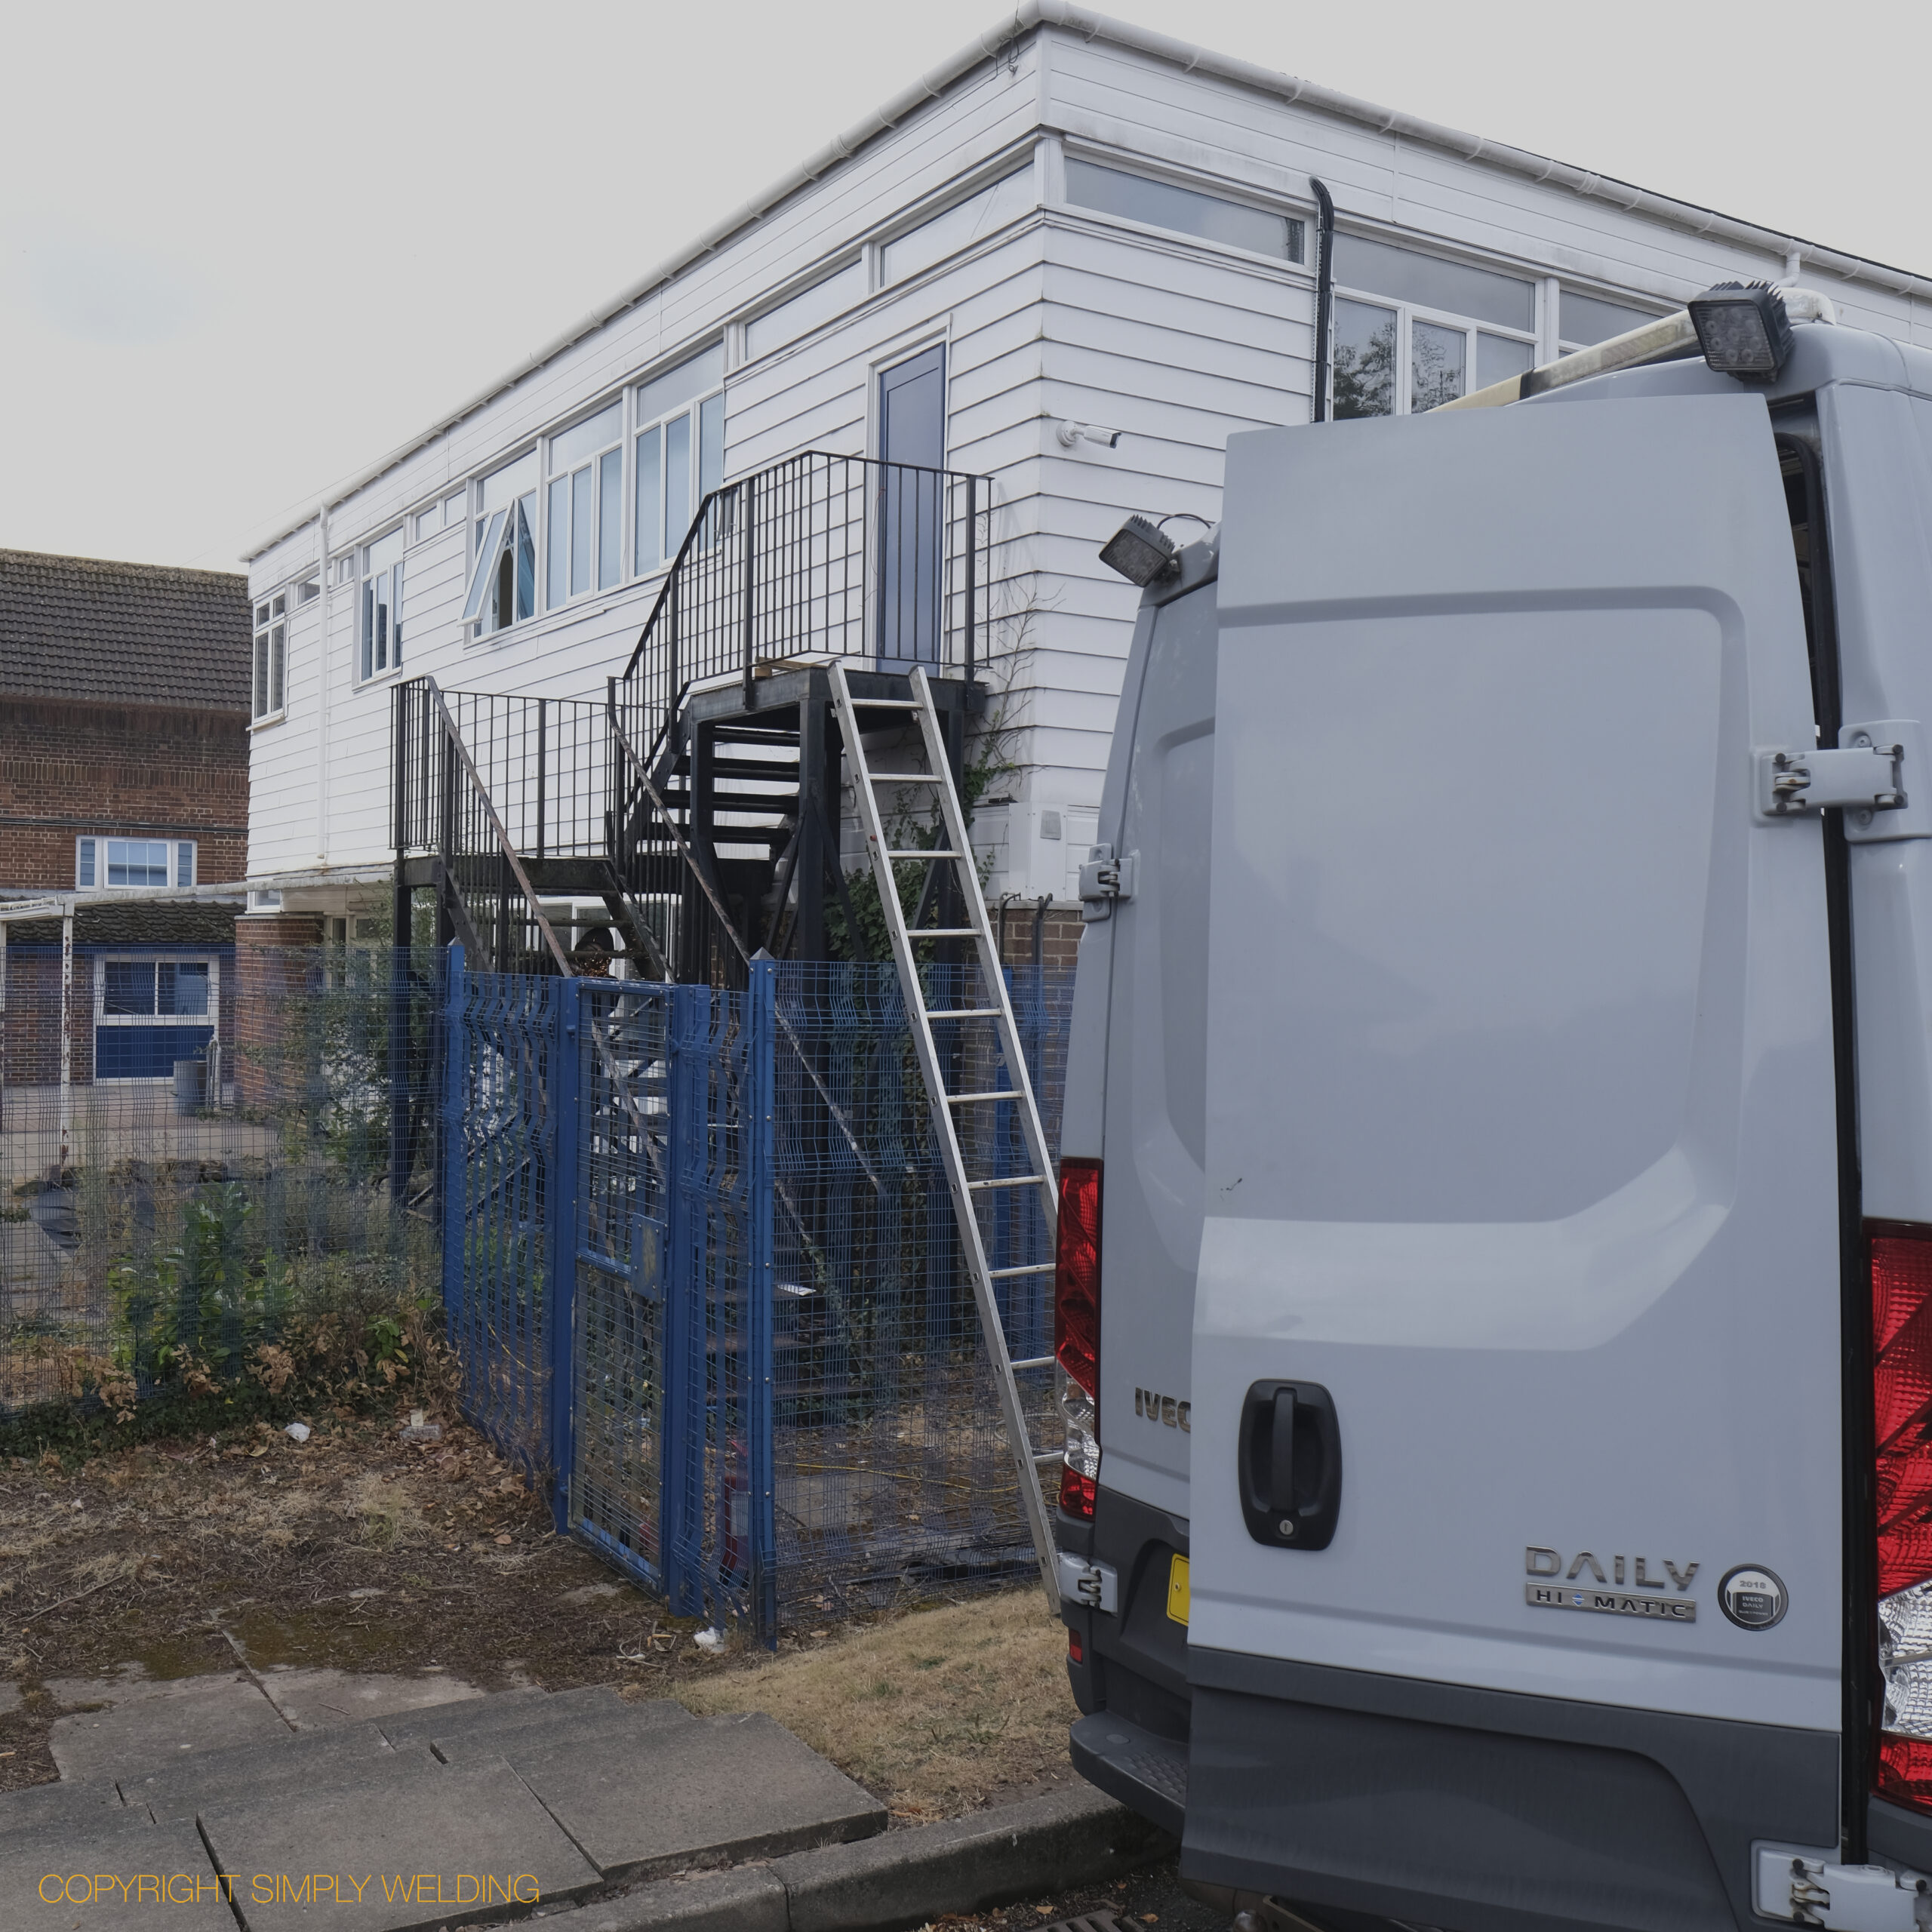
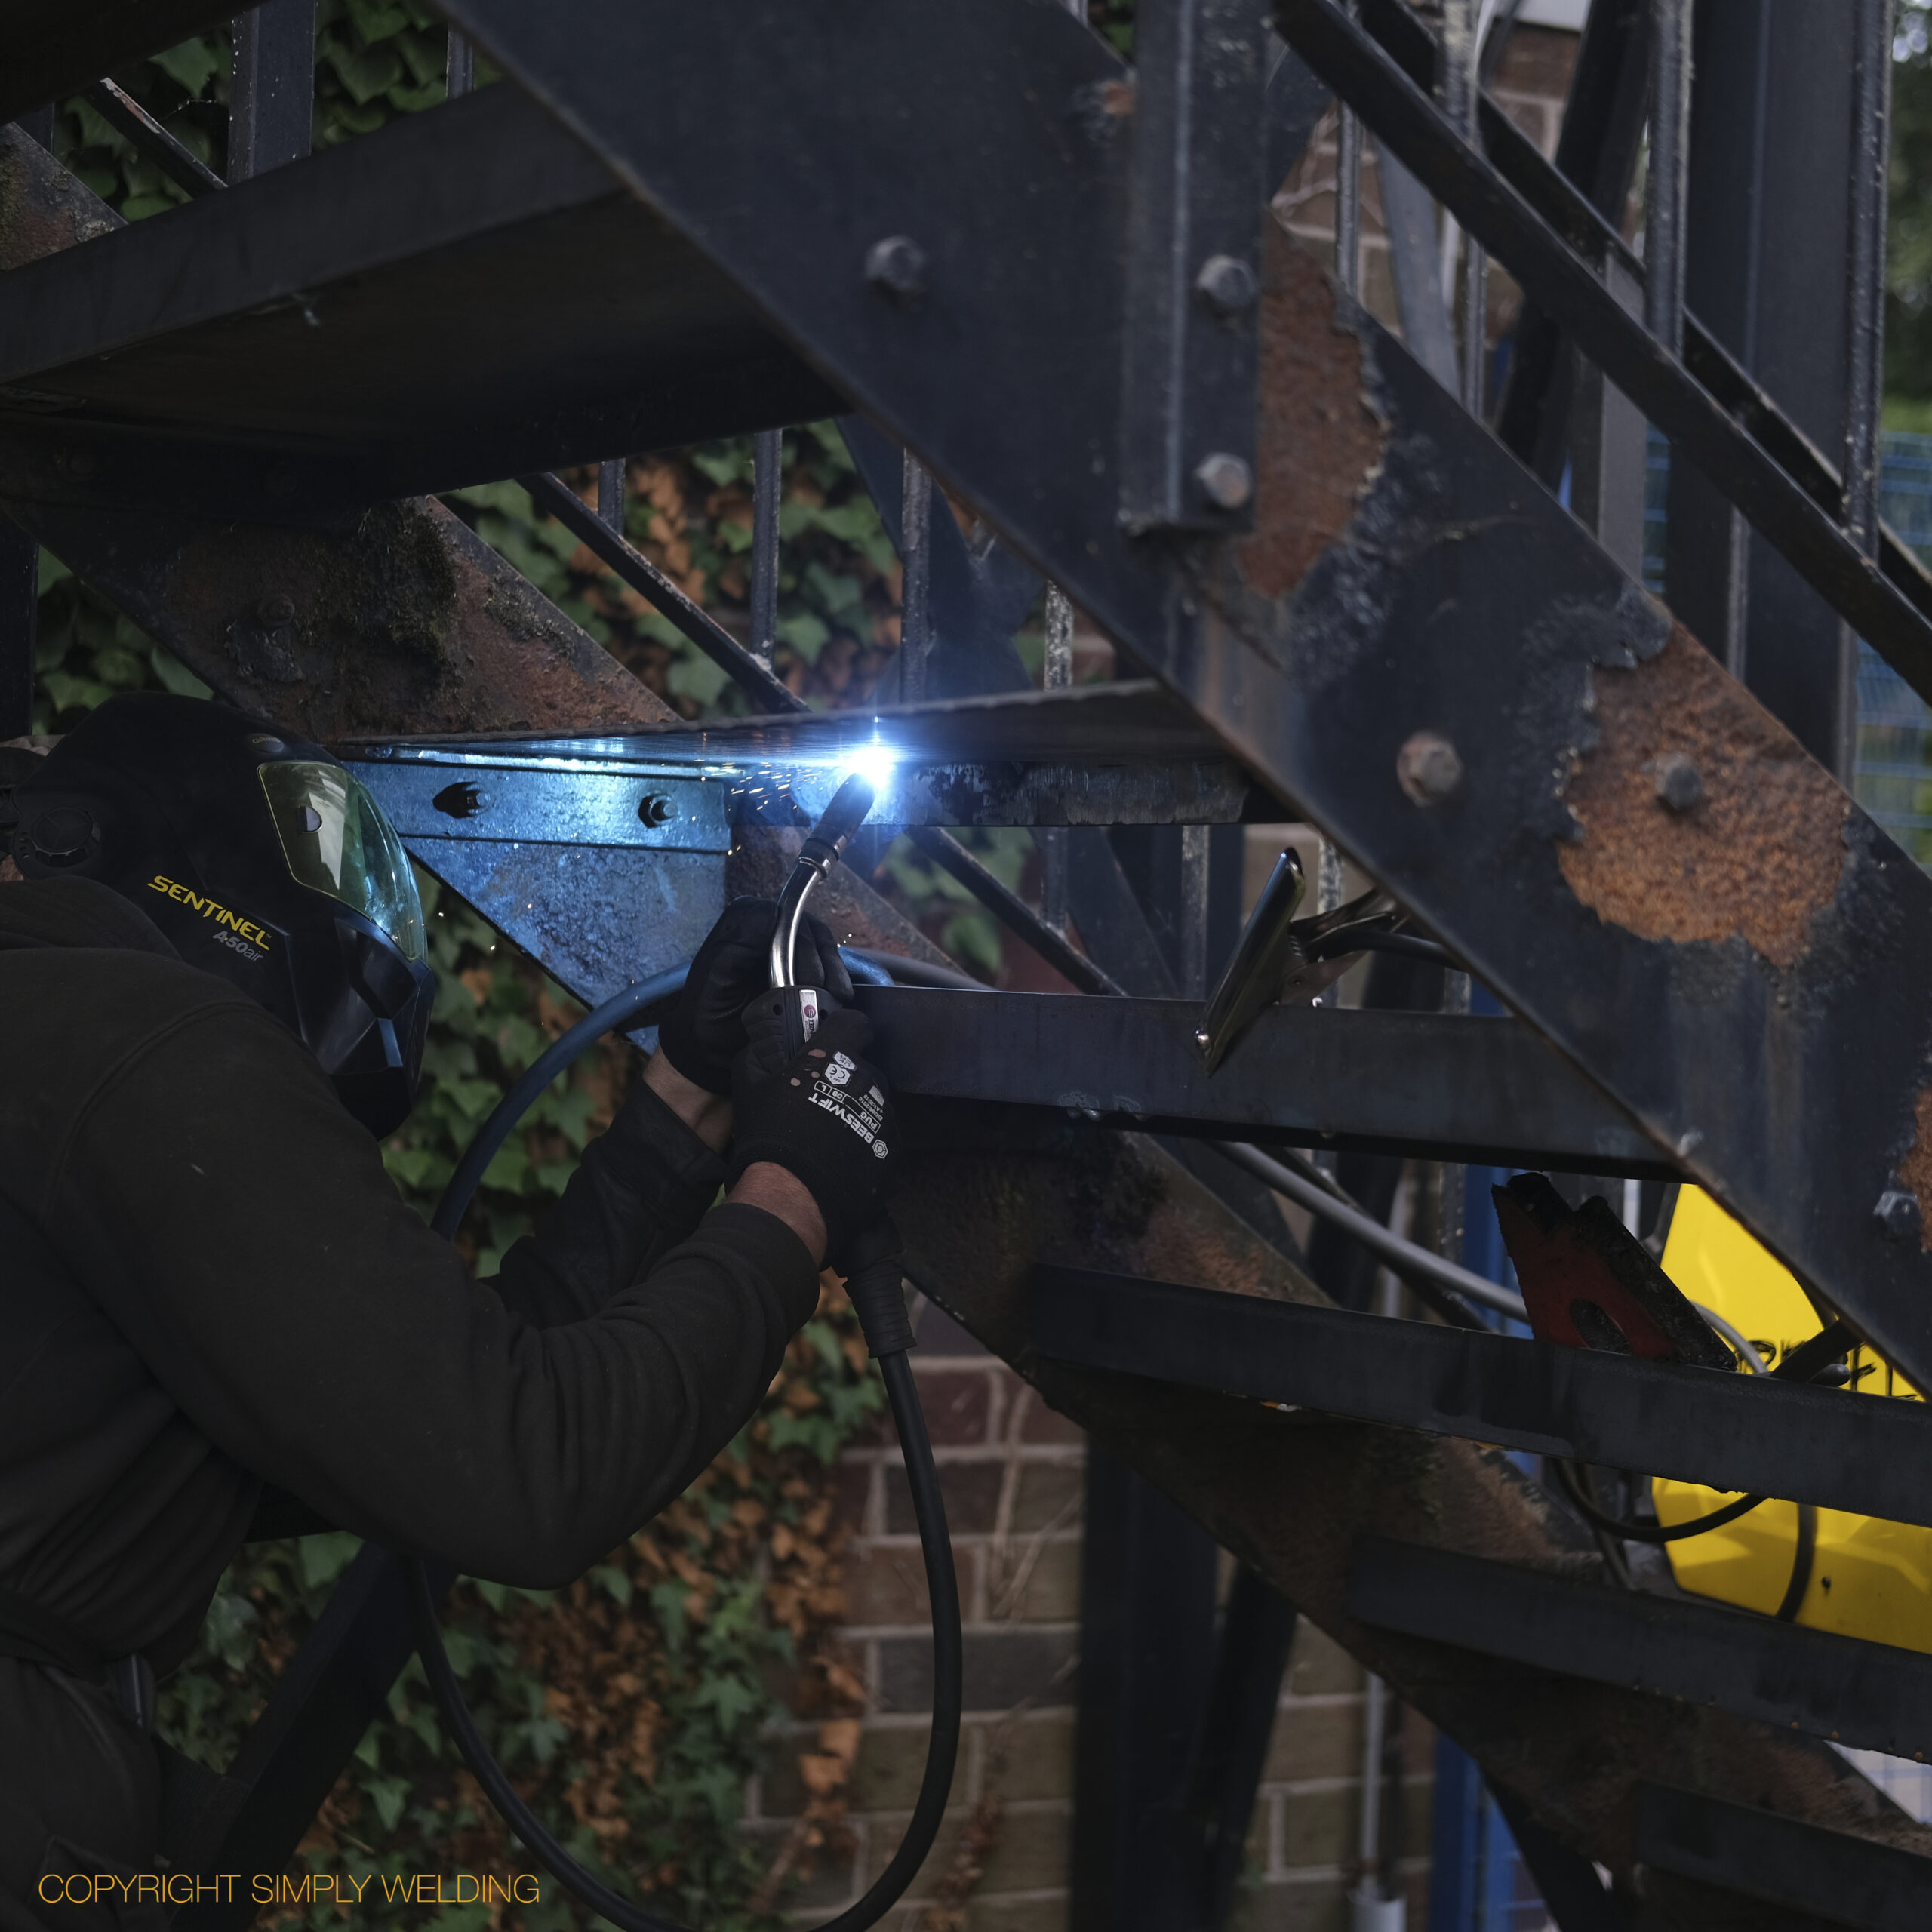
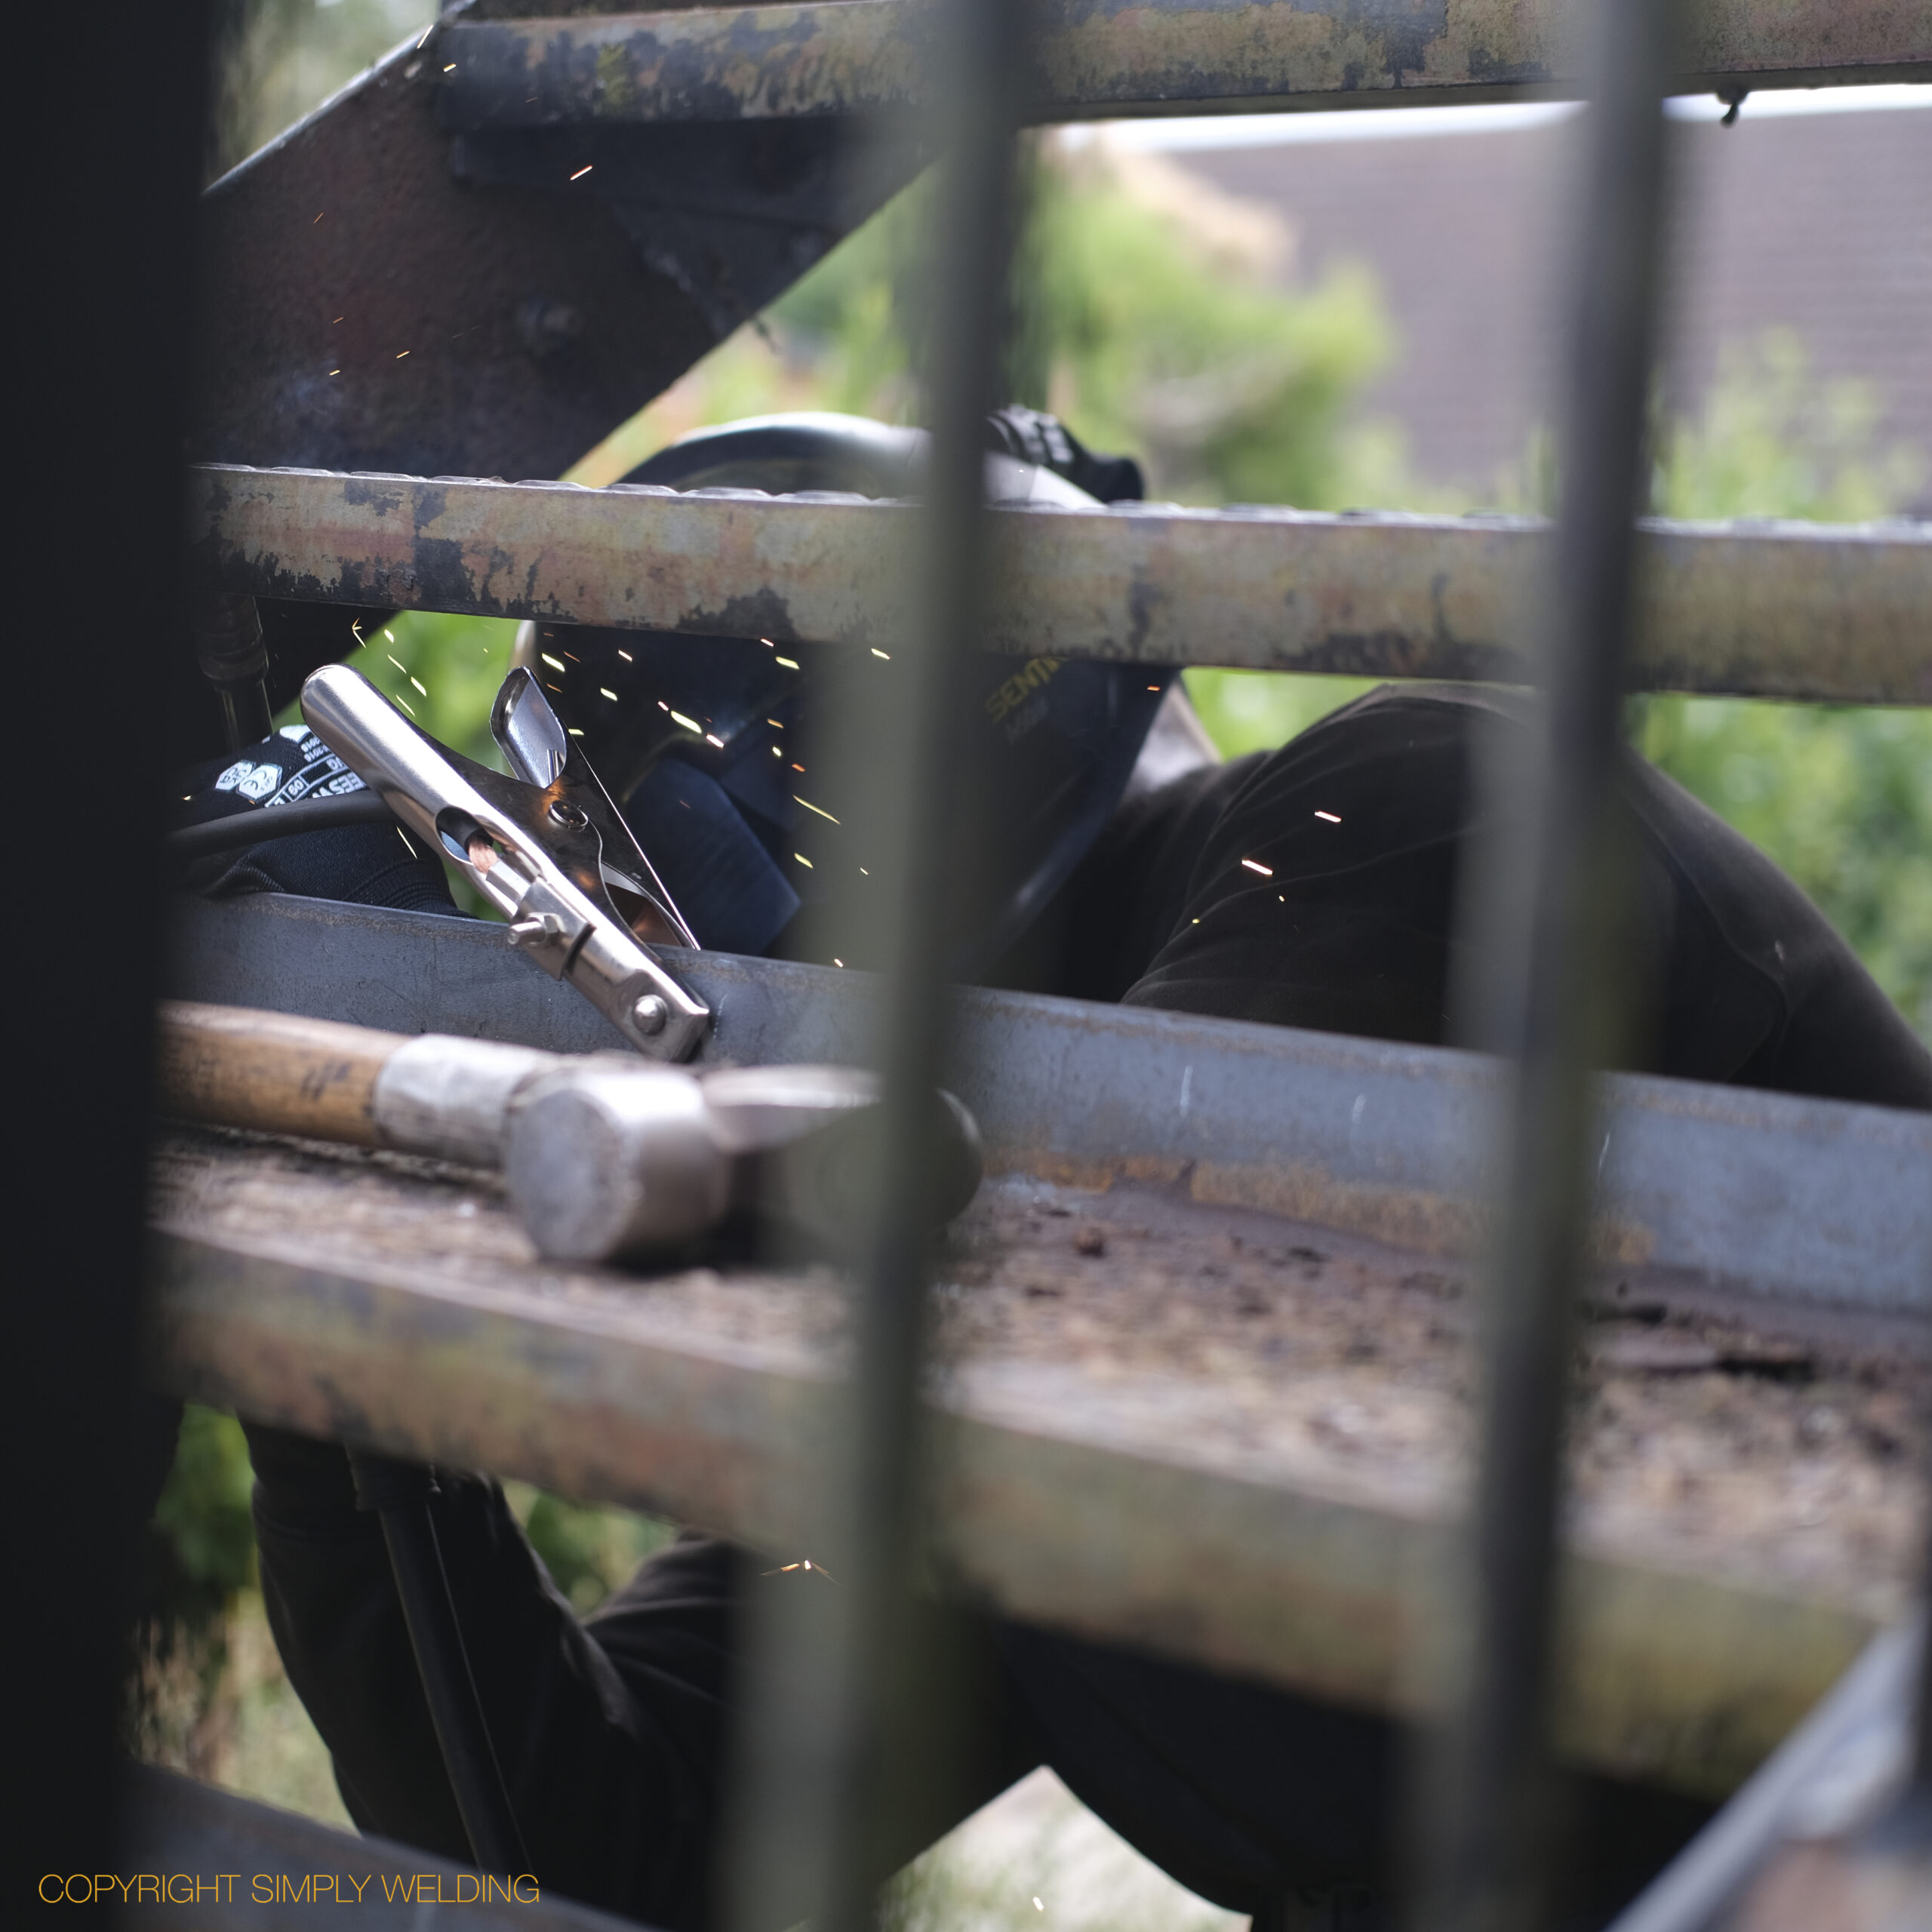
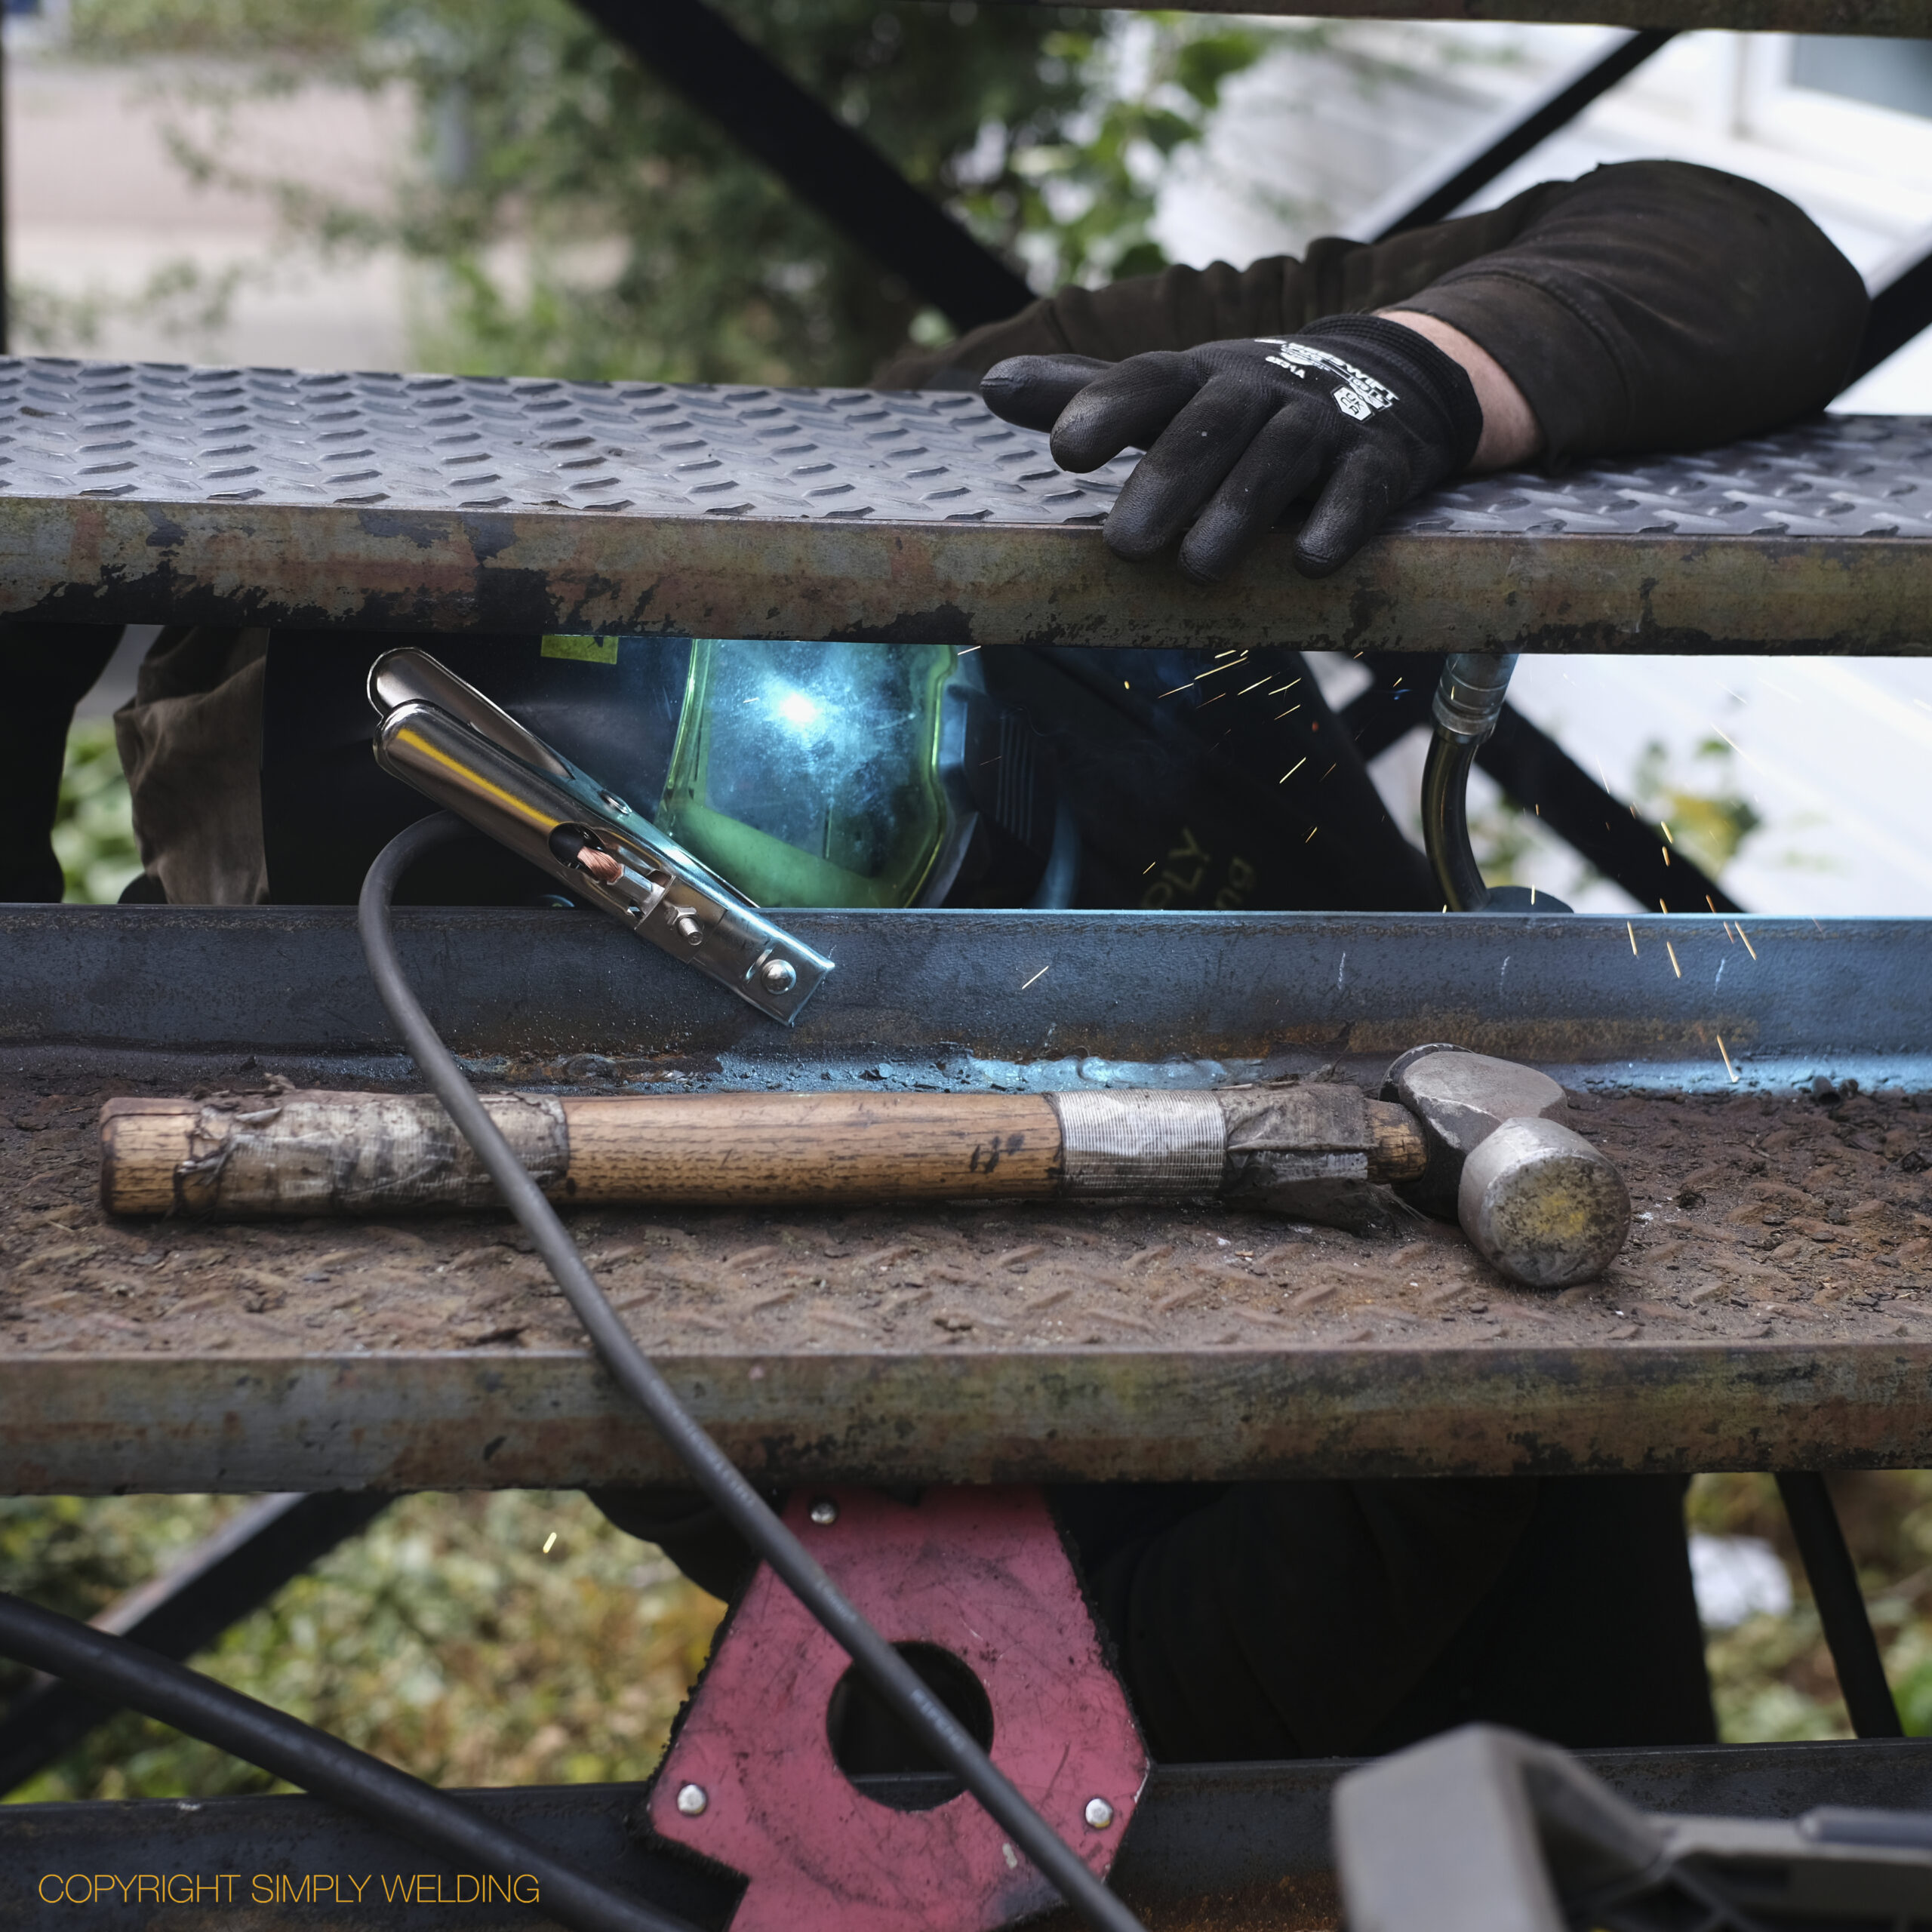
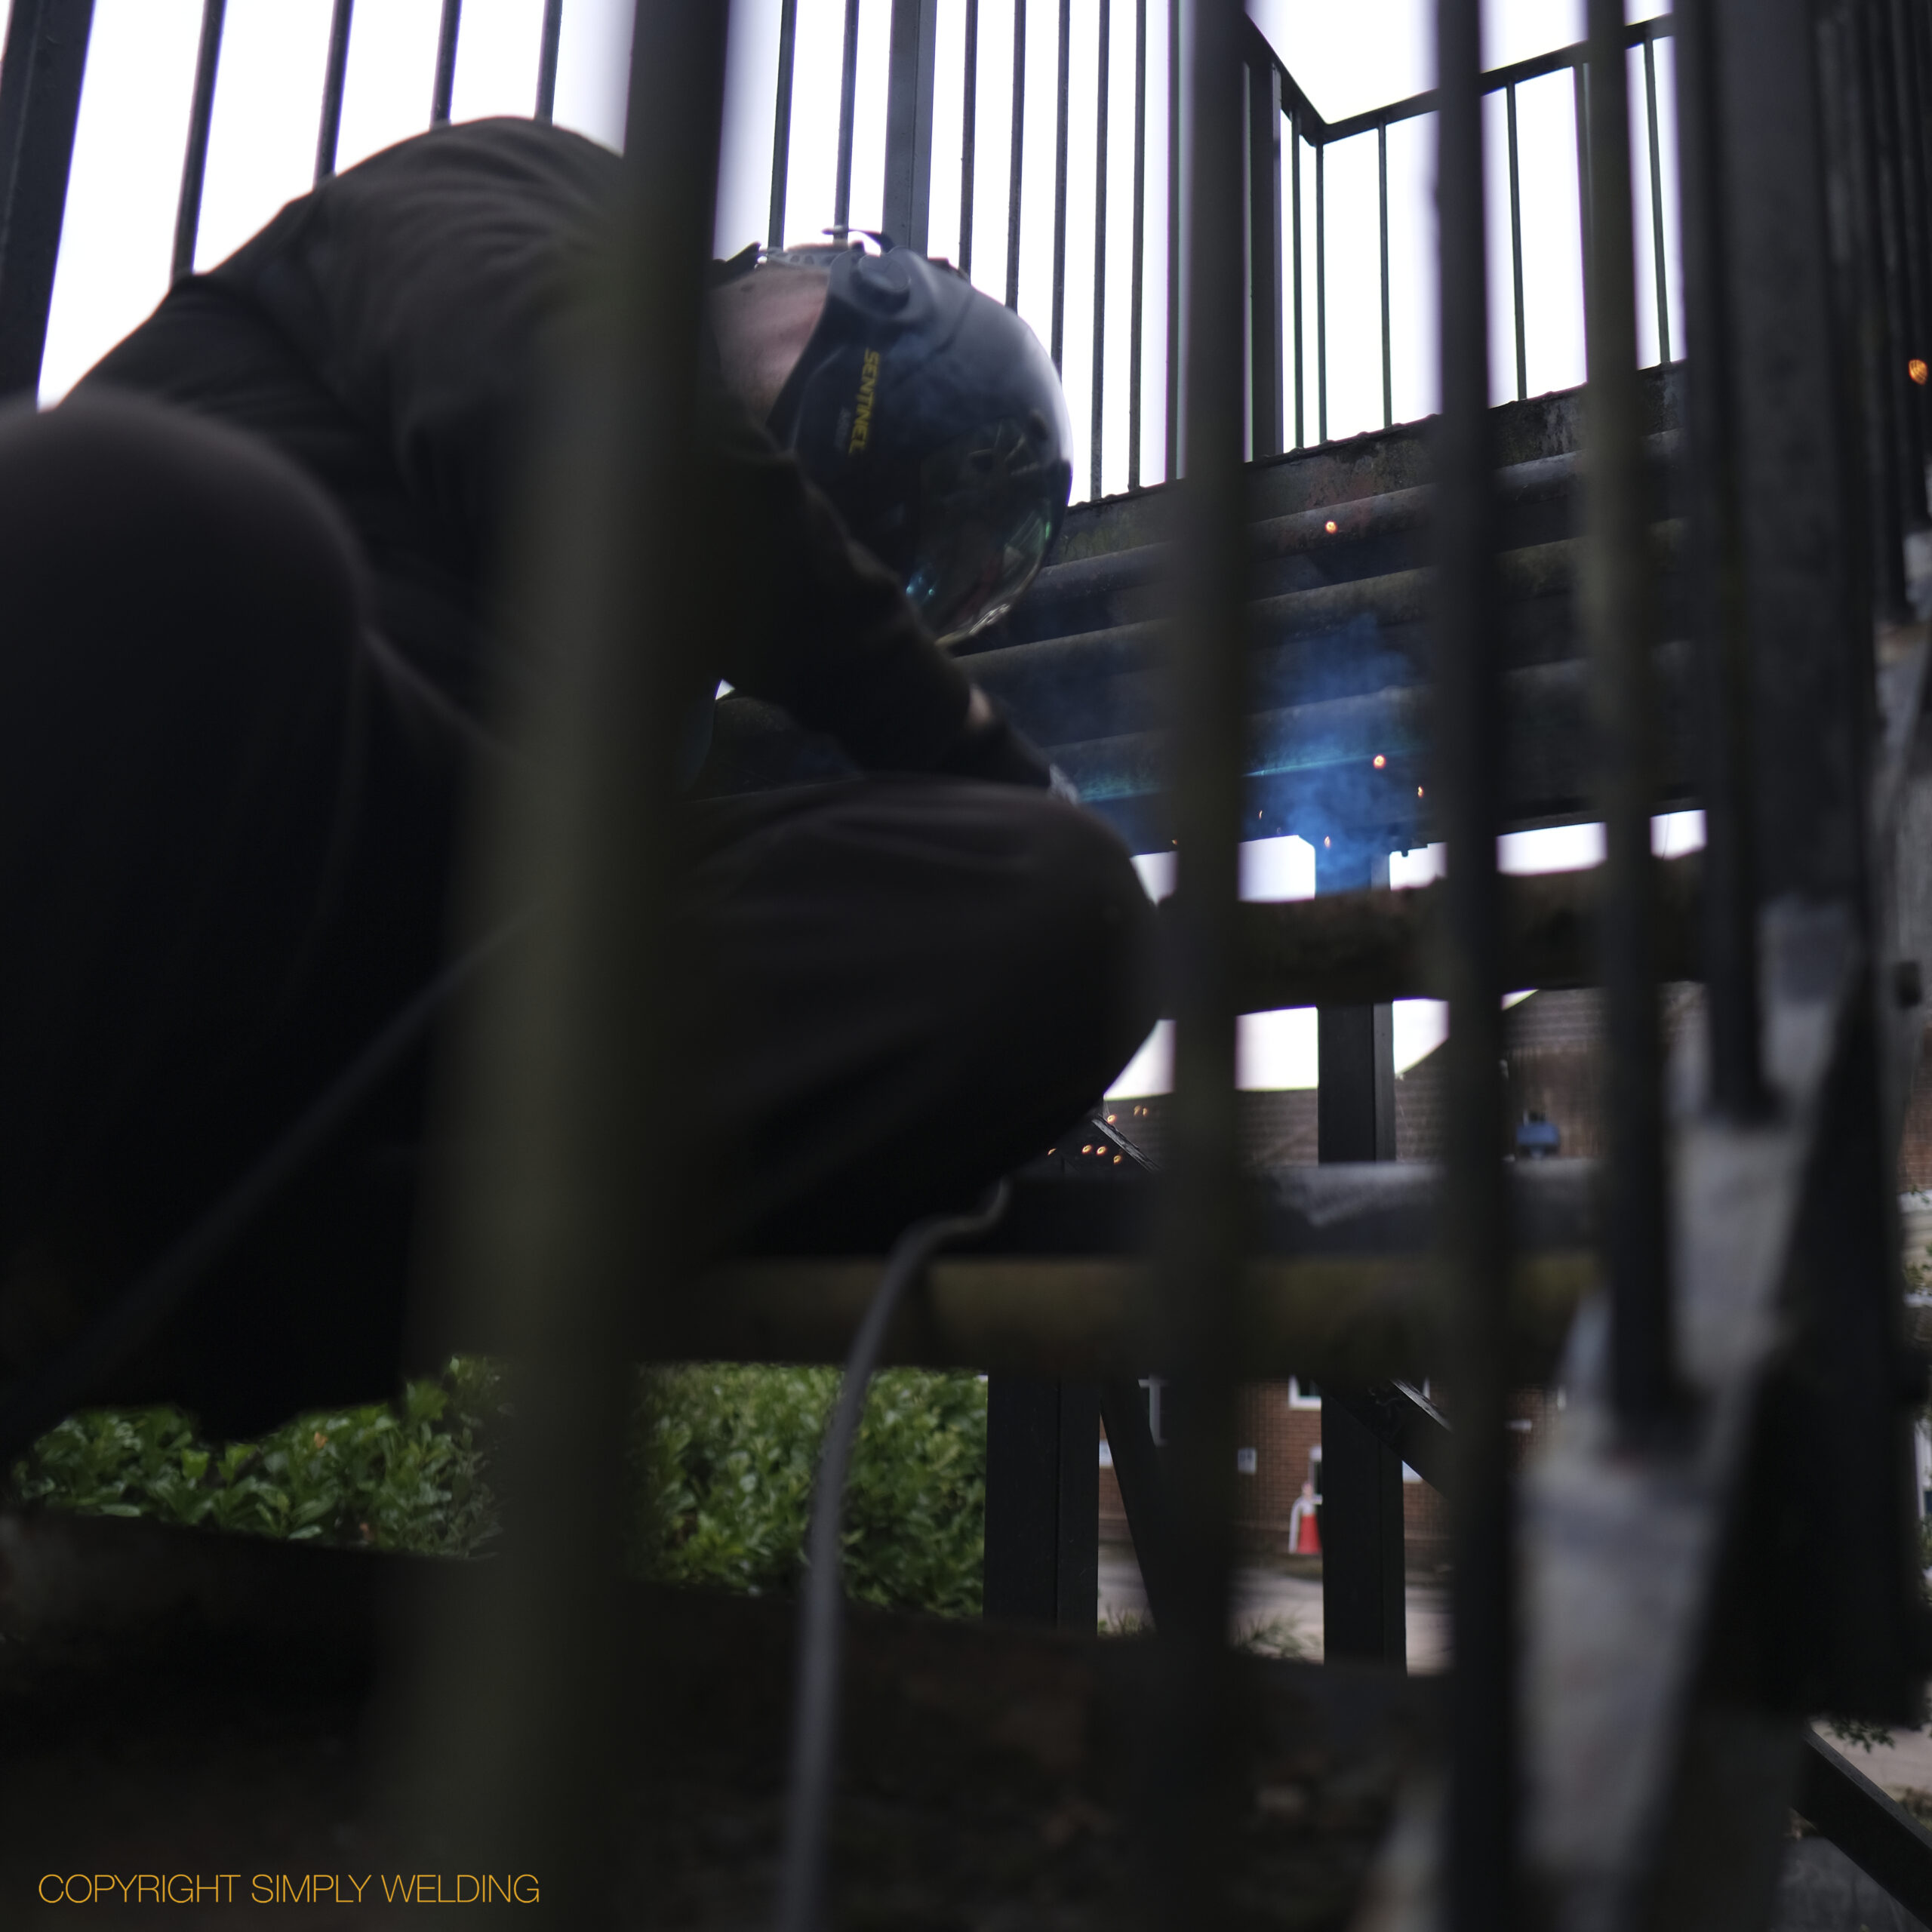
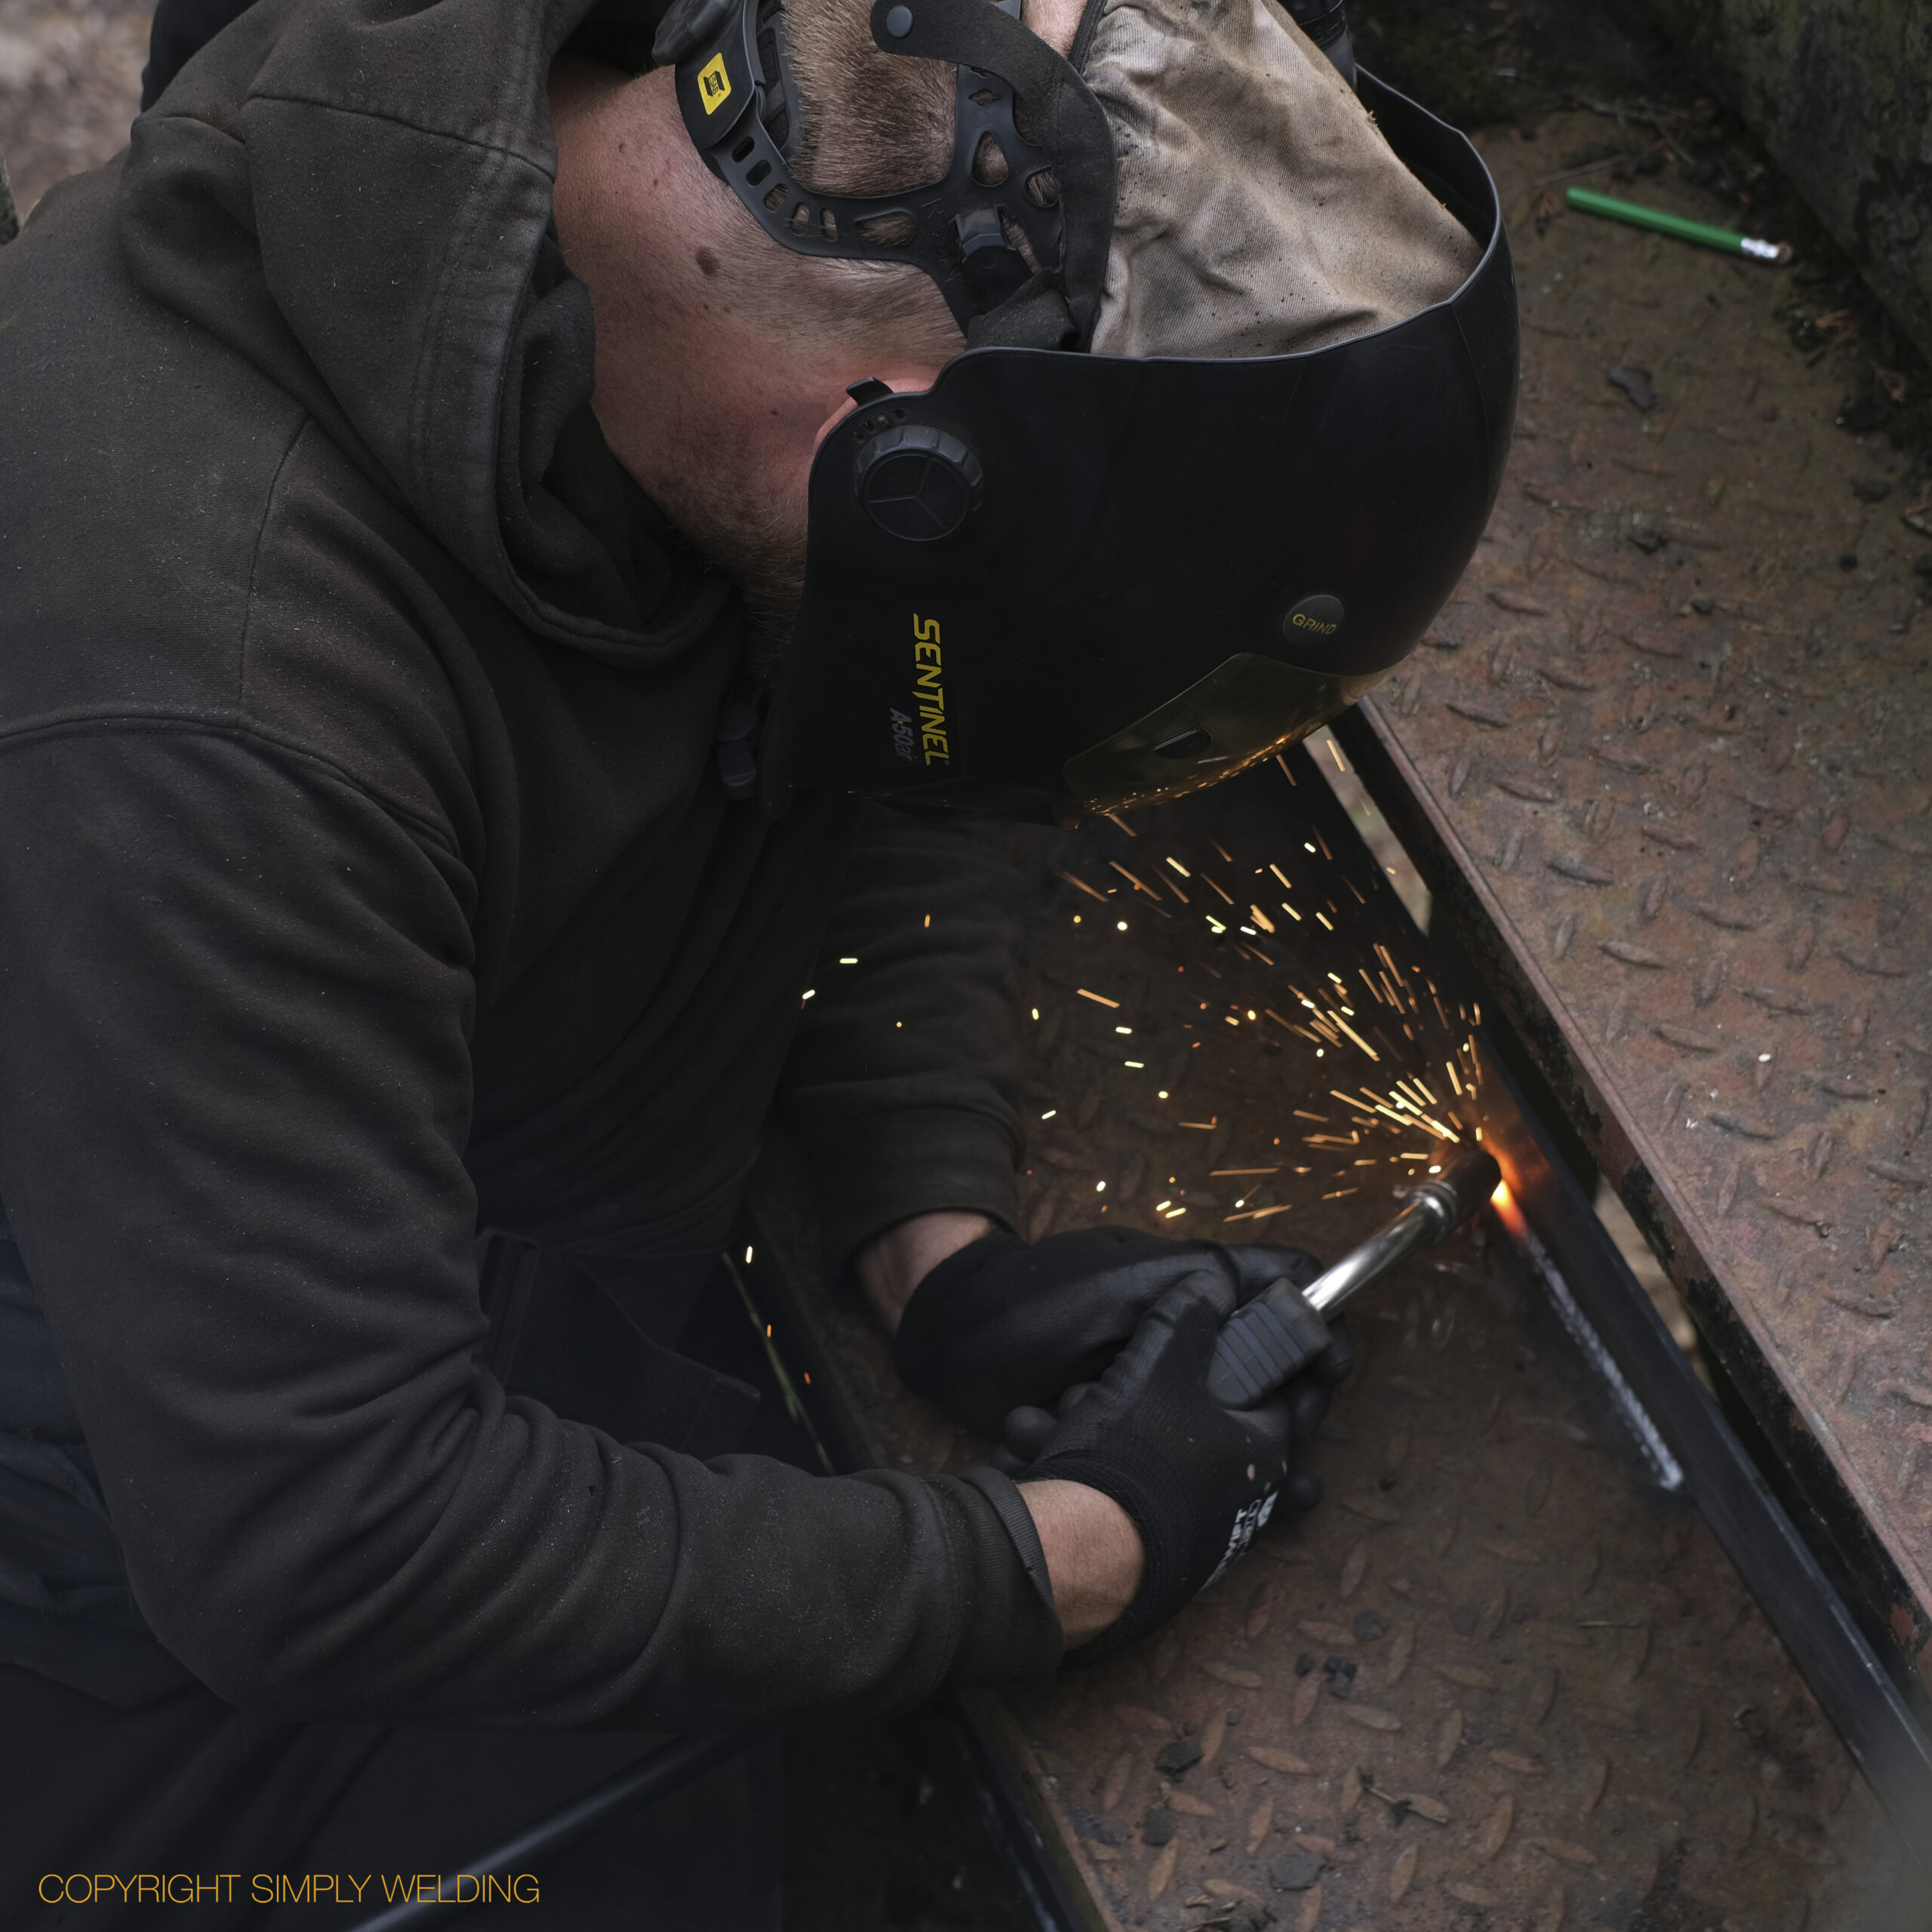
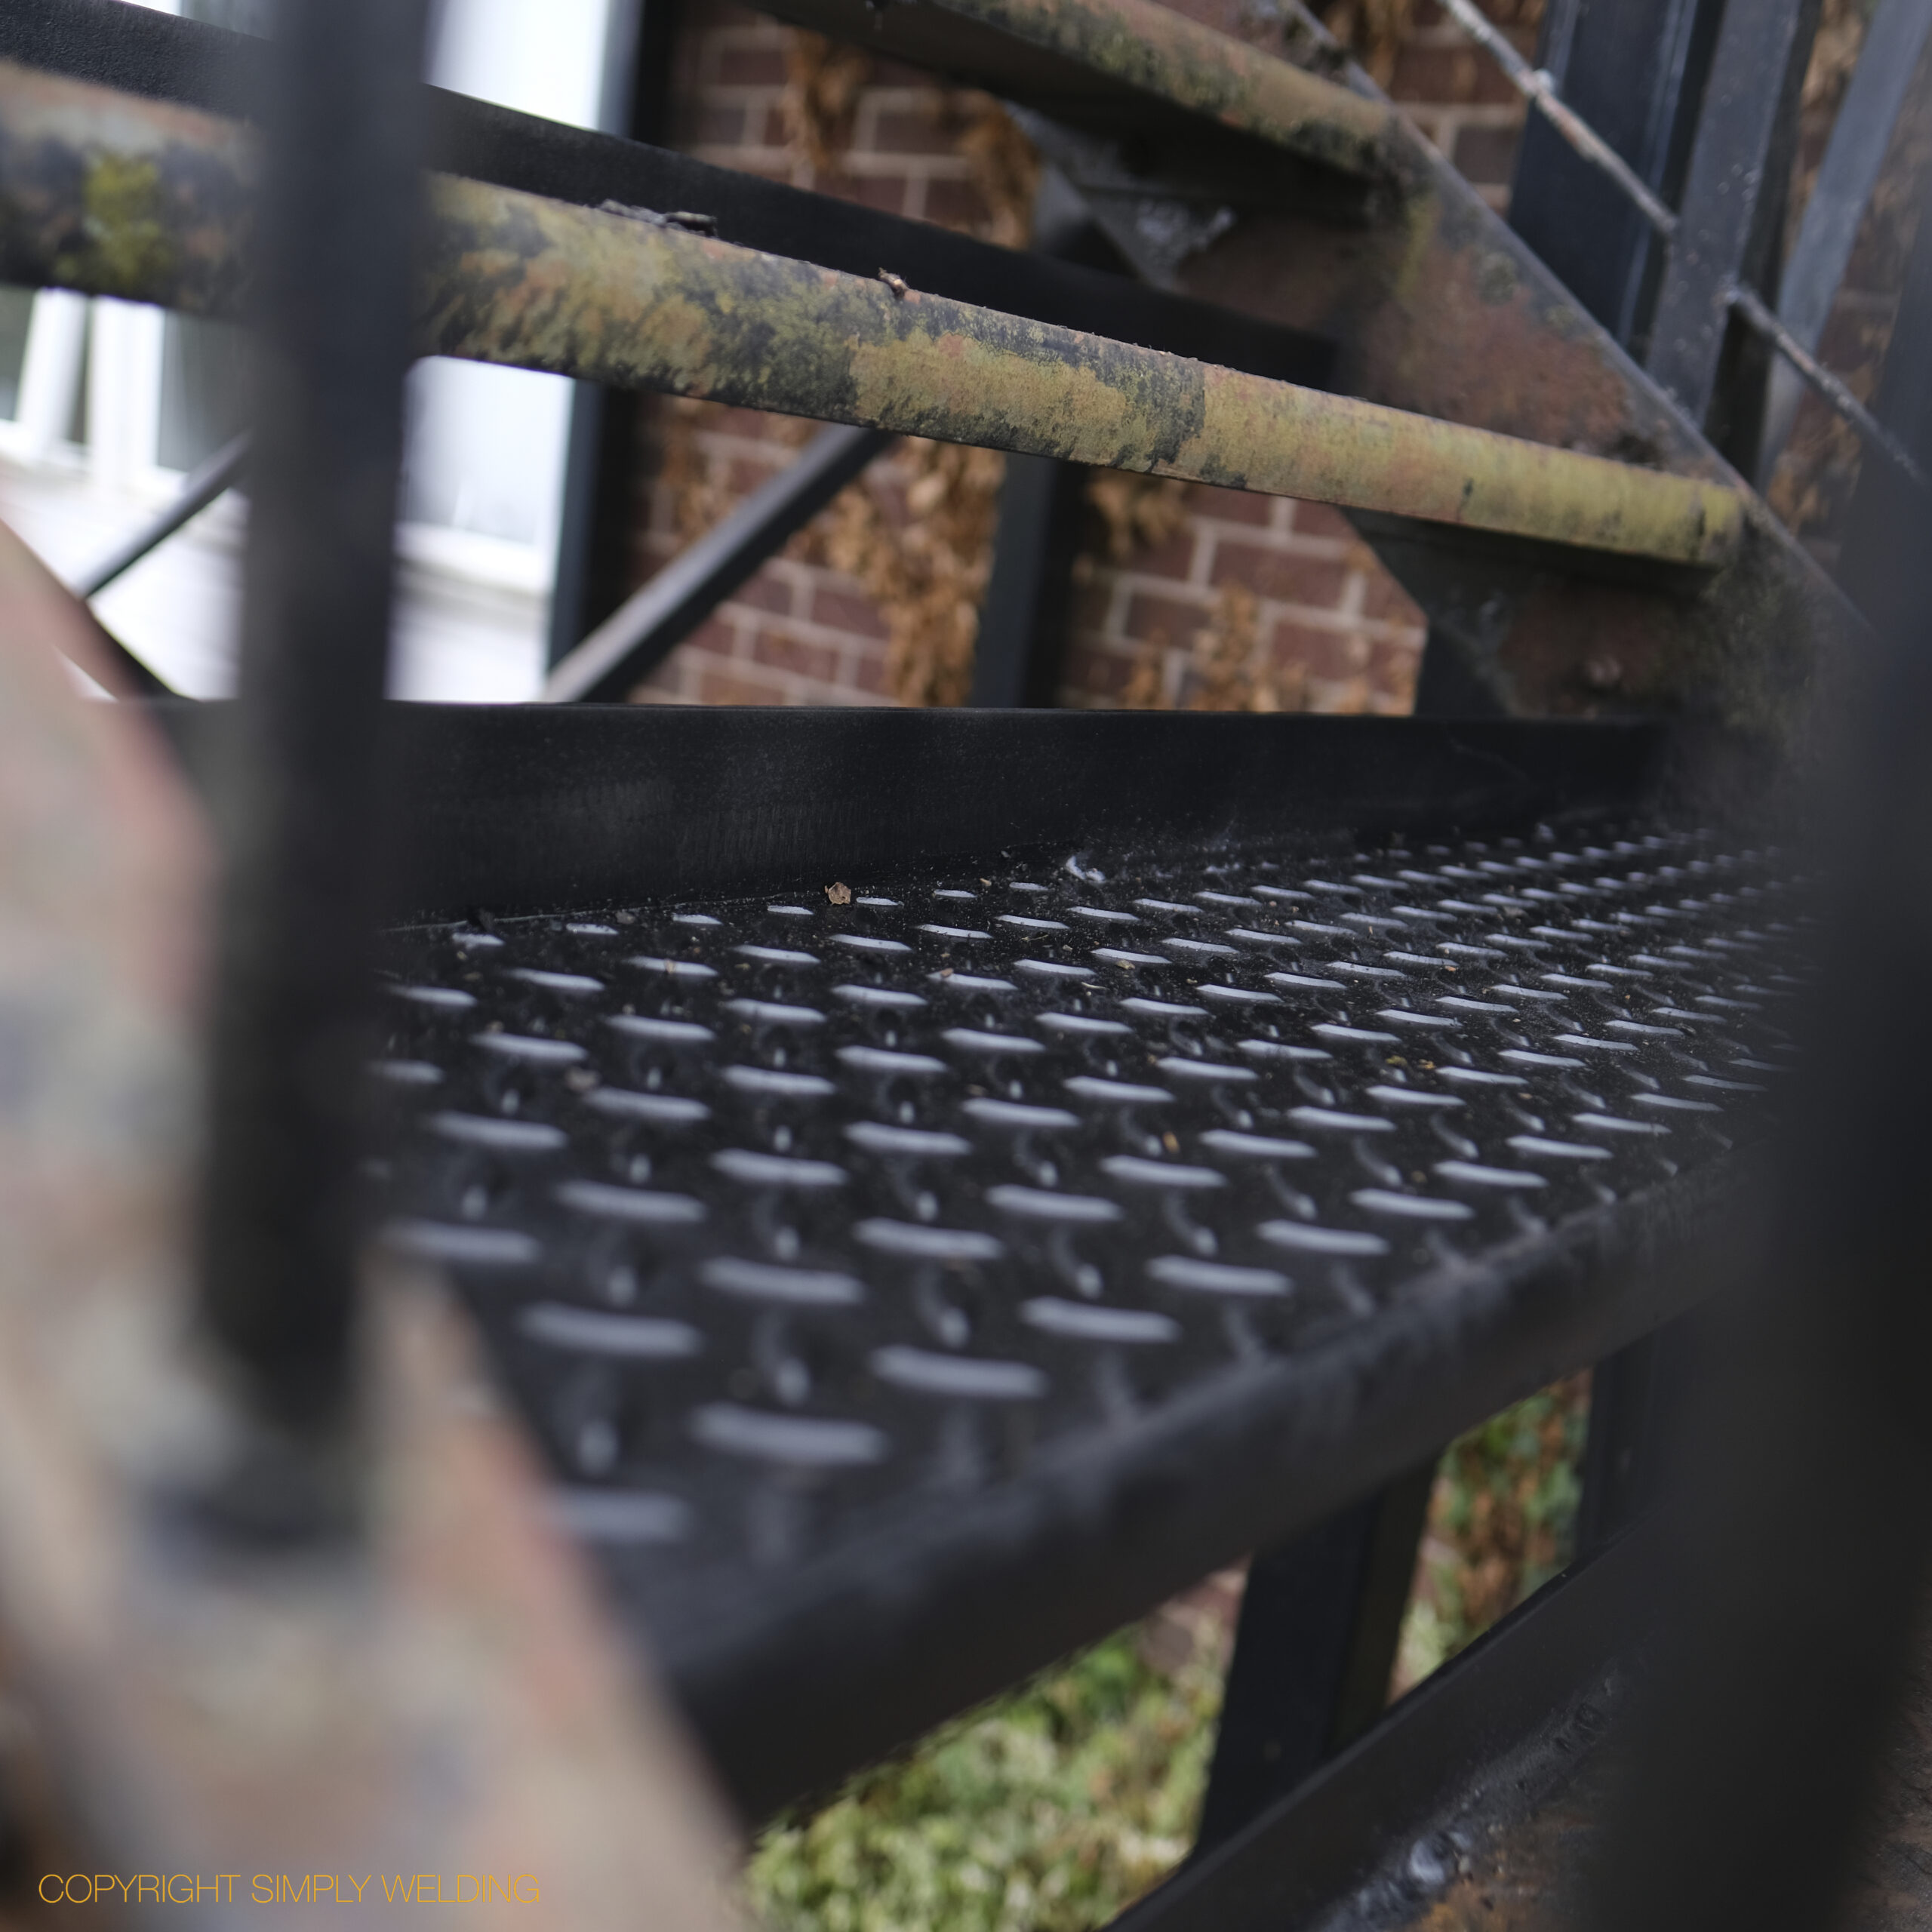
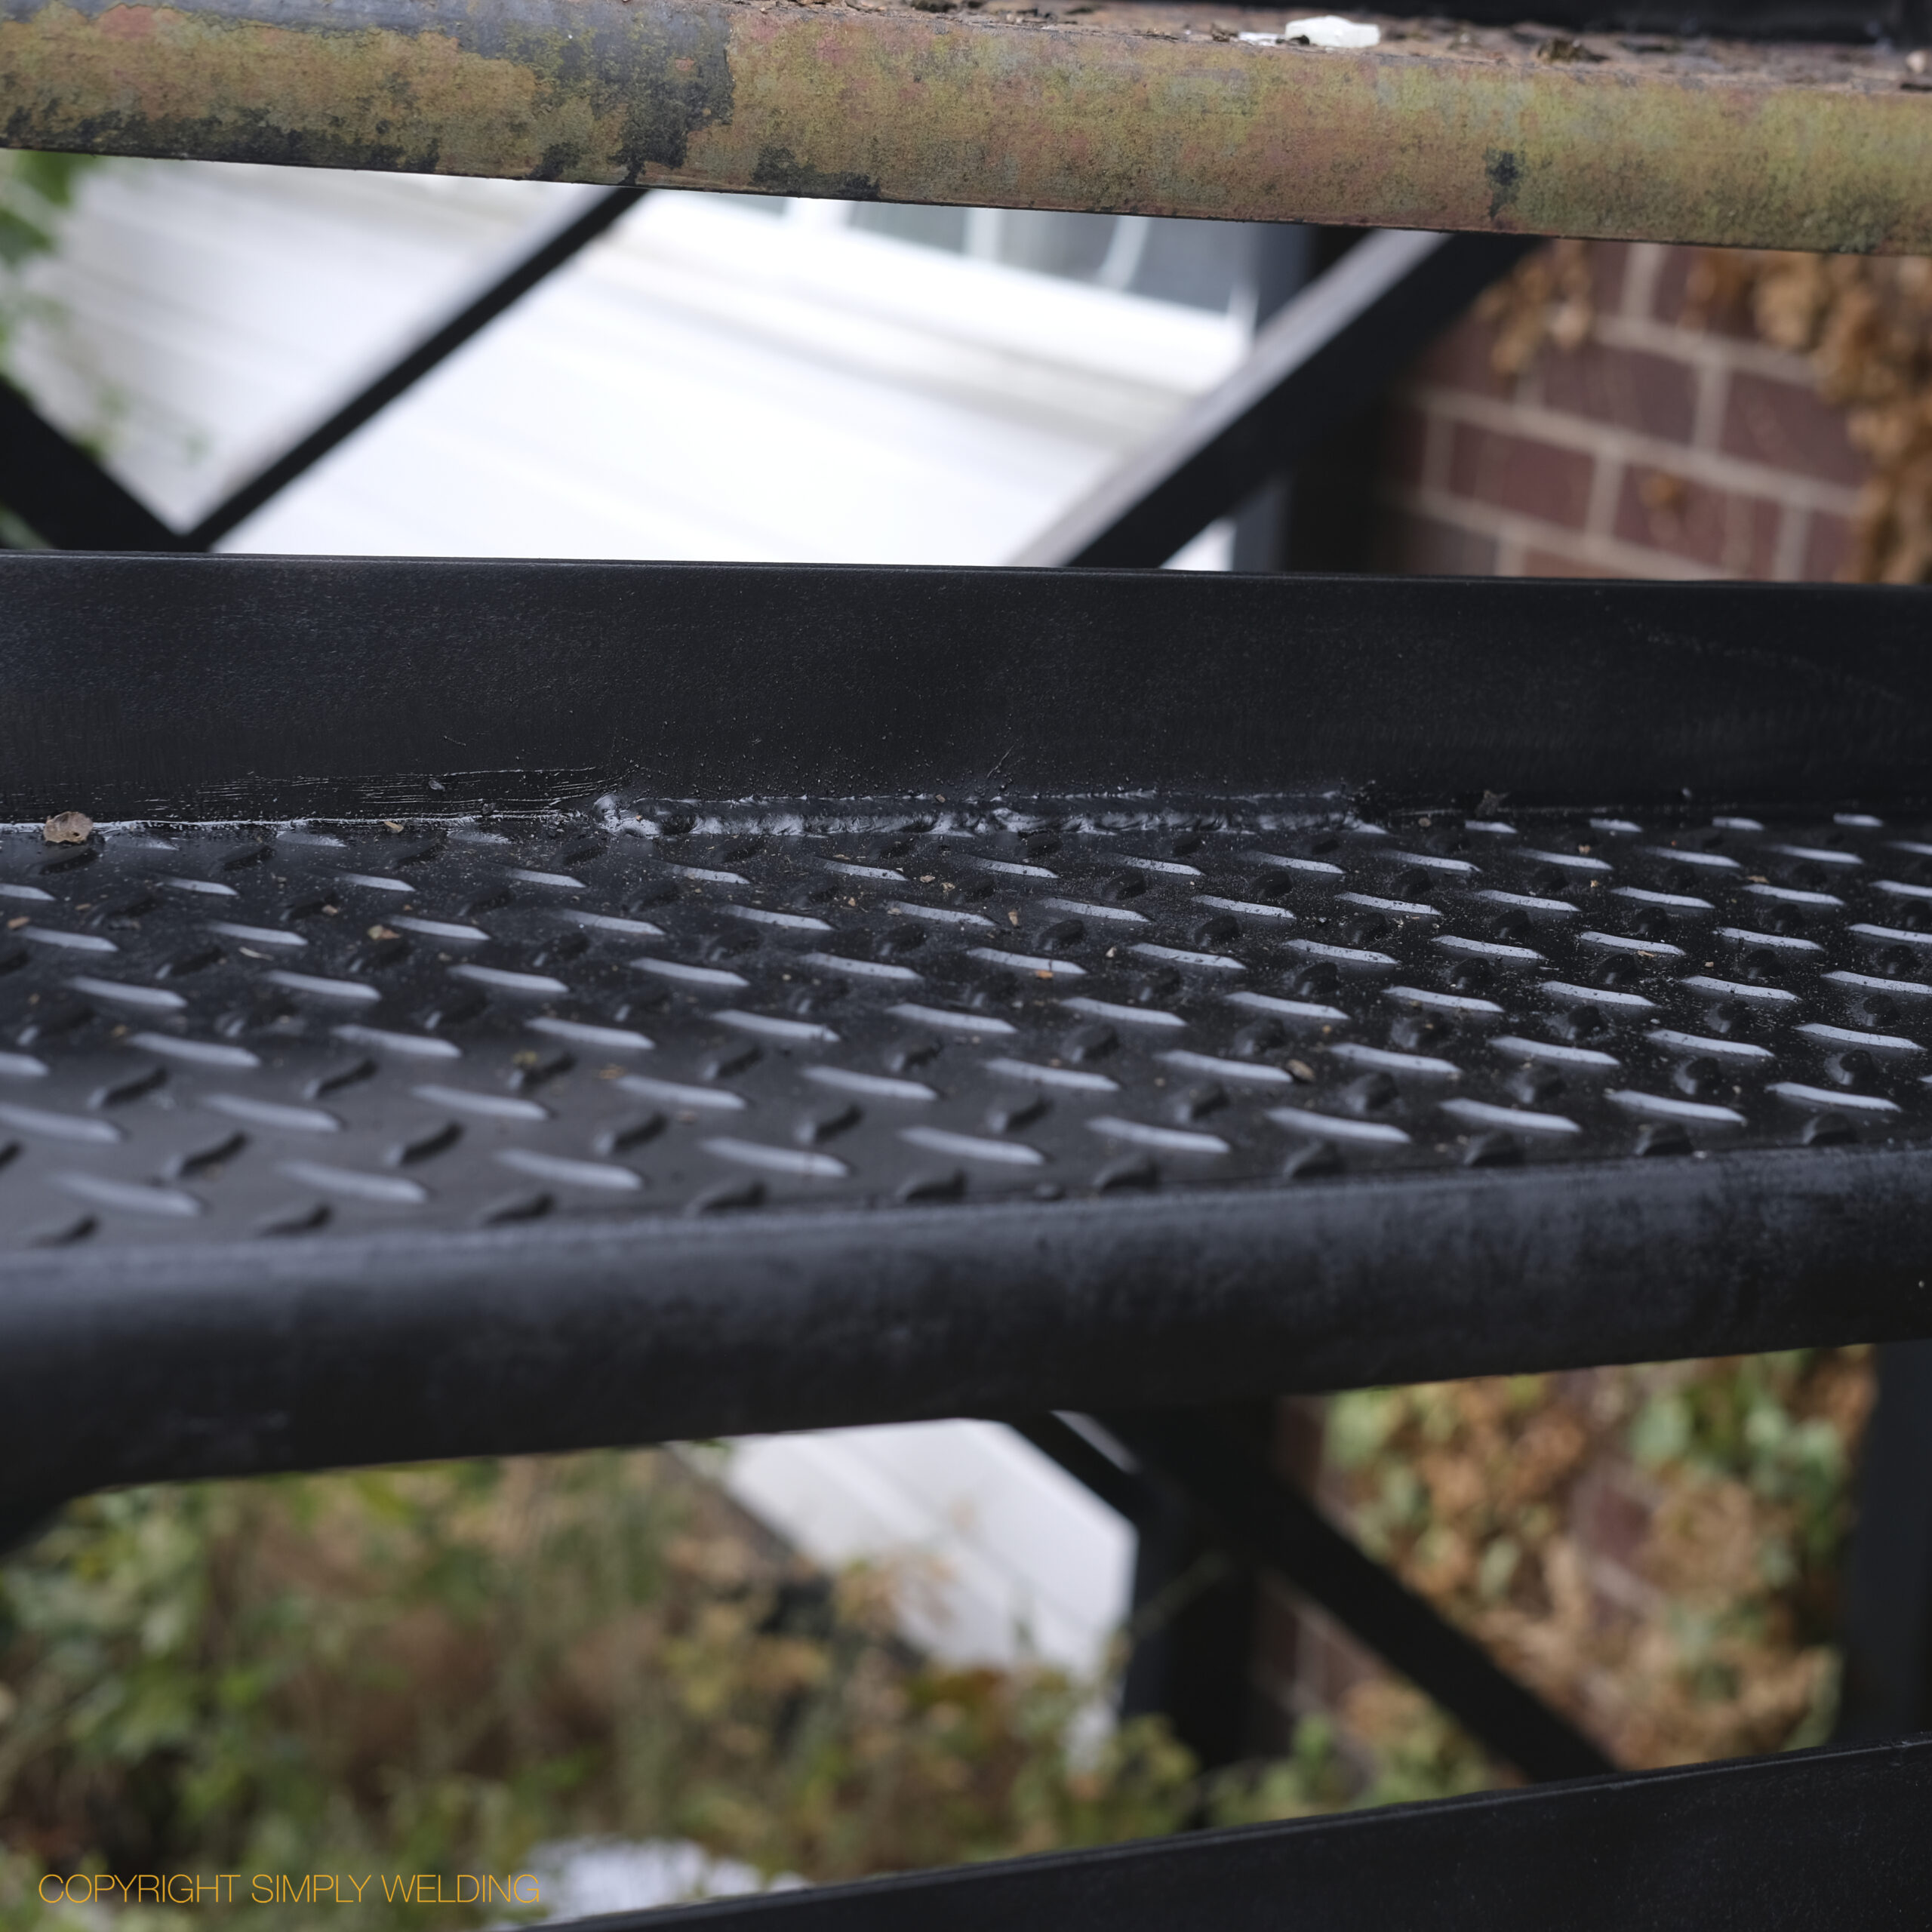
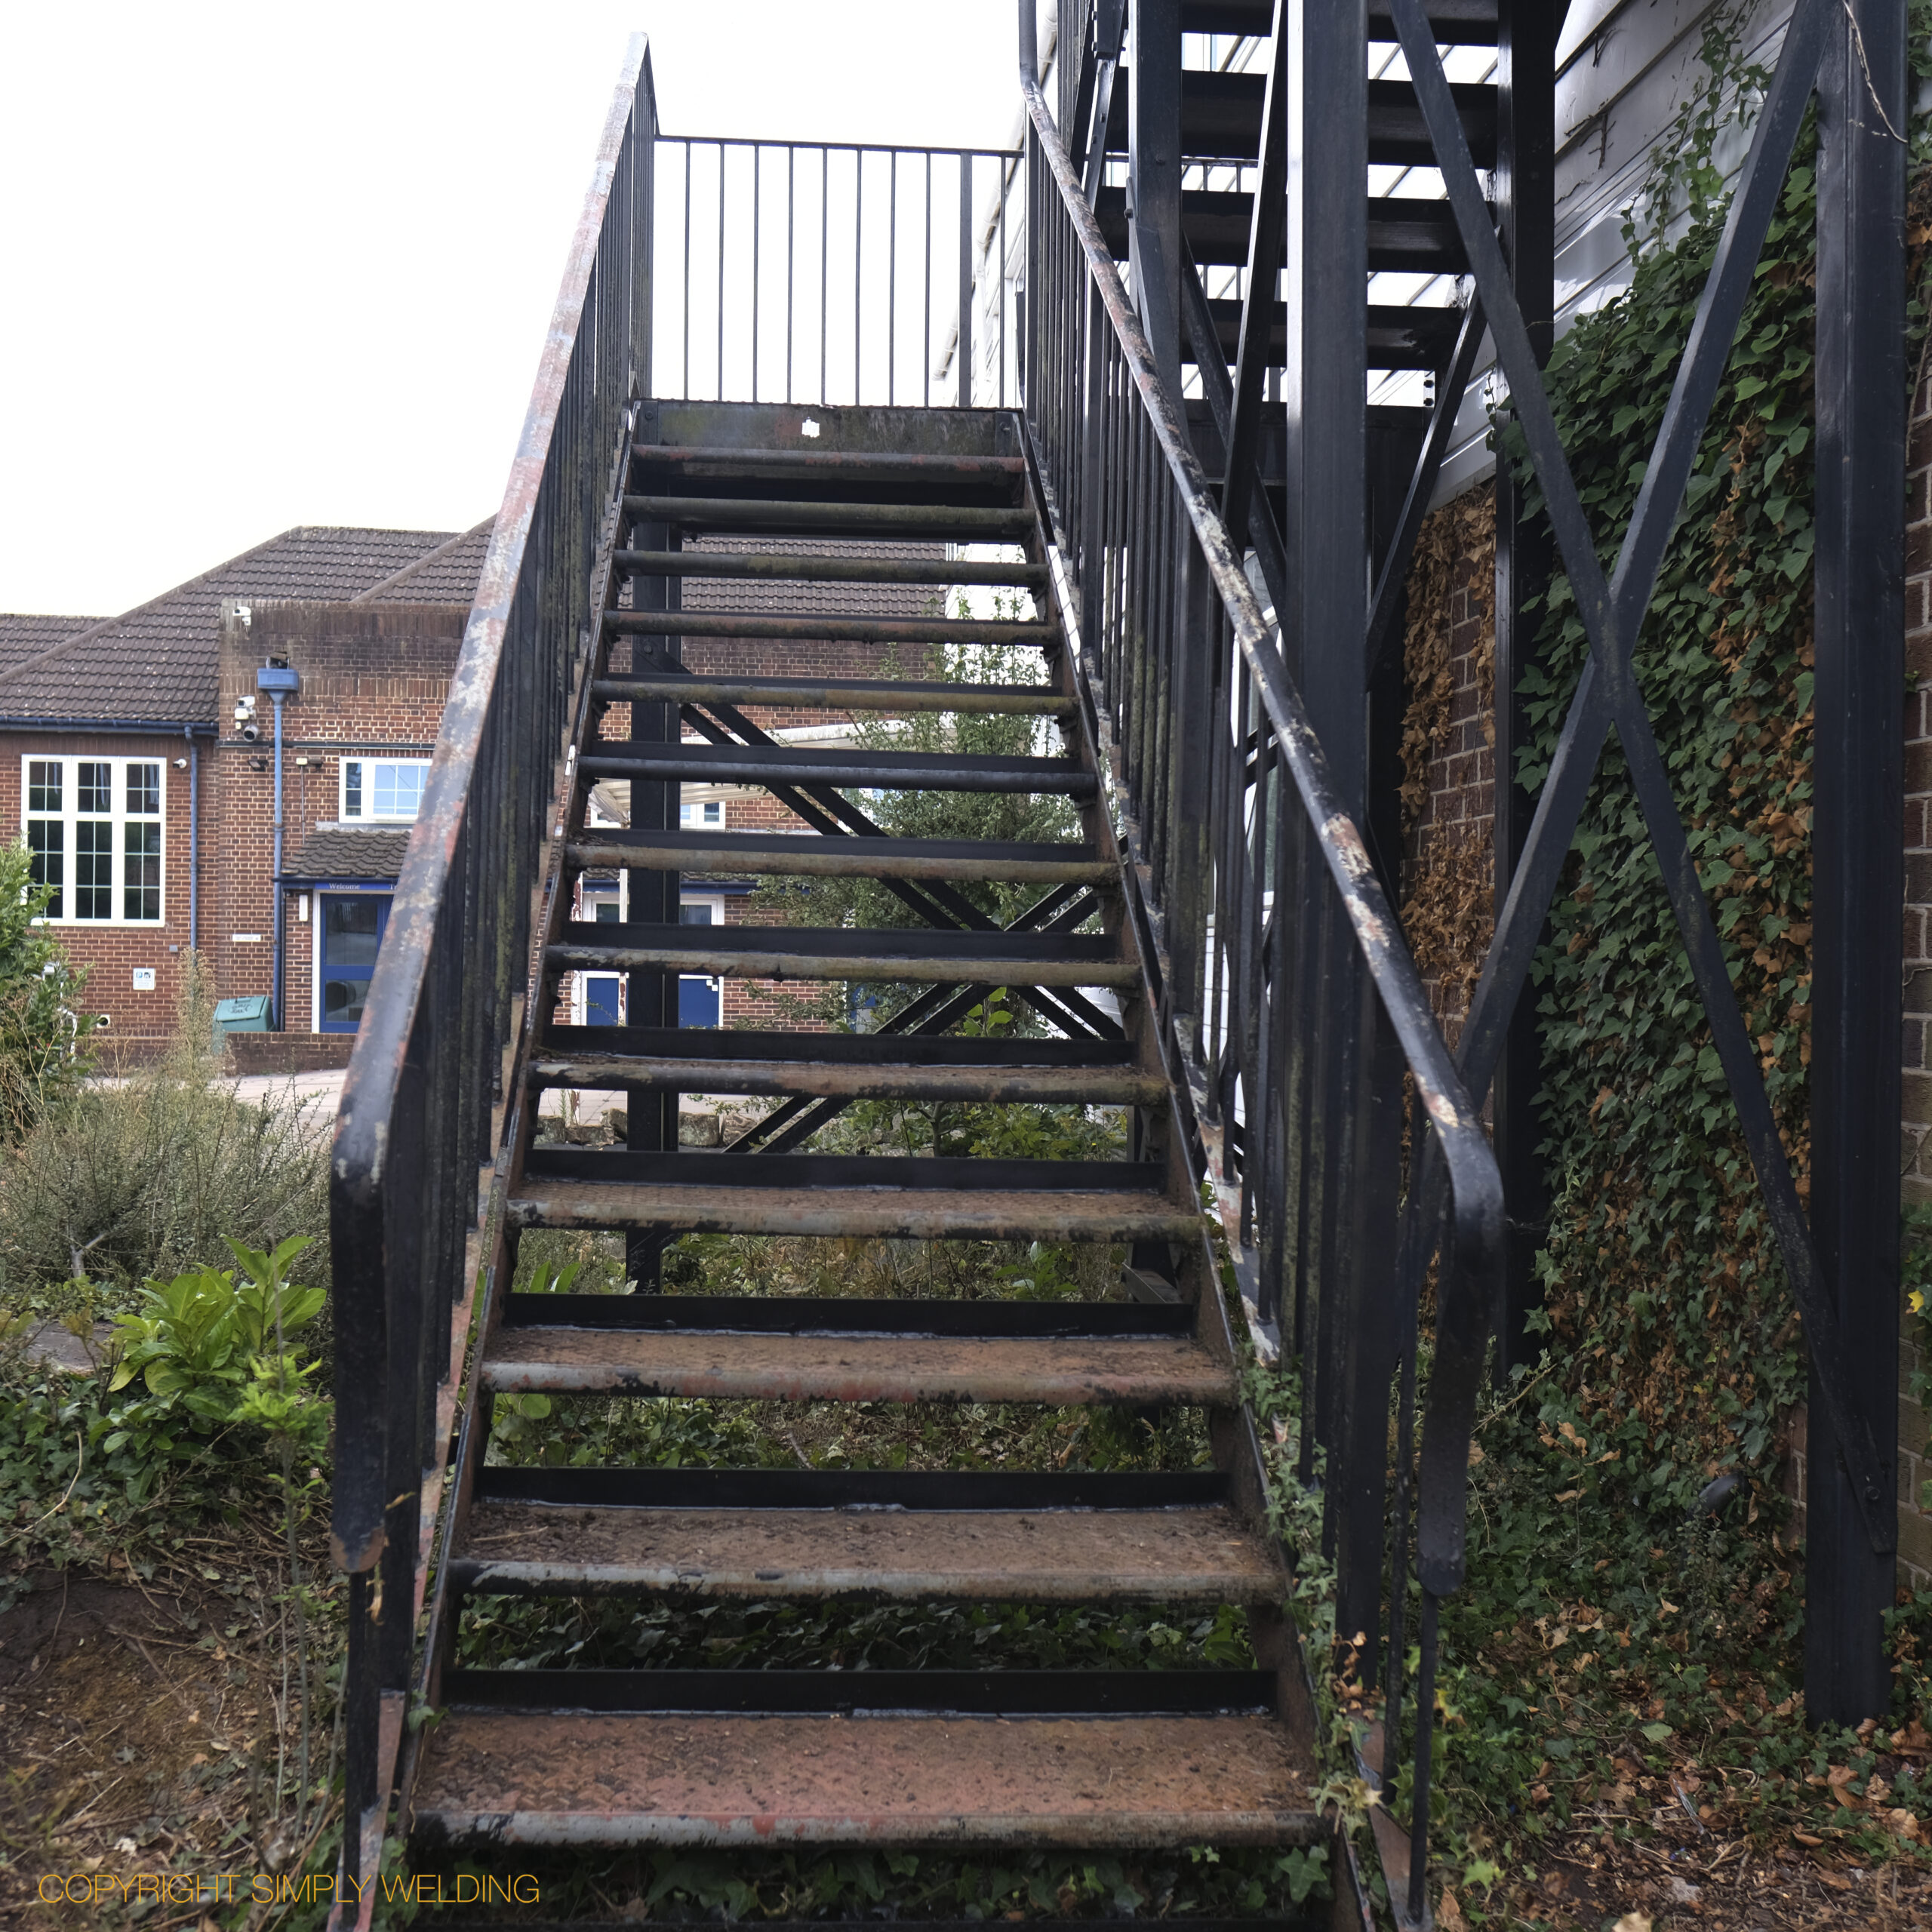
On-site repairs to a steel fire escape at a school in Kingswinford. Badly rusted chequer plate treads were cut out and new sections welded in place, then painted to protect against the weather.
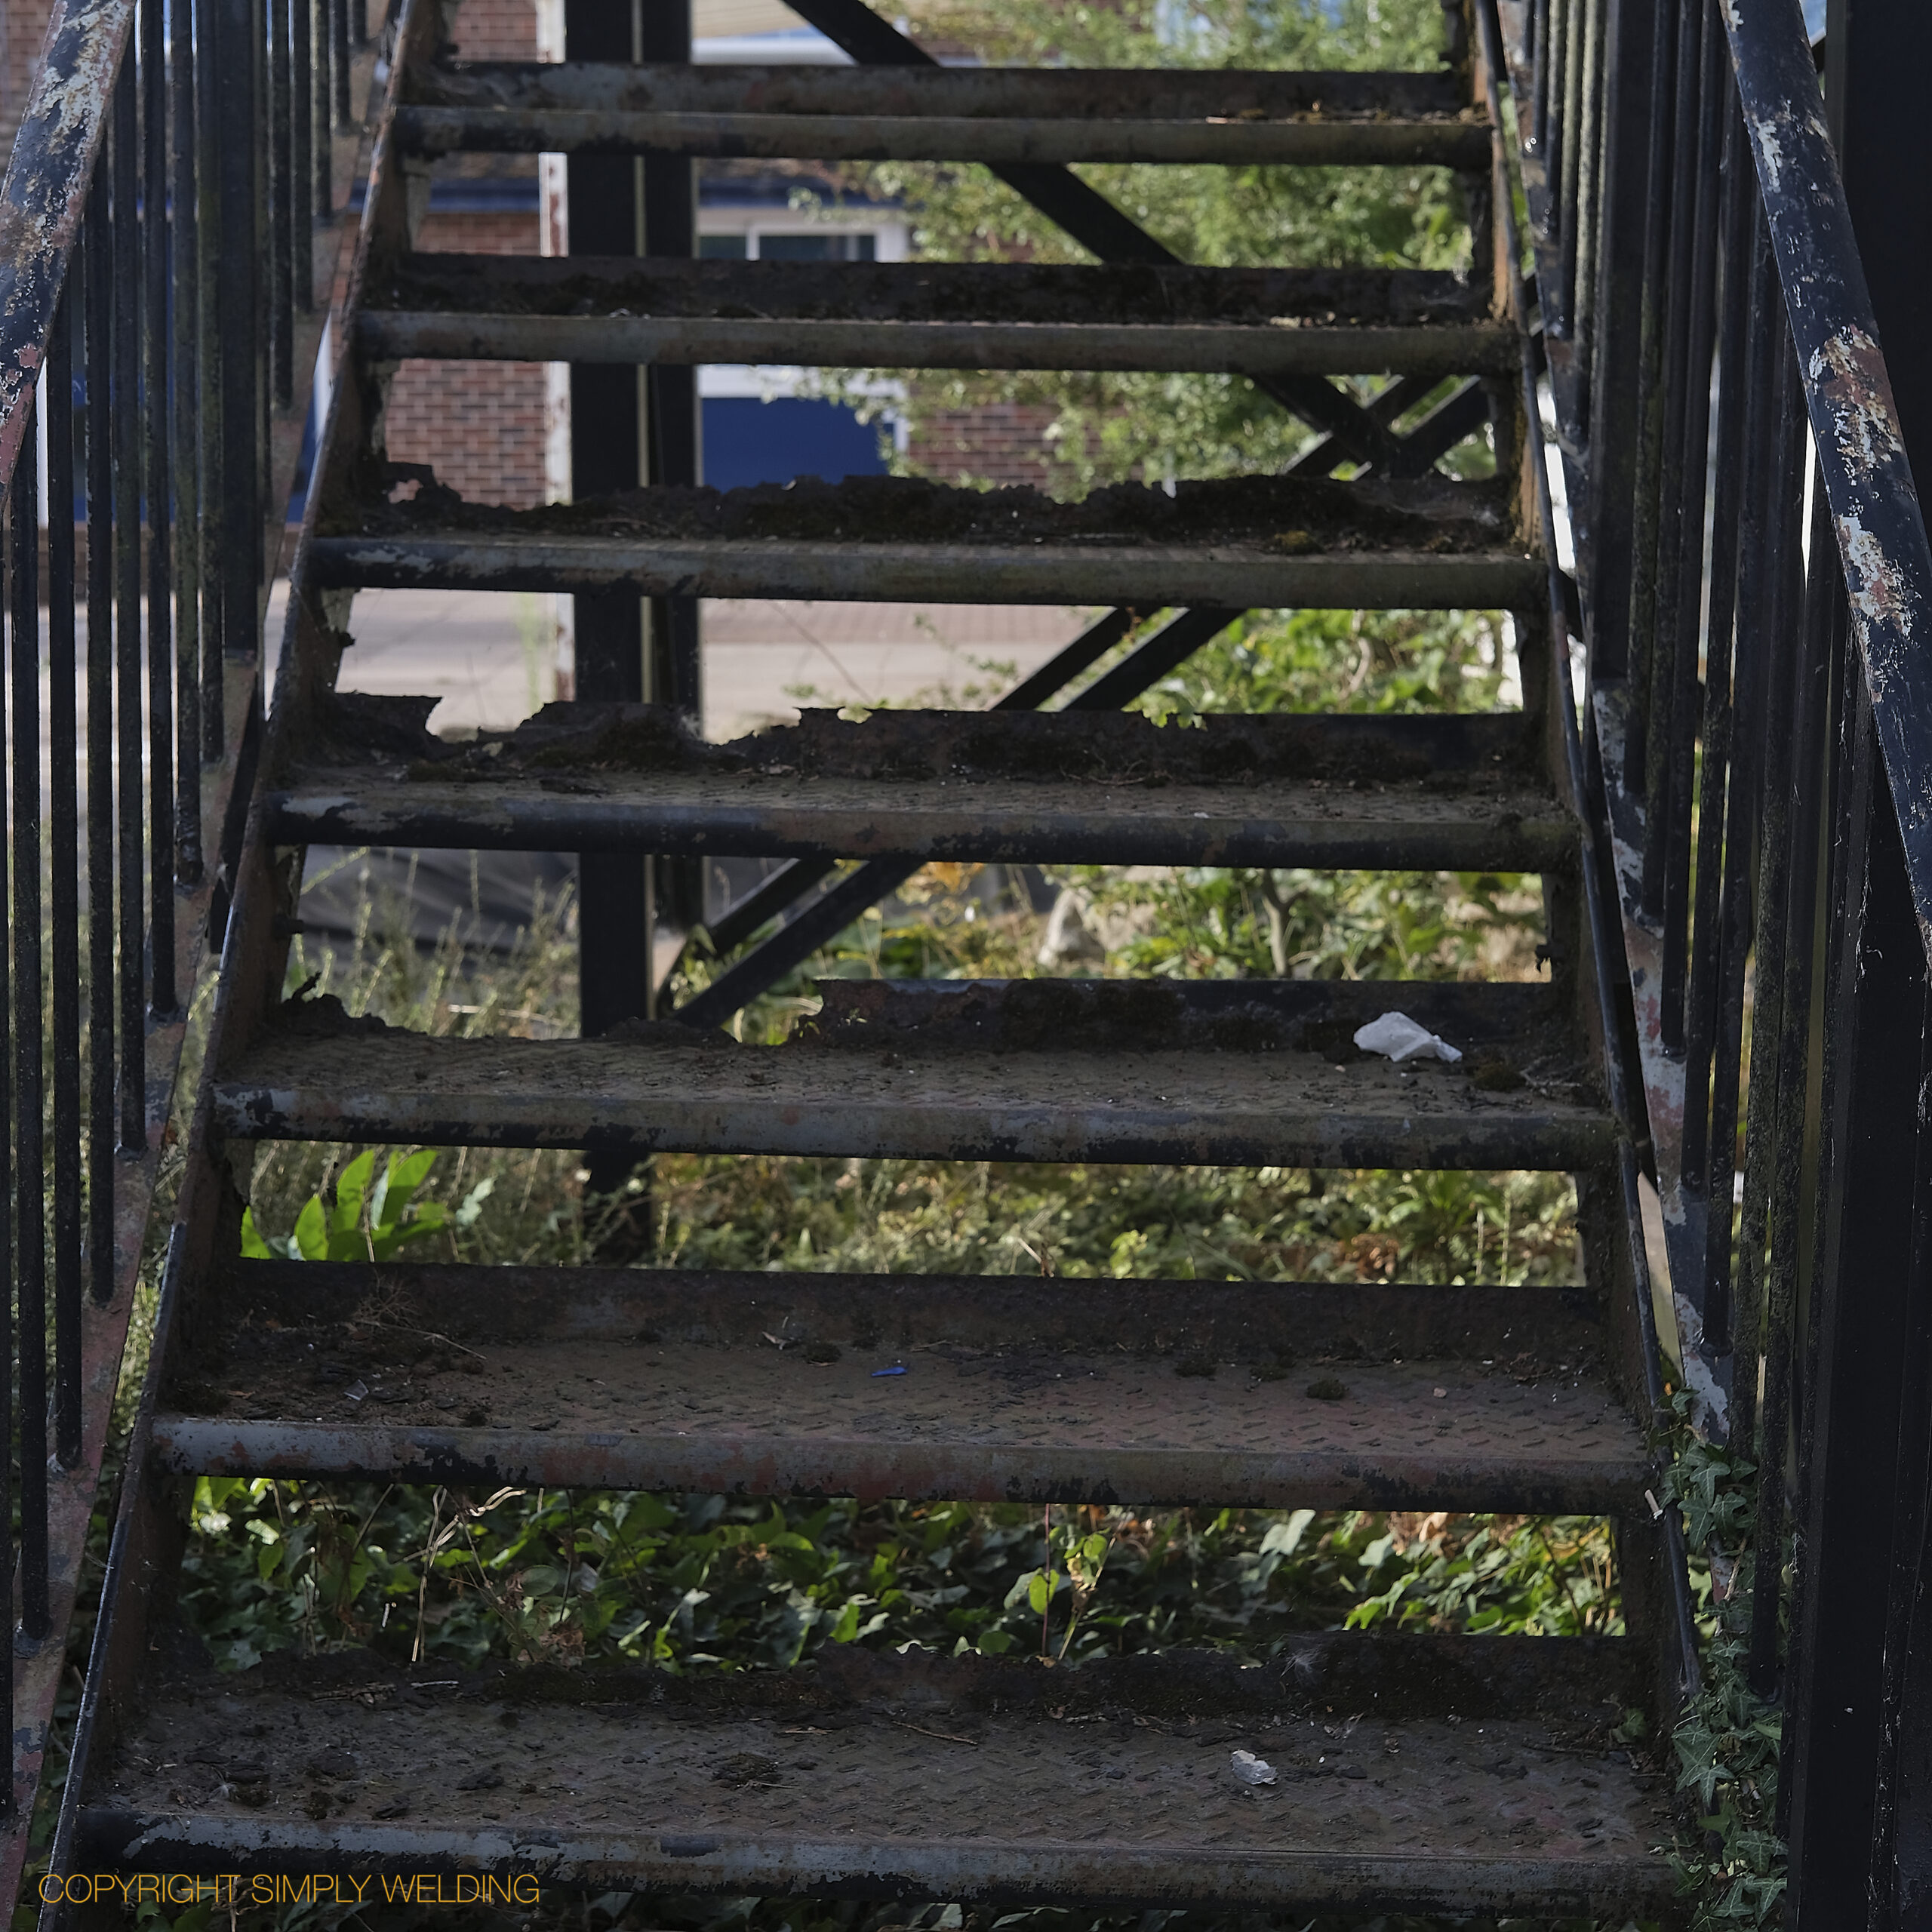
Rusted fire escape steps with corroded, holed chequer plate treads before repair
Angle grinder cutting out a rusted section between fire escape treads
Welder grinding out rusted steel from underneath a school fire escape in Kingswinford
Simply Welding mobile welding van parked beside a school fire escape ready for on-site repairs
Welding a new steel section into a fire escape step, with the welding machine in the foreground
Welder in helmet MIG welding a fire escape tread, viewed through the stair railings
New steel tread section being welded in, with earth clamp, hammer and welding magnet in place
MIG welding a replacement steel tread on a fire escape, seen through the railings
Close-up of MIG welding a new section into a steel chequer plate stair tread
Finished fire escape tread painted black, showing the new weld seam
Repaired chequer plate fire escape step painted black
Steel fire escape staircase at a Kingswinford school with new sections welded into the treads

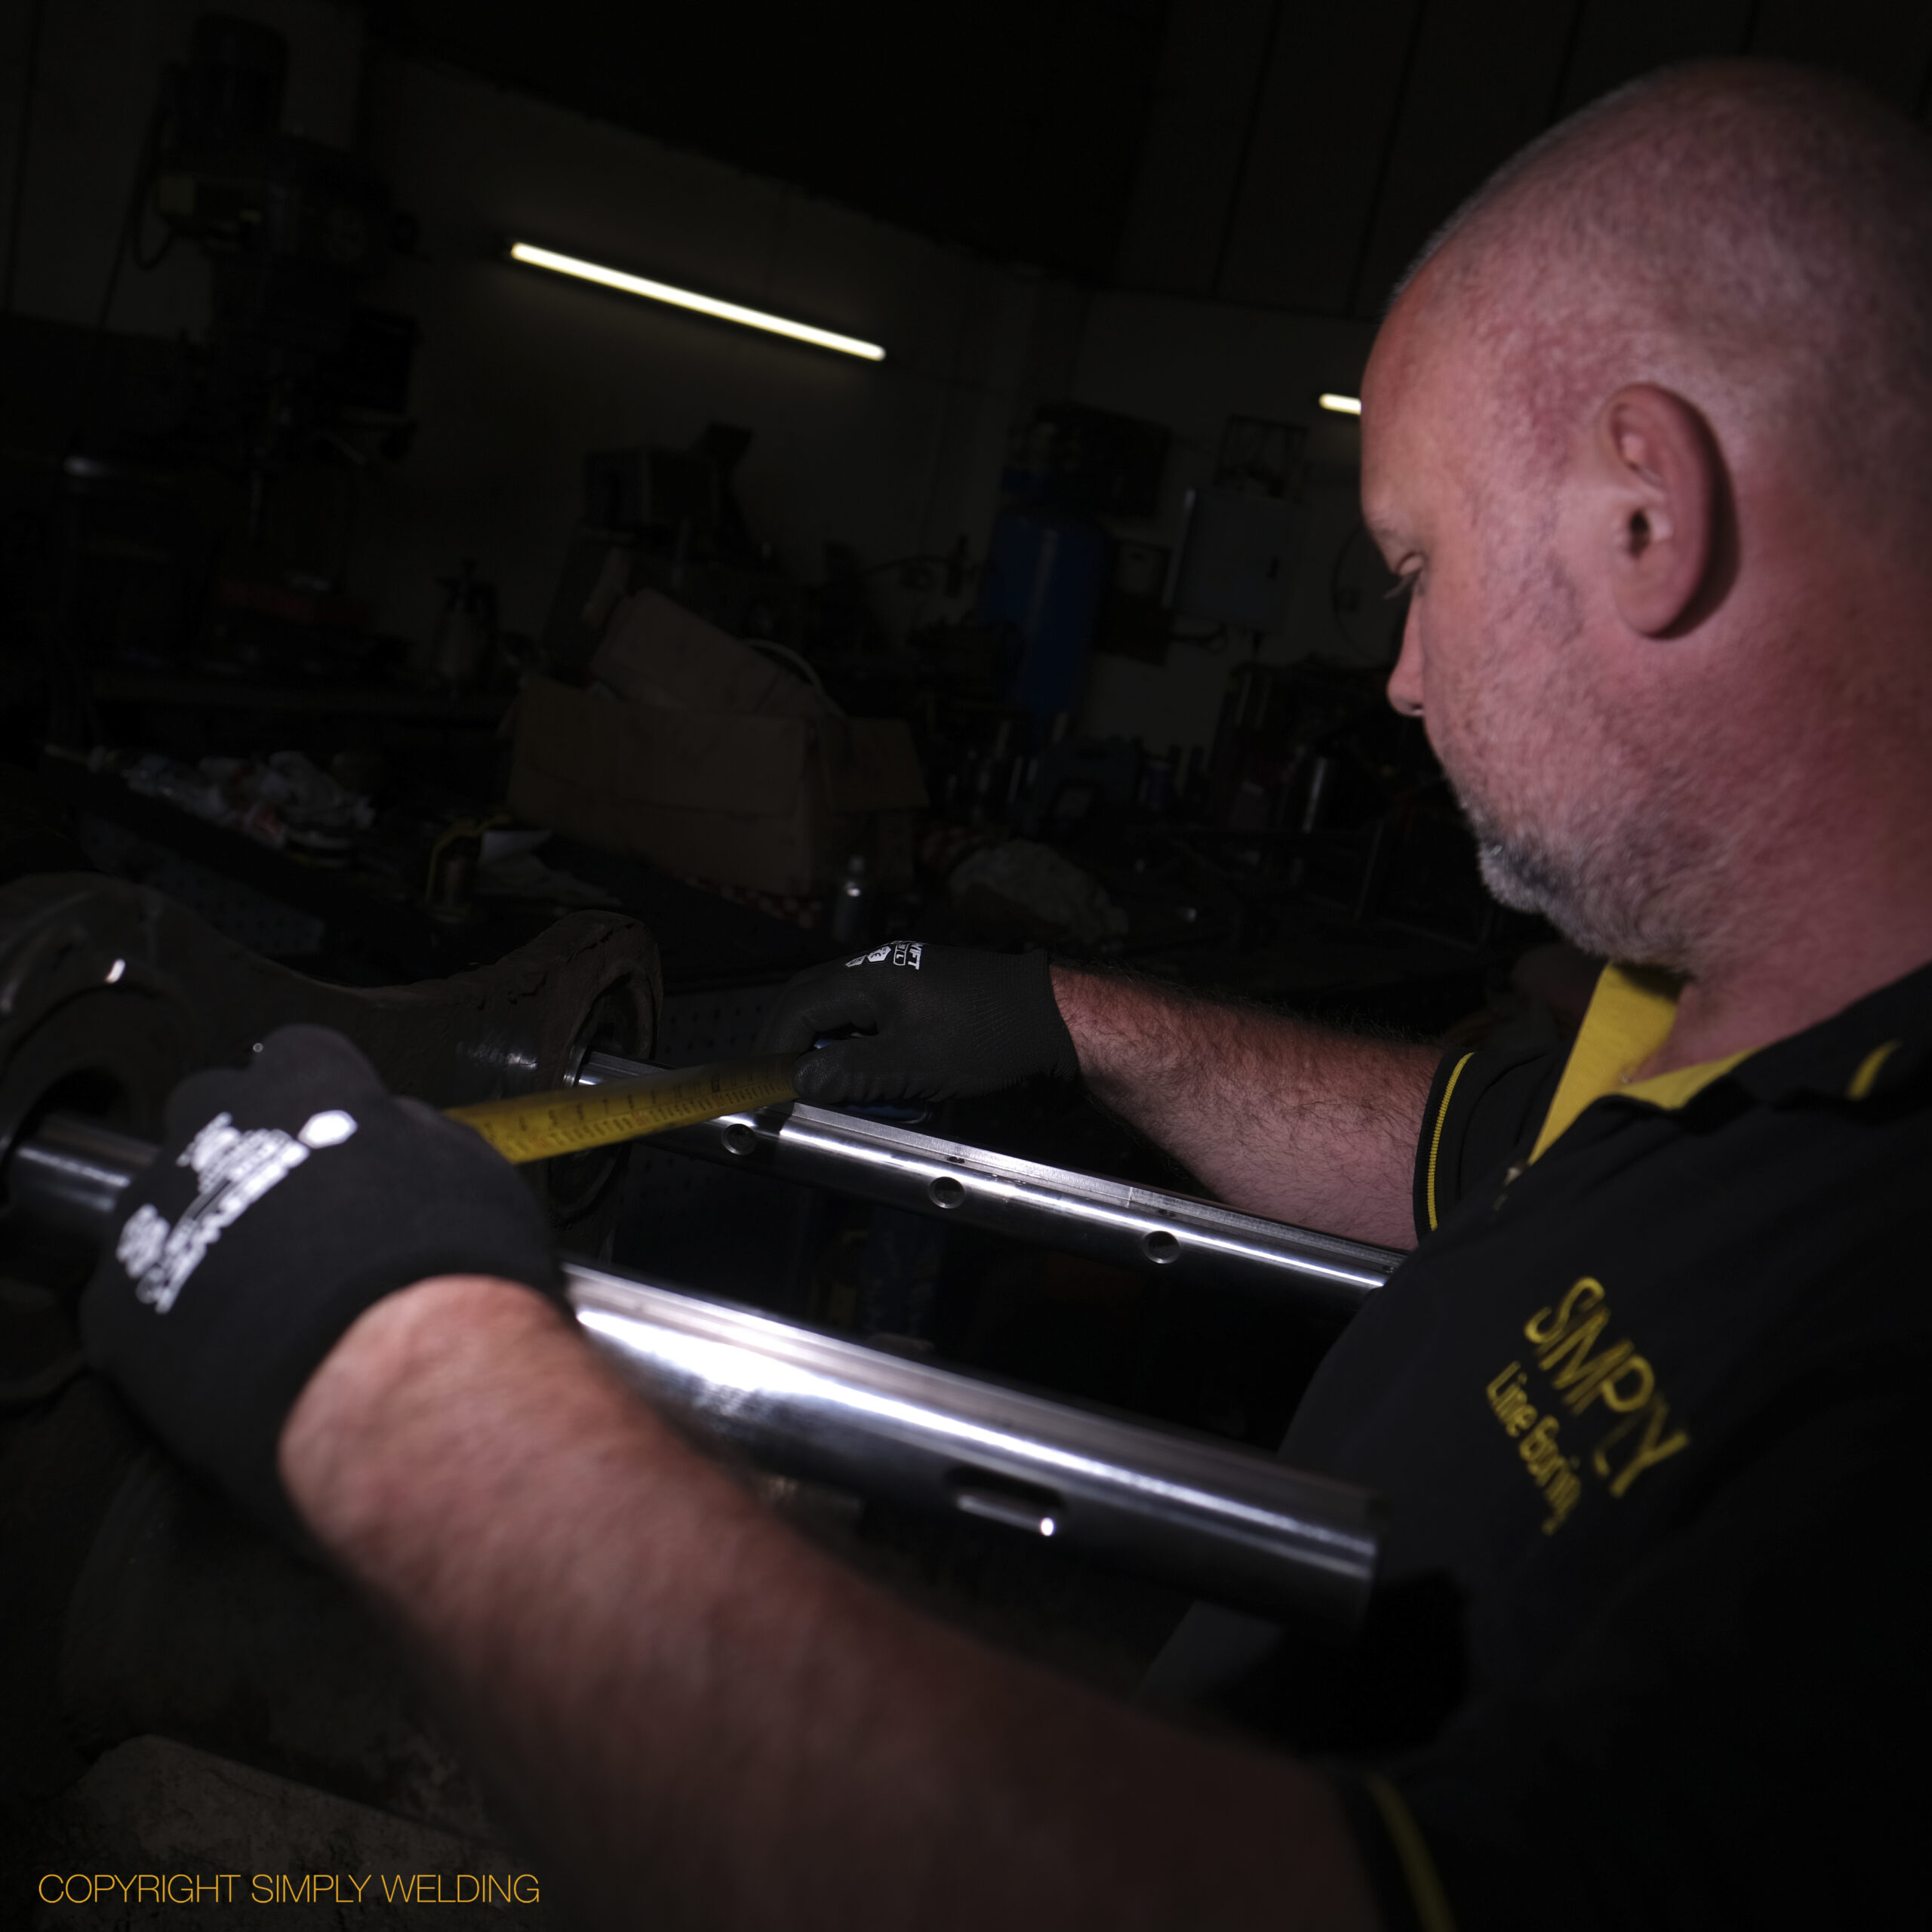
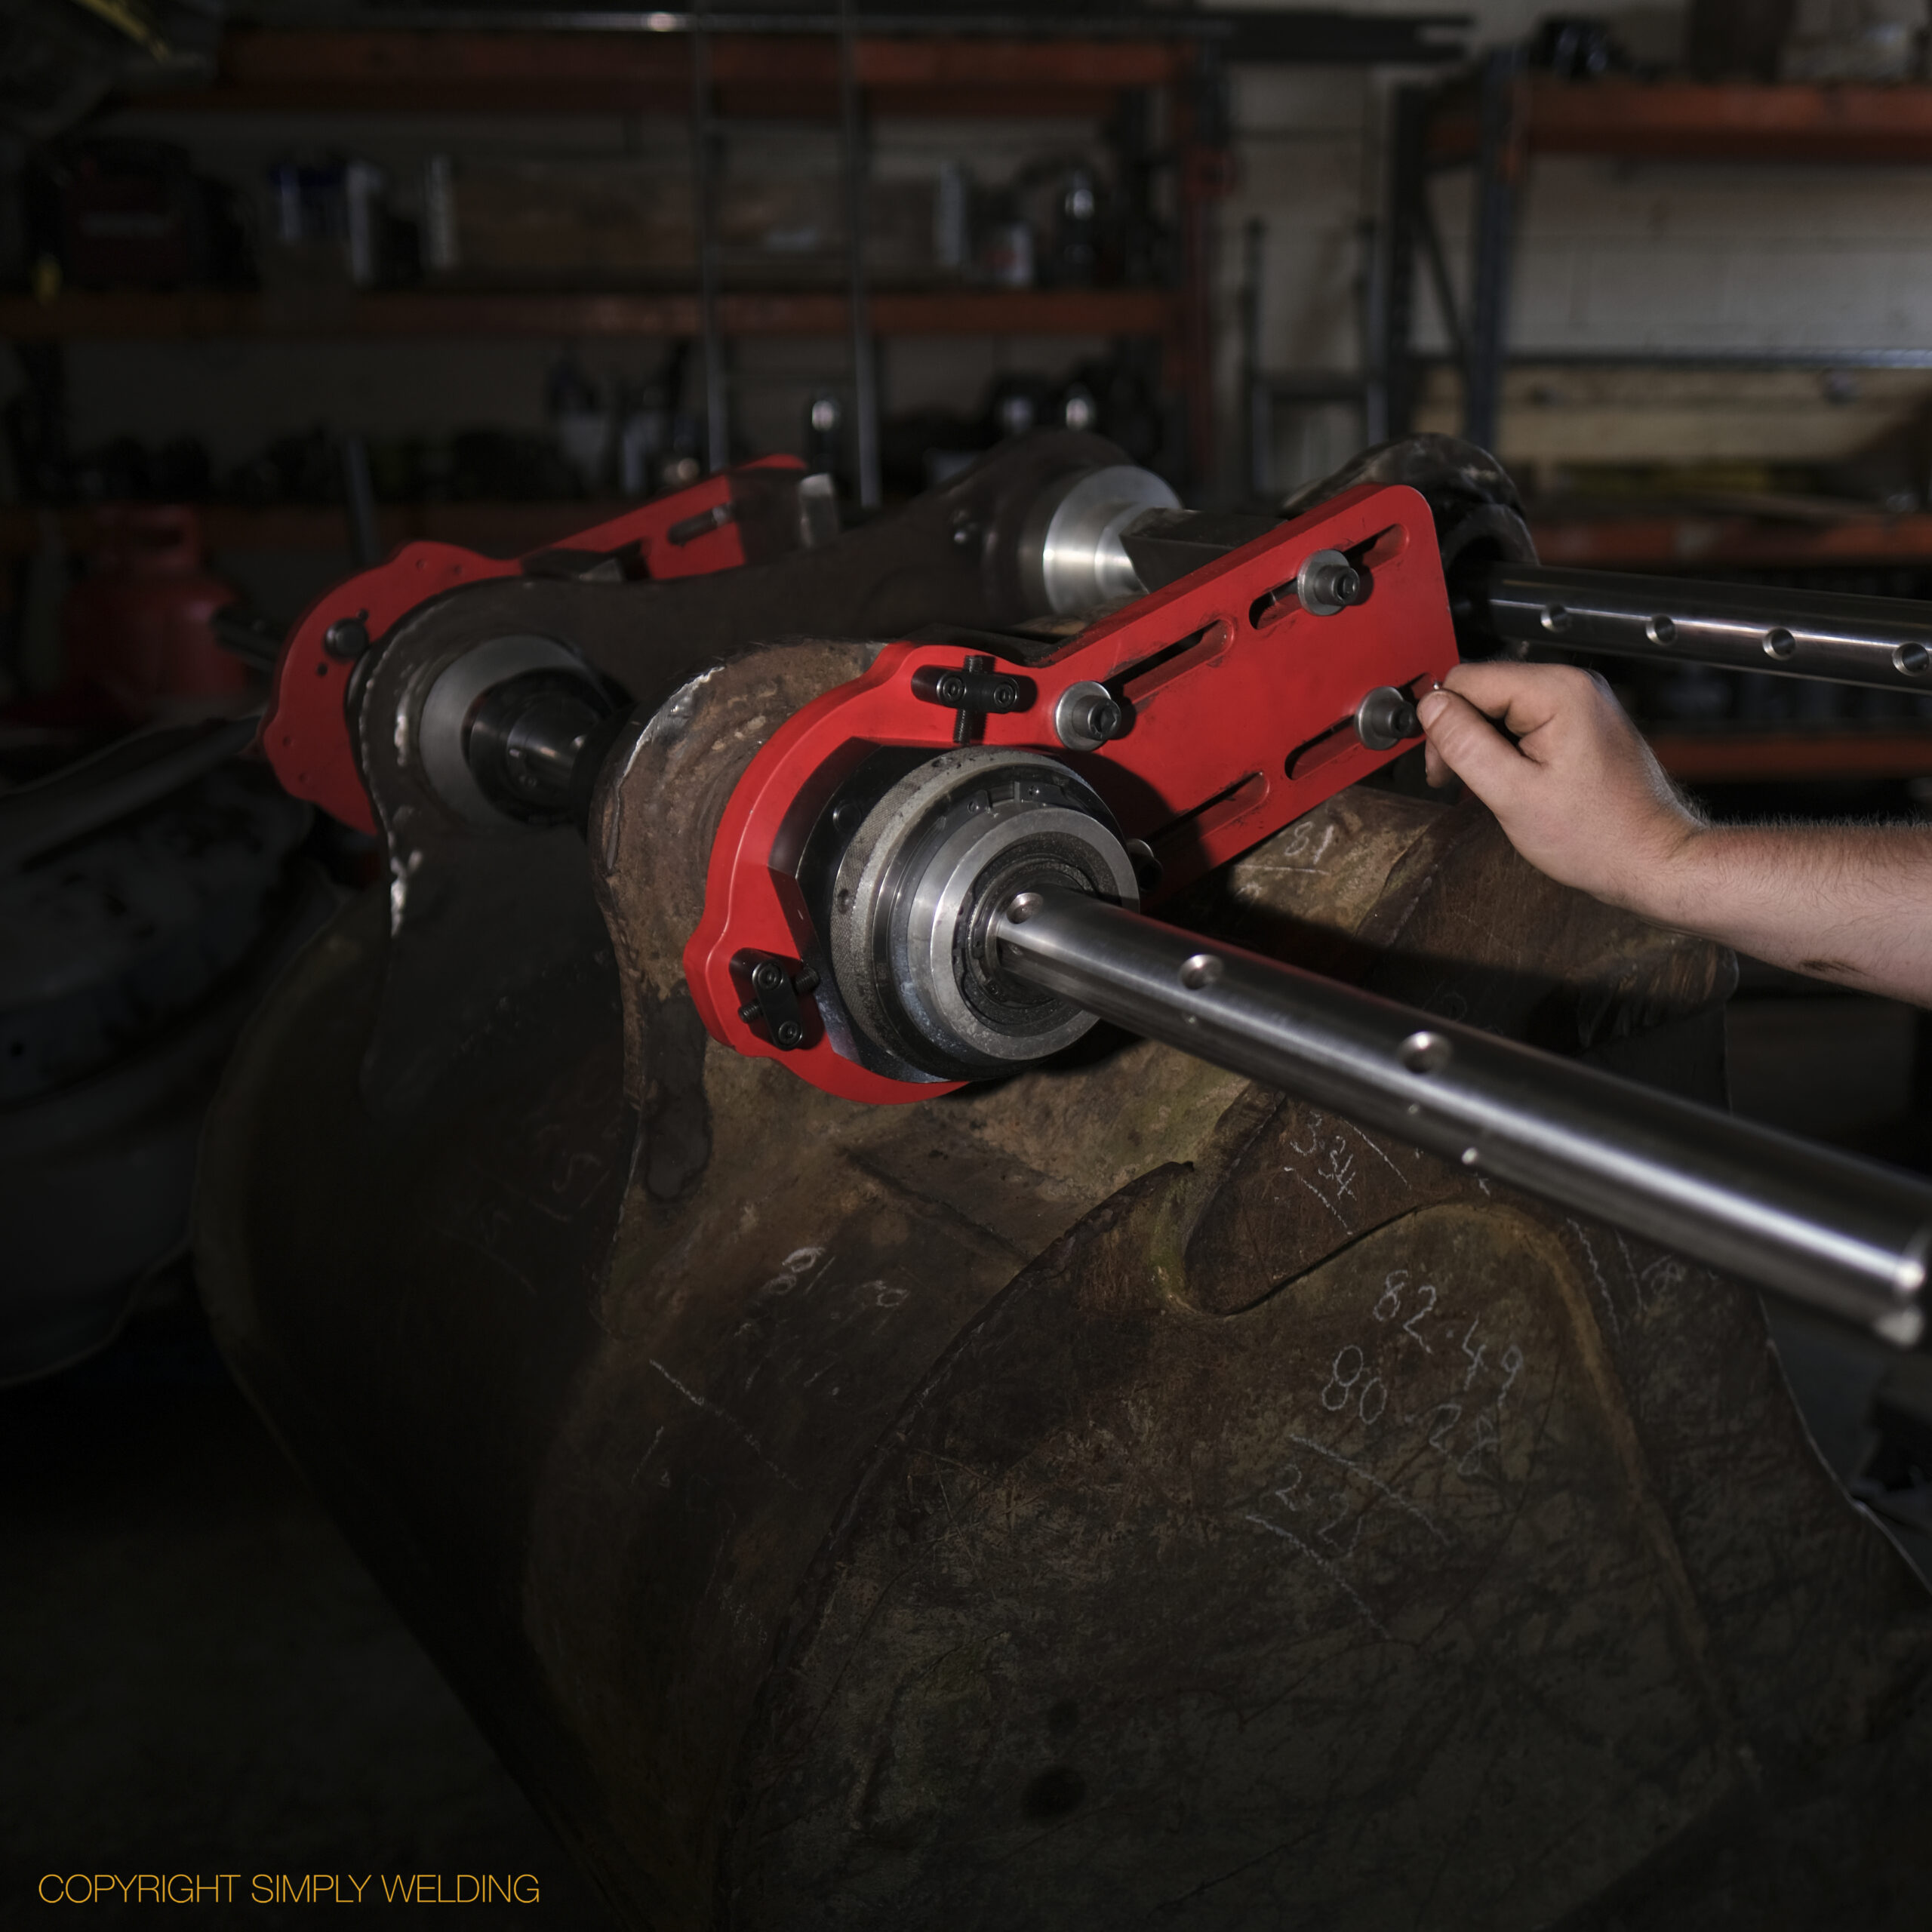
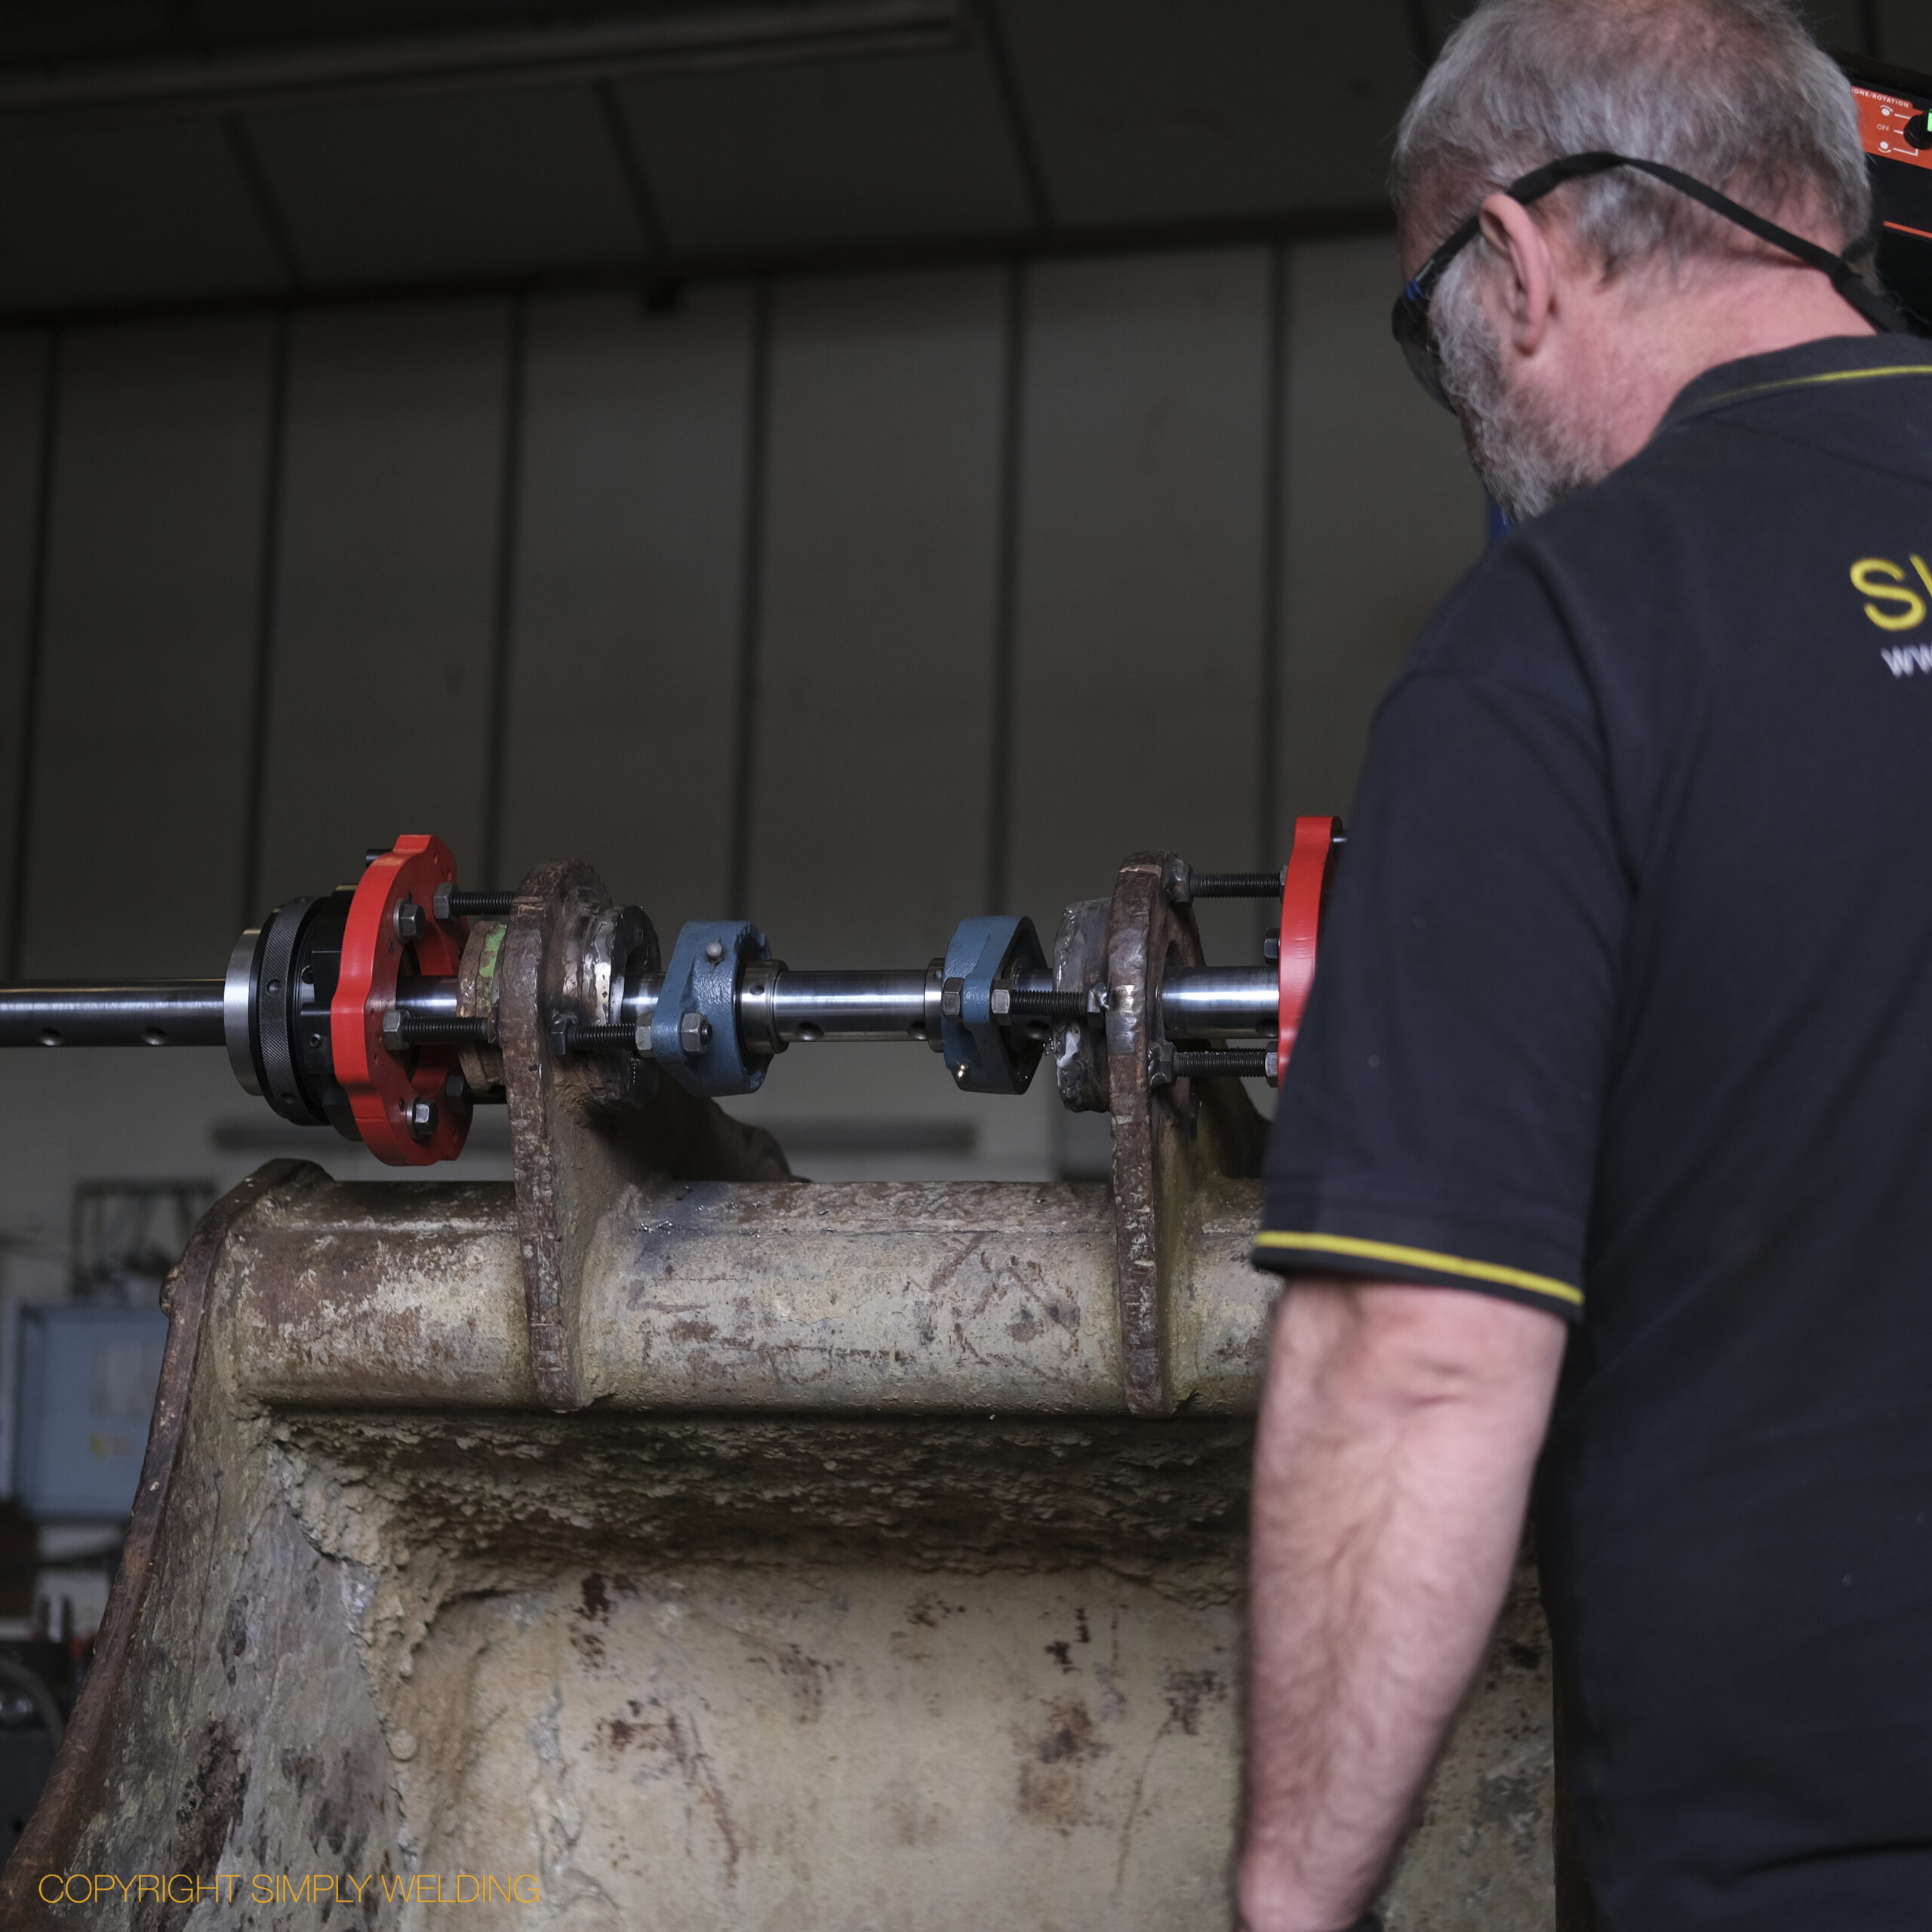
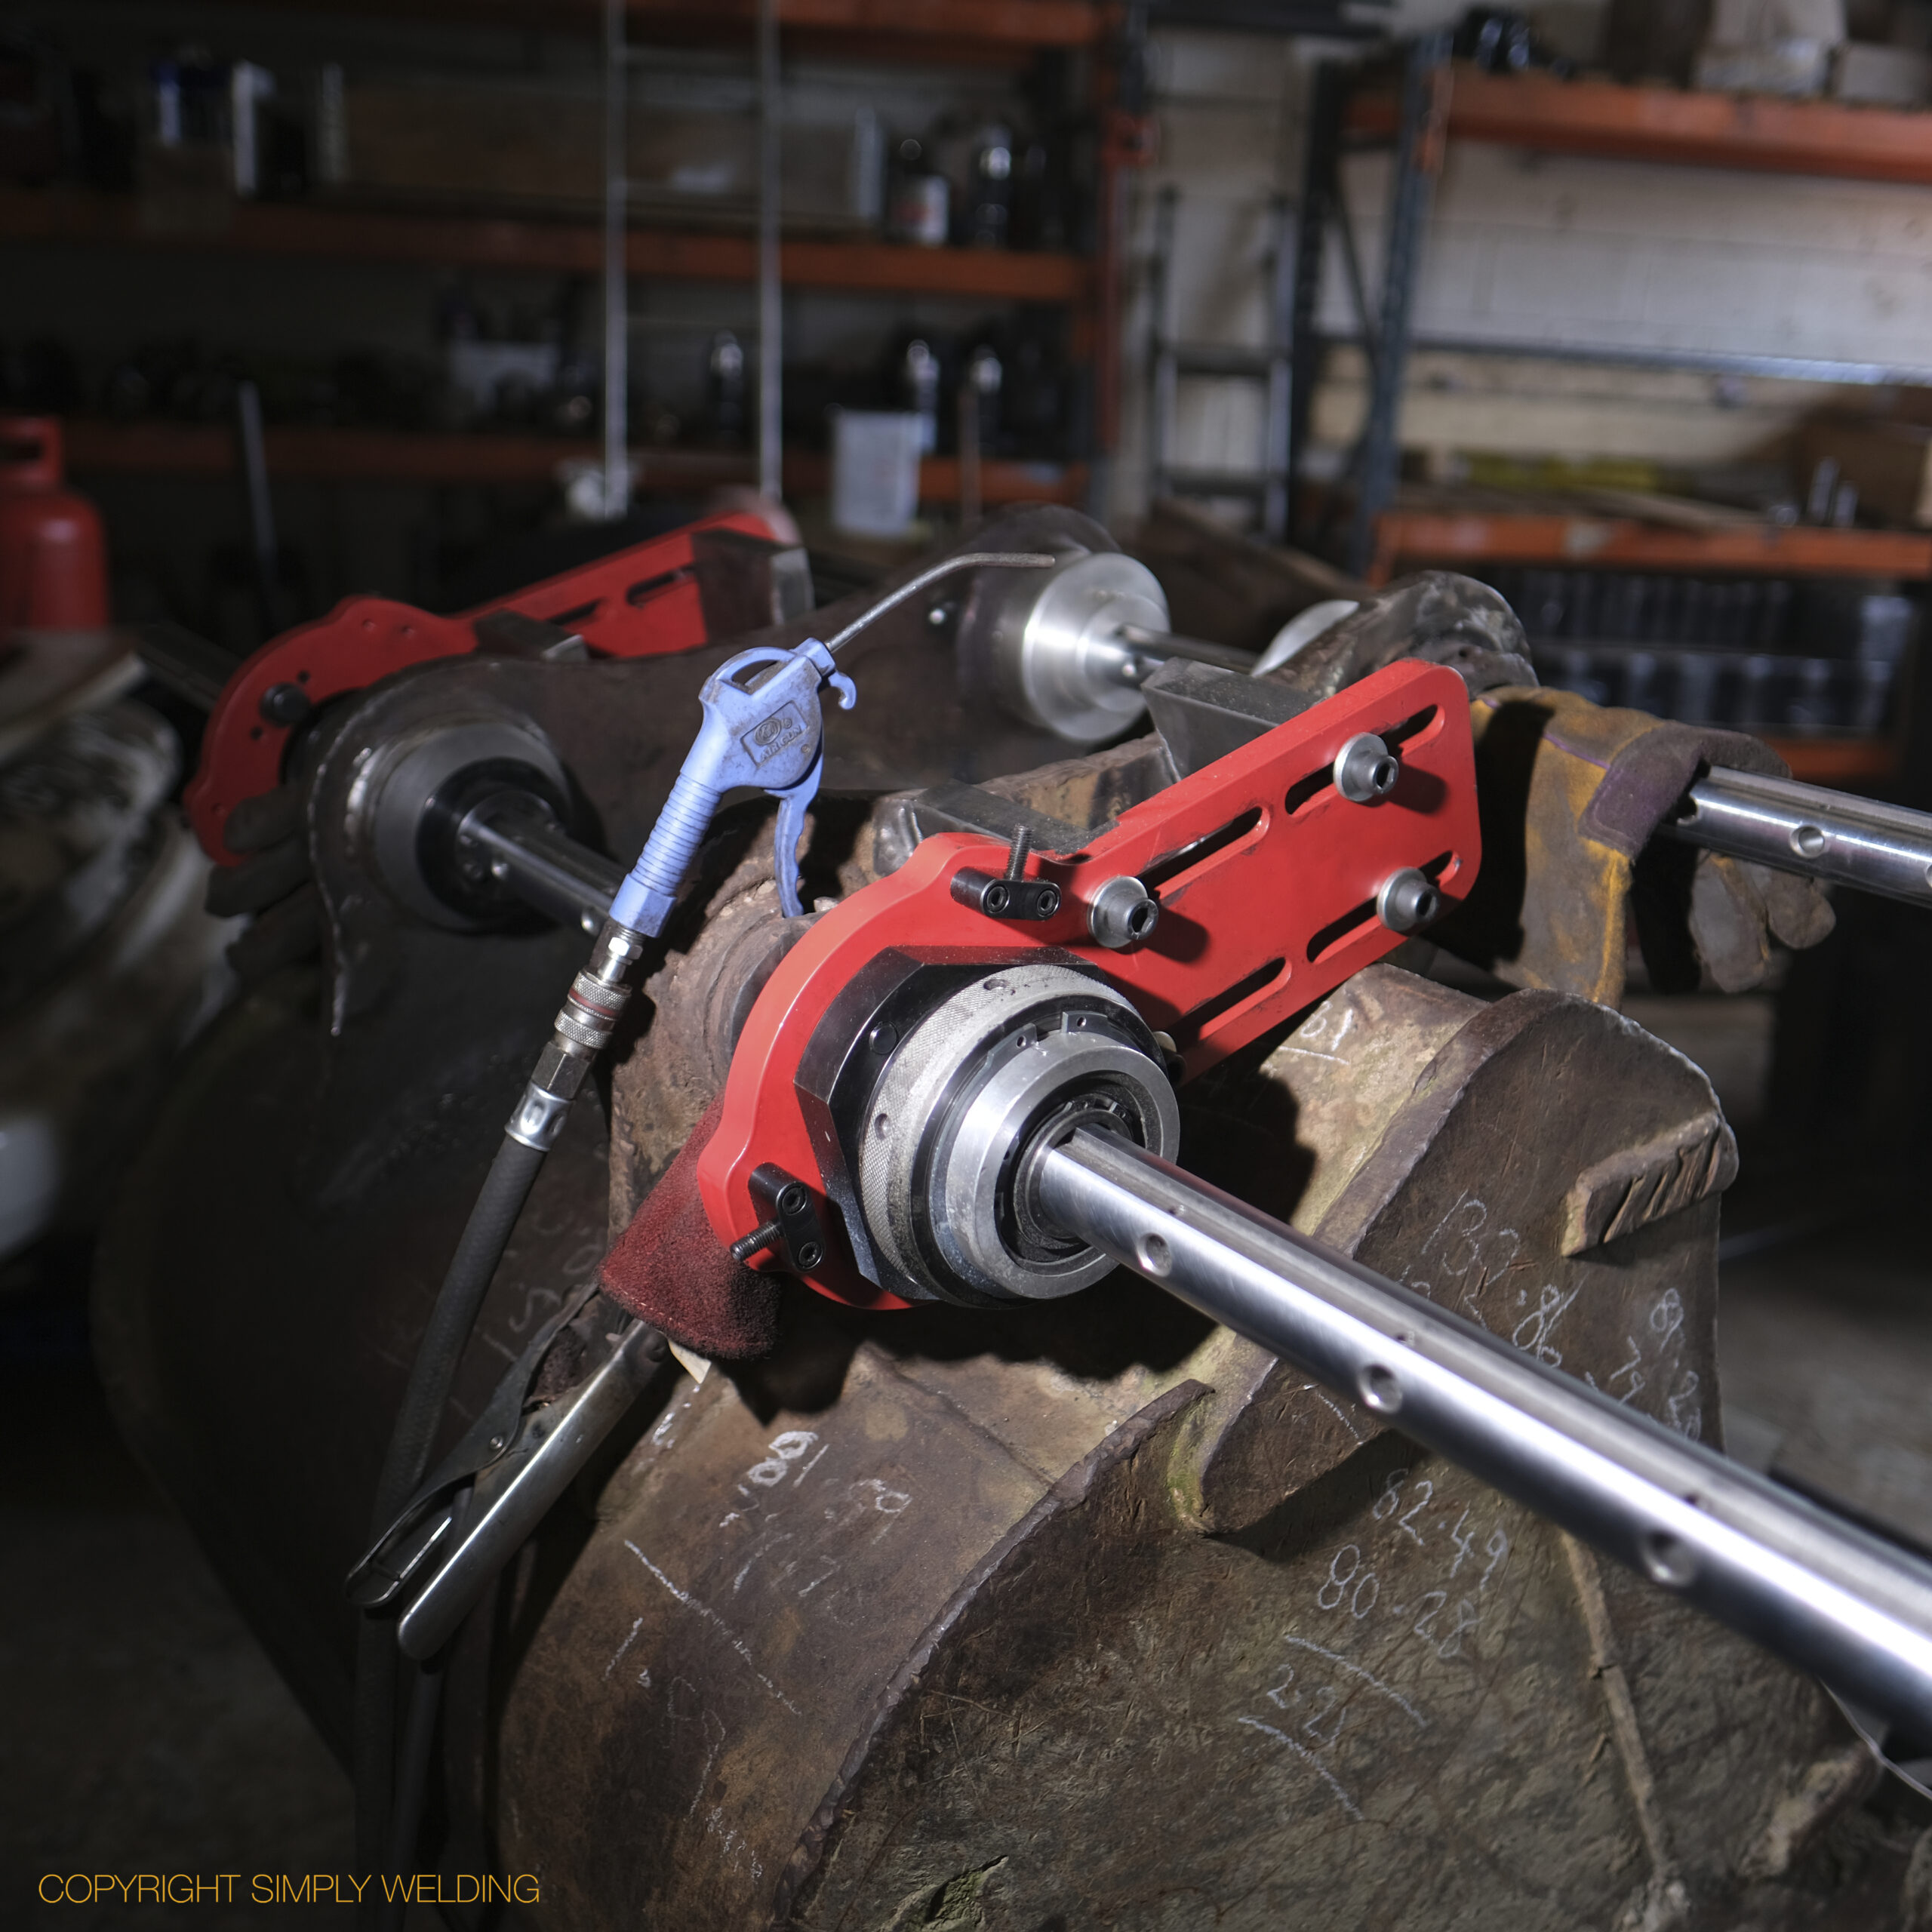
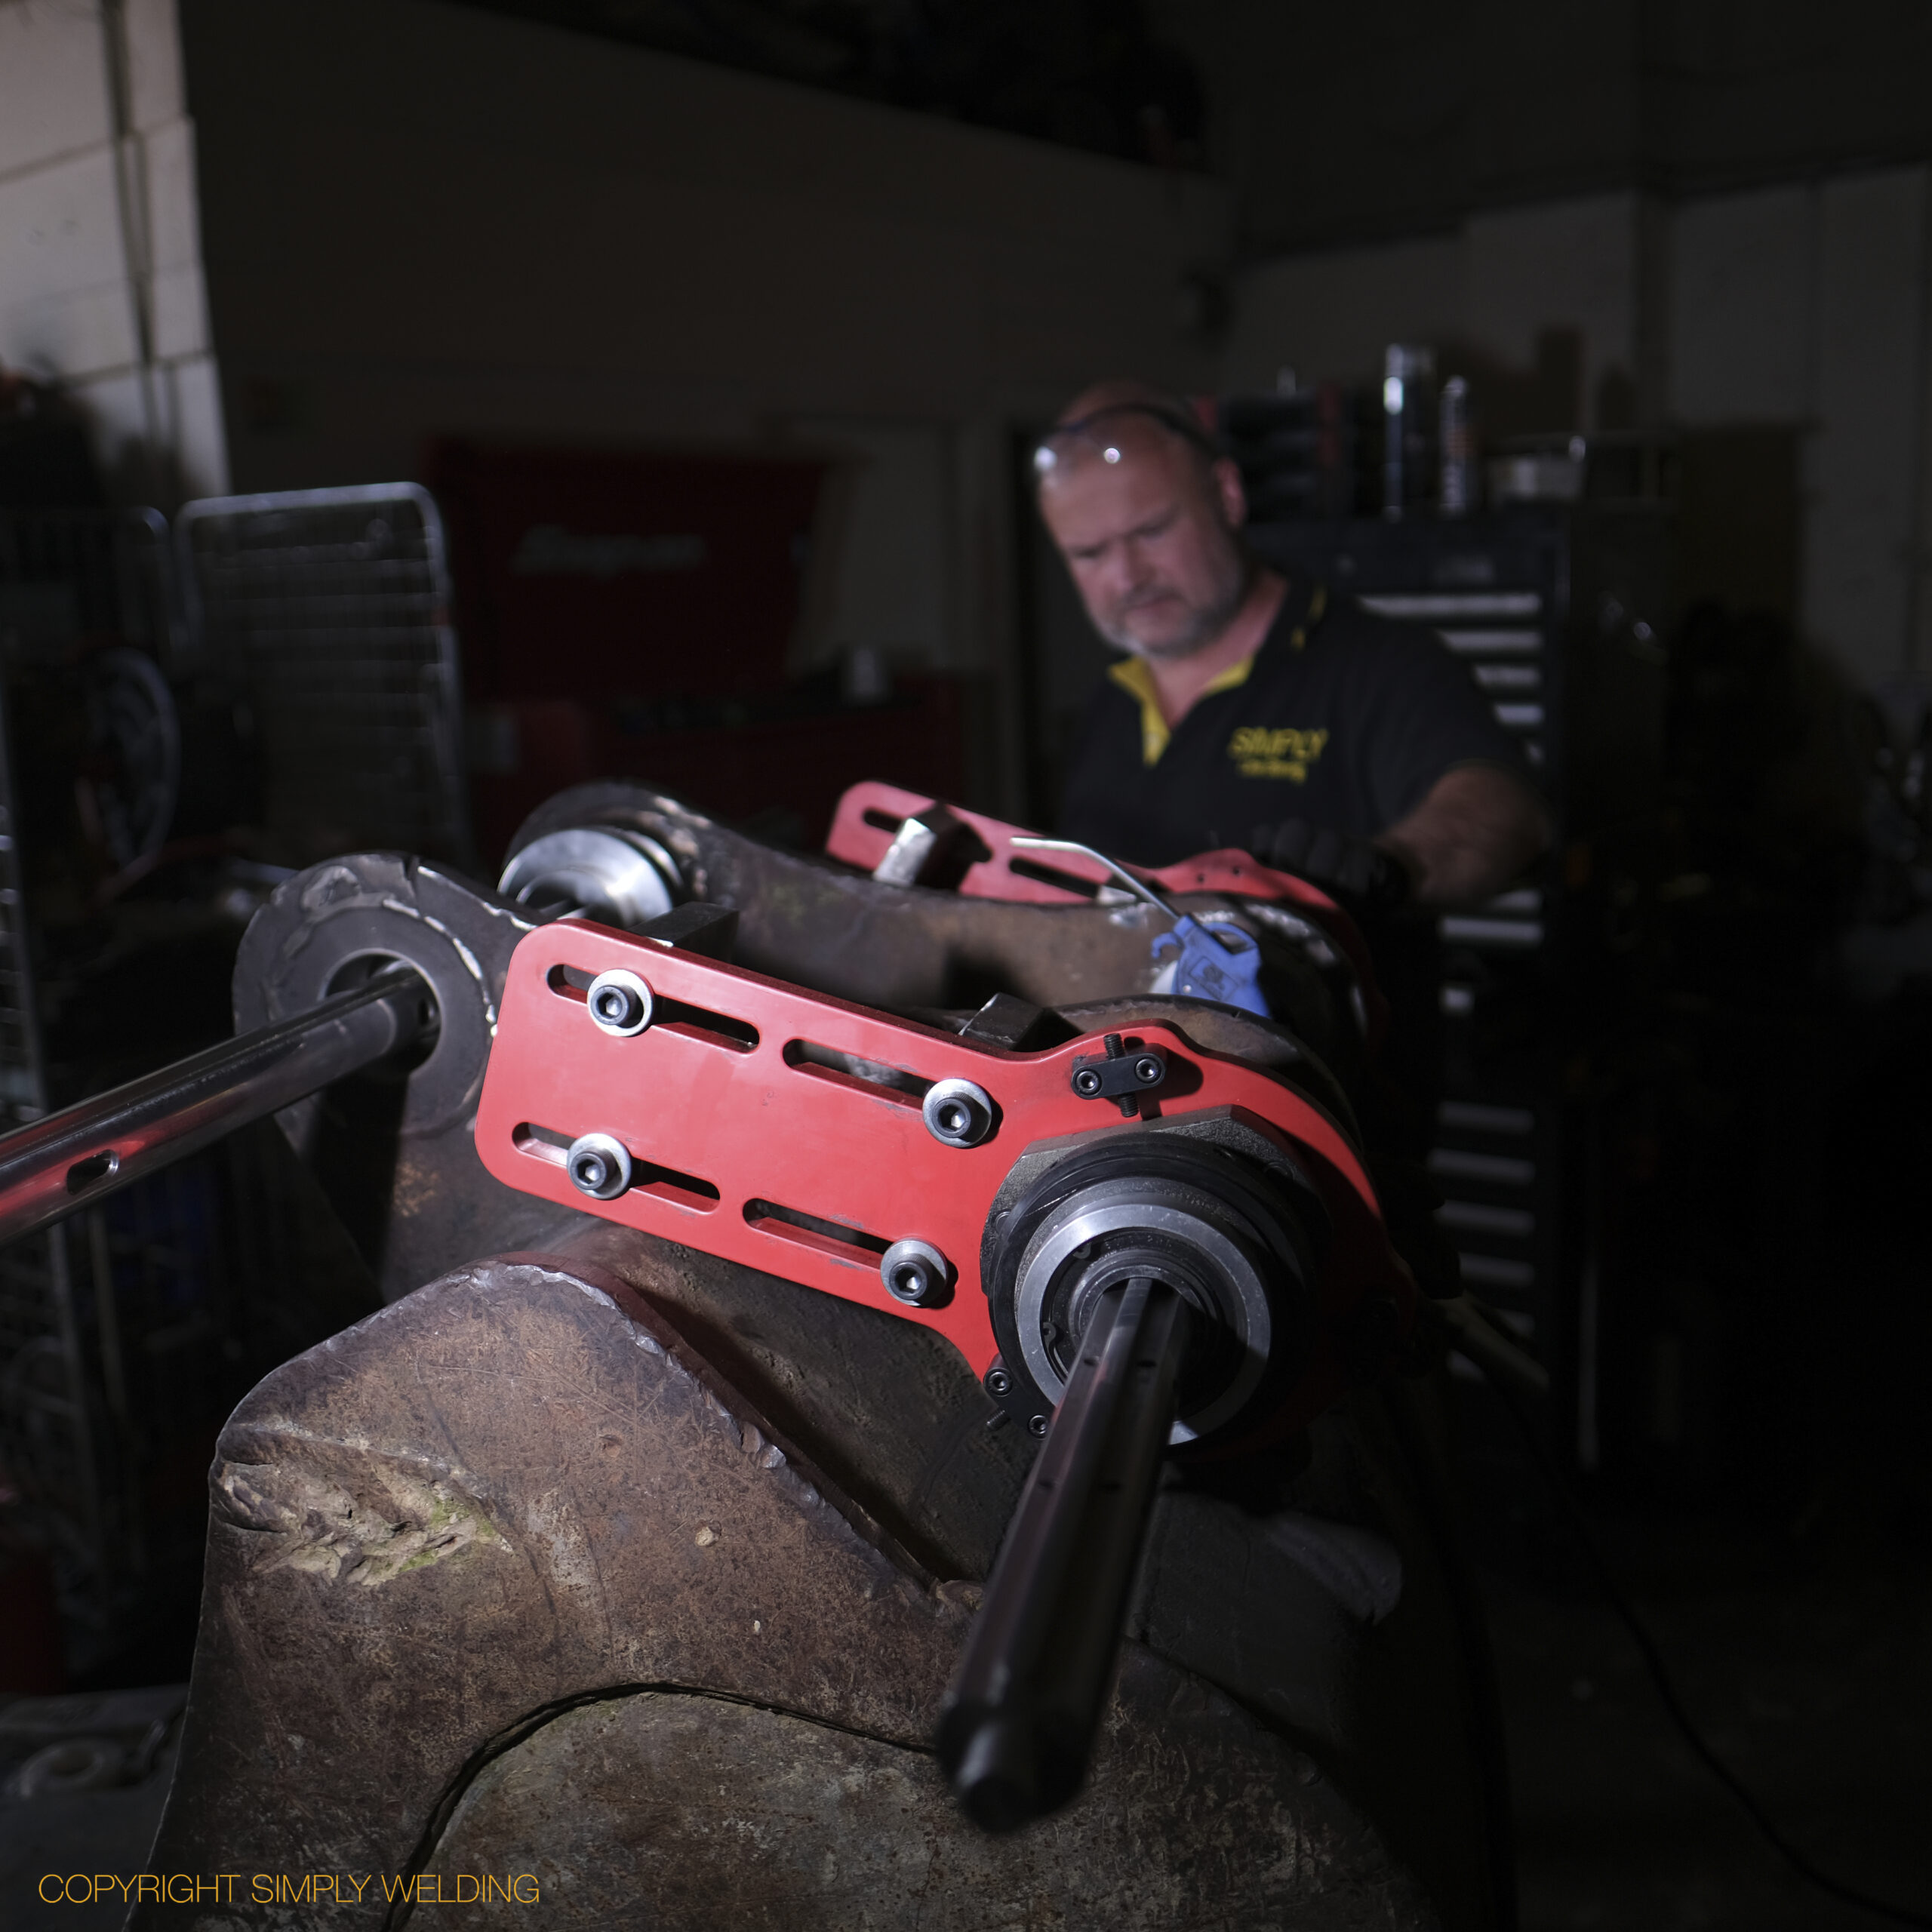
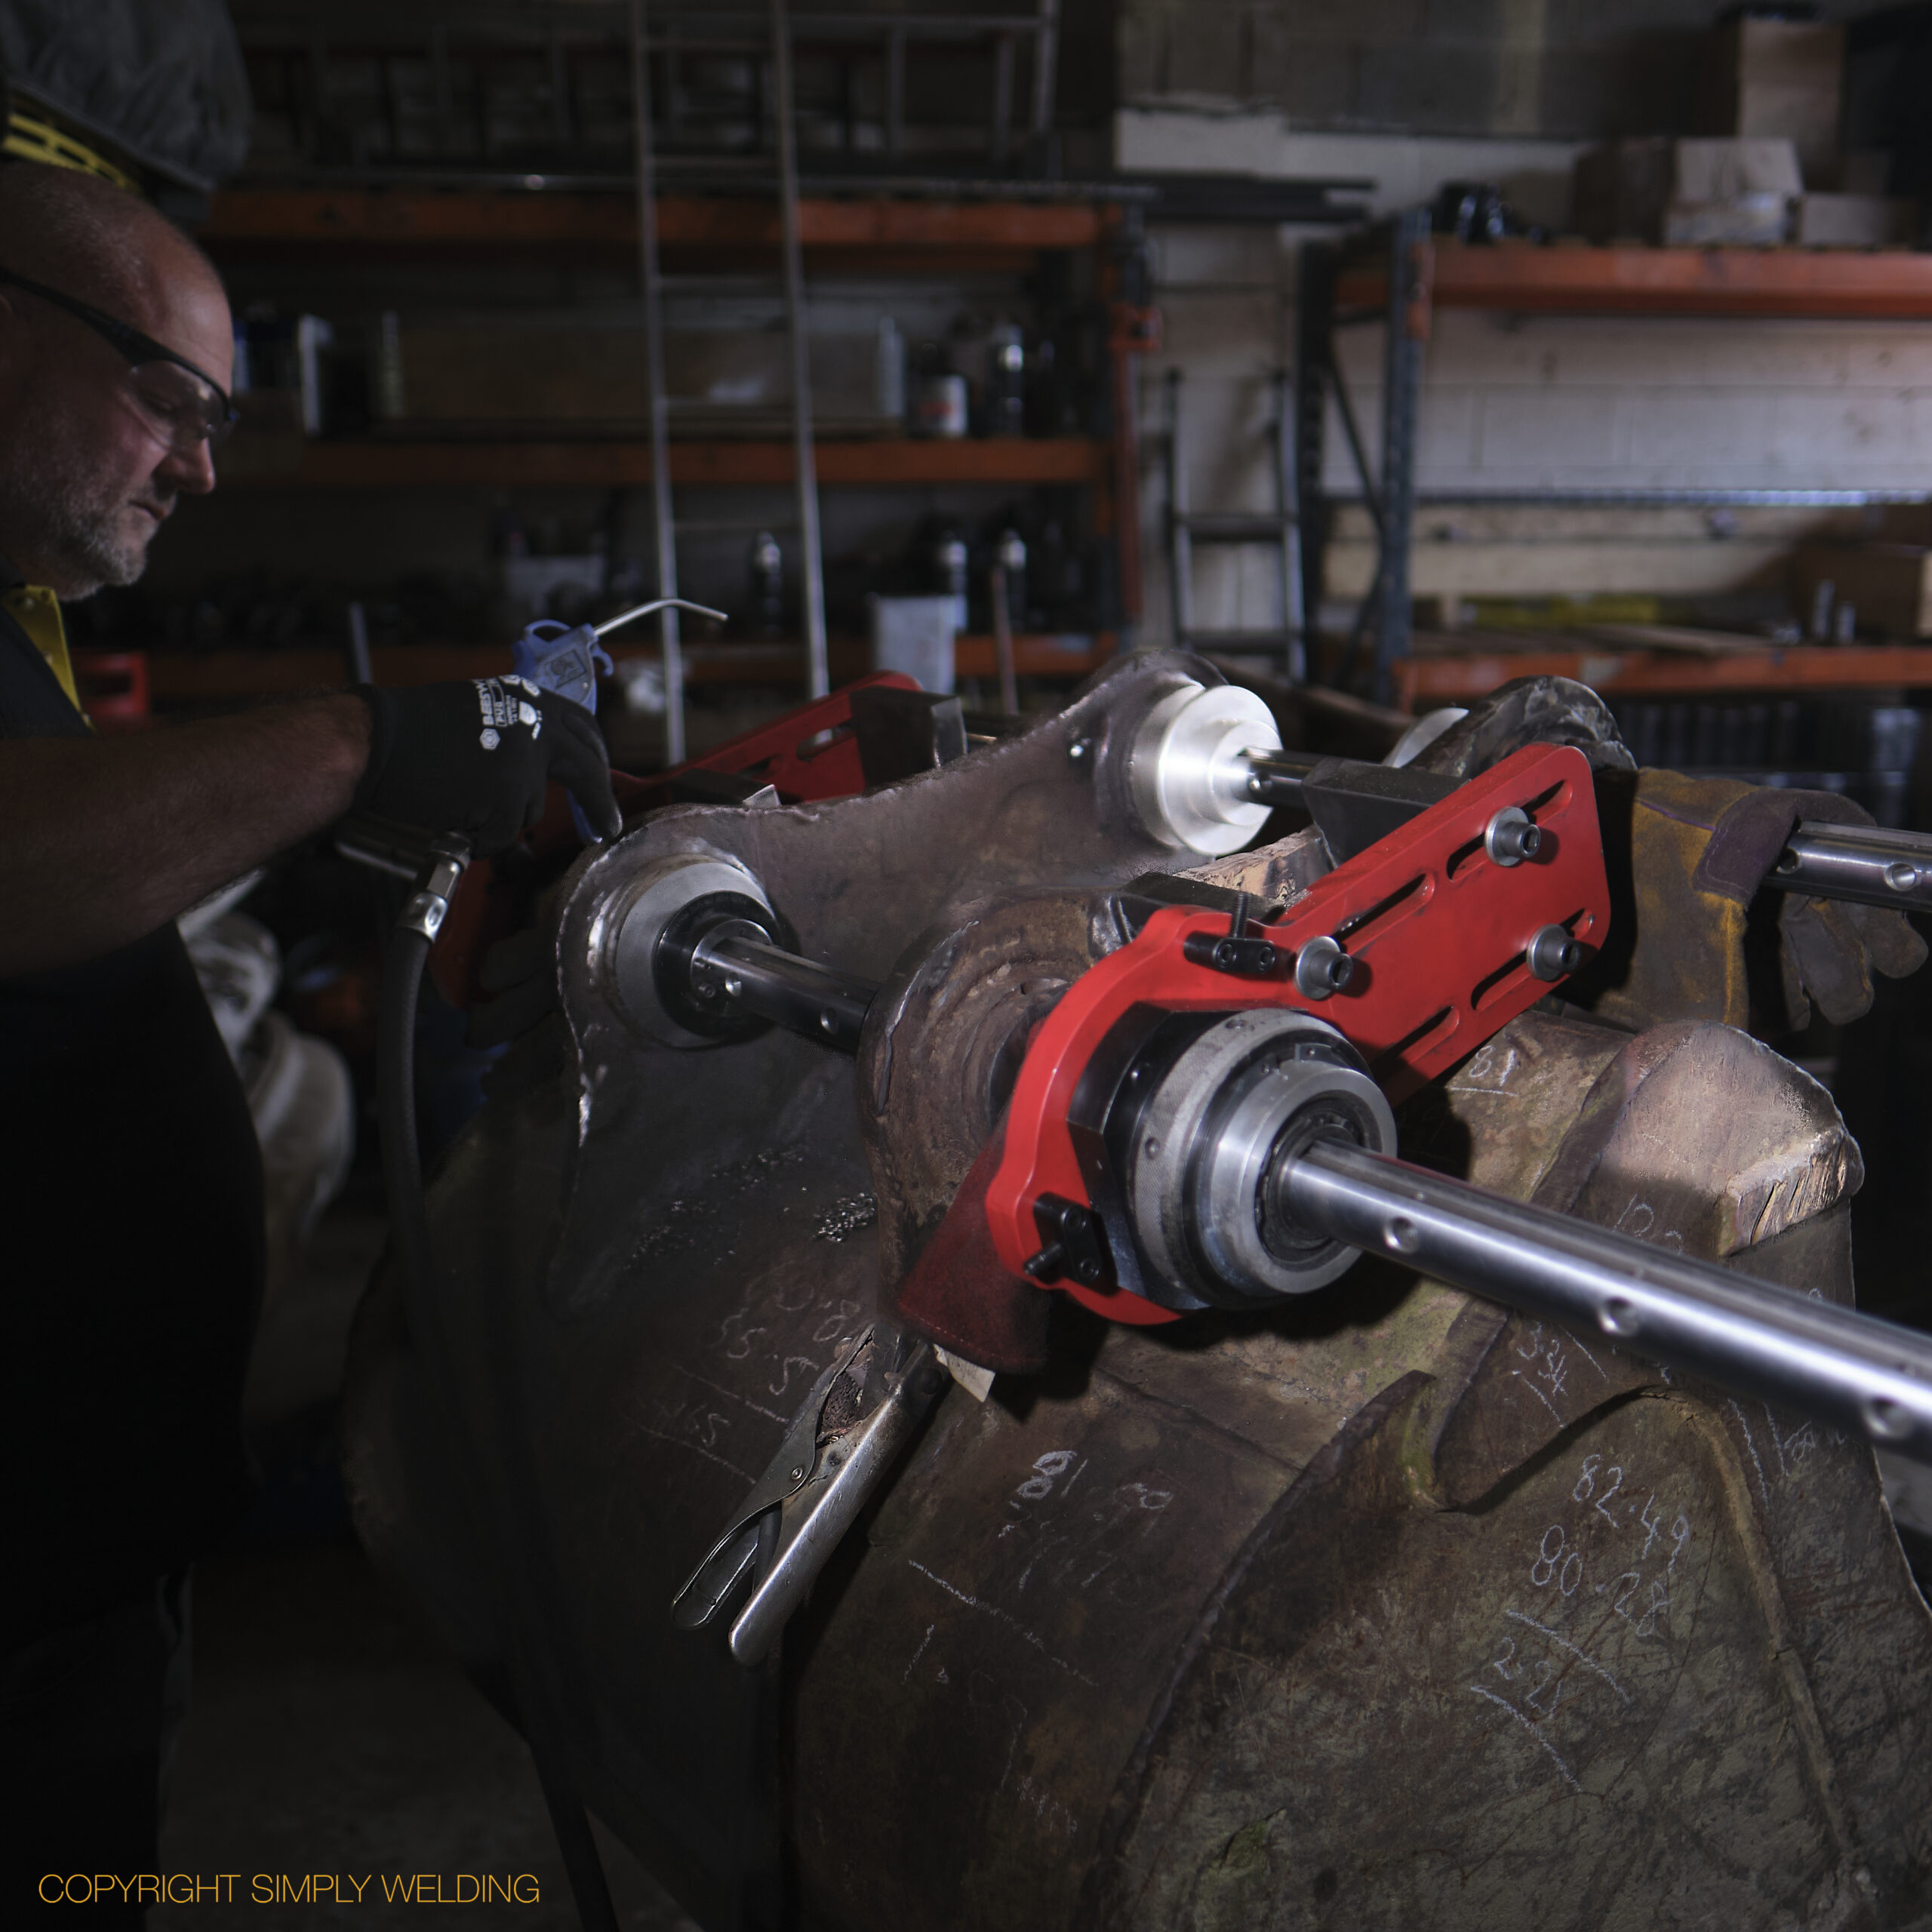
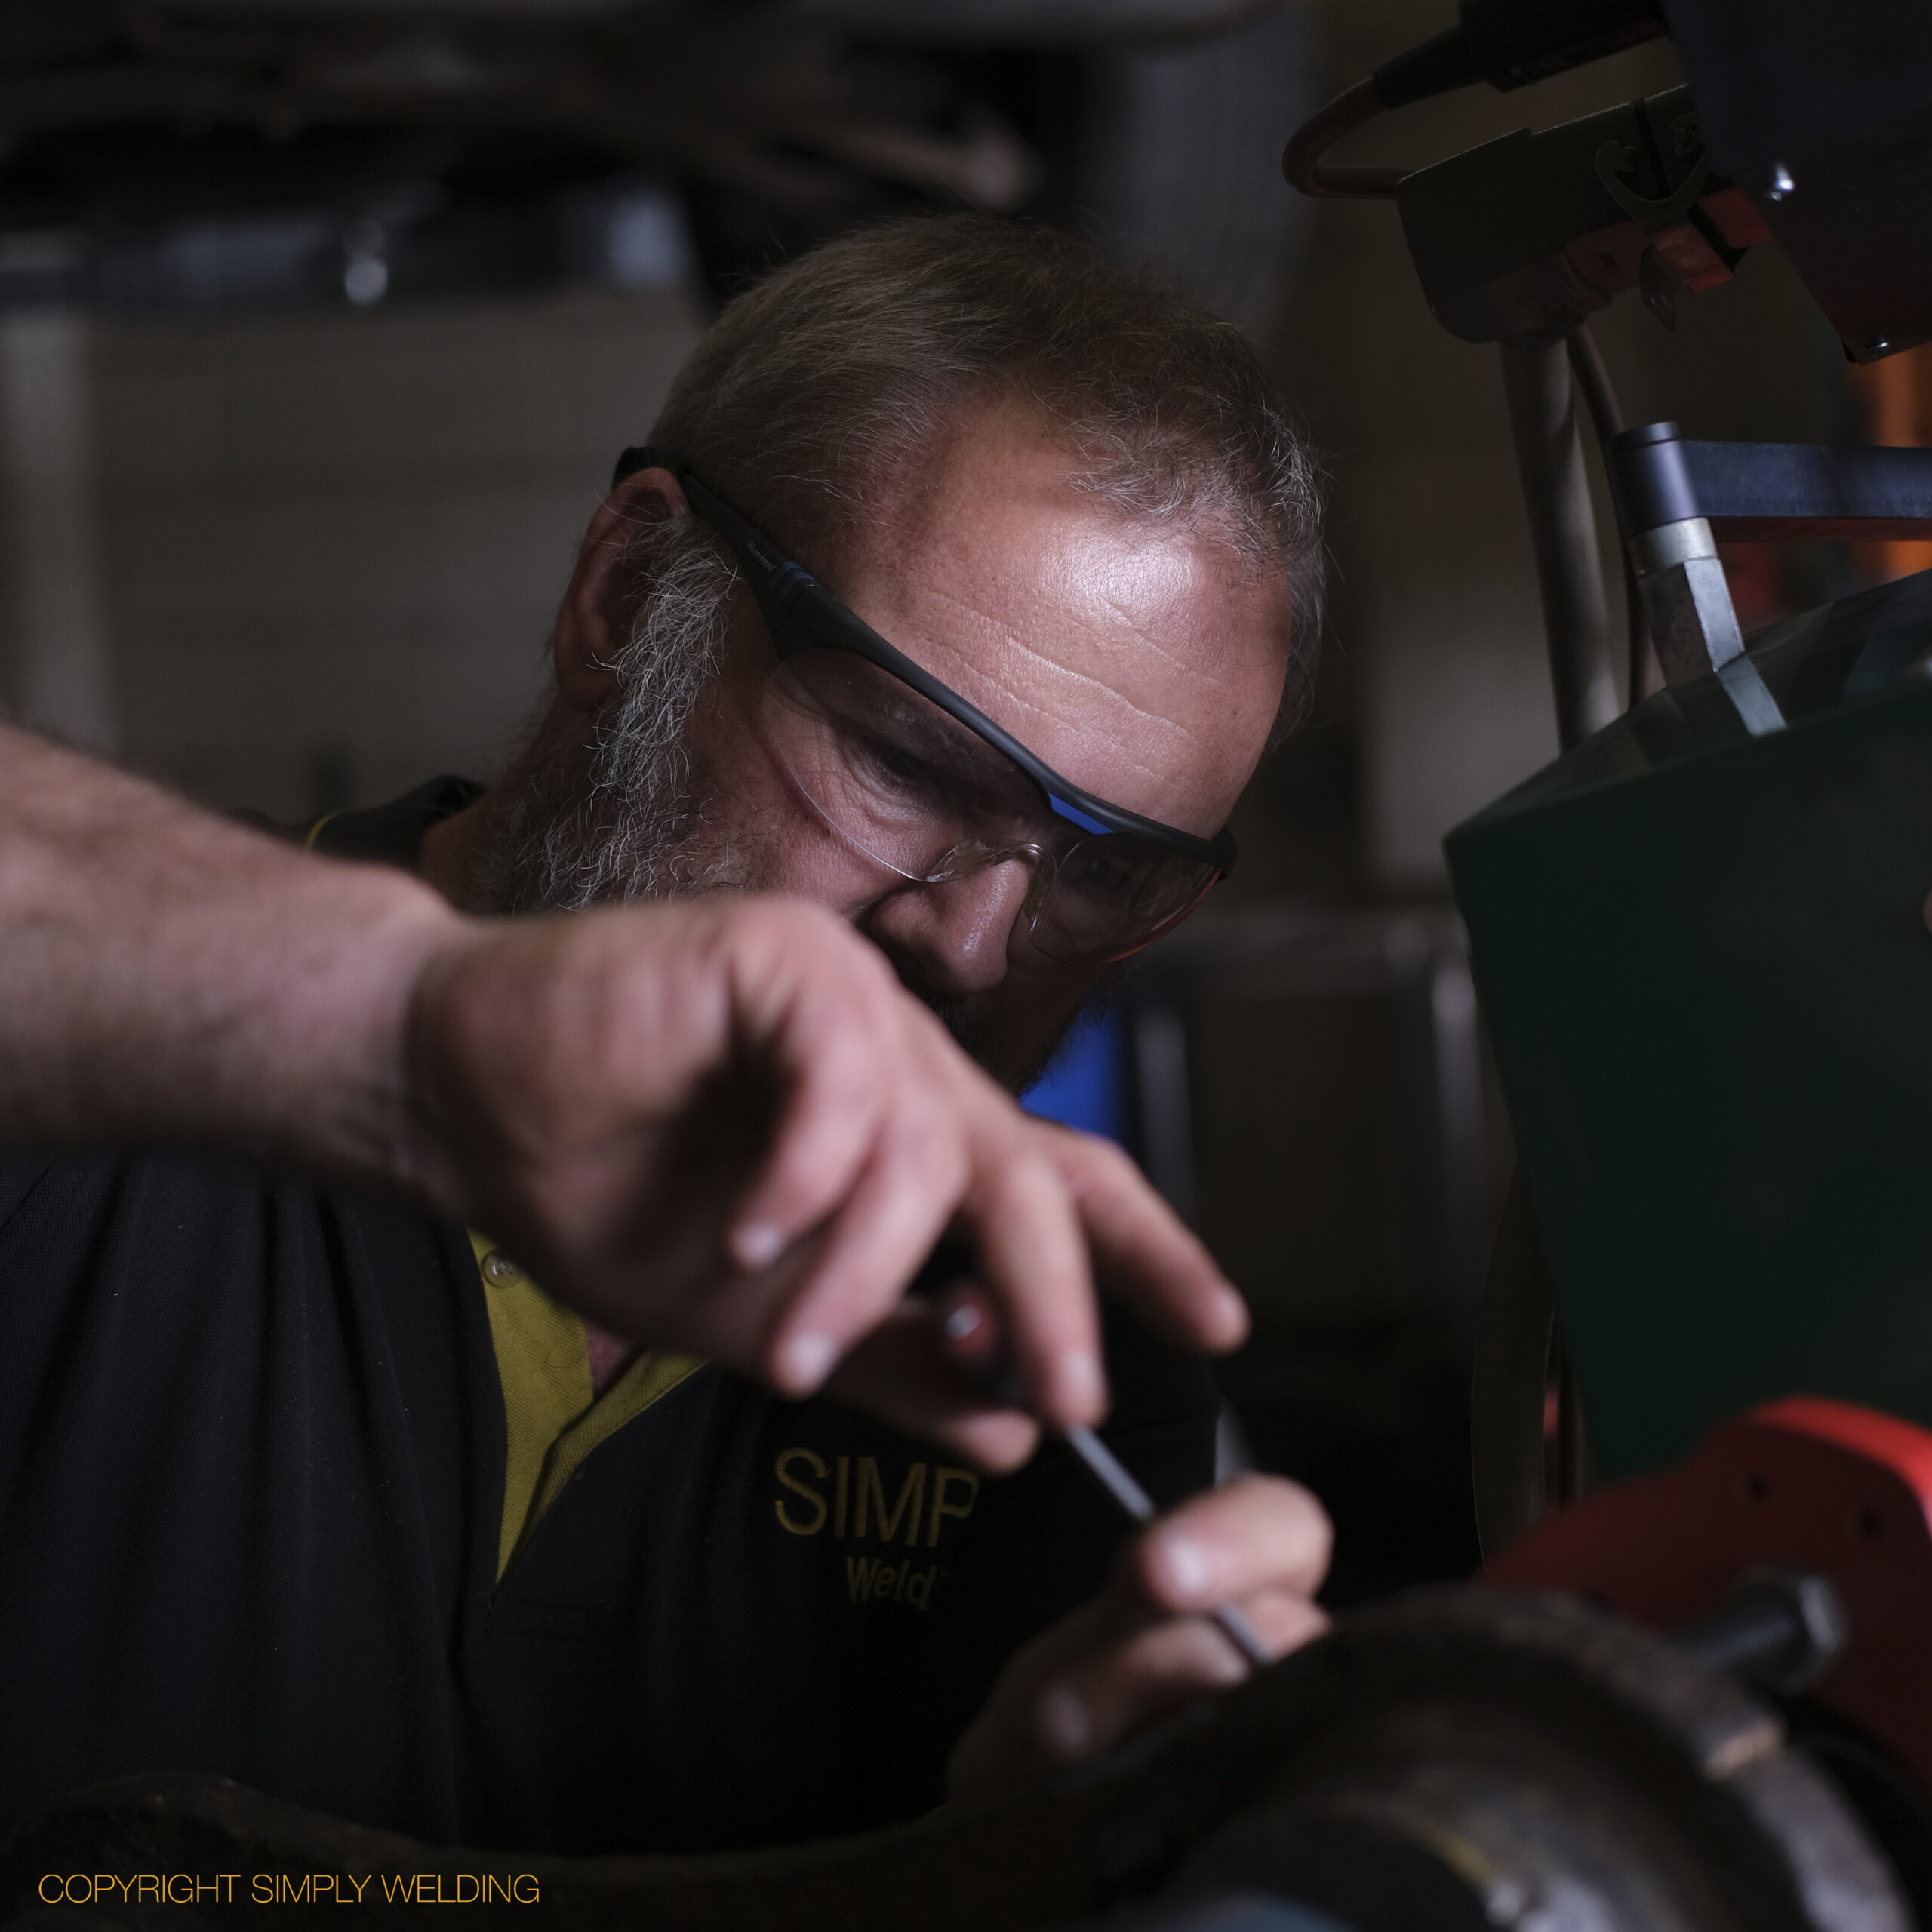
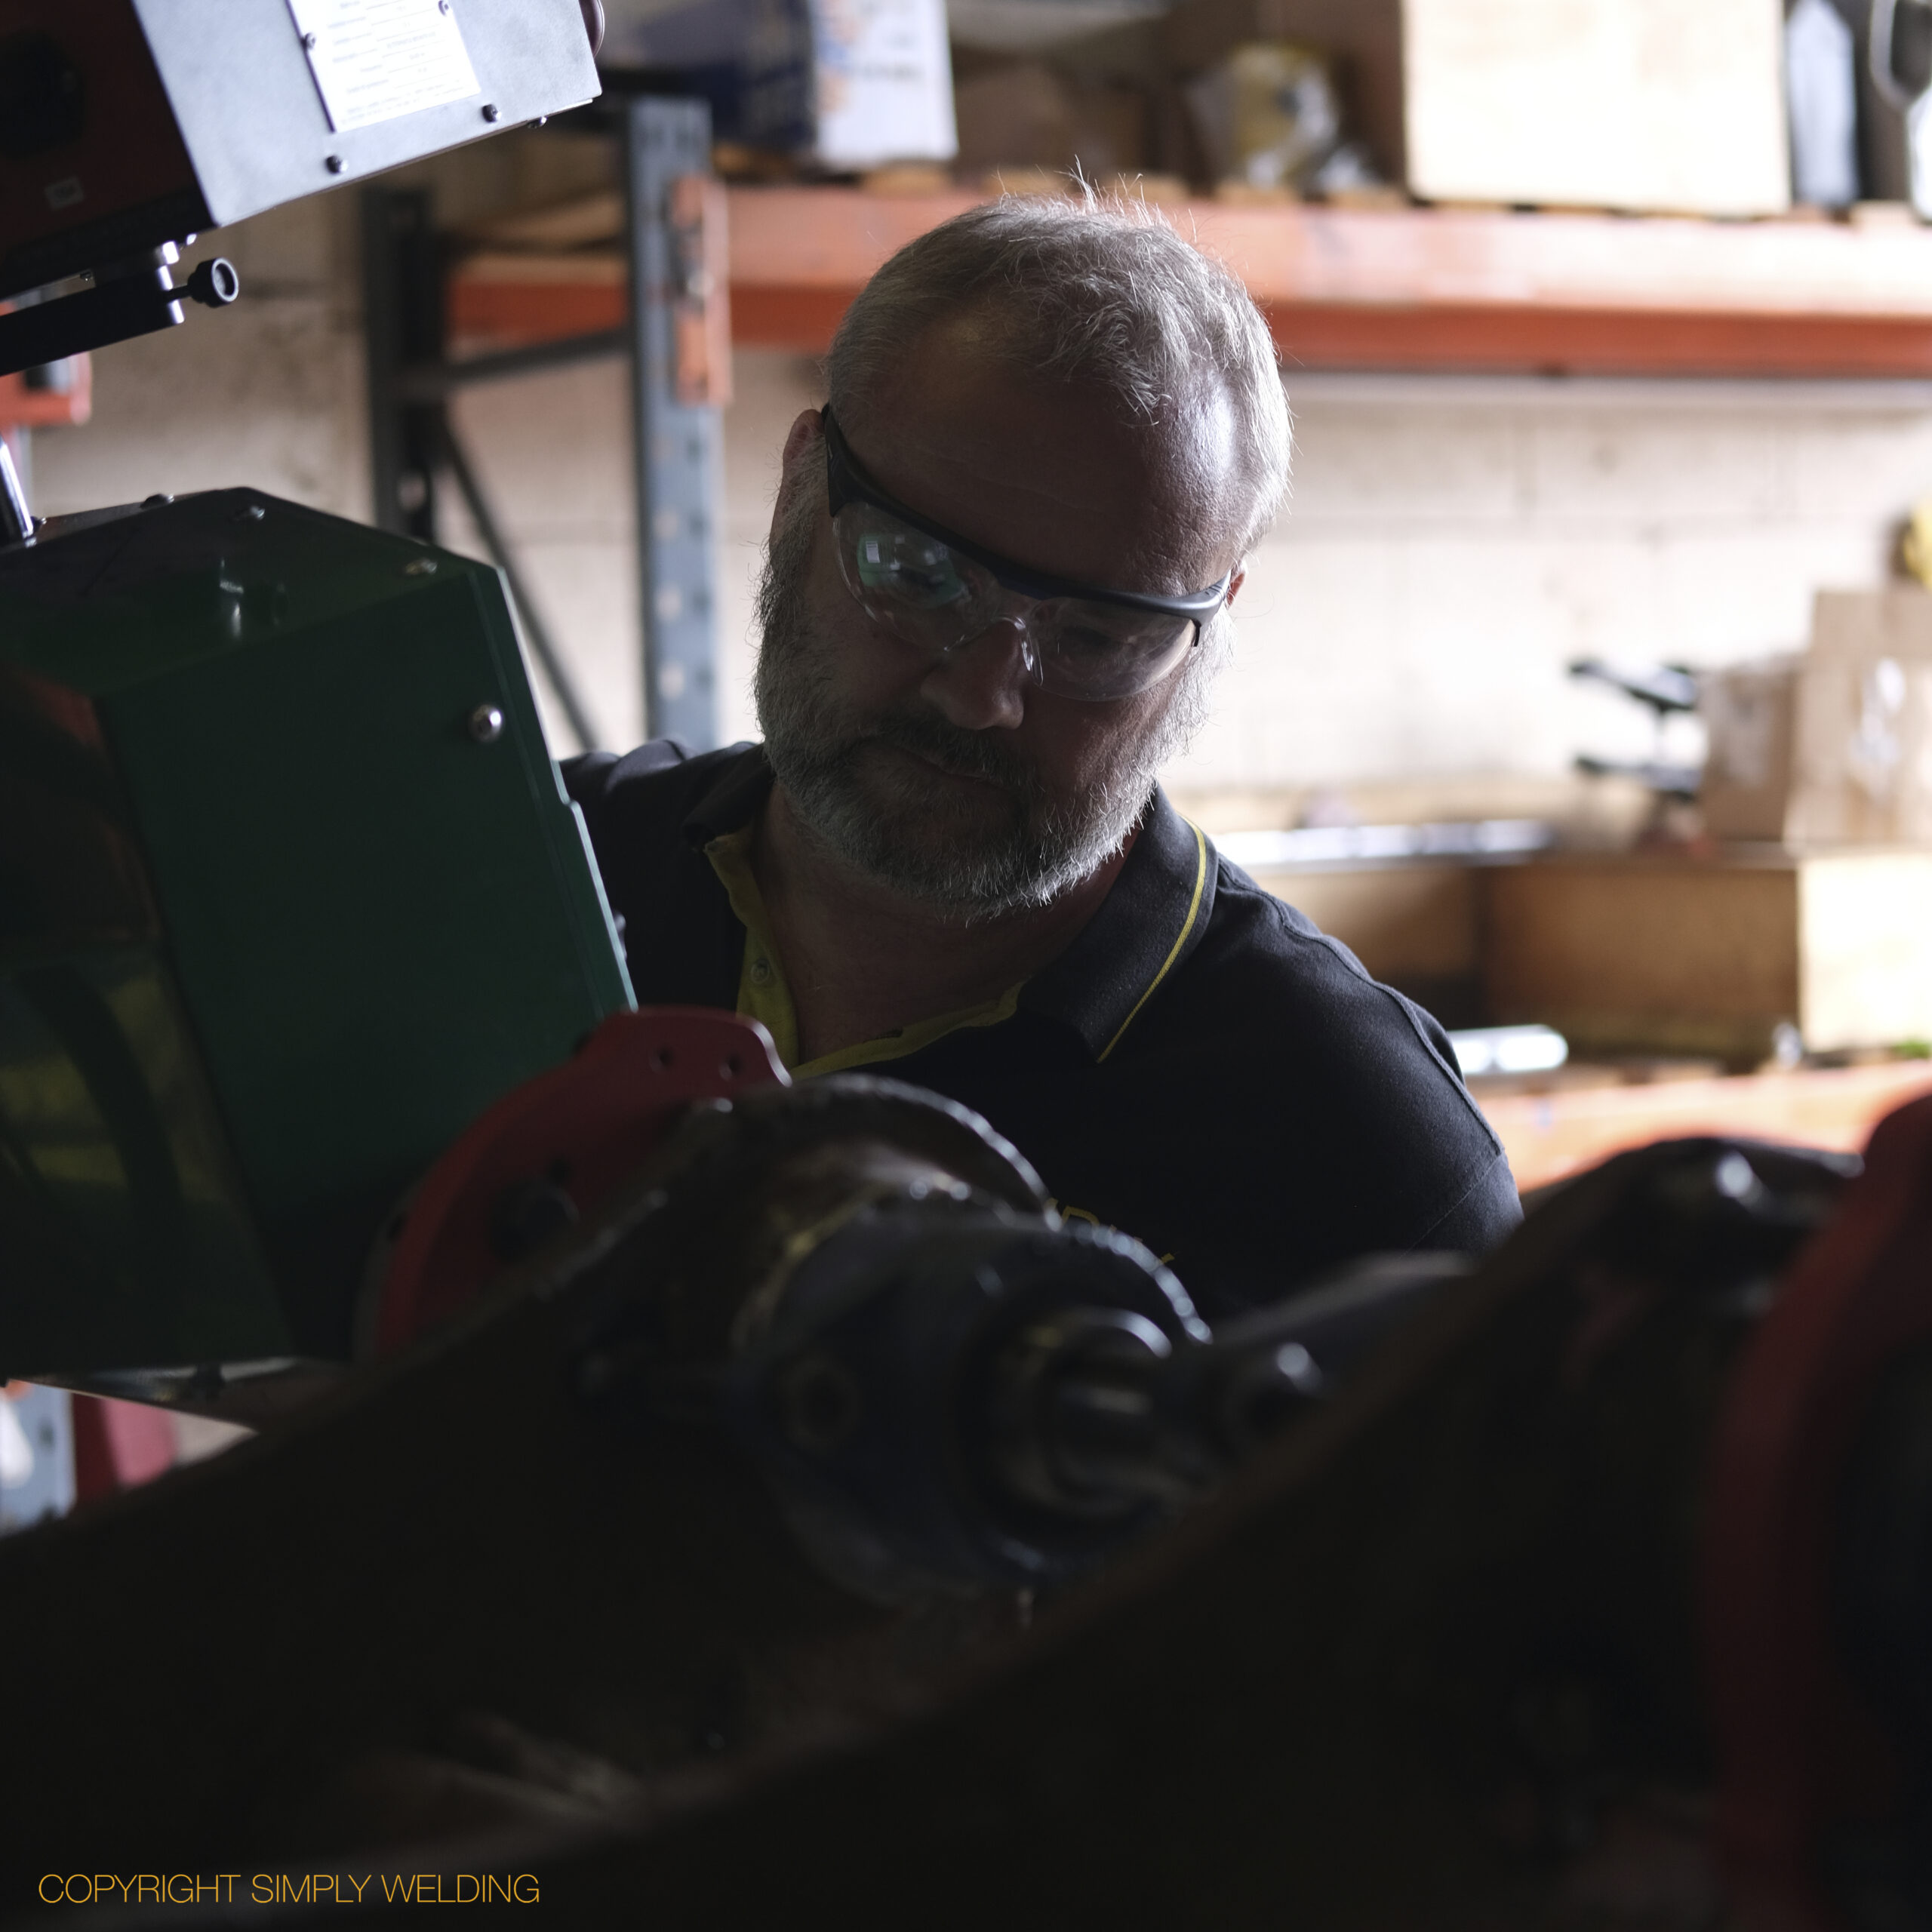
Line Boring a Worn Digger Bucket

Worn pin bores on a digger bucket, measured, welded up and line bored back to size in our workshop. Both pairs of ears were bored in line so new pins and bushes fit tight and true.
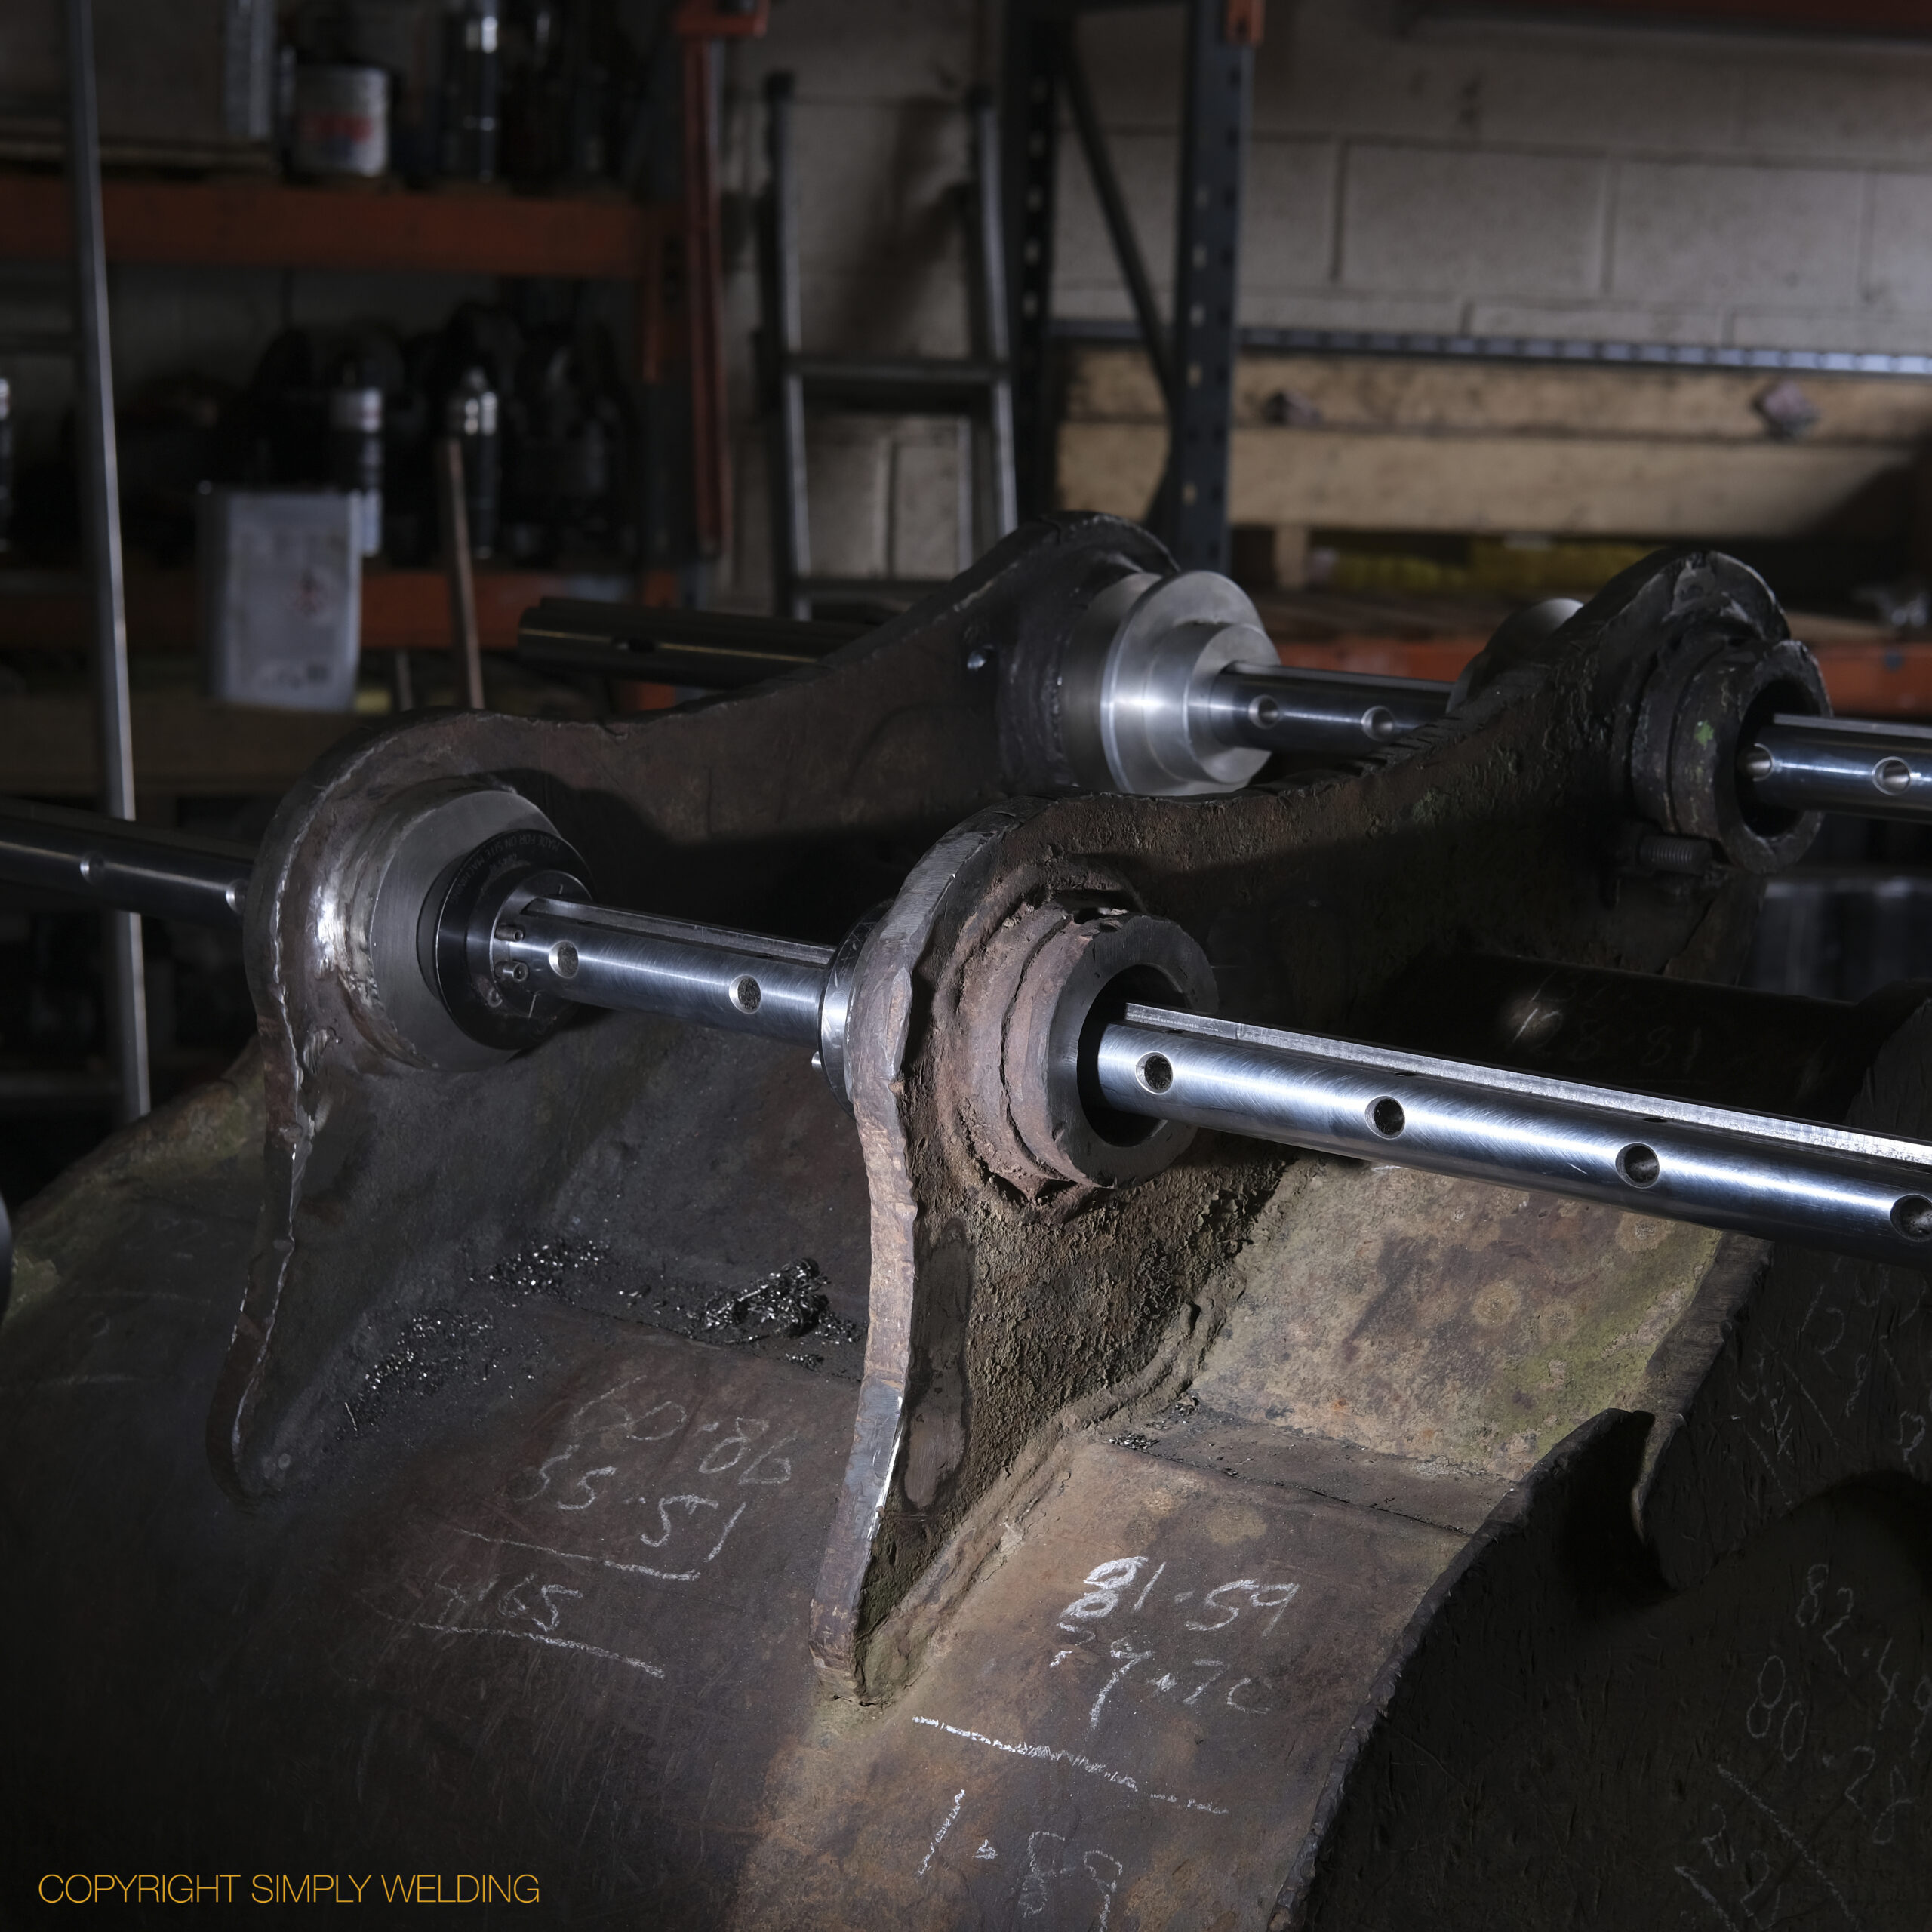
Line boring bars aligned through worn digger bucket ears with centring cones
Measuring the boring bar set-up on a digger bucket, with bore sizes marked in chalk
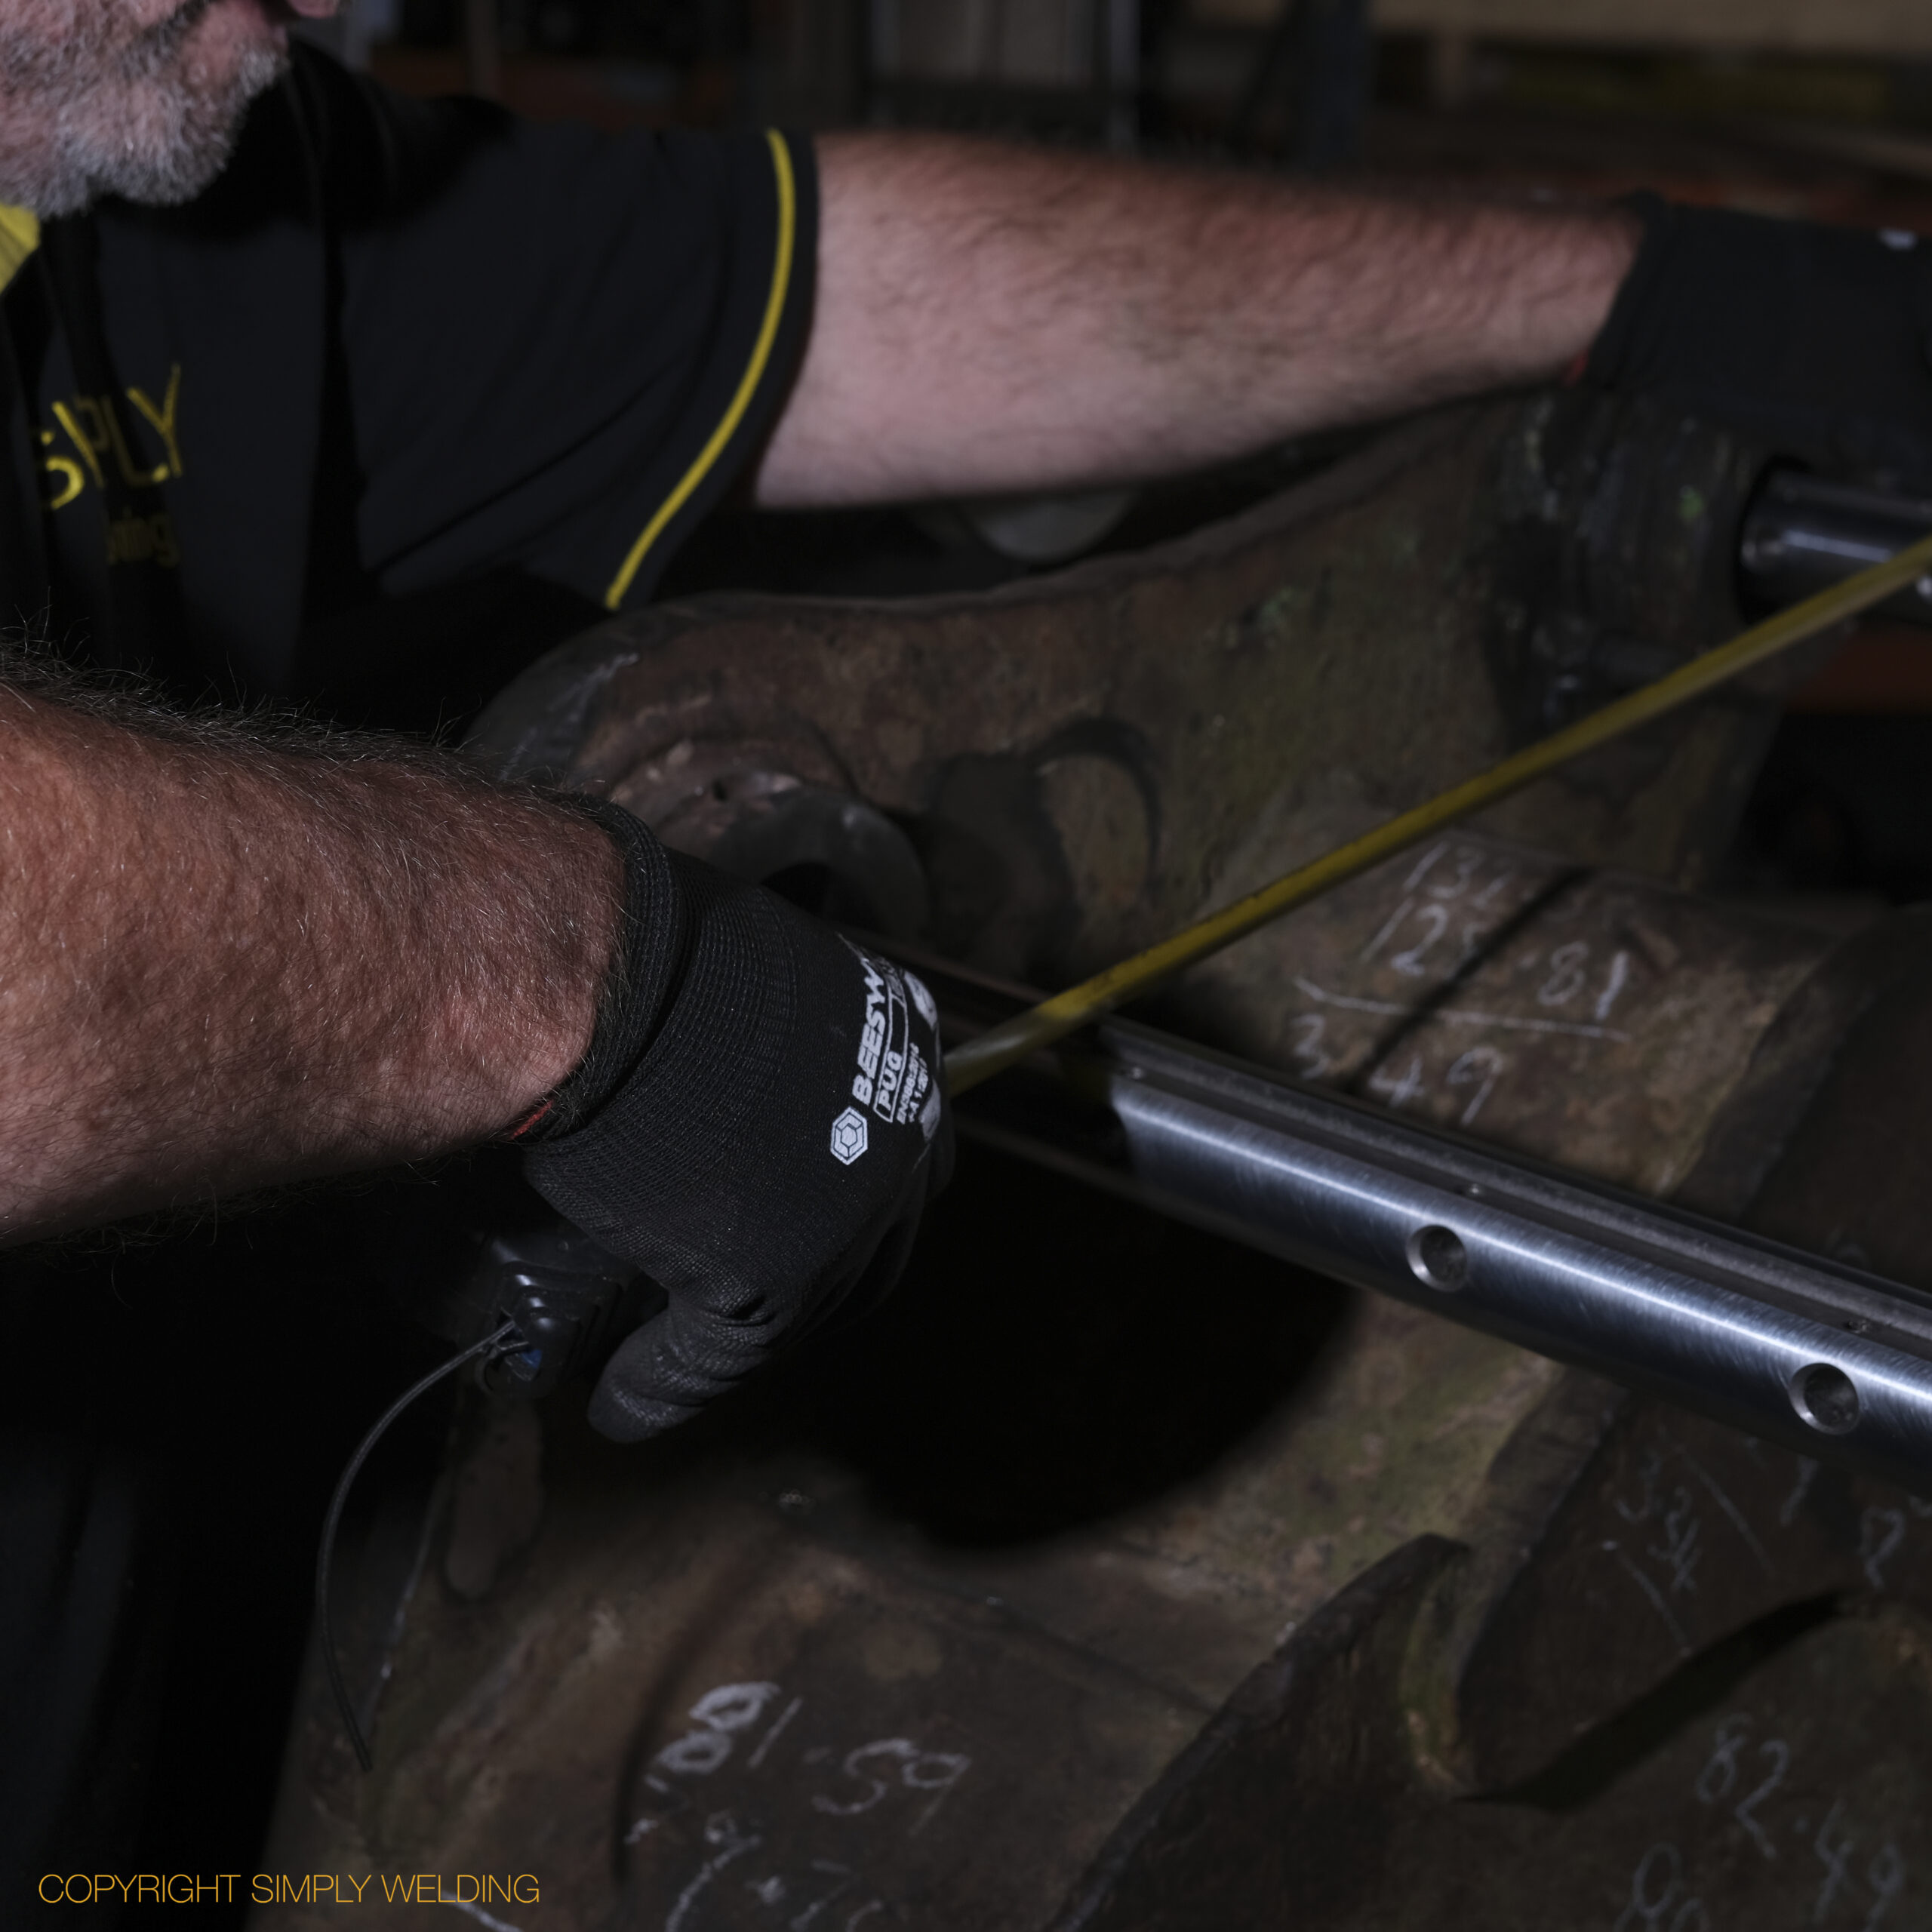
Engineer measuring the line boring bar set-up with a tape measure
Tightening the mounting bolts on a line boring machine fitted to a digger bucket
Boring bar set up through the ears of a digger bucket with mounting arms and bearing supports
Line boring machine mounting brackets bolted to a digger bucket ear, with air gun for clearing swarf
Line boring machine mounting arm on a digger bucket ear, with the engineer working behind
Engineer clearing swarf with an air gun while line boring a digger bucket
Engineer setting the cutting tool on a line boring bar with an Allen key
Engineer checking the line boring machine drive unit fitted to a digger bucket
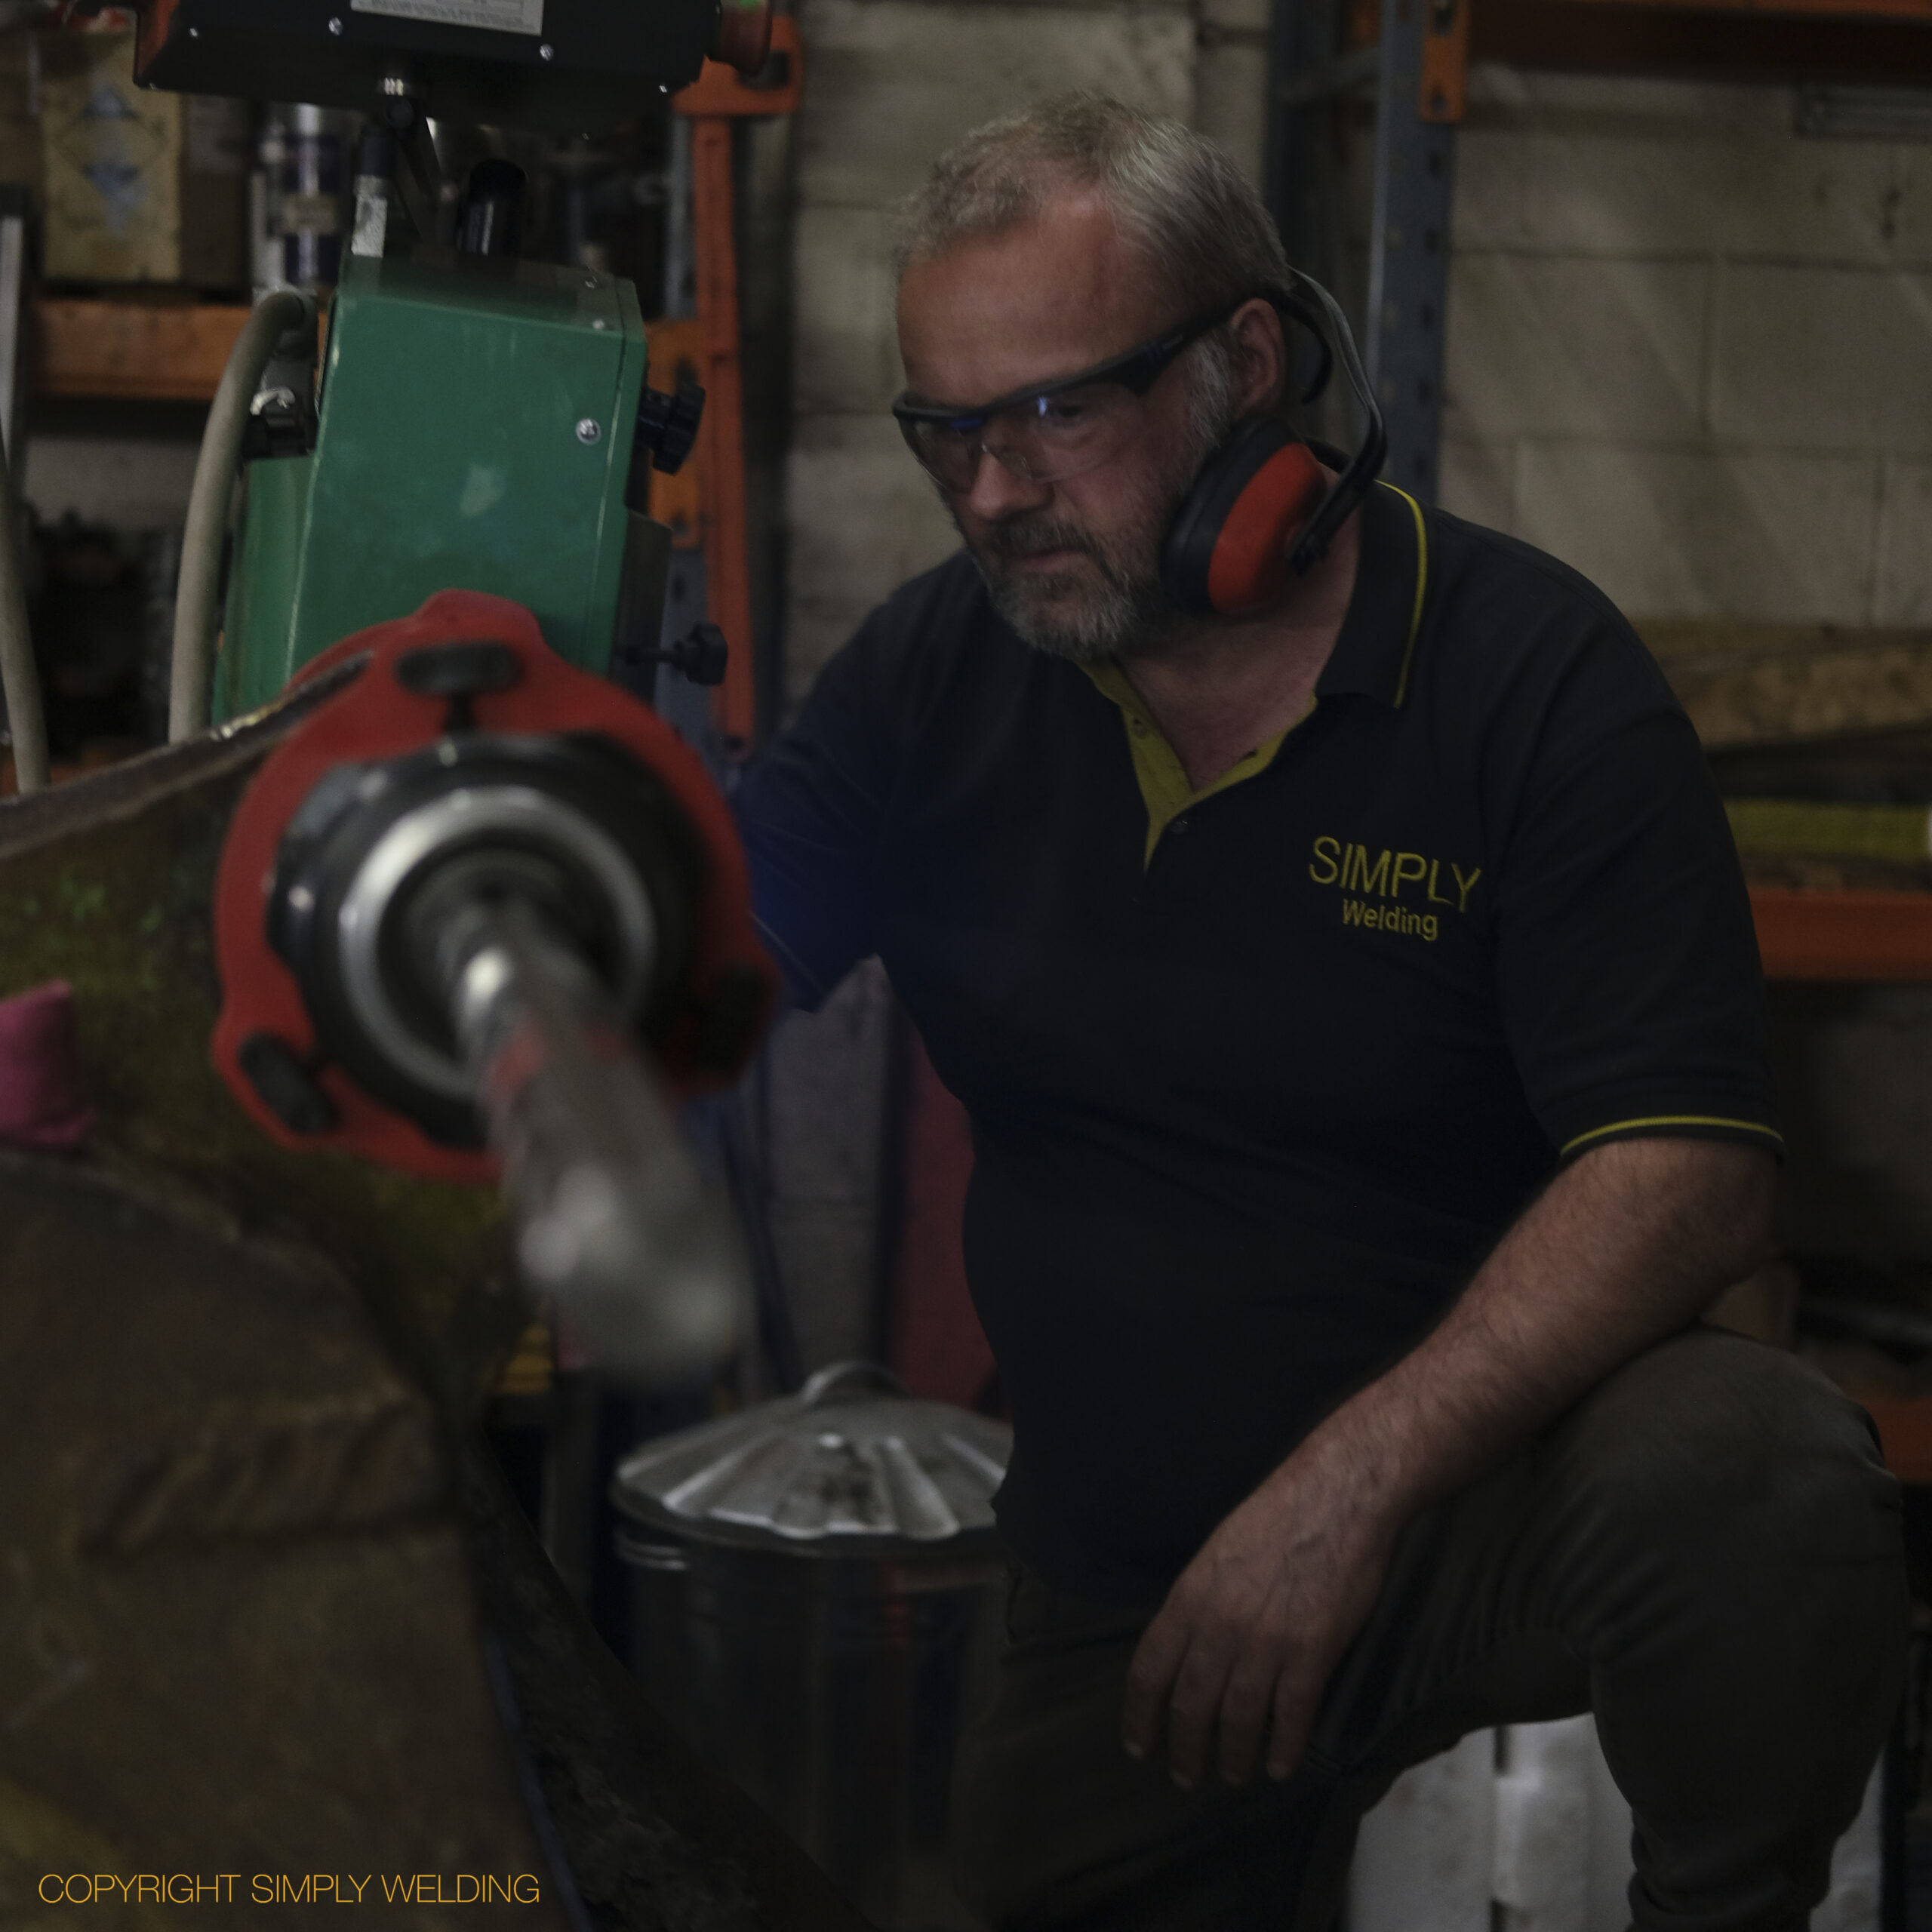
Engineer in ear defenders watching the line boring machine cut a bucket bore
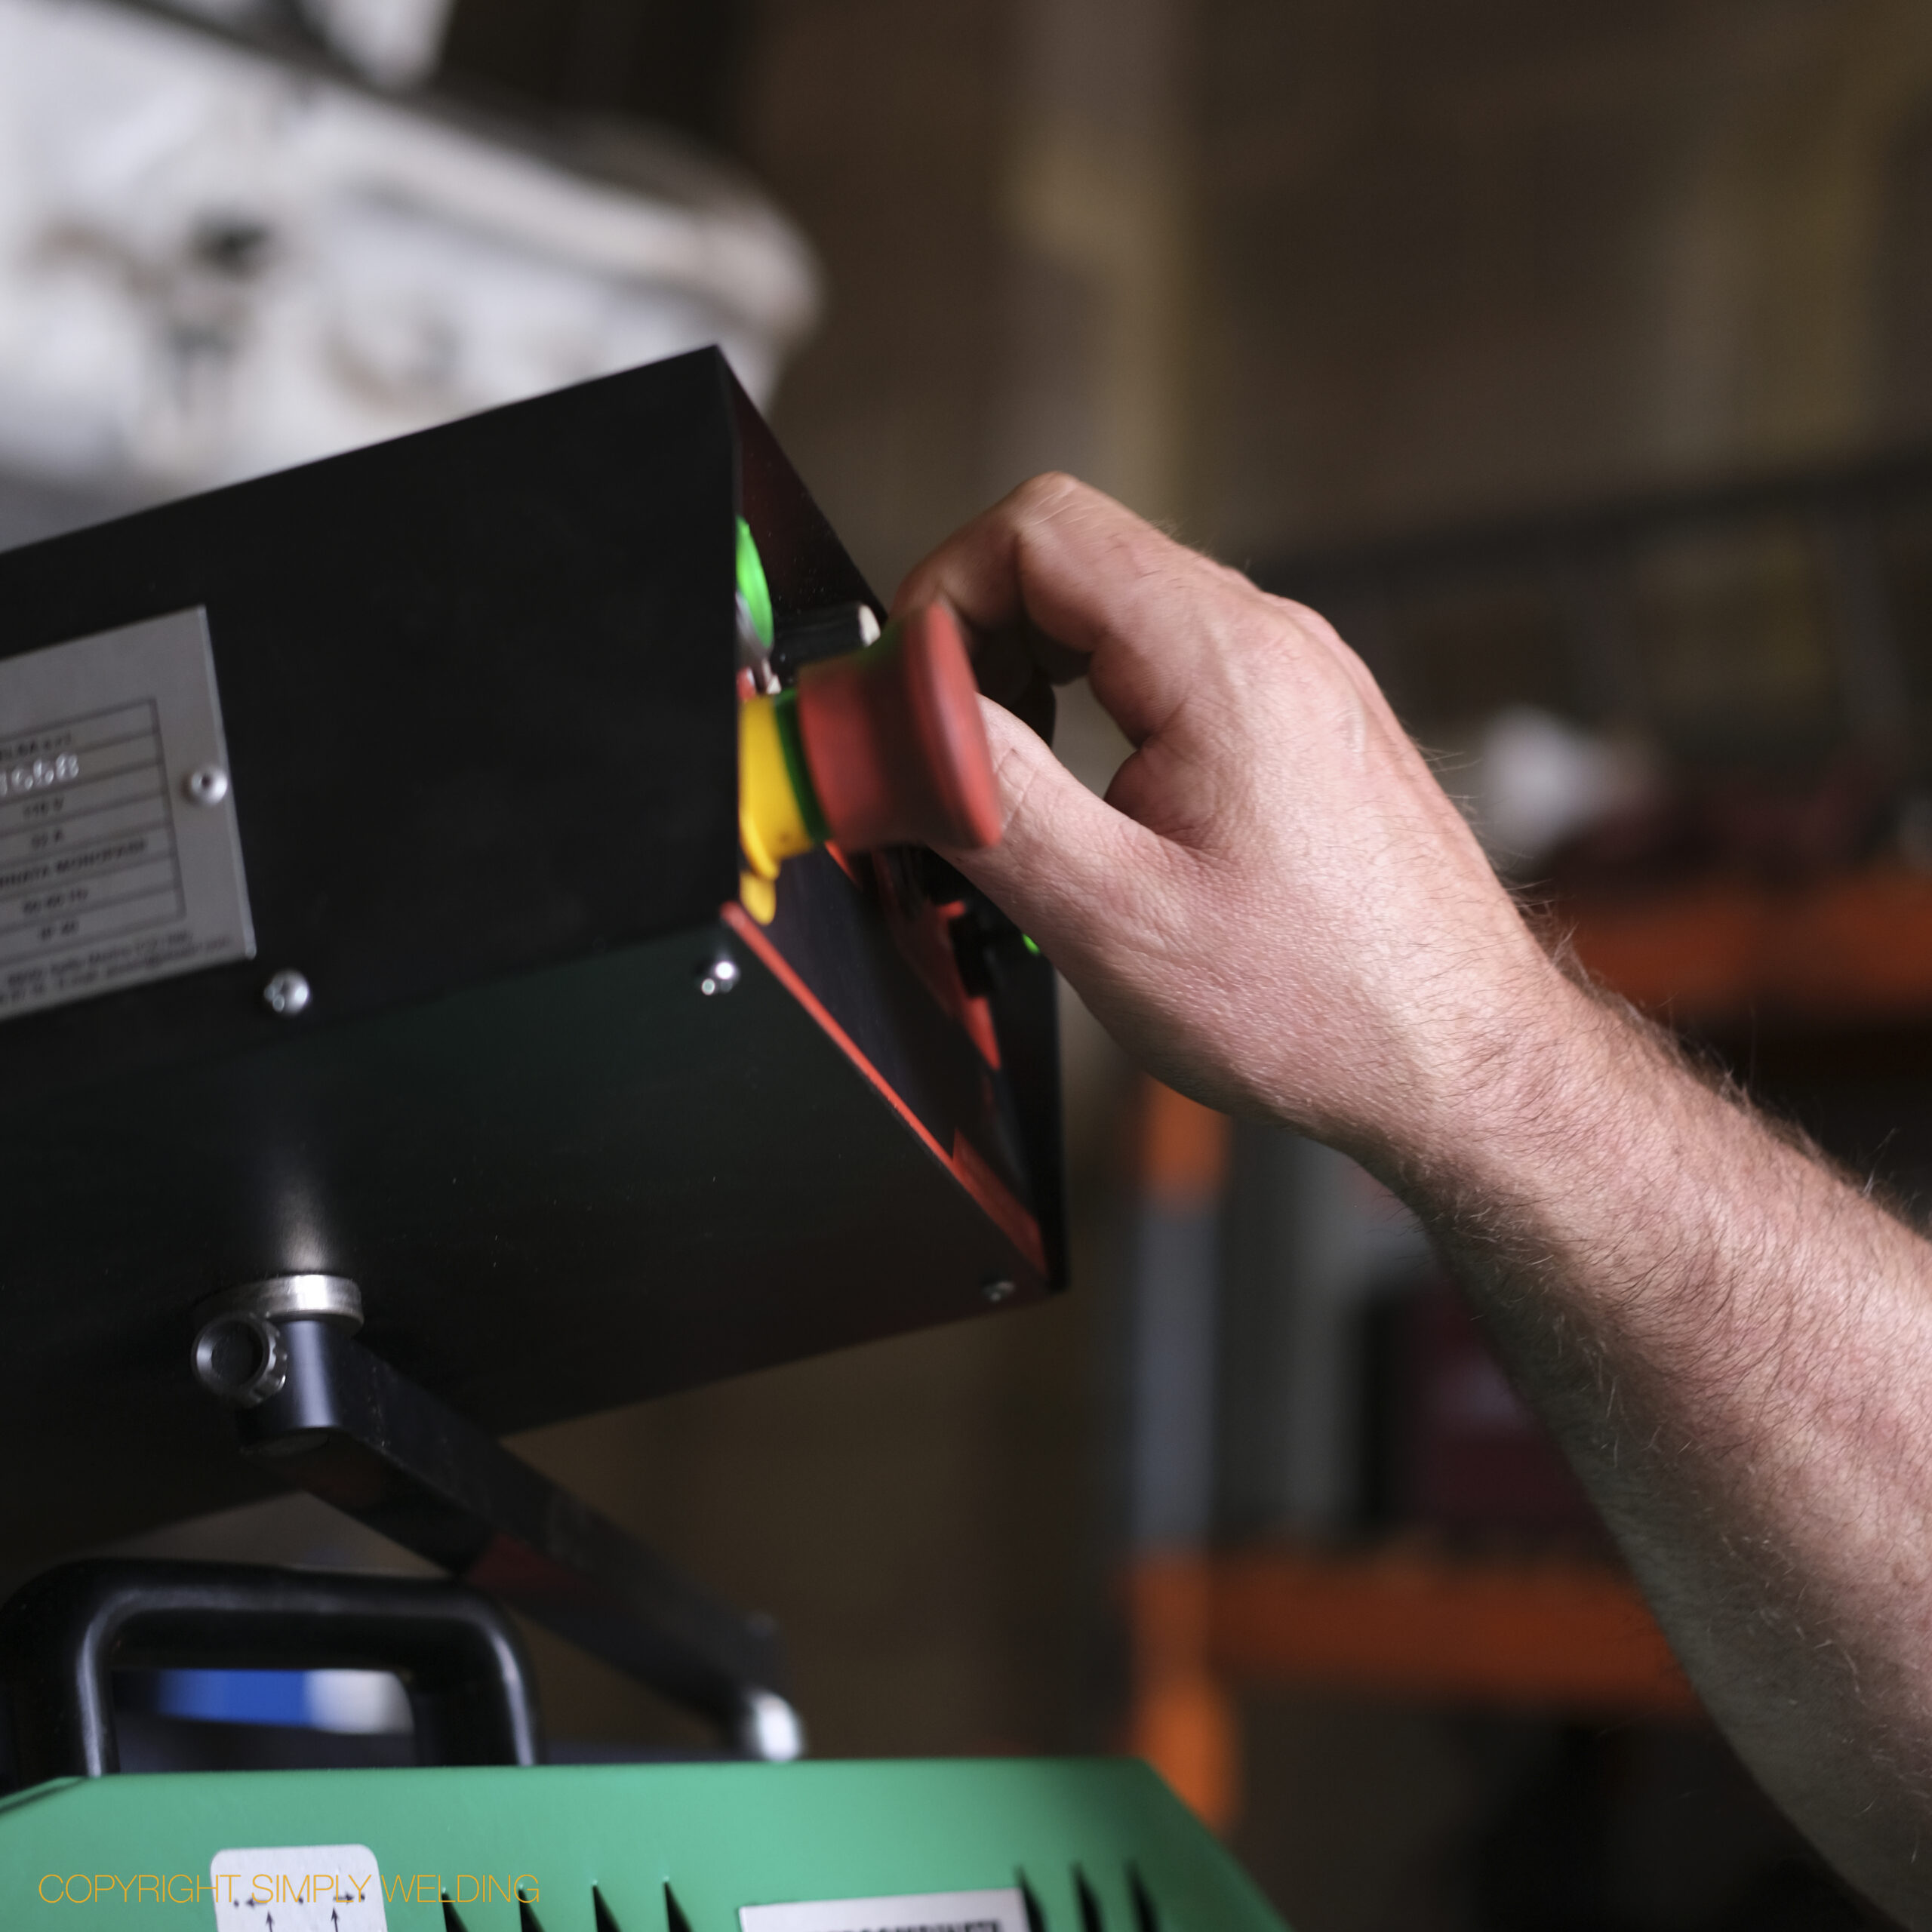
Hand on the line boring machine control box and emergency stop

Manufacturing Kinshofer Hydraulic Ram Rods

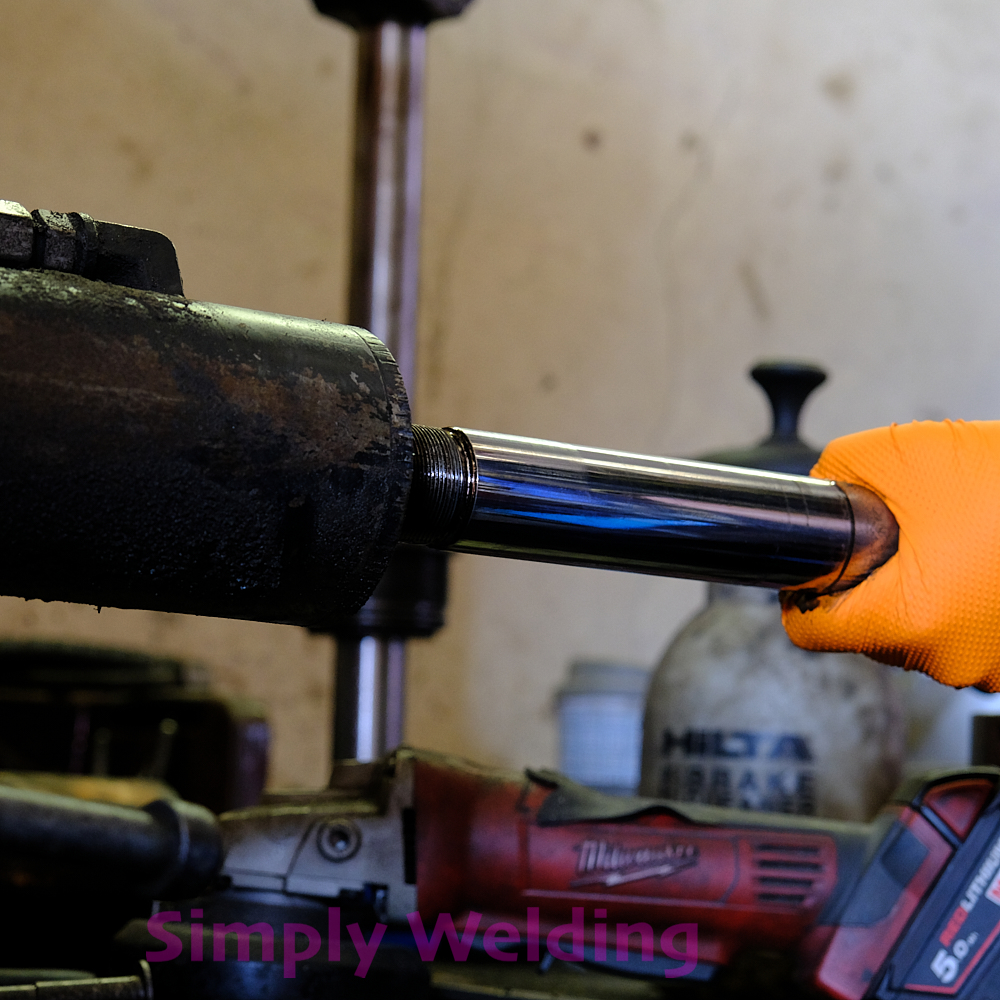
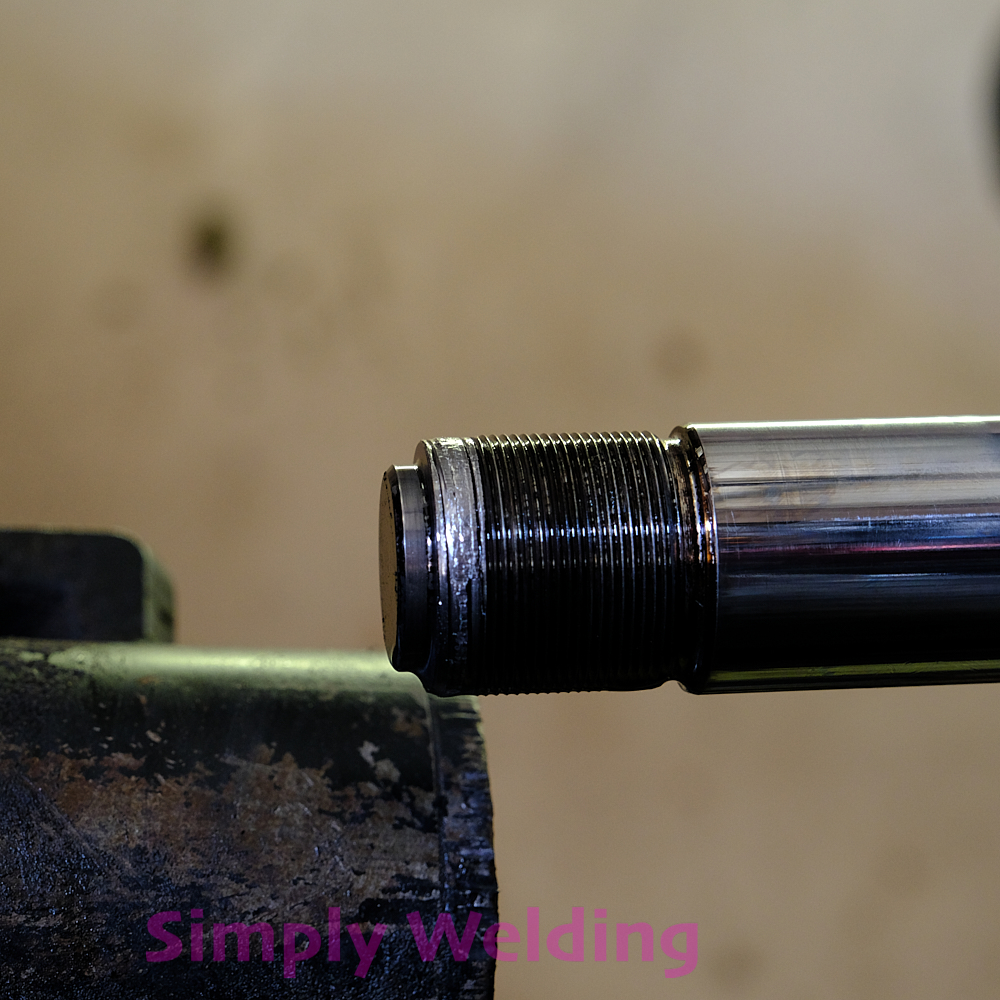
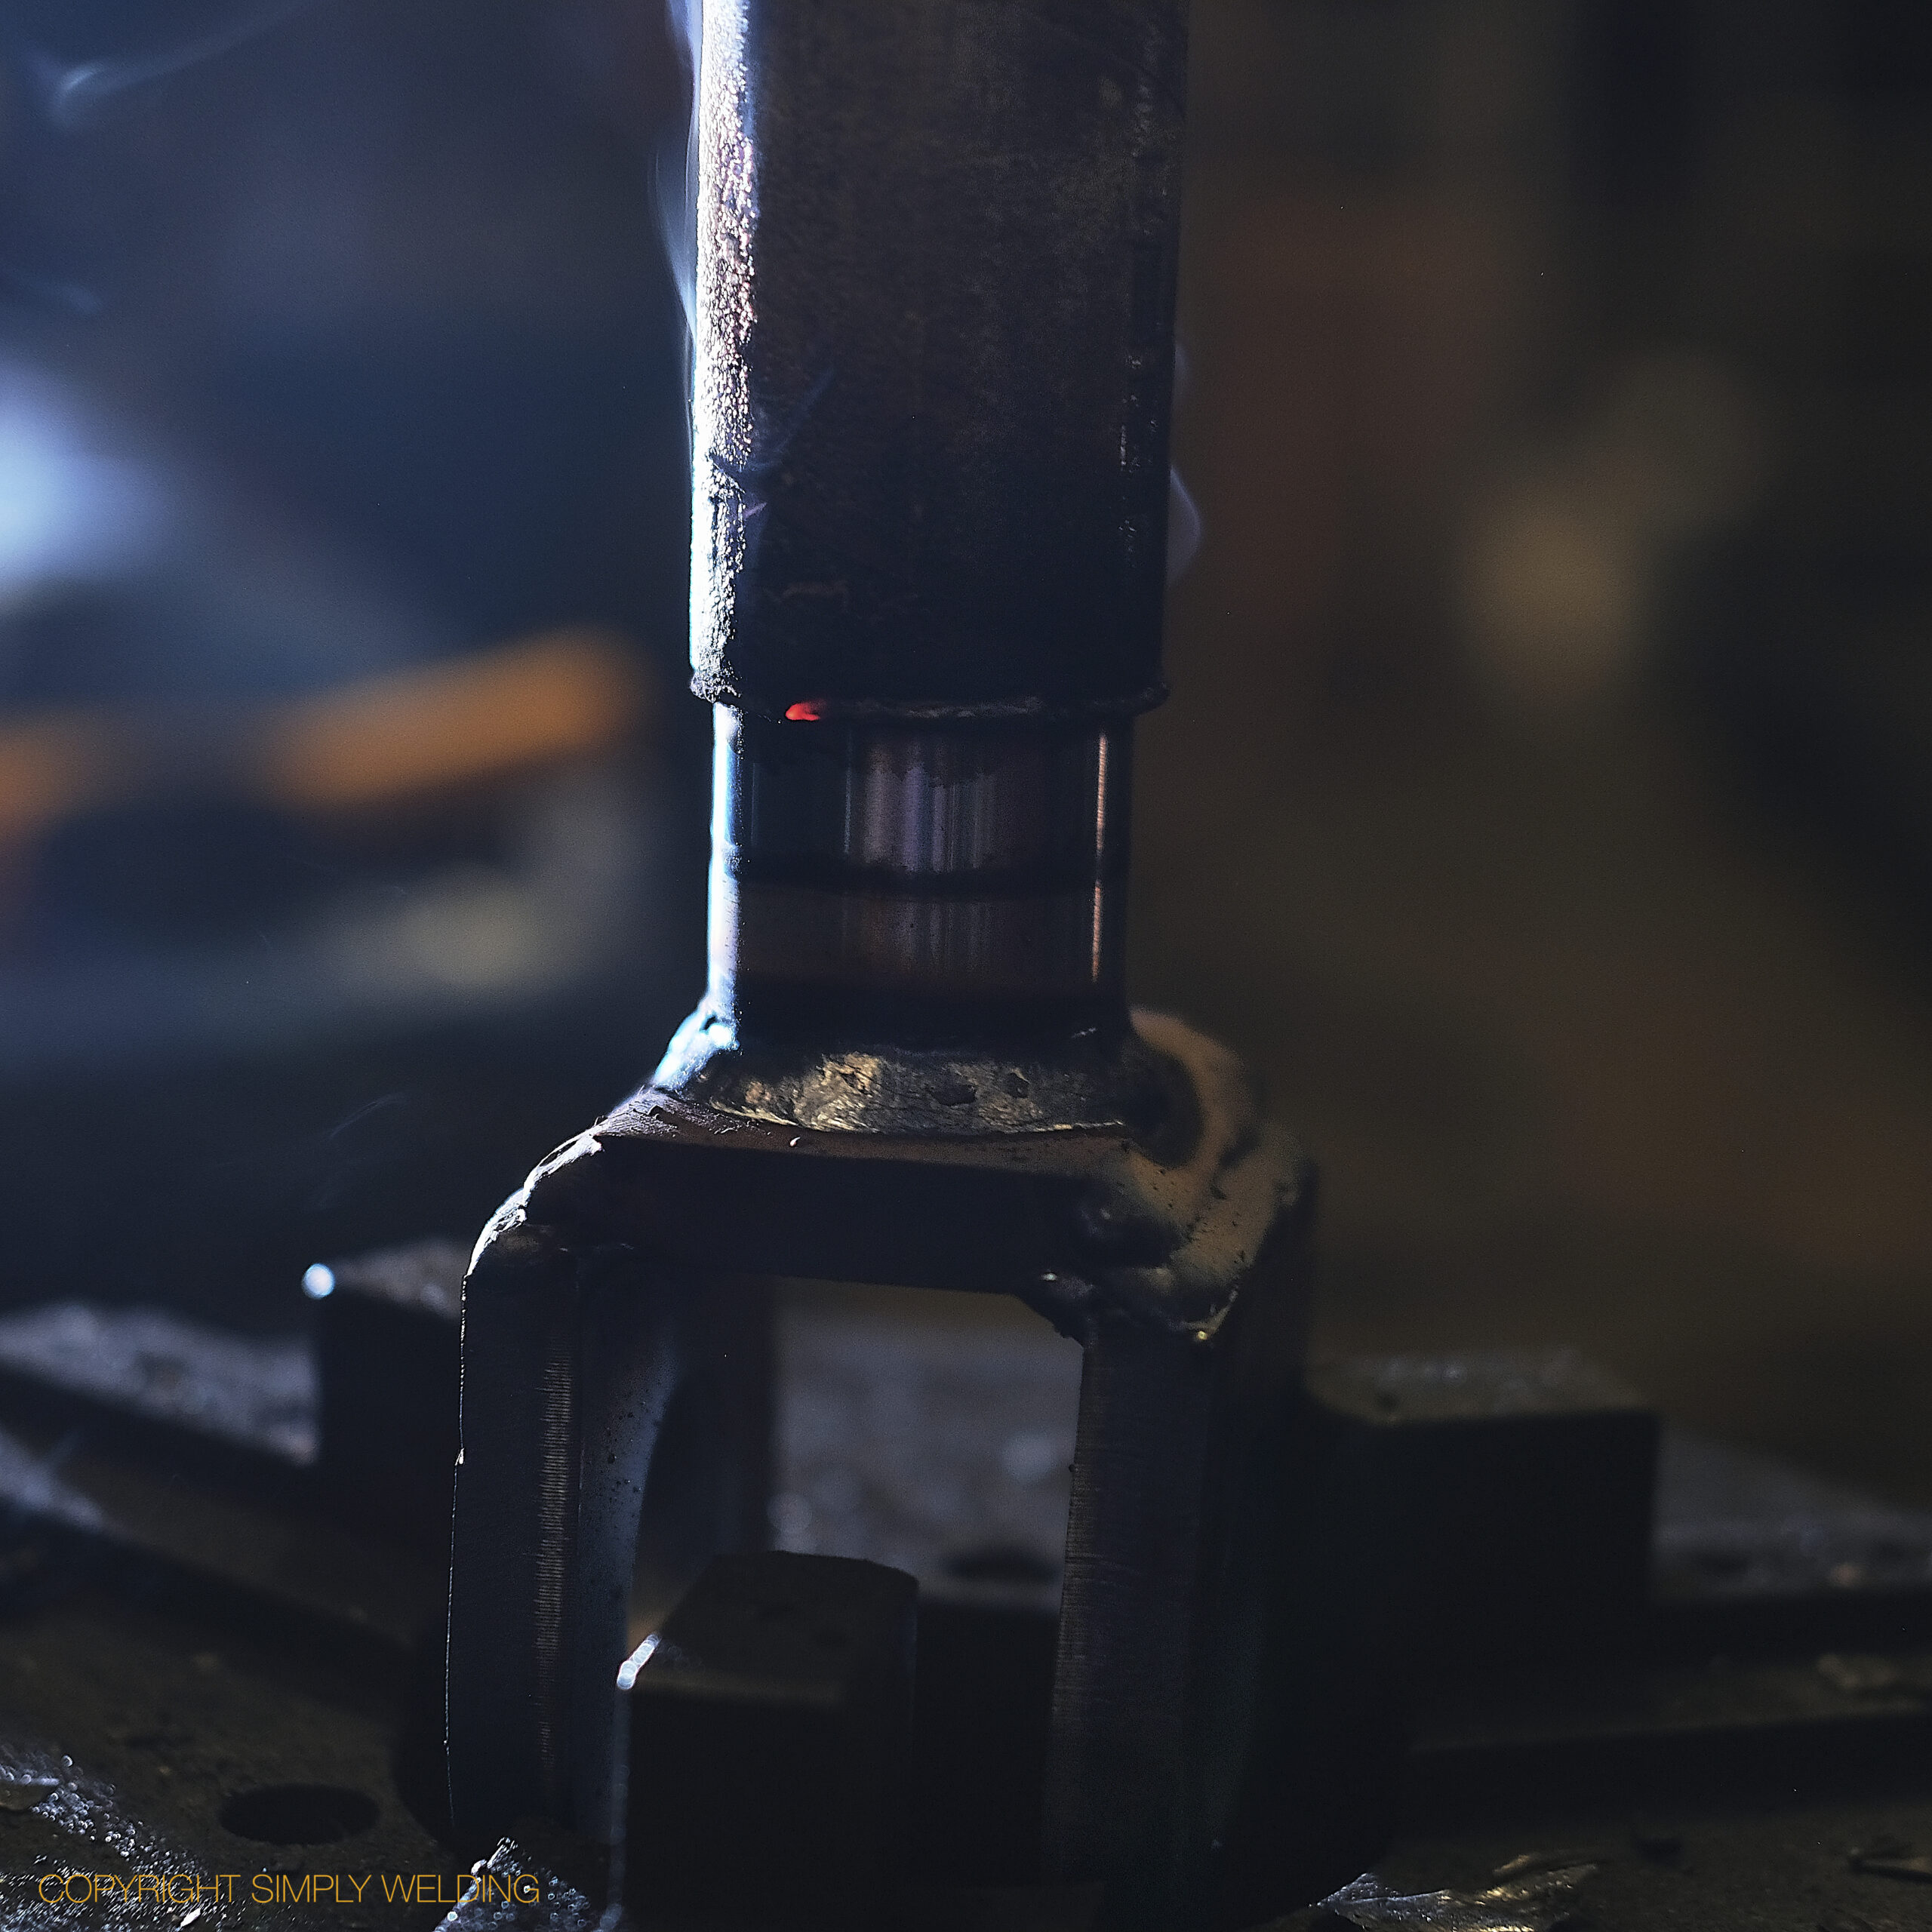
New hydraulic ram rods made for Kinshofer grab buckets in our workshop. The threaded ends were machined, then the clevis ends were weld prepped, preheated and MIG welded on.
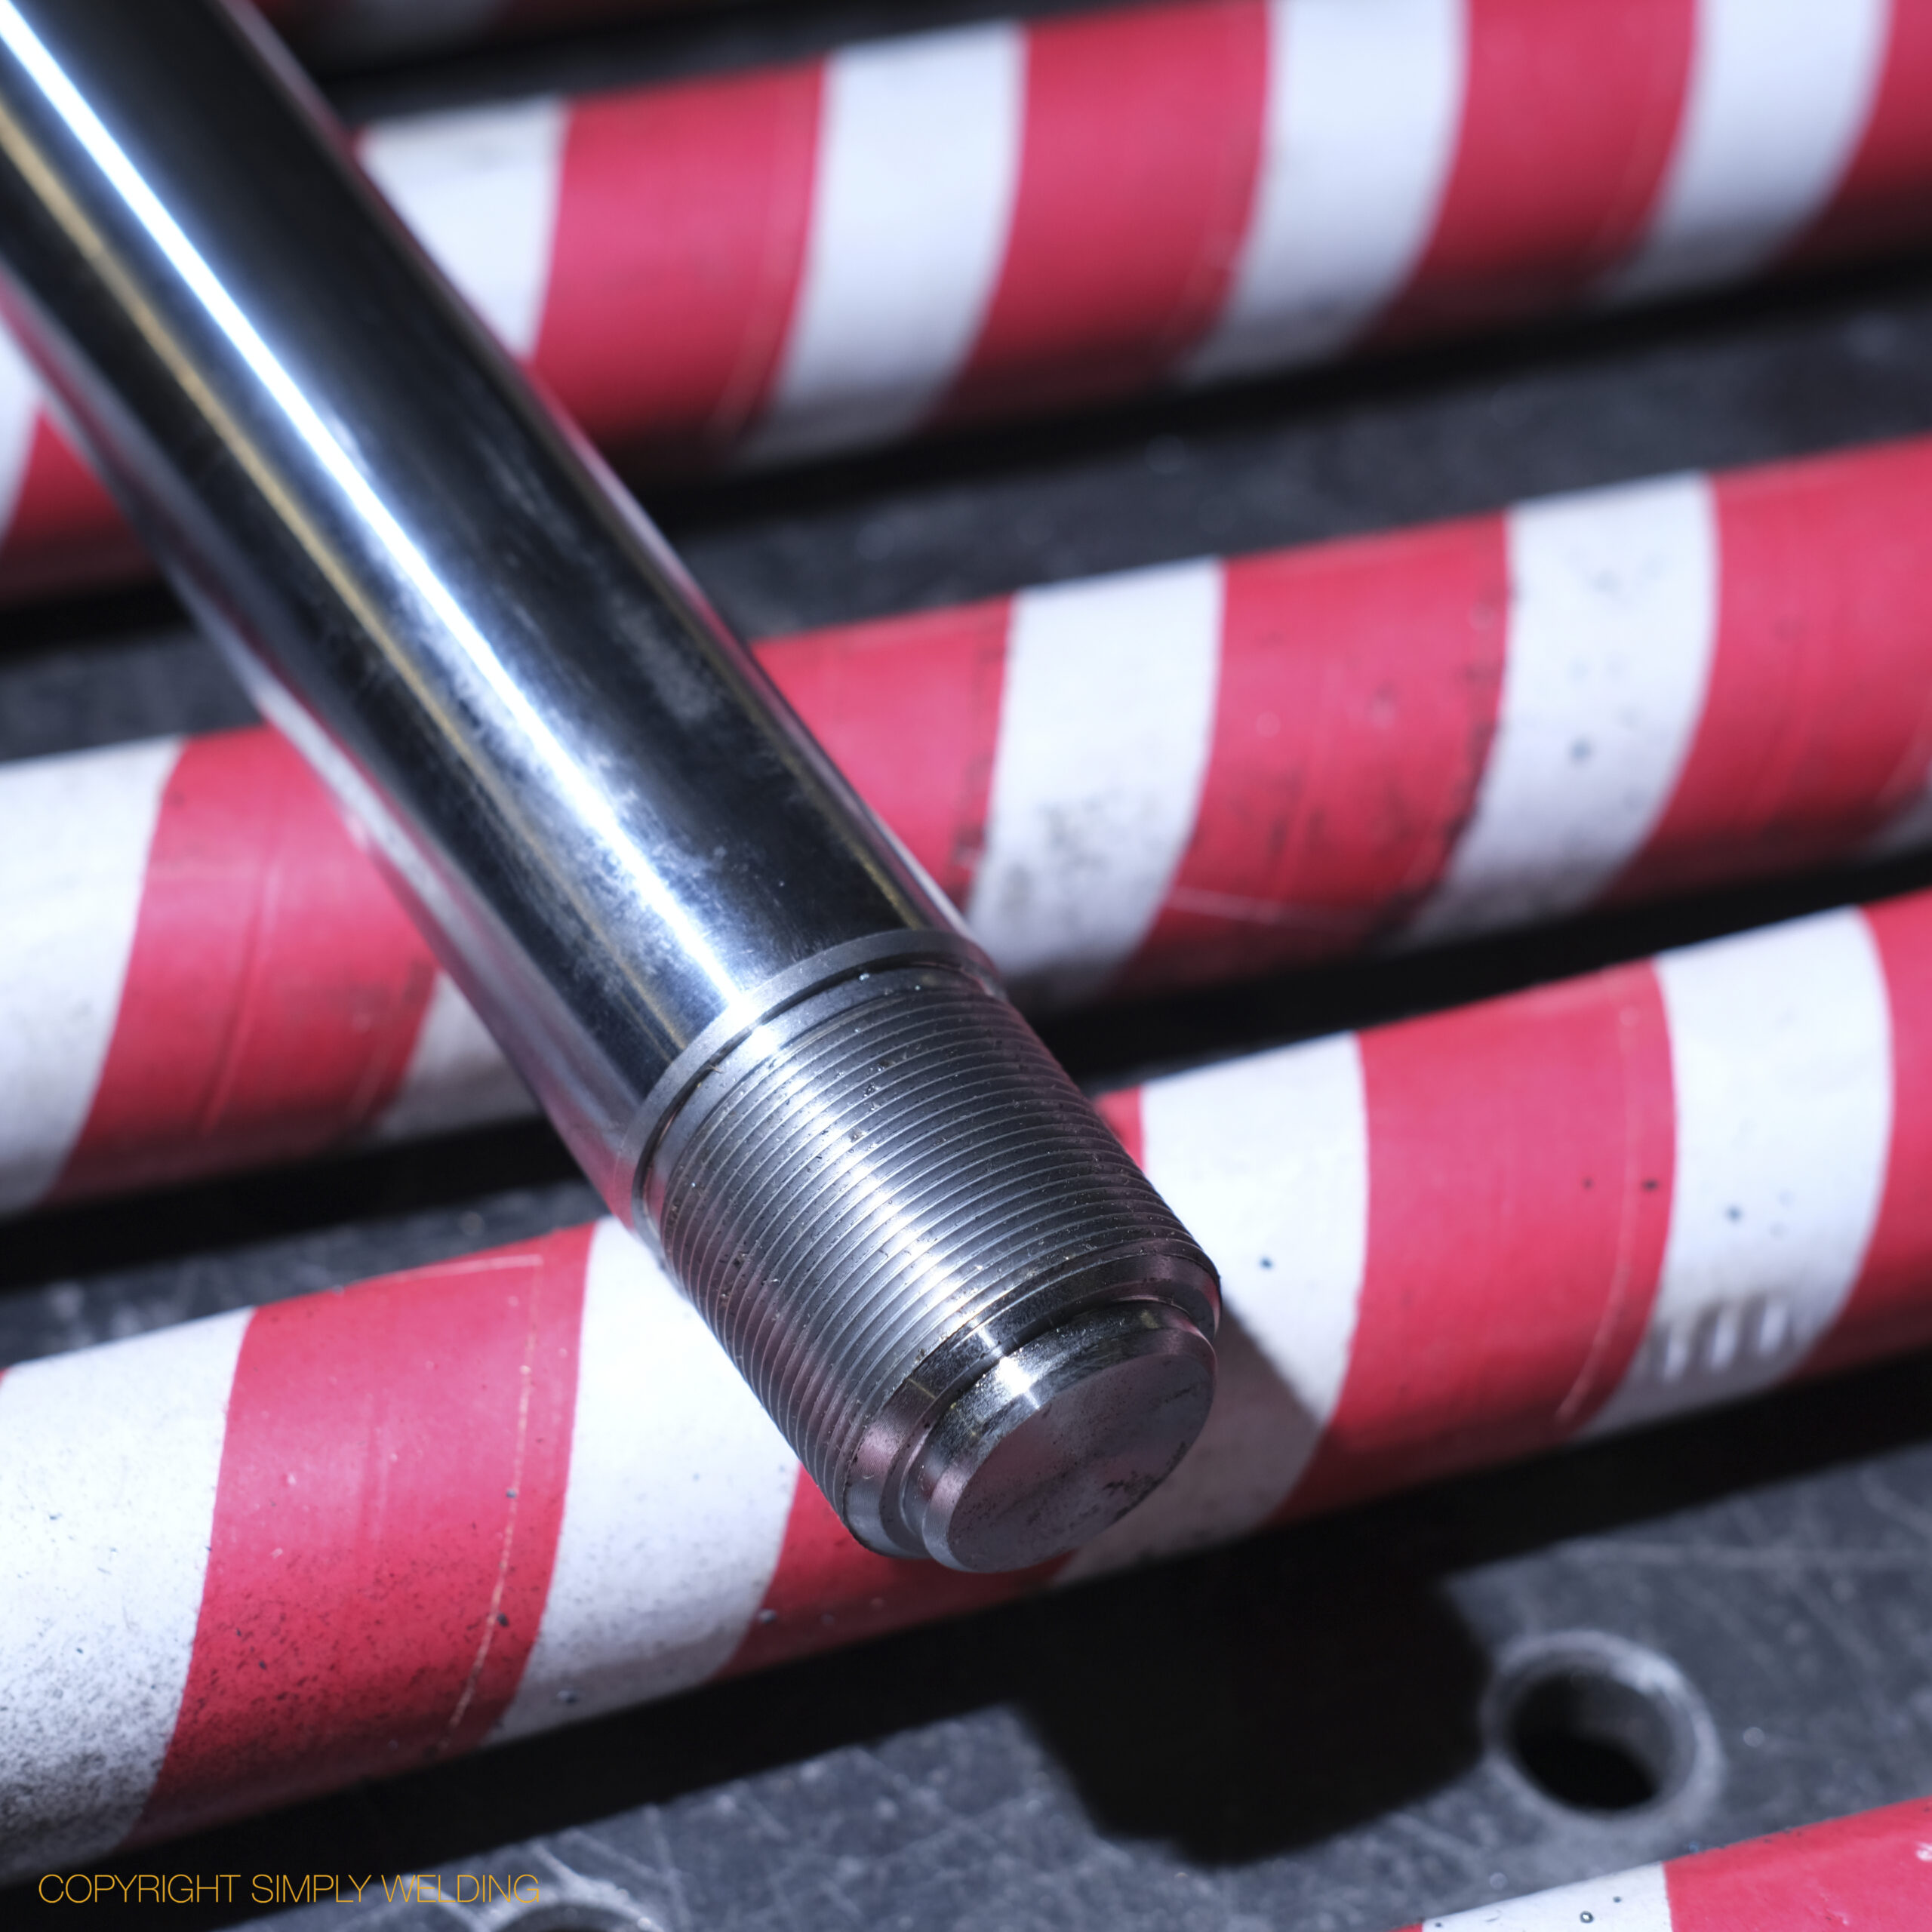
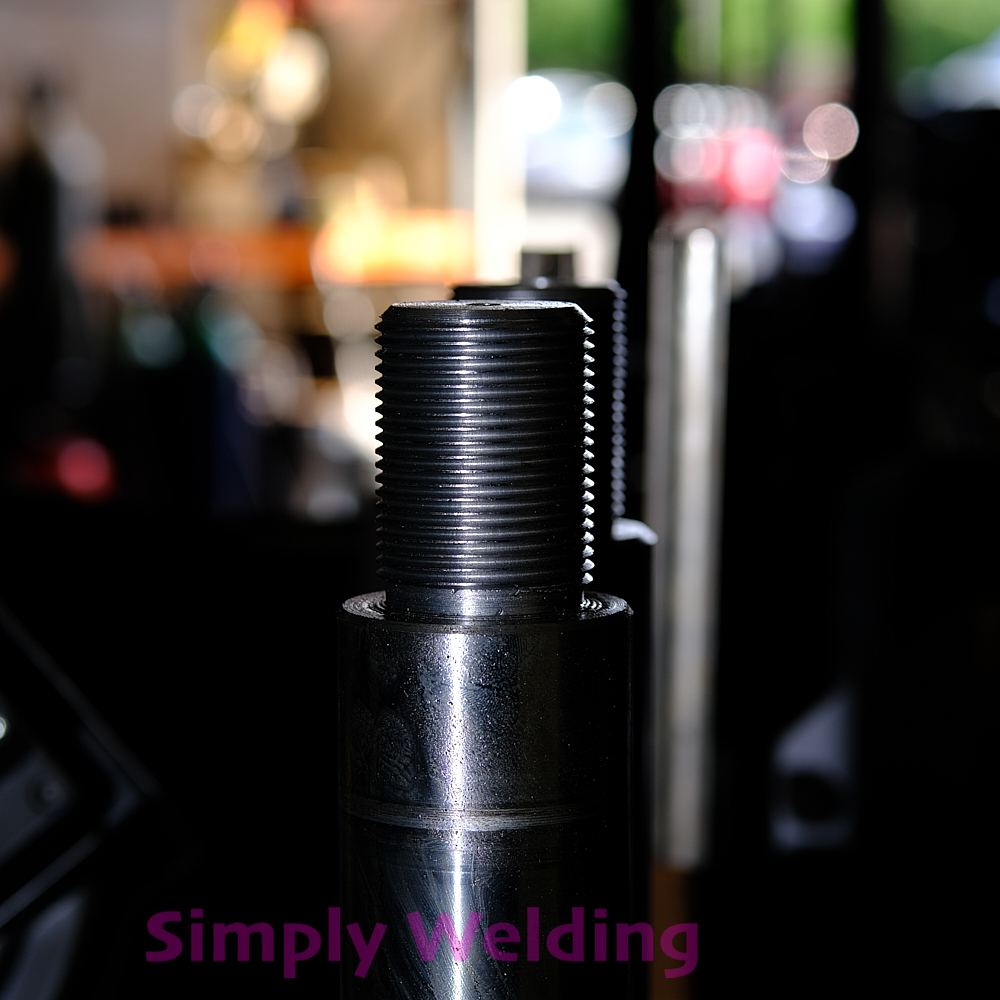
Machined threaded end of a new chrome hydraulic ram rod
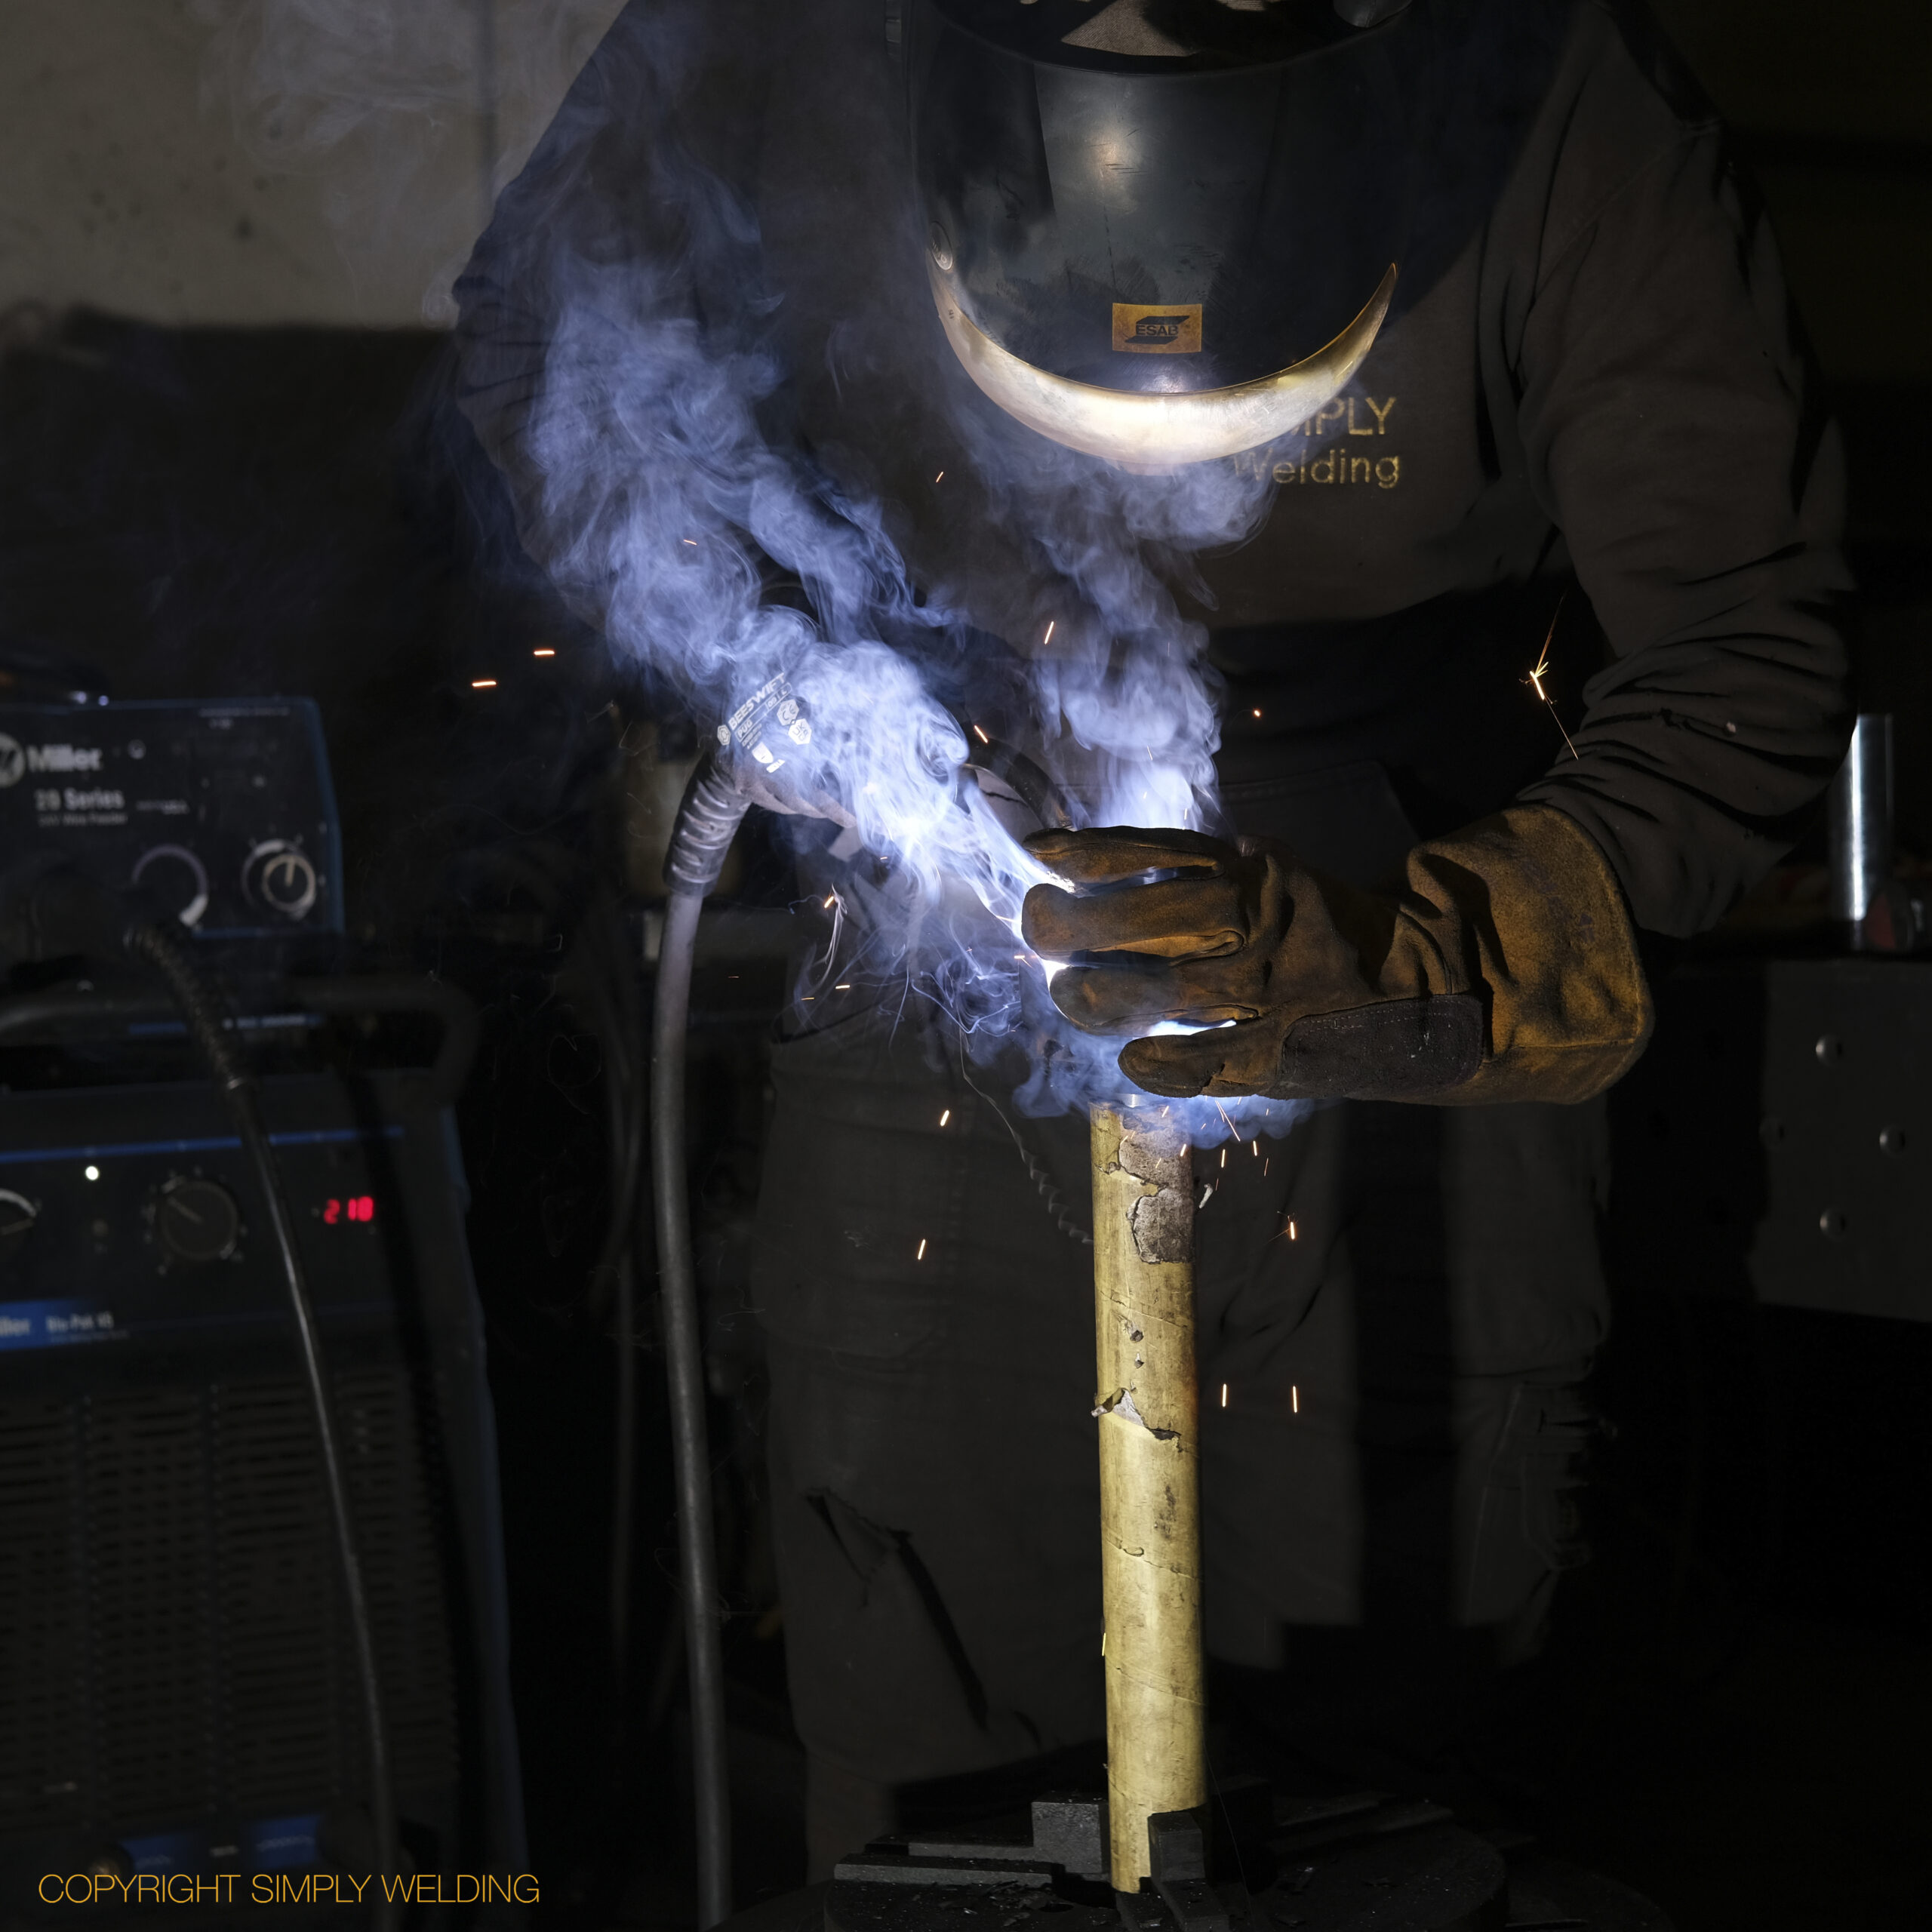
Welder MIG welding the clevis end of a Kinshofer hydraulic ram rod
MIG welding a clevis onto a Kinshofer hydraulic ram rod
Gas torch preheating a ram rod and clevis before welding
Preheating the weld-prepped end of a hydraulic ram rod with a gas torch
Welding round a ram rod clevis joint, with an infrared thermometer to hand
Close-up of a finished weld between a hydraulic ram rod and its clevis
Batch of new Kinshofer ram rods with clevis ends welded on

Seized Pin Removal on a JCB Telehandler

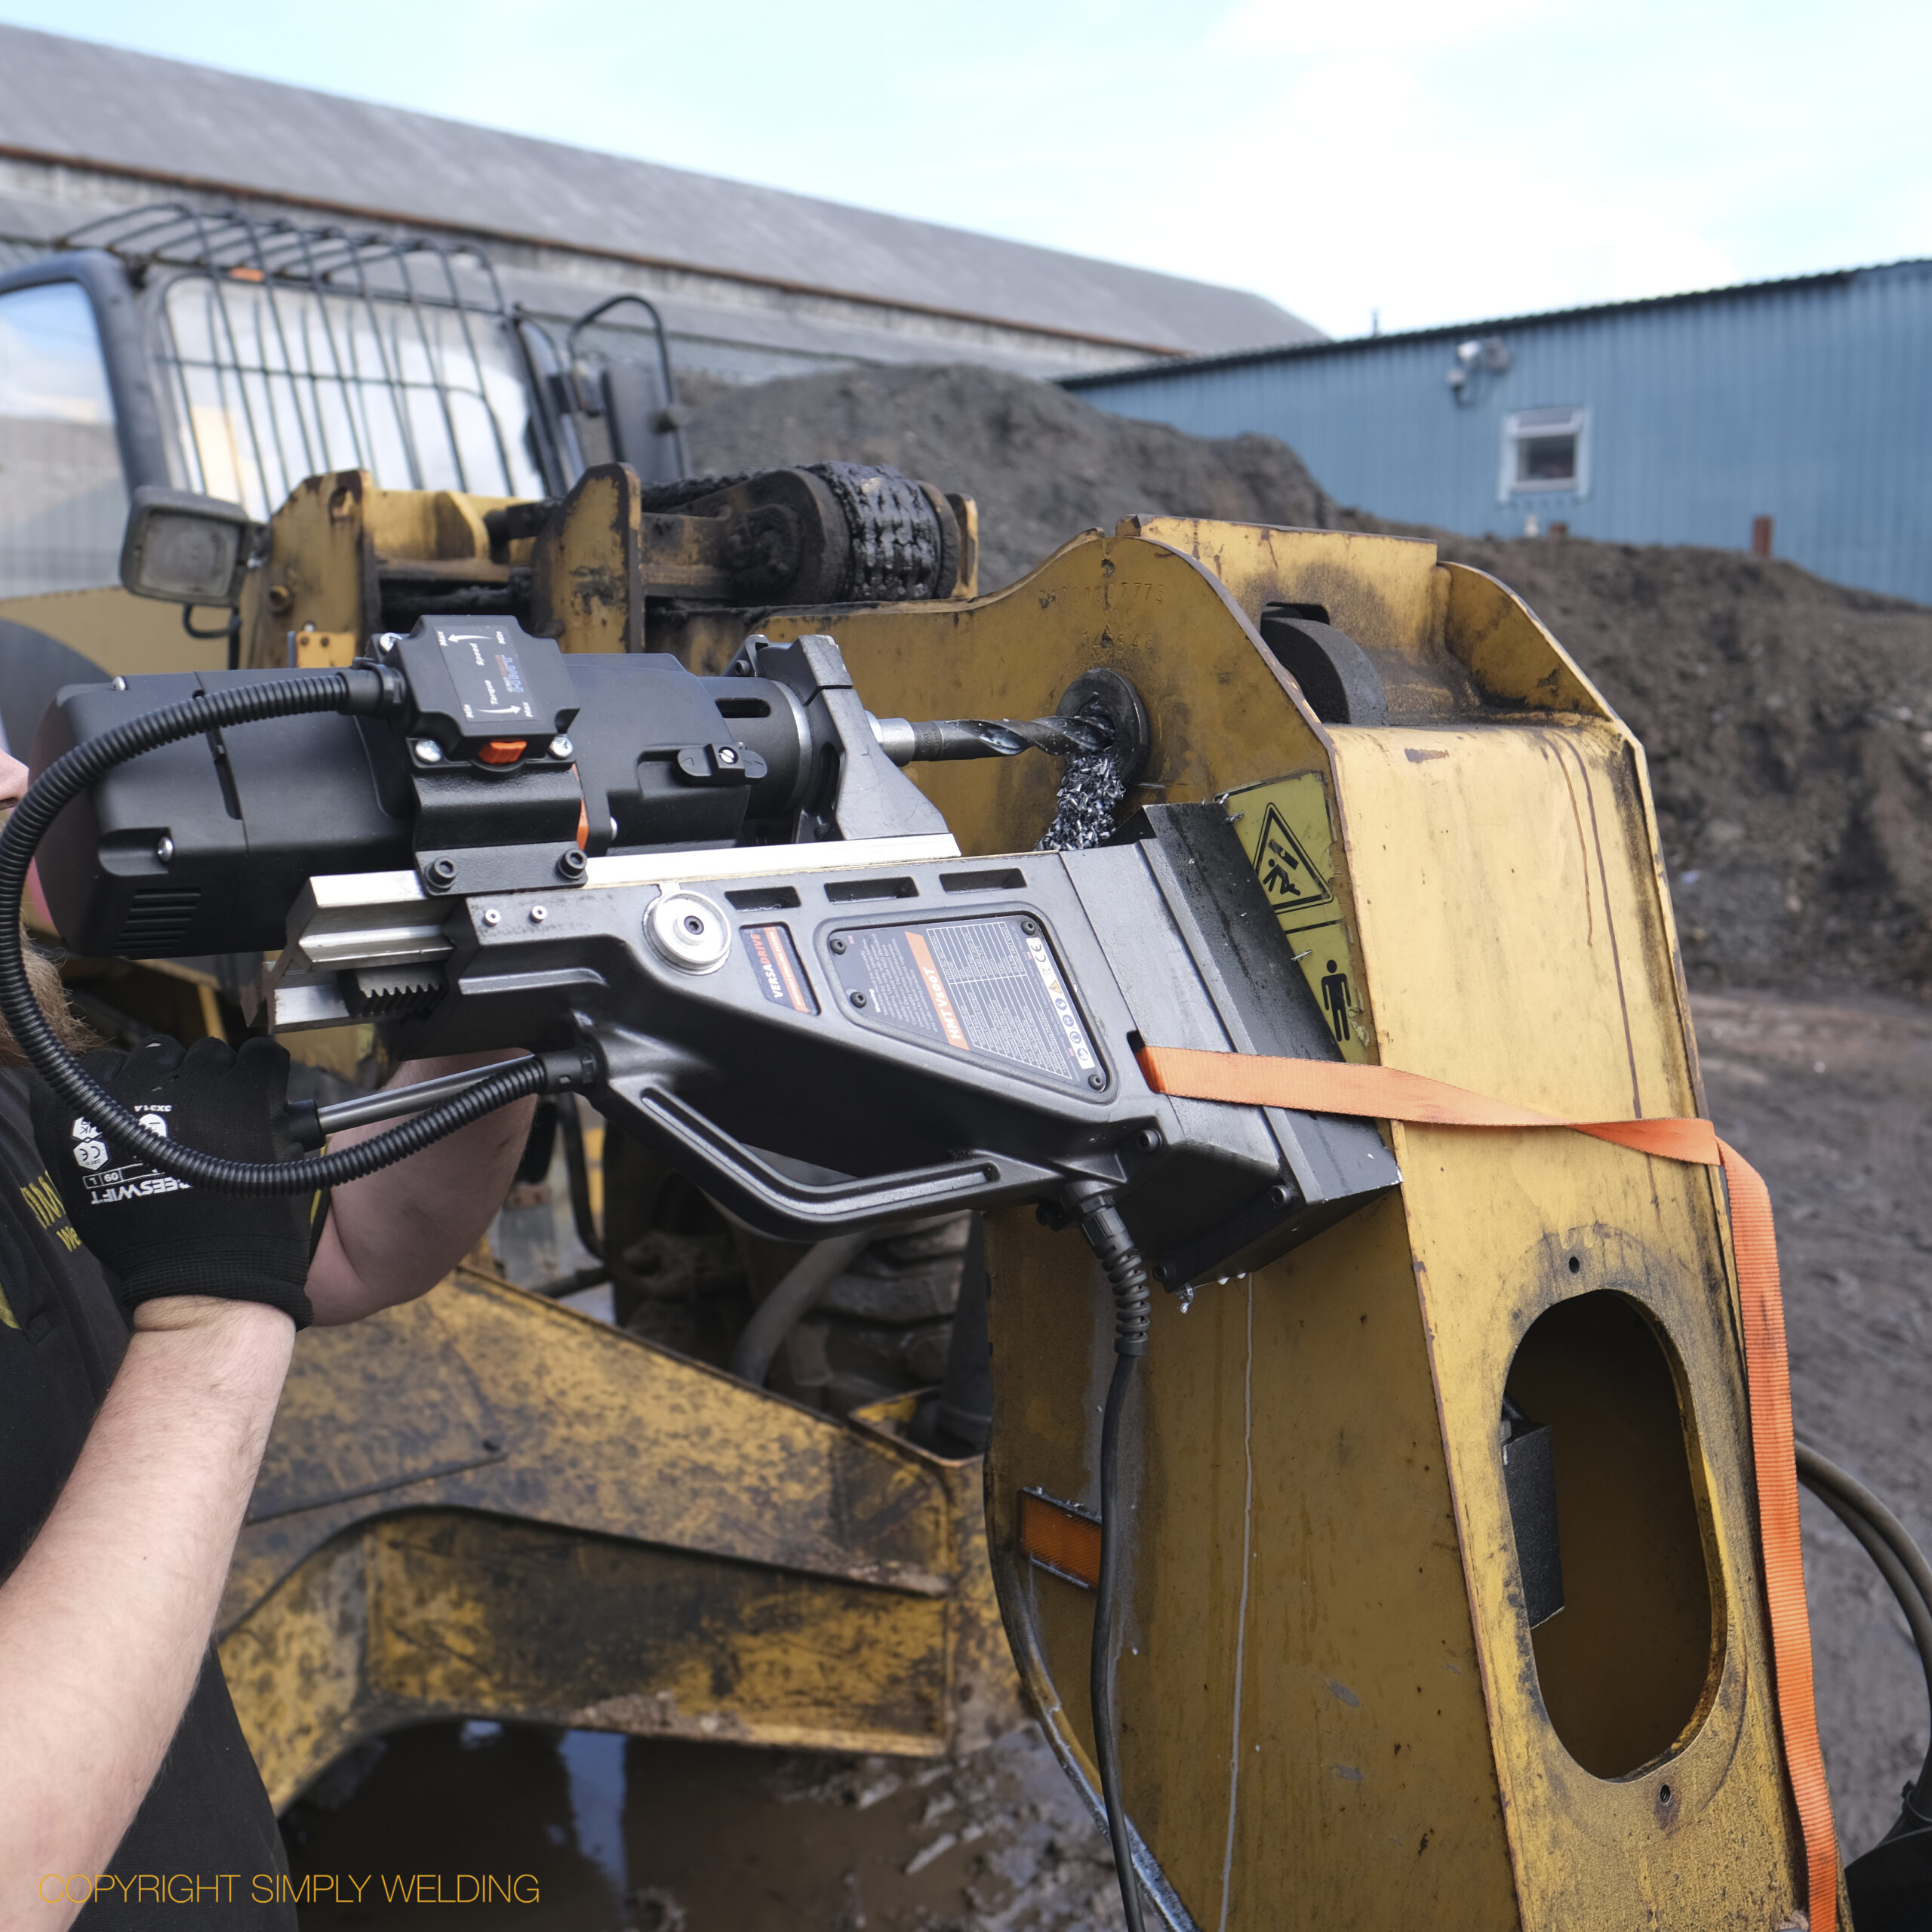
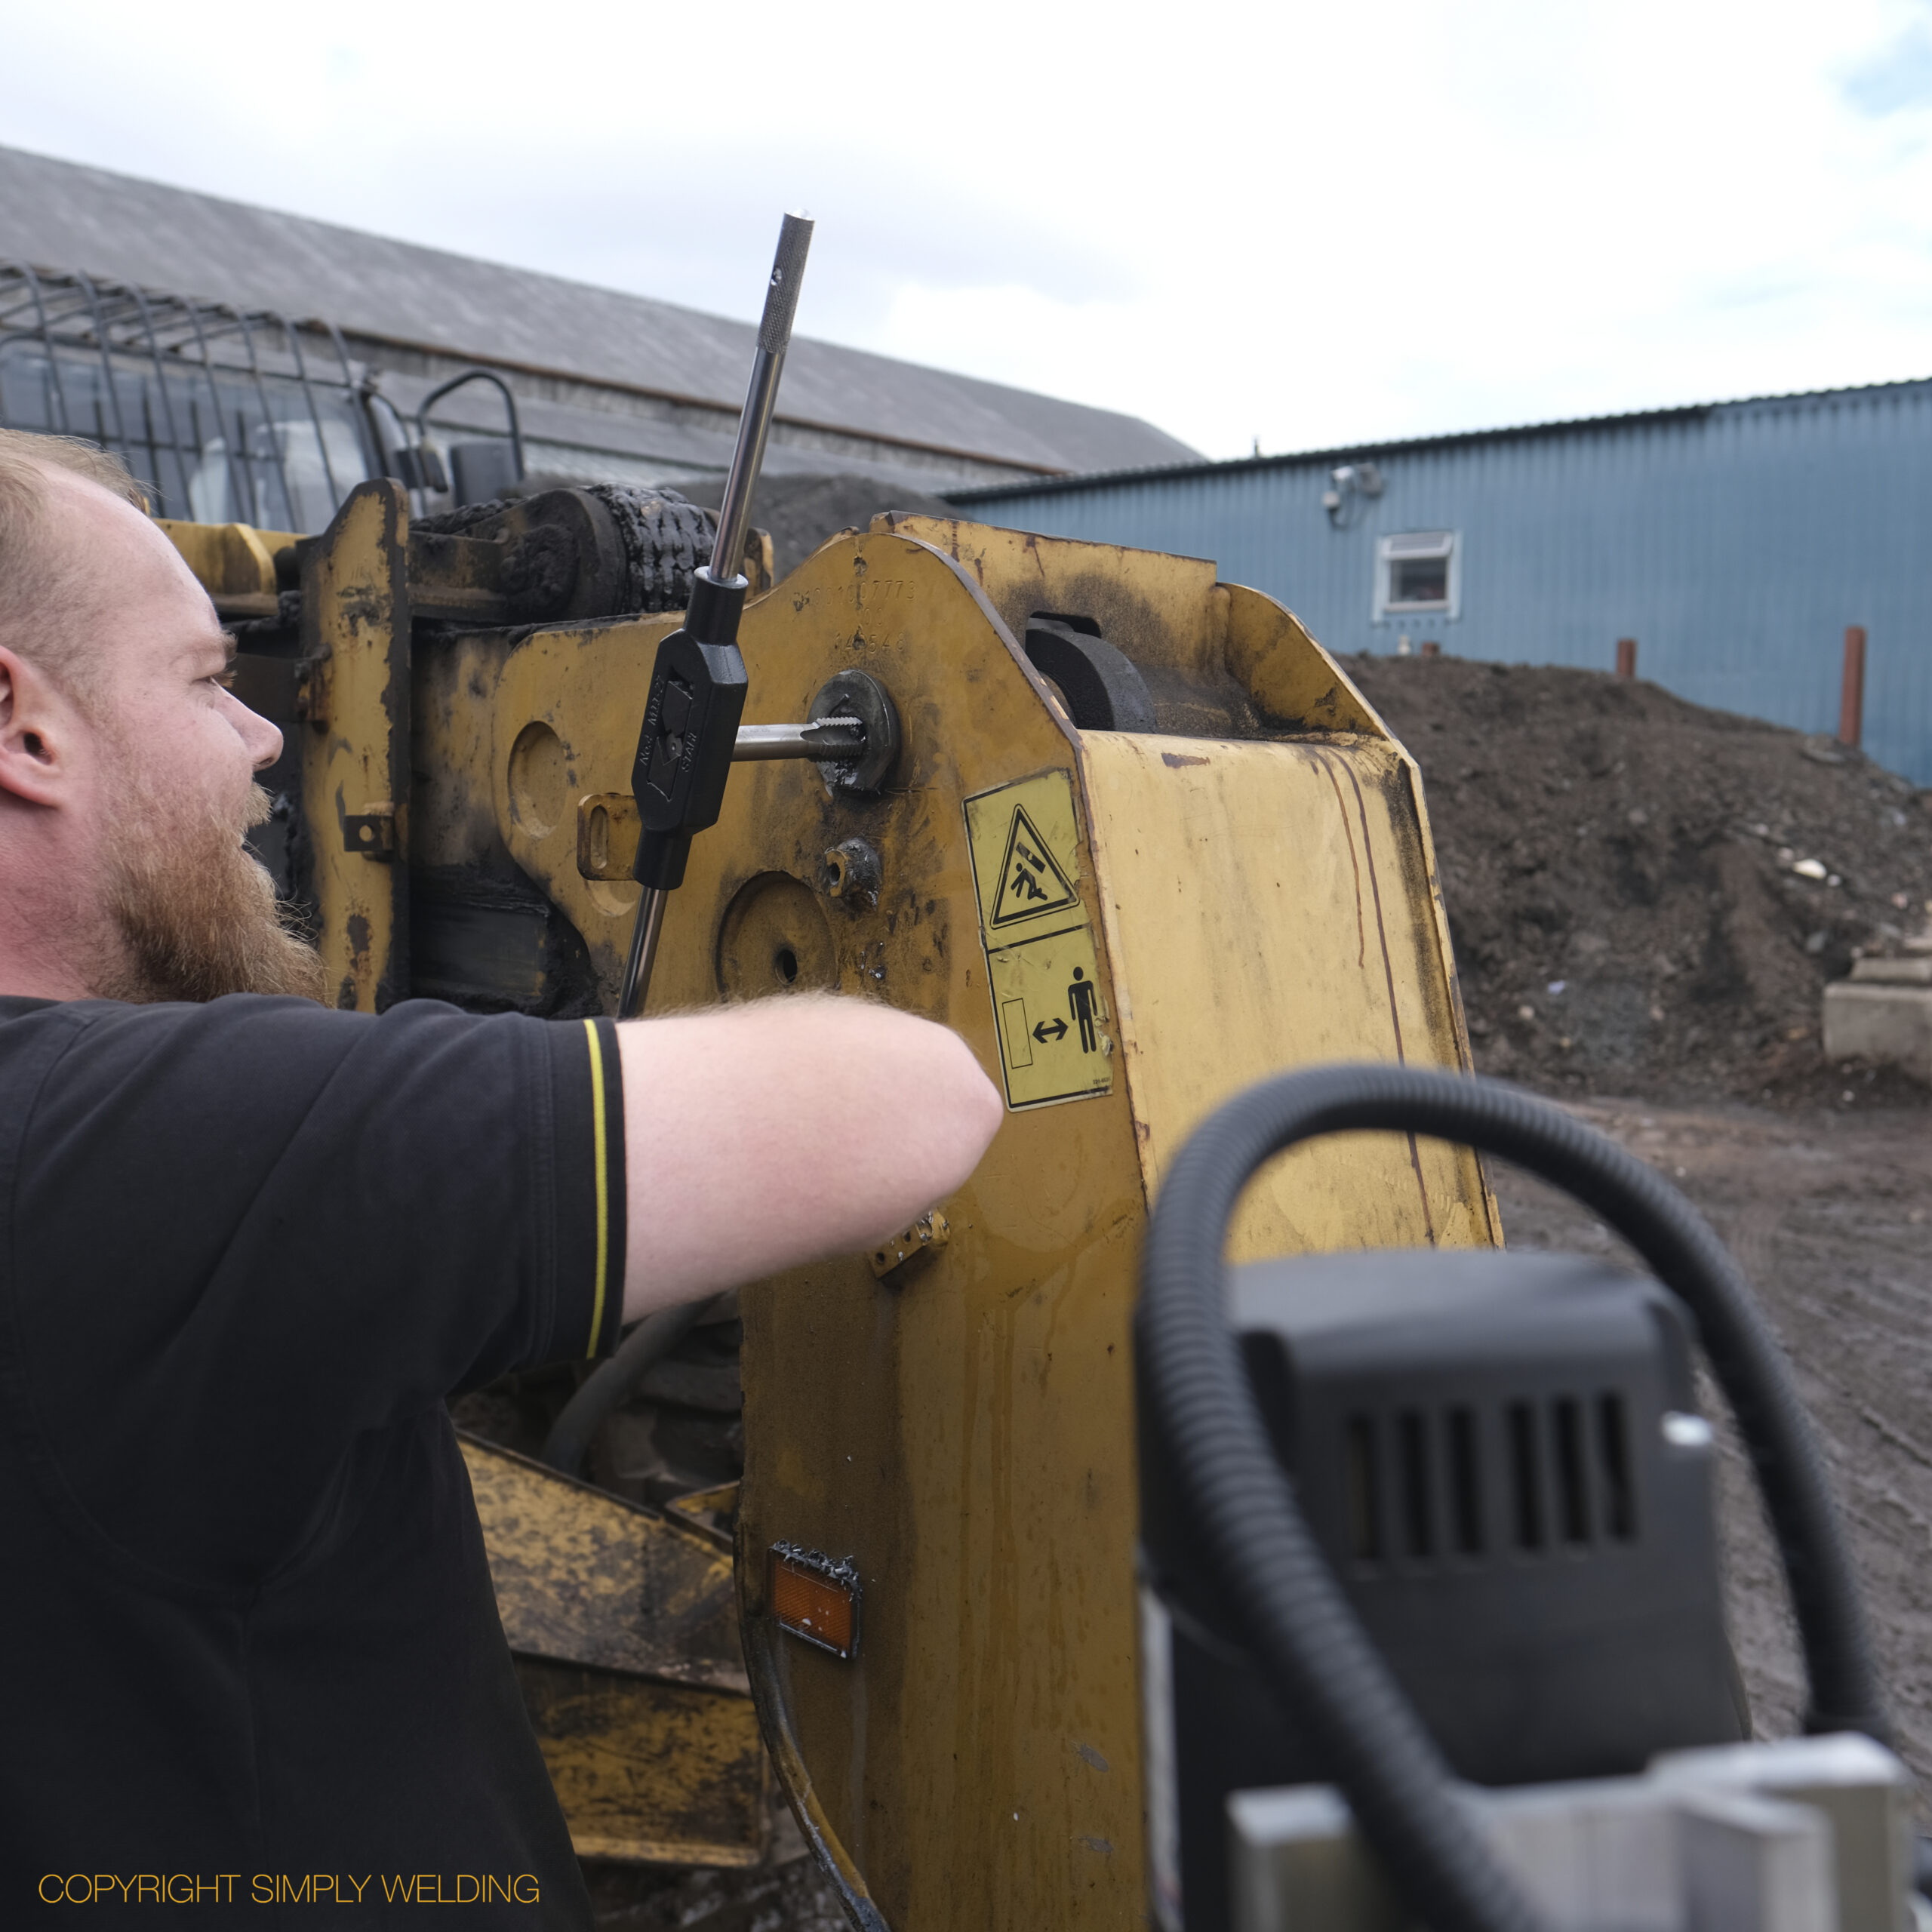
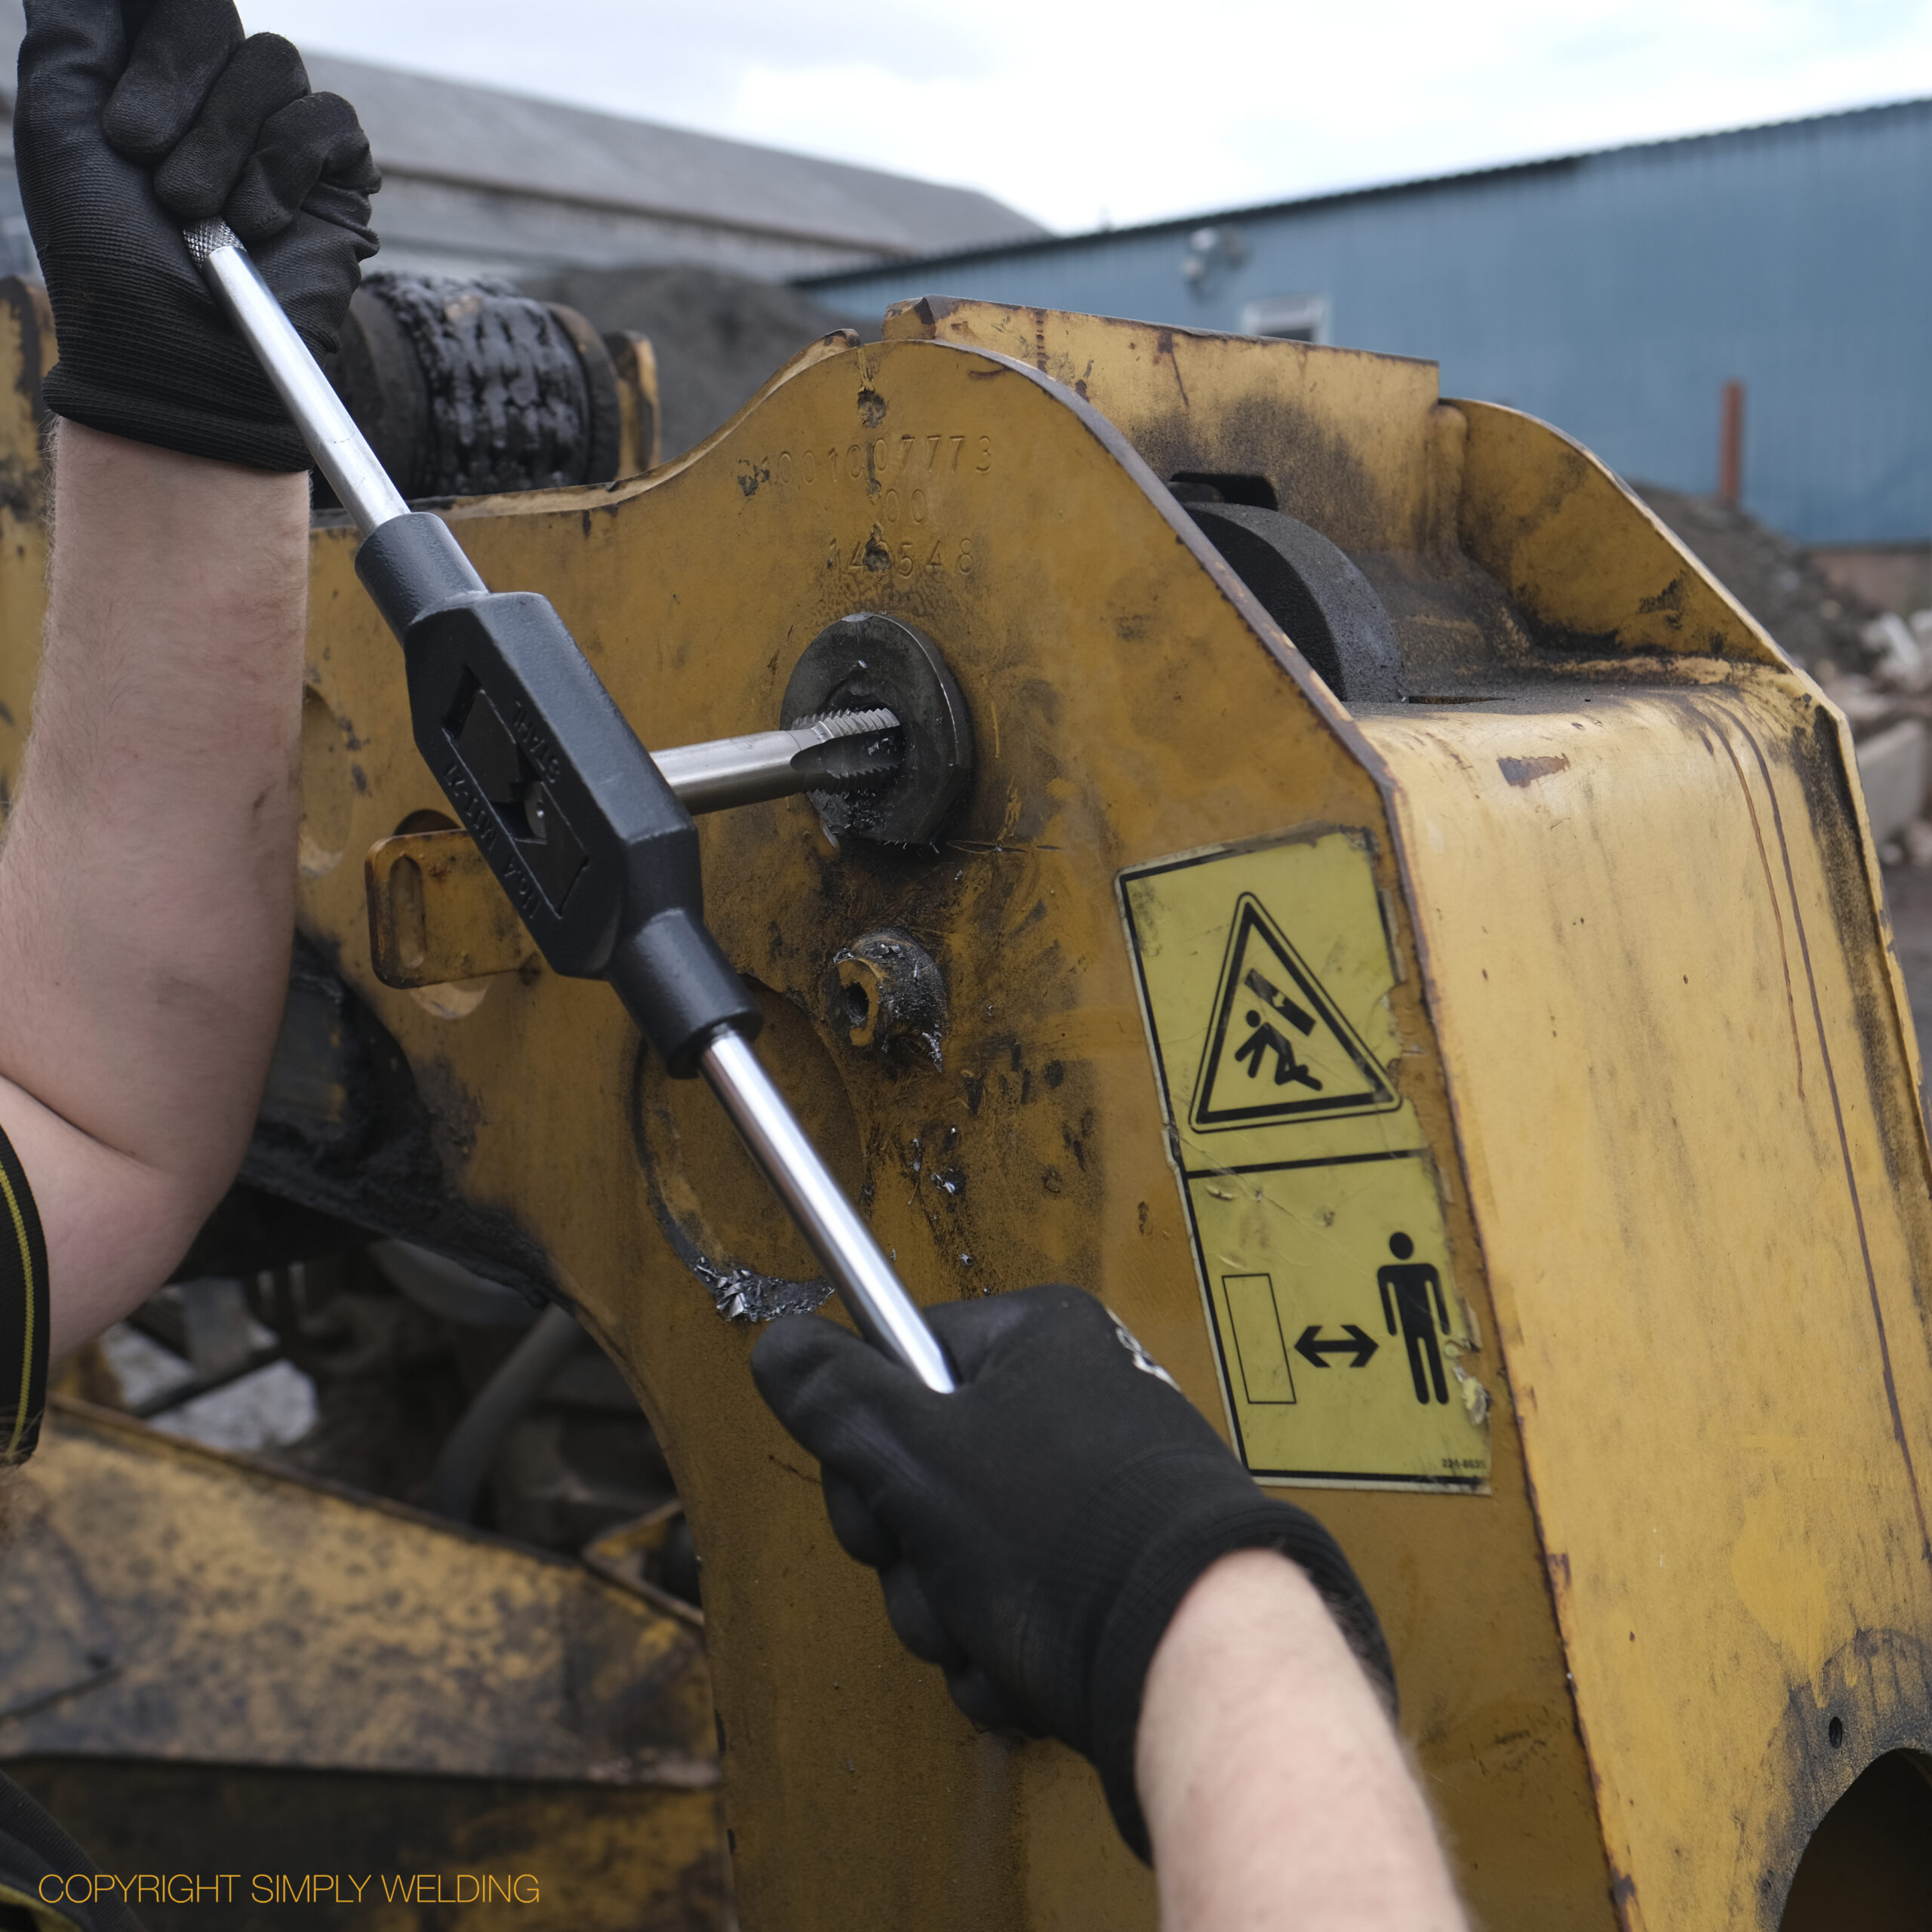
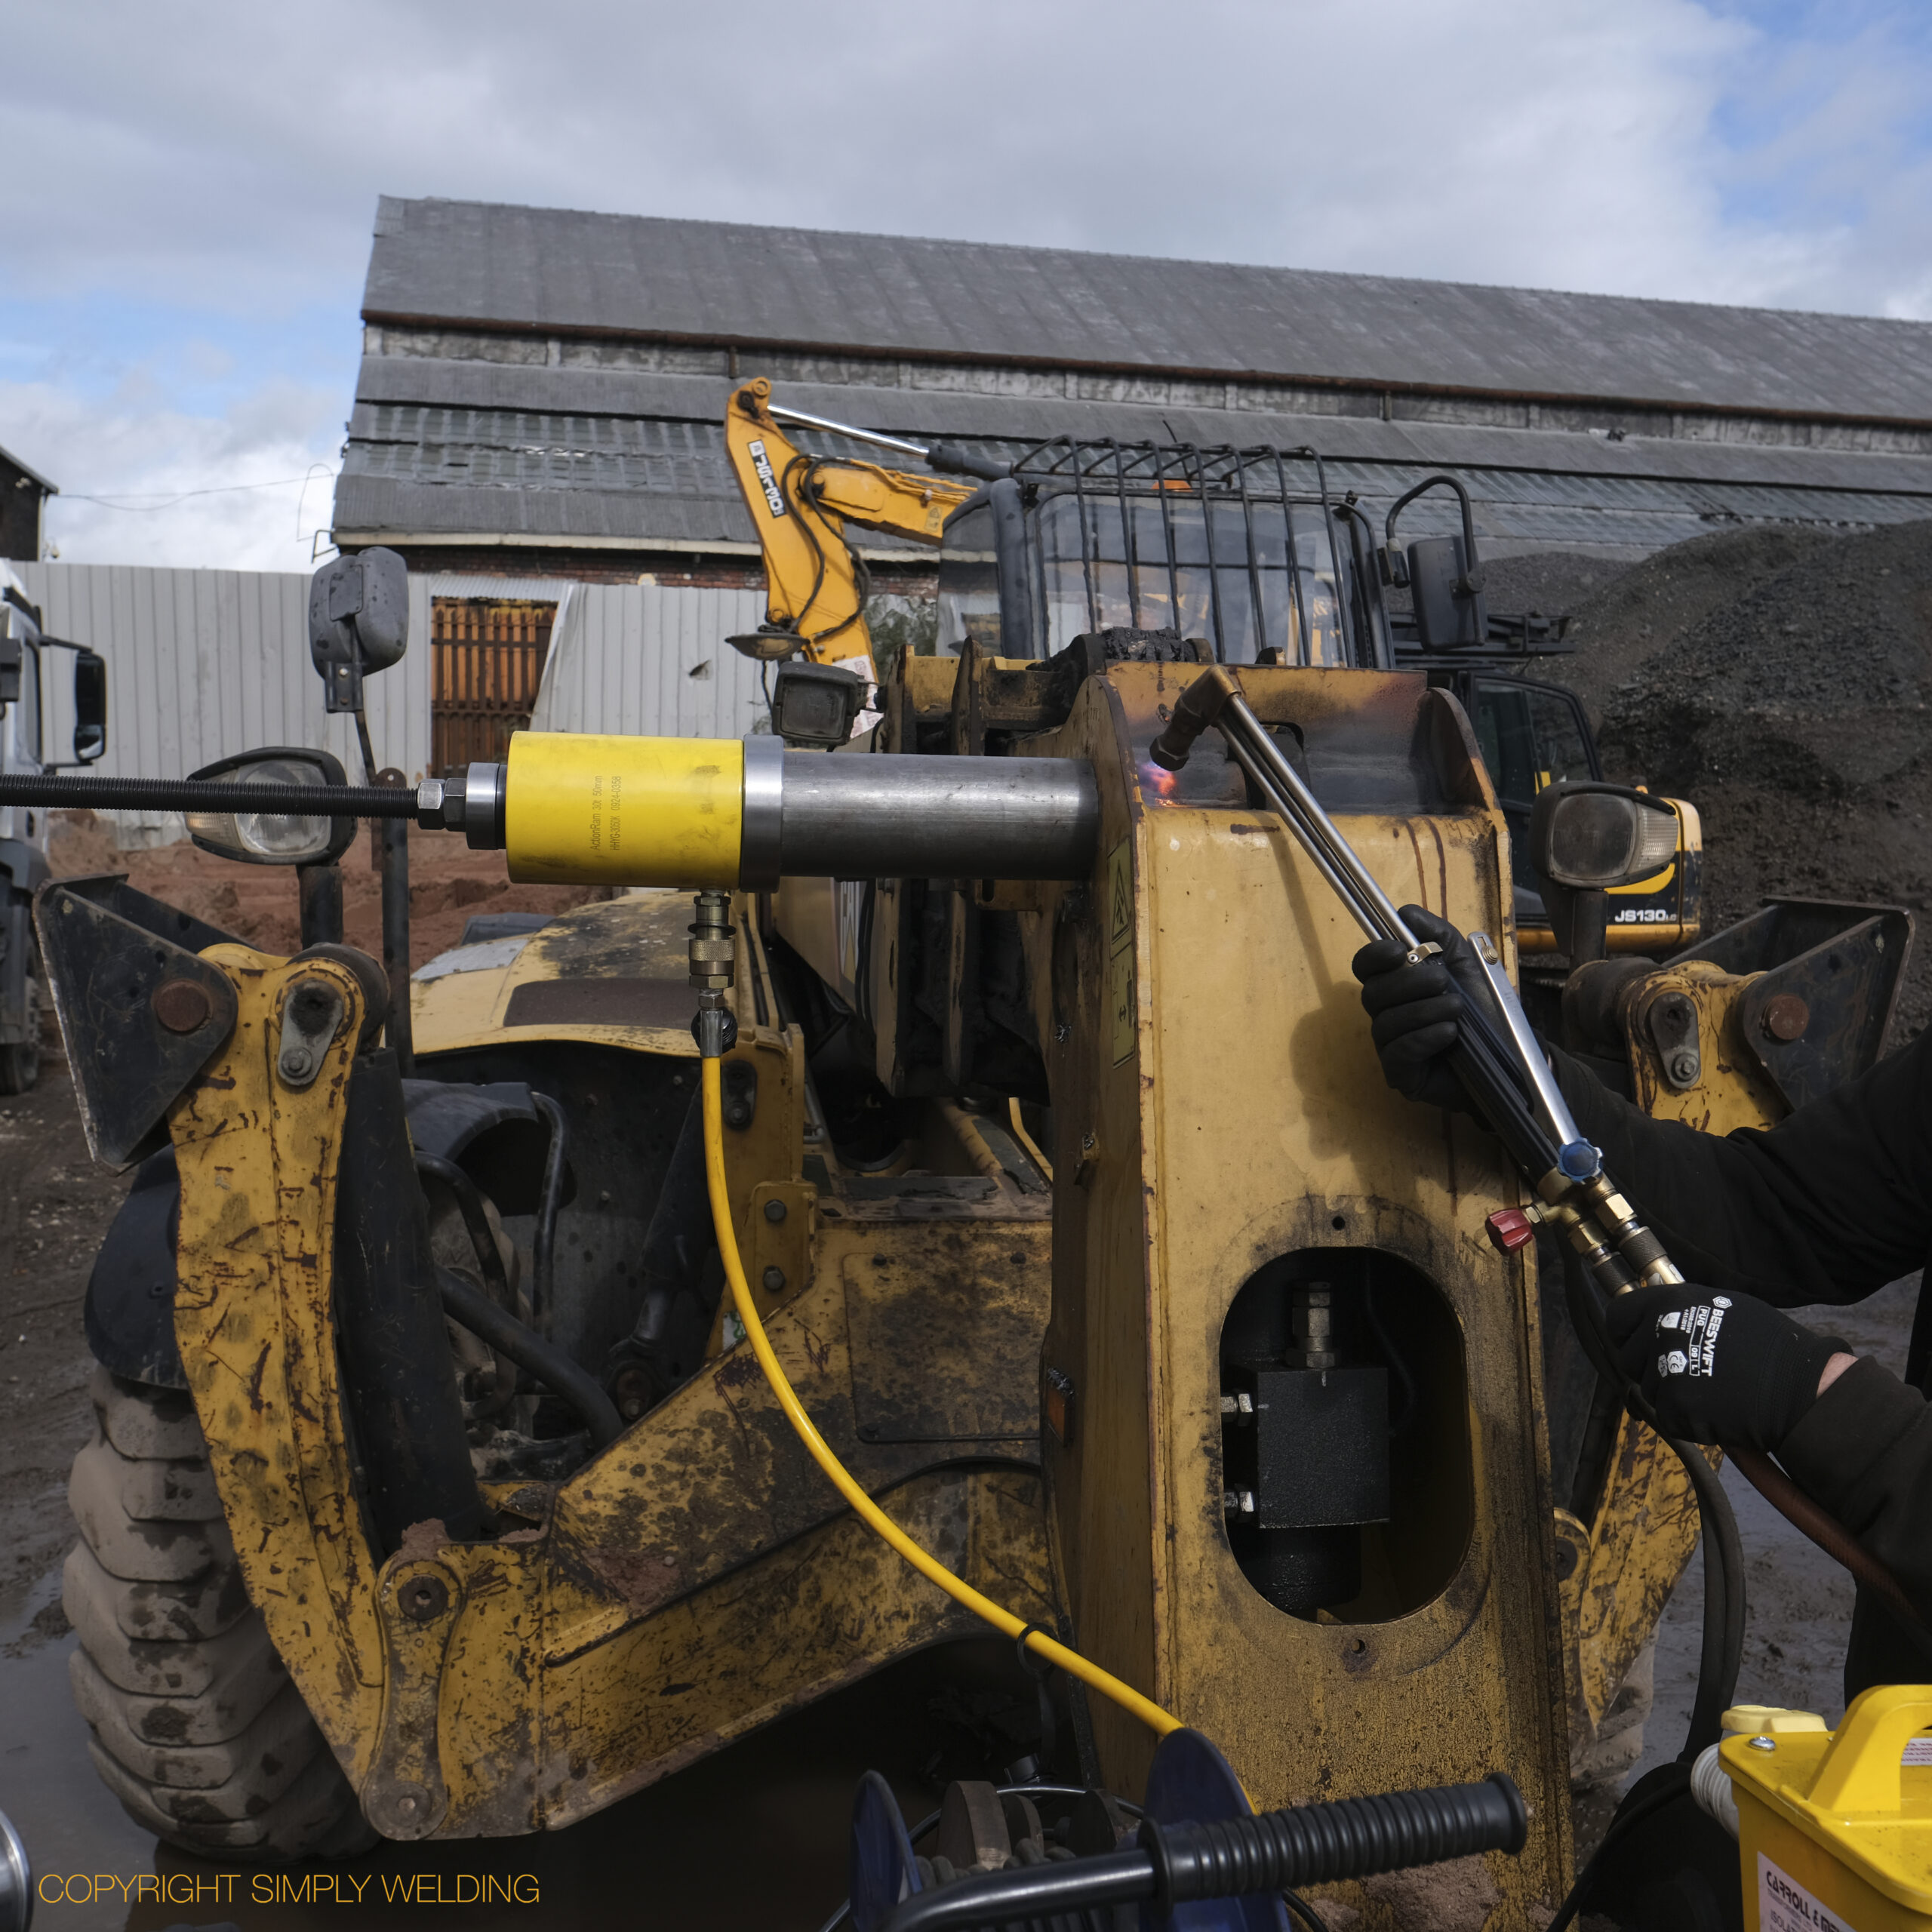
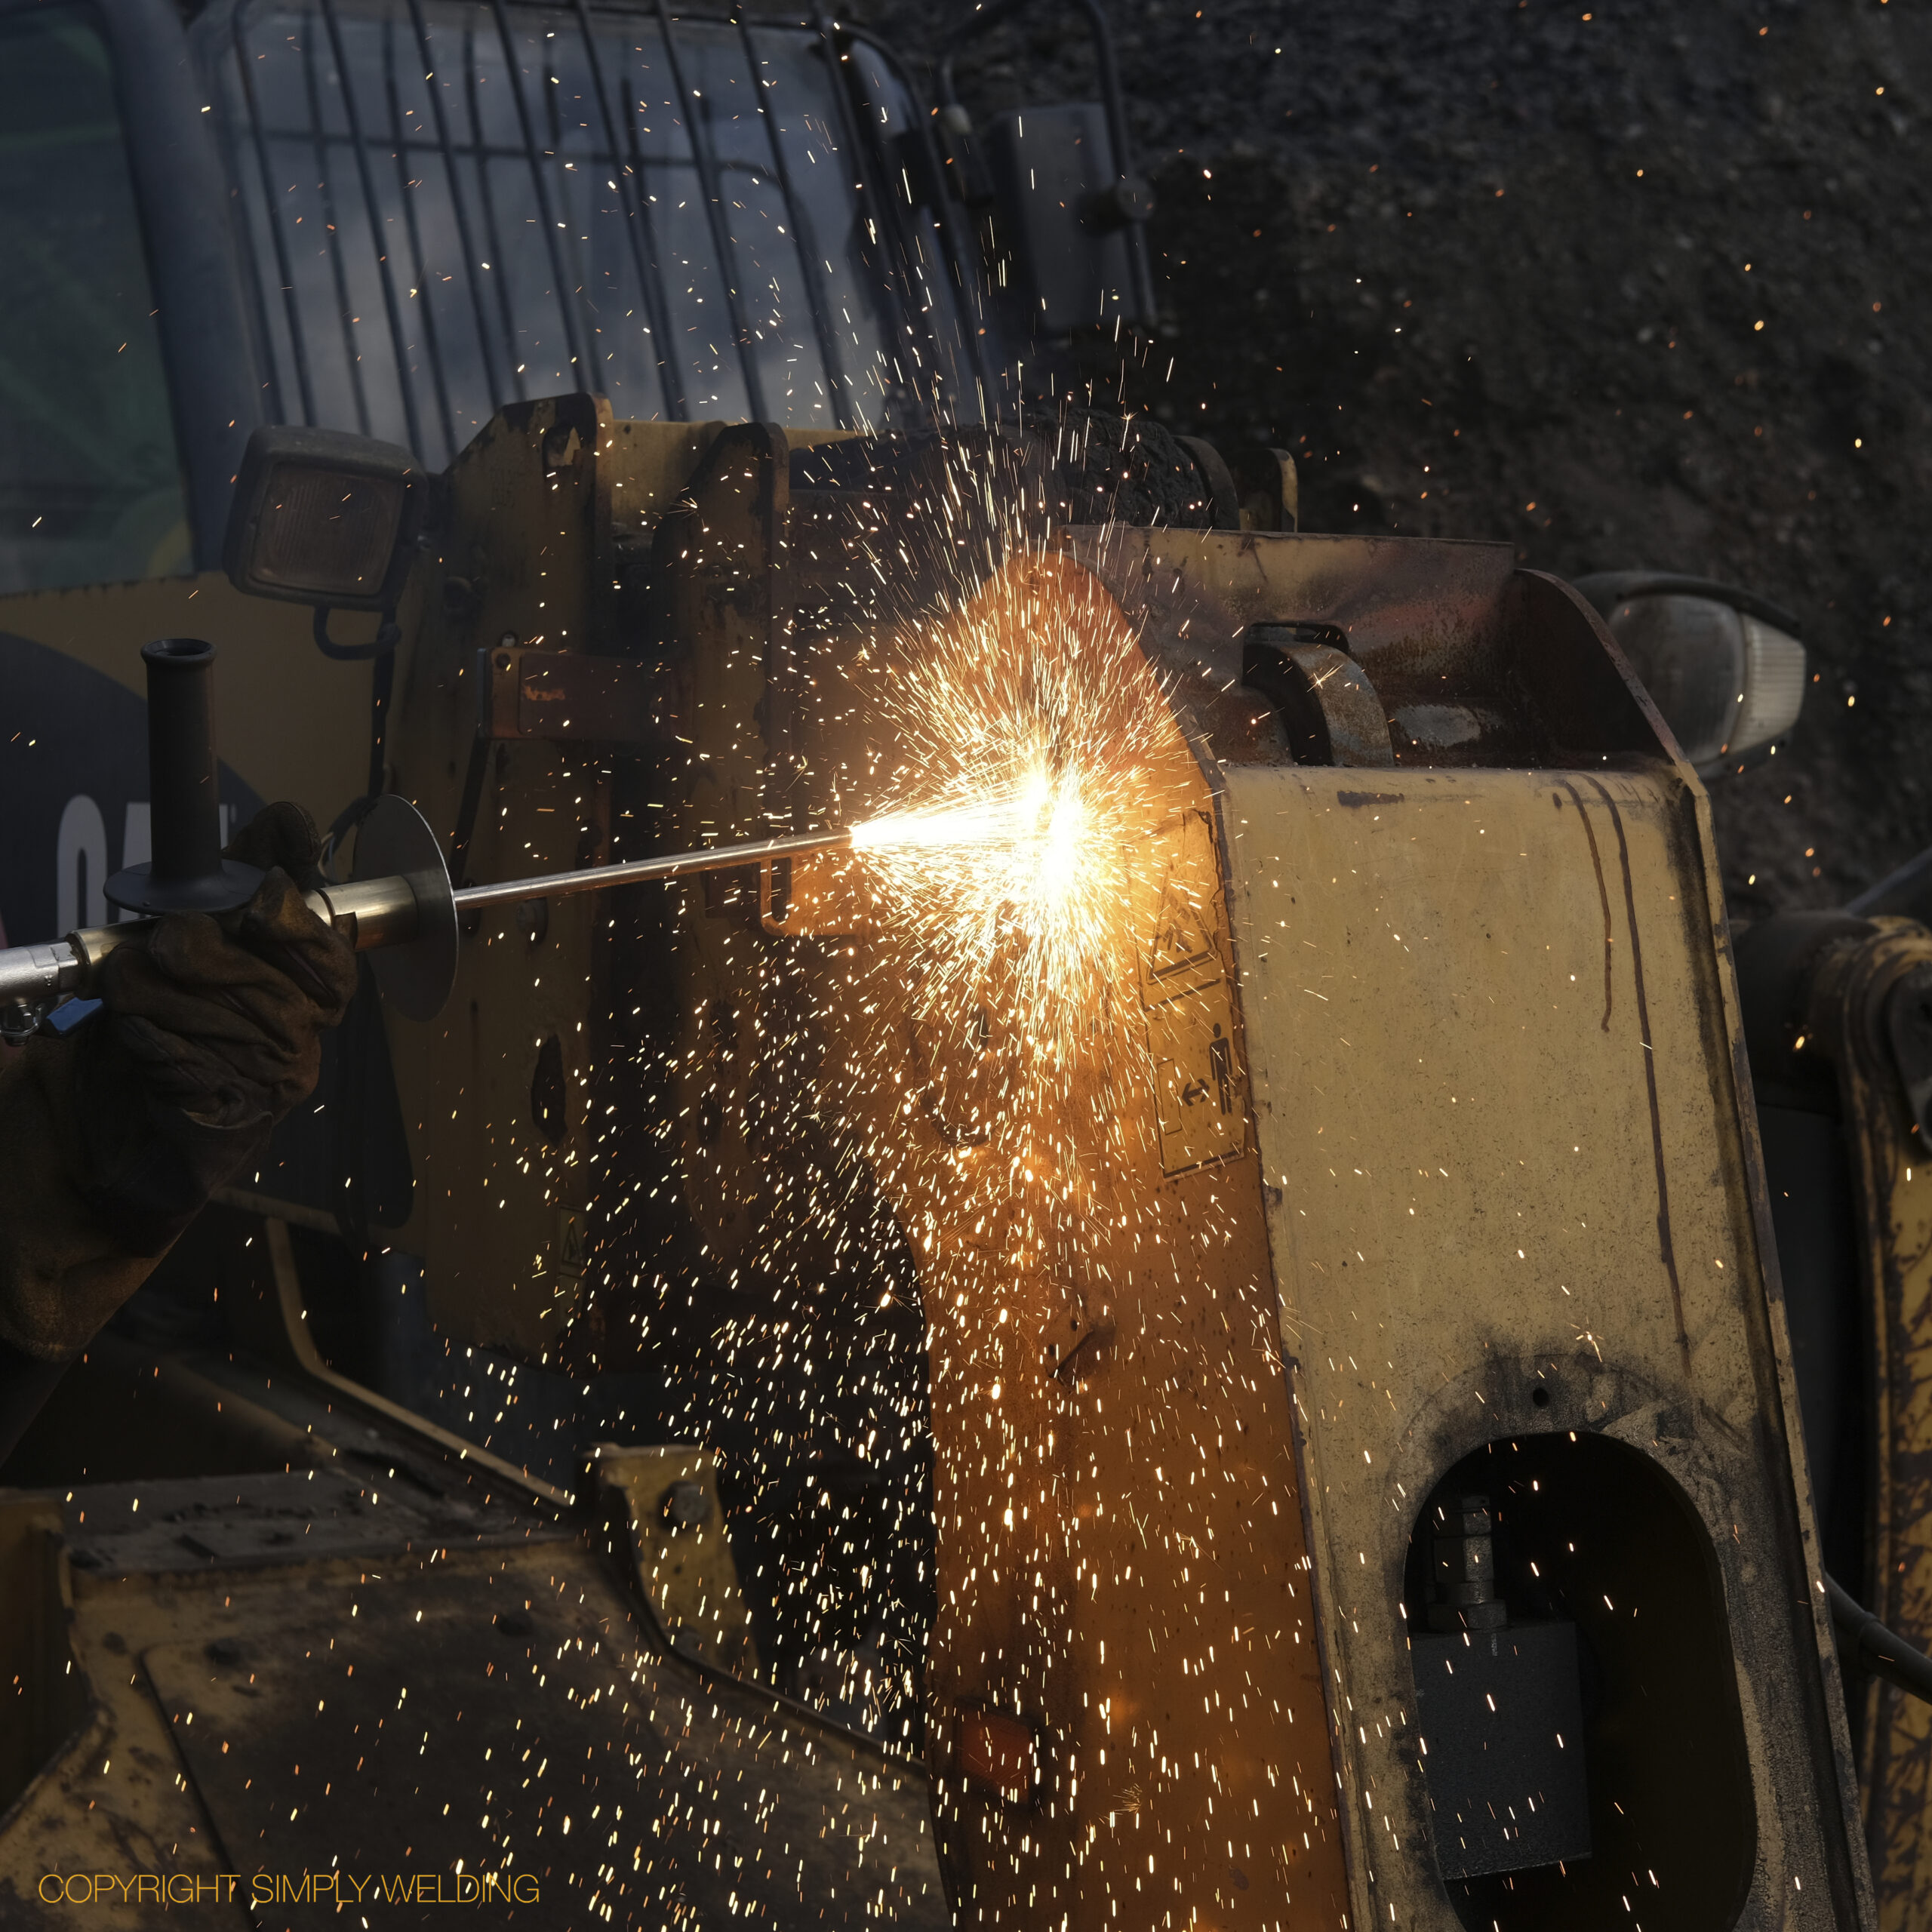
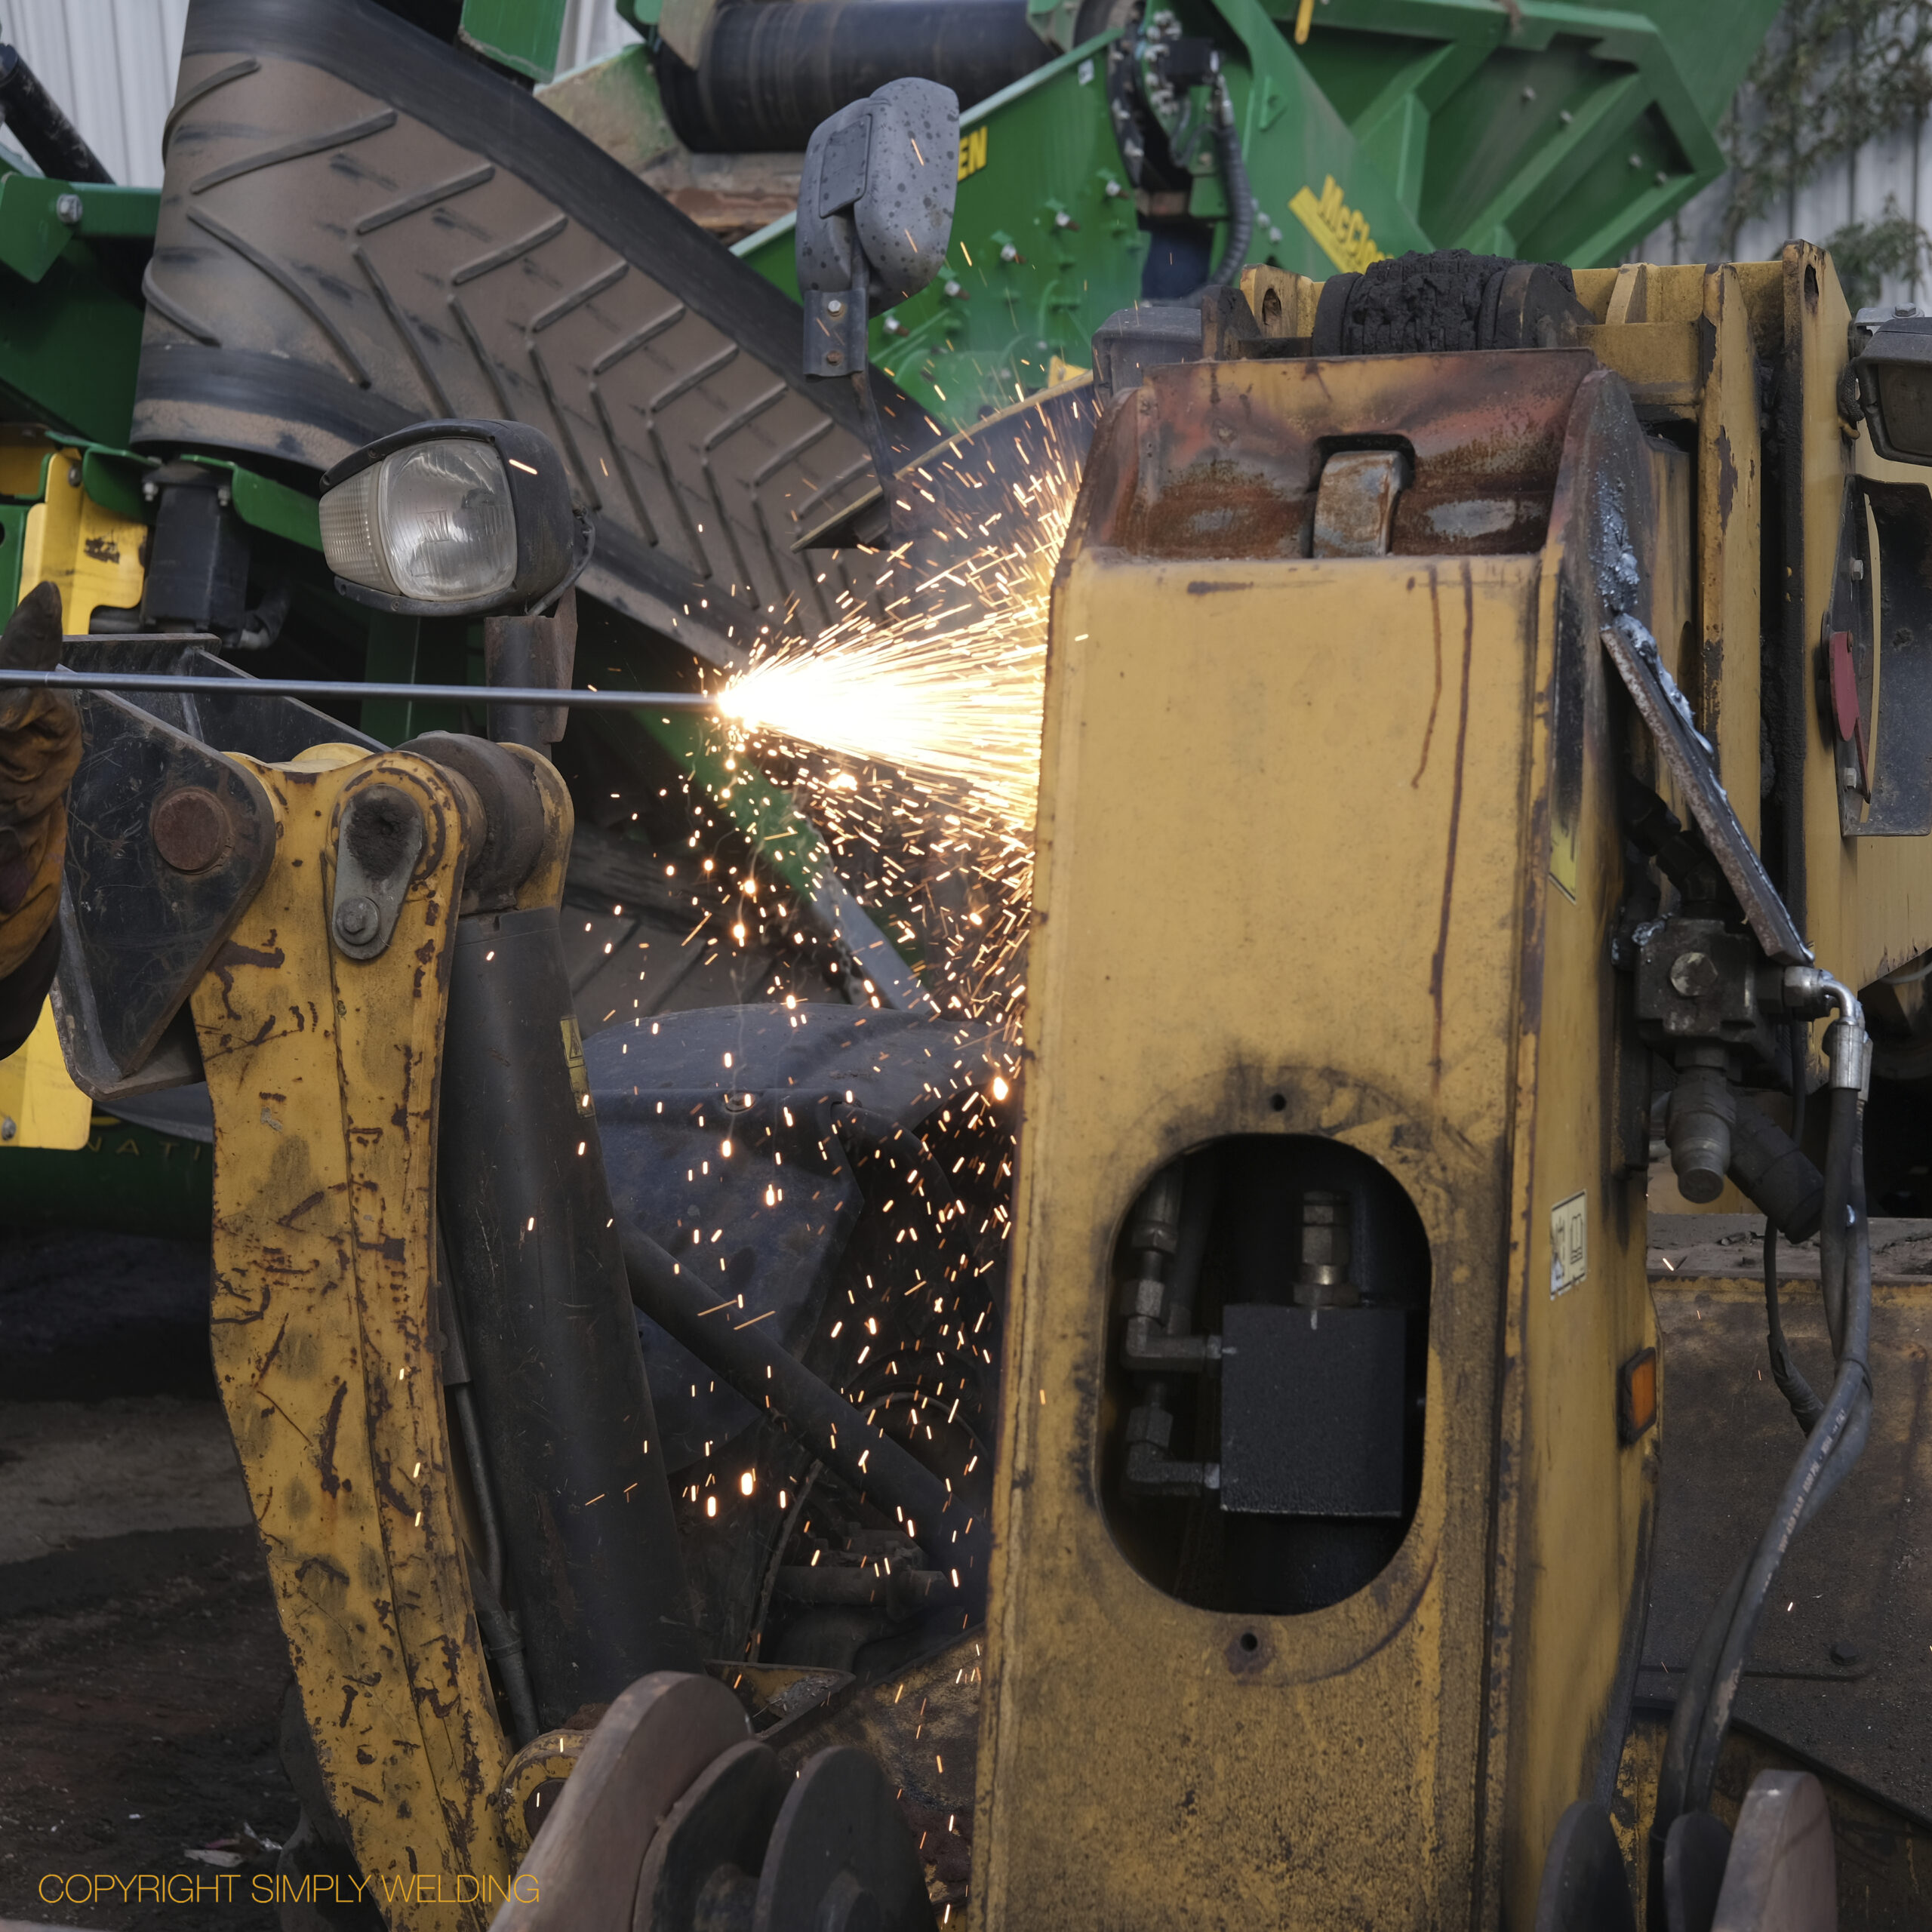
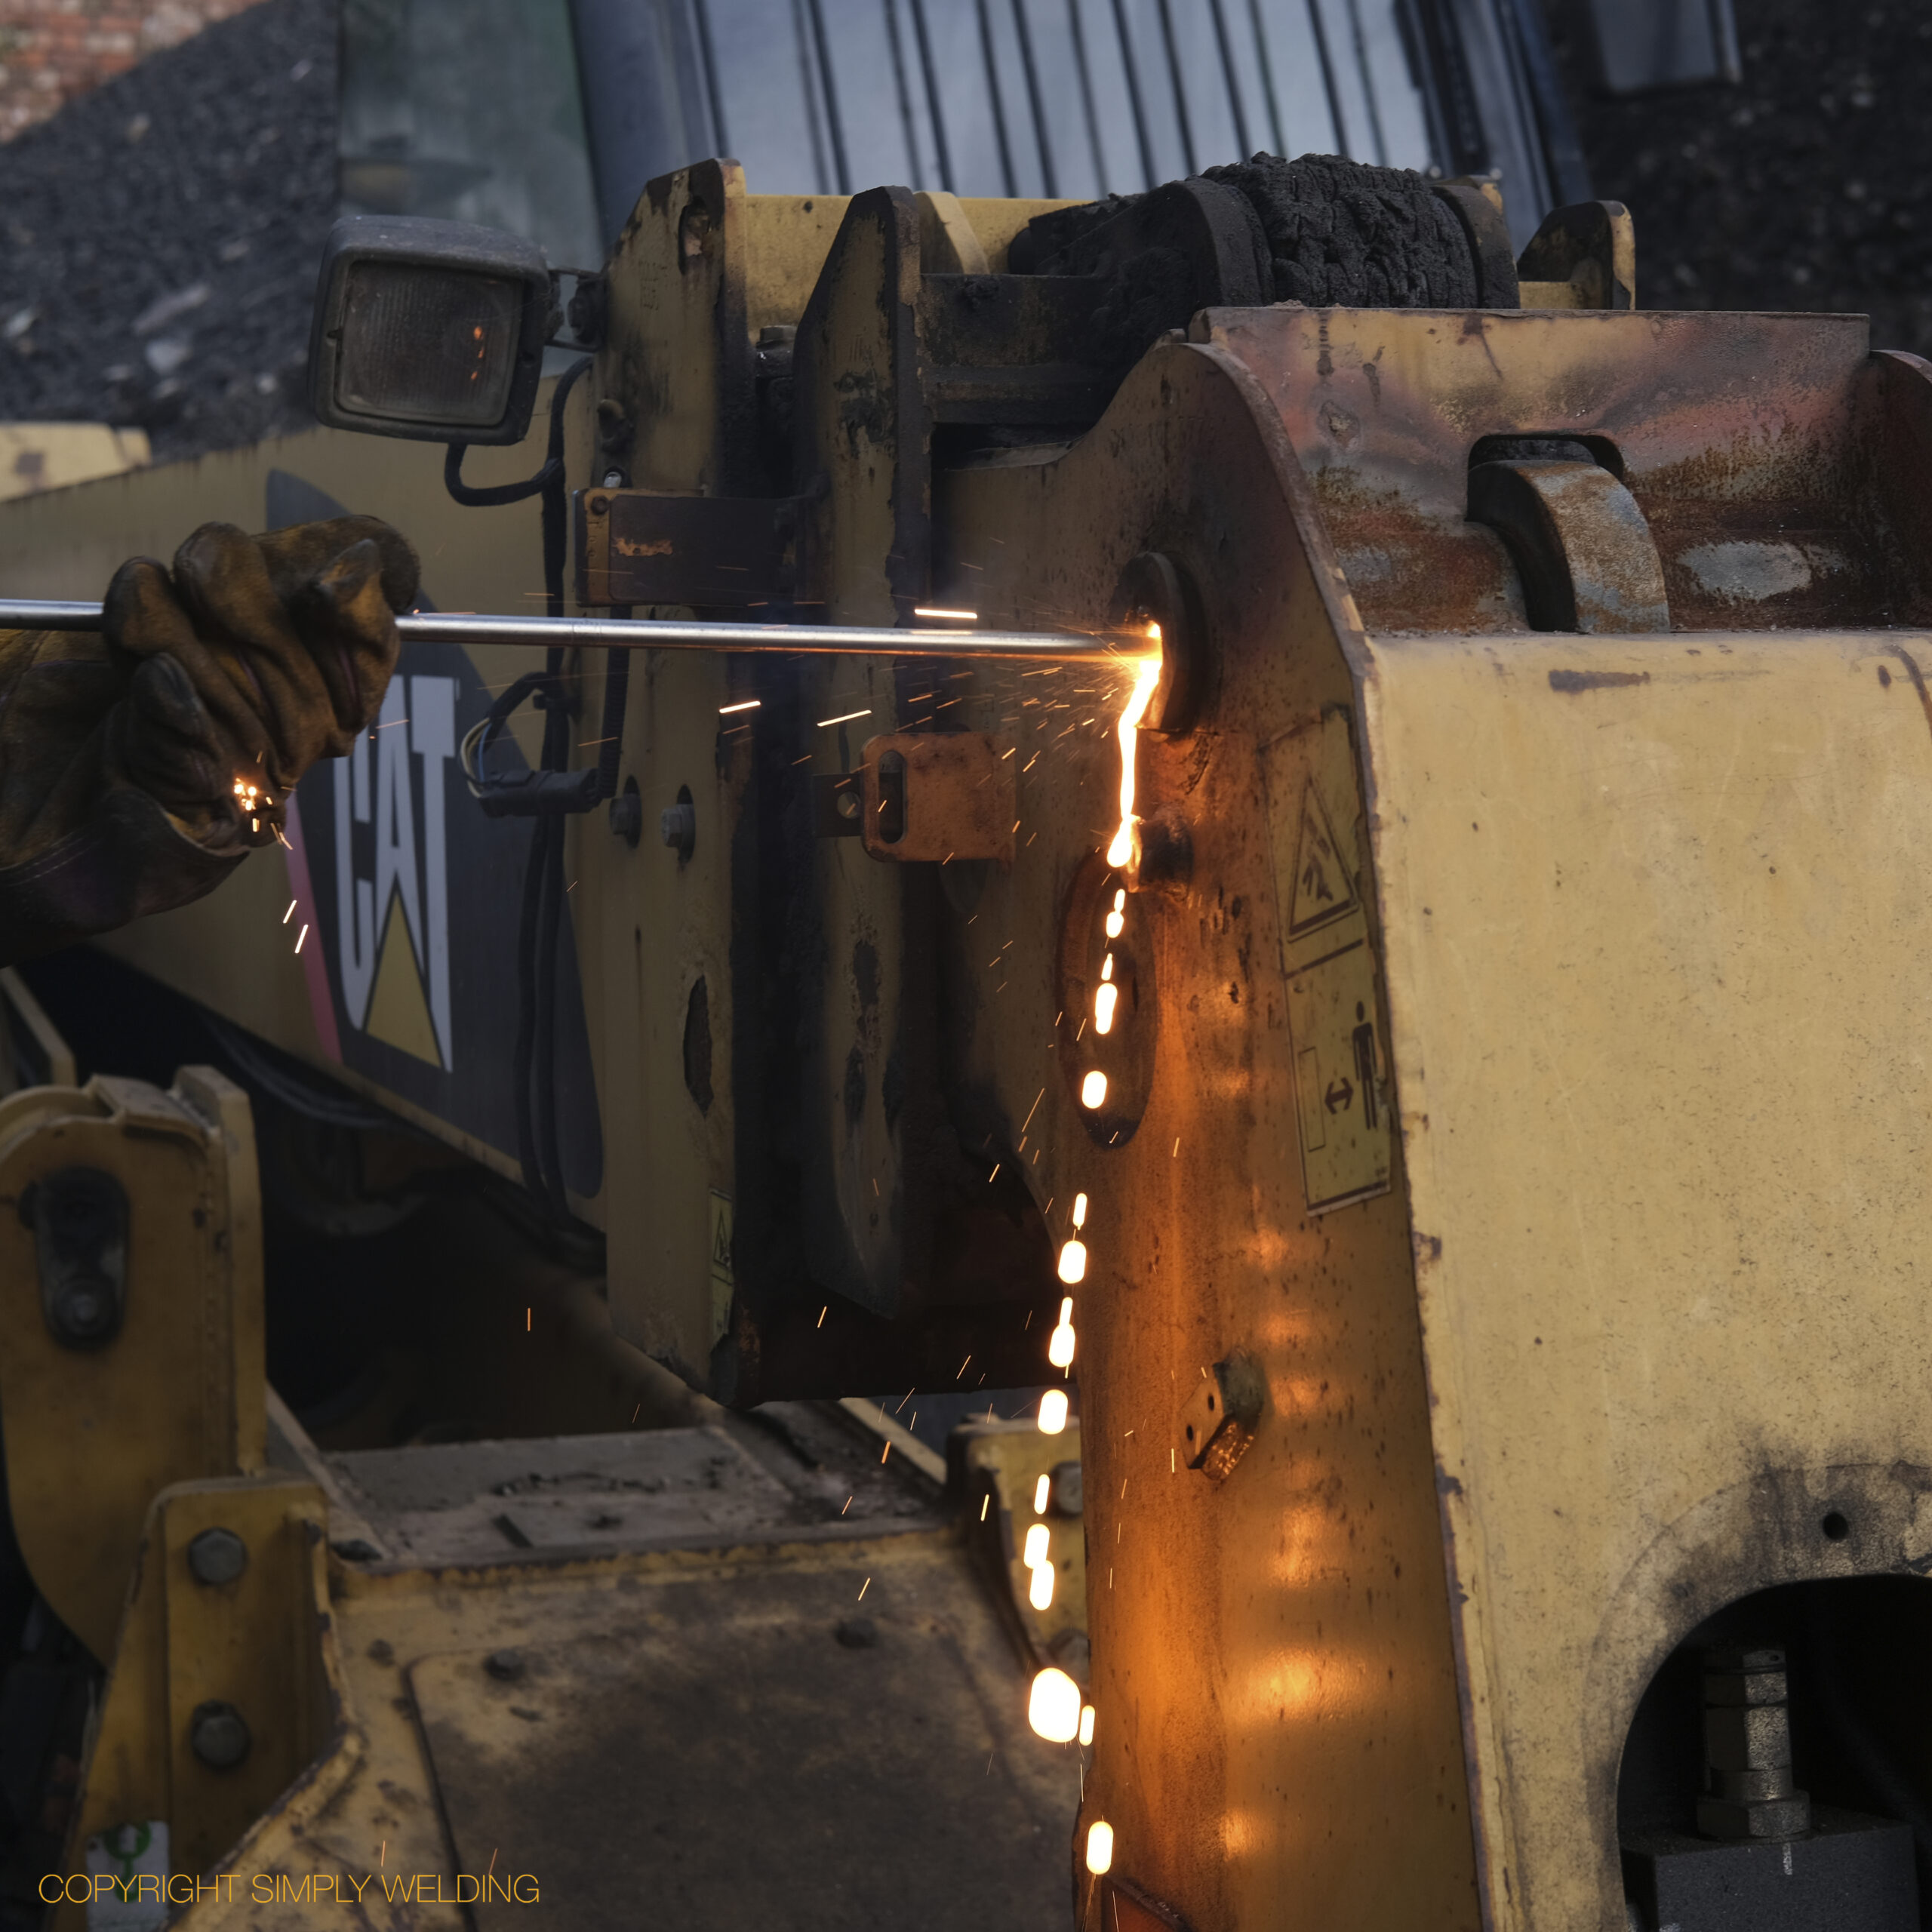
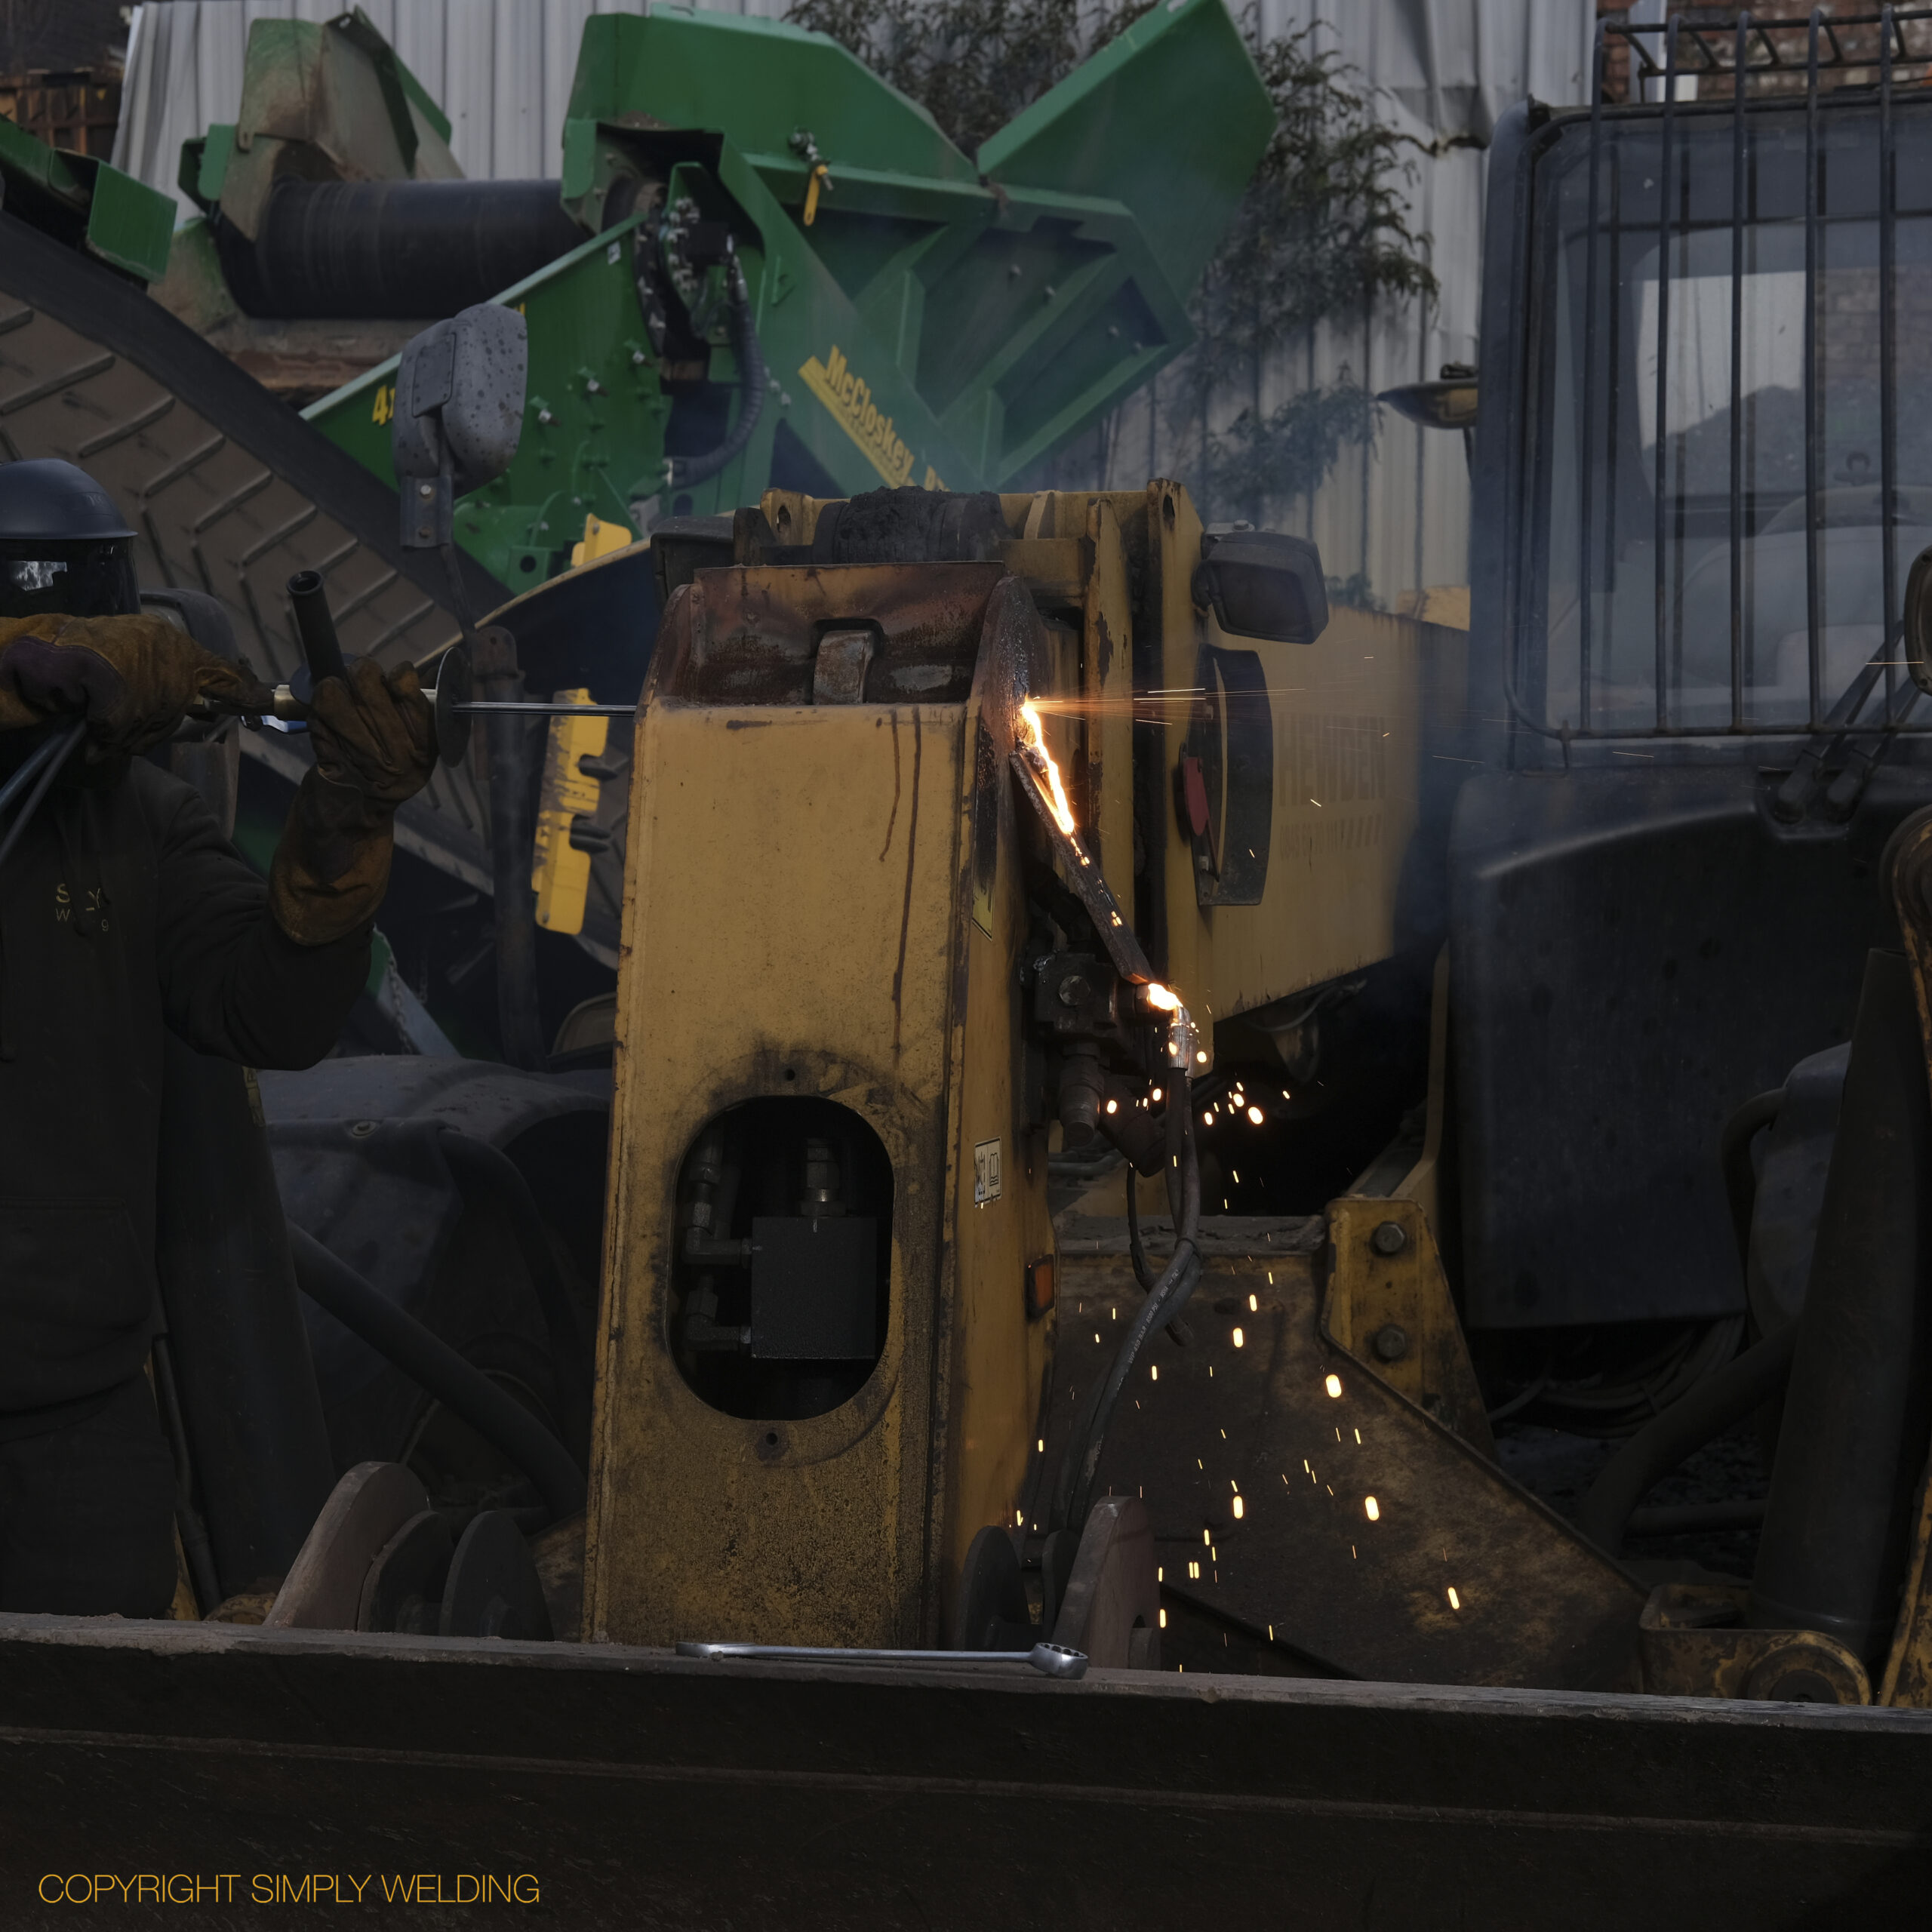
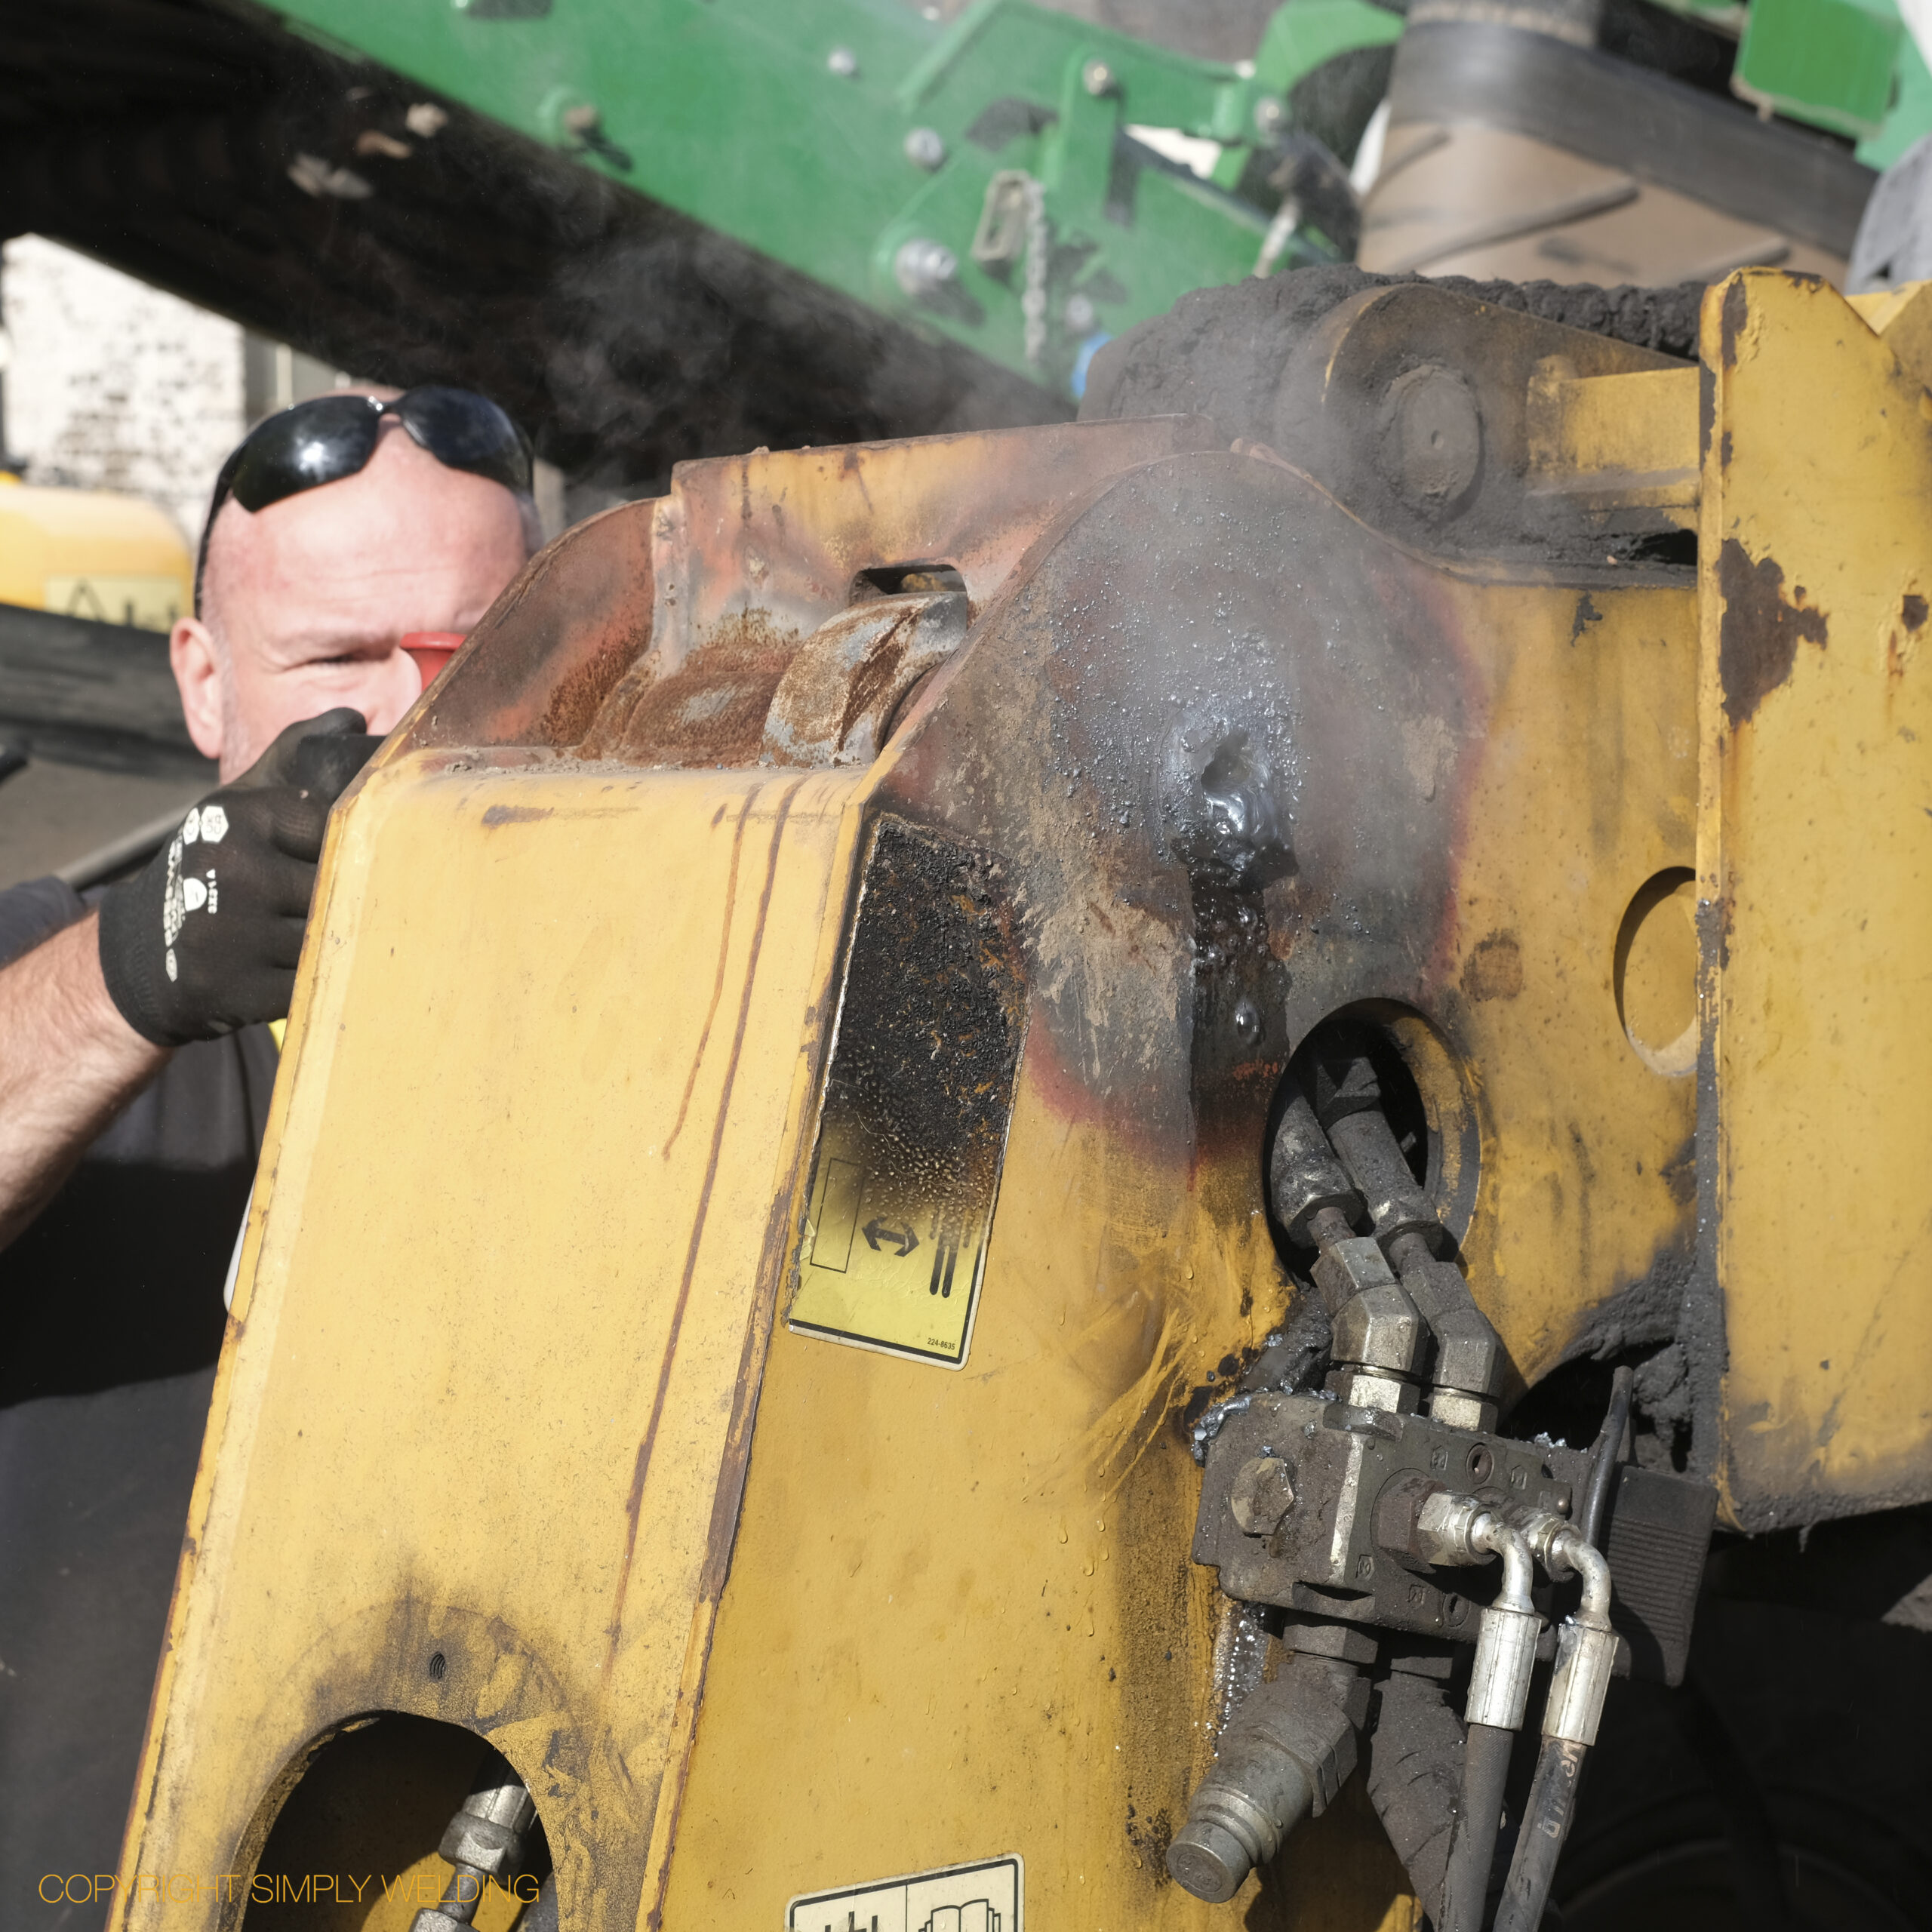
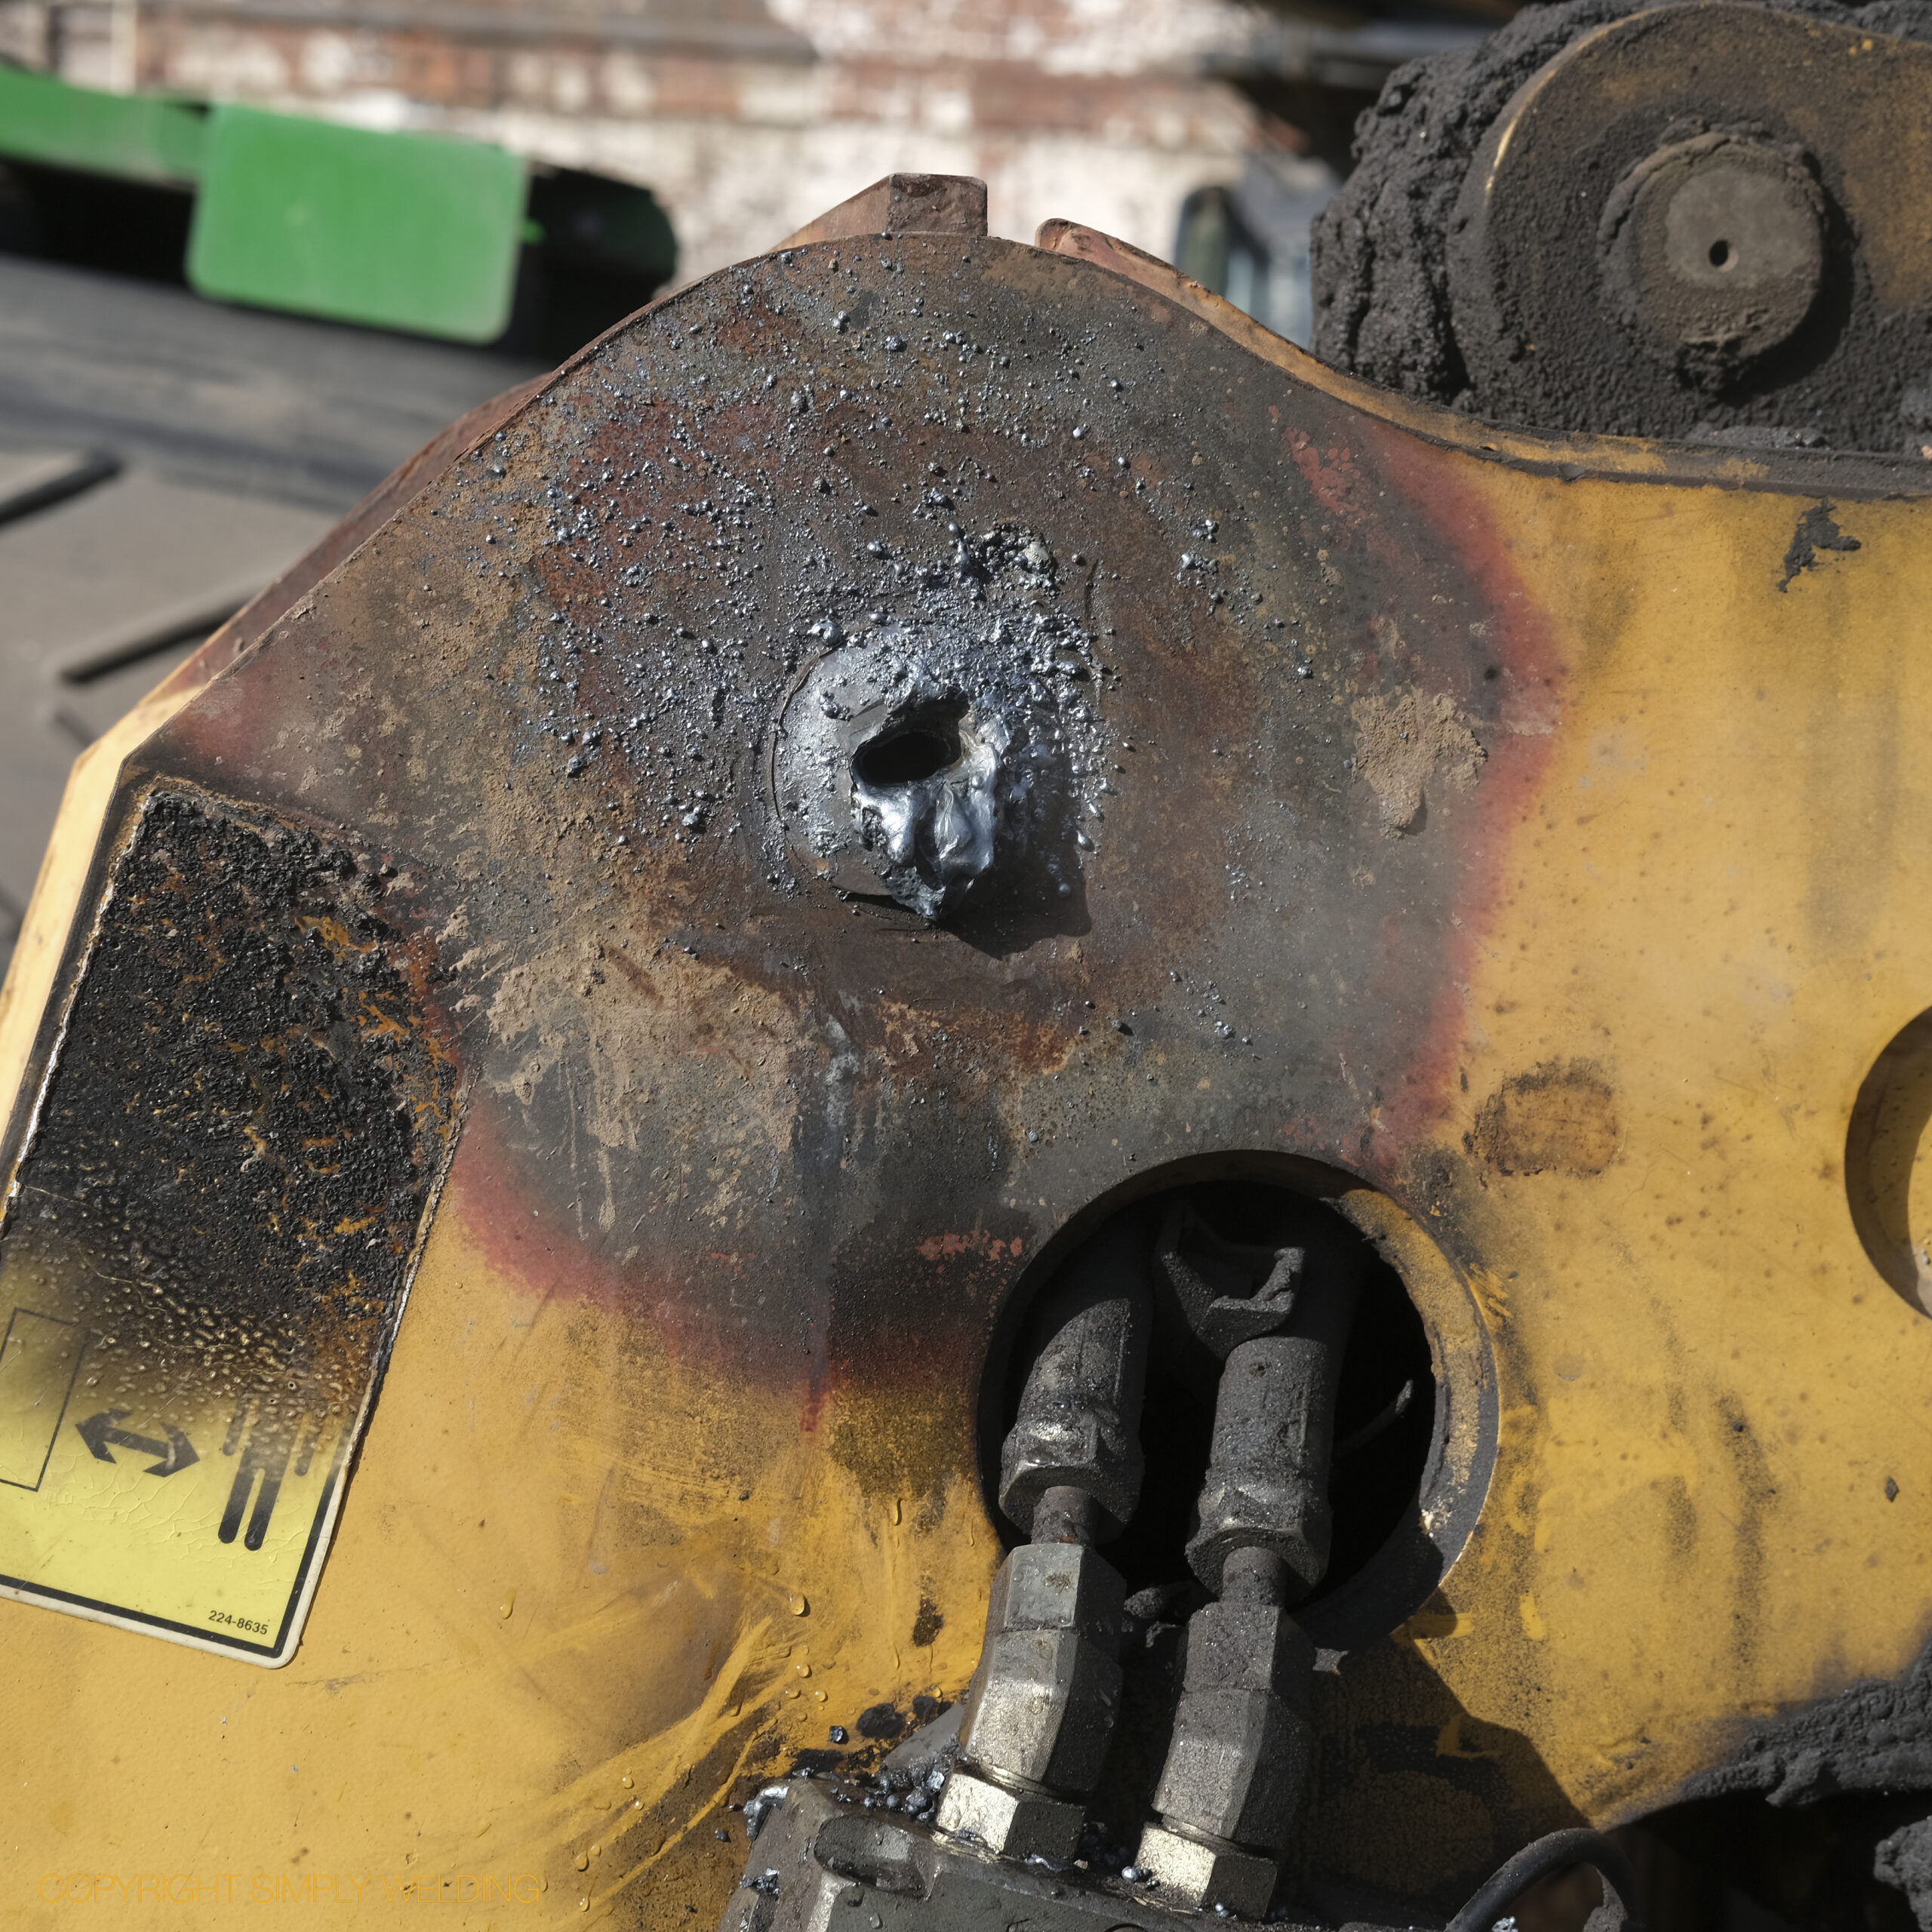
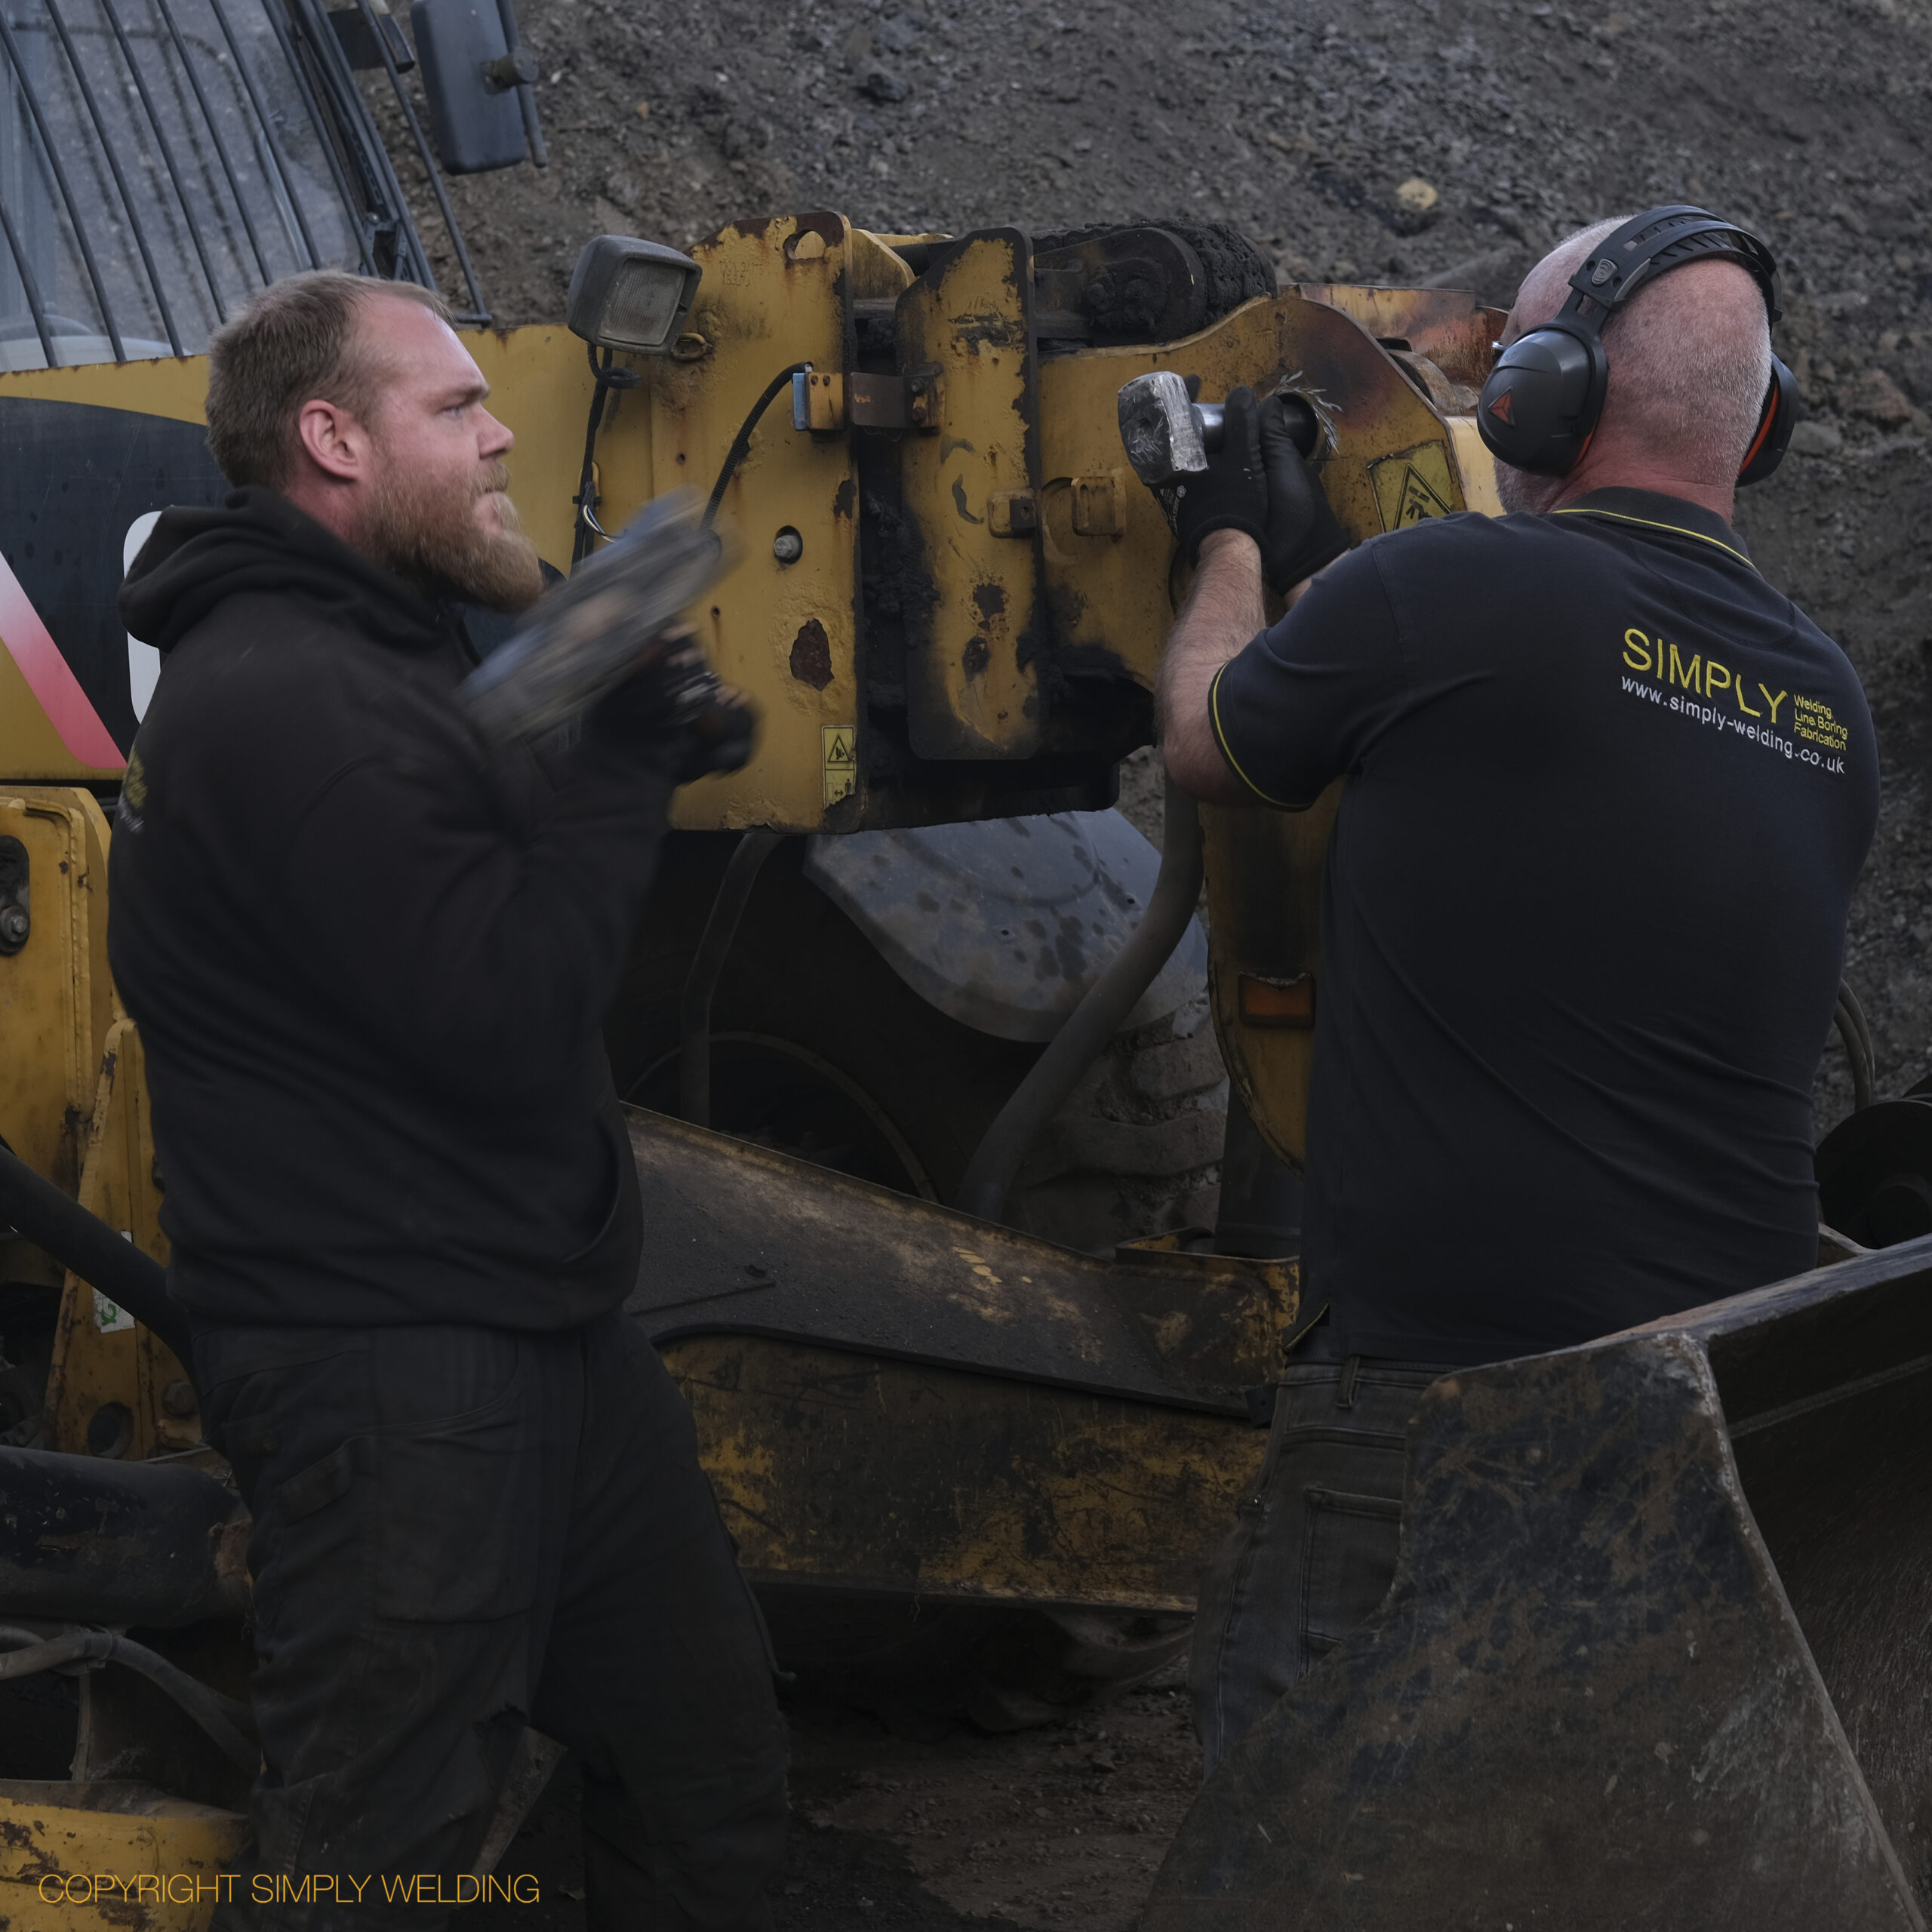
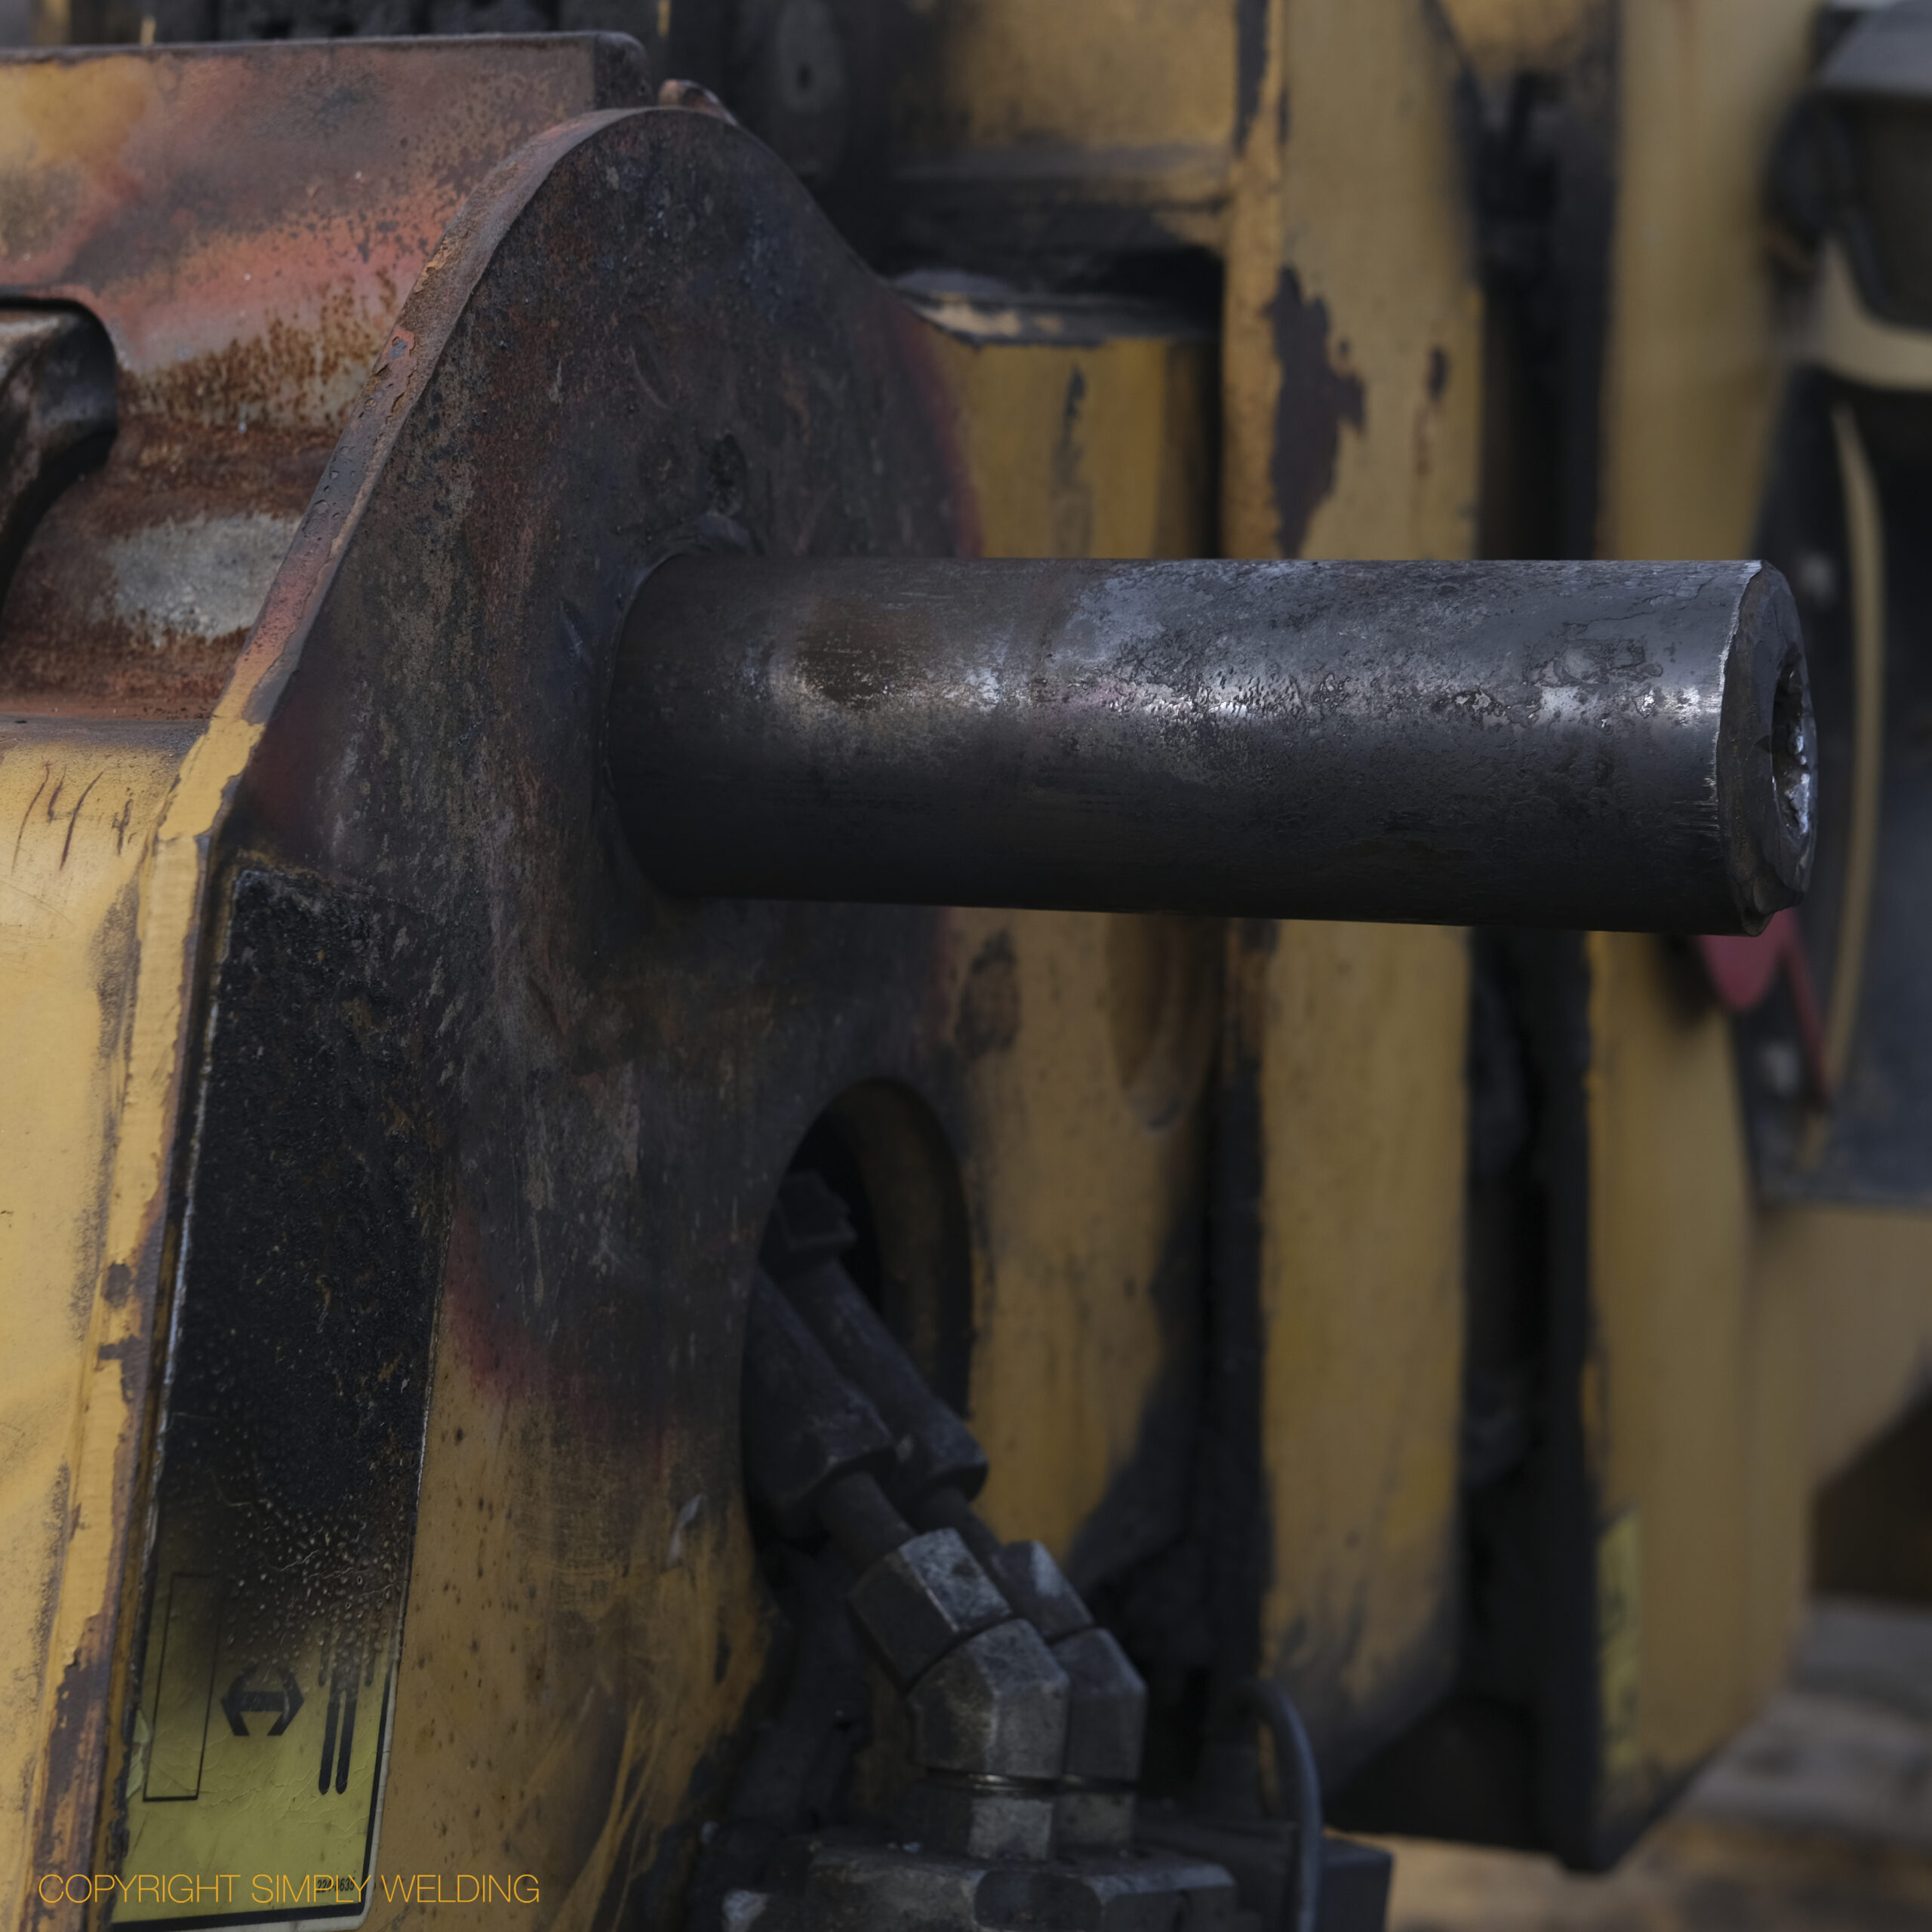
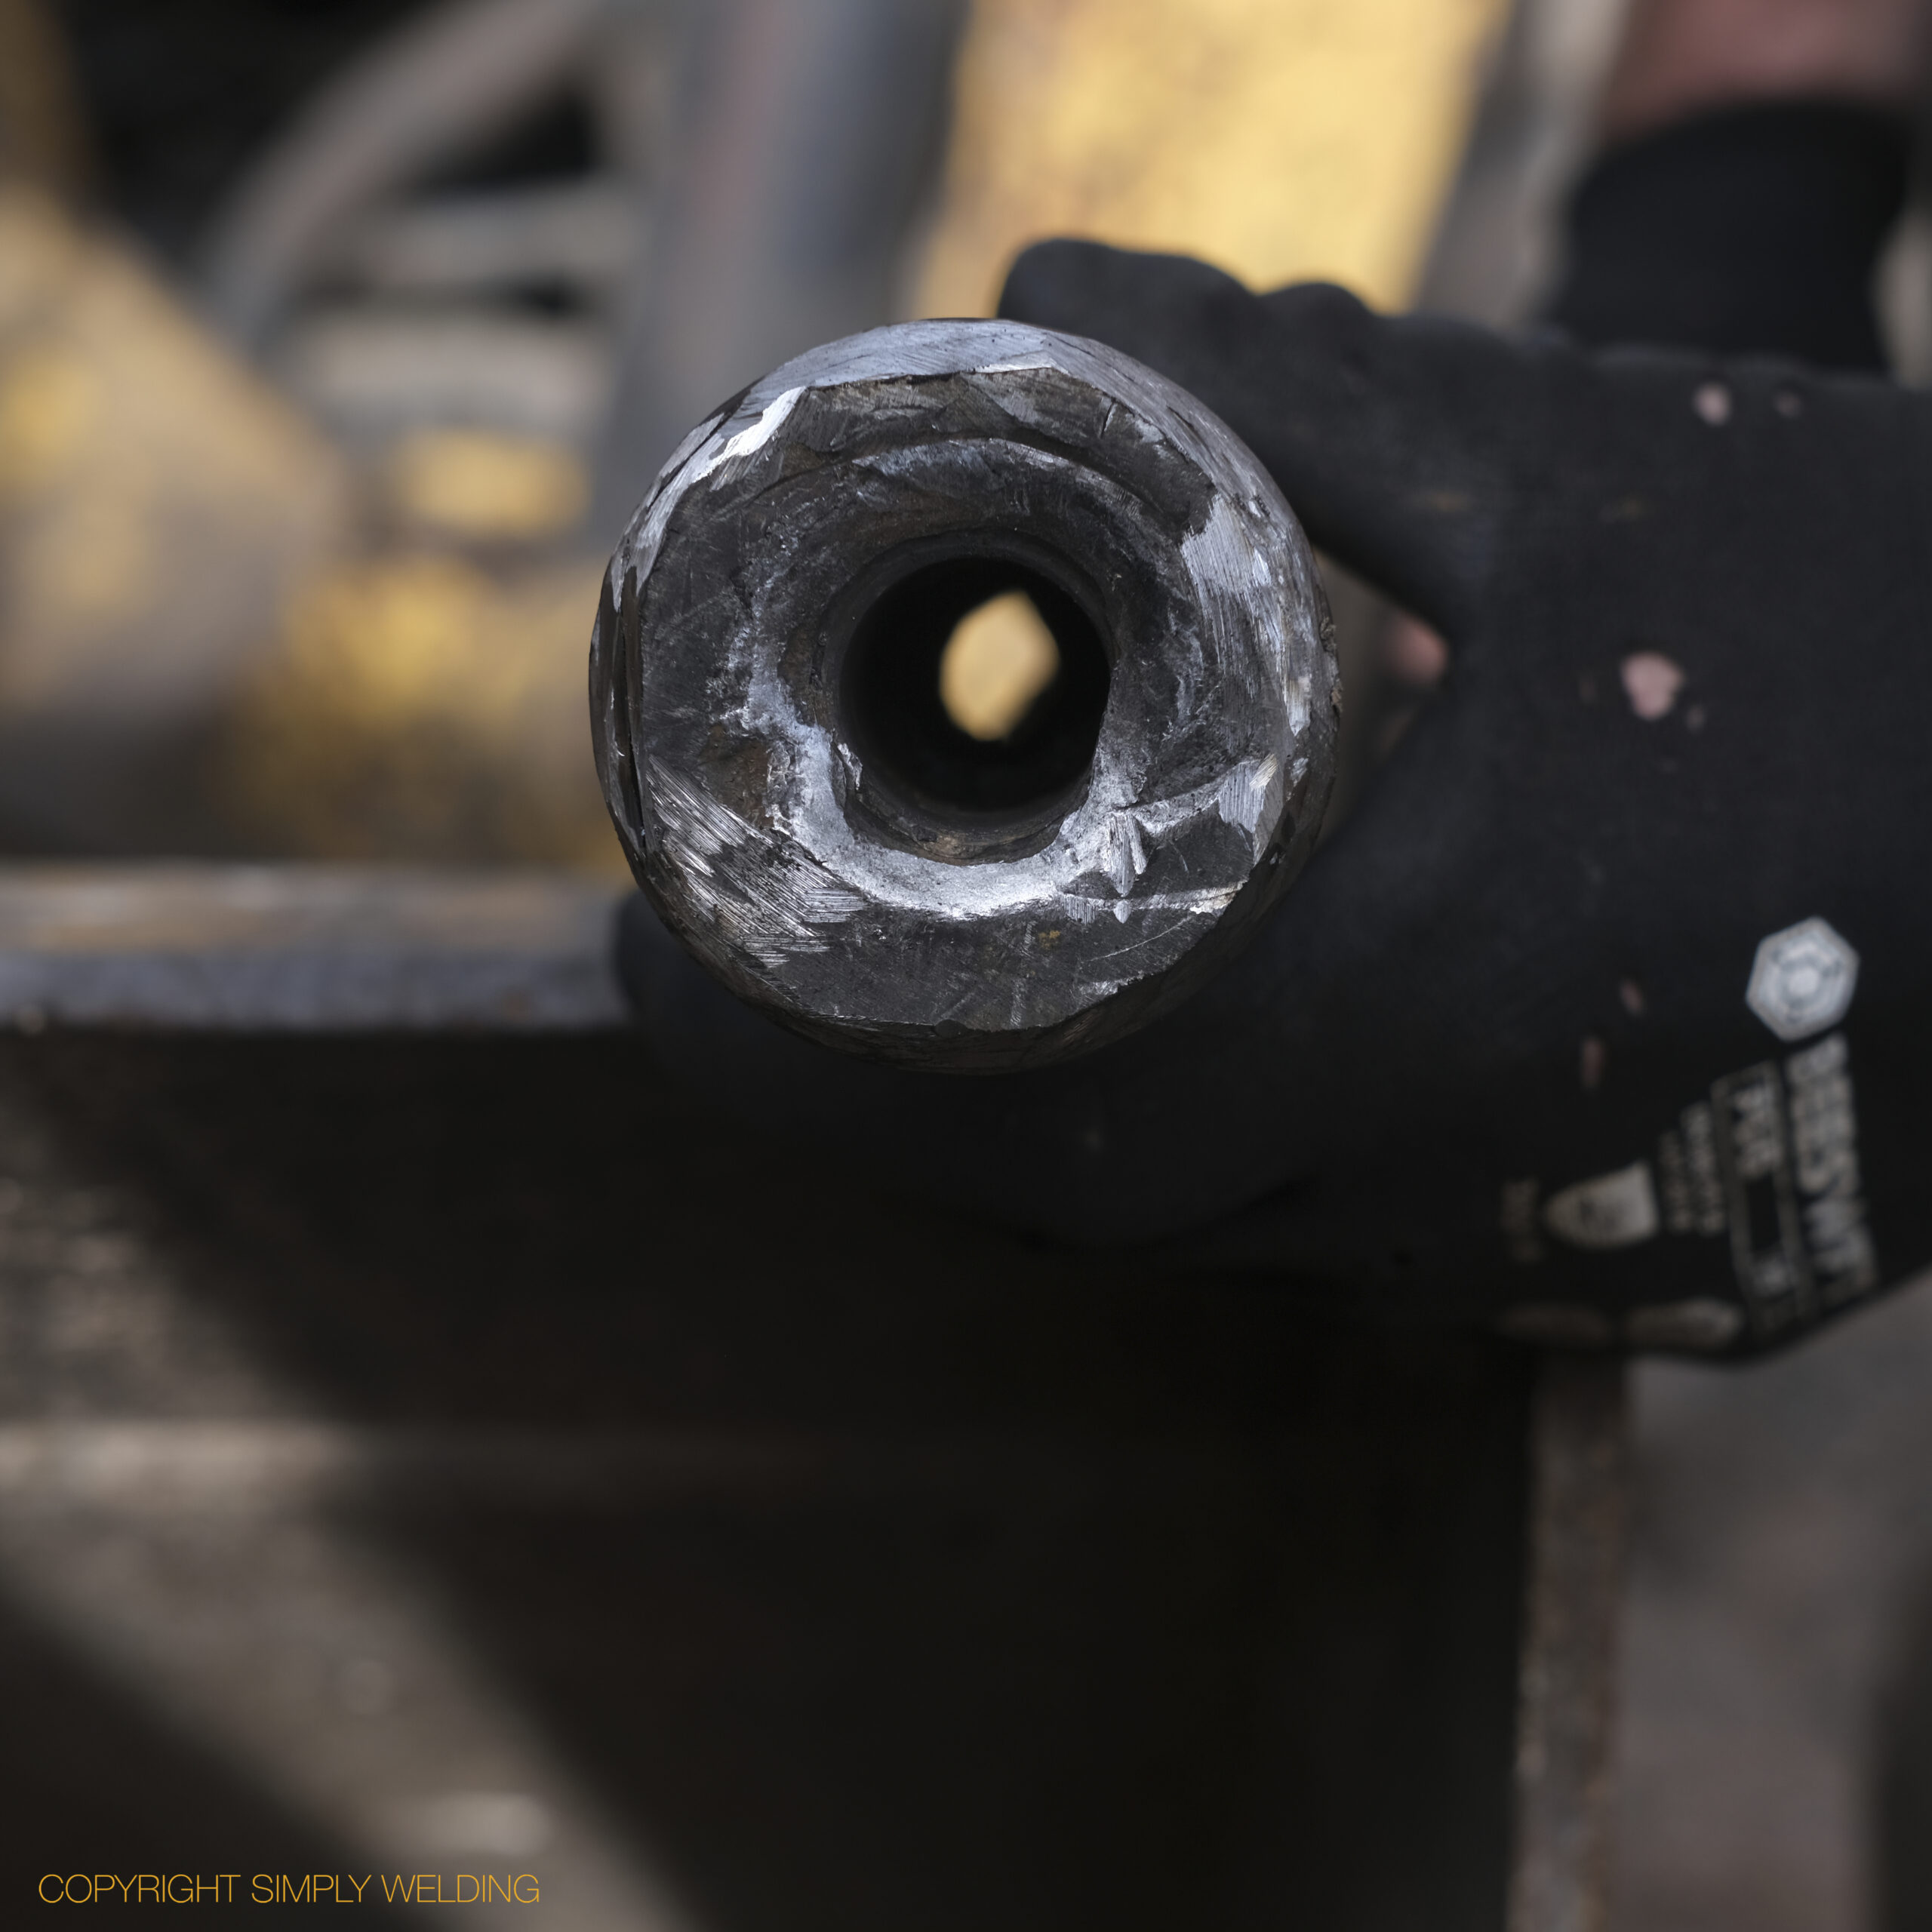
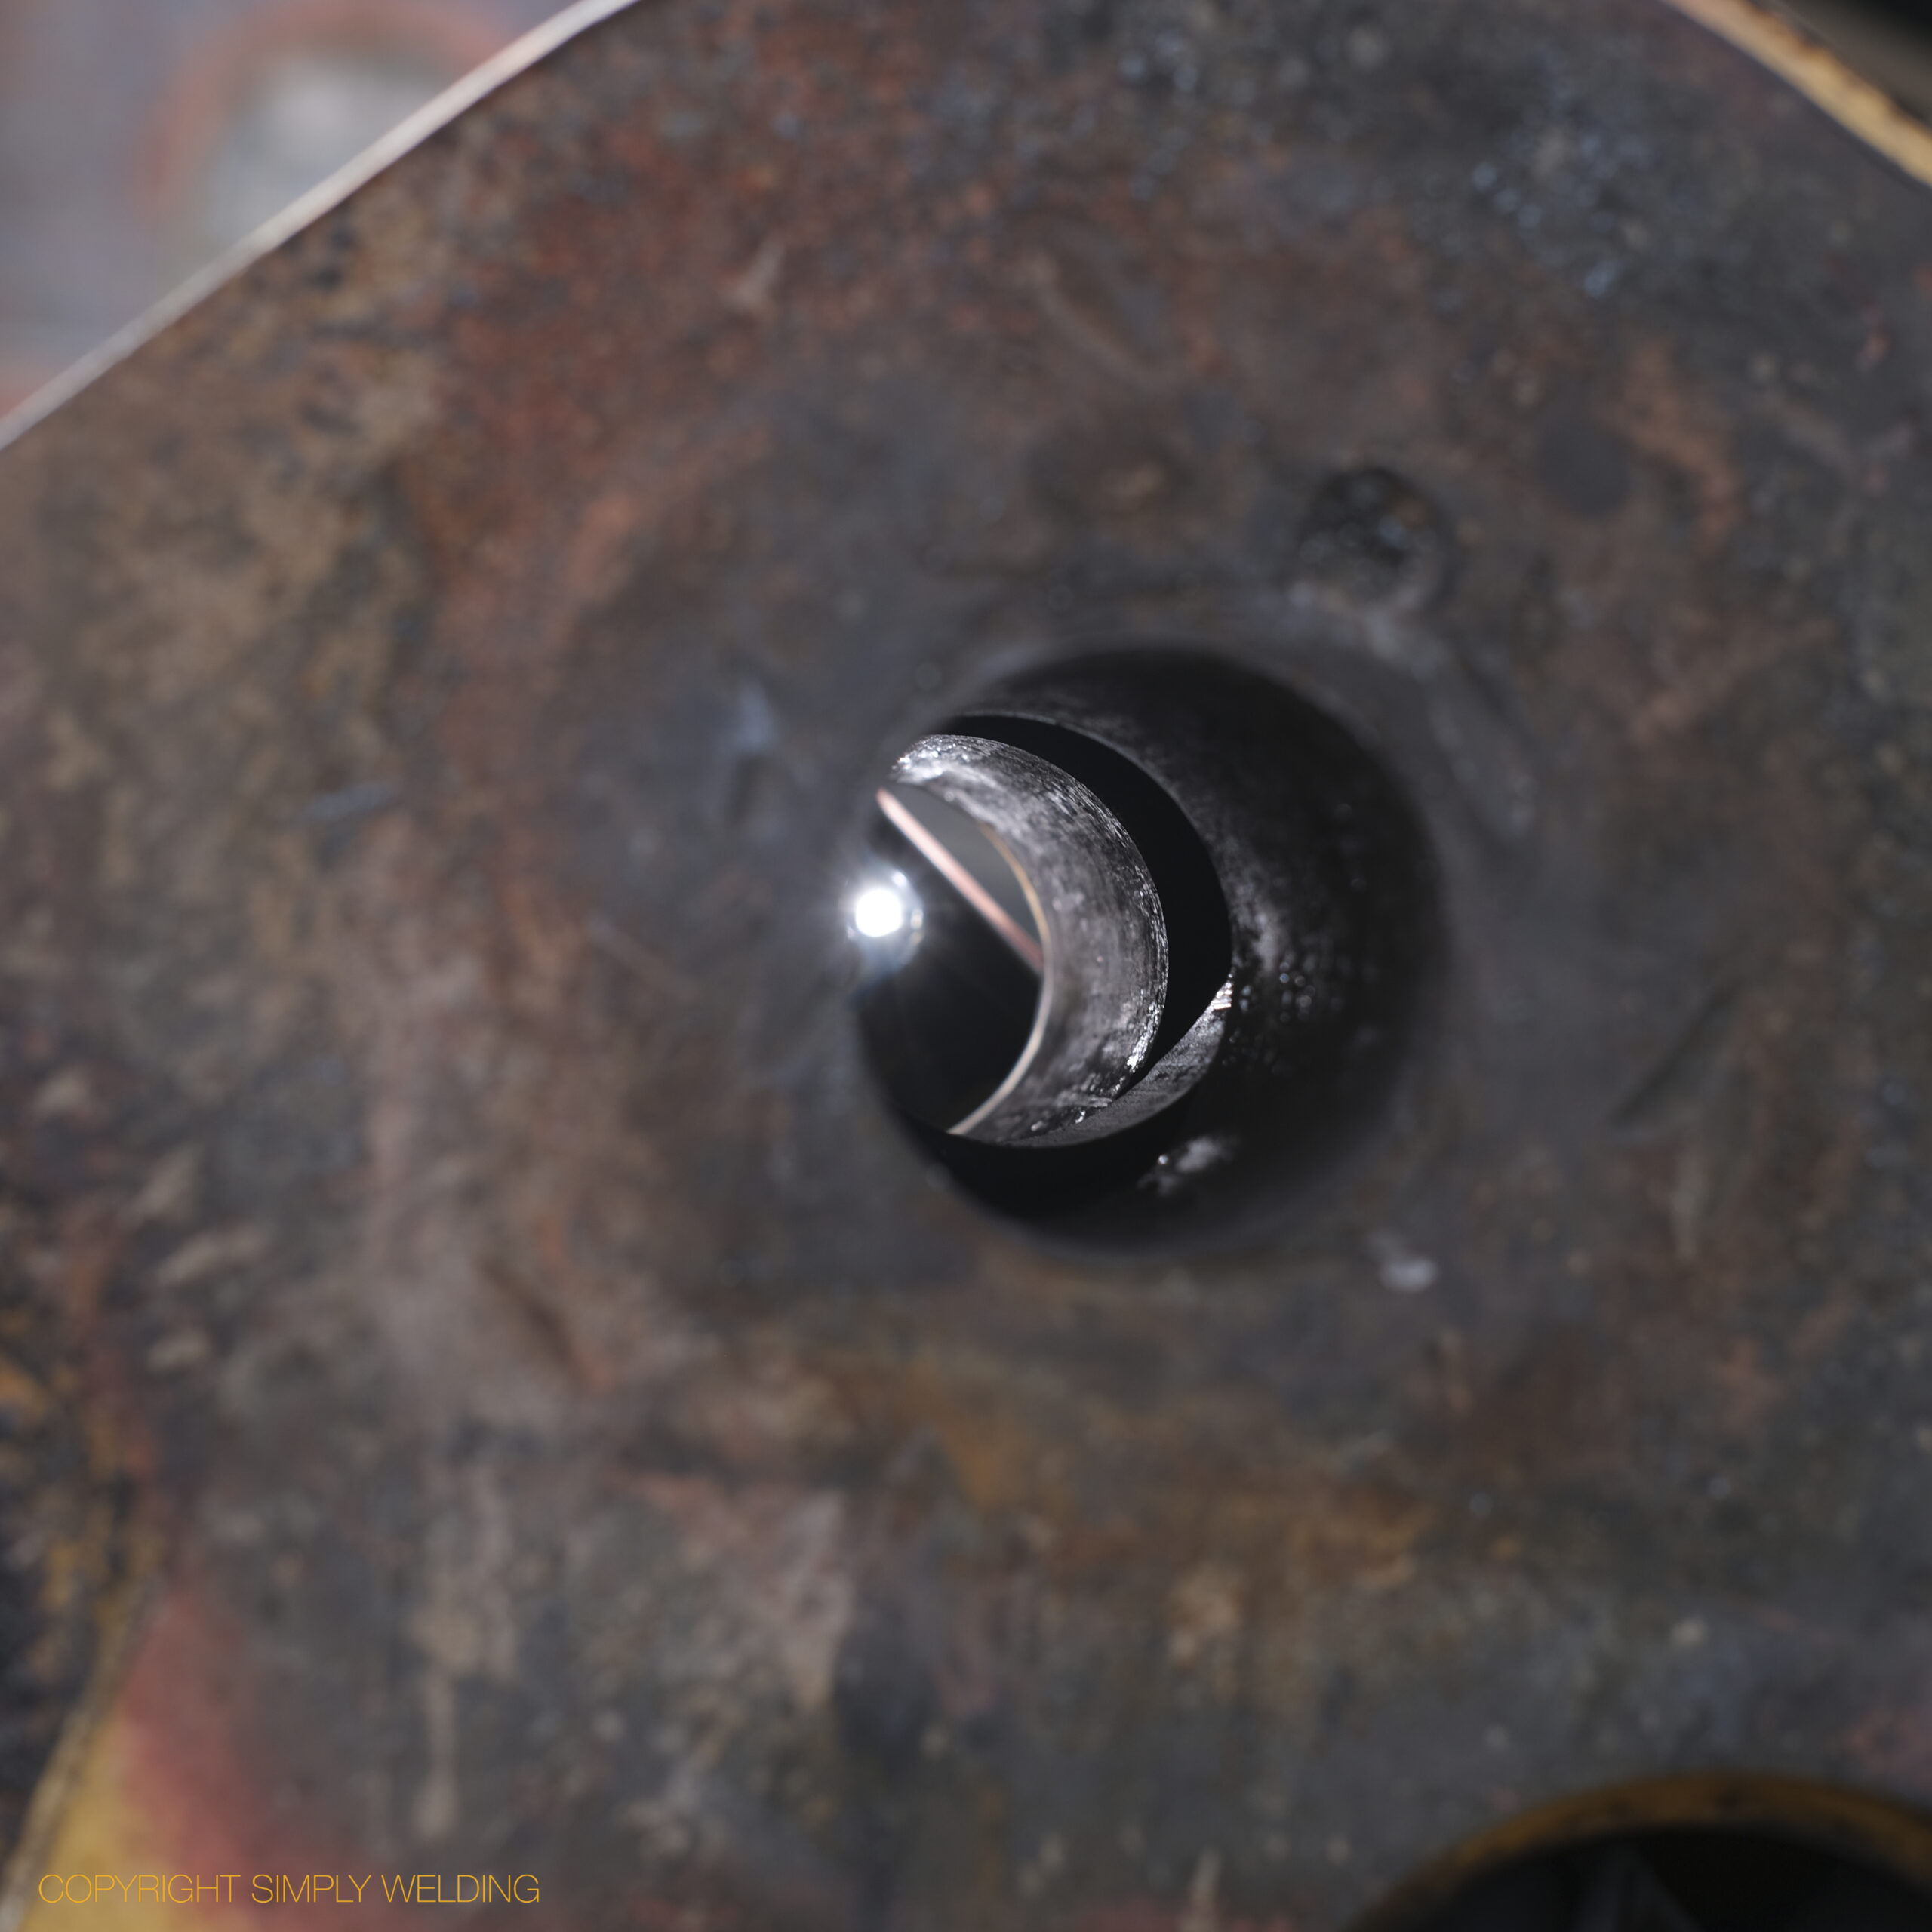
A seized pin removed from the boom head of a JCB telehandler on site. We drilled, tapped and tried to jack the pin but failed. We then thermic lanced through its centre so it shrank as it cooled. It came out with no damage to the bores or hydraulic ram.
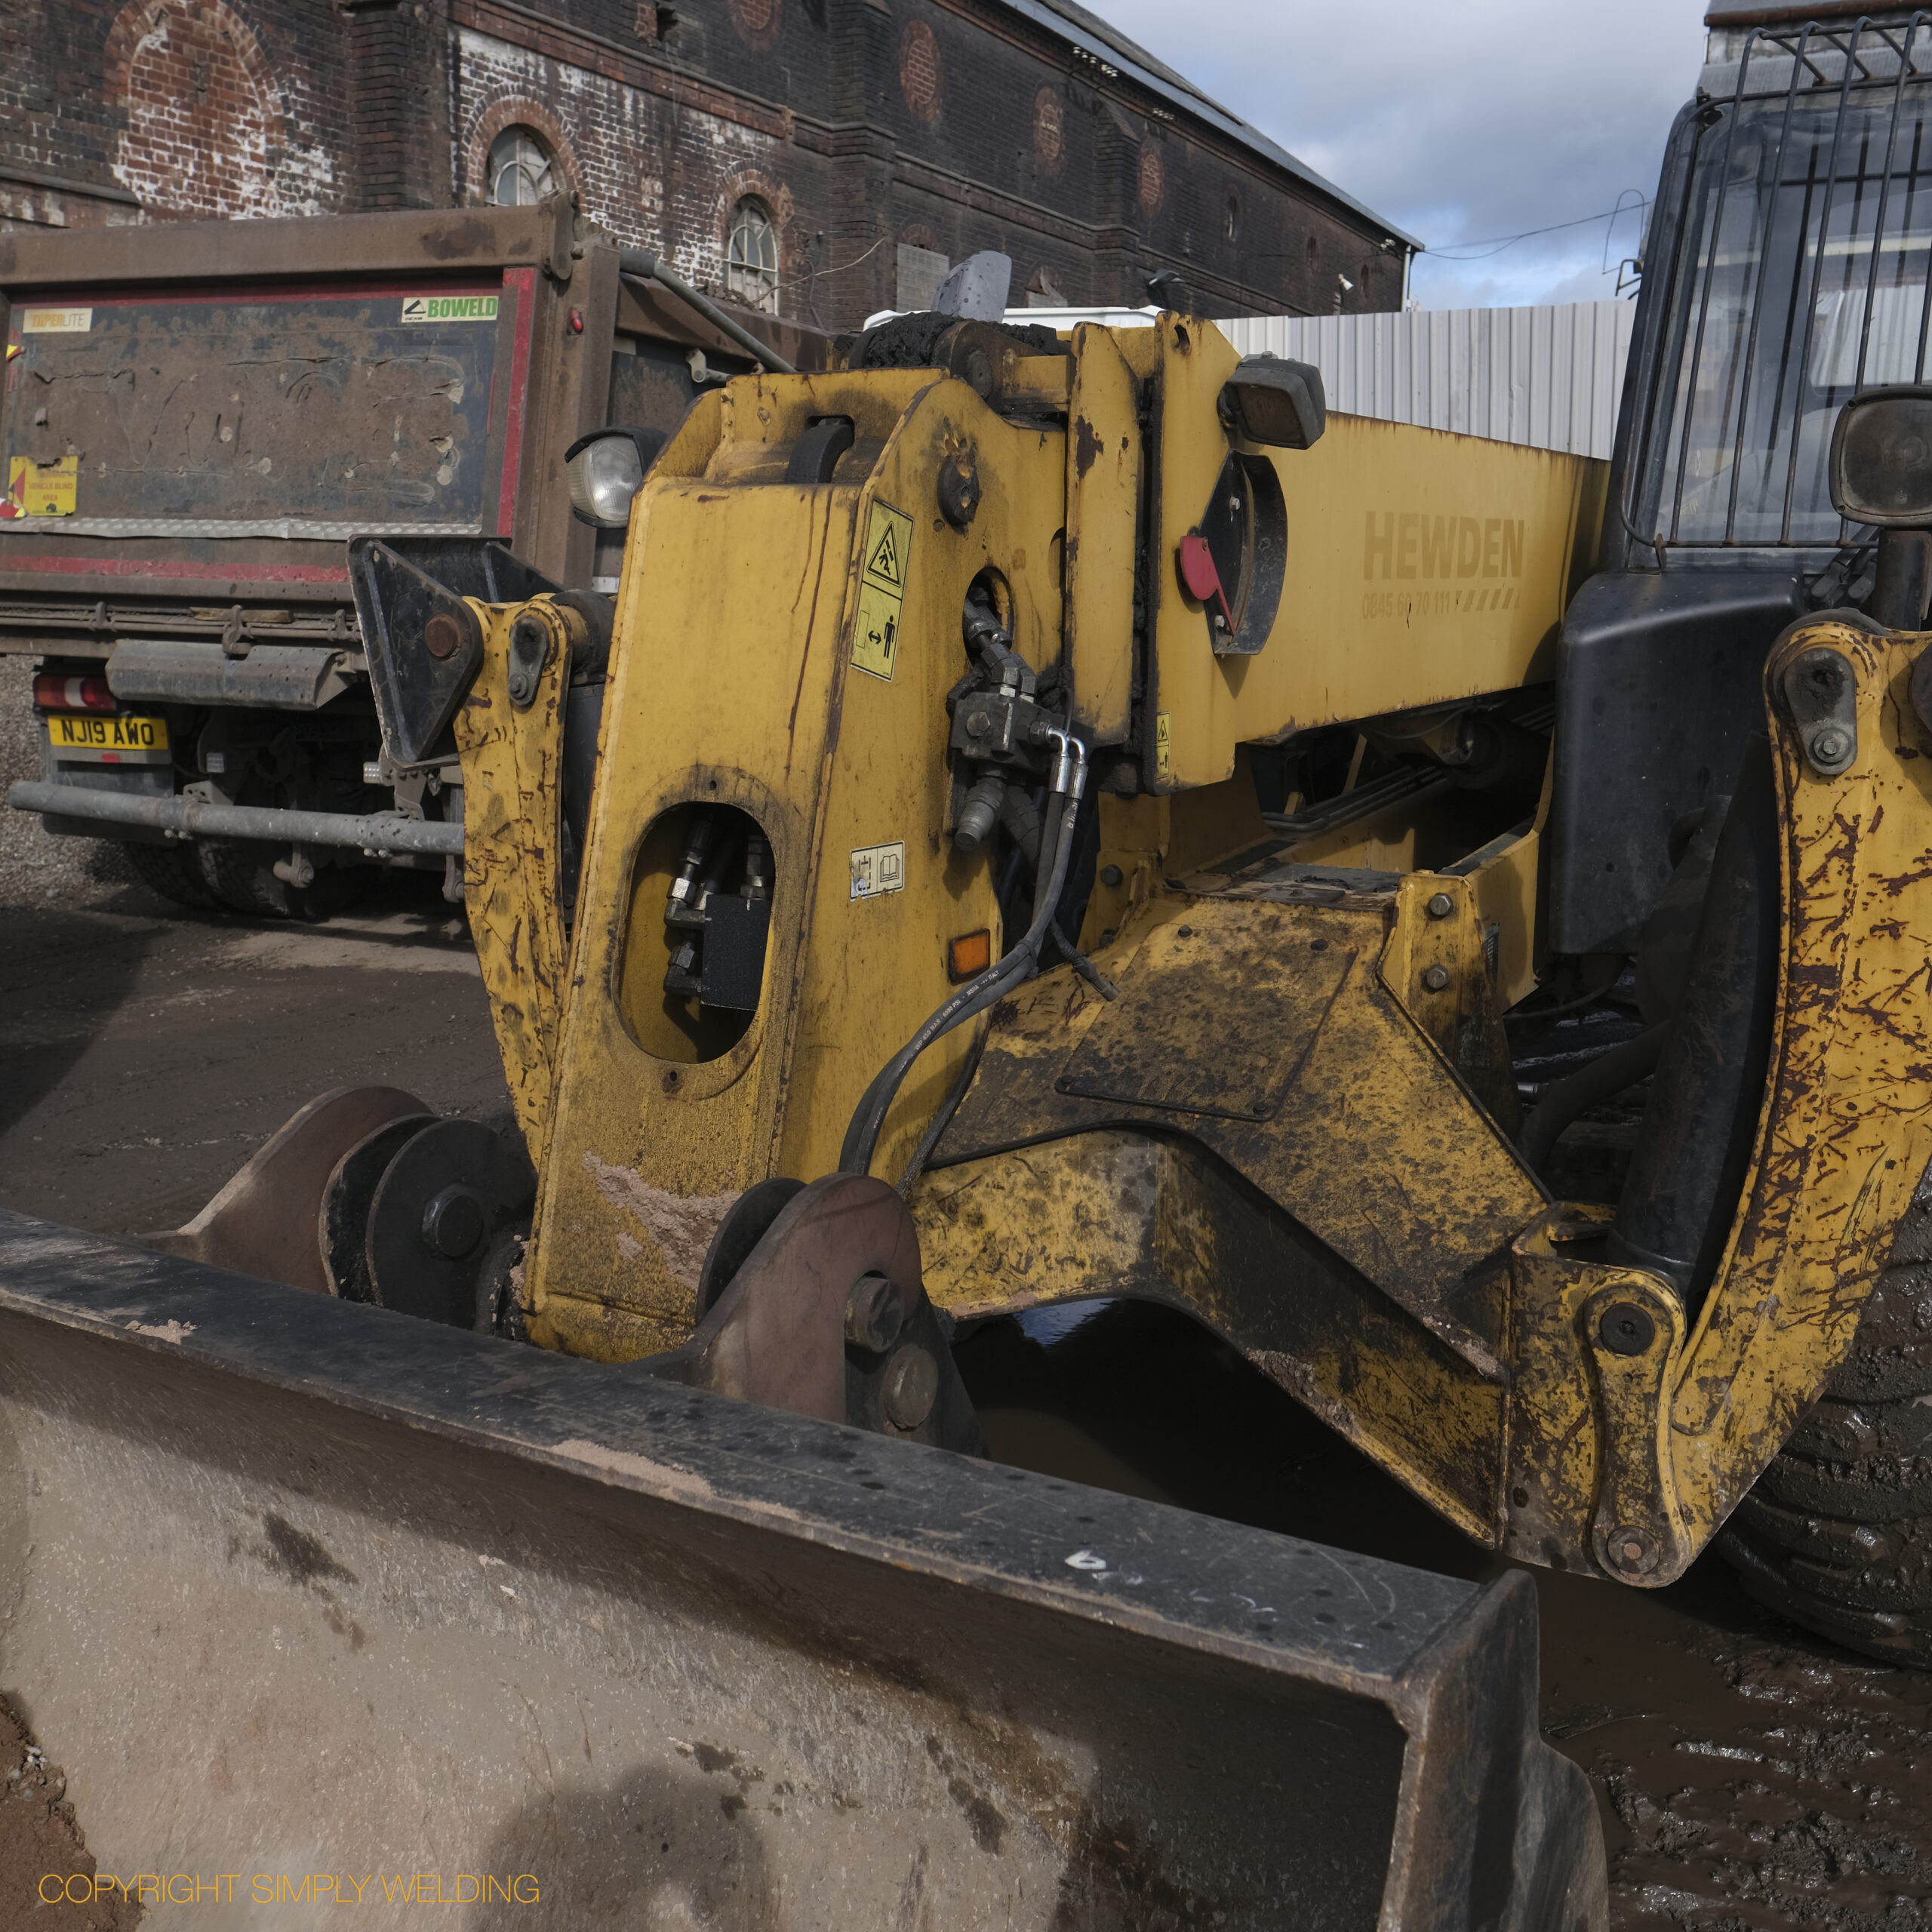
JCB telehandler boom head with a seized pin, before removal
Magnetic drill strapped to a telehandler boom head, drilling through a seized pin
Engineer tapping a thread into a drilled seized pin on a telehandler
Tapping the centre of a seized pin with a tap wrench
Hollow ram jack and high tensile rod pulling a seized pin while the boom head is heated
Exothermic lance burning through the centre of a seized pin, sparks flying
Thermic lance cutting through a seized pin on a telehandler boom head
Molten metal running from a seized pin during thermic lancing
Thermic lancing a seized pin, with slag running down the boom head
Boom head cooling after thermic lancing, with a hole burned through the pin
Close-up of the hole burned through the centre of a seized pin
Two Simply Welding engineers driving out a seized telehandler pin
Seized pin partly driven out of a telehandler boom head
Lanced-out centre of the removed seized pin
Clean, undamaged bore after the seized pin was removed

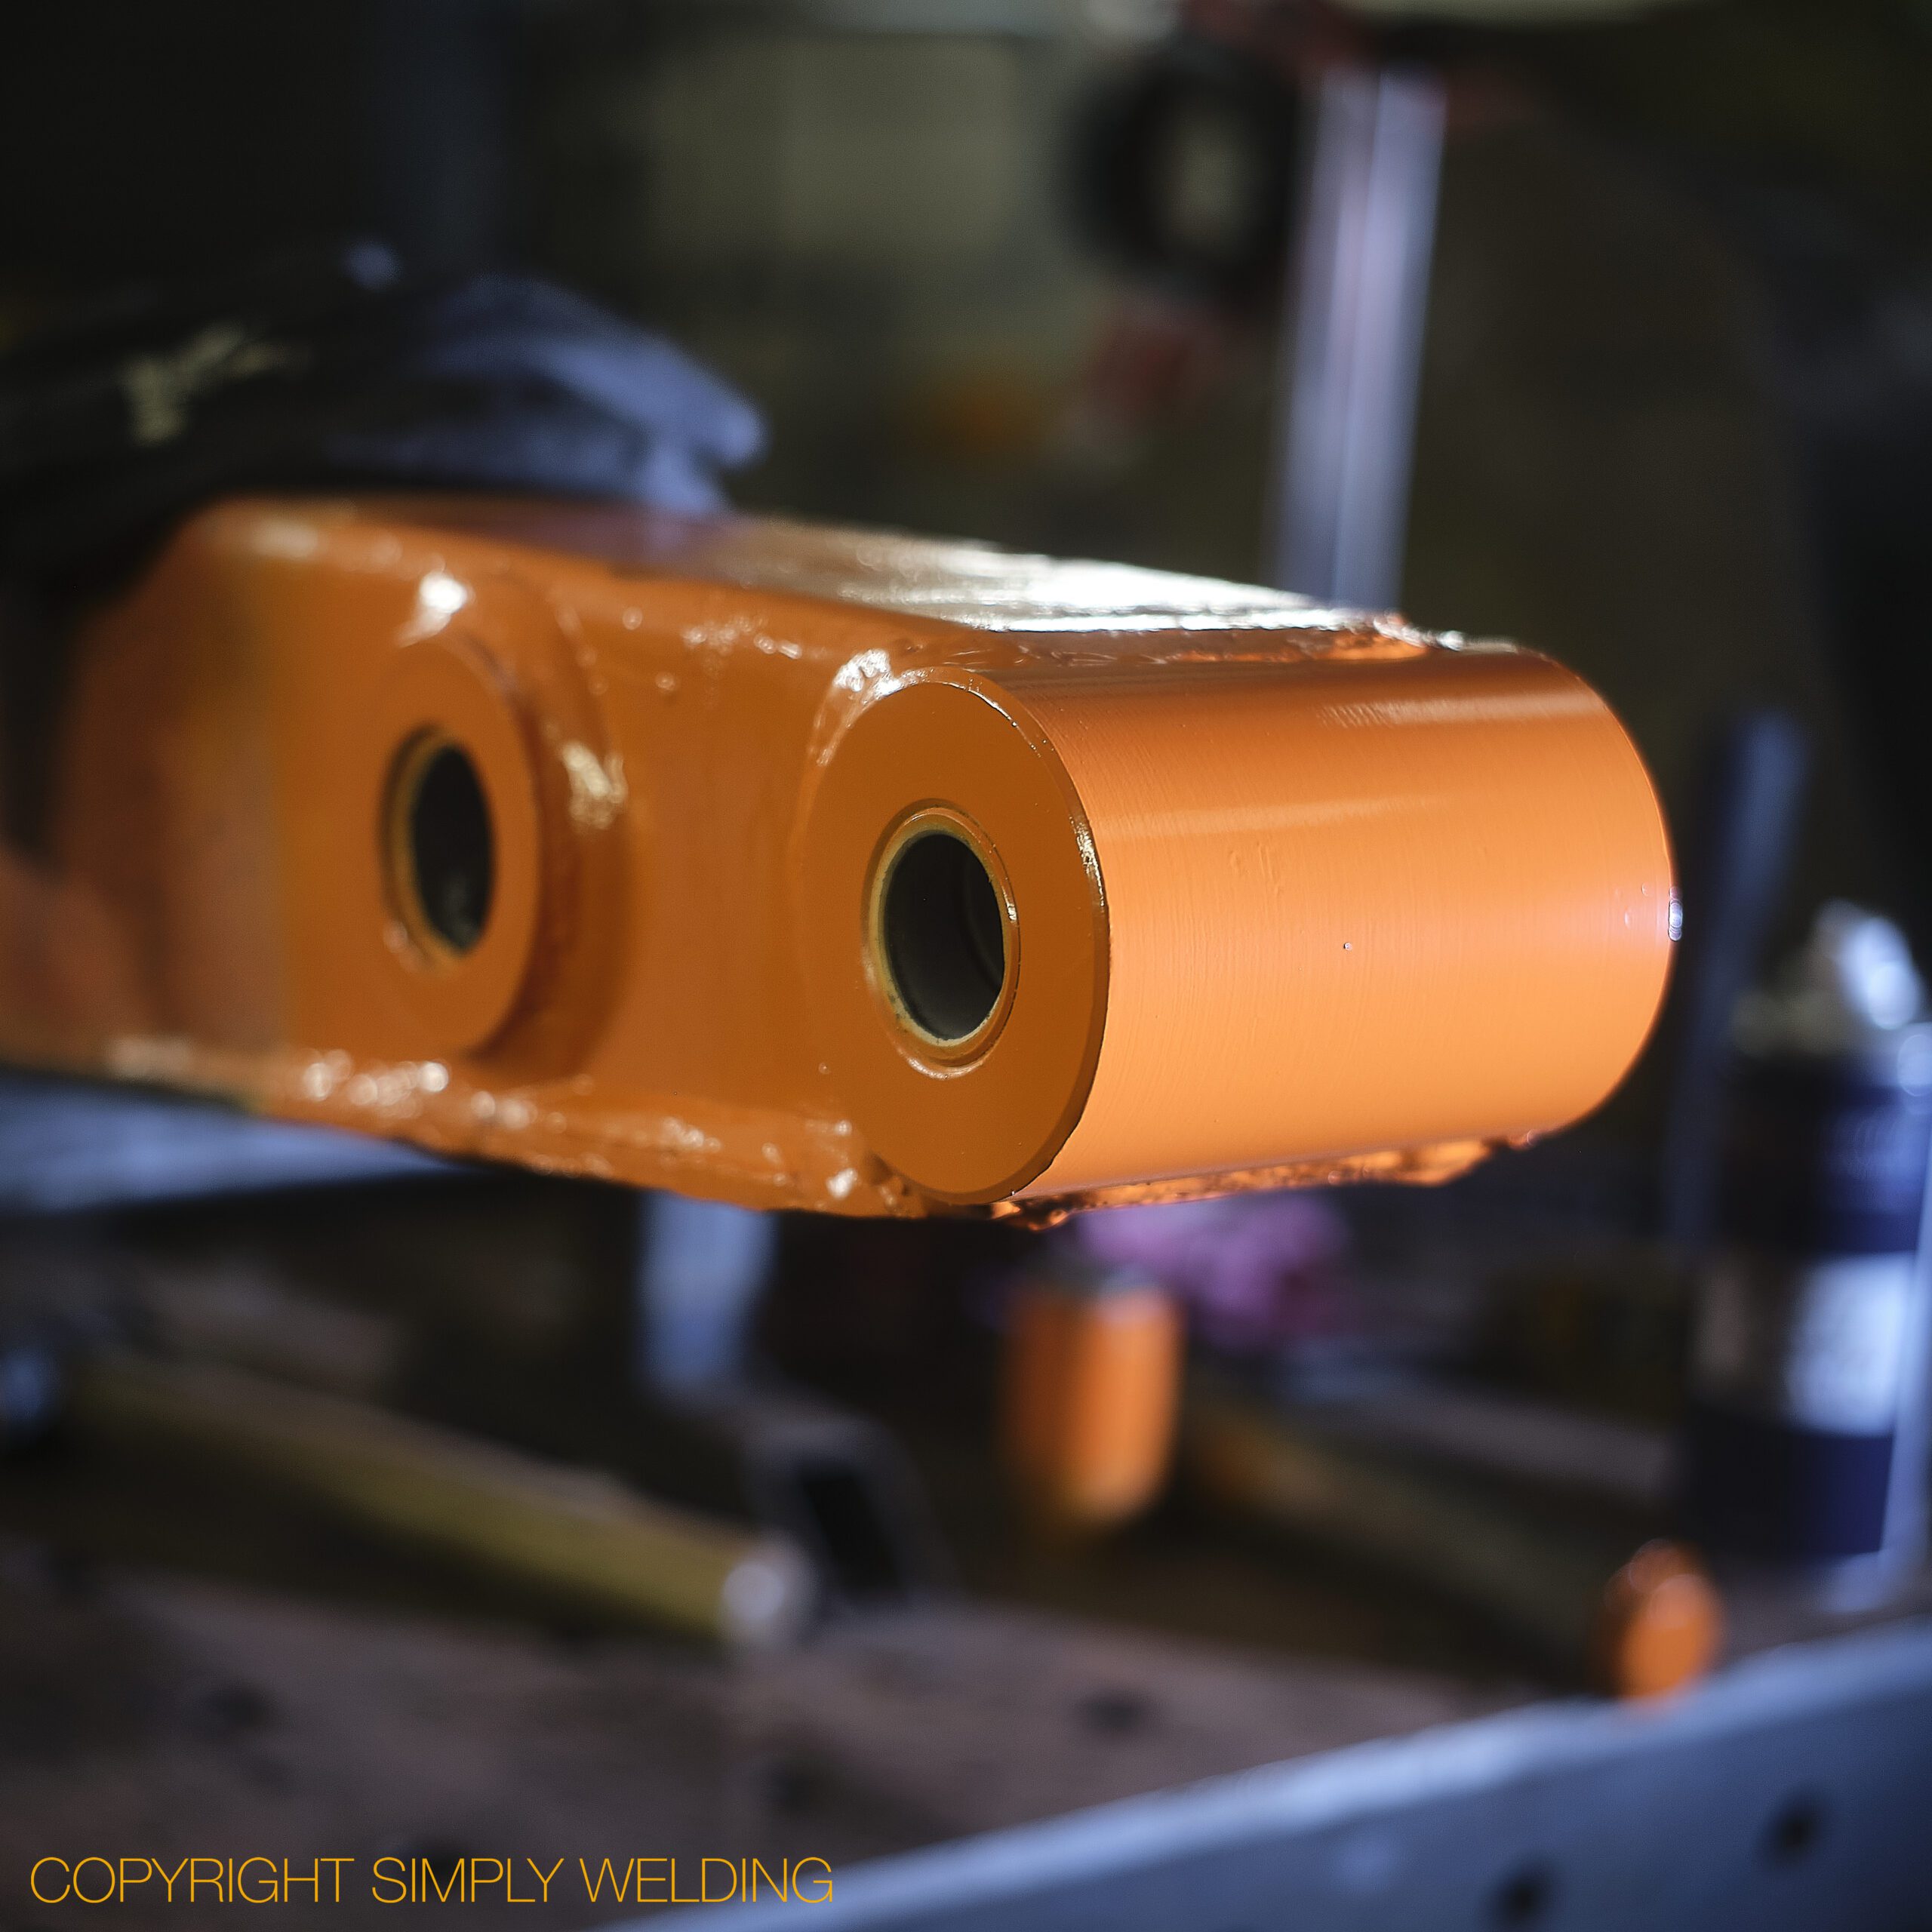
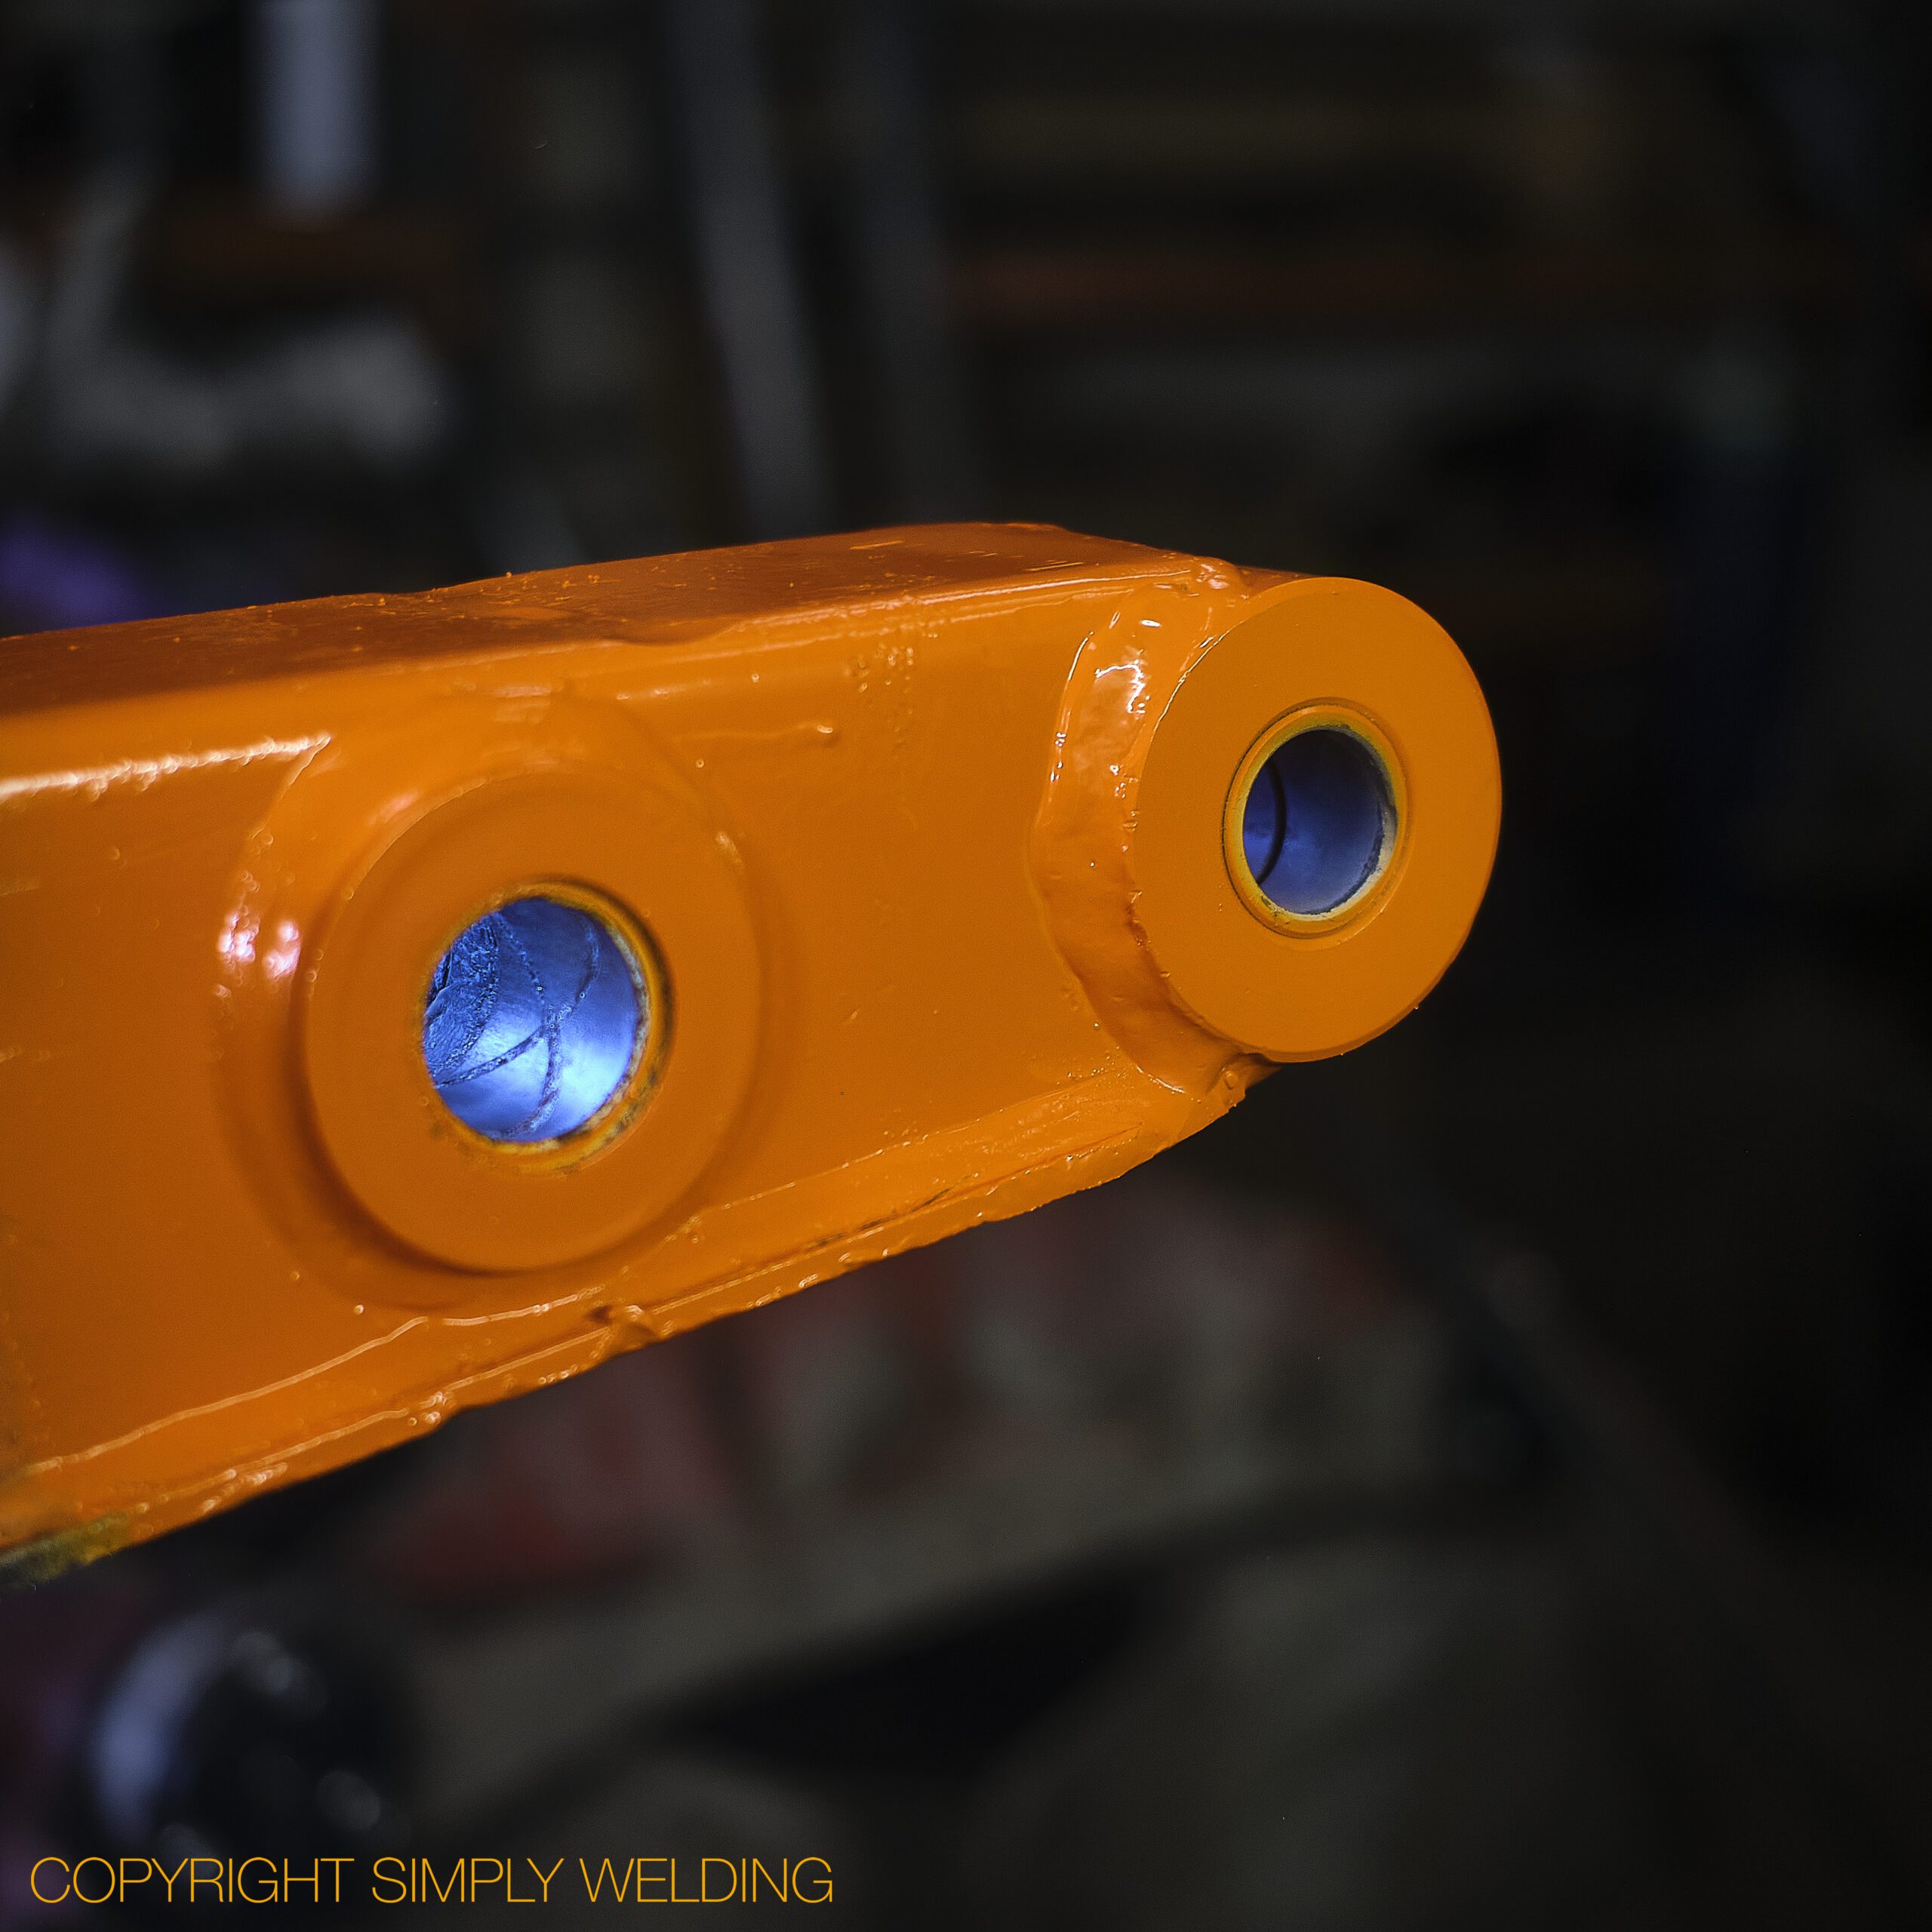
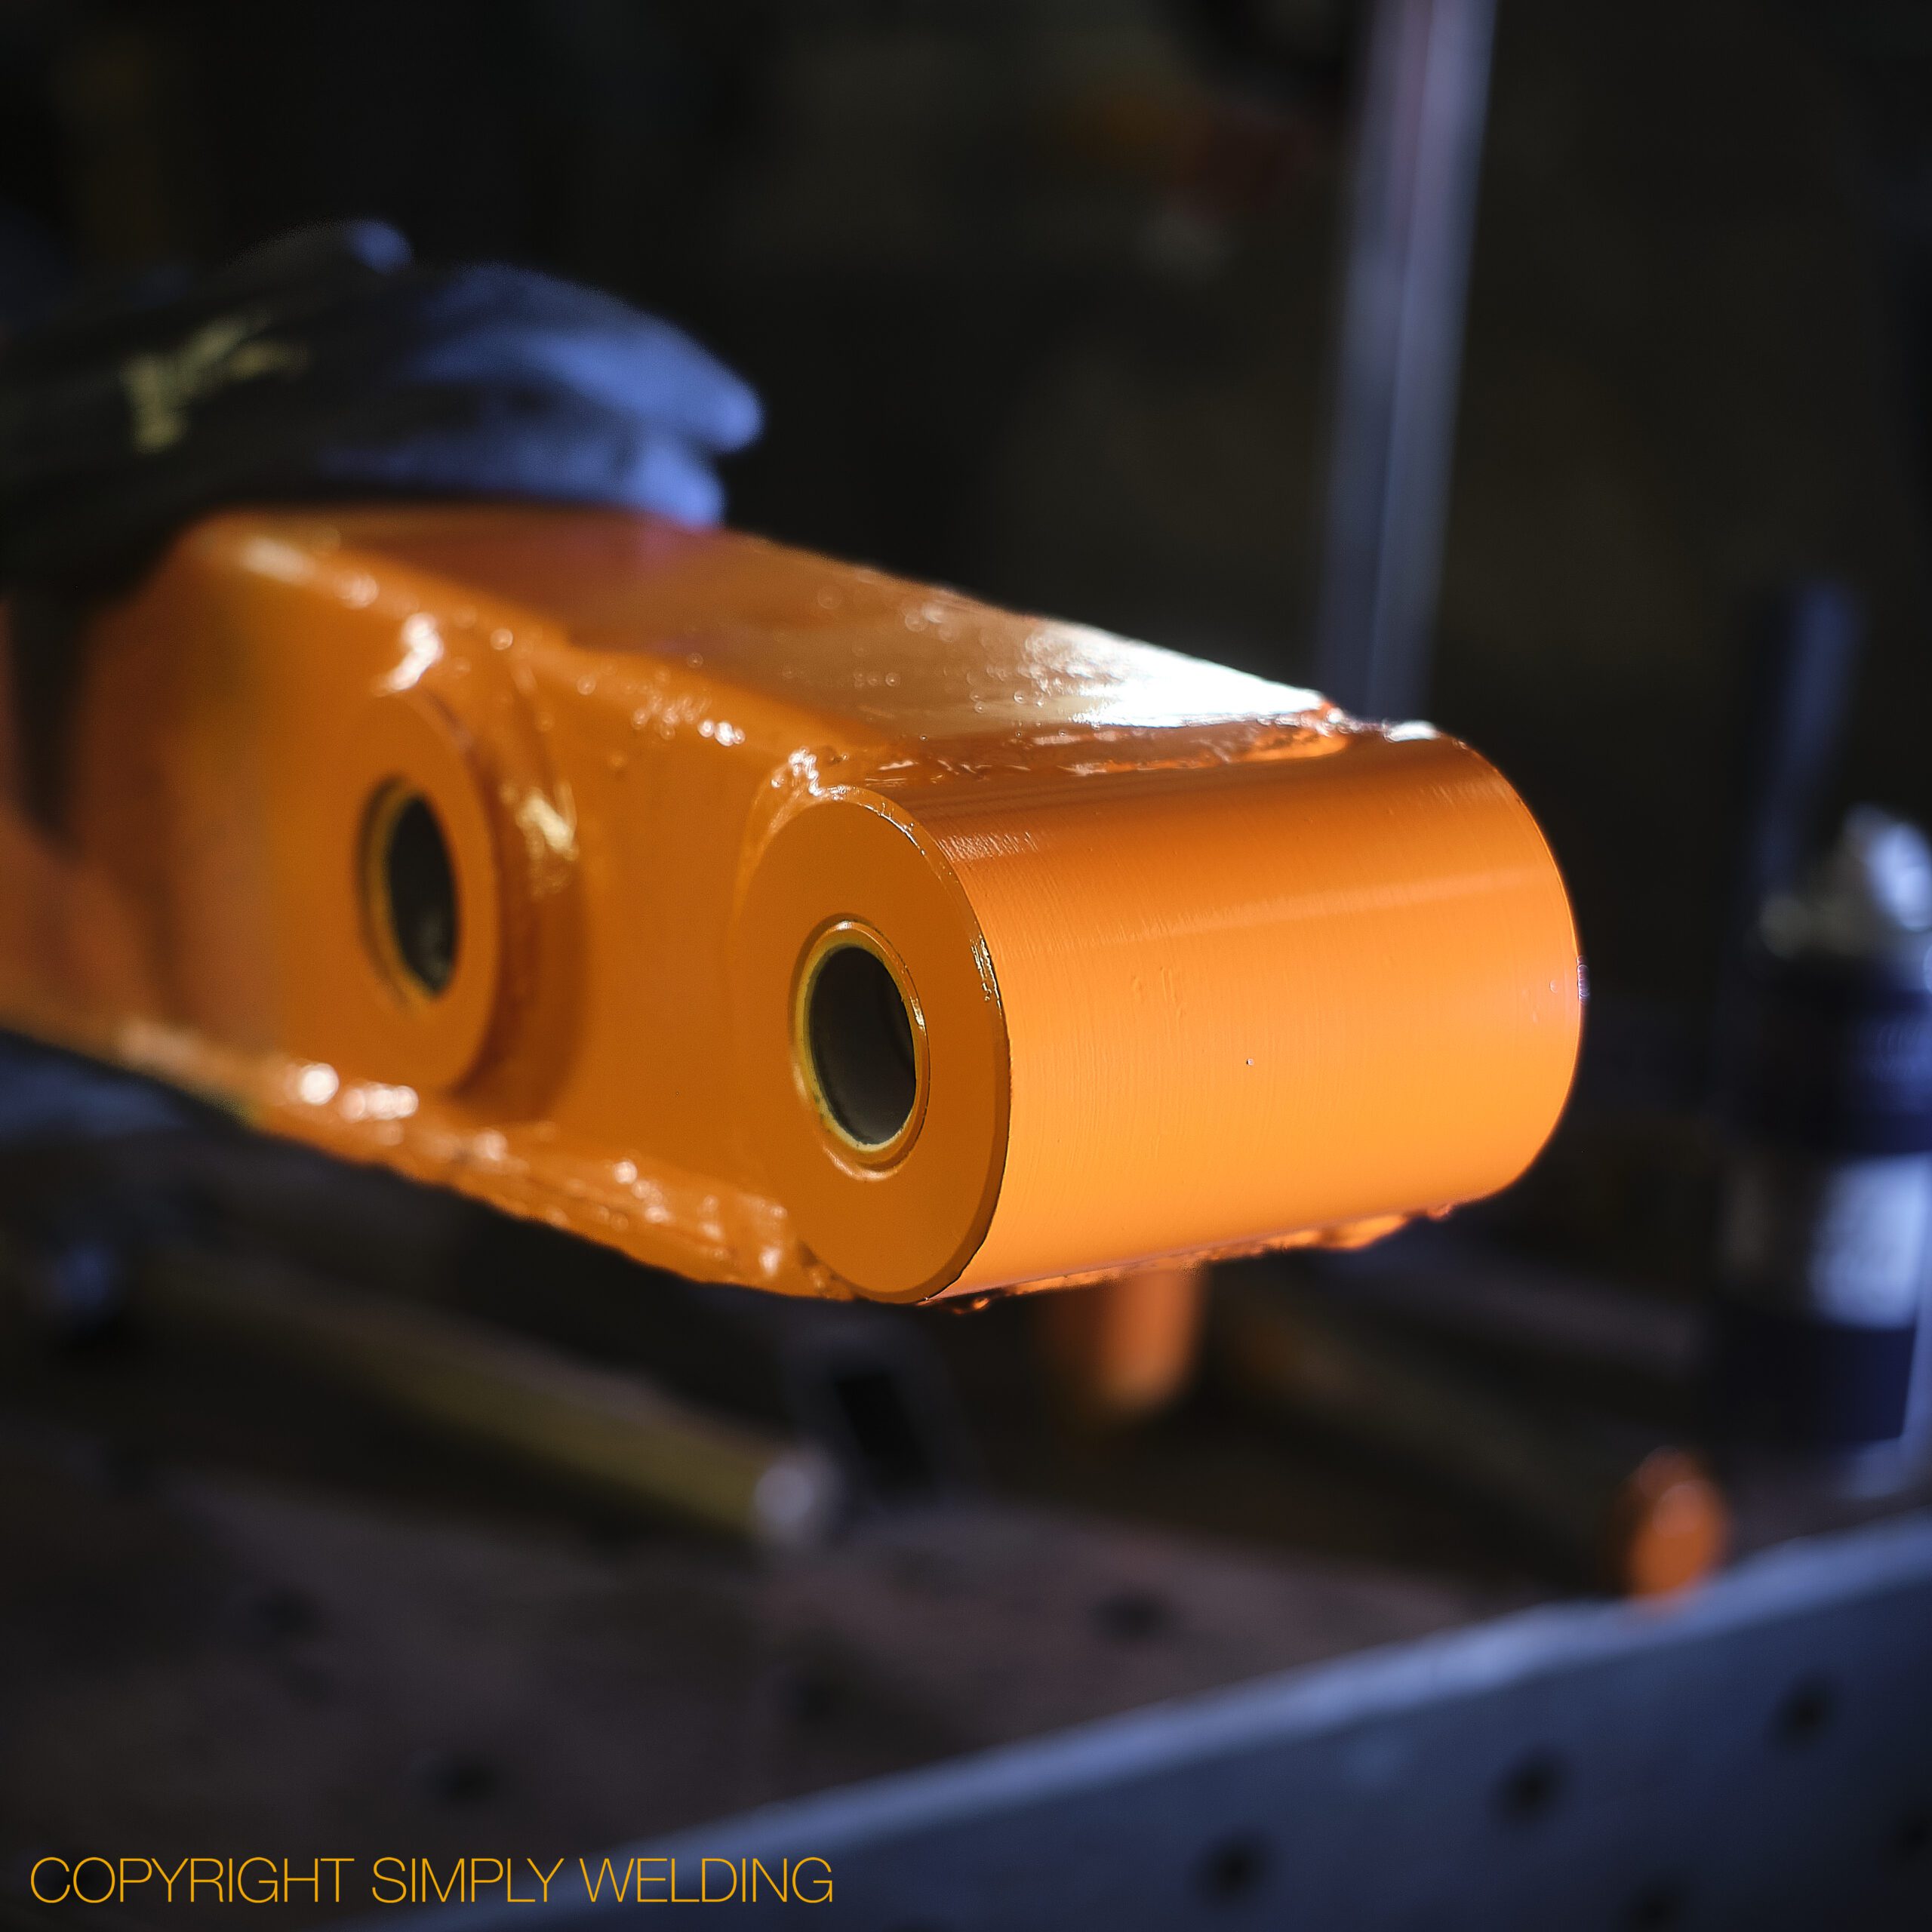
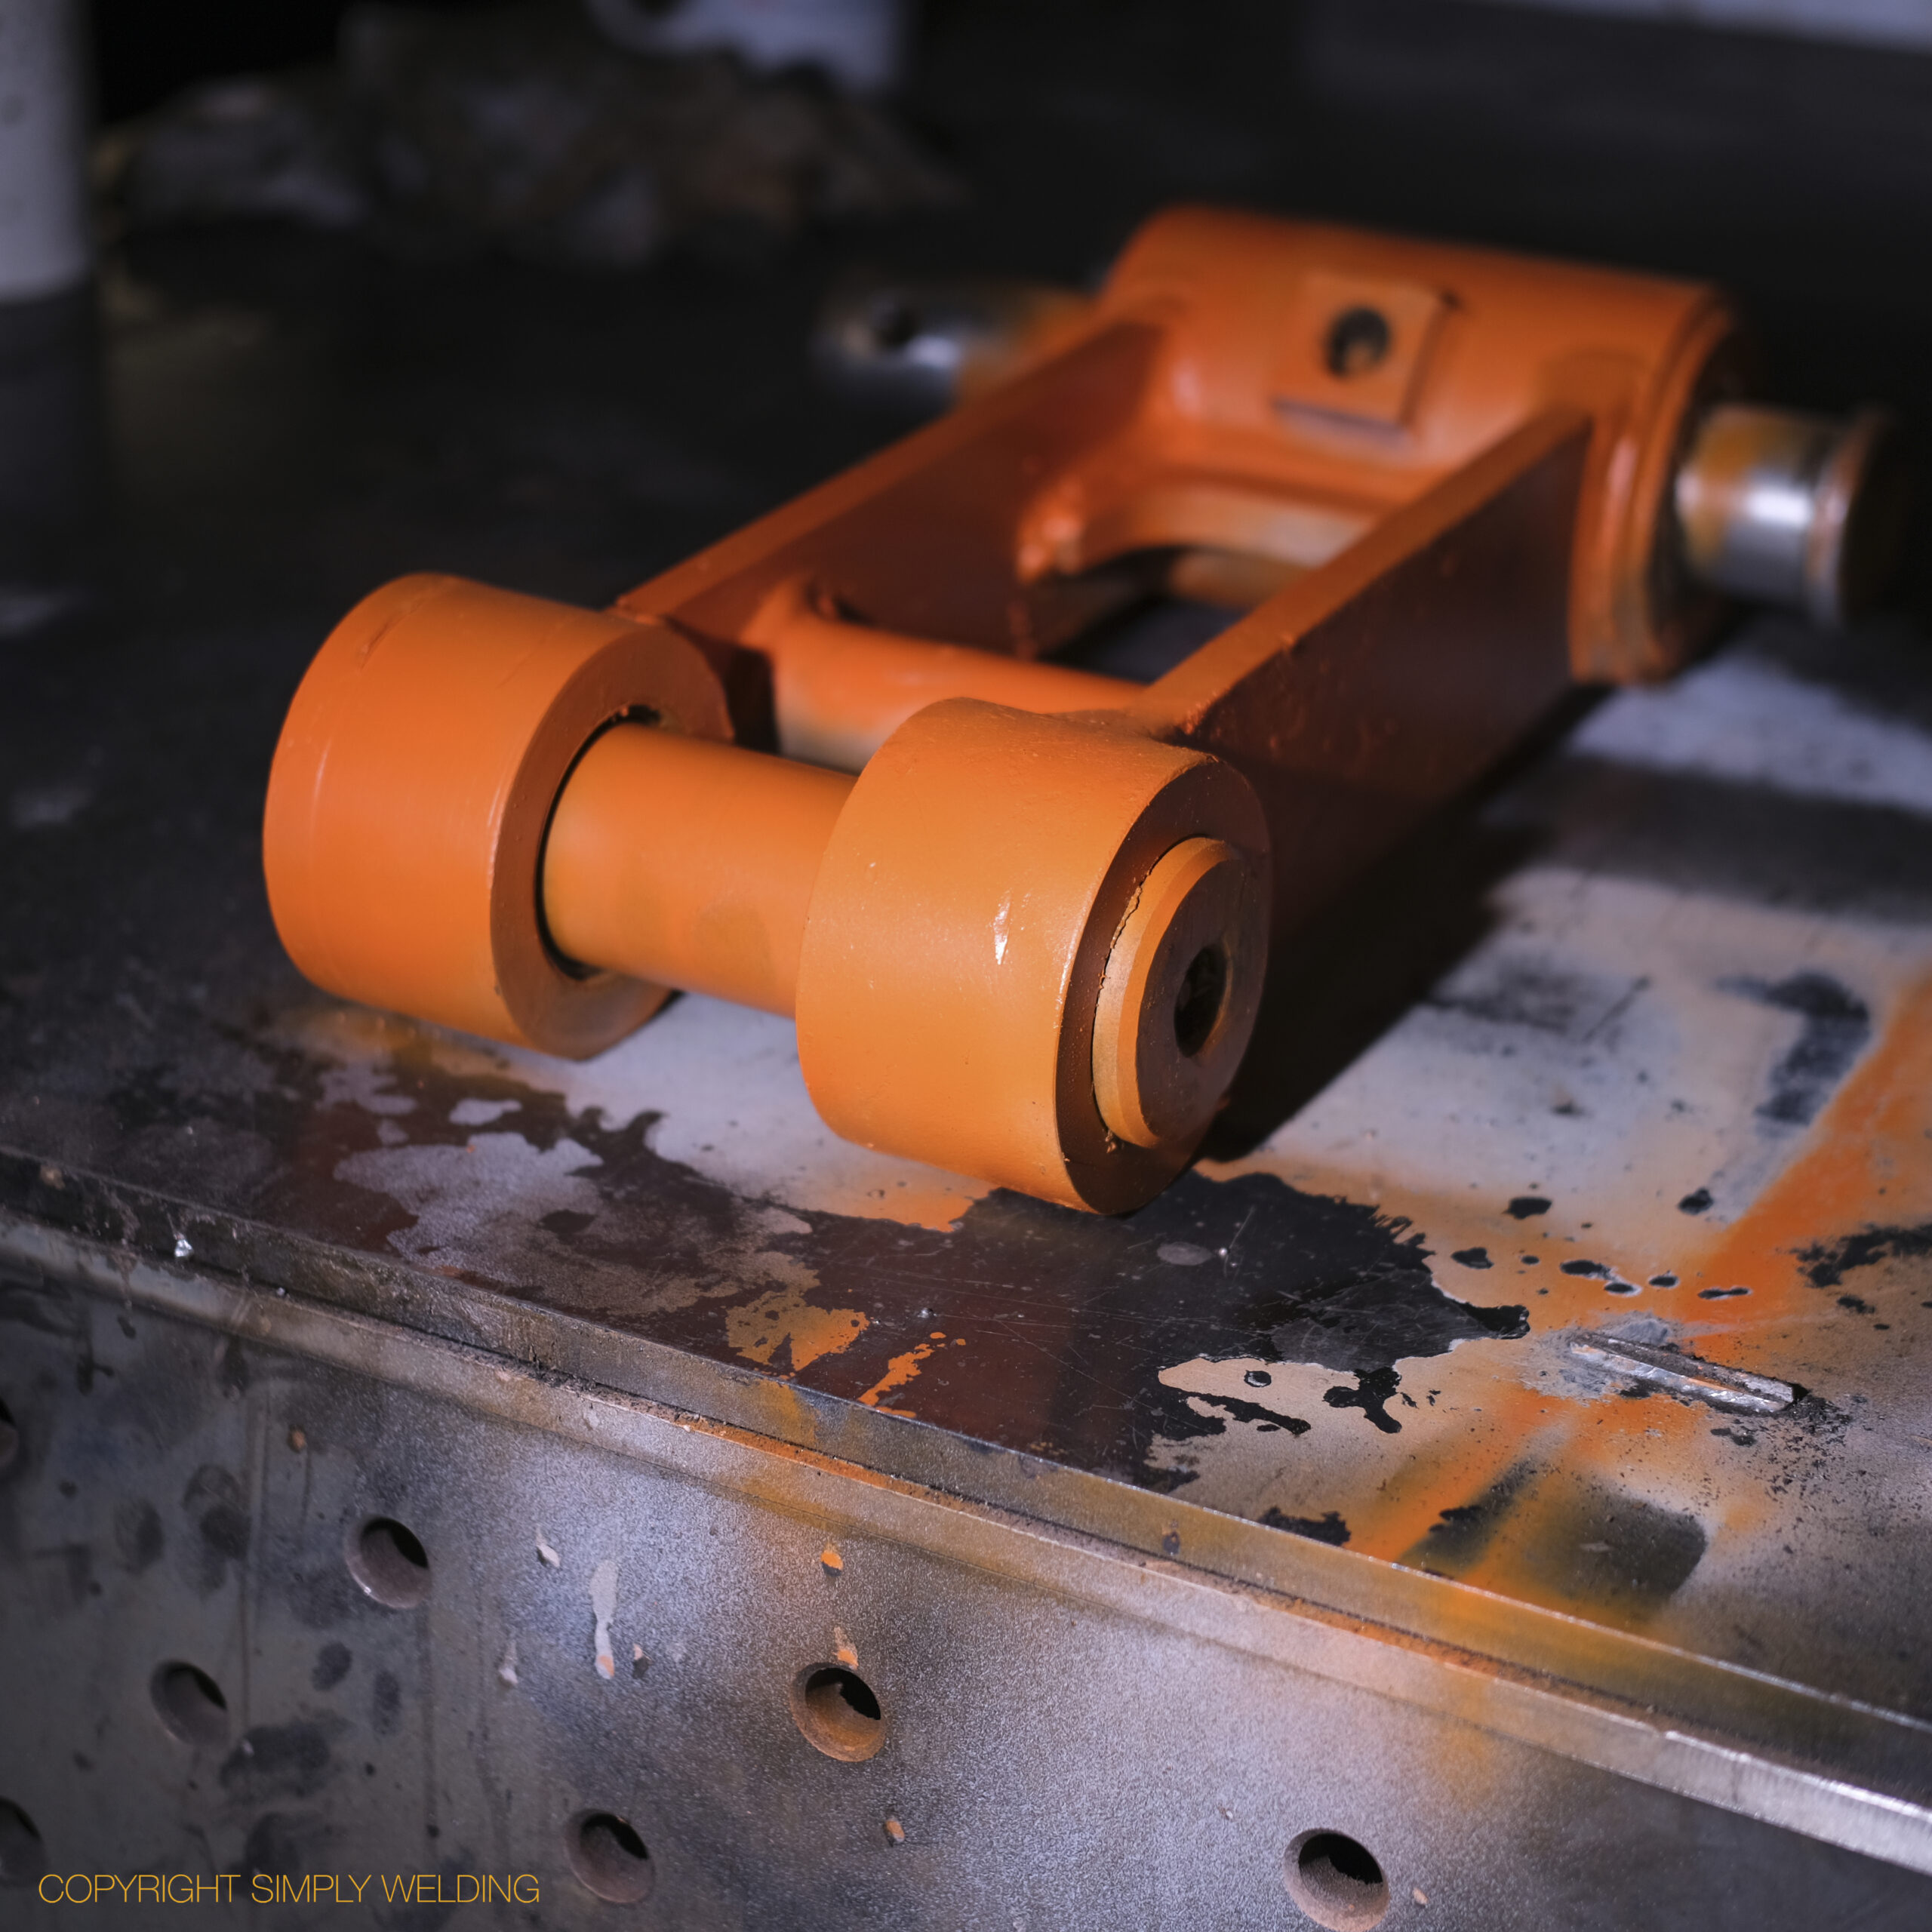
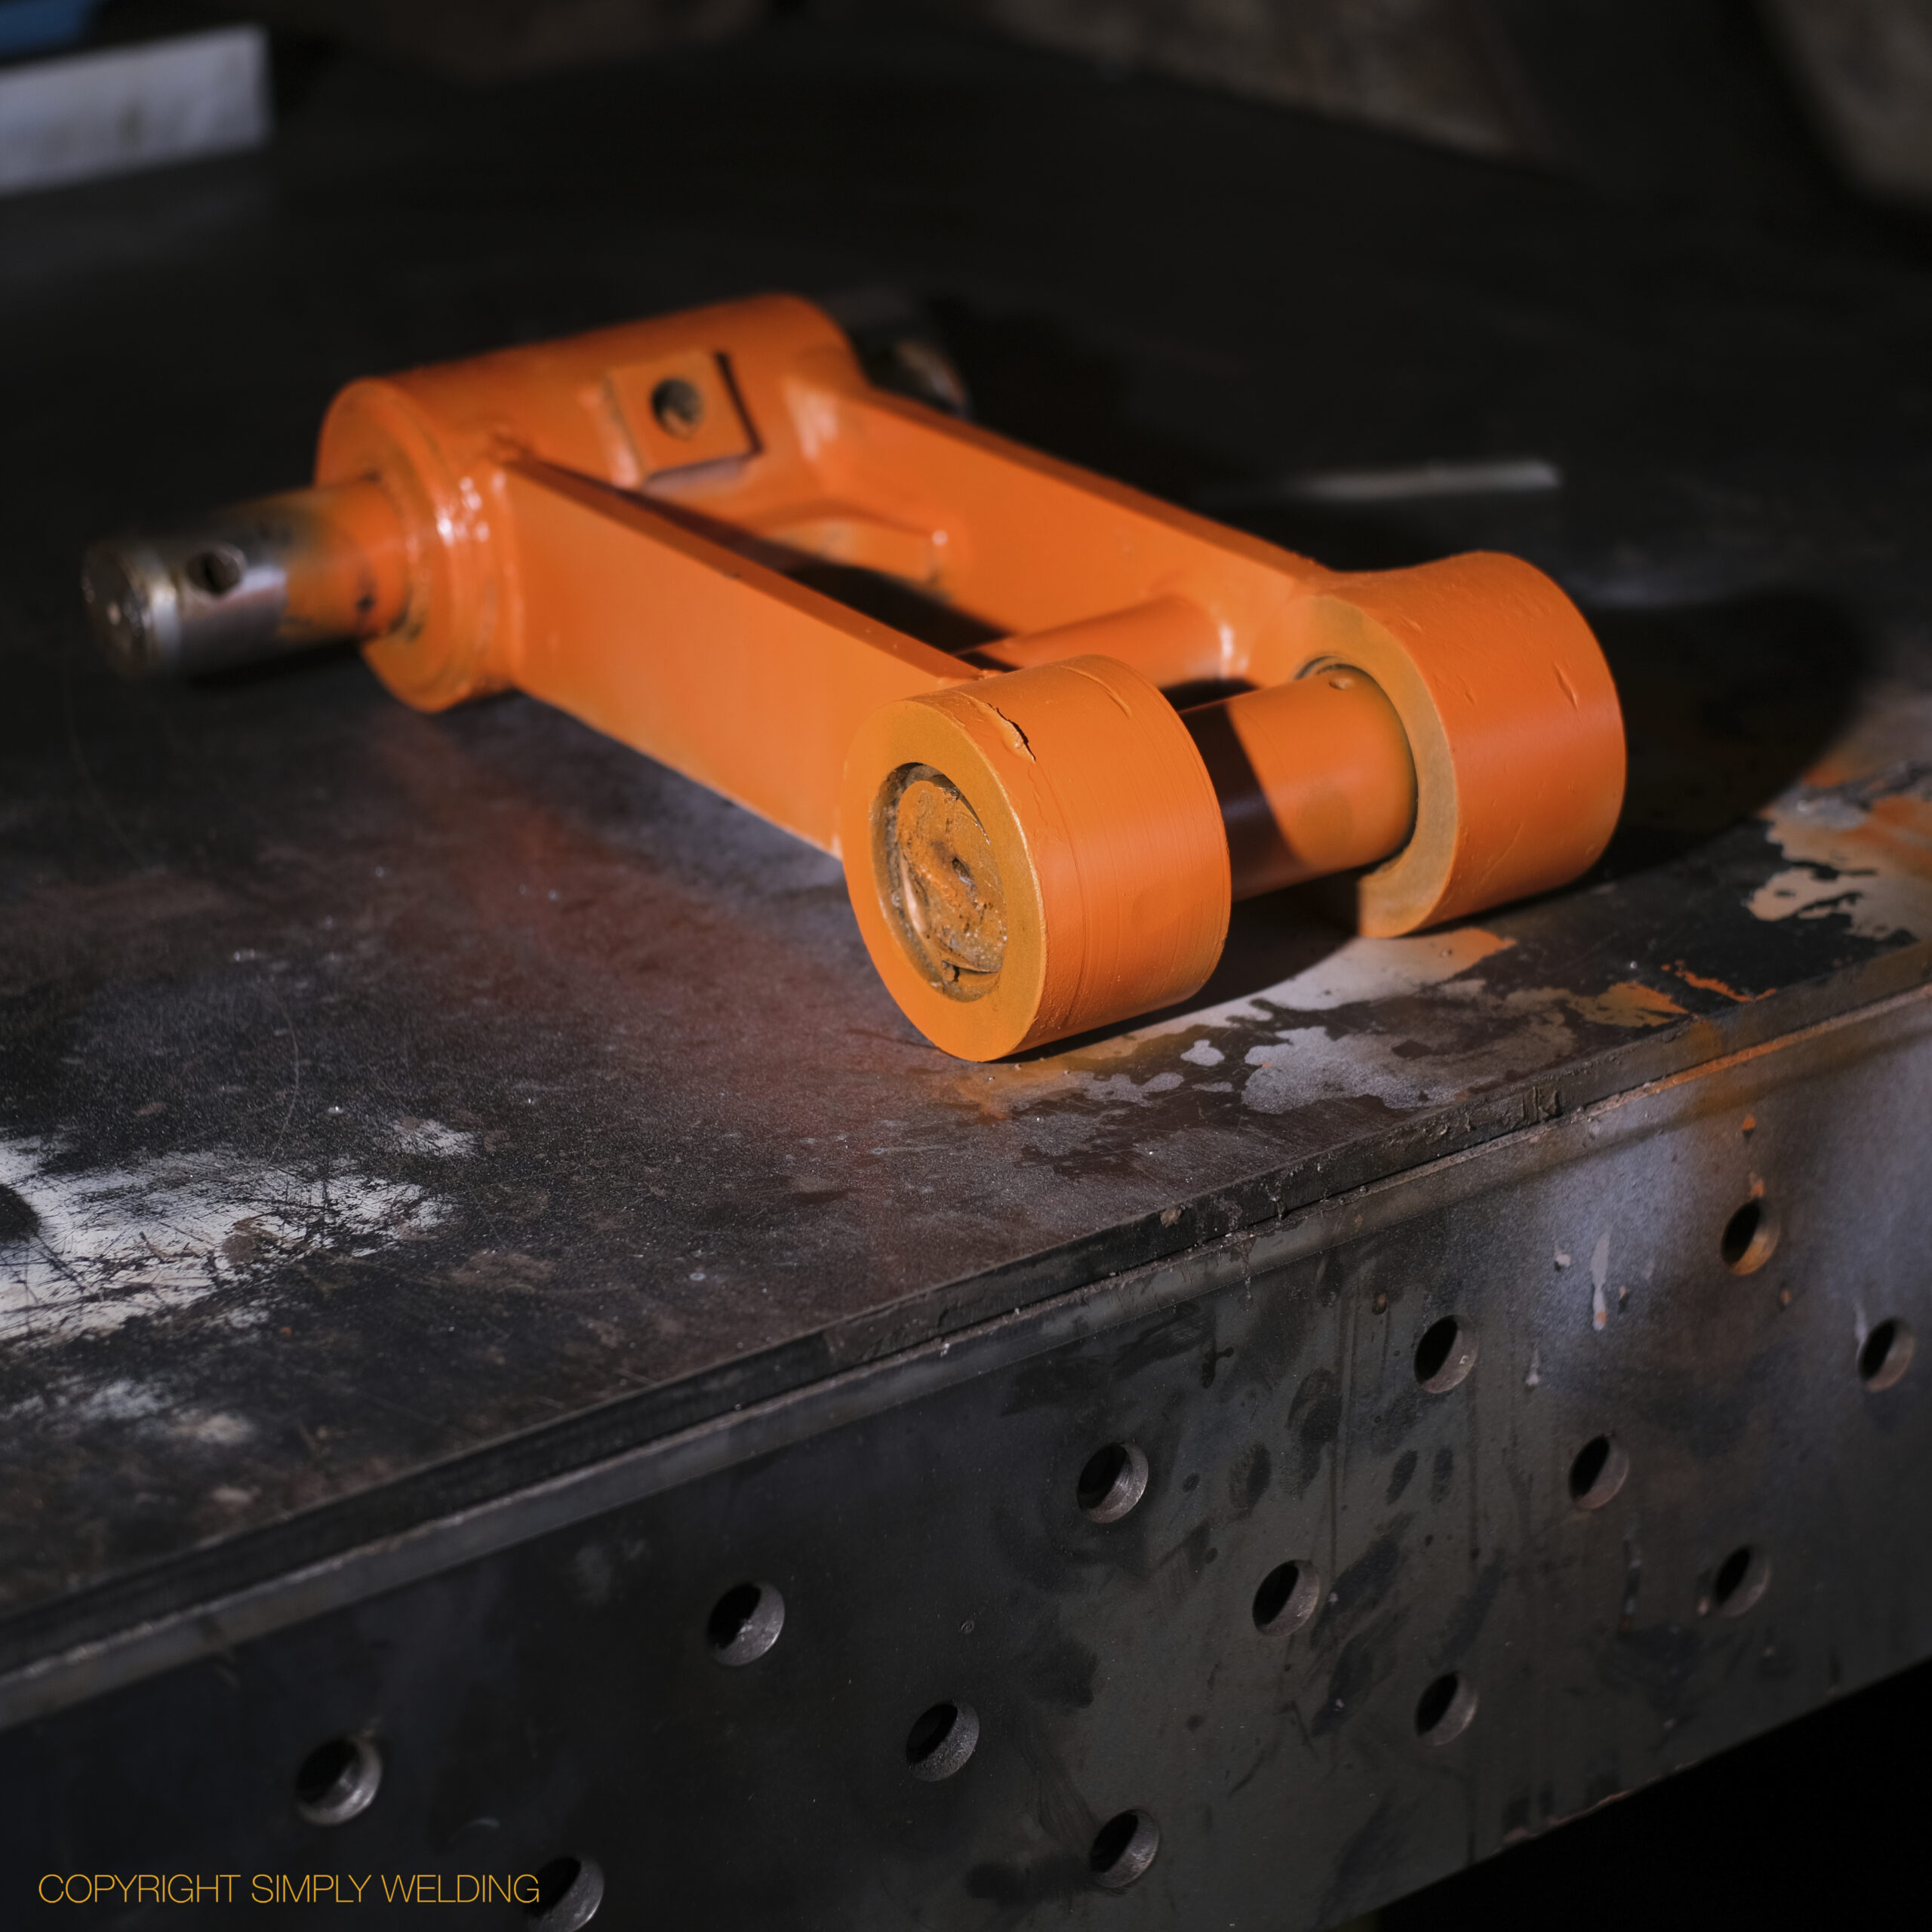
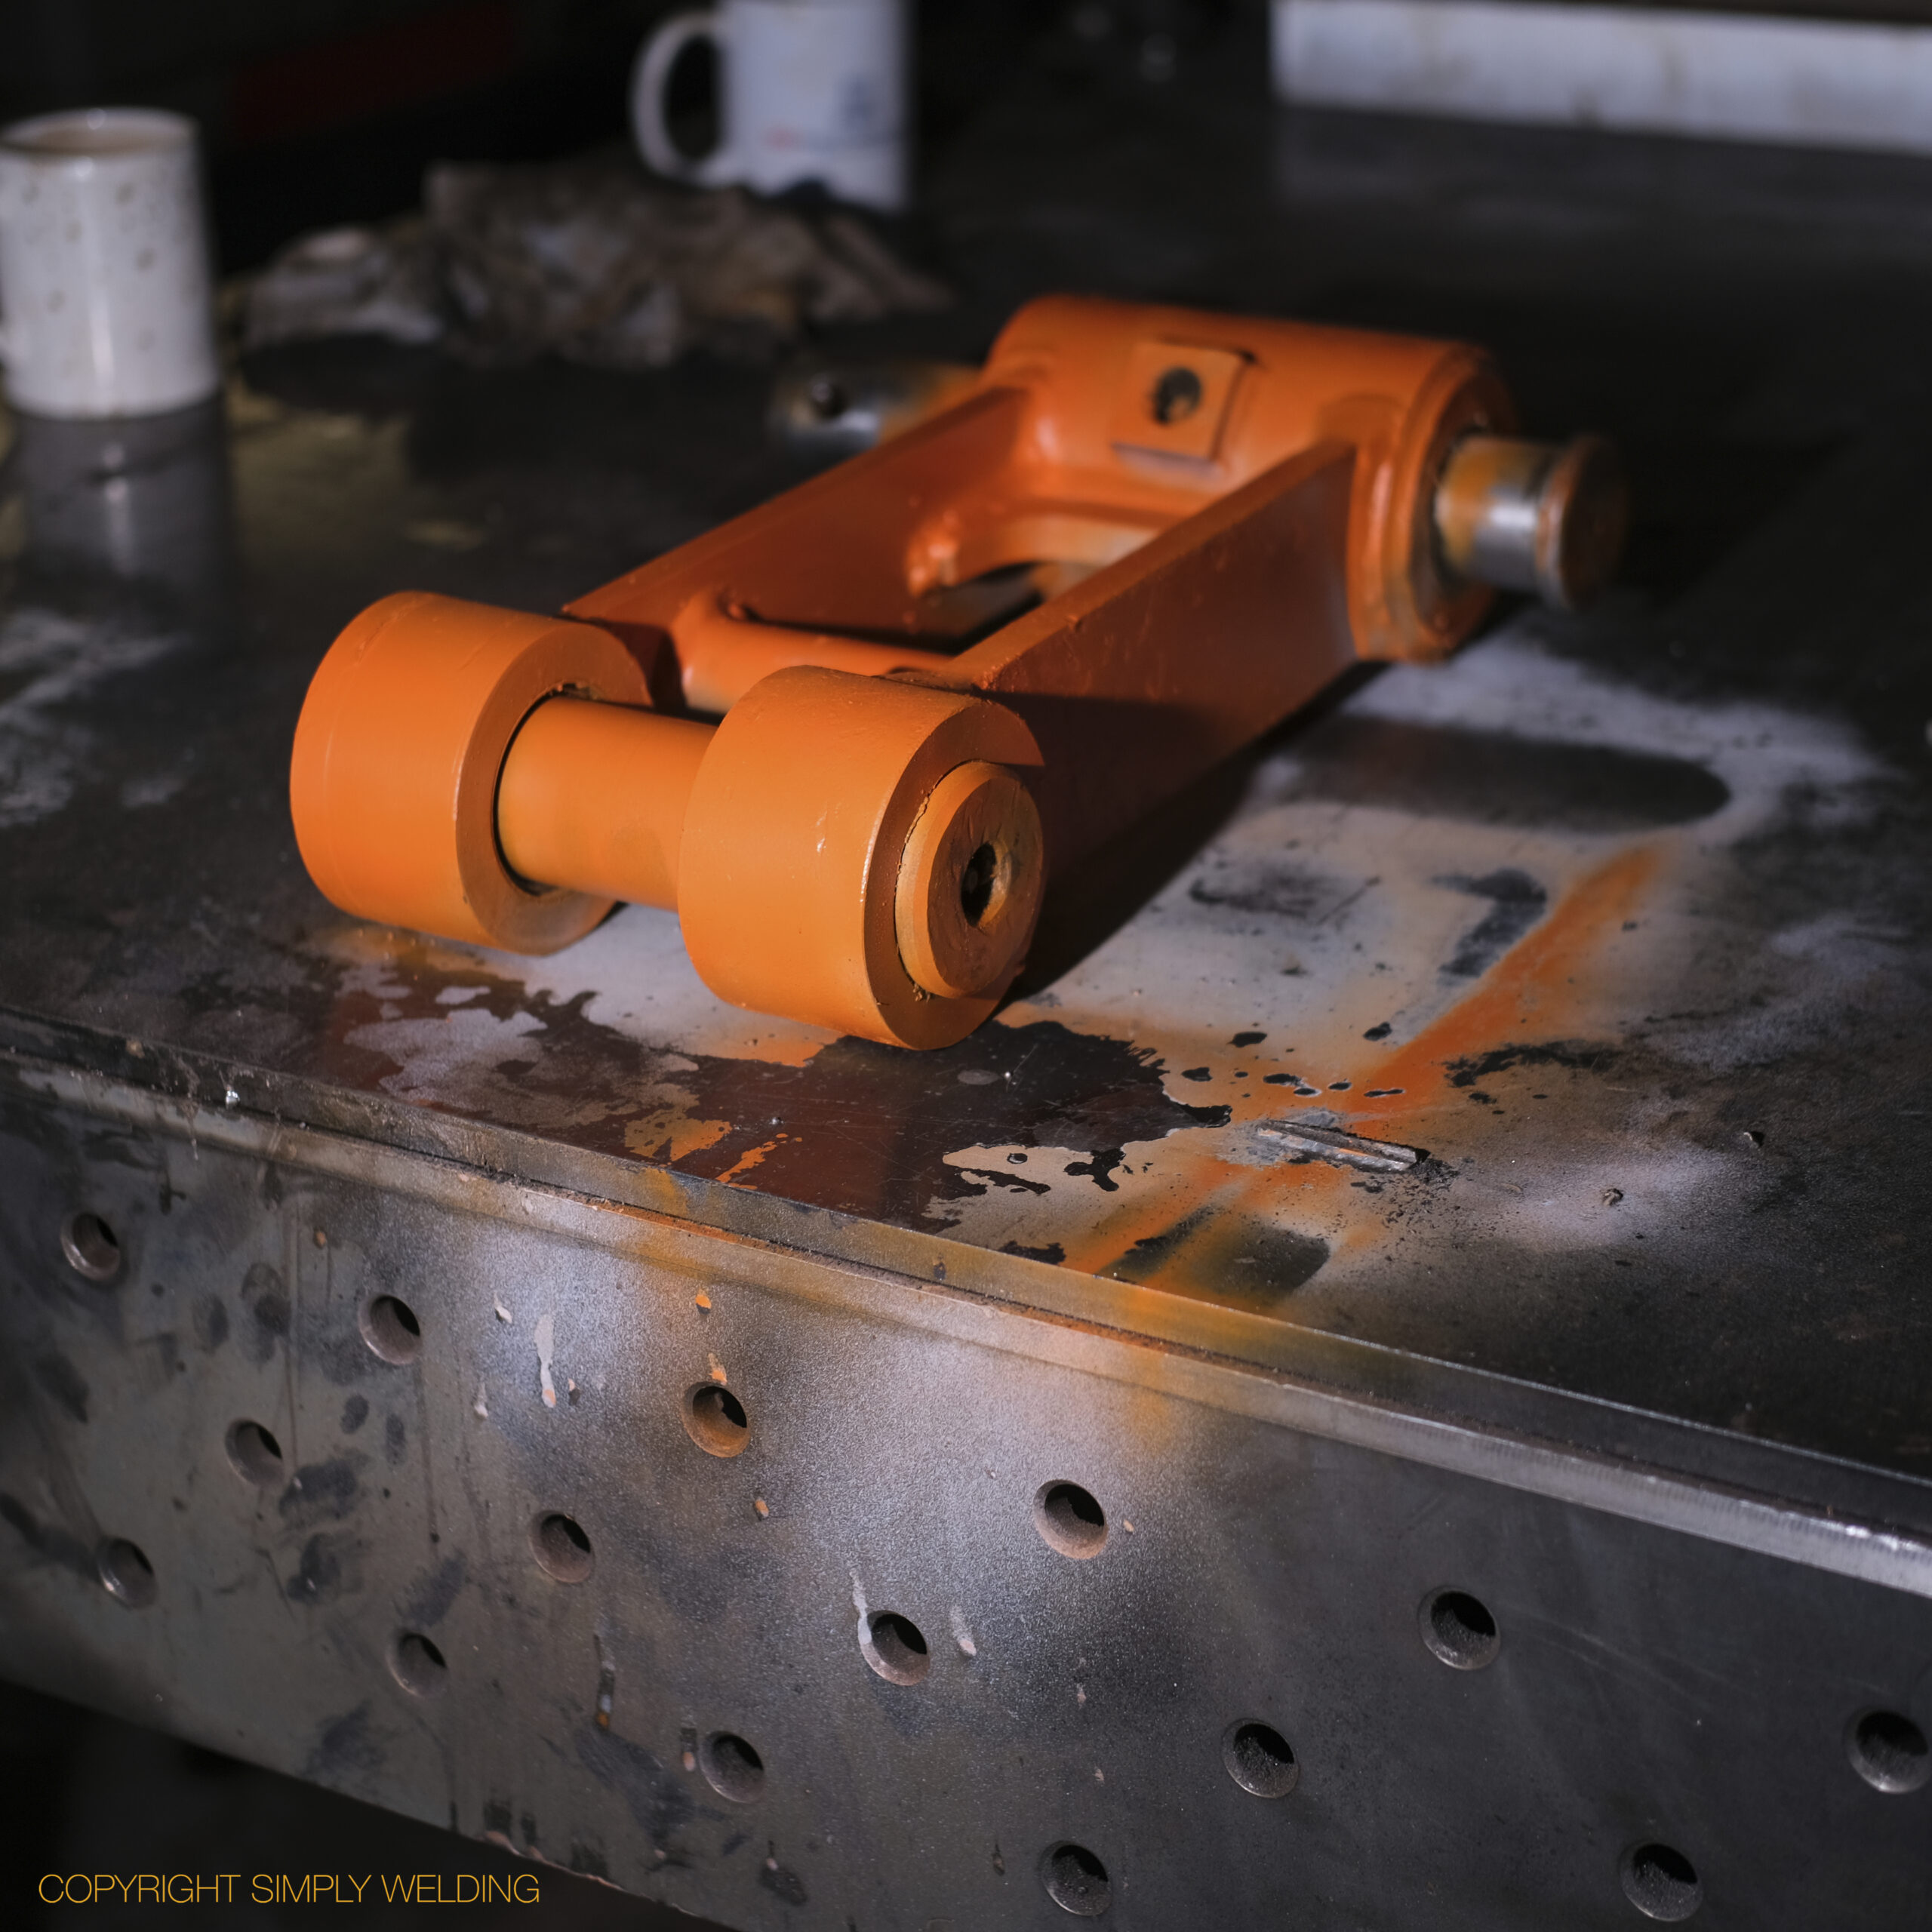
Repairing a Twisted Doosan DX62 Tipping Link

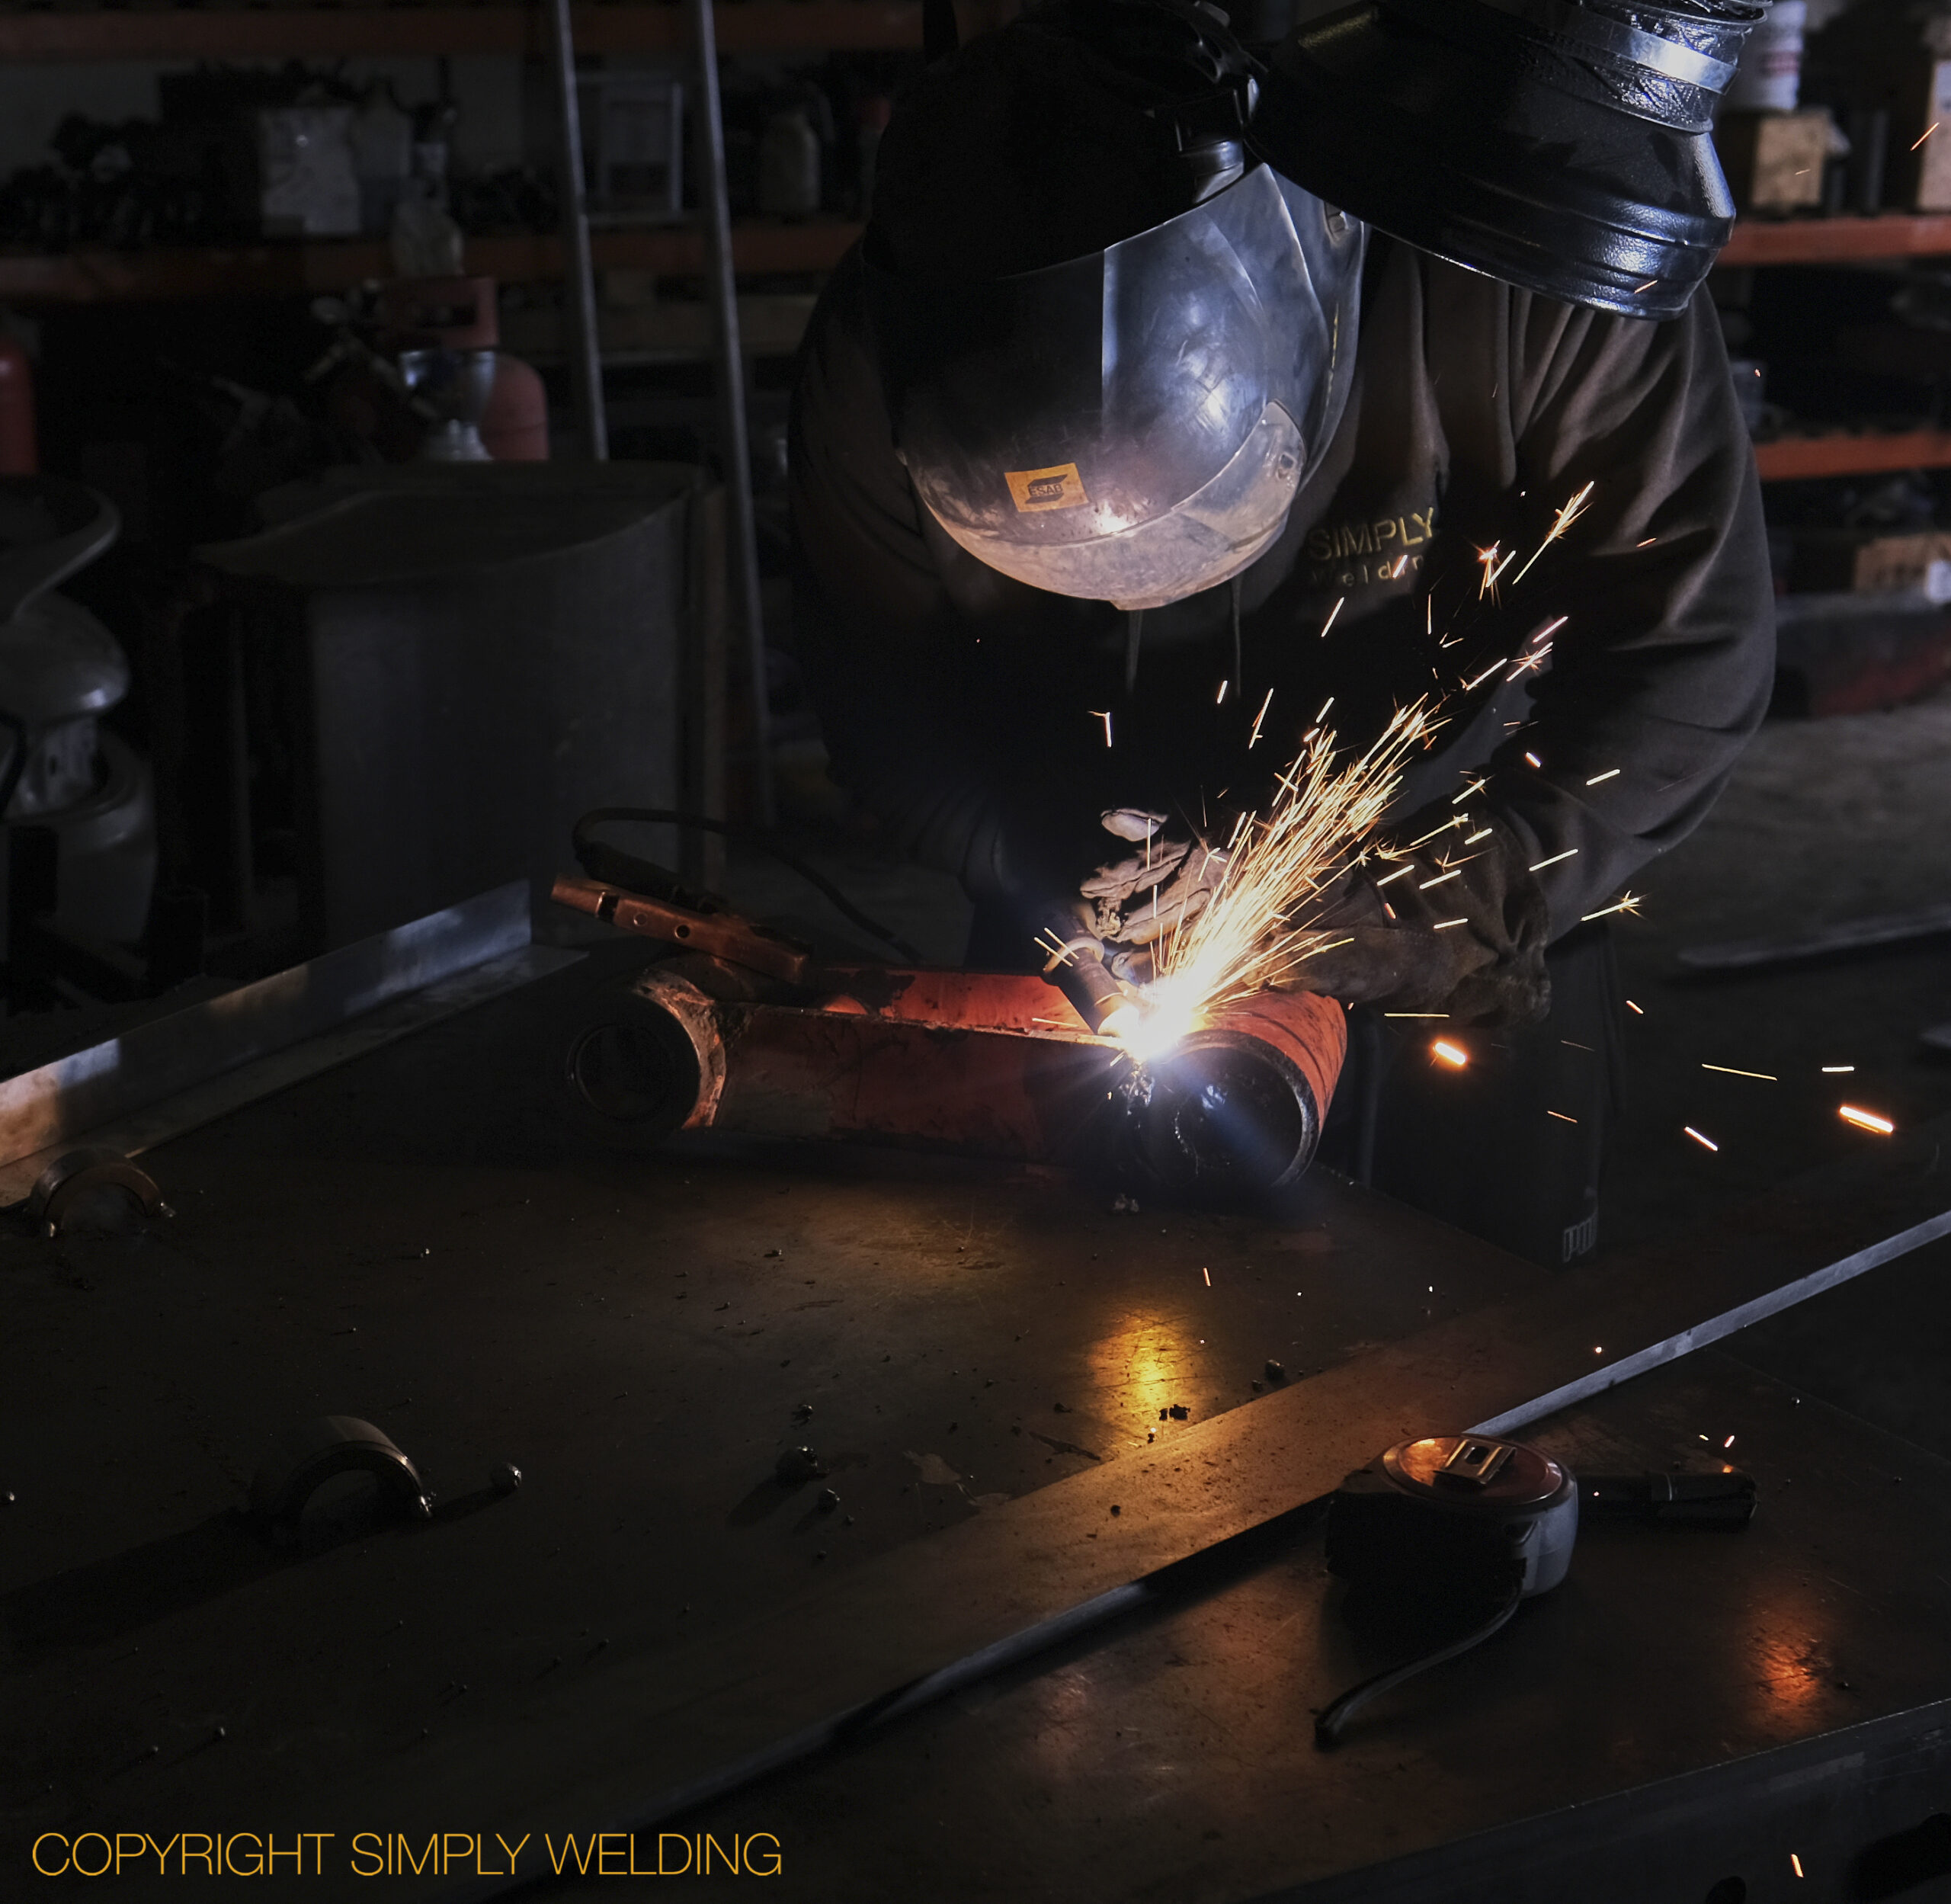
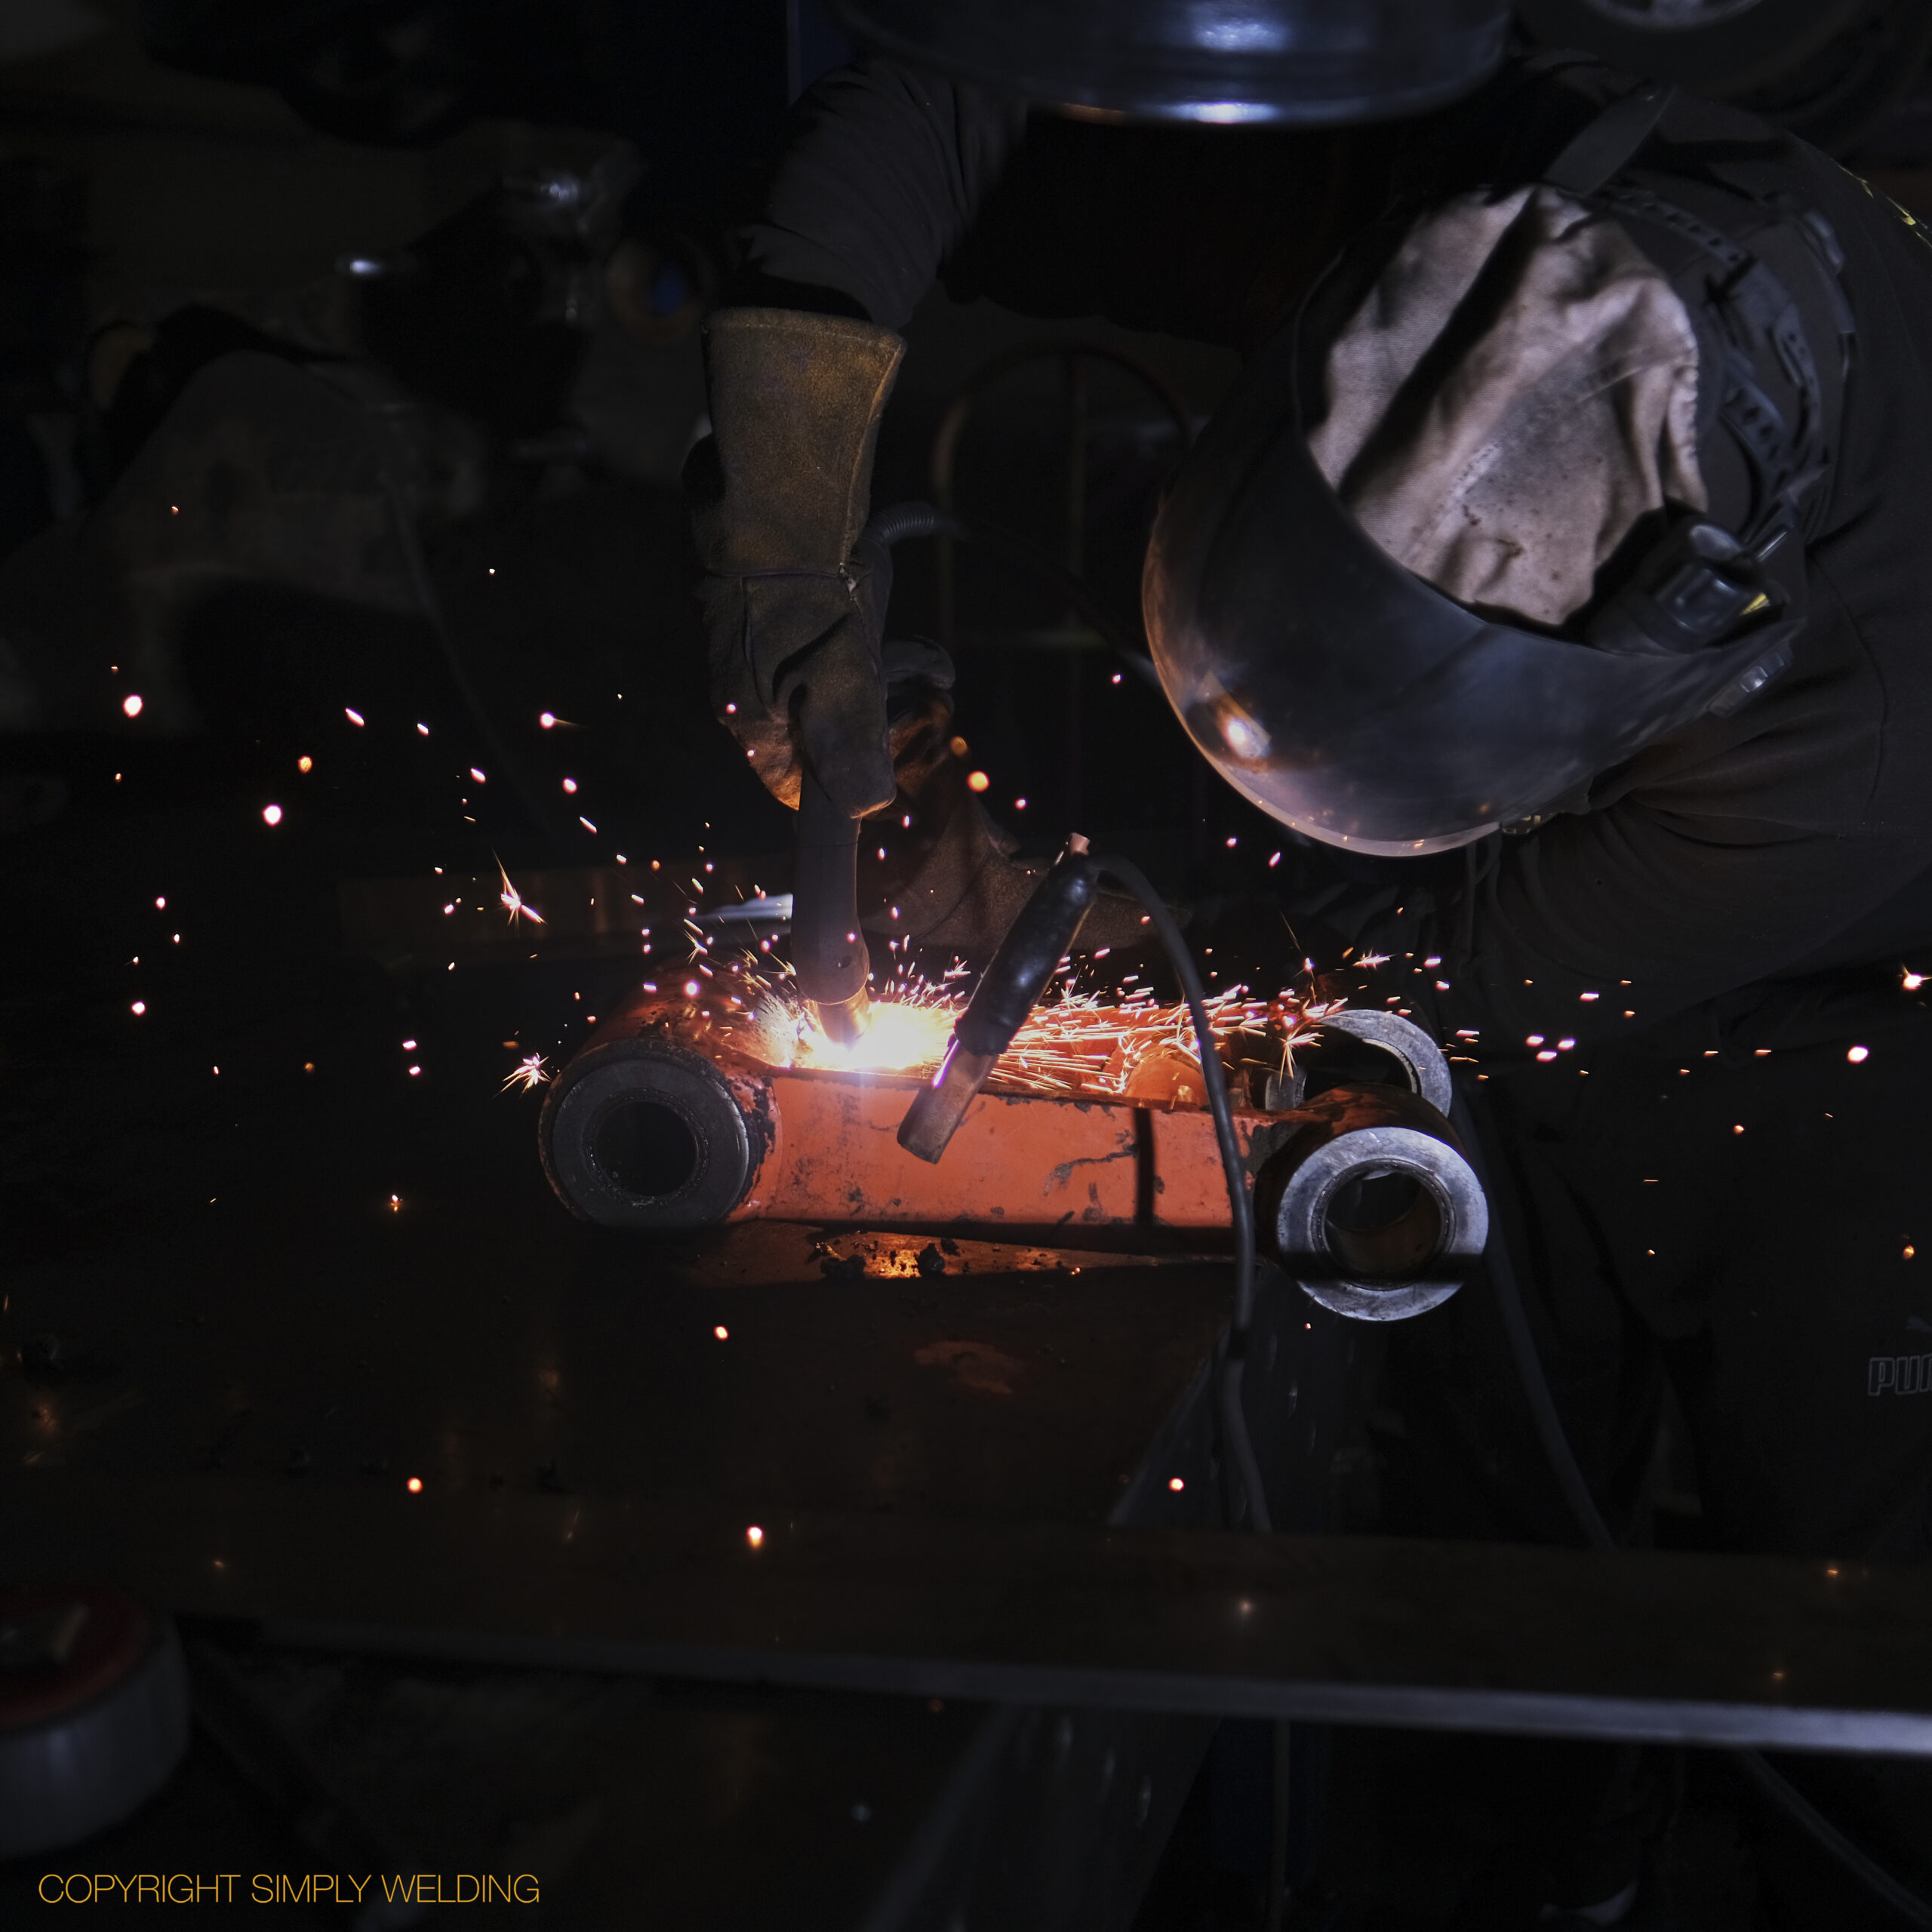
A Doosan DX62 tipping link twisted after its pin retainer came adrift. We cut the link apart, made new sections and welded it back together square on our fabrication table. It was painted and returned the same day, and fitted perfectly.
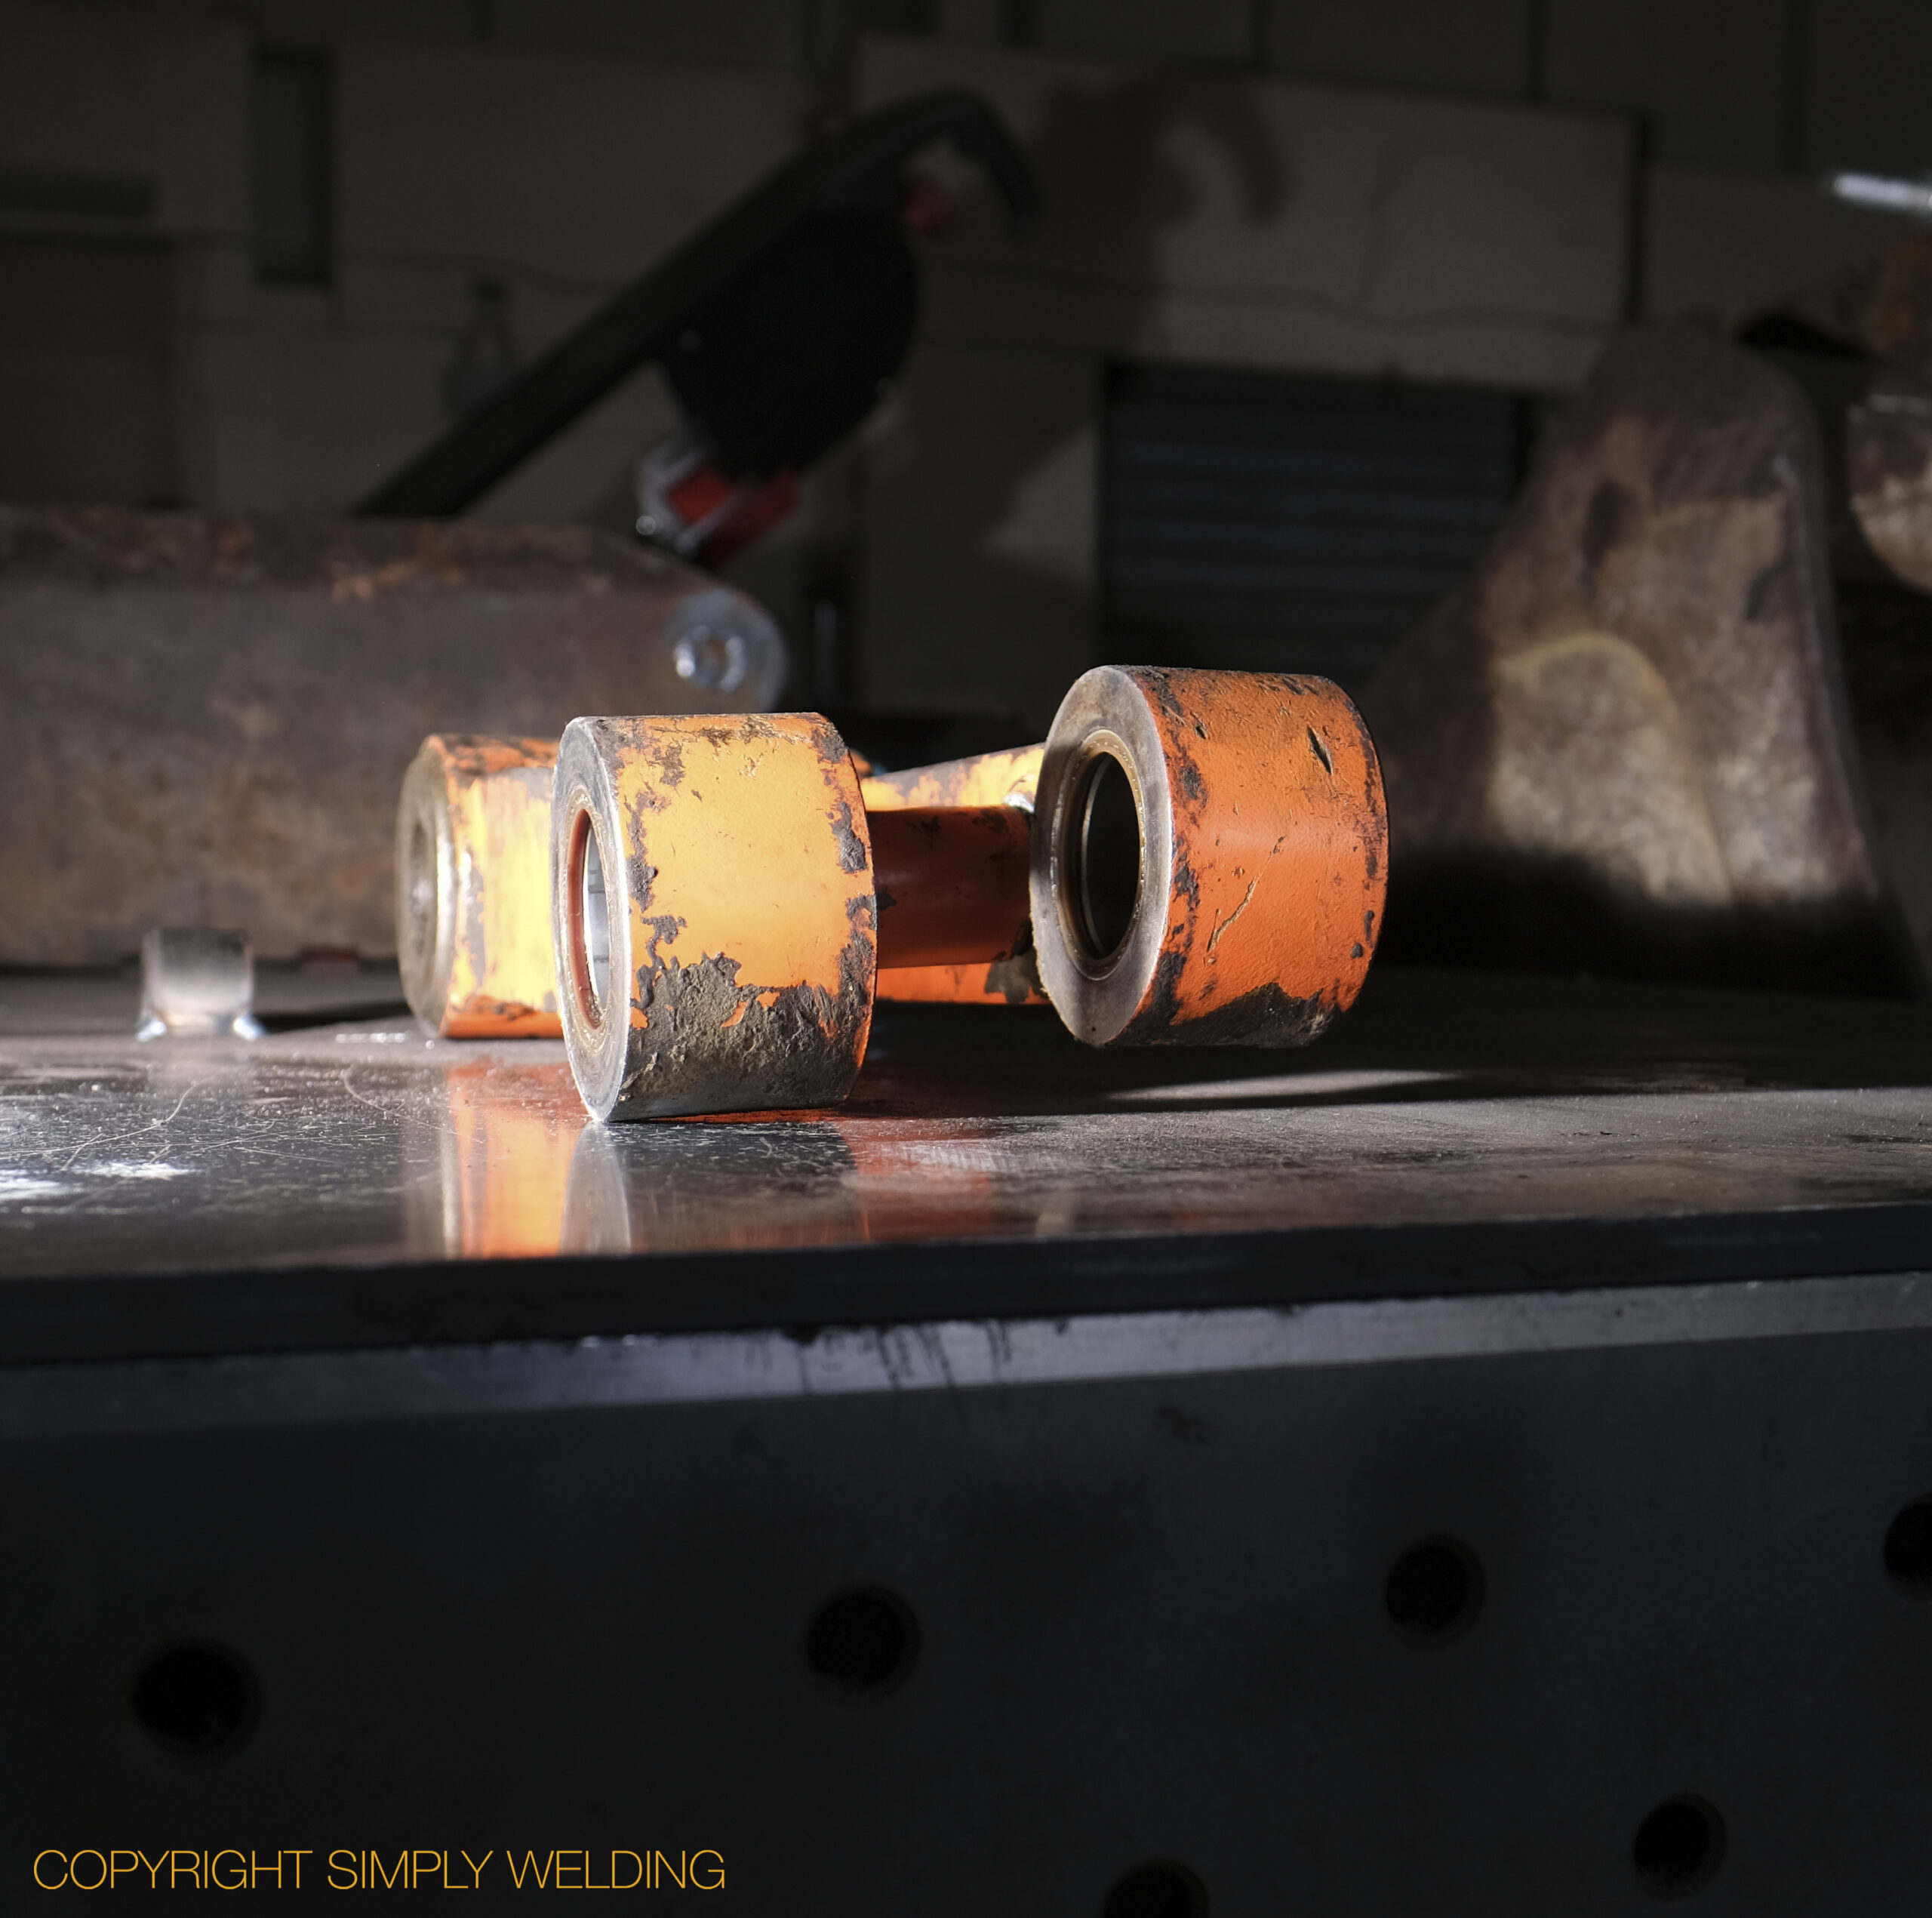
Twisted Doosan DX62 tipping link before repair
Close-up of the bosses on a twisted Doosan DX62 tipping link
Front view of a twisted tipping link showing misaligned bosses
Cutting a Doosan DX62 tipping link into its individual components
Cutting through a twisted tipping link section, sparks flying
Cutting new cross sections to replace the twisted ones
Tipping link cut apart, with the twisted sections ready to be replaced
Cutting a boss away from the twisted cross member of a Doosan DX62 tipping link
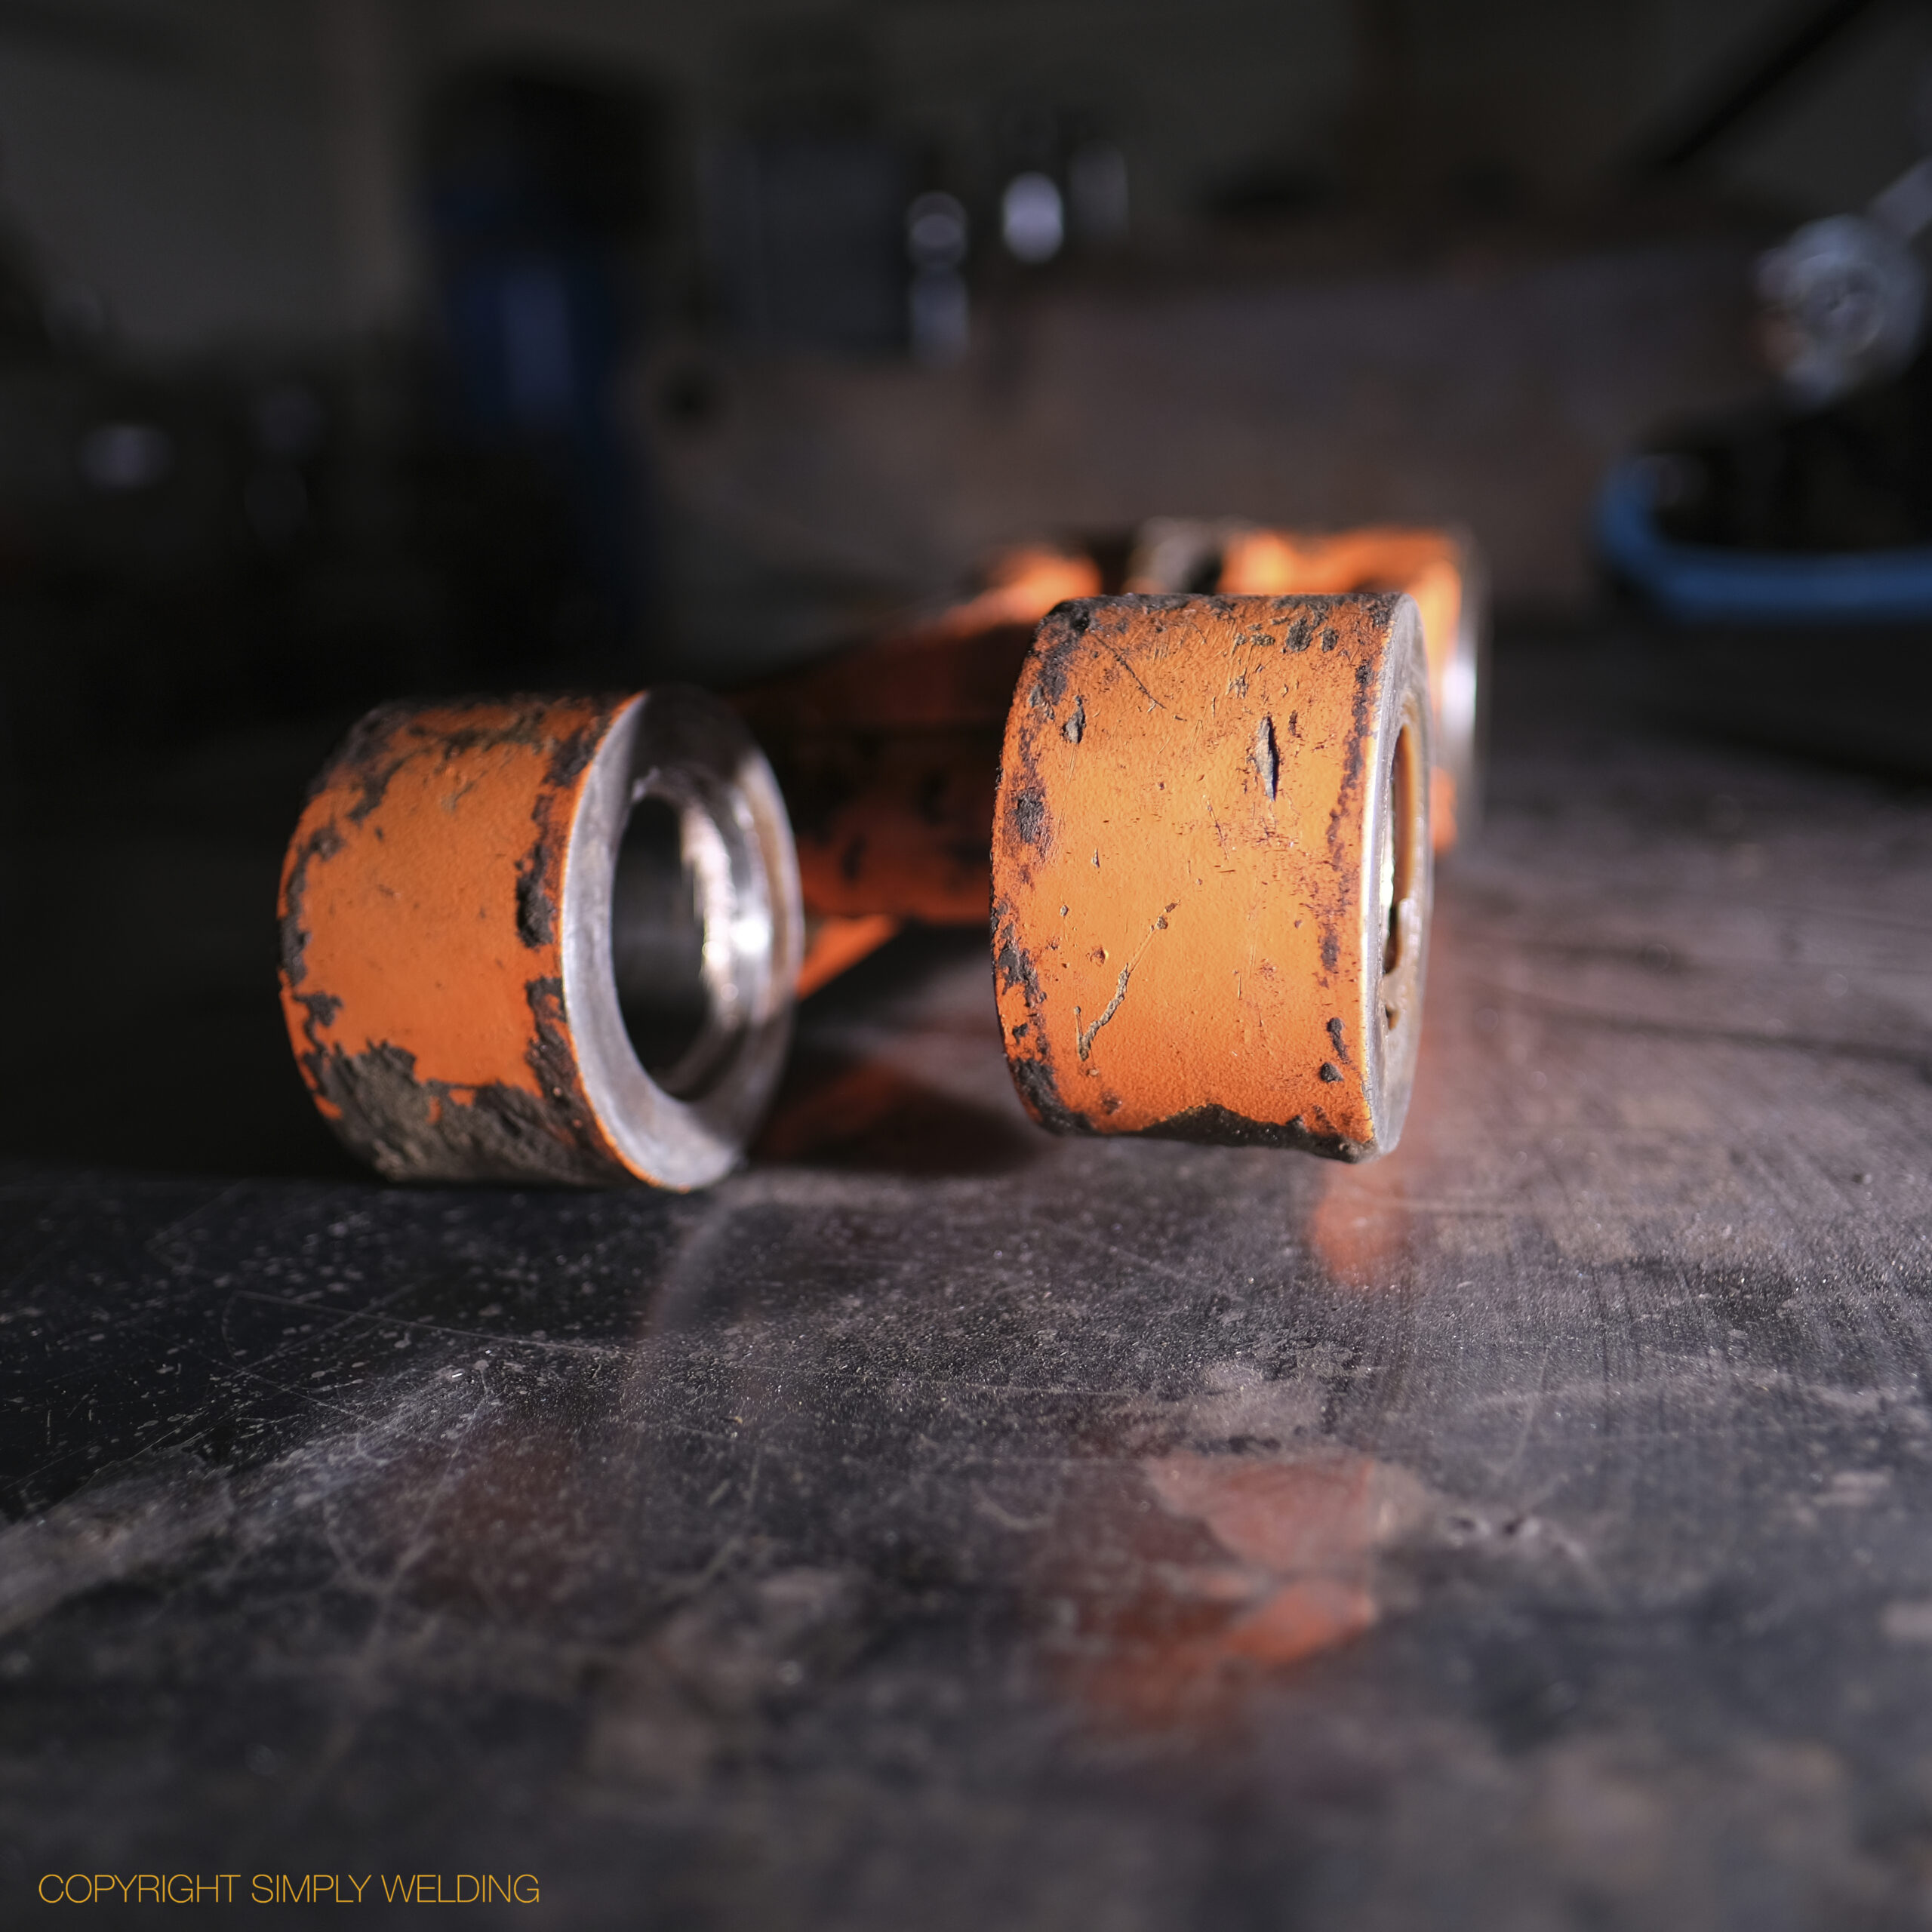
Removing weld residue from the pin boss to prepare it for welding.
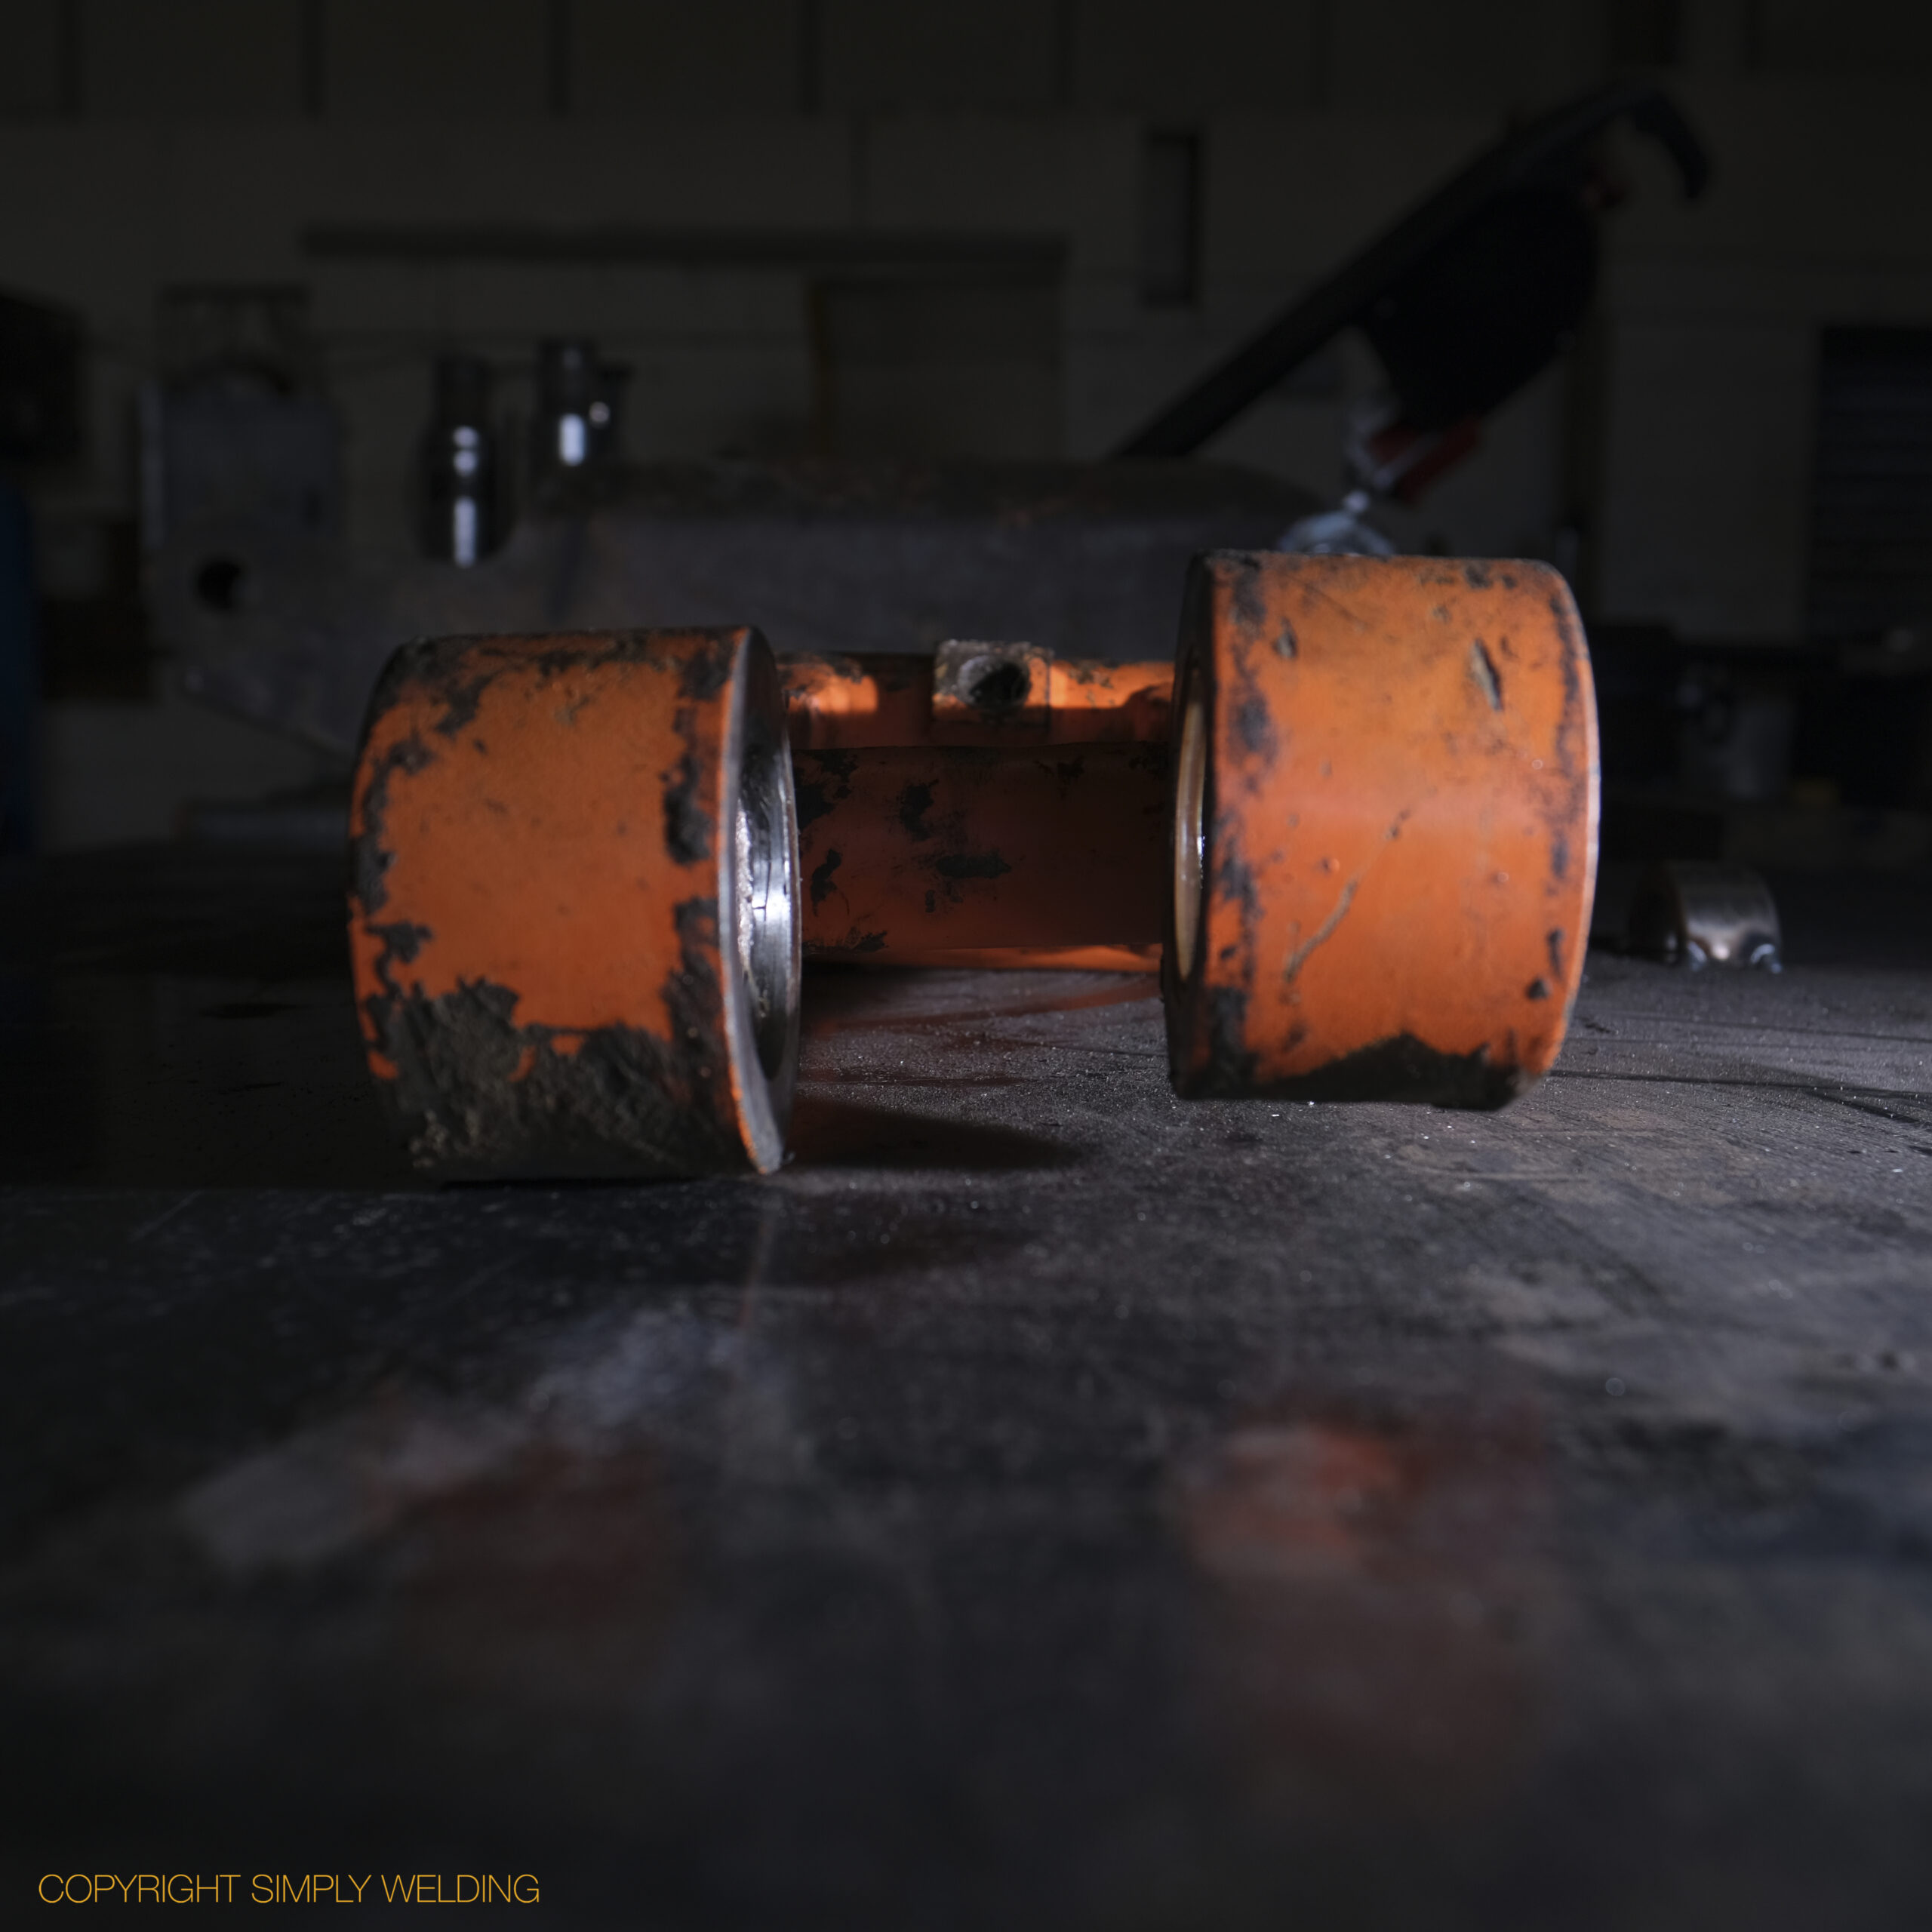
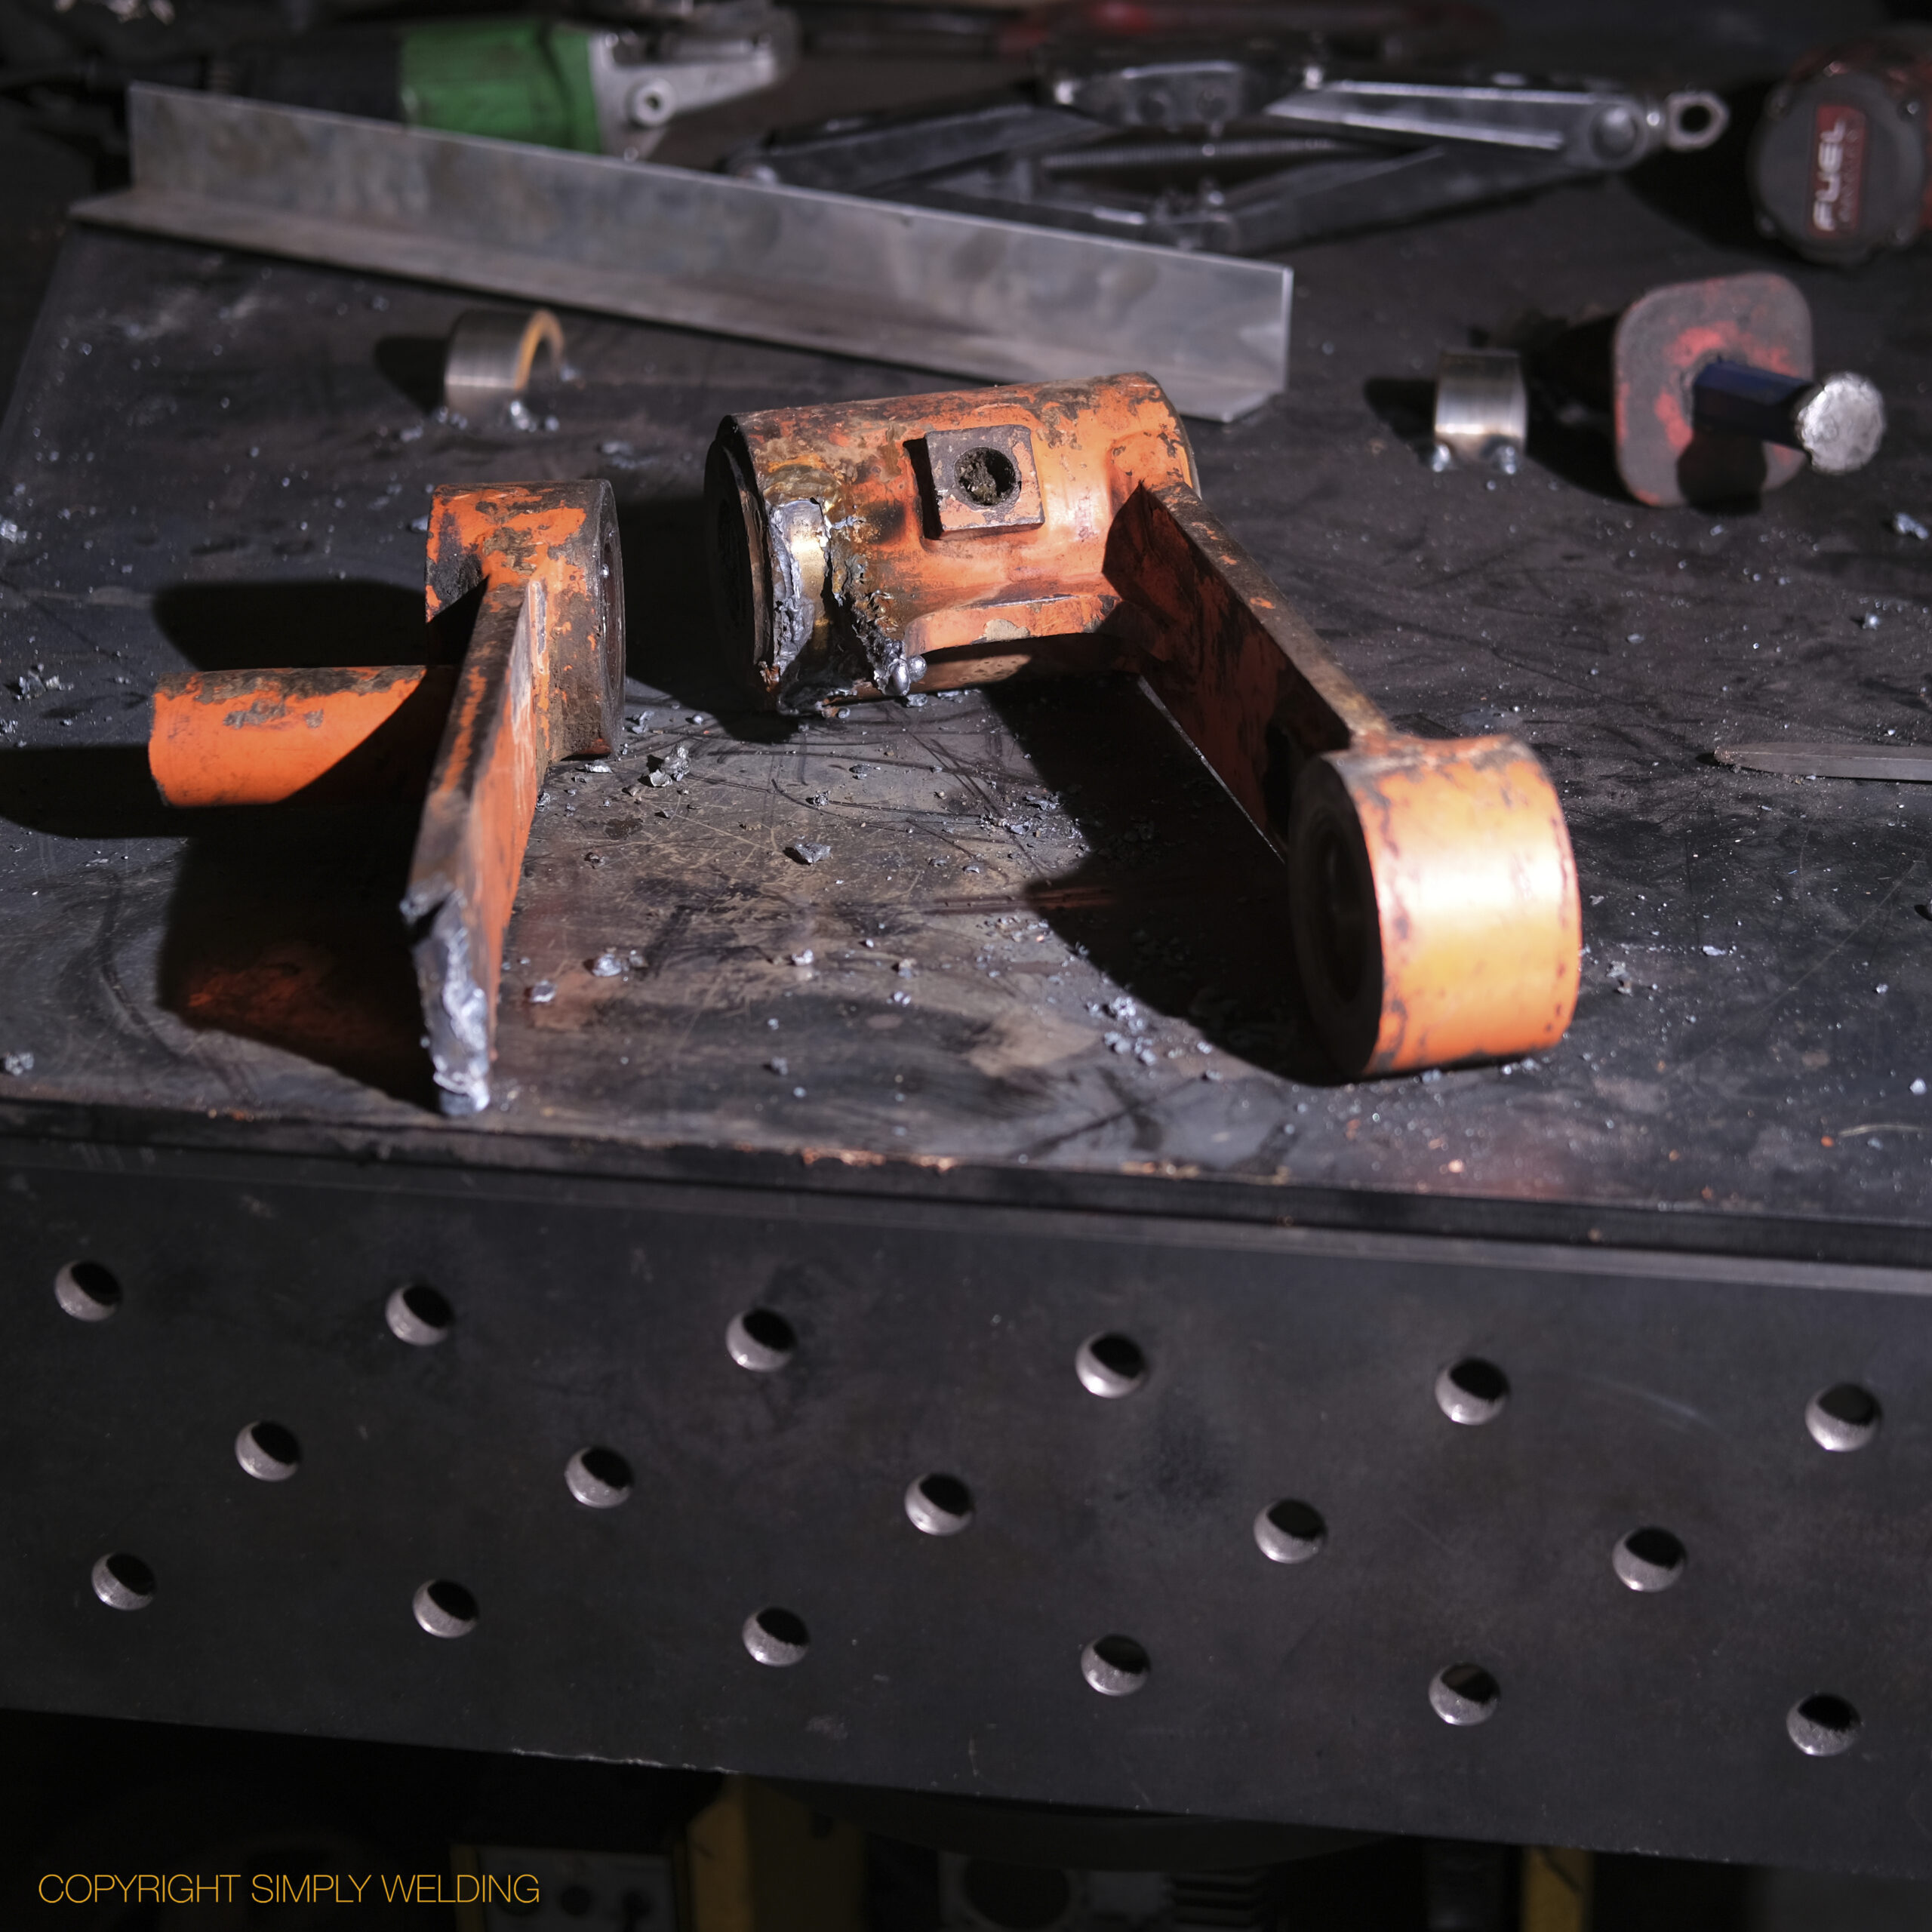
Repaired Doosan DX62 tipping link, painted orange and ready to fit
Rebuilt tipping link welded square and painted
Finished Doosan DX62 tipping link repair, returned to the customer the same day

Kinshofer Brick Grab Crack Repair – LOLER Failure

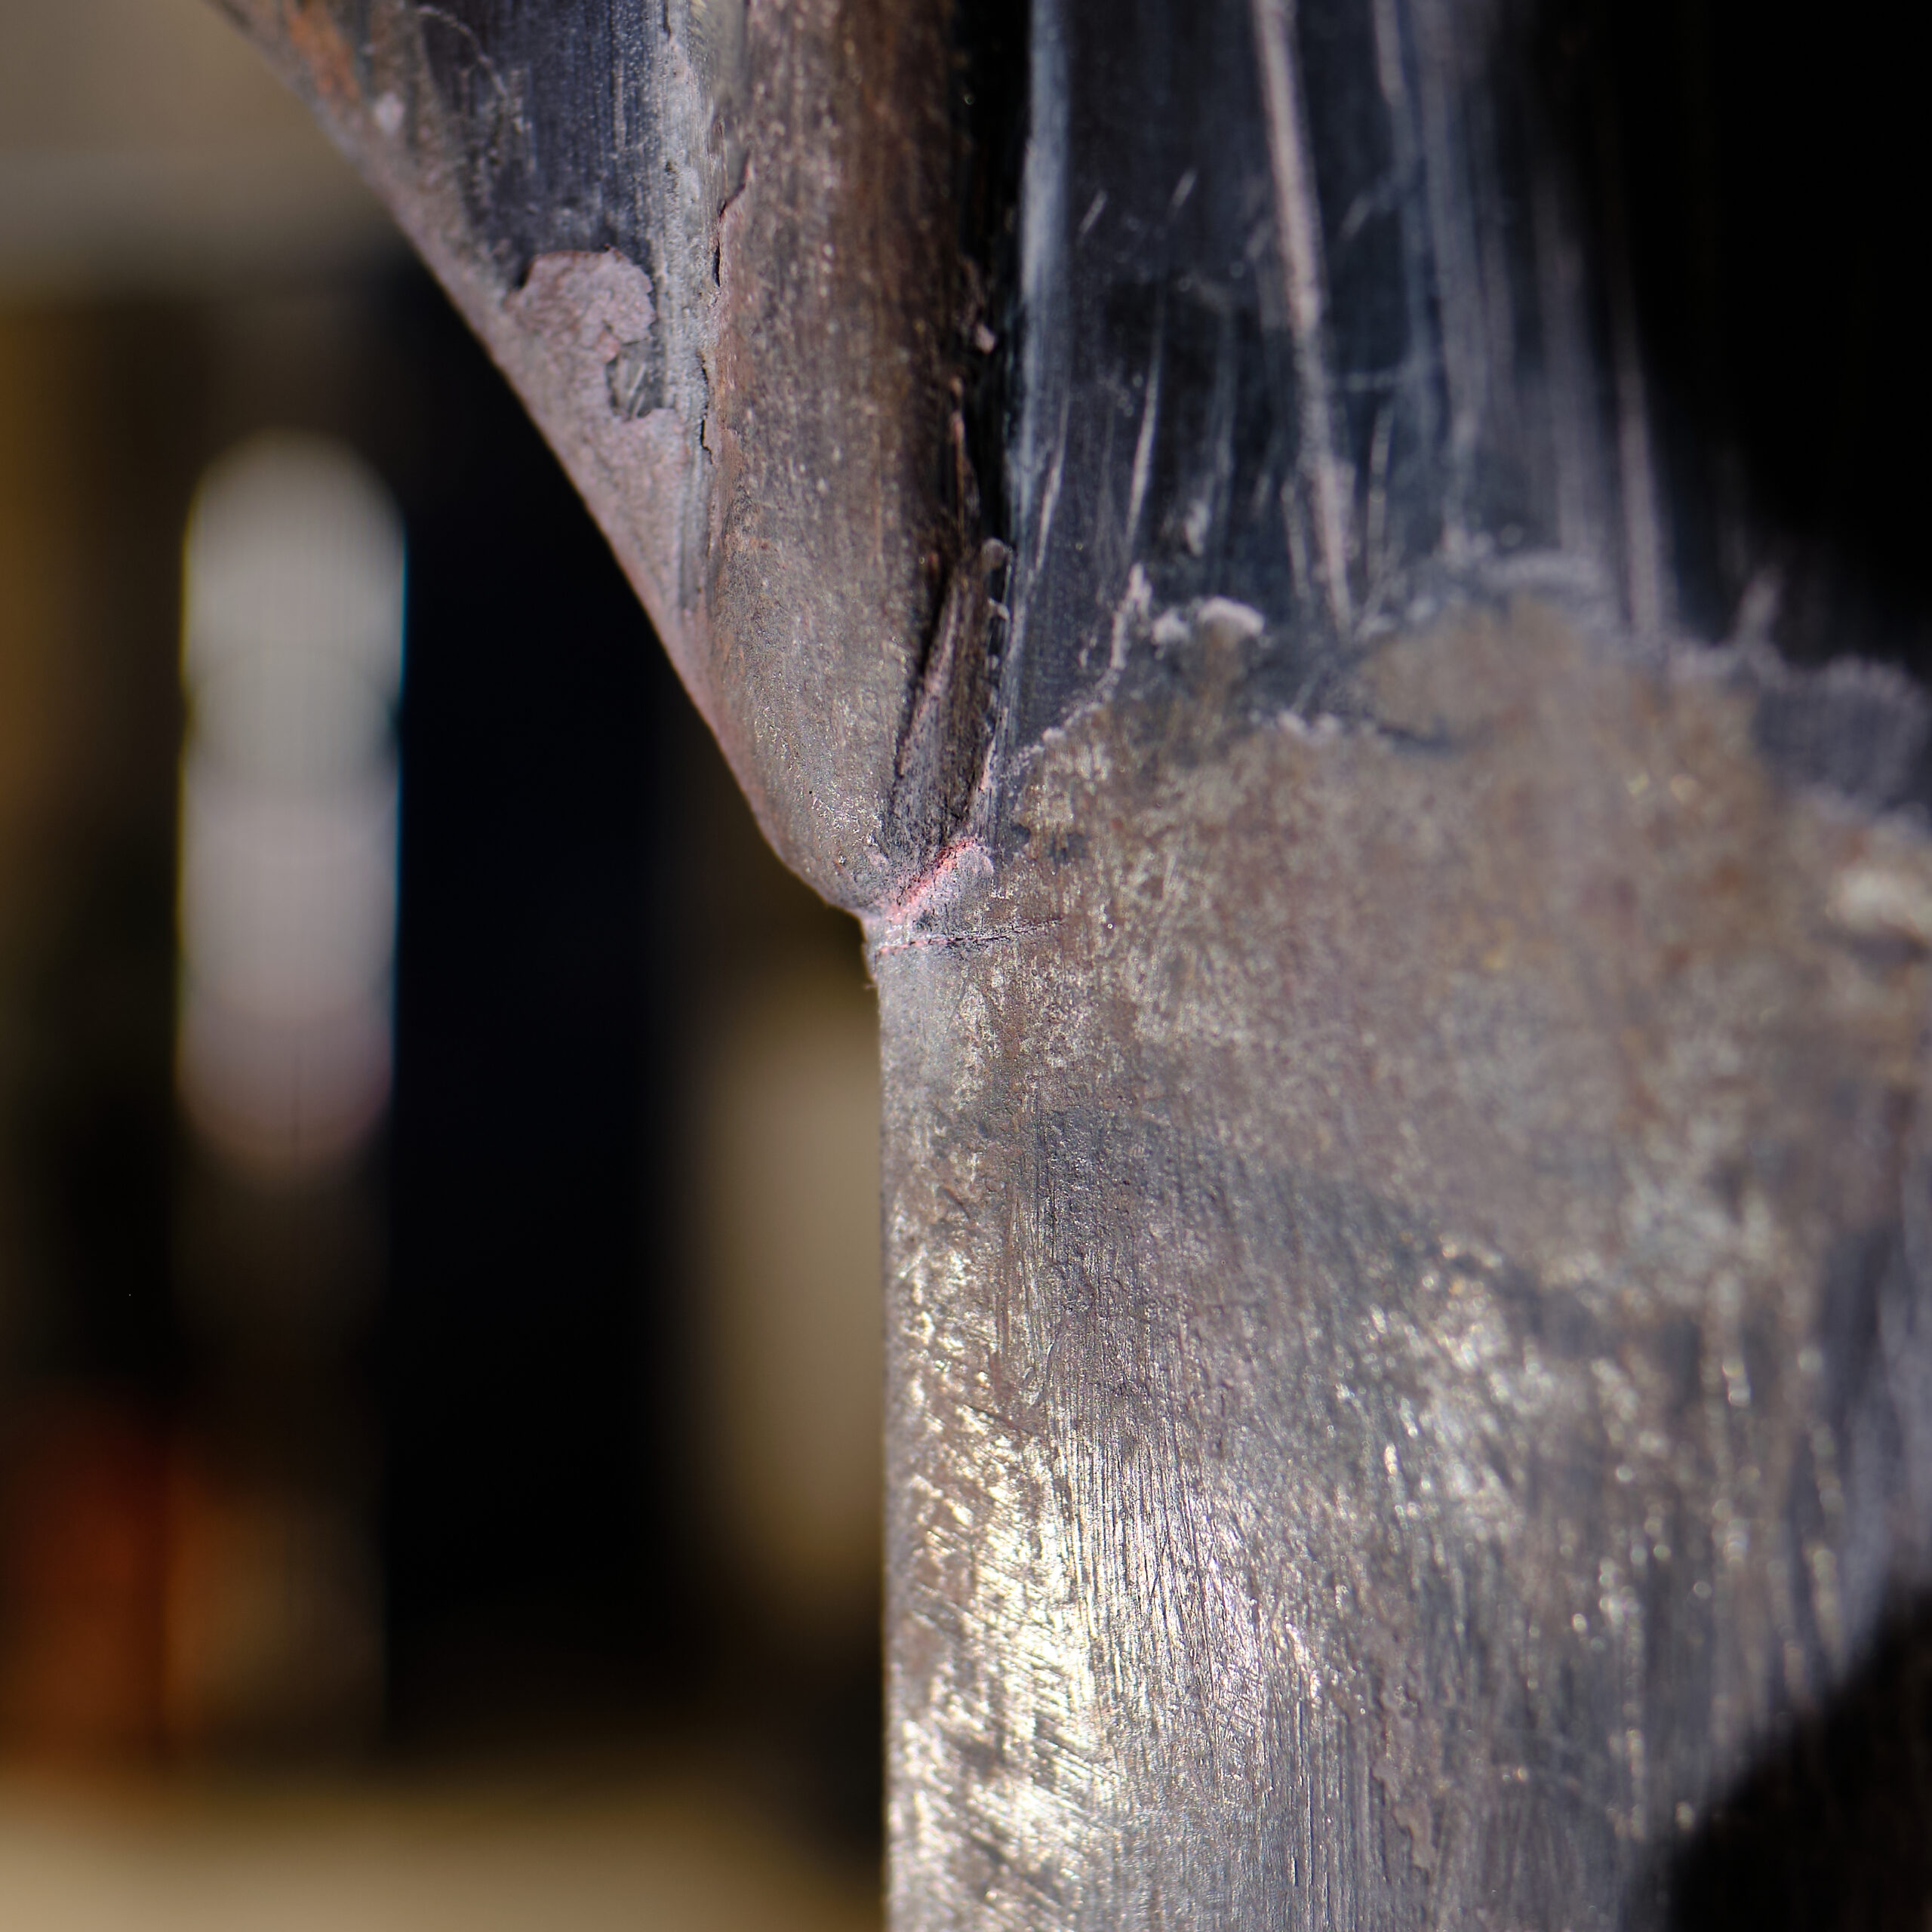
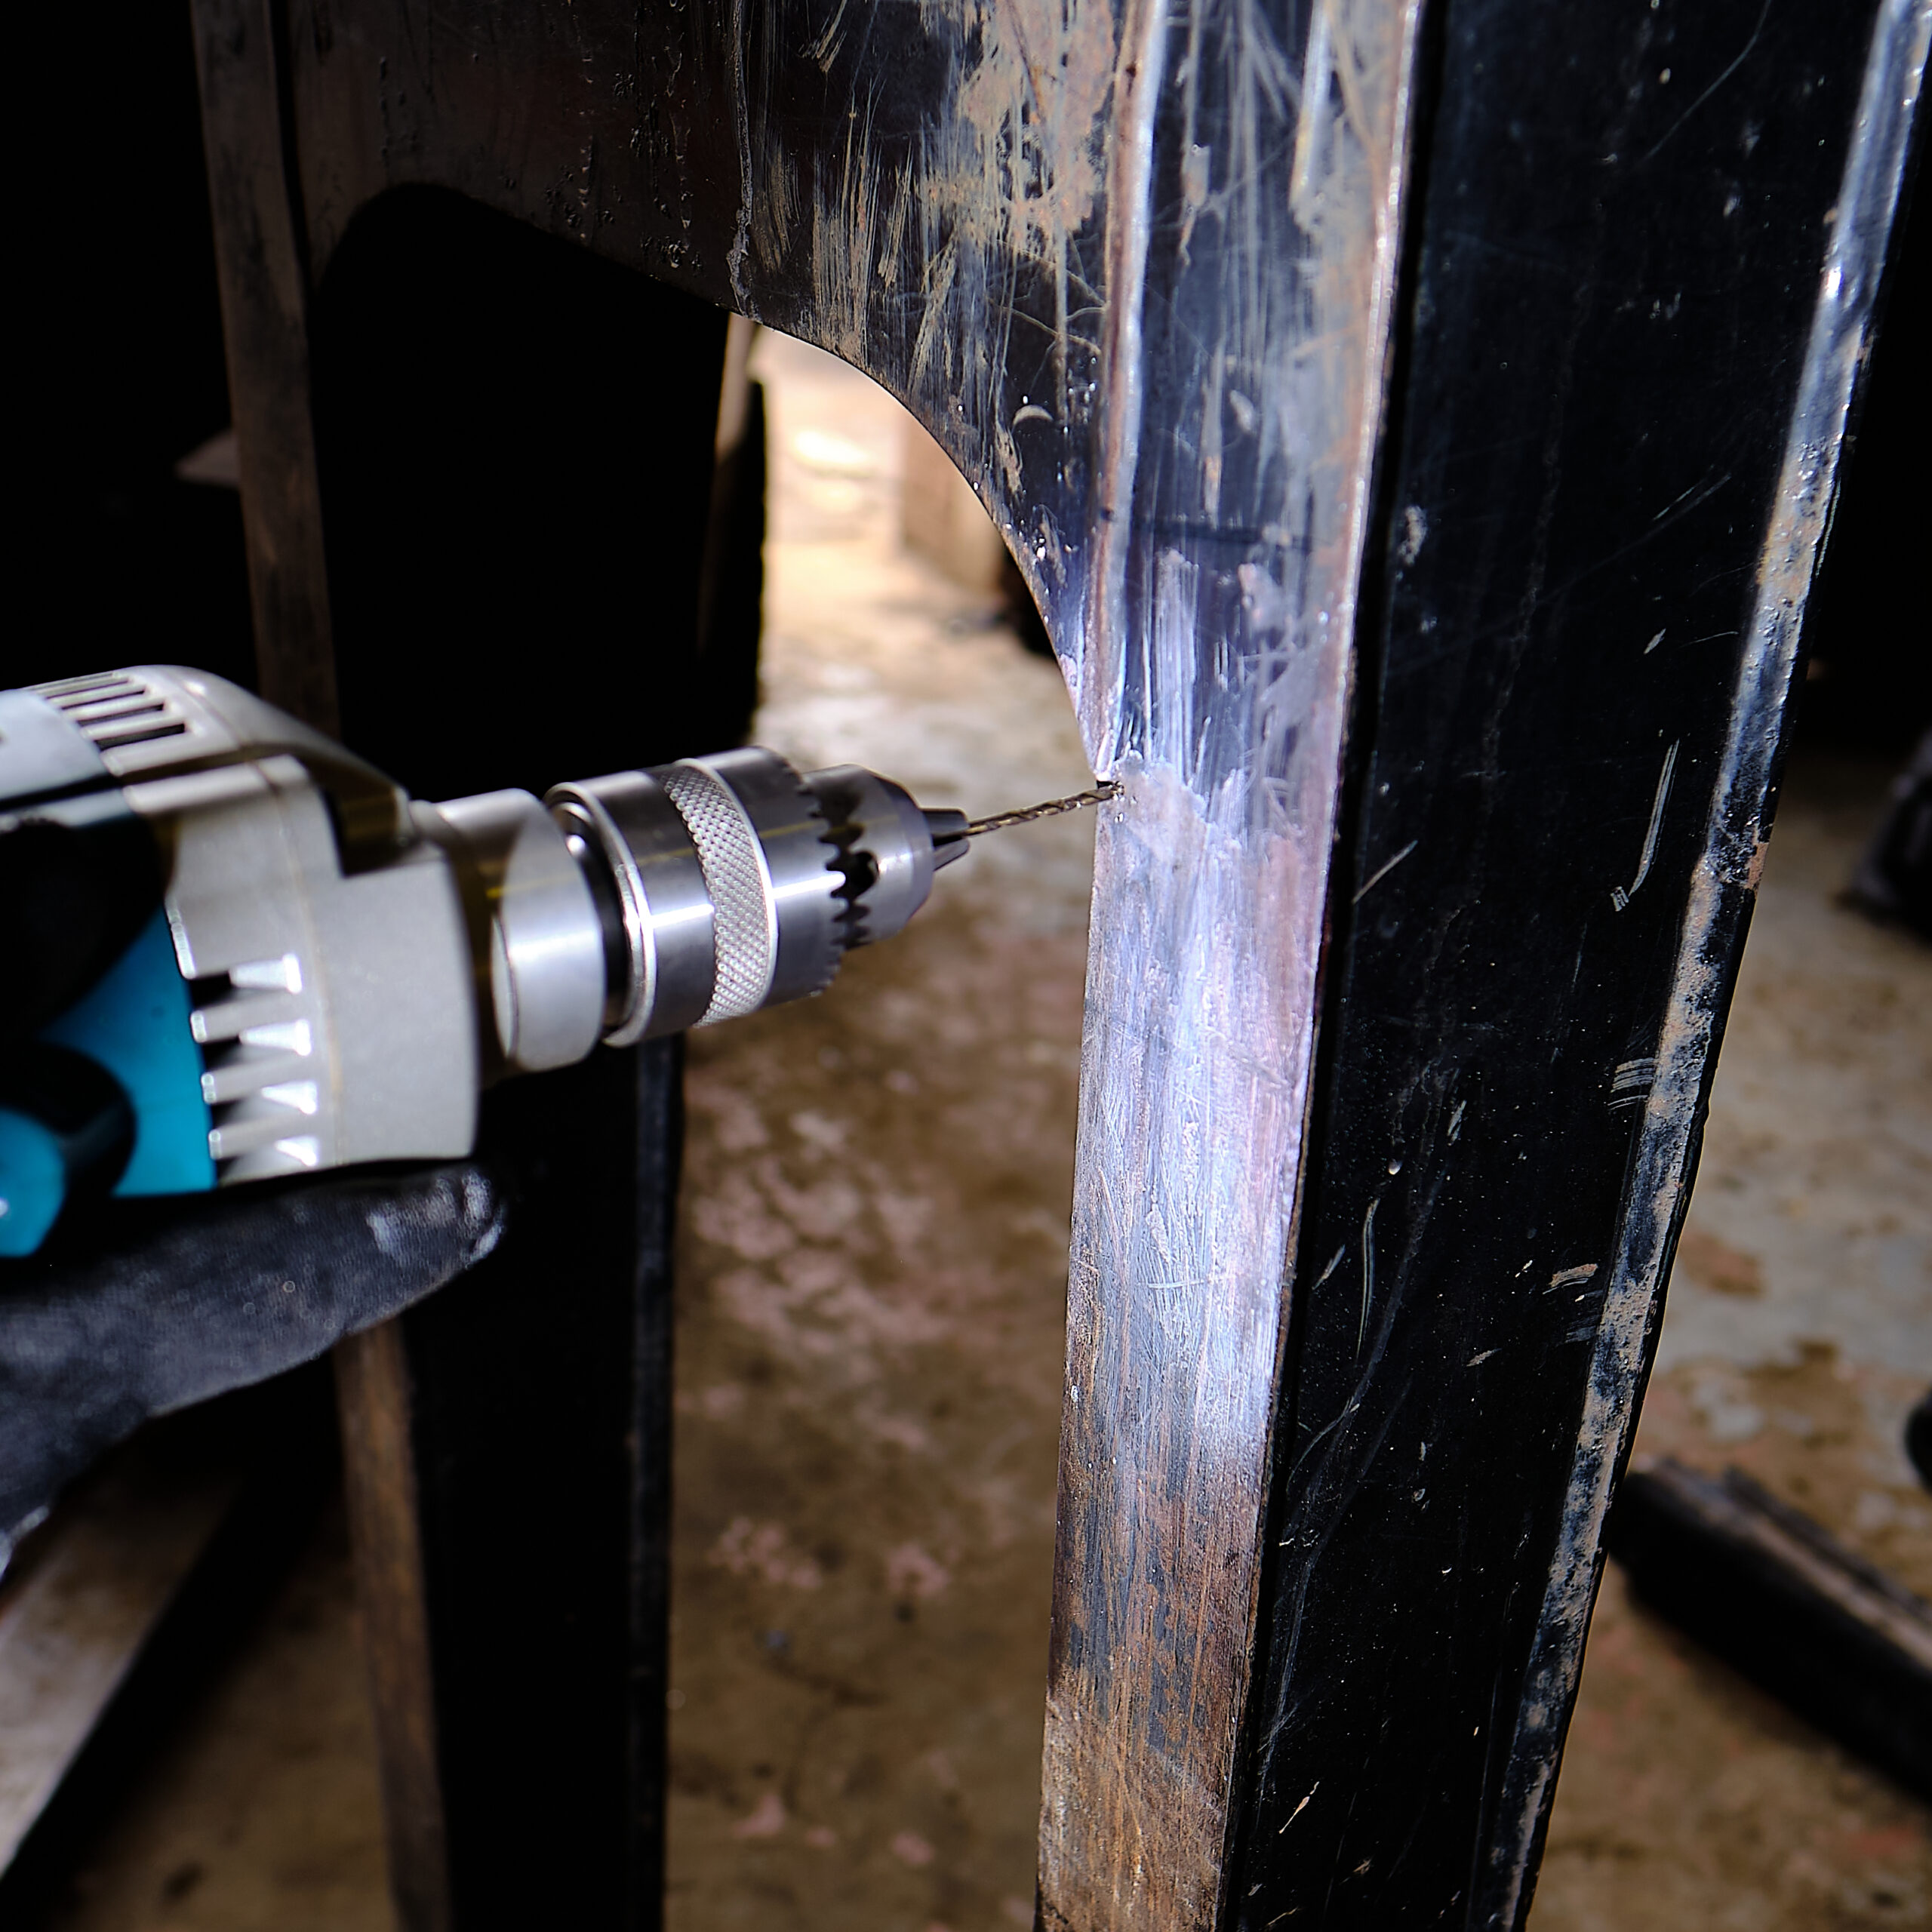
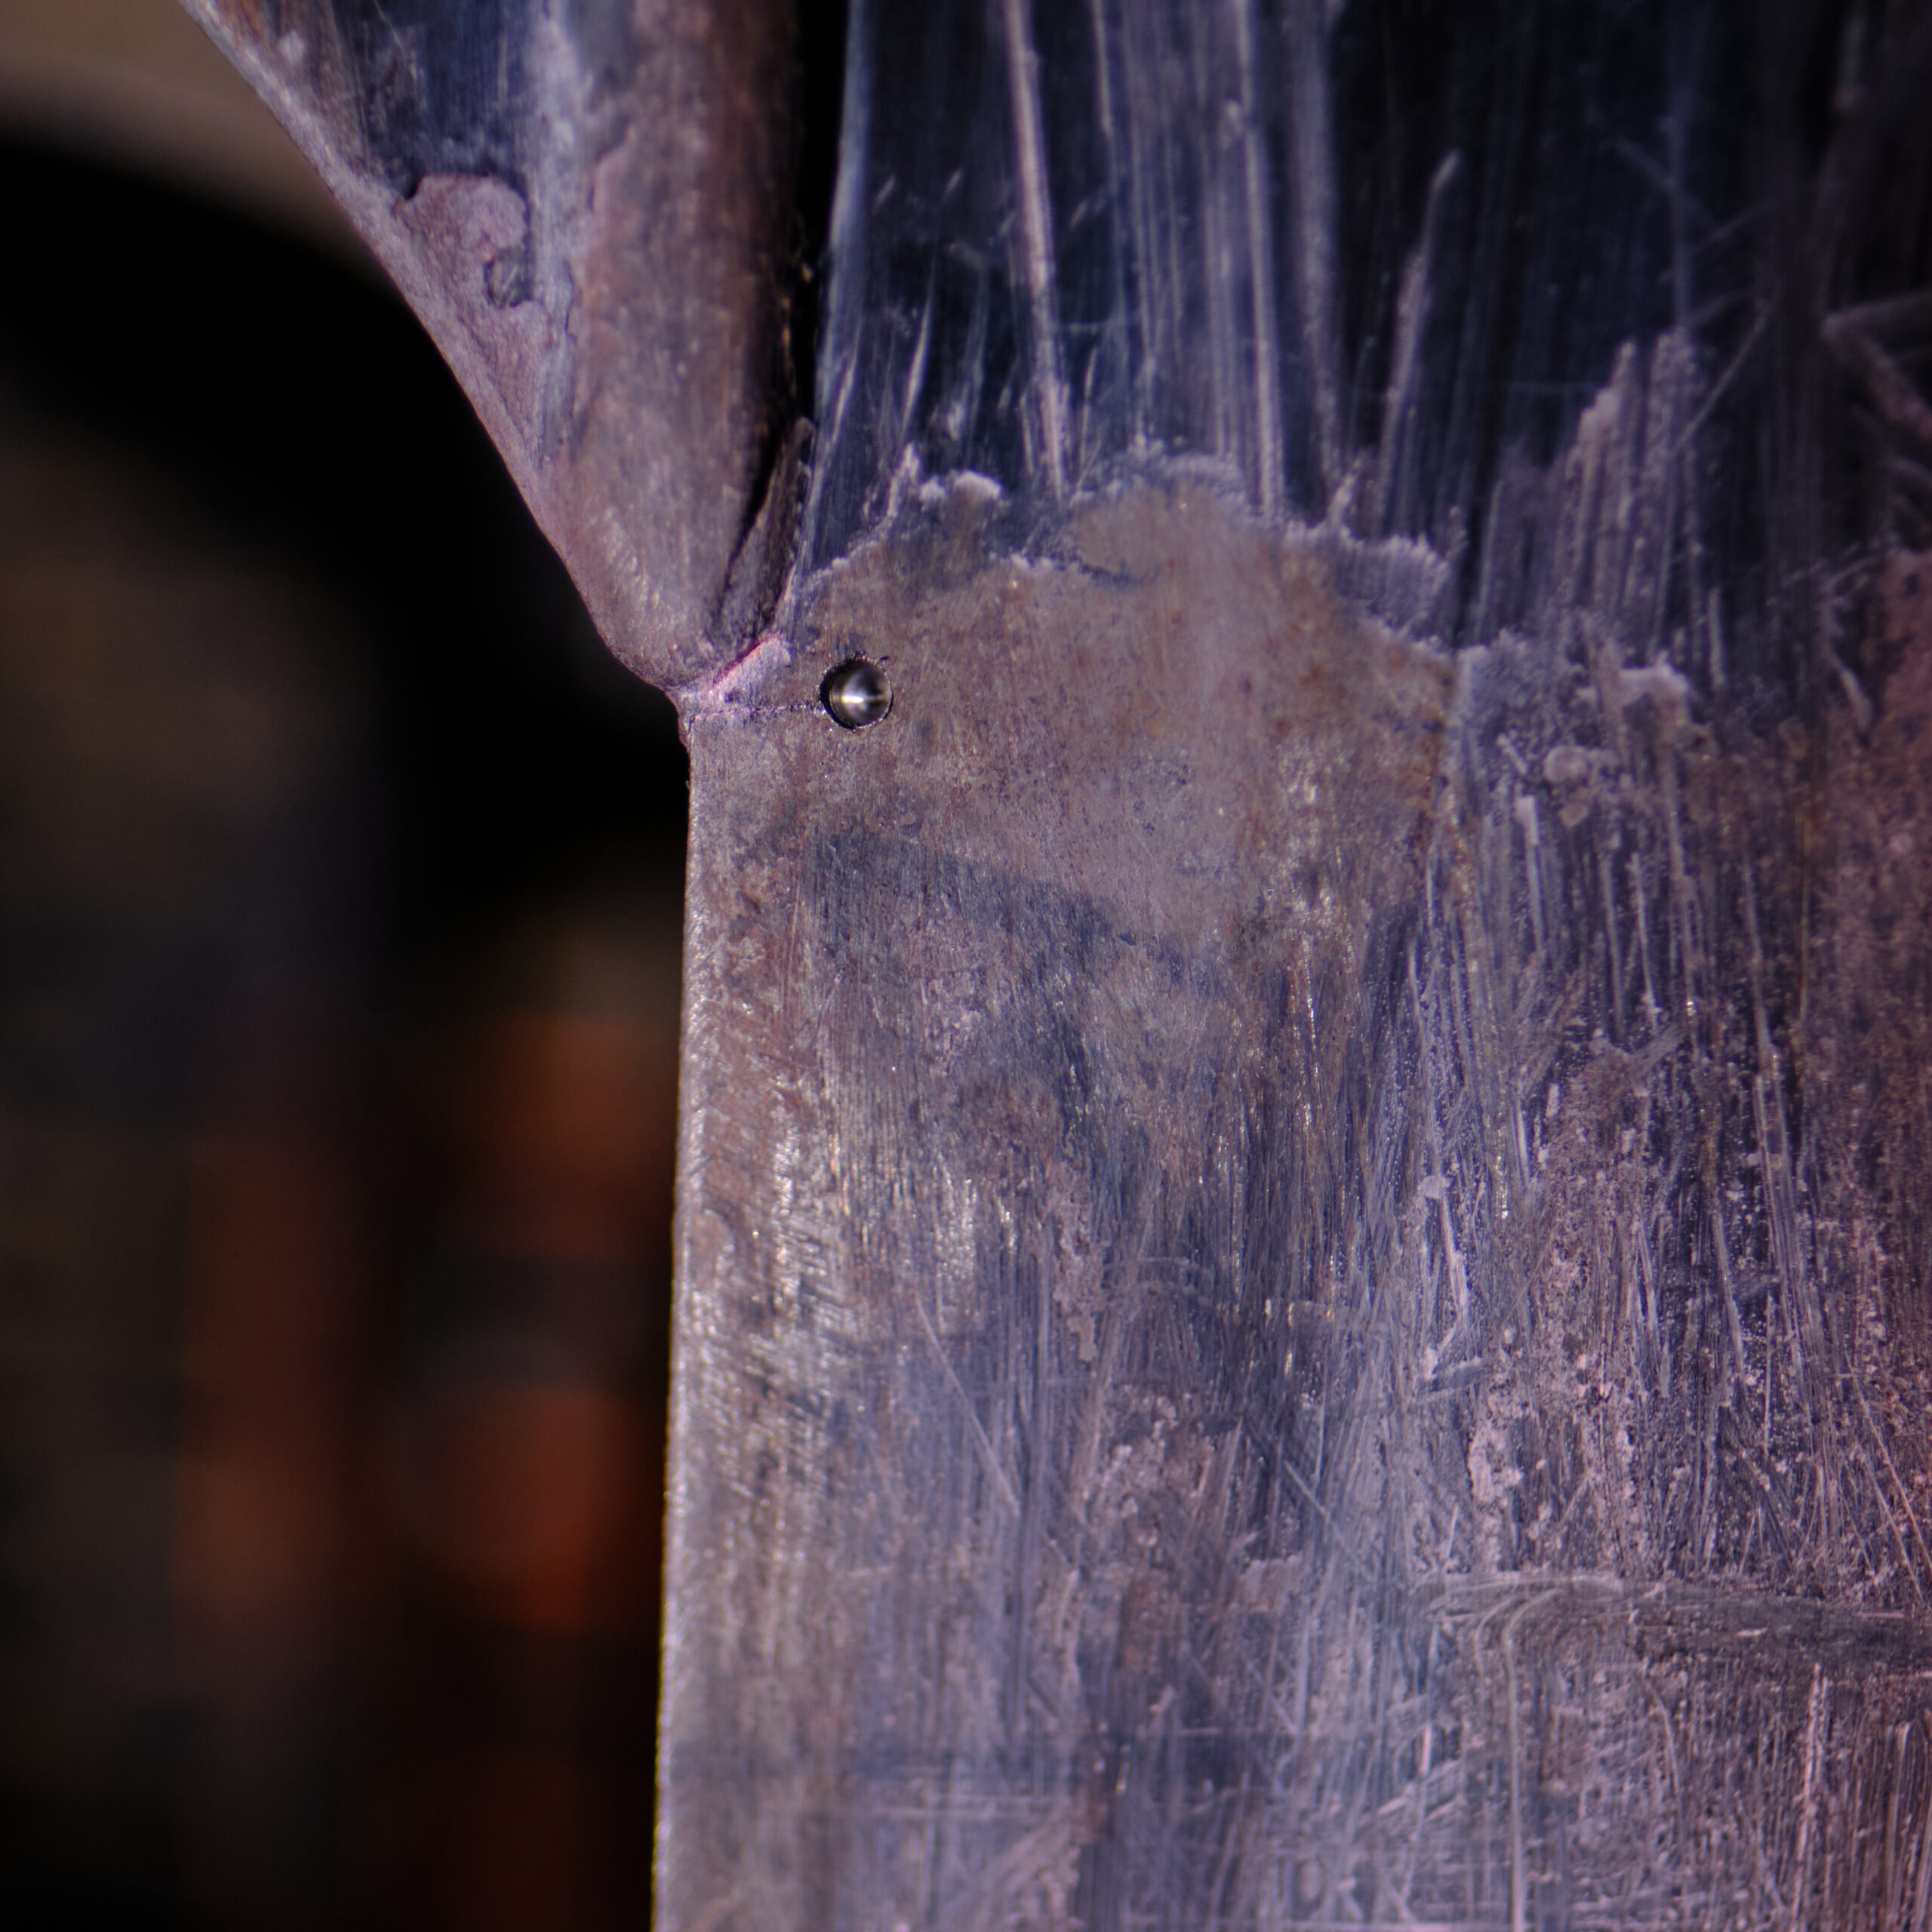
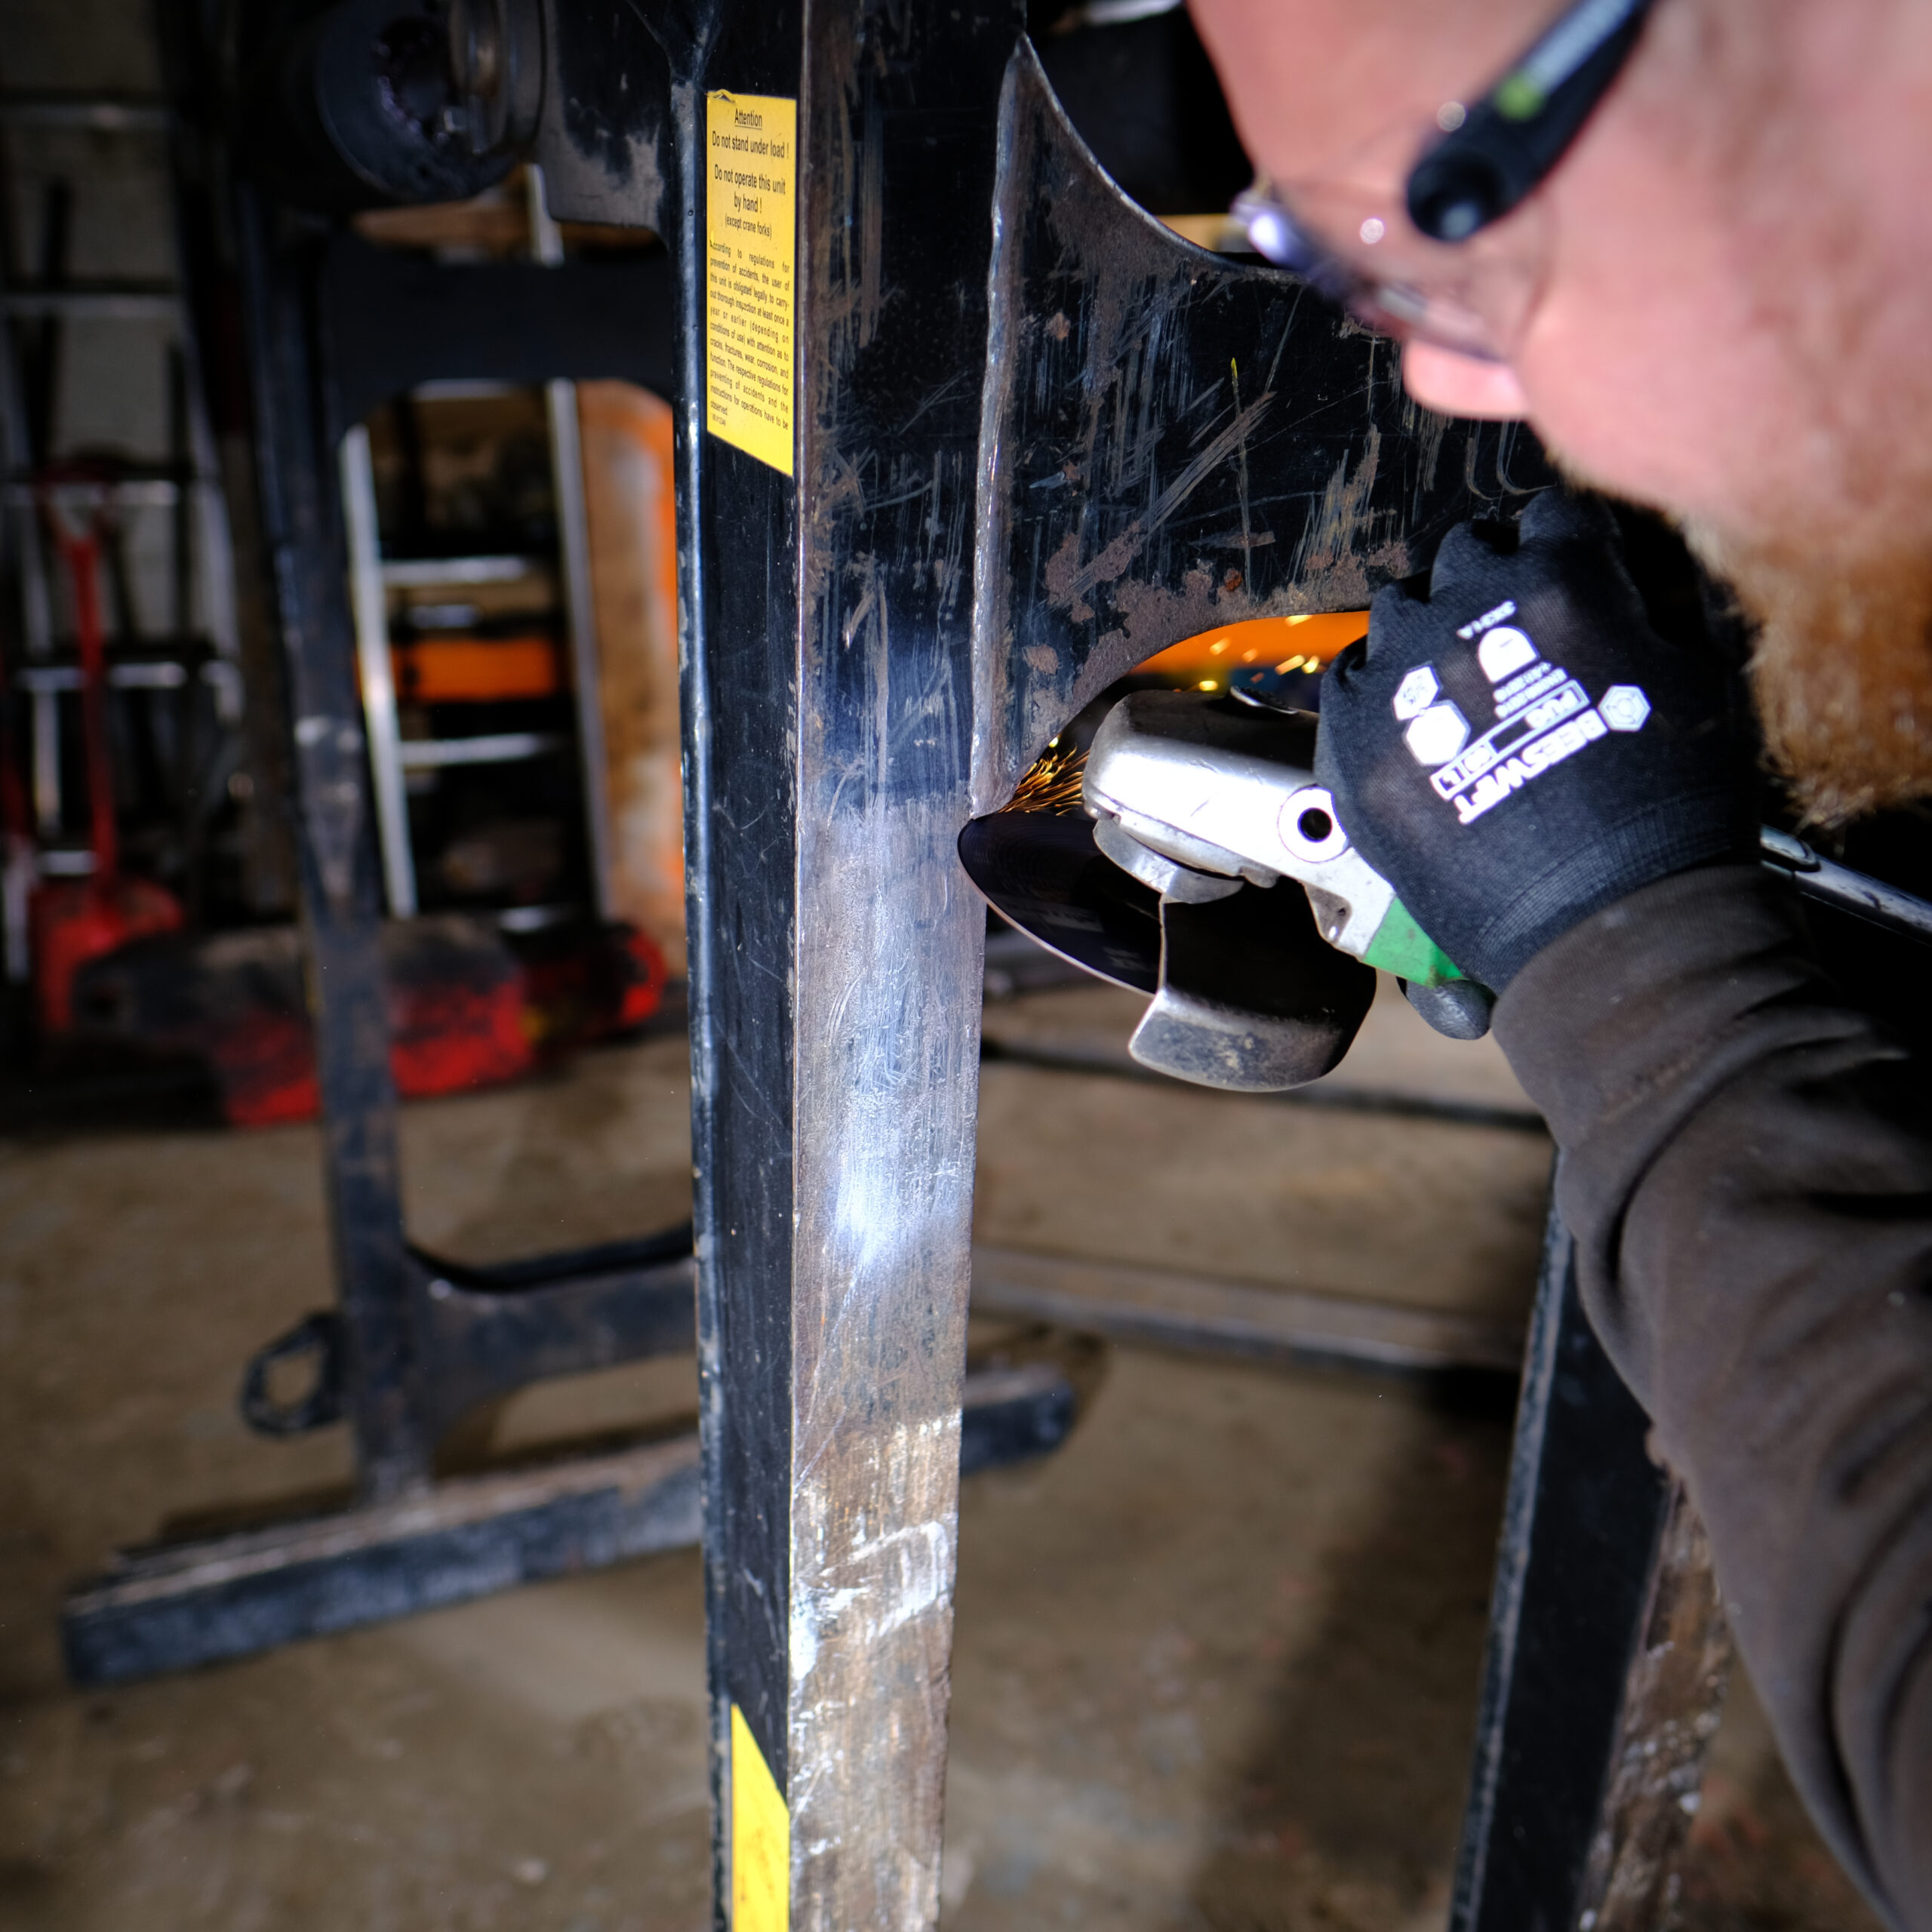
A Walsall builders merchant's Kinshofer 331 brick grab failed its LOLER inspection with micro cracking on the vertical legs. Our coded welder found the full extent of the cracks with dye penetrant, stopped them with drilled holes, then ground out, pre-heated, re-welded and slow-cooled the legs. It was repaired the day after the enquiry and passed its re-inspection.
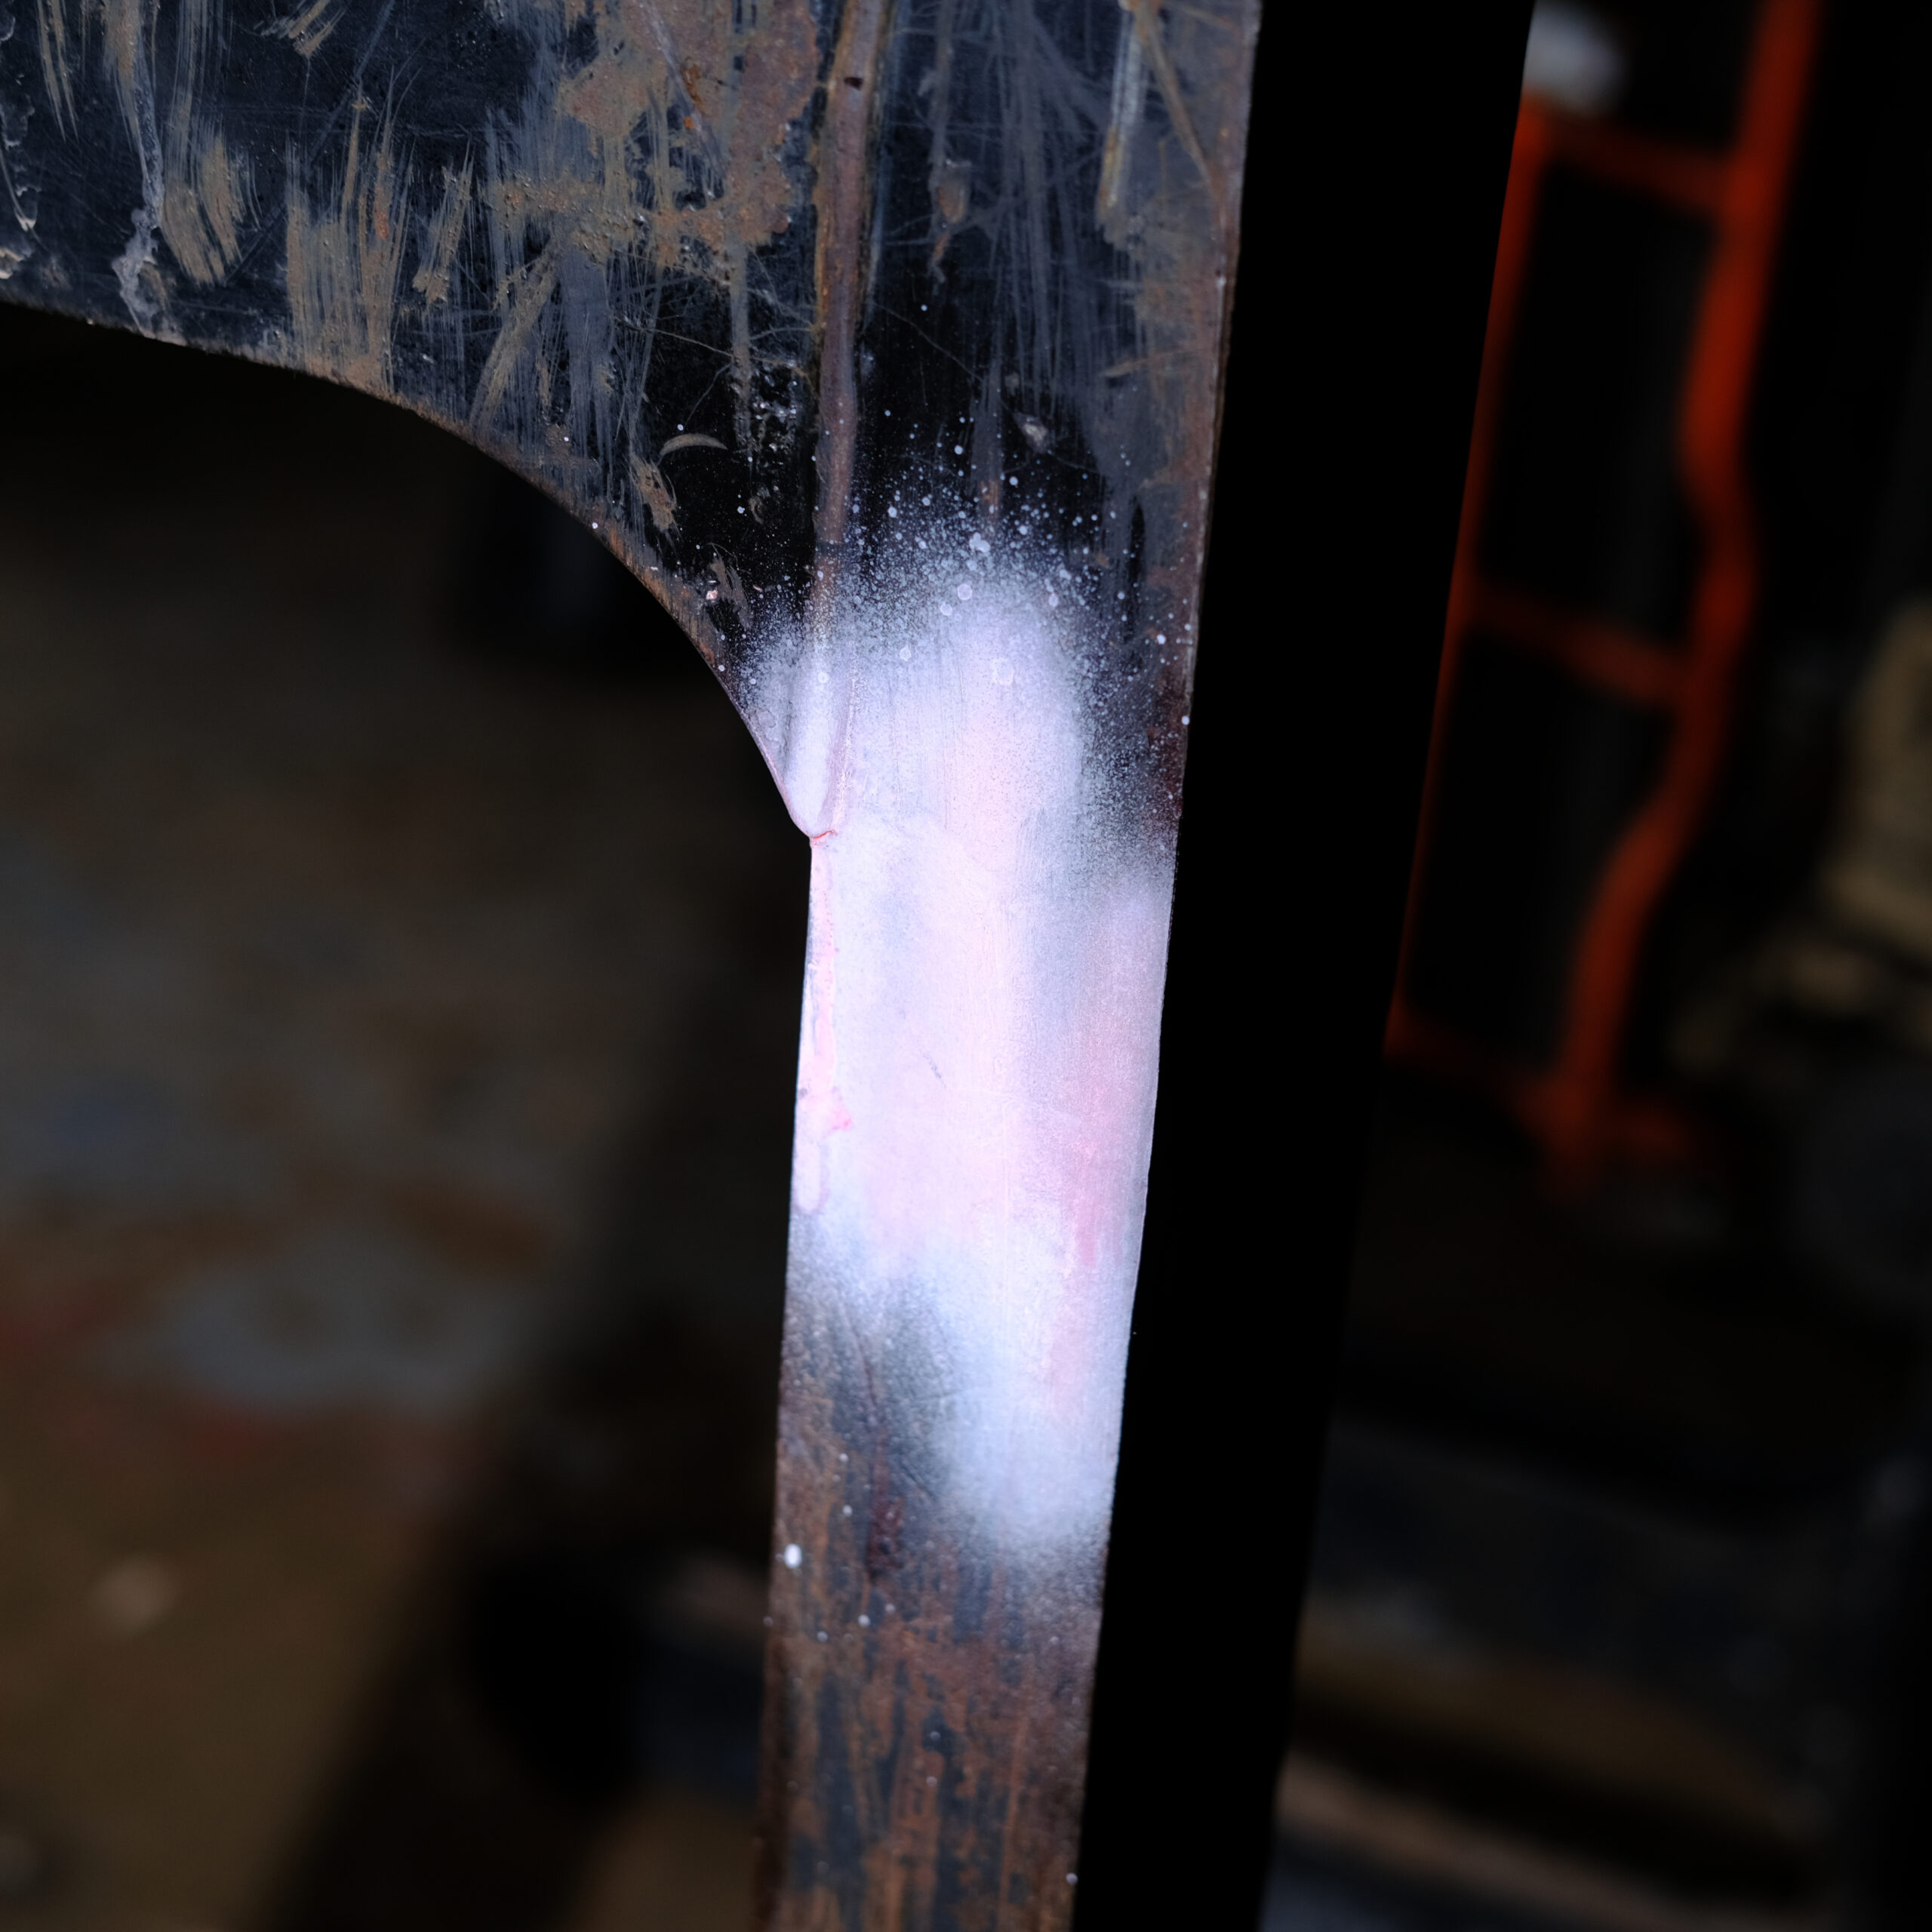
ye penetrant applied to the vertical leg of a Kinshofer brick grab, showing micro cracking found at its LOLER inspection
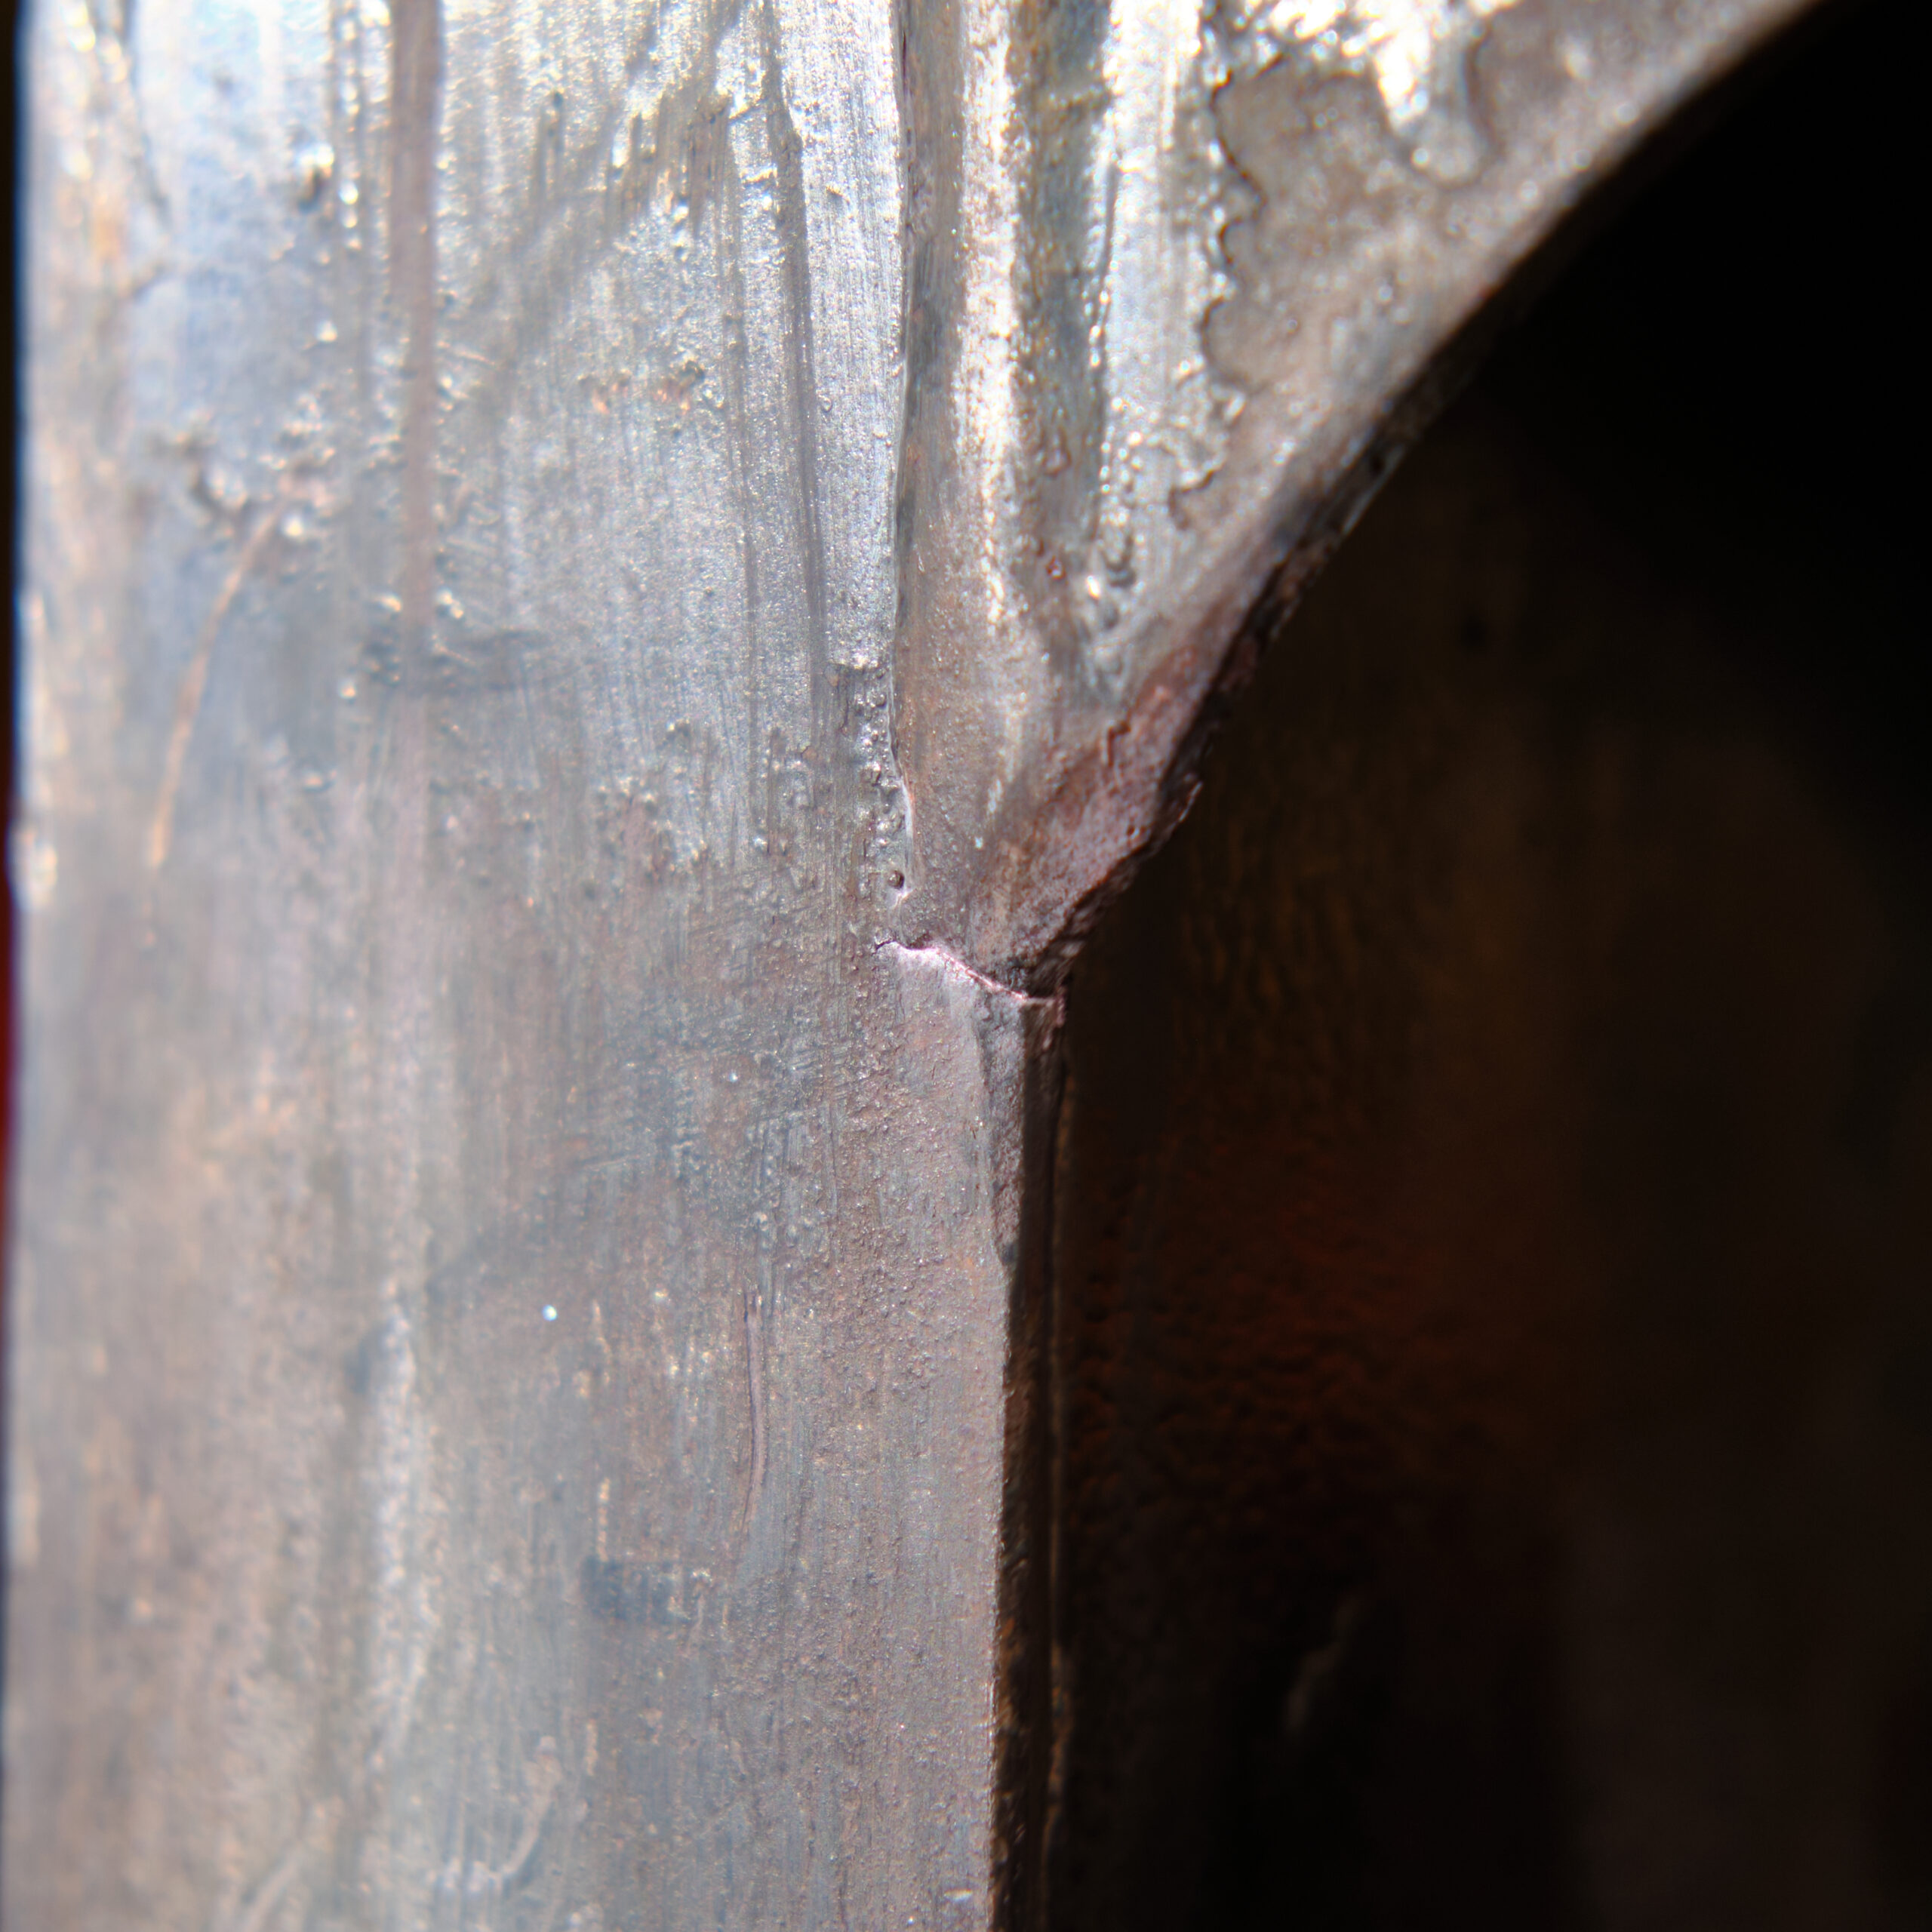
Close-up of micro cracking at the radius of a Kinshofer brick grab vertical leg, revealed by dye penetrant testing
Fine crack line traced by dye penetrant at the weld toe on a Kinshofer brick grab leg, after the developer was wiped back
Drilling a 4mm hole at the end of the crack to stop it spreading on a Kinshofer brick grab leg
The 4mm crack-arrest hole drilled at the tip of the crack on a Kinshofer brick grab leg, stopping it from spreading further
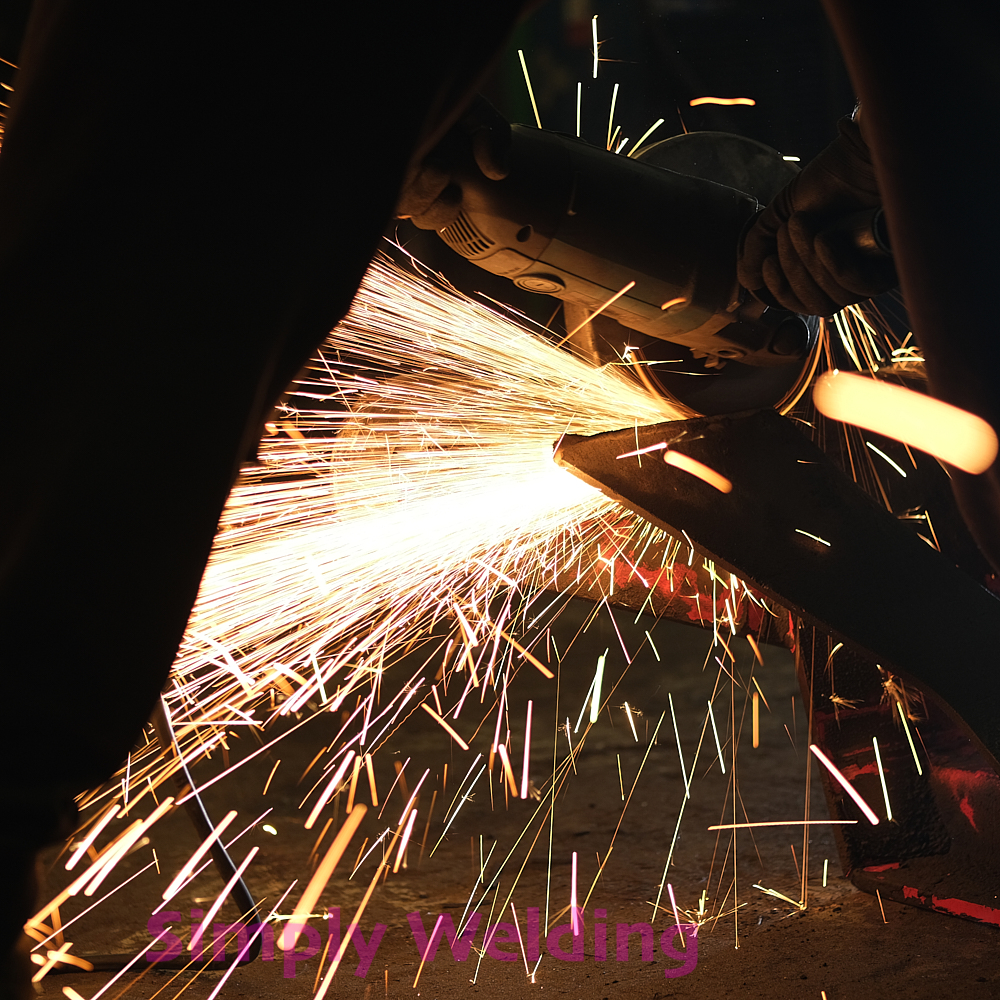
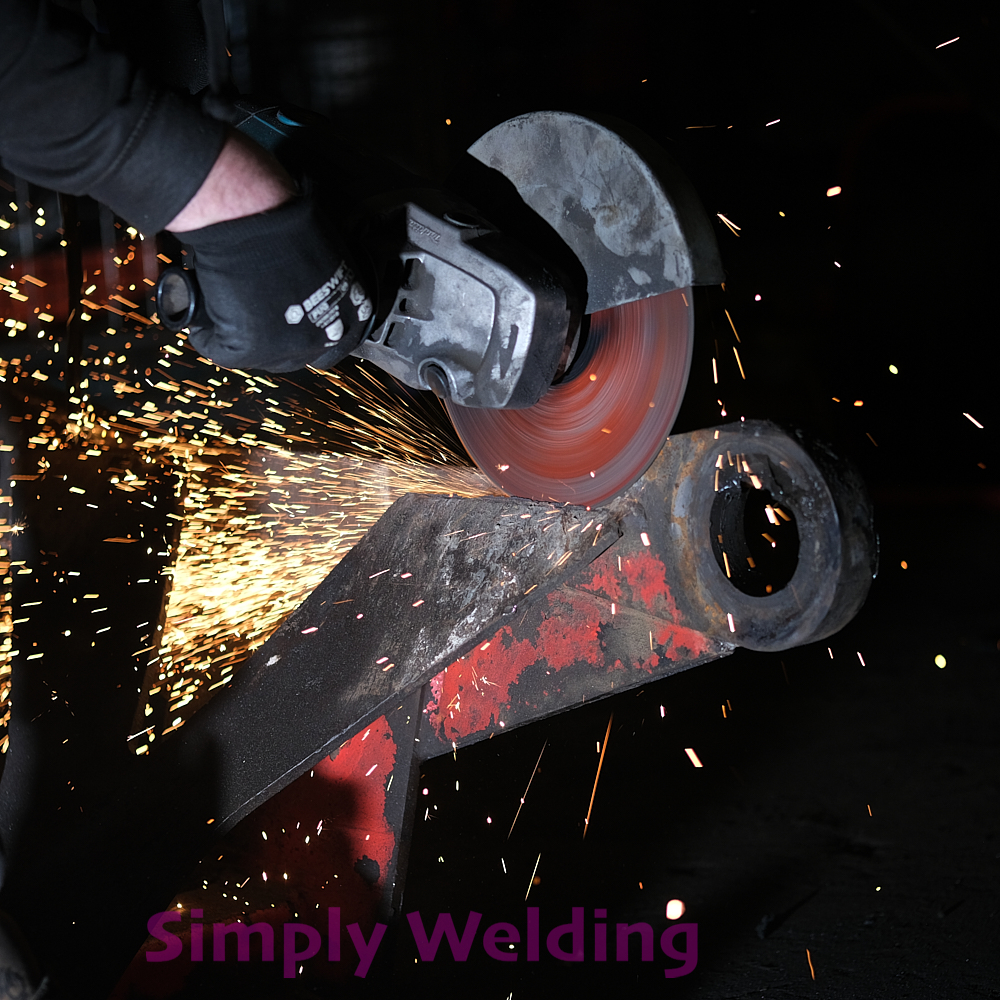
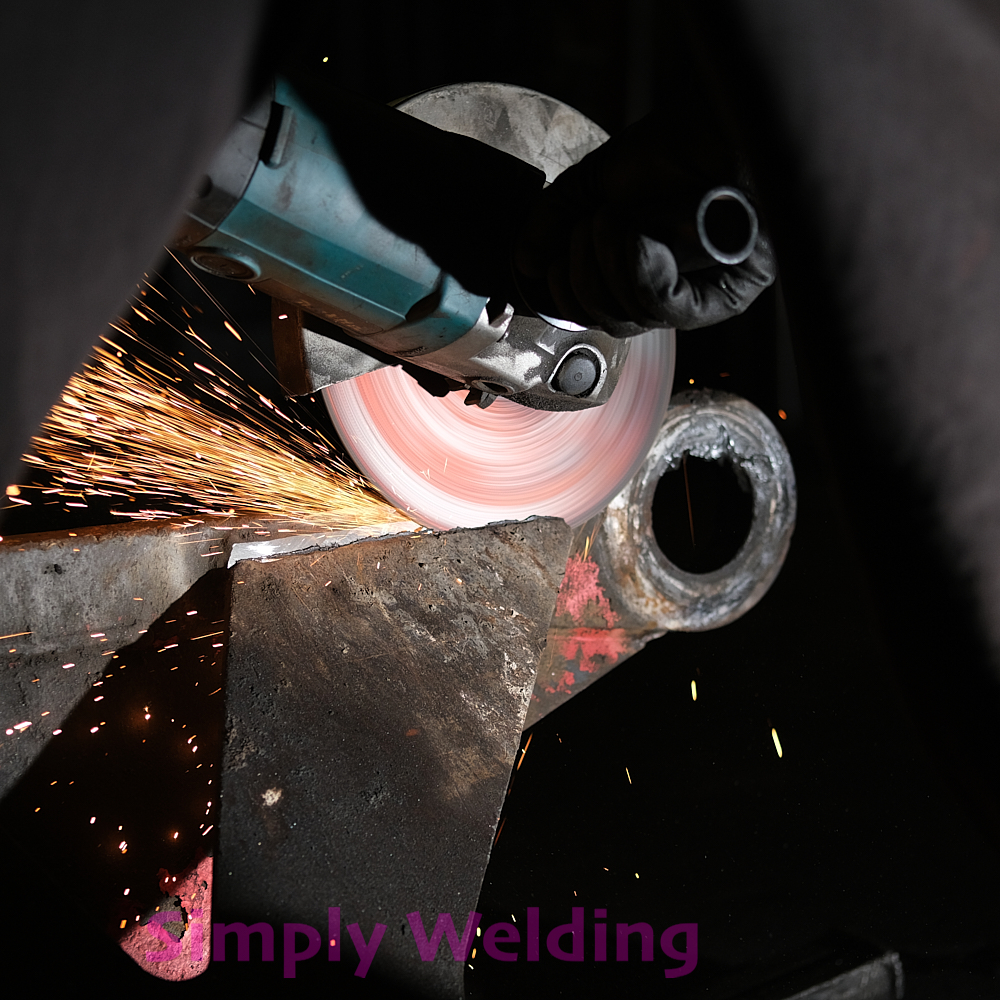
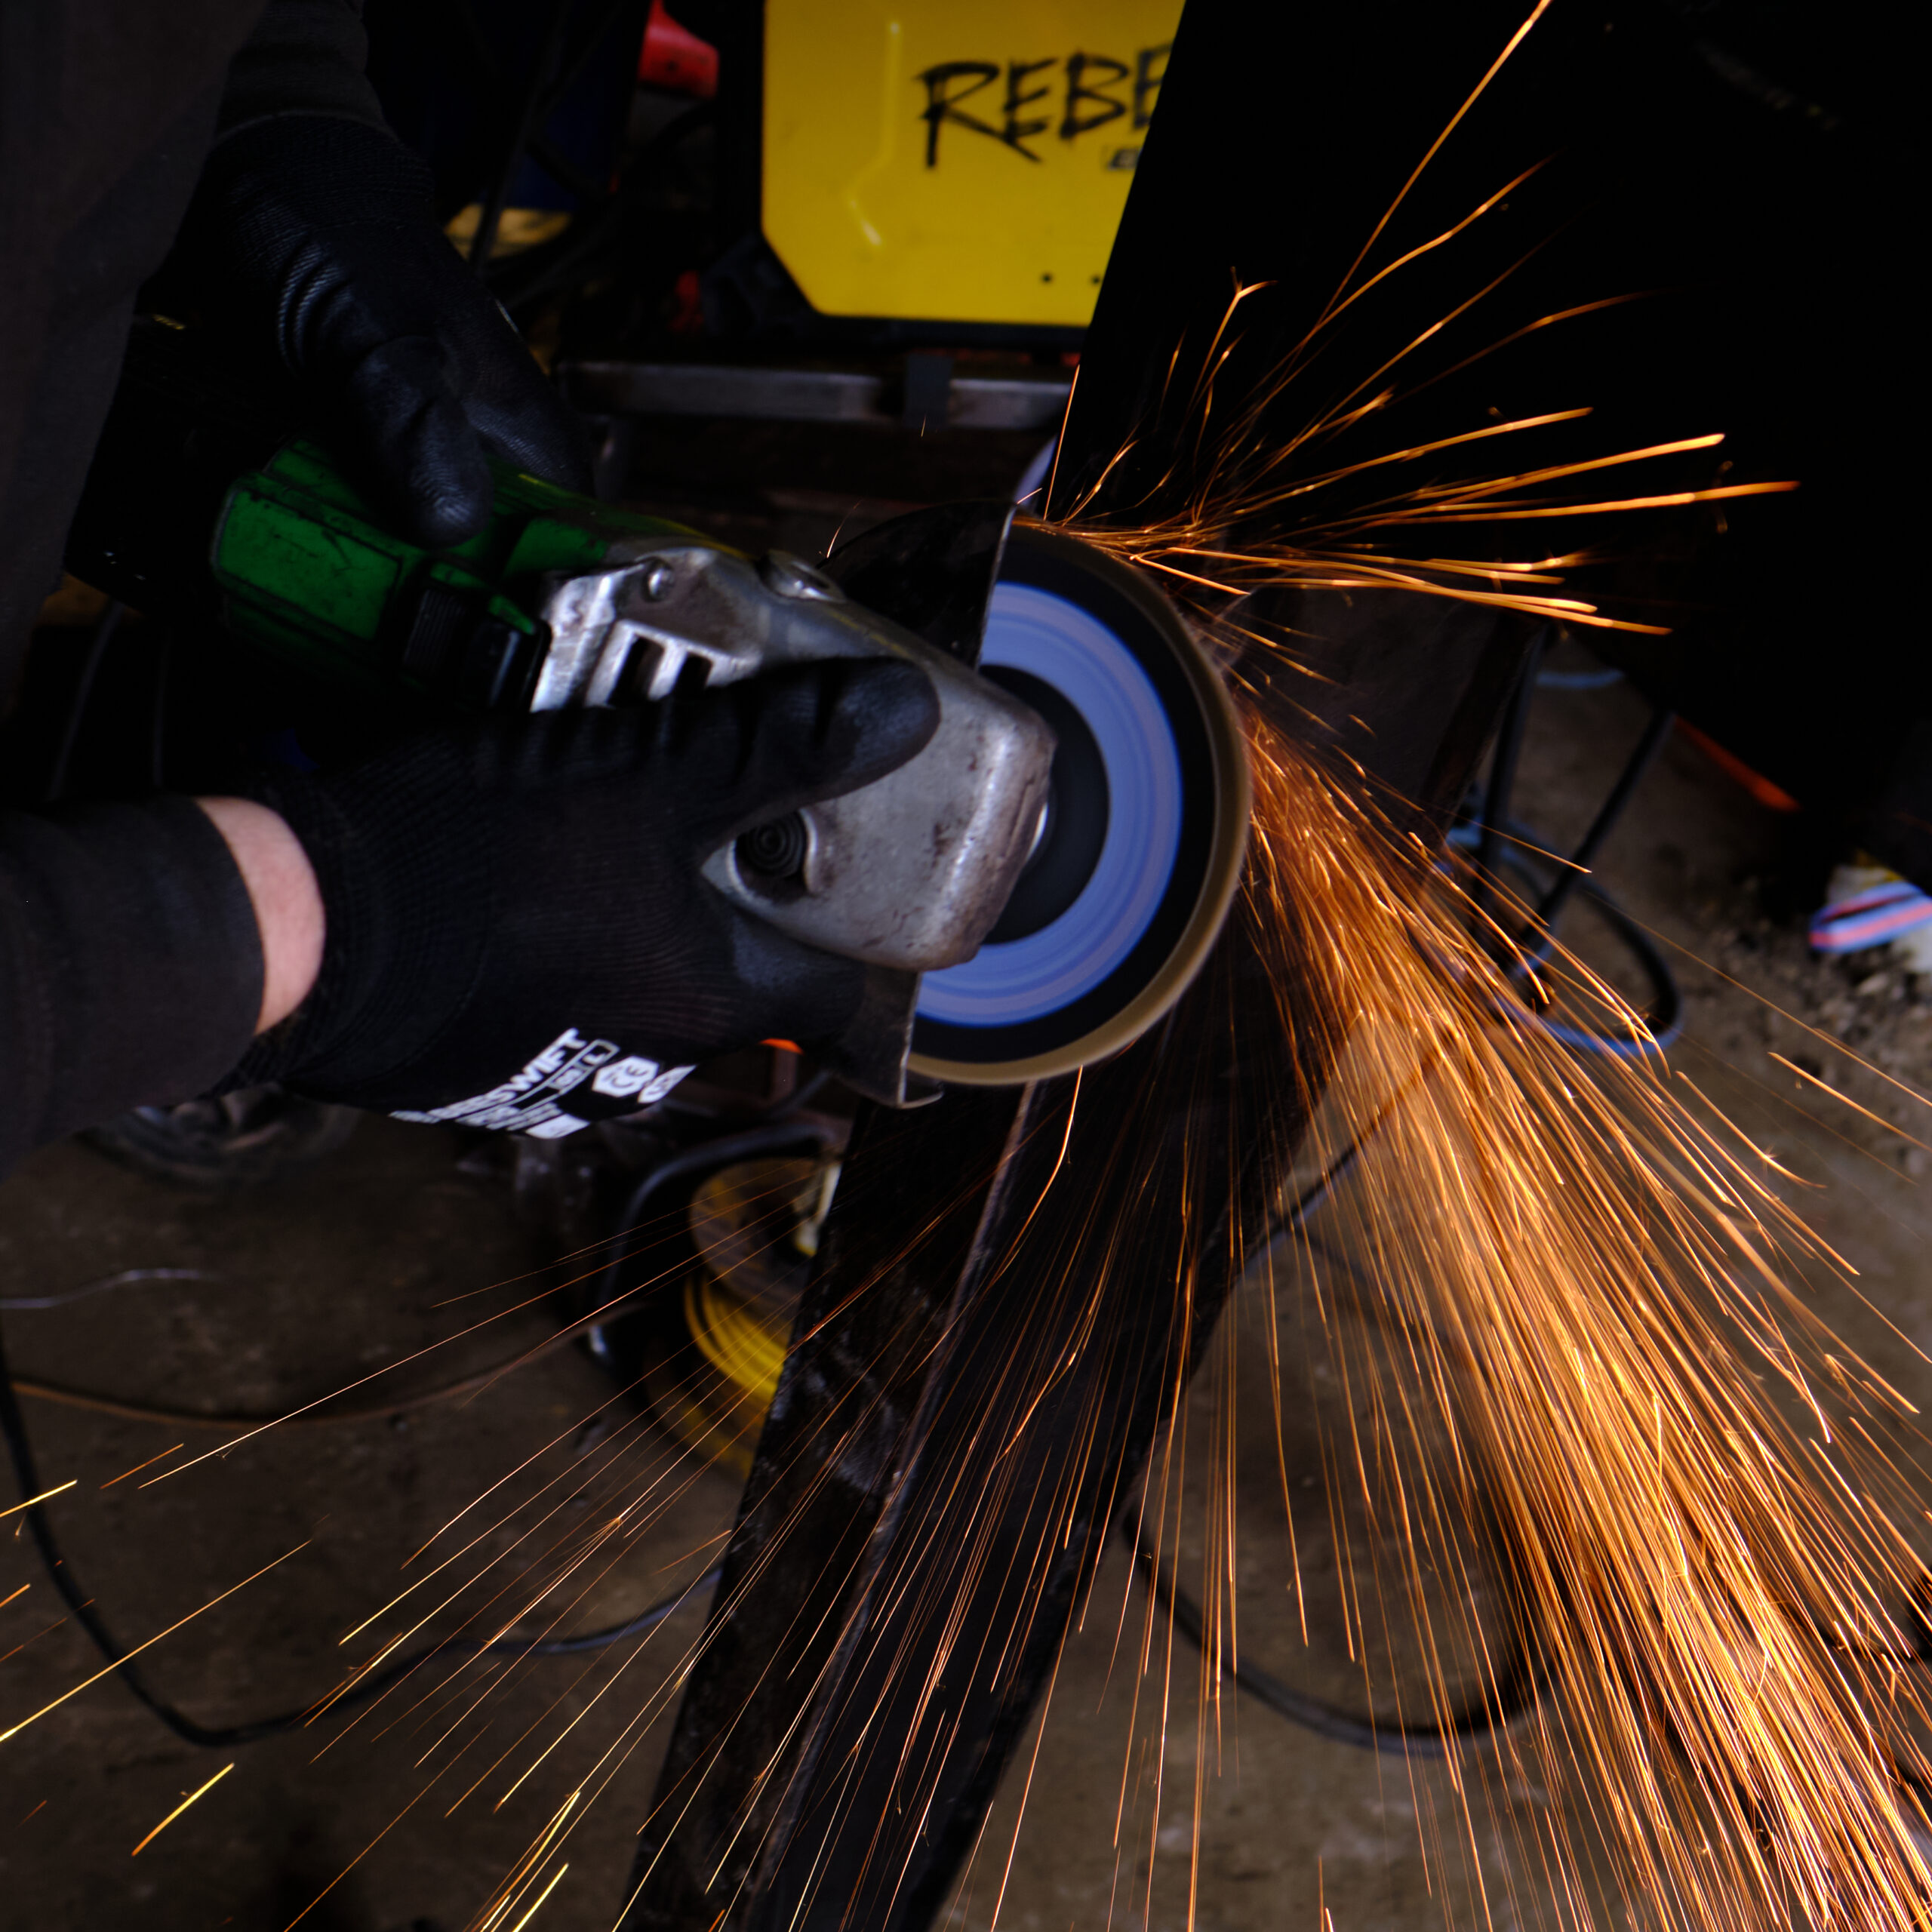
Grinding out the crack on a Kinshofer brick grab leg to prepare it for welding
Sparks flying as the cracked area of a Kinshofer brick grab leg is ground back to sound metal
Weld preparation at the radius of a Kinshofer brick grab leg, grinding the crack out where the leg meets the frame
Angle grinder removing paint and cracked metal from the vertical leg of a Kinshofer 331 brick grab during a LOLER failure repair
Pre-heating the prepared crack area on a Kinshofer brick grab leg with a gas torch before welding
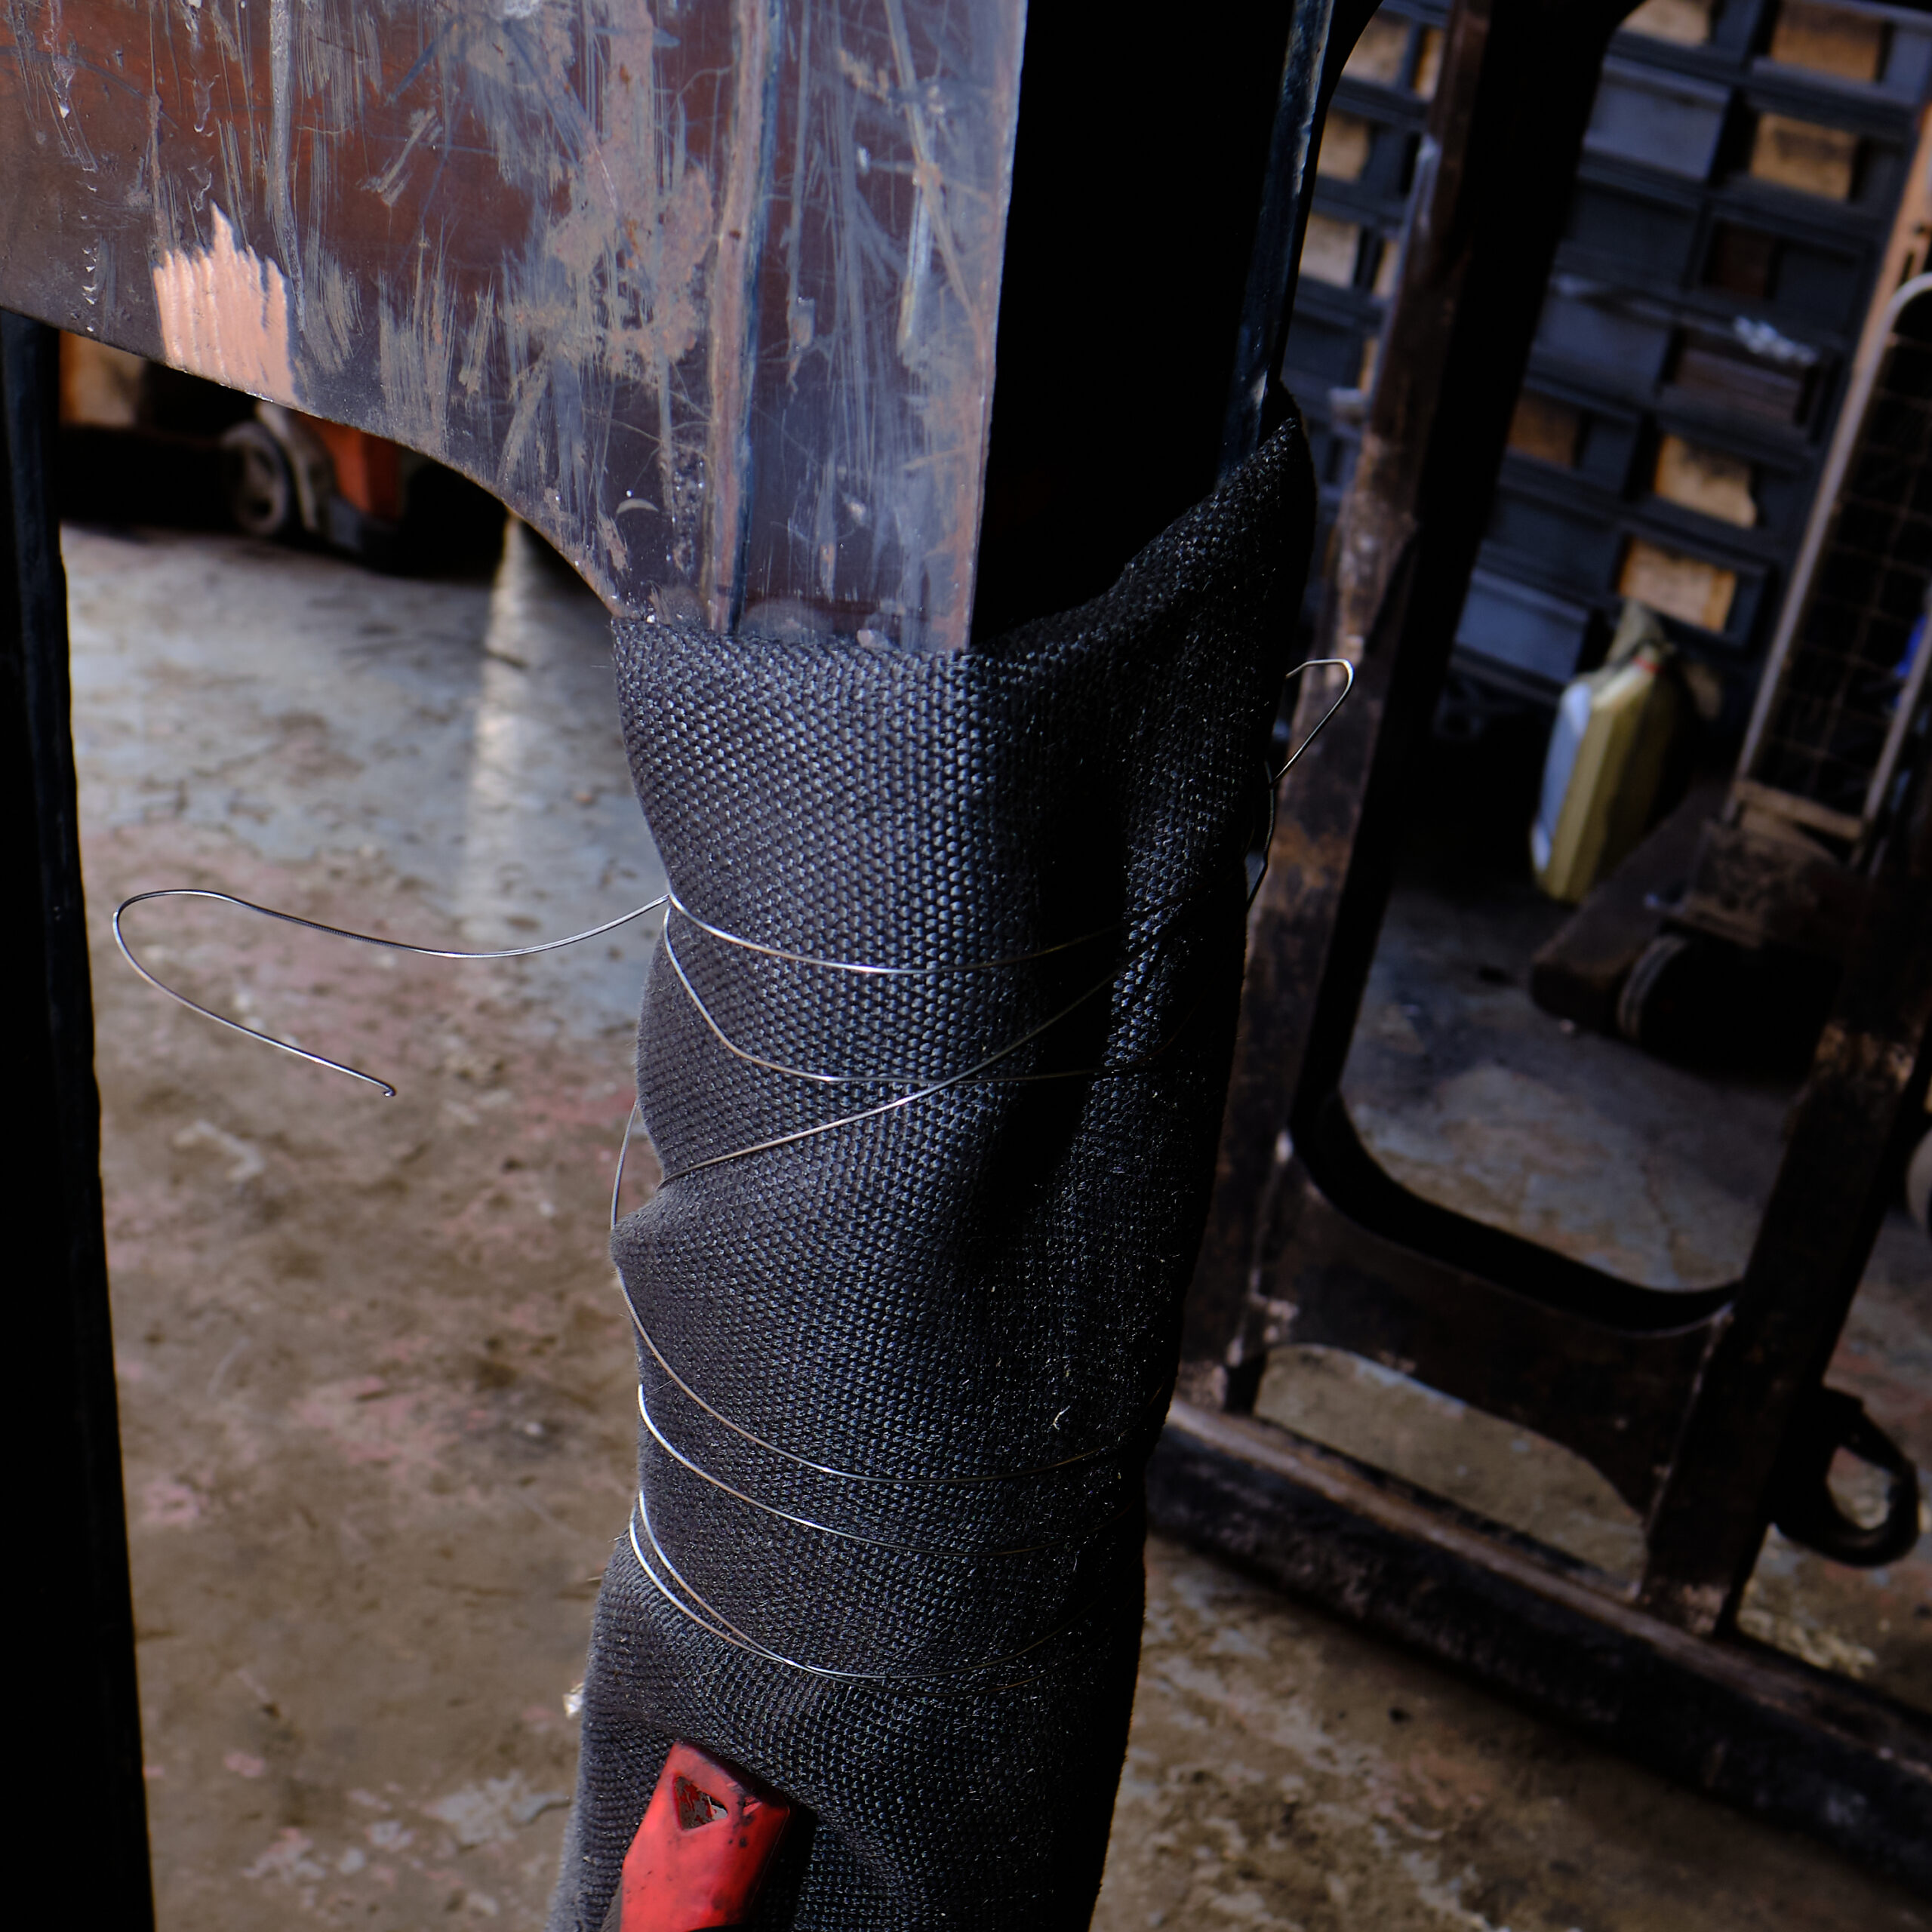
Welded repair on a Kinshofer brick grab leg wrapped in a welding blanket to slow the cooling and prevent cracking
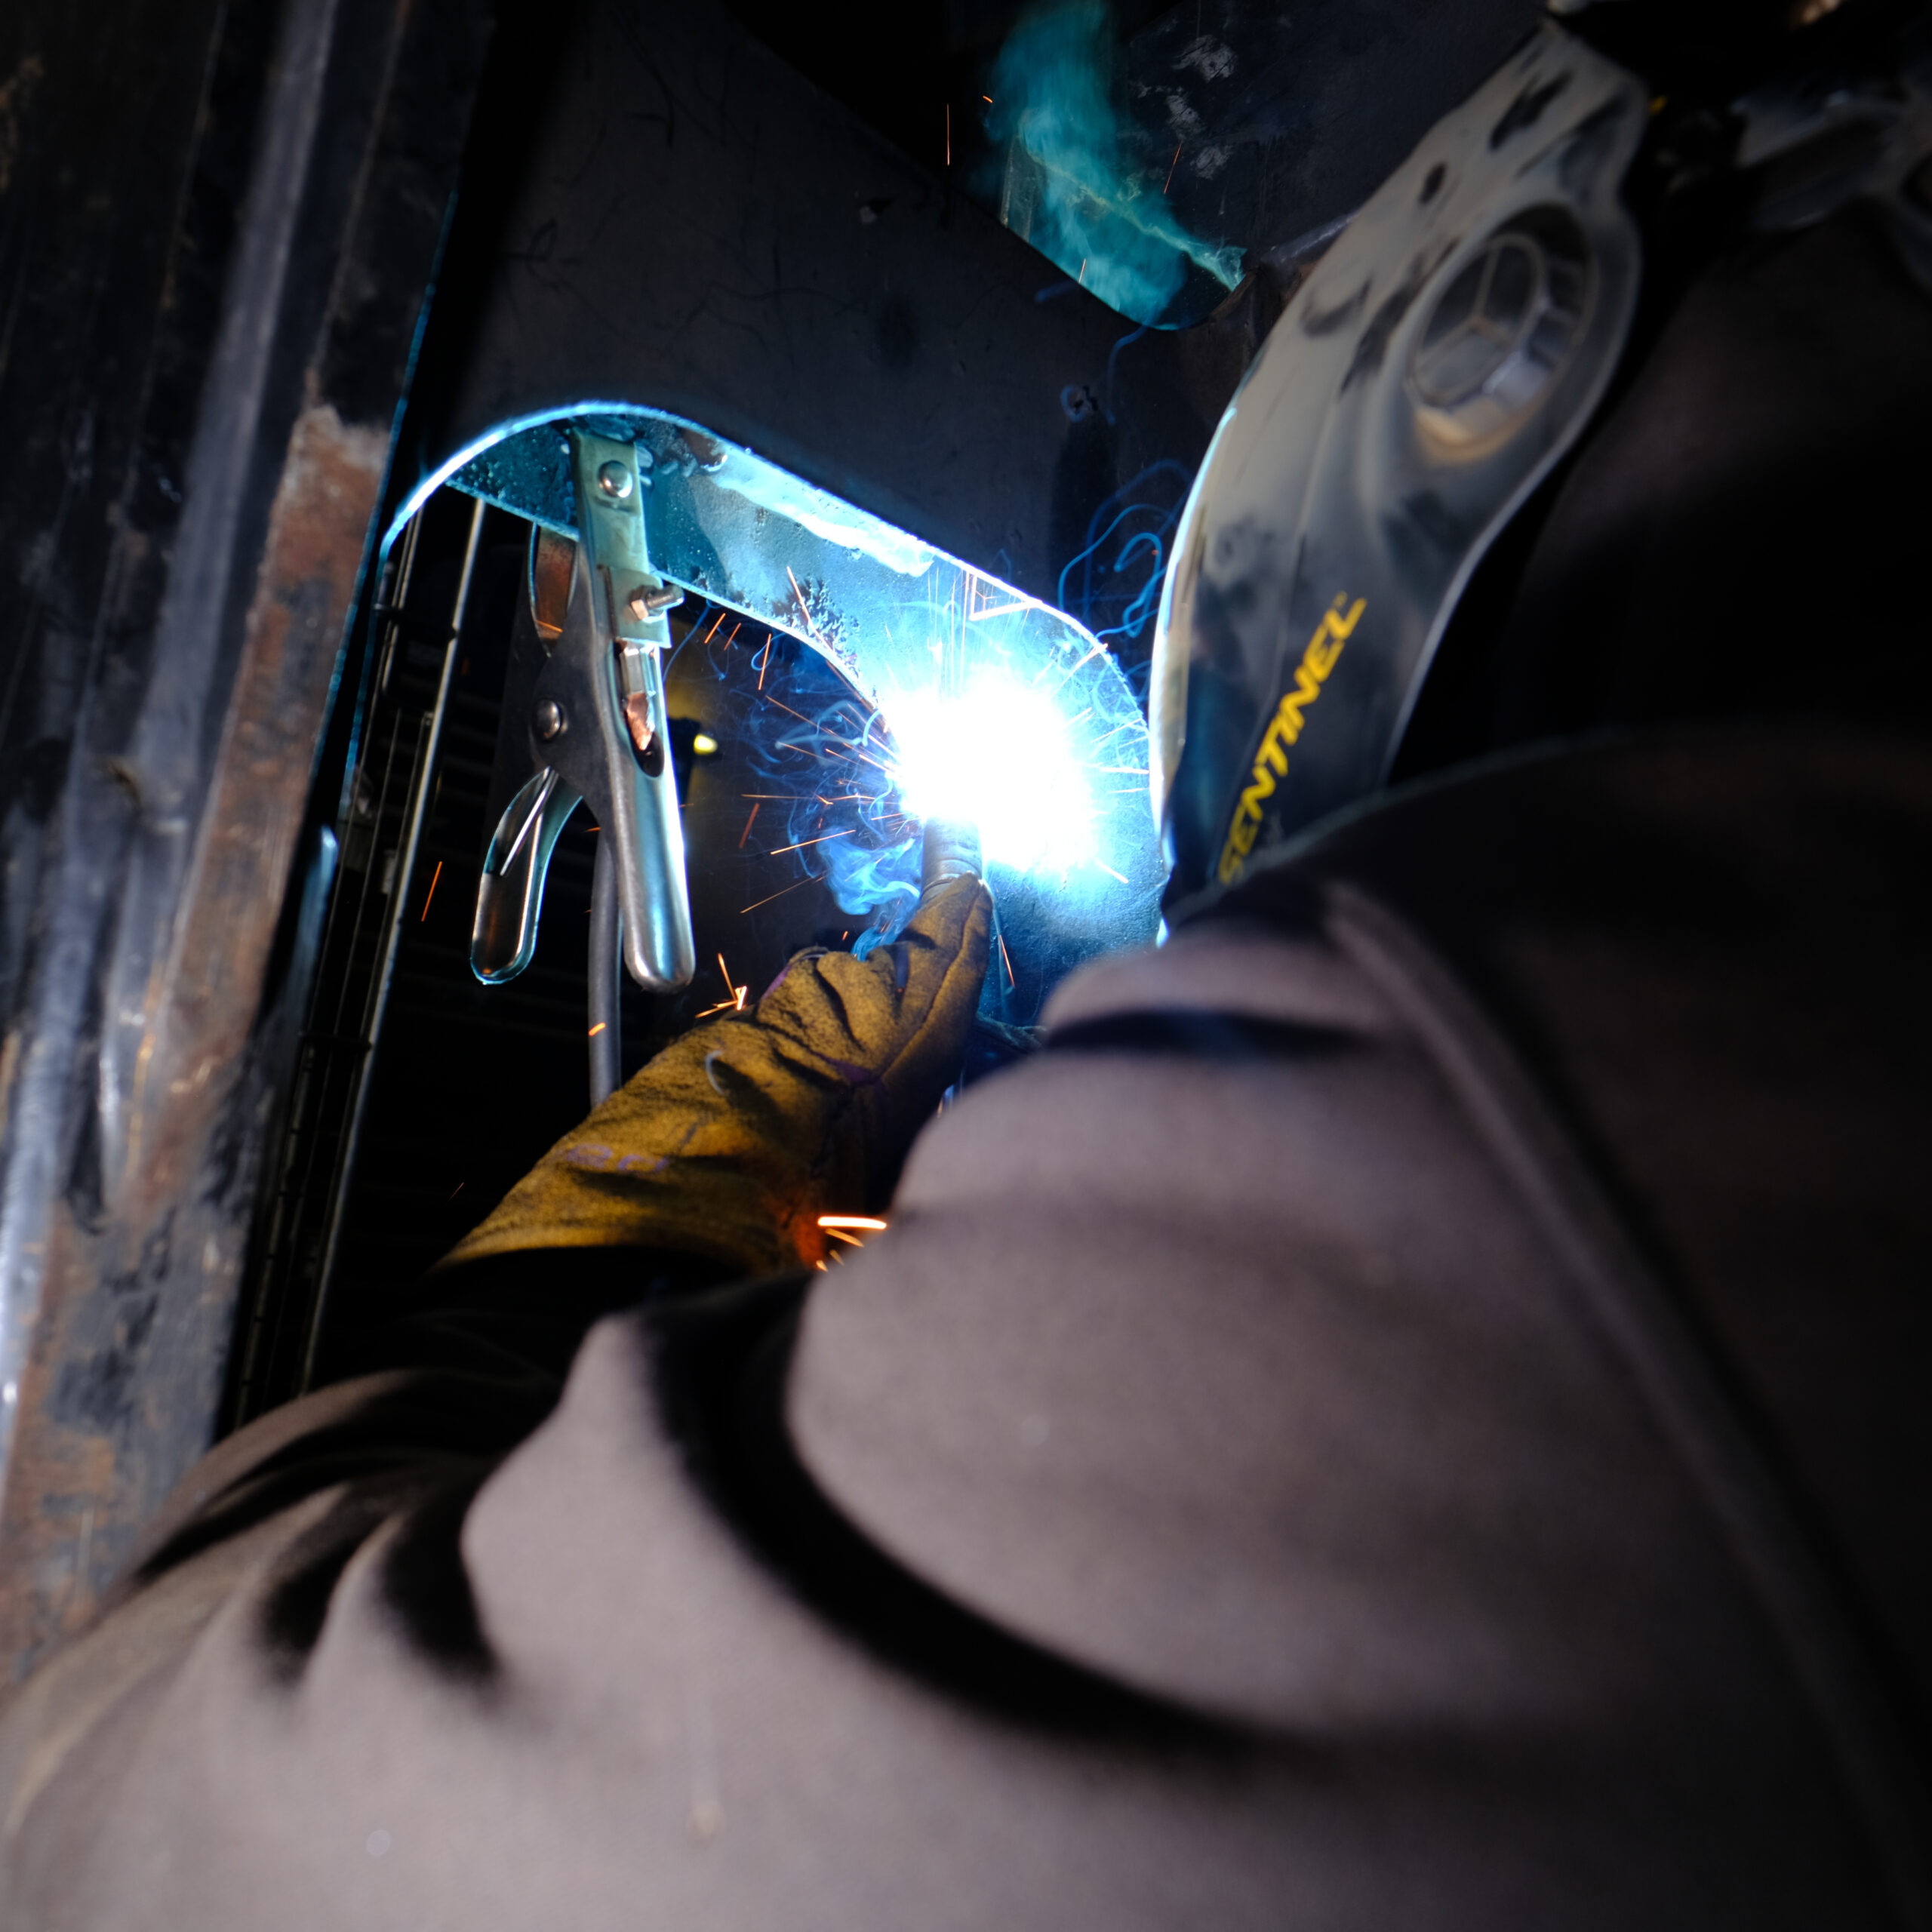
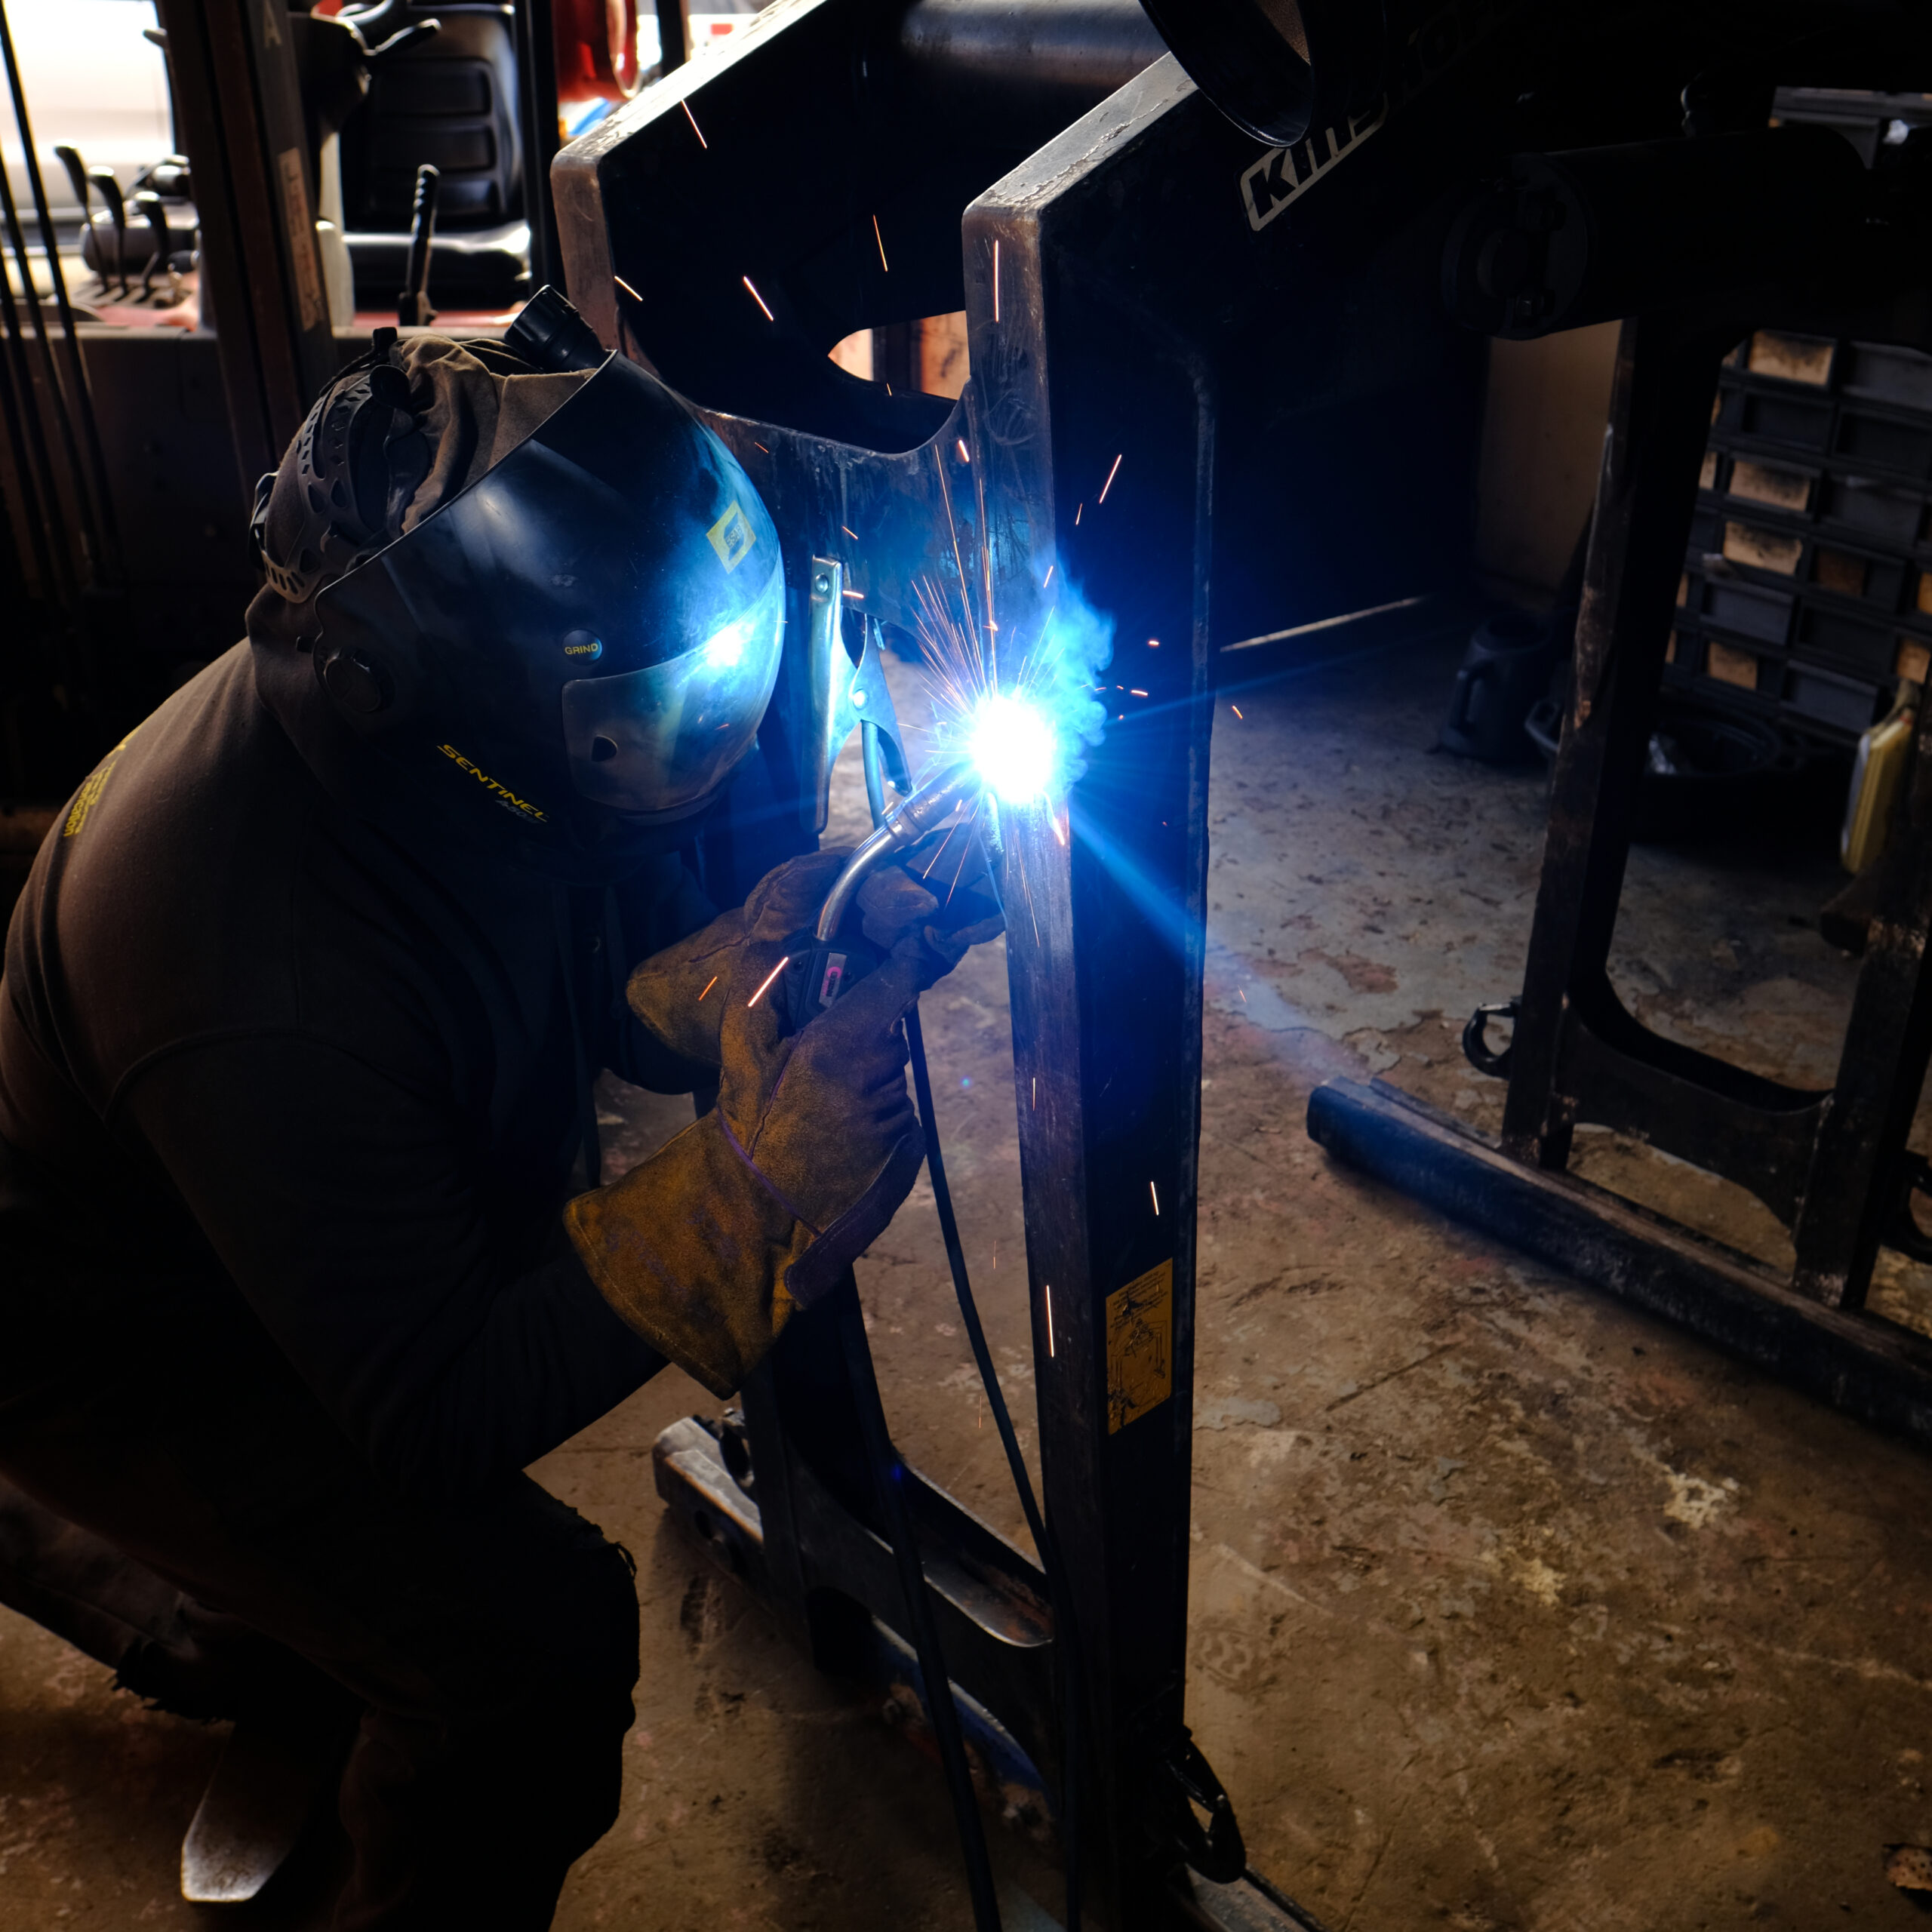
Close-up of a coded welder welding the prepared crack at the radius of a Kinshofer brick grab leg
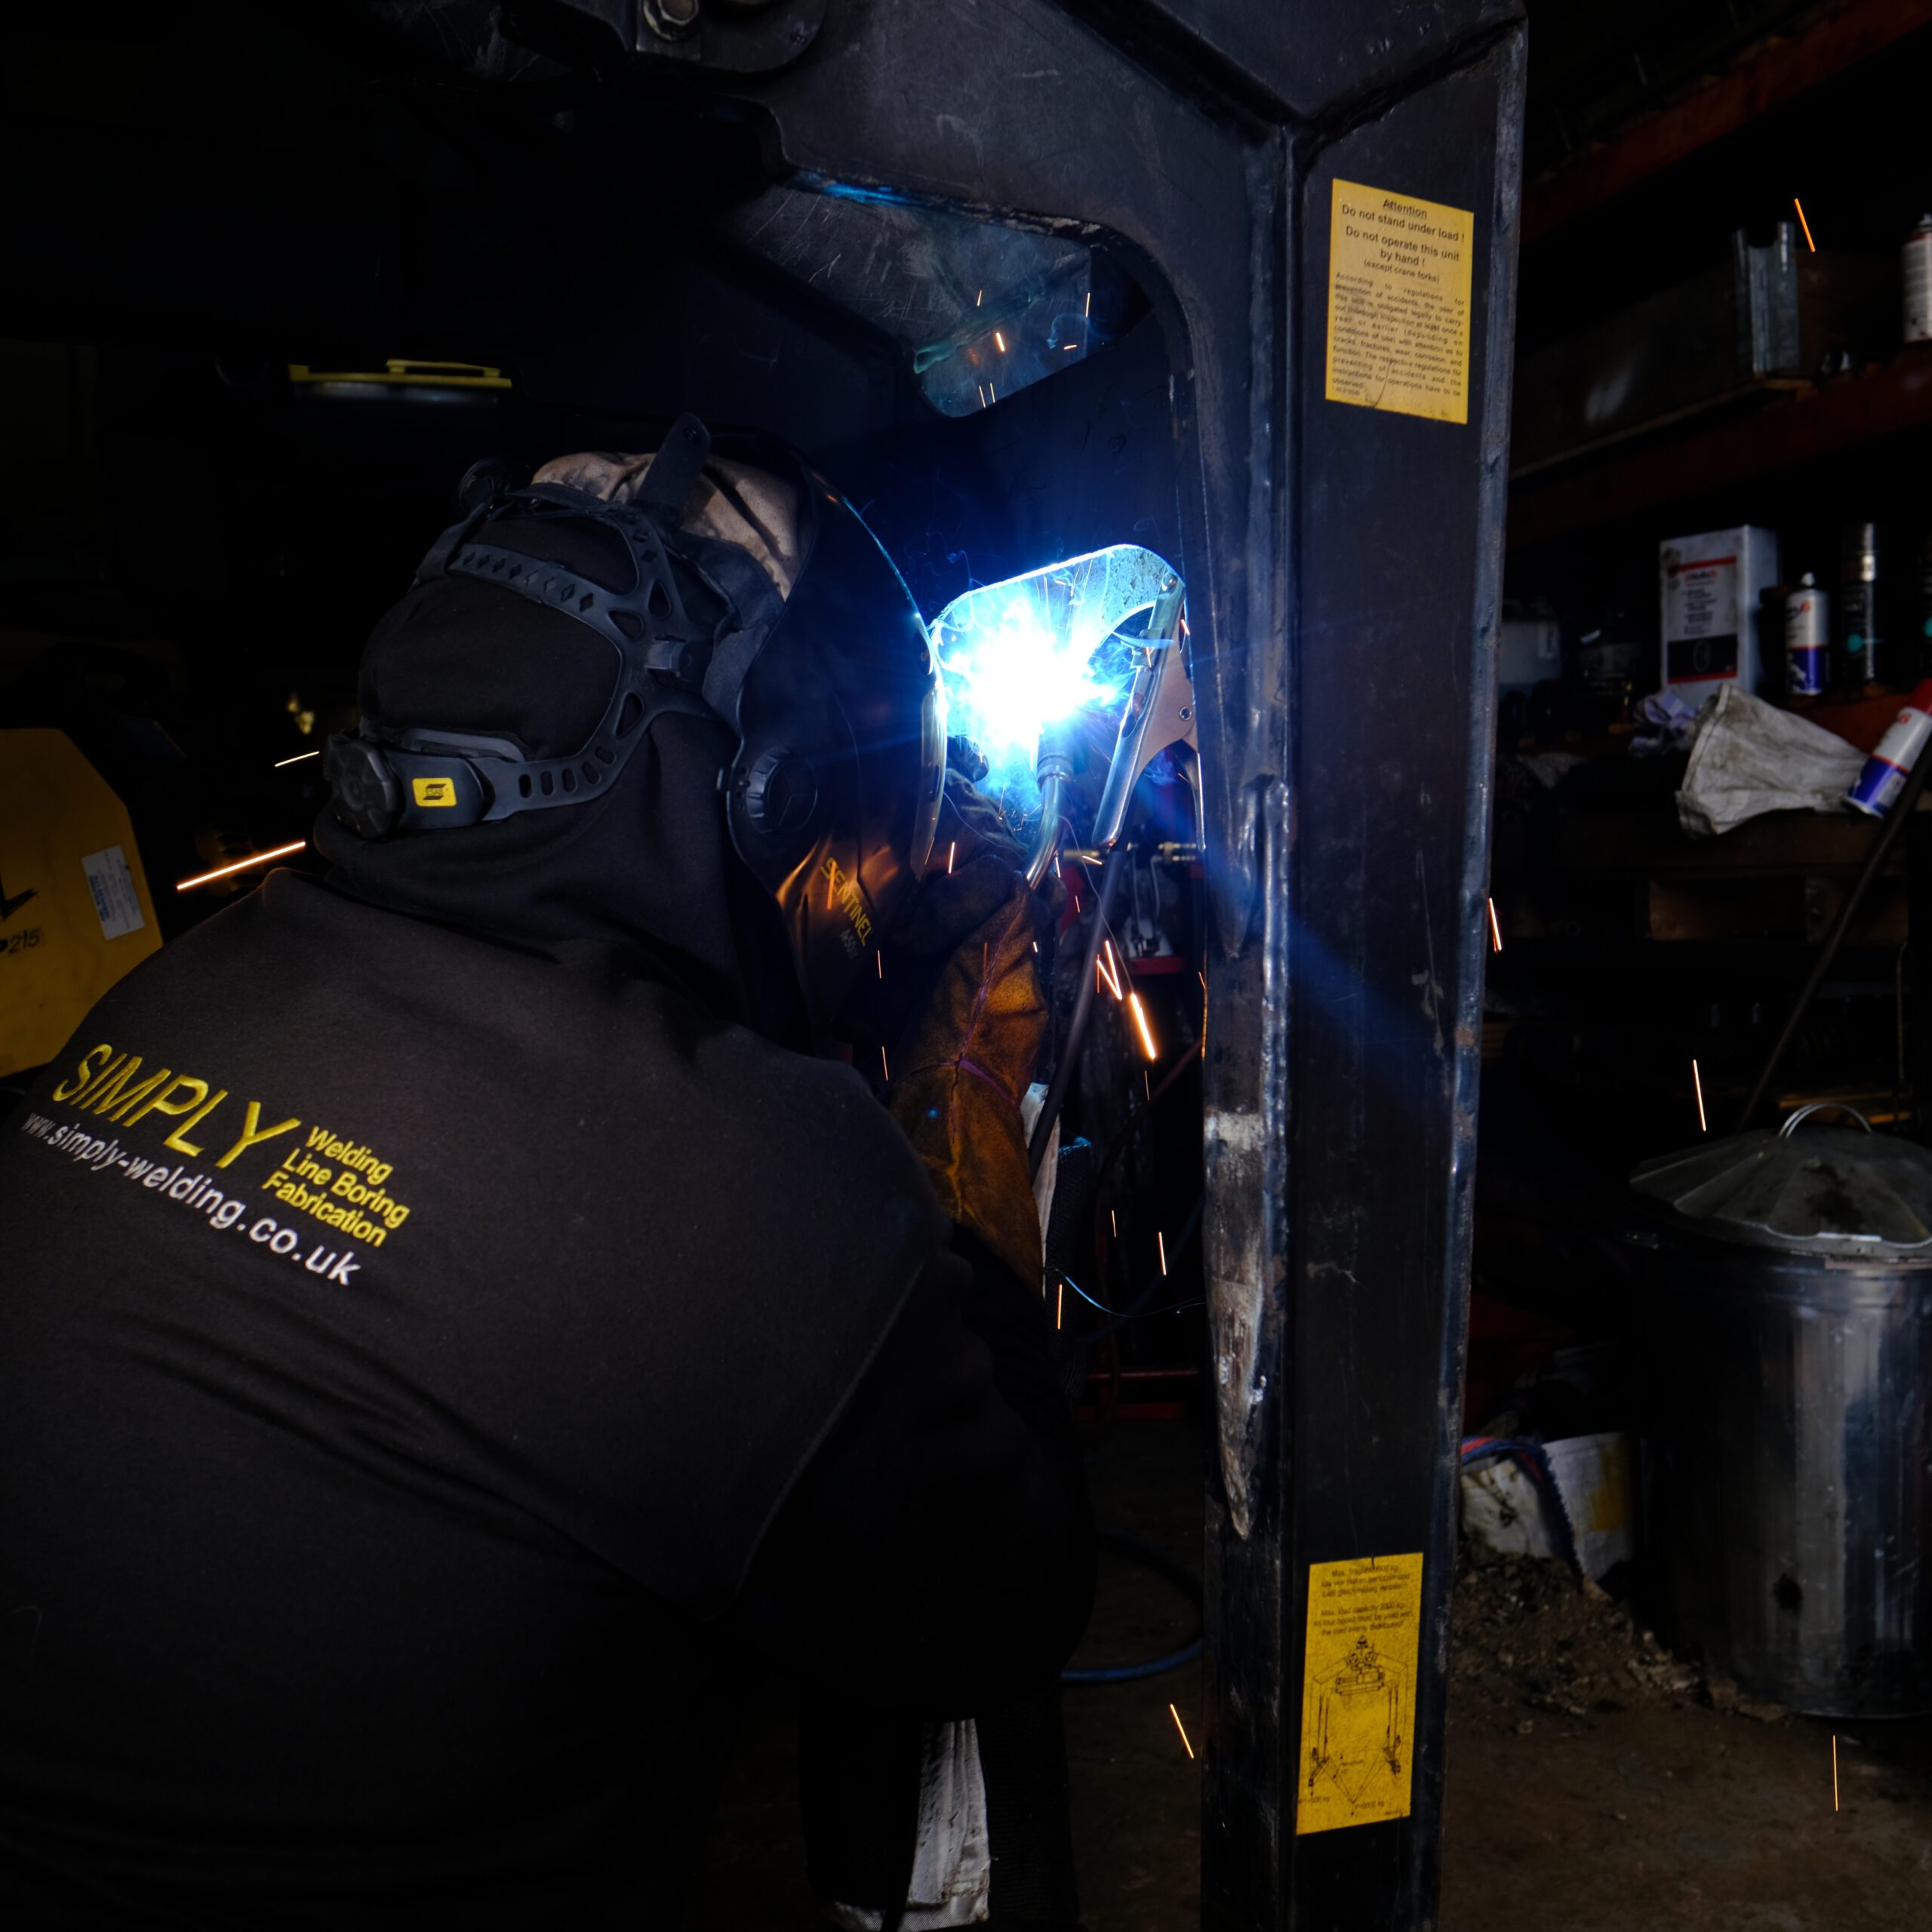
Simply Welding coded welder repairing a cracked Kinshofer brick grab that failed its LOLER inspection, for a Walsall building supplies company
Small pinhole found in a Kinshofer brick grab weld repair after grinding back, during our own quality check before re-welding
Re-grinding the pinhole location on a Kinshofer brick grab weld repair before re-welding
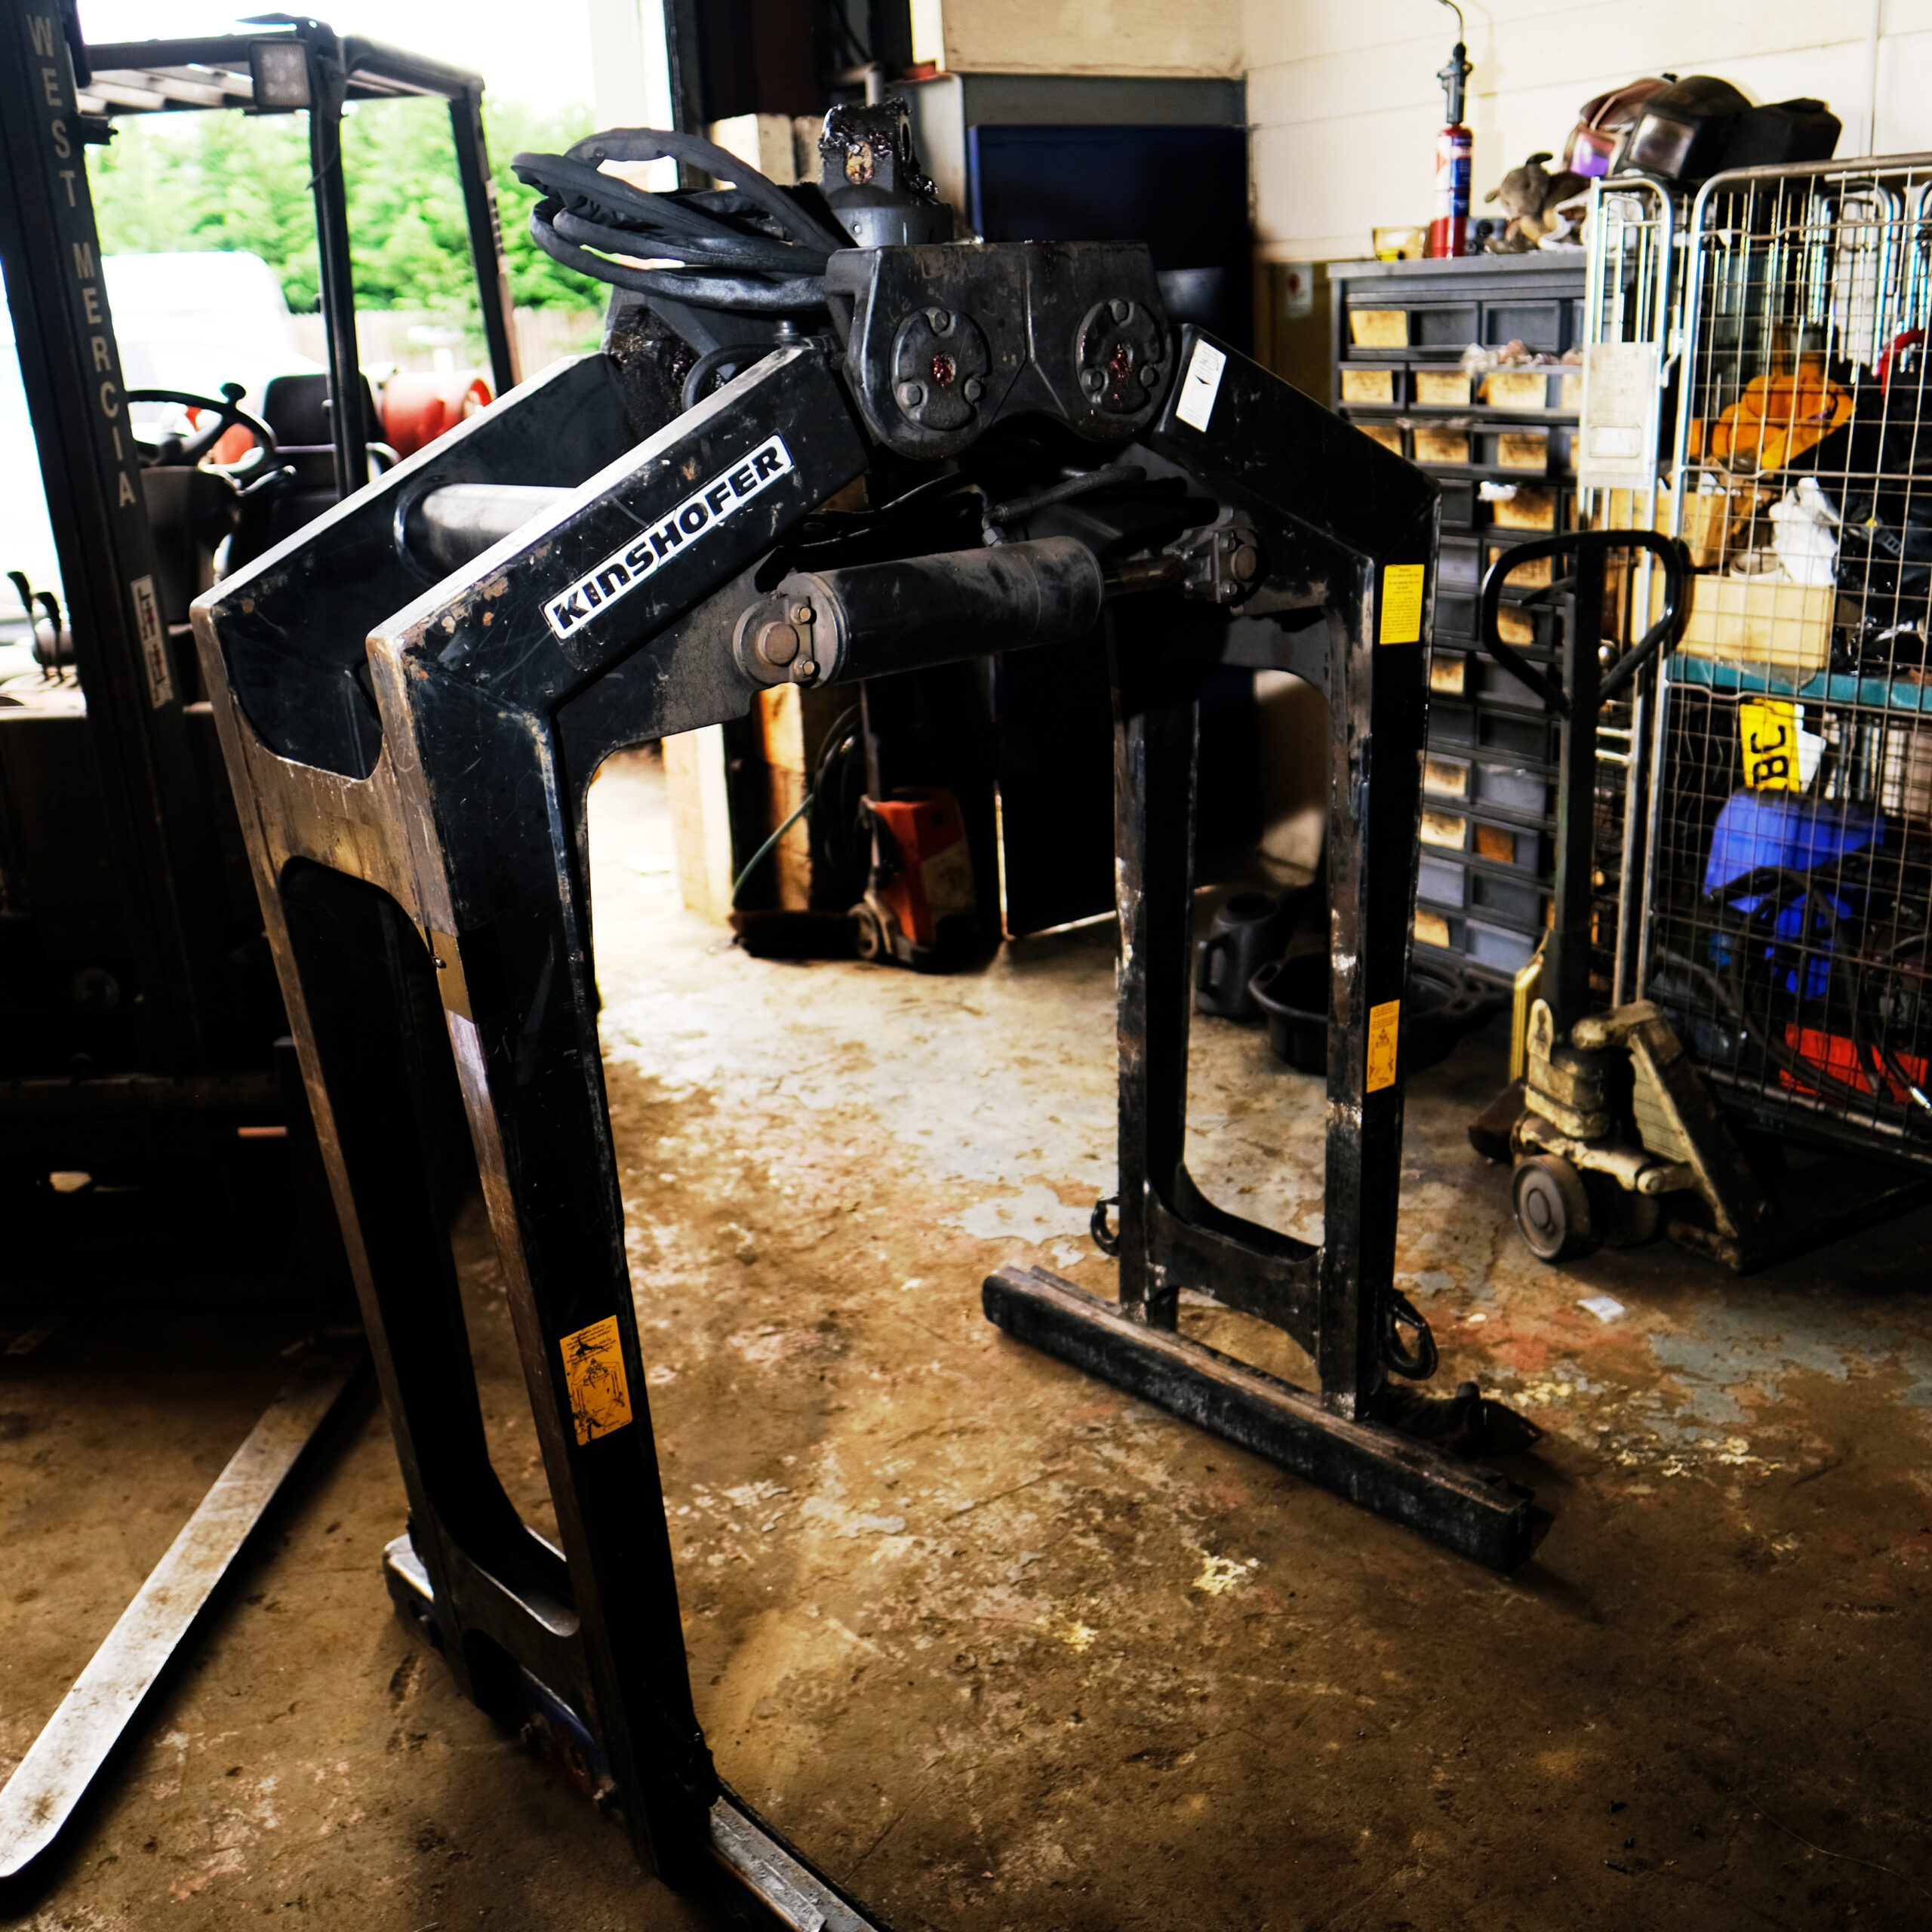
Repaired Kinshofer 331 brick grab finished in the Simply Welding workshop and awaiting collection, turned around the day after the enquiry
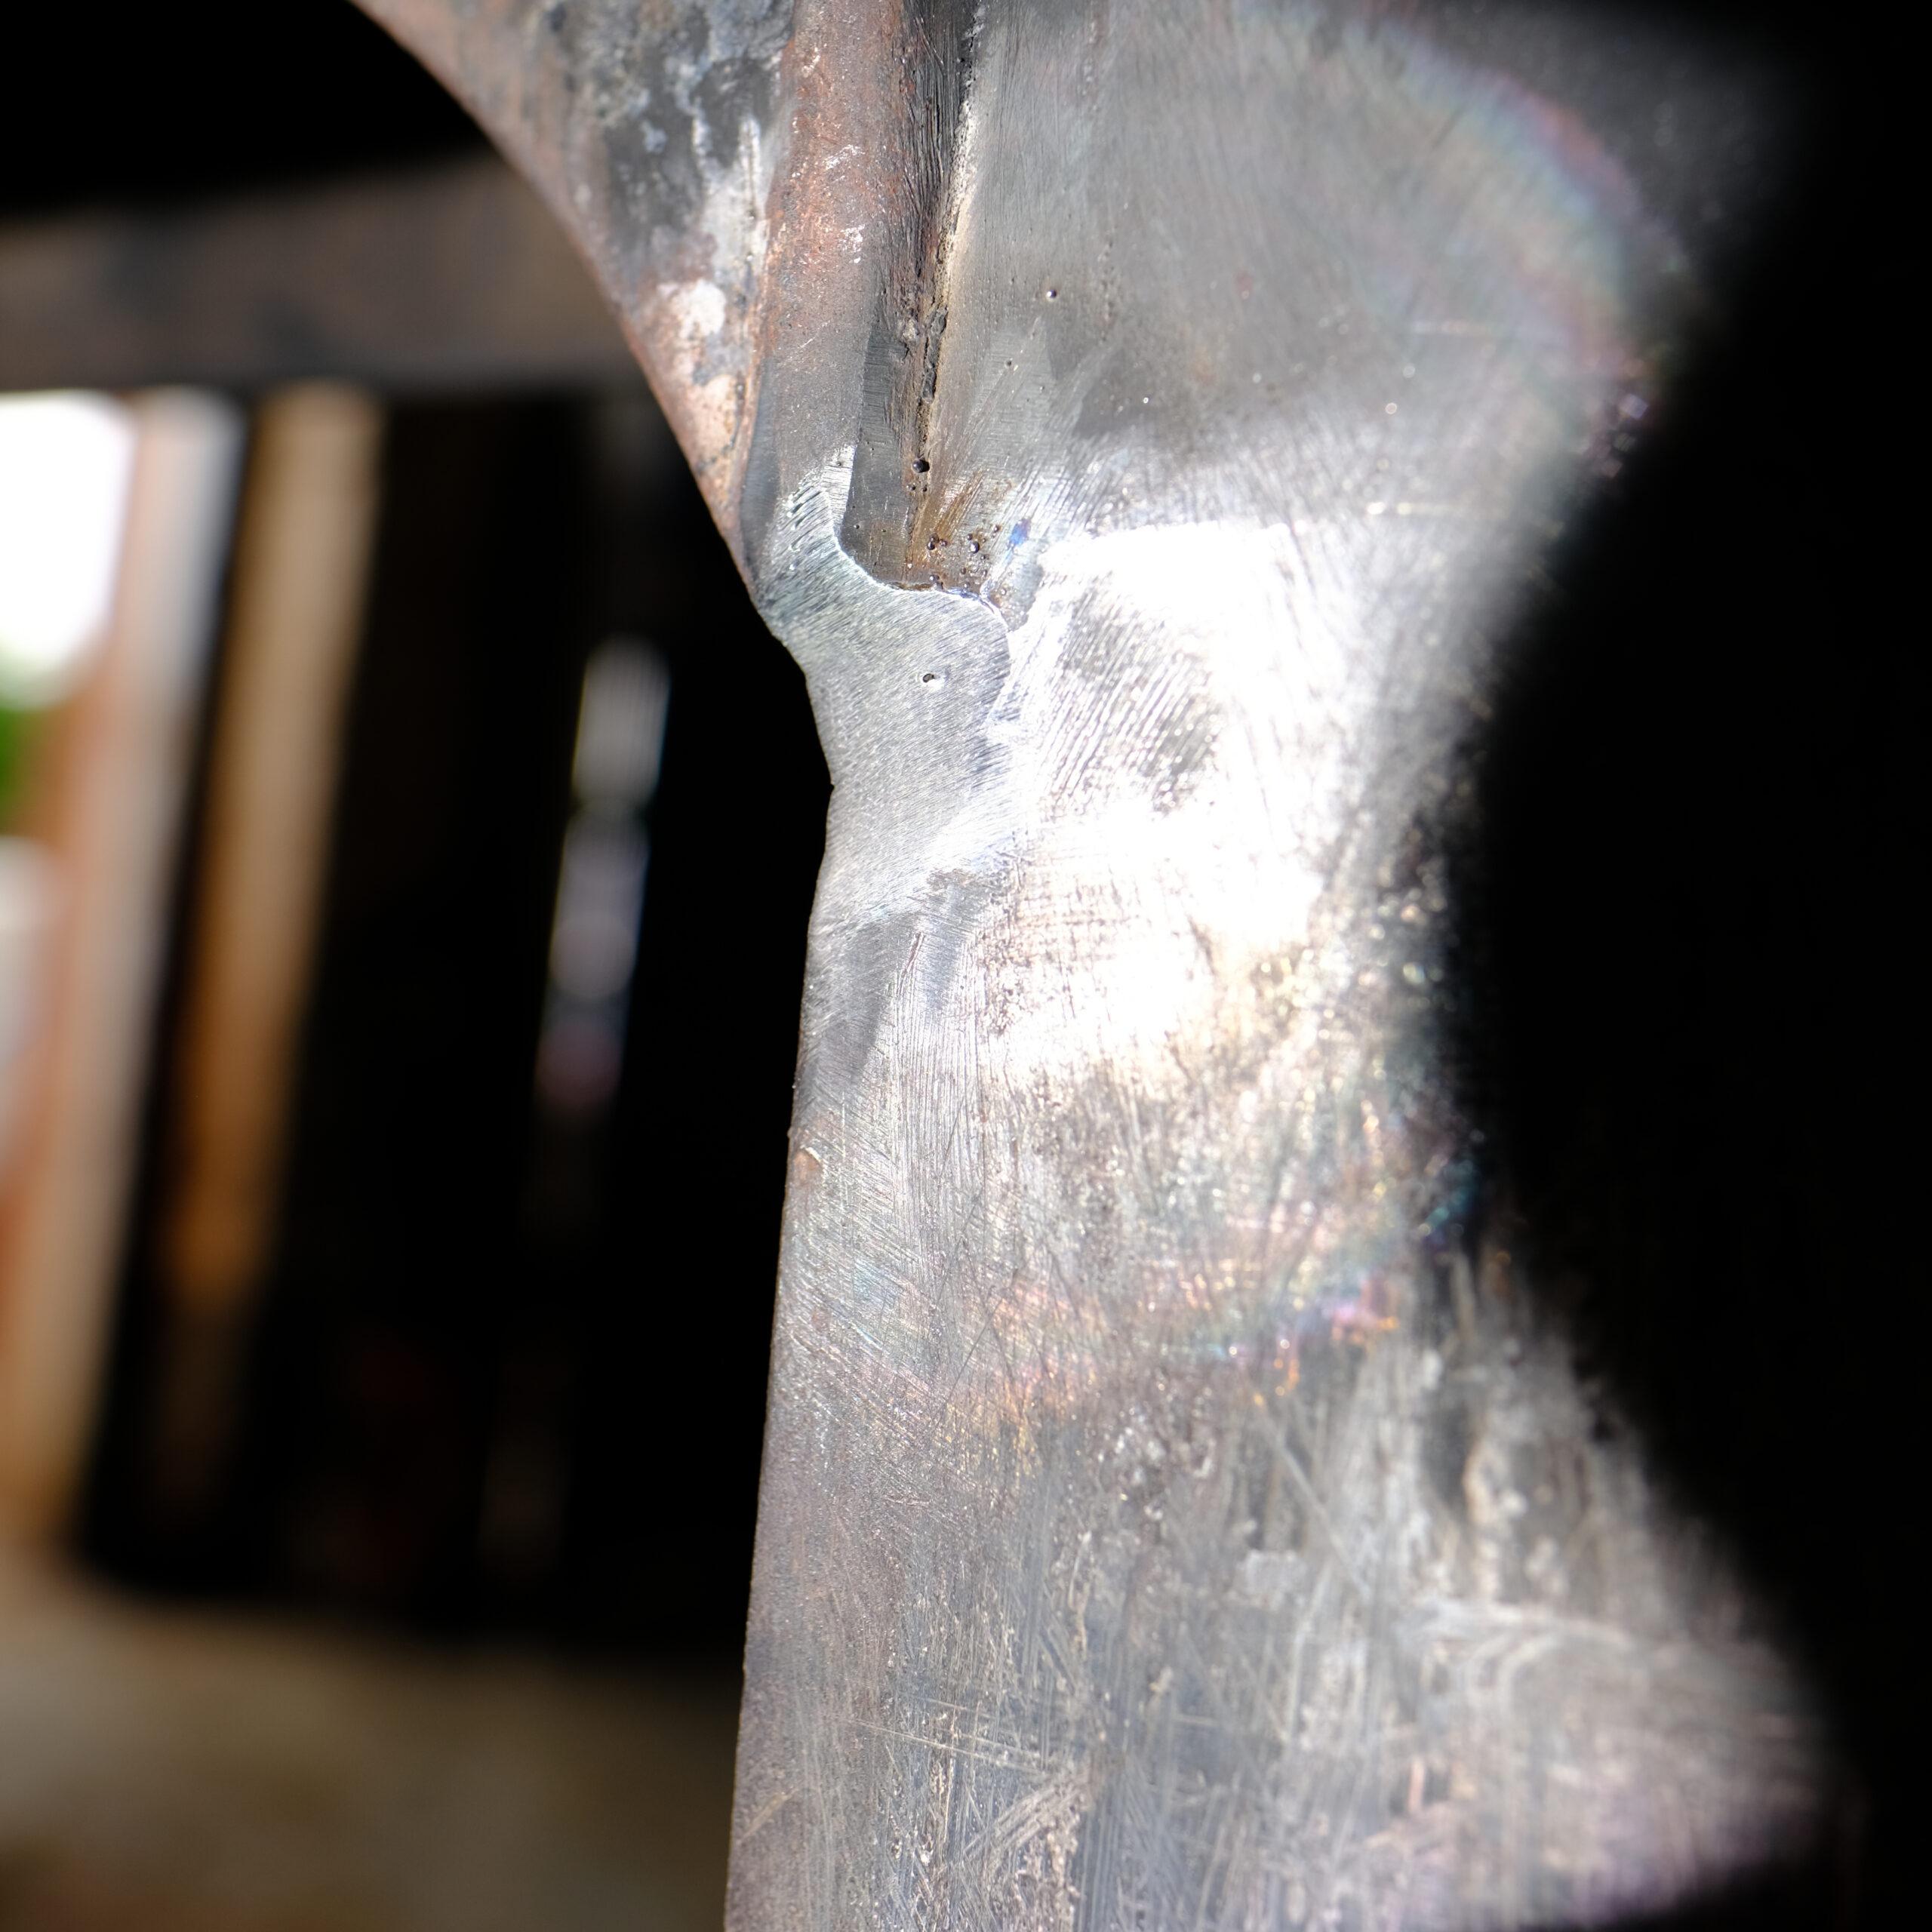
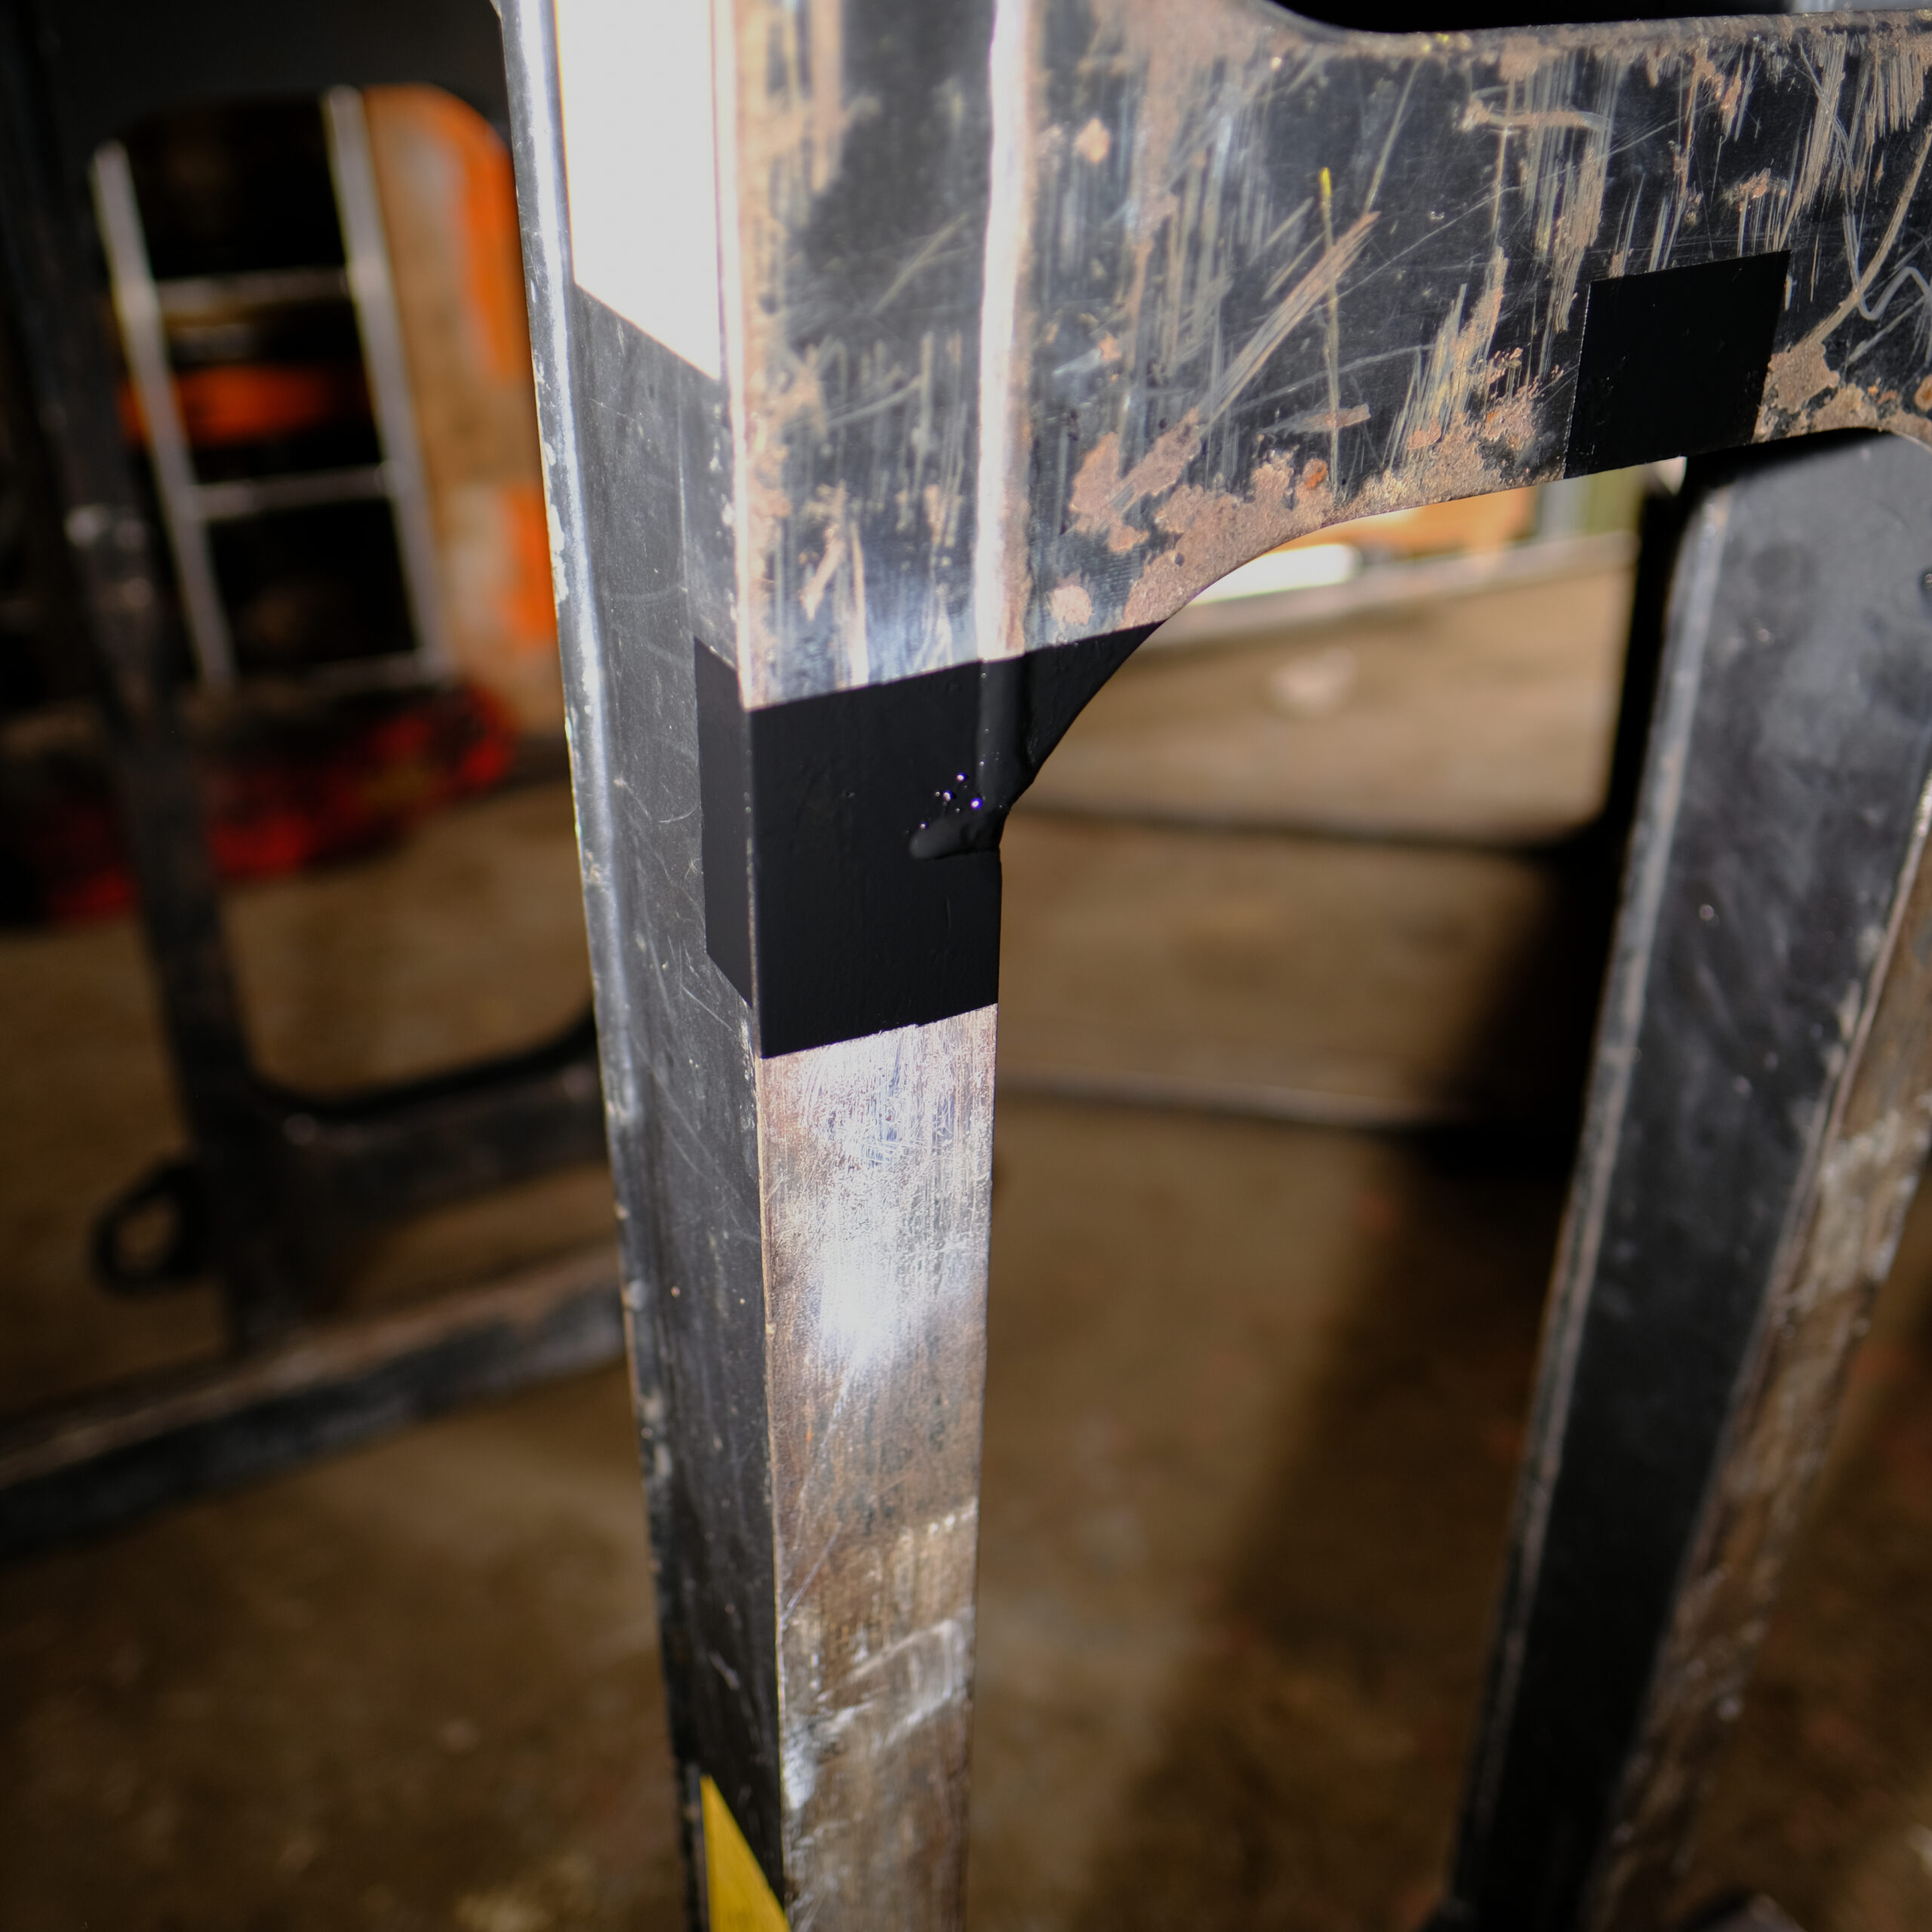
Finished and painted crack repair on the vertical leg of a Kinshofer 331 brick grab, ready for LOLER re-inspection

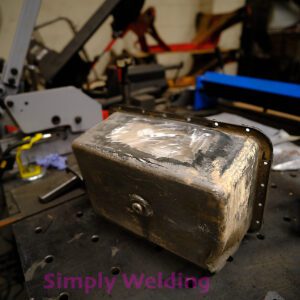
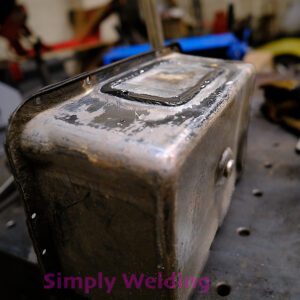
Kubota Mini Digger Sump Repair

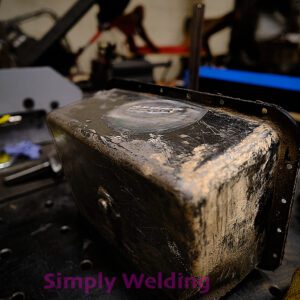
Gouged engine sump on a Kubota mini digger, welded and over-plated for extra strength.
Need advice or wish to book work in? Call 07747 682451 or send us some photos via WhatsApp.

Privacy Policy
Copyright © 2026 Simply Welding 
linkedin facebook pinterest youtube rss twitter instagram facebook-blank rss-blank linkedin-blank pinterest youtube twitter instagram